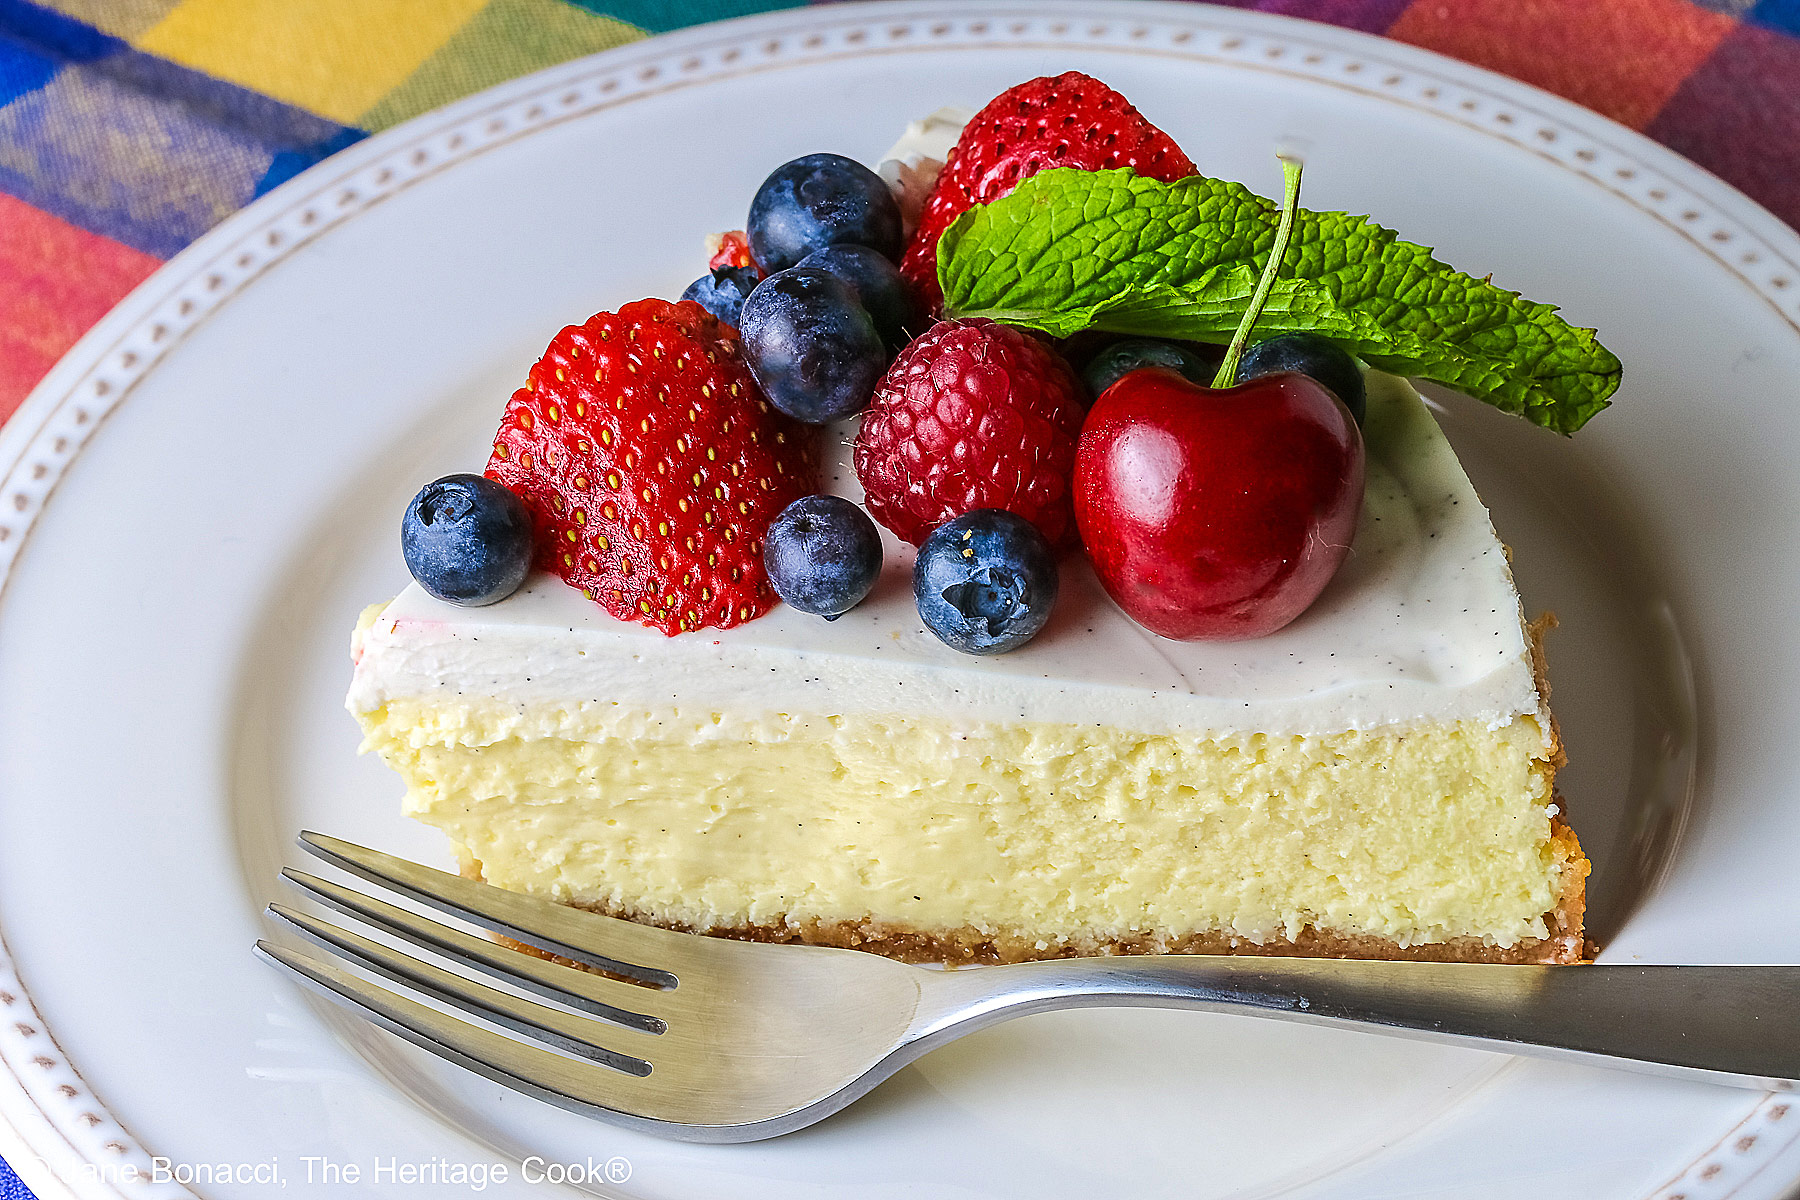
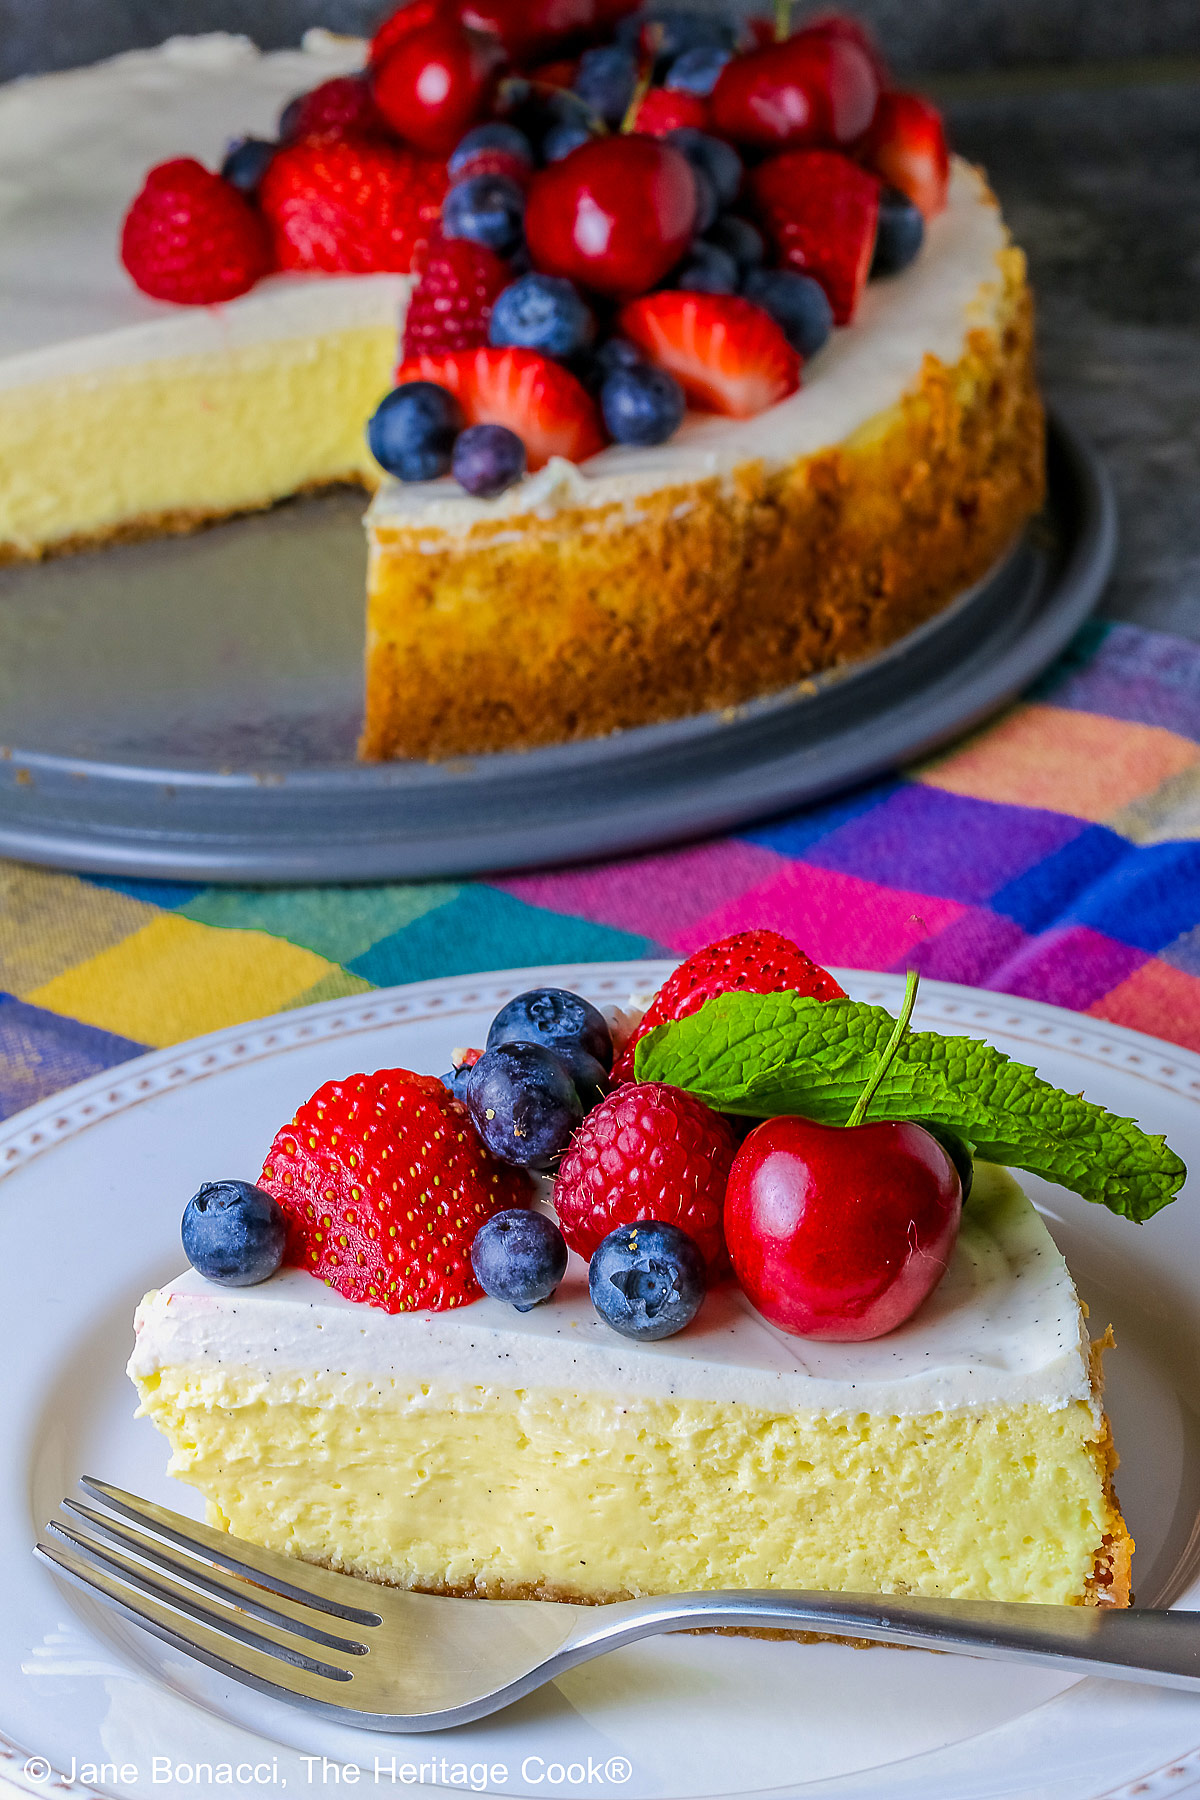
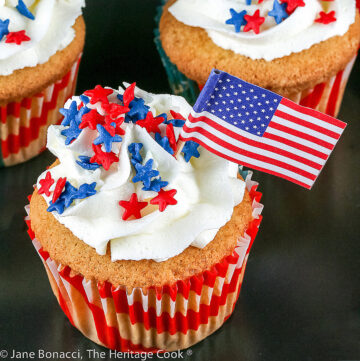
 You guys are going to love today’s Red, White, and Blue New York Cheesecake (GF)! Smooth and creamy with a dreamy sweetened sour cream top layer and luscious fresh fruit to enhance the flavors, it is a beautiful dessert you’ll crave all year long. Perfect for the upcoming holiday or change the fruit to anything that is in season and you love.
I adore cheesecake and order it whenever I see it on a menu. One of our local restaurants features it and I order it whenever I get the chance.
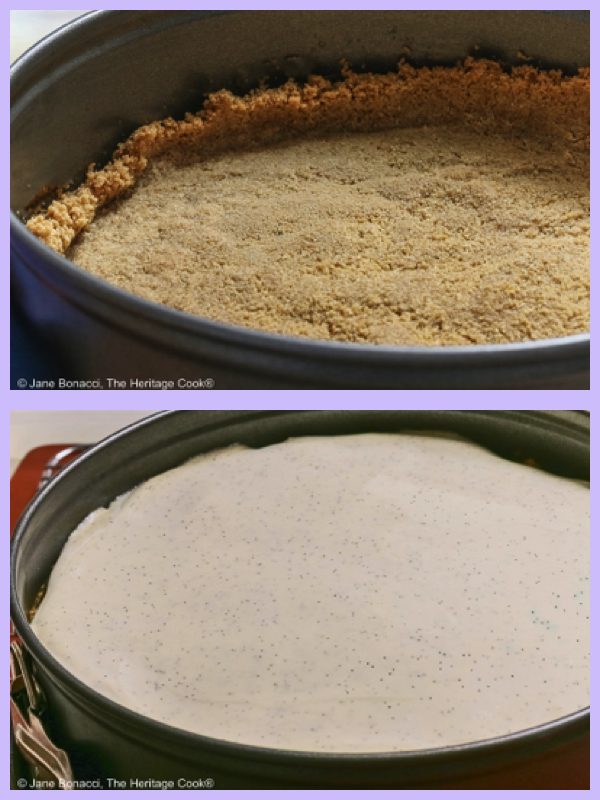
Top: Freshly baked crust; Bottom: Cheesecake with sour cream topping
Don’t try to rush the baking and be sure that your cream cheese and other ingredients are thoroughly softened before you start beating them. That way your cheesecake will be creamy and smooth!
I used gluten-free graham crackers to make the crust this time, but you can also use crushed gingersnaps or almond flour for more great flavor combinations. If you don’t need to eat gluten-free, just use regular graham crackers in the same amount.
Remember that cheesecake takes a long time to cool to room temperature and then it has to sit overnight in the refrigerator. Plan for two days to assemble this beauty. Day one you bake and cool the cheesecake, day two you decorate and serve it. Be sure you store it covered in the refrigerator and it can be made a few days ahead. Just bring it out about 30 minutes before serving and slice with a hot knife!
One of my favorite kitchen tools is a Microplane rasp-style grater. Nothing zests citrus fruits more finely and delicately. You can use it to grate cheese, chocolate, and nutmeg too. There are various sizes for different tasks. It is so perfect and I can’t imagine not having one handy.
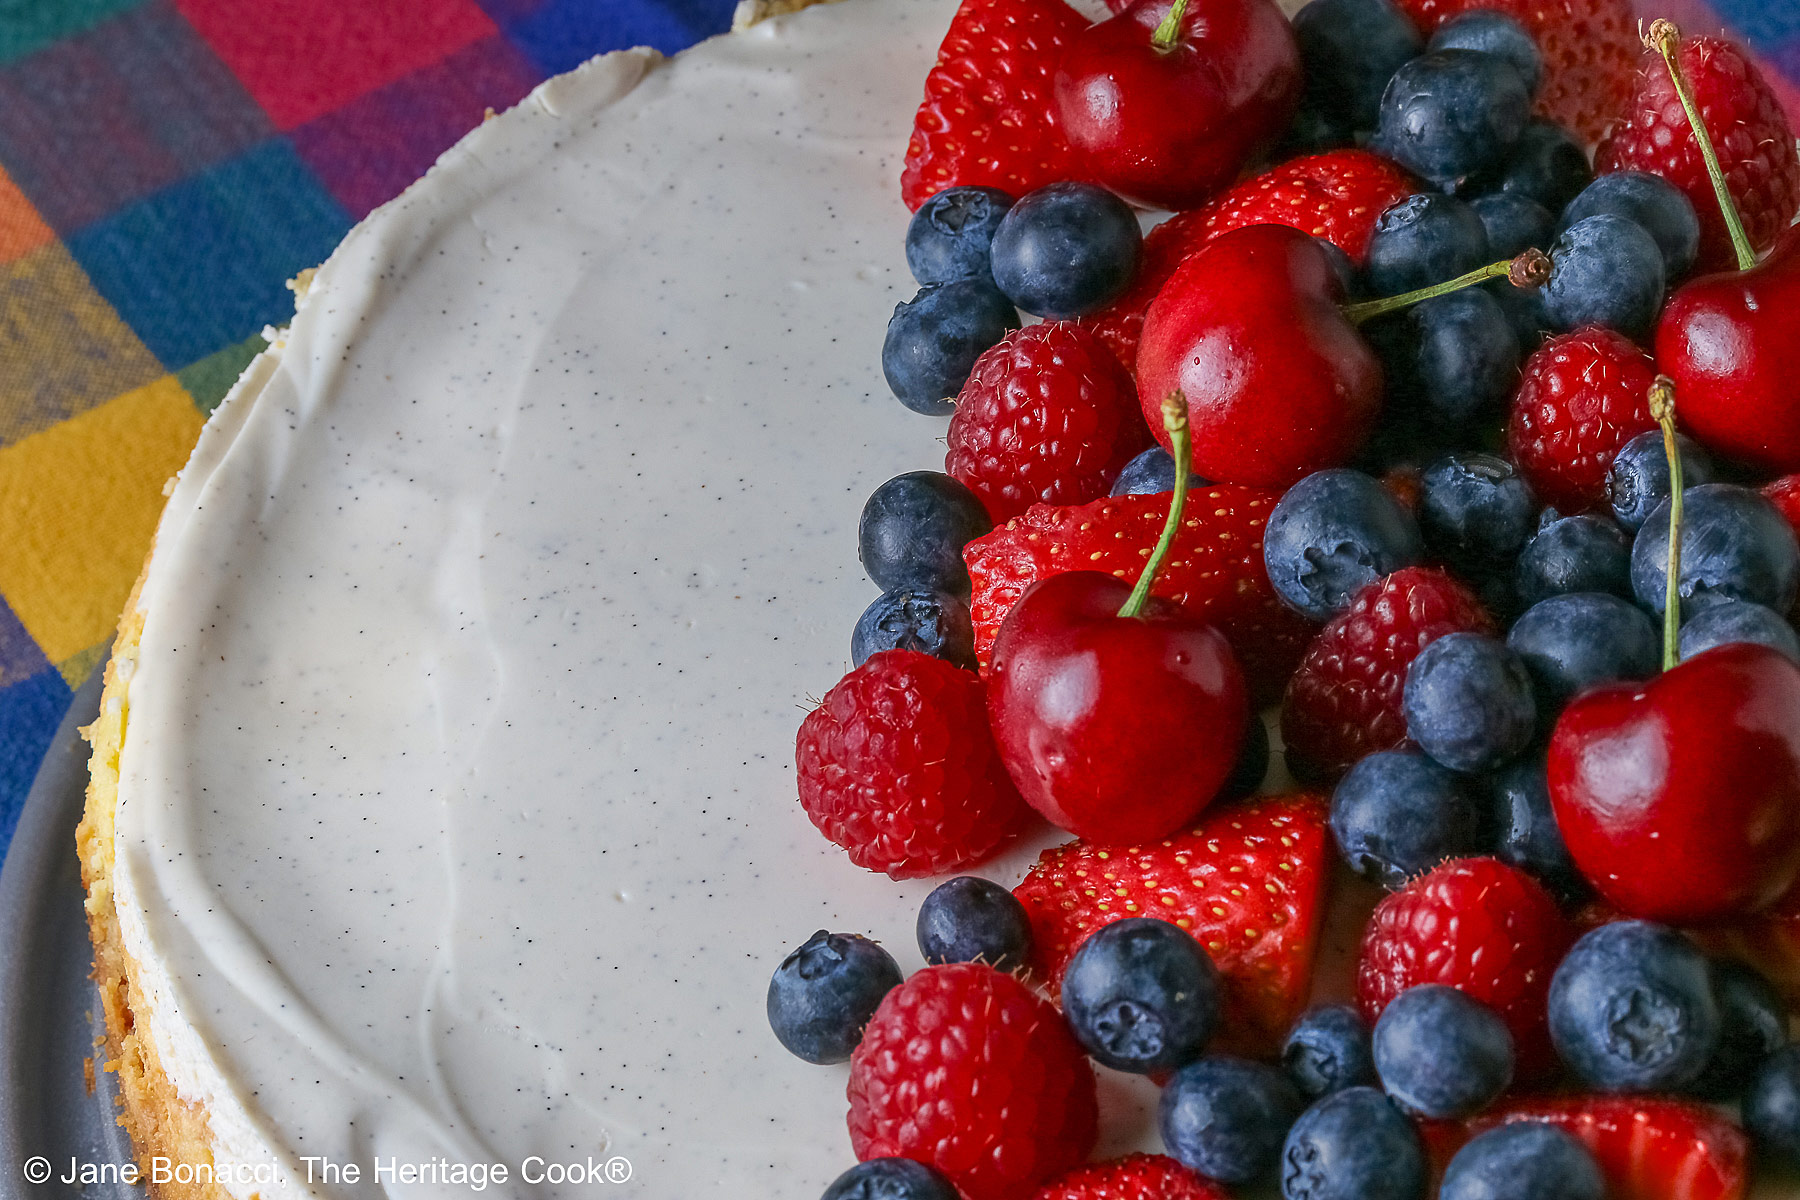
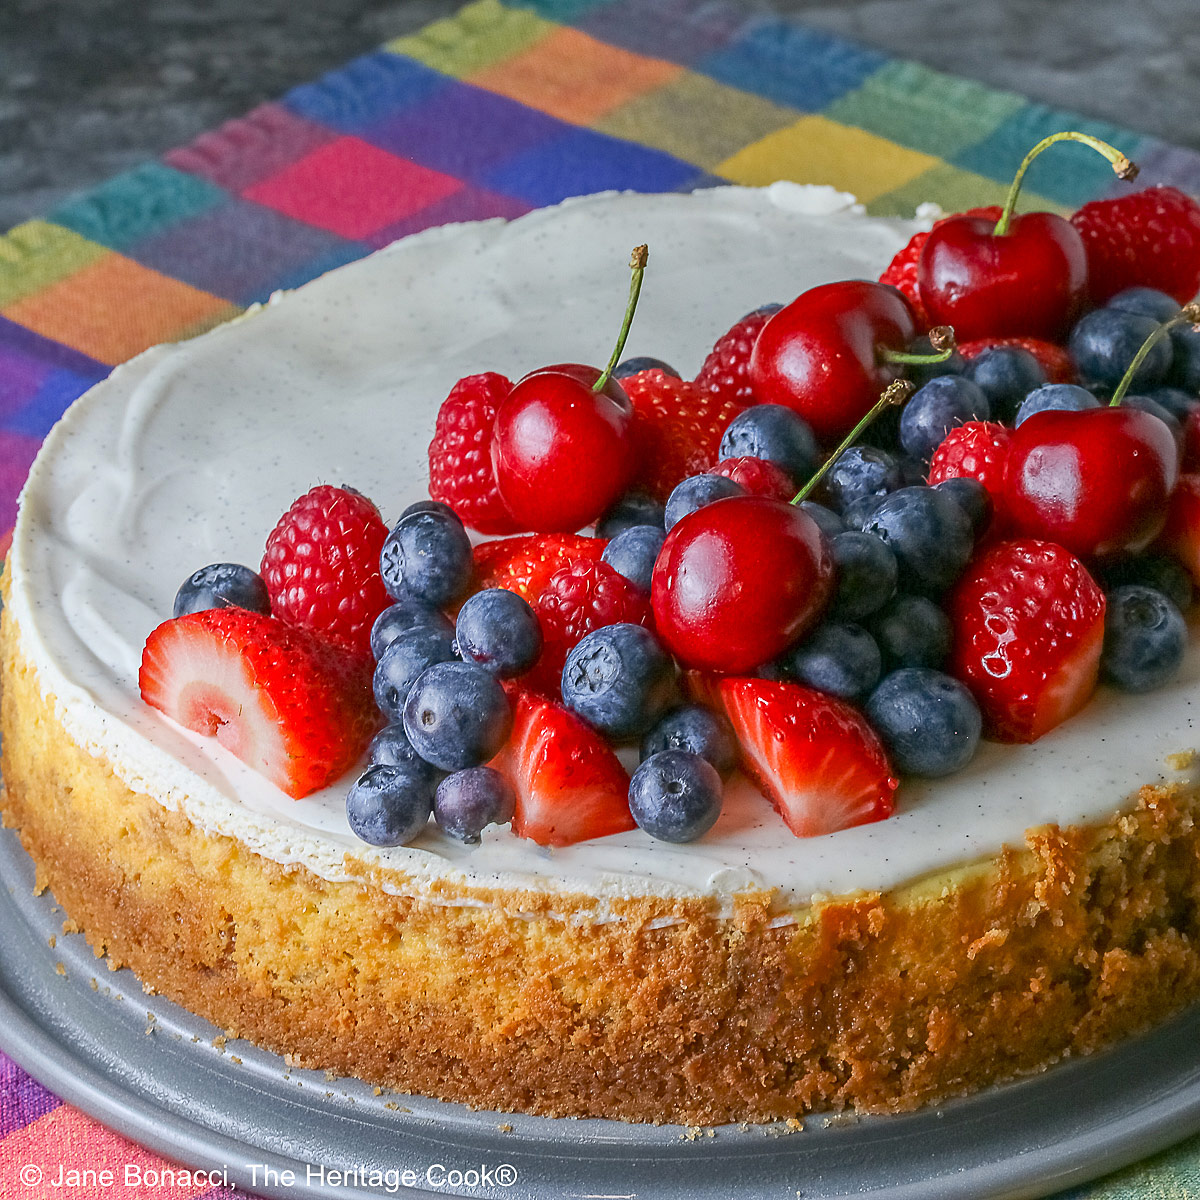
I added an optional sweetened sour cream layer on top. The contrast of the sweetened sour cream with the rich and creamy filling was perfect! And just in case the top of your cheesecake cracks as it cools, the sour cream topping covers up any irregularities – no one needs to know it isn’t perfect!
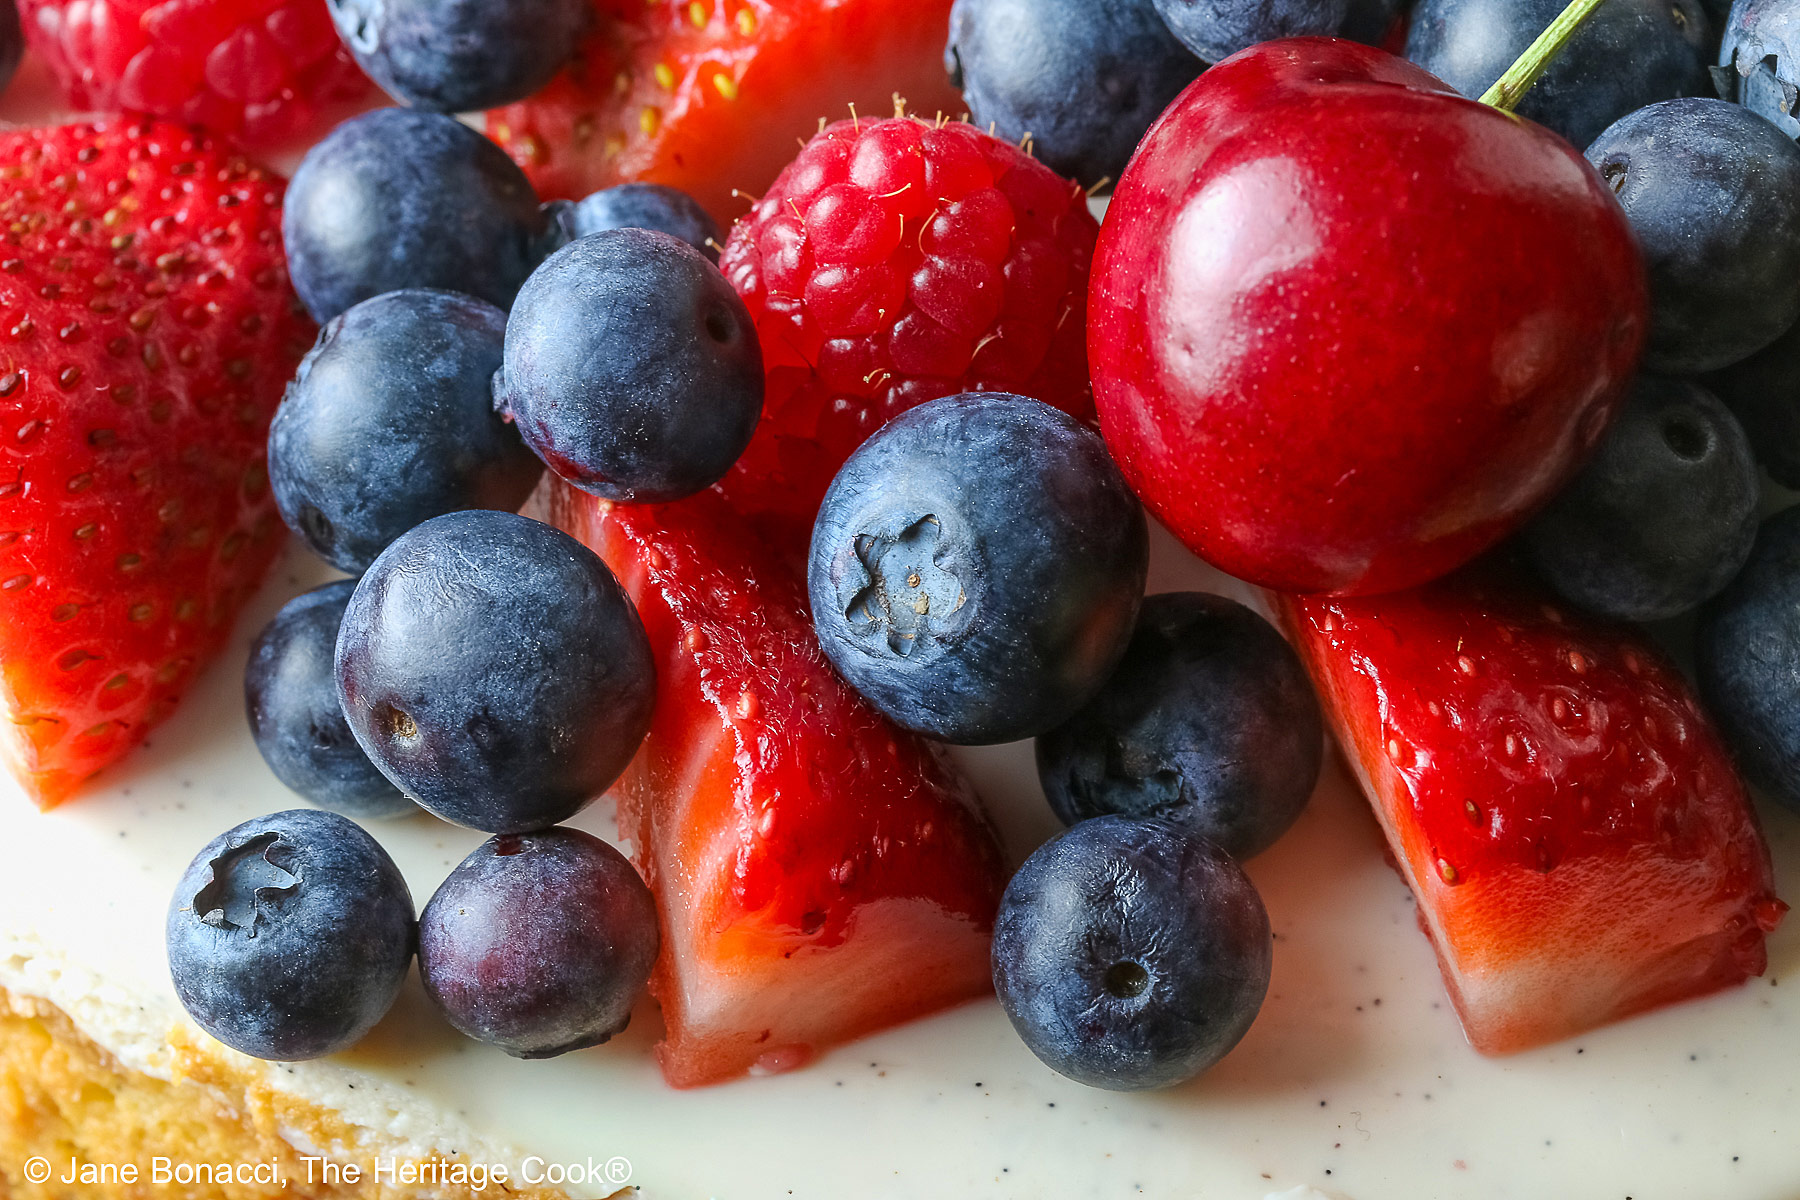
While I decorated this one for the 4th of July with red and blue fruits, you can use any assortment of seasonal fruit you love, or leave the top plain for a delightful dessert you will want to have on repeat!
You definitely need a springform pan for this recipe, so don’t try making it without one. If you don’t already own one, this is one item I would not buy used. You need a really tight seal and the older models are likely not as strong as a new one. Also, if you are gluten-free, you need to be sure it isn’t harboring any microscopic bits of gluten … new is better!
When you read the recipe, you will see that I do not use a water bath with my cheesecakes. I am one of those people who can never get my springform pan covered tightly enough with foil to stop the water from leaking in. The crust always gets soggy. The answer is to bake it at a very low temperature and you won’t need a water bath. Problem solved!
If you would prefer using a water bath, there are two options that make it safe and protect your cheesecake. First you can put a pan with boiling hot water on the bottom rack of the oven and bake the cheesecake on the rack above it. The steam will create a moist environment, reducing the risk of the top cracking.
Secondly you can buy a silicone sleeve that you set your springform pan into and then place the whole thing in a large pan and fill the large pan about halfway with boiling water. Just remember it is always hard to maneuver a really heavy pan full of boiling water in and out of the oven. Be careful so you don’t splash the water and get burned!
So head to the grocery store, buy some cream cheese and sour cream, pull out your springform pan and dive into this recipe. This Red, White, and Blue New York Cheesecake is an indulgence that will thrill you with every single bite!
If you try this recipe, let me know! Please leave a star rating in the recipe card, comment below, and don’t forget to snap a pic and tag it @theheritagecook on Instagram! Seeing your creations makes my day and I love hearing from you!
Ingredients needed for Red, White, and Blue New York Cheesecake:
- Crust: GF graham crackers, unsalted butter, sugar, salt
- Cheesecake Filling: cream cheese, sugar, eggs, vanilla
- Optional Sour Cream Topping: sour cream, sugar, vanilla
- Optional Toppings: mint, whipped cream, raspberries, blueberries, cherries, raspberries, etc.
PRO TIP:
Always read through the entire recipe so you know what to expect. In this case there are a number of ingredients that need to be at room temperature and lots of chilling time. Be prepared to get things set up in advance so you can easily assemble everything.
PRO TIP:
For the creamiest cheesecakes, always use room temperature ingredients, don’t overmix the filling, and be sure to let the cake bake until the center is still a little jiggly – then leave it in the oven with the door propped ajar for an hour before letting it cool completely on the counter. And the final step, letting it chill thoroughly is critical for the best flavor and texture … overnight is the best, but you can get away with 4 to 6 hours. I know, this is incredibly difficult to wait to dive into this beautiful dessert, but it is worth every moment of torture!!
PRO TIP:
If you are not gluten-free, go ahead and use regular graham crackers or any of the options listed in the recipe. Gingersnap cookies would be particularly delicious with this decadent cheesecake!
How to make Red, White, and Blue New York Cheesecake:
- Lightly butter the bottom and a bit up the sides of a 9-inch (23cm) springform pan. Crush the graham crackers and mix in the melted butter, sugar, and salt. Press into the bottom of the prepared pan and slightly up the sides. Use a measuring cup or flat-bottom glass to smooth the crumb crust. Bake the crust at 350°F (180°C) for about 10 minutes. Transfer to a wire rack to cool and reduce the oven to 300°F (150°C).
- Beat the cream cheese with the sugar until combined. With mixer on medium-high, add the eggs one at a time; then when mixed in, scrape the bowl and beater and mix again until smooth and free of all lumps. Mix in the vanilla. Pour the filling into the baked crust, smoothing the top. Bake until the edges are firm and there is a 4-inch (10cm) jiggly center, about 50 minutes. The temperature in the center should be about 150°F (65°C). Remove from the oven and let cool for 10 to 15 minutes. Do not turn off the oven!
- If you are making the sour cream topping, mix together the sour cream, sugar, and vanilla until smooth. Gently spoon the sour cream mixture onto the top of the cheesecake and very carefully spread it out with an offset spatula without disturbing the cheesecake underneath. Bake for 10 to 12 minutes until the topping is just set.
- Remove from the oven and let sit 10 minutes. Then run a knife around the edge of the cake to loosen it from the pan. Leave the ring tightly closed. Return to the oven with the door ajar for an hour, then transfer to a wire rack and cool completely in the pan. When at room temperature, cover and chill in the refrigerator for at least 8 hours or overnight. Remove from the refrigerator and let the cake sit at room temperature for about 20 minutes before running a knife around the edge again to help loosen the cake if needed. Release the spring latch on the outside of the pan and carefully lift the ring off the cake.
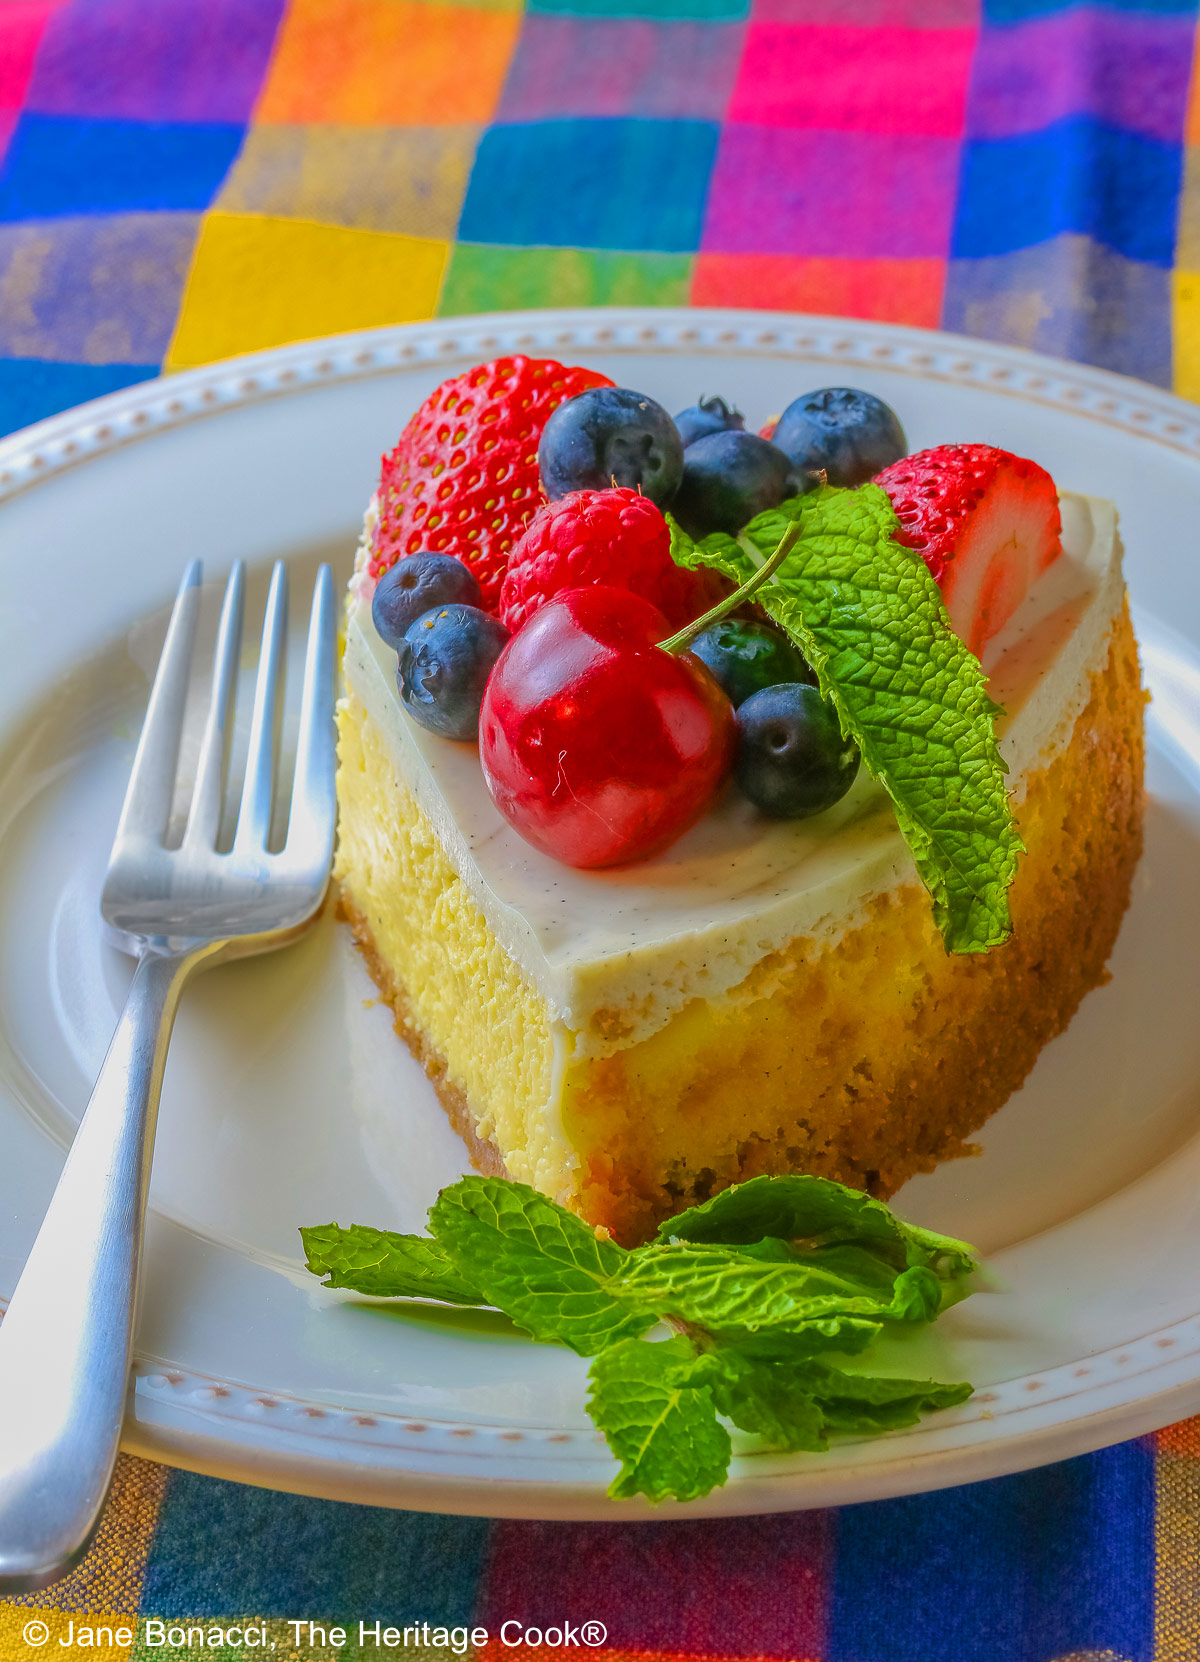
- Decorate the top with the fresh berries and mint if you like. Using a knife that’s been heated and wiped dry, slice the cake into wedges and serve. Heat and wipe dry between each cut.
PRO Tip:
If you don’t want to leave your eggs out to warm to room temperature or you forgot them, you can put them in a bowl of very hot tap water and leave them for about 10 minutes. Wipe them dry and use as directed in the recipe.
PRO TIP:
When you pour the cheesecake batter into the springform pan with the crust, you can trap air bubbles in the batter. You can bang the pan a few times on the counter to bring them to the surface or you can draw a knife through the batter (don’t touch the crust) and release them that way. In either case let the batter sit for a few minutes before placing the pan in the hot oven so all the bubbles reach the surface. Then use a toothpick or knife point to pop them and smooth the surface before baking.
Recommended Tools (affiliate links; no extra cost to you):
- Kitchen scale
- Food processor or a plastic bag with a rolling pin
- 9-inch (23cm) springform pan
- Stand mixer or hand mixer
- Offset spatula
- Silicone sleeve for baking cheesecakes
- Sharp slicing knife
Gluten-Free Tips:
* My preferred brand of kosher salt is from Diamond Crystal. If you use Morton’s, another brand, or table salt, you will not need as much because they are saltier.
You will get the best and most consistent results by using a digital kitchen scale and weighing your ingredients, especially when you are baking. Use grams, they are much more accurate than pounds and ounces.
All recommended ingredients are gluten-free as of the writing of this article. Always check to be sure the products haven’t changed and are still safe to consume.
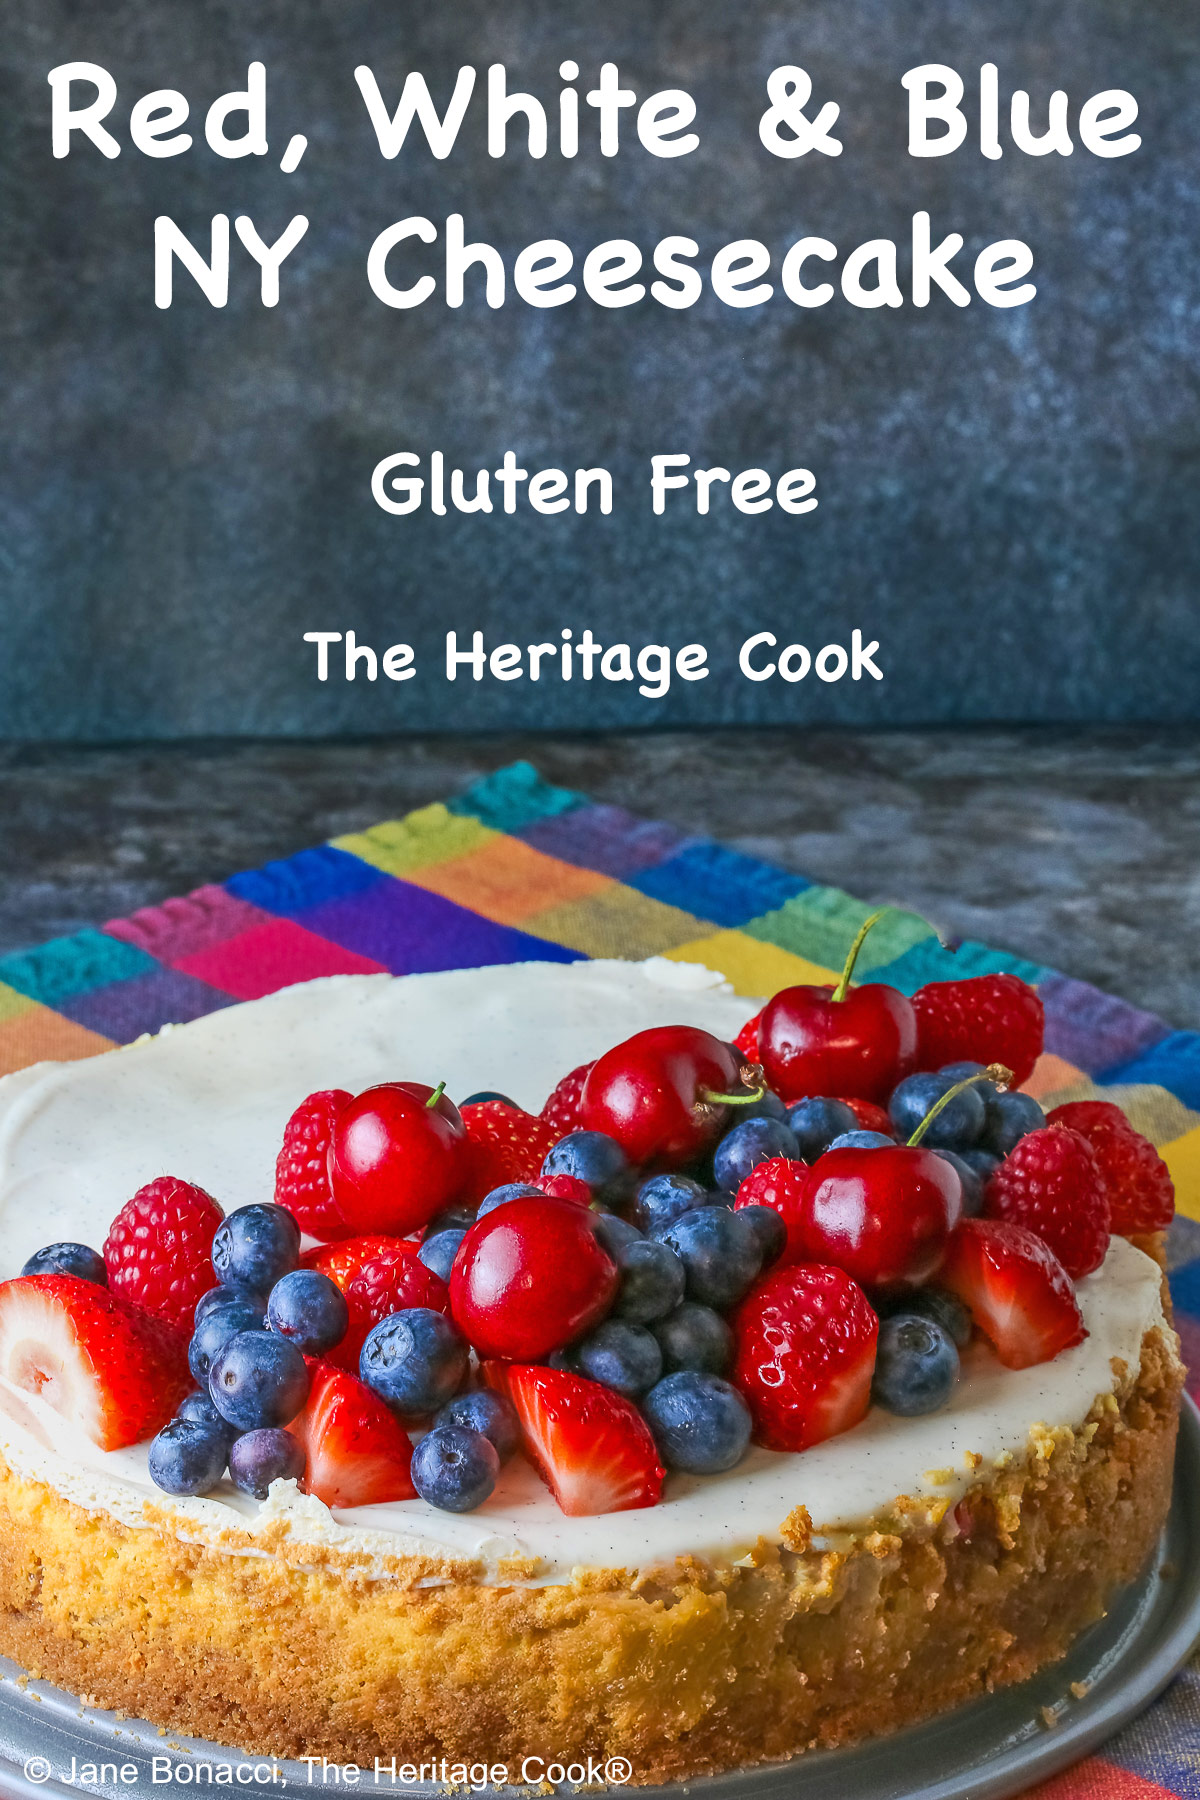
Red, White, and Blue New York Cheesecake (GF)

You guys are going to love today’s Red, White, and Blue New York Cheesecake (GF). Smooth and creamy with a dreamy sweetened sour cream top layer and luscious fresh red and blue fruit to enhance the flavors, it is a beautiful dessert you’ll crave all year long! Perfect for the Fourth of July (or Memorial Day), but use whatever fruits you love and that are in season – anything goes!
Ingredients
Crust
- 1-3/4 cups (210g) gluten-free graham crackers (about 12 to 15 full sheets) such as Pamela’s Honey, almond flour, or GF gingersnaps such as MiDel brand
- 8 tbsp (1 stick; 113g) melted unsalted butter
- 1/4 cup (50g) granulated sugar
- Pinch of kosher salt *
Filling
- 1-1/2 lb (24 oz; 3 bricks; 680g) cream cheese, at room temperature
- 1 cup (200g) granulated sugar
- 4 large eggs, at room temperature
- 1 tbsp vanilla extract
Sour Cream Topping (optional)
- 2 cups (1 pint; 450g) sour cream, at room temperature
- 3 tbsp sugar
- 1 tbsp vanilla extract
Optional Garnishes
- Mint sprigs
- Whipped cream
- Fresh raspberries, strawberries, cherries, and blueberries, or other seasonal fruits
Instructions
1. Lightly butter the bottom and partially up the sides of a 9-inch (23cm) springform pan.
2. Make the Crust: Crumble and crush the graham crackers or cookies in a food processor or in a sturdy freezer bag with a rolling pin. You should have 1-1/2 cups of crumbs. Add the melted butter, sugar and a pinch of salt and process until combined. Press the crumb mixture into the bottom and partially up the sides of the springform pan with your hands as evenly as possible. Use a straight-sided glass or a dry measuring cup to press the corners in so they’re not too thick, and help the edges climb up the sides of the pan. Don’t worry if it isn’t perfect, that is fine. Put the pan in the freezer for 15 minutes.
3. Bake the Crust: Preheat the oven to 350ºF (180ºC). Bake the crust for 10 minutes. Remove from the oven and place on a wire rack to cool a bit. Reduce the oven heat to 300ºF (150ºC).
4. Make the Filling: In the bowl of a stand mixer with the paddle attachment, or in a large bowl if using a hand mixer, beat the cream cheese and the sugar for about thirty seconds, until combined. With the mixer on medium speed, add the eggs, one at a time, stopping the mixer and scraping the beater and sides of the bowl to incorporate the eggs as needed, mixing until smooth and free of lumps. Add the vanilla and mix it in. Scrape the bowl again without the beater in place to be sure you have all the cream cheese off the bottom of the bowl and beater – whisk to incorporate any lumps.
5. Scrape the cheesecake filling into the baked and cooled crust and place the pan on a baking sheet to catch any drips. Run a knife in a zig-zag pattern through the filling (without touching the crust) to release any hidden air bubbles or bang the pan gently on the counter. Pop the bubbles as they appear on the top with a toothpick or sharp knife. Bake until the edges are cooked with about a 4-inch (10cm) circle in the center that is still jiggly, about 50 minutes. Remove from the oven and let cool for 10 to 15 minutes.
6. Make the Sour Cream Topping (if using): While the cheesecake is cooling, in a medium bowl, whisk together the sour cream, sugar, and vanilla until smooth. Working gently, spoon the sour cream in a few mounds over the top of the cheesecake, being careful because the filling underneath is not fully set and you don’t want to mar the surface. Use an offset spatula to very gently spread the sour cream mixture over the top of the cheesecake, without disturbing the cheesecake underneath. Bake for 10 to 12 minutes until the sour cream topping is just set.
7. Remove from the oven and let cool for 10 minutes, then run a knife around the outside of the cake to loosen it from the pan. Do not loosen the ring around the pan. Return to the oven that’s been turned off and leave the door ajar for 1 hour. Place on a wire rack and cool completely in the pan, then chill, covered, for at least 8 hours, still in the pan, or overnight before serving.
8. Serving and storage: Transfer from the refrigerator to the counter and remove the covering. Decorate the top with fresh fruit if desired. Serve this cheesecake cold or cool. For the cleanest cuts use a knife that has been heated in hot water and wiped dry. Clean and heat the knife after each cut. Cheesecake can be kept 3 to 4 days in the refrigerator, or frozen for up to two months.
Recipe found at www.theheritagecook.com
Notes
* My preferred brand of kosher salt is from Diamond Crystal. If you use Morton’s or another brand you will likely not need as much because they are saltier.
You will get the best and most consistent results by using a digital kitchen scale and weighing your ingredients, especially when you are baking. Use grams, they are much more accurate than pounds and ounces.
All recommended ingredients are gluten-free as of the writing of this article. Always check to be sure the products haven’t changed and are still safe to consume.
Adapted from David Lebovitz’ New York Cheesecake
Nutrition Information:
Yield:
12Serving Size:
1Amount Per Serving: Calories: 296Total Fat: 17gSaturated Fat: 10gUnsaturated Fat: 8gCholesterol: 107mgSodium: 37mgCarbohydrates: 32gSugar: 31gProtein: 3g
The nutritional information for recipes on this site is calculated by online tools and is merely an estimate. If you need nutritional calculations for medical reasons, please use a source that you trust.
If you enjoyed this recipe, be sure to follow me on social media so you never miss a post:
Create a New Tradition Today!
Welcome! The suggestions here are not intended as dietary advice or as a substitute for consulting a dietician, physician, or other medical professional. Please see the Disclaimers/Privacy Policy page for additional details. Unauthorized use, distribution, and/or duplication of proprietary material from The Heritage Cook without prior approval is prohibited. If you have any questions or would like permission, please contact me. We participate in the Amazon Services LLC Associates Program, an affiliate advertising program designed to provide a means for sites to earn advertising fees by advertising and linking to amazon.com. As an Amazon Associate, I earn a small amount from qualifying purchases without any additional cost to you. This page may contain affiliate links. The author makes no claims regarding the presence of food allergens and disclaims all liability in connection with the use of this site.


Leave a Reply