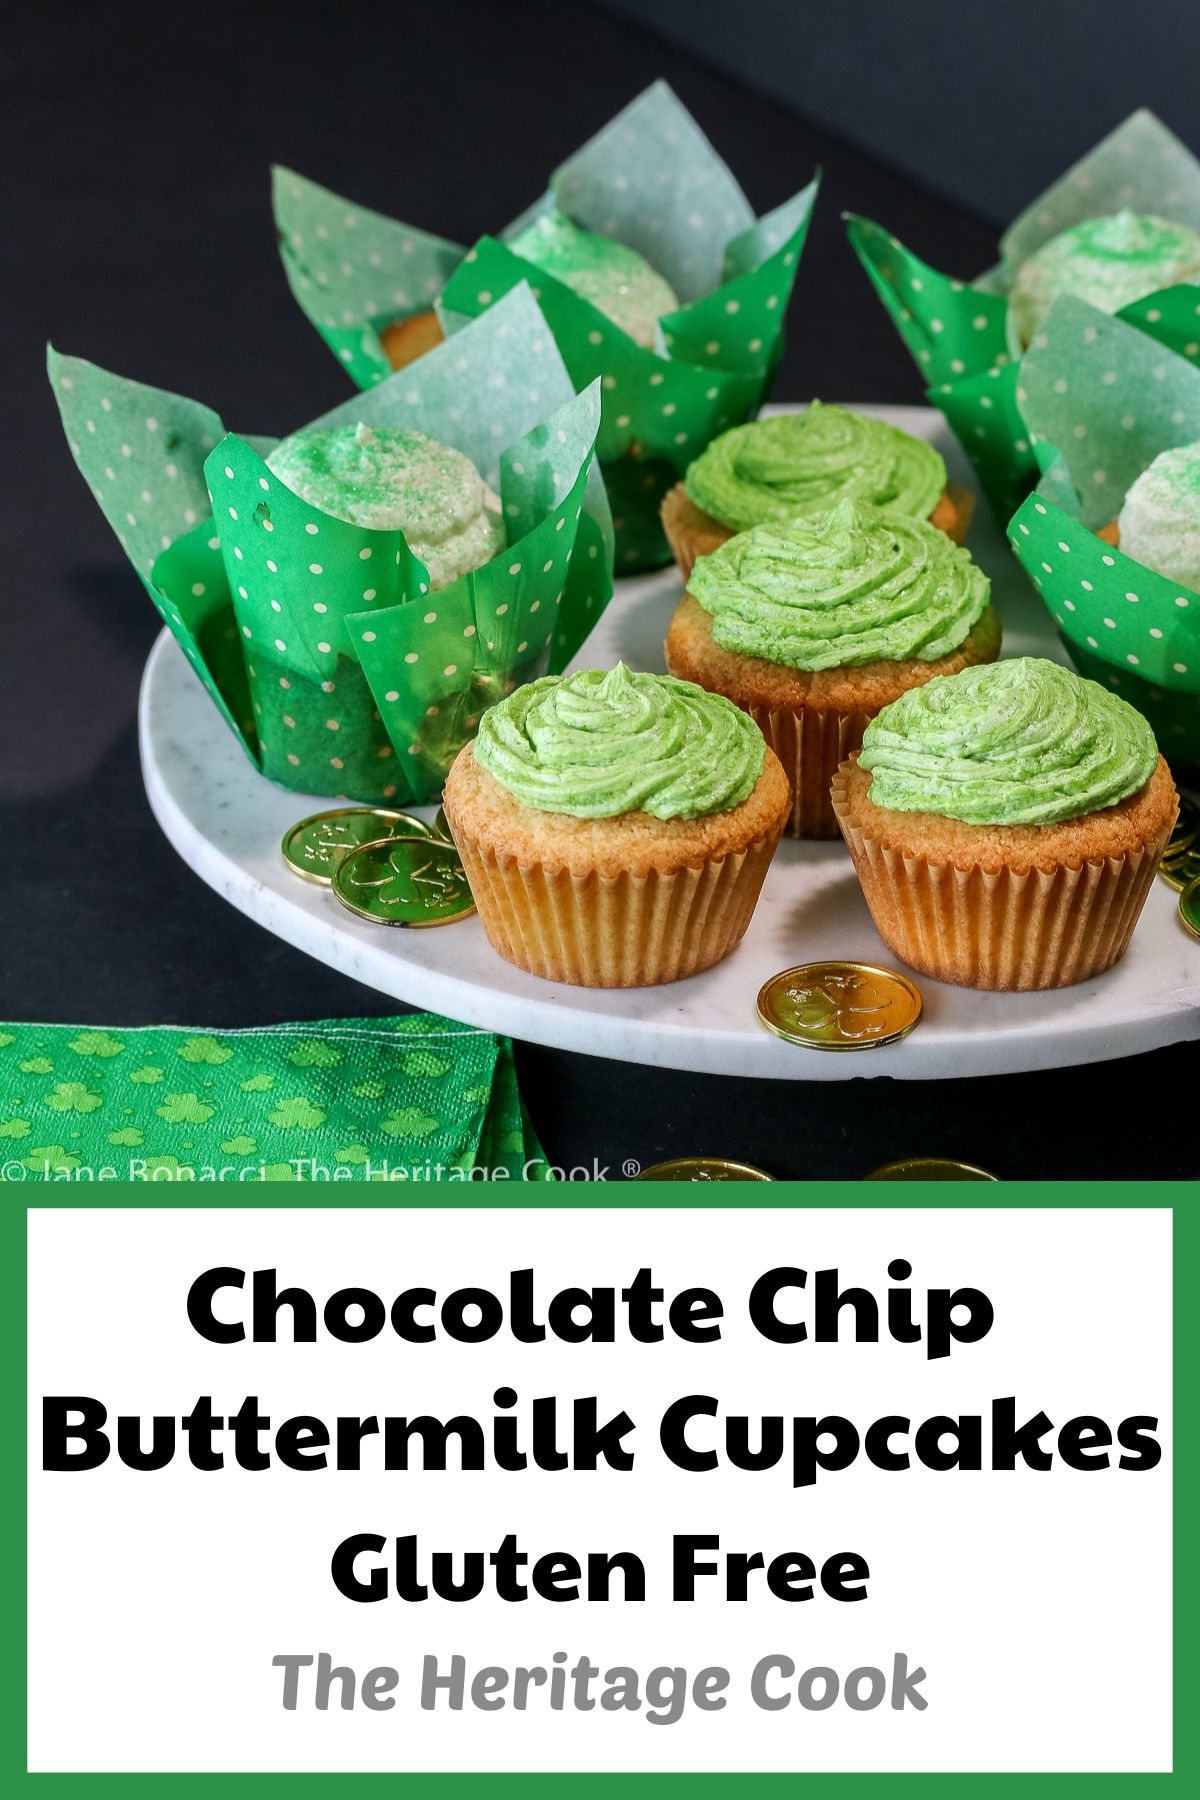
To celebrate the festivities of my Irish heritage and the day that changed my life forever, I have made you luscious Chocolate Chip Buttermilk Cupcakes covered in sweet buttercream frosting. The snap of the chocolate is the perfect counterpoint to the tender cake and creamy frosting. Plus it adds a fun surprise when you take your first bite.
St. Patrick’s Day is always special for me. An introduction by friends on that day, laughs at a comedy show, and a tour of his artwork began our courtship. This year will mark the 28th anniversary of the night The Artist and I met!
It seems like it has only been a few years and yet a lifetime ago. And in just a few months we will have our 25th wedding anniversary. Time seems to rush ahead faster than ever when you look back at milestones like these.
Cupcakes are always fun to make and a hit with kids. They are custom designed for little hands!
To make them easy to fill without much spillage, use a spring-loaded ice cream scoop. You will have the cups filled in no time and little ones can help you scoop and drop the batter. I loved helping, not realizing it usually made more work for my mom, especially in the clean-up, LOL.
Buttercream is the frosting of choice for many. Thick and creamy, luxurious and indulgent, it is definitely appropriate for special occasions. You may have seen recipes that use vegetable shortening in lieu of butter or in combination with it – this helps the frosting stay firm at room temperature, keeping your treats fresh looking. I personally would rather eat real butter in smaller quantities.
I like to use European butter with salt when making buttercream, to me it is worth the splurge. A brand like Kerrygold is easy to find in many stores and is very high quality. And for these St. Patrick’s Day cupcakes, butter from Irish cows is the obvious choice, LOL. If you can find them, French and New Zealand butters are also great choices.
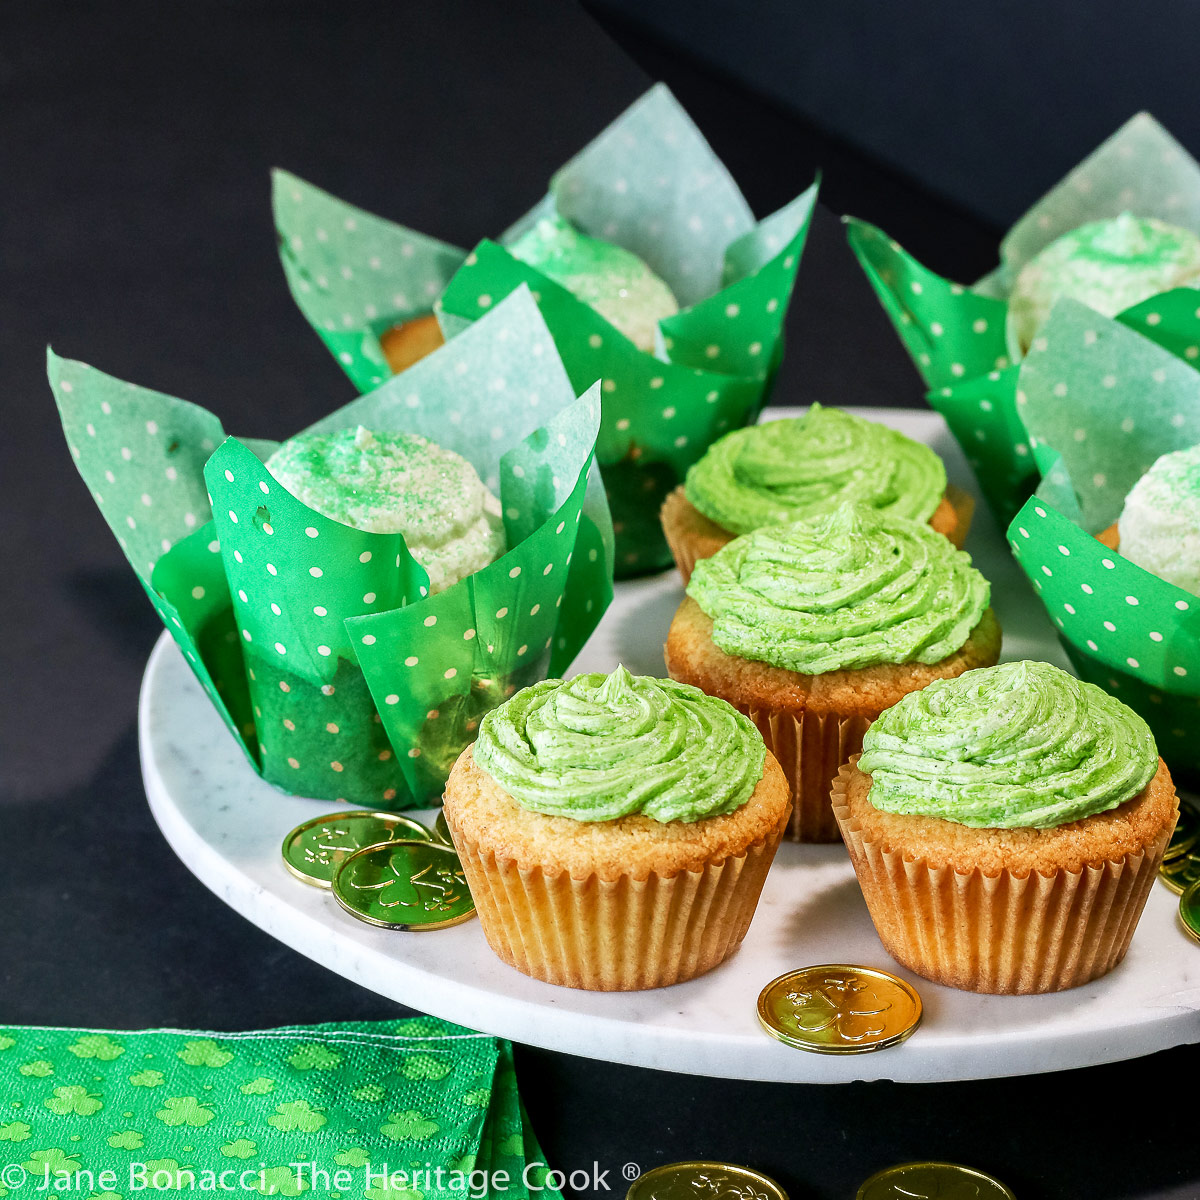
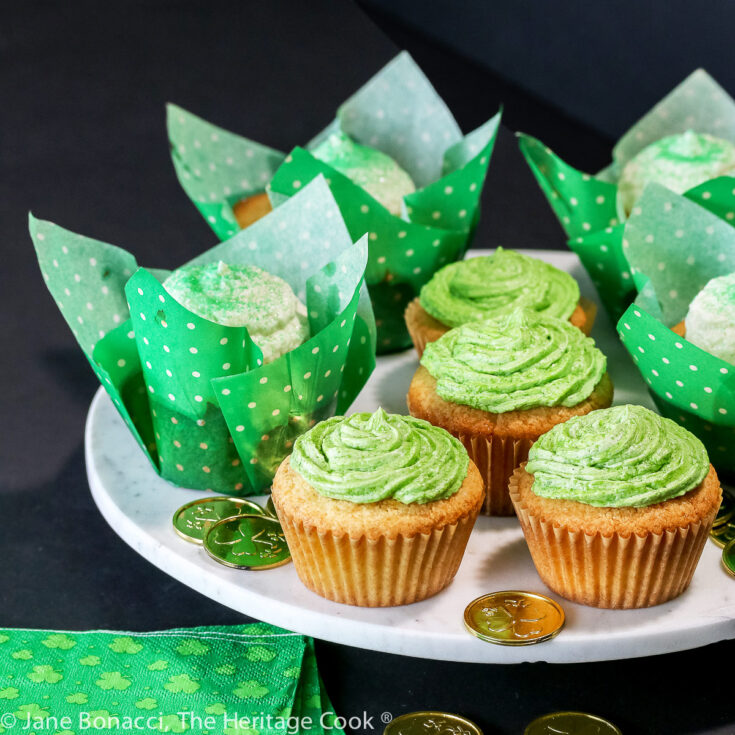
Some kids are especially sensitive to food colorings, so it is optional for the frosting. I prefer using Americolor paste colors. You can also use powders. Because it is dry, it doesn’t change the liquid ratio in delicately balanced foods (like gluten-free baking) and it is extremely concentrated so you need only a small amount for rich colors. I typically start by dipping a toothpick in the gel and swirling it through the frosting, stir it in, and repeat if I am looking for a darker, more intense color.
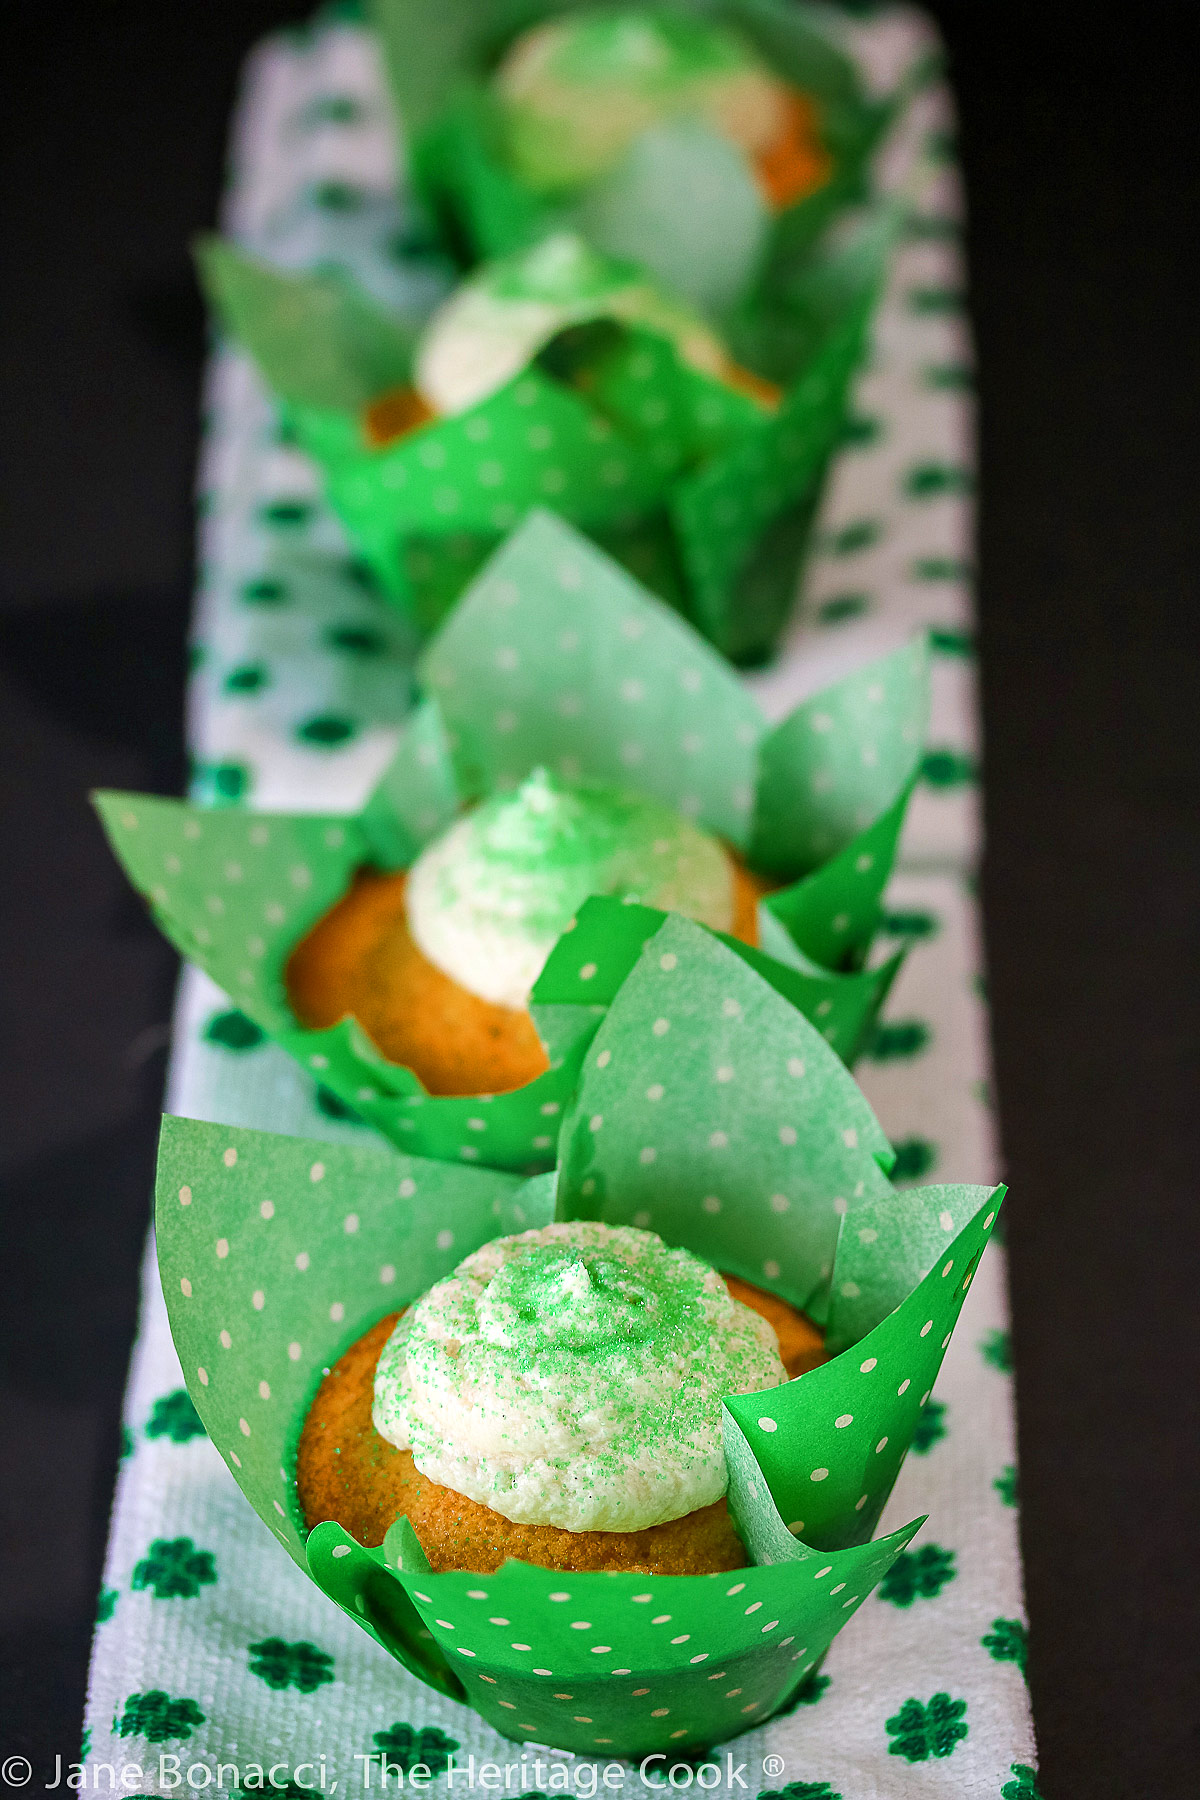
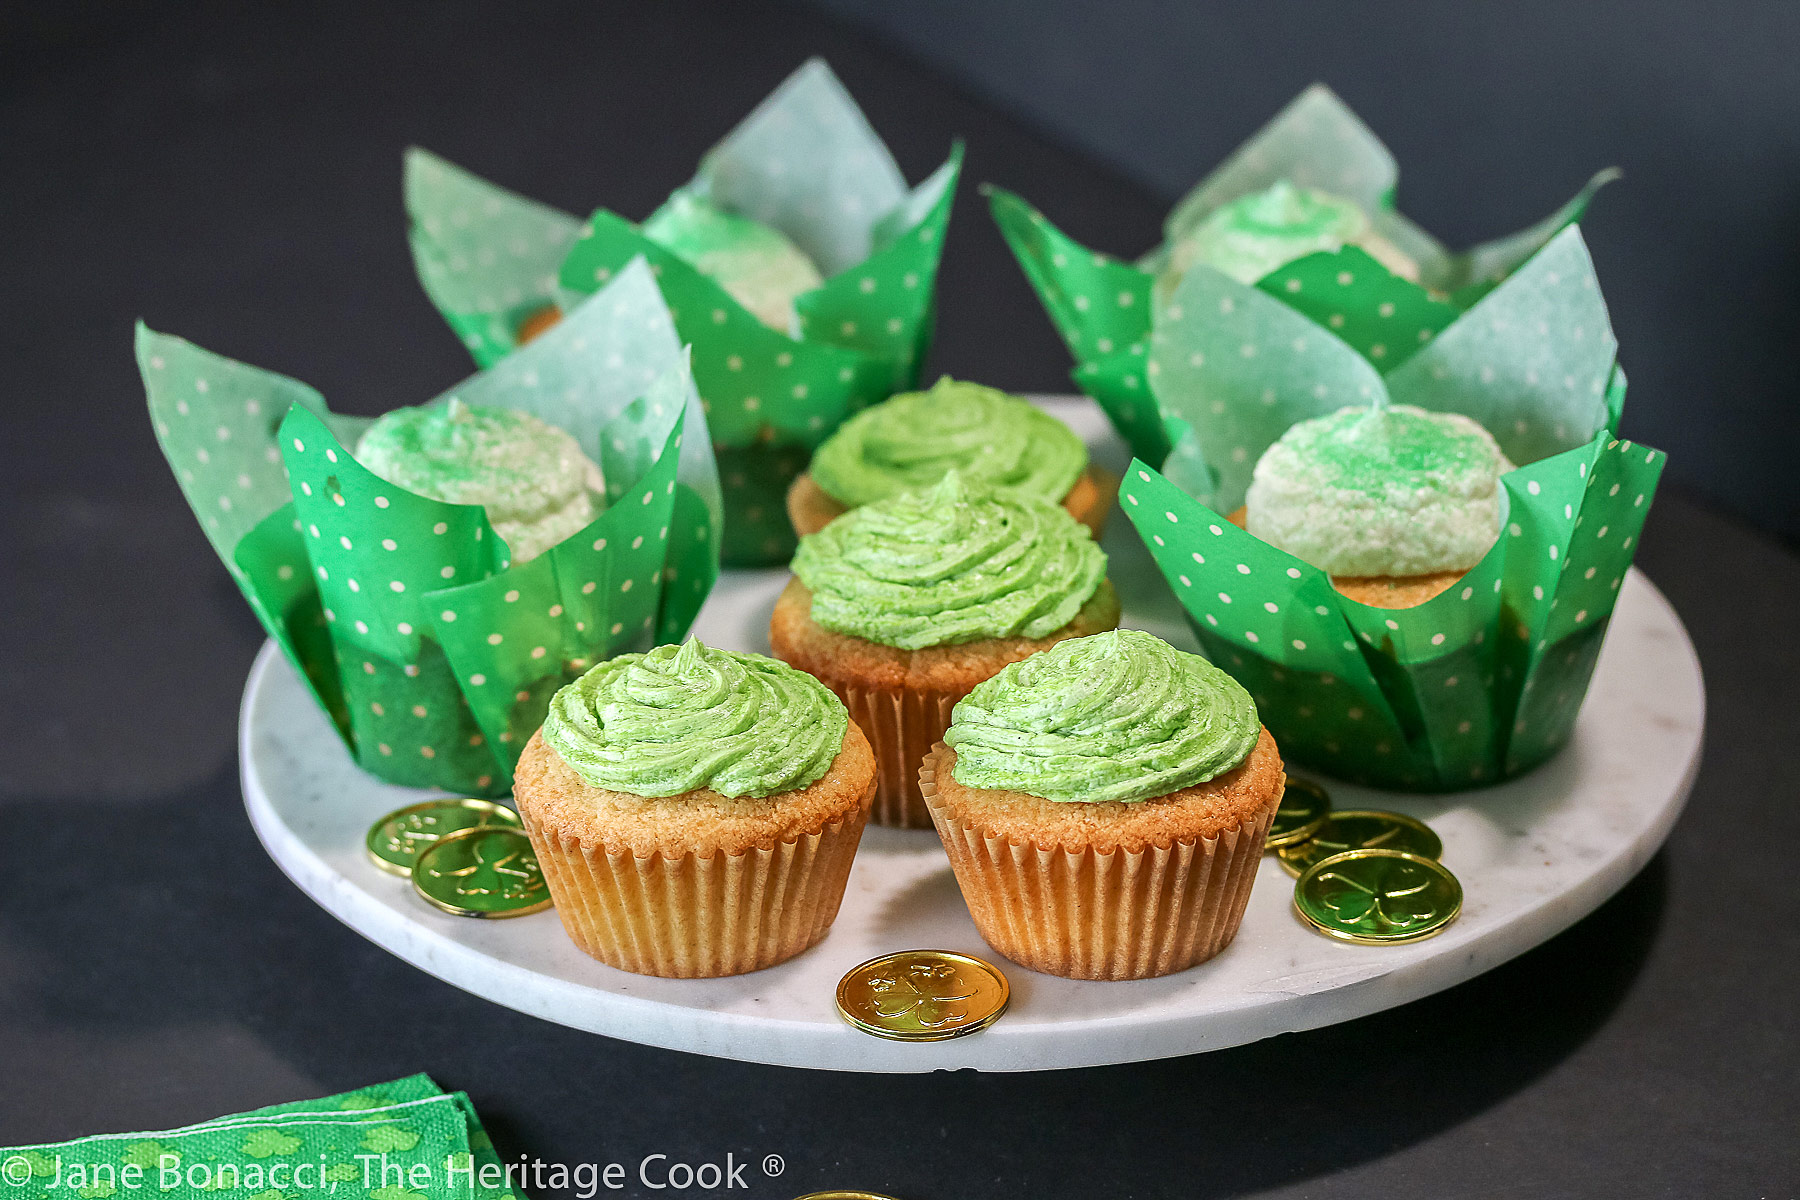
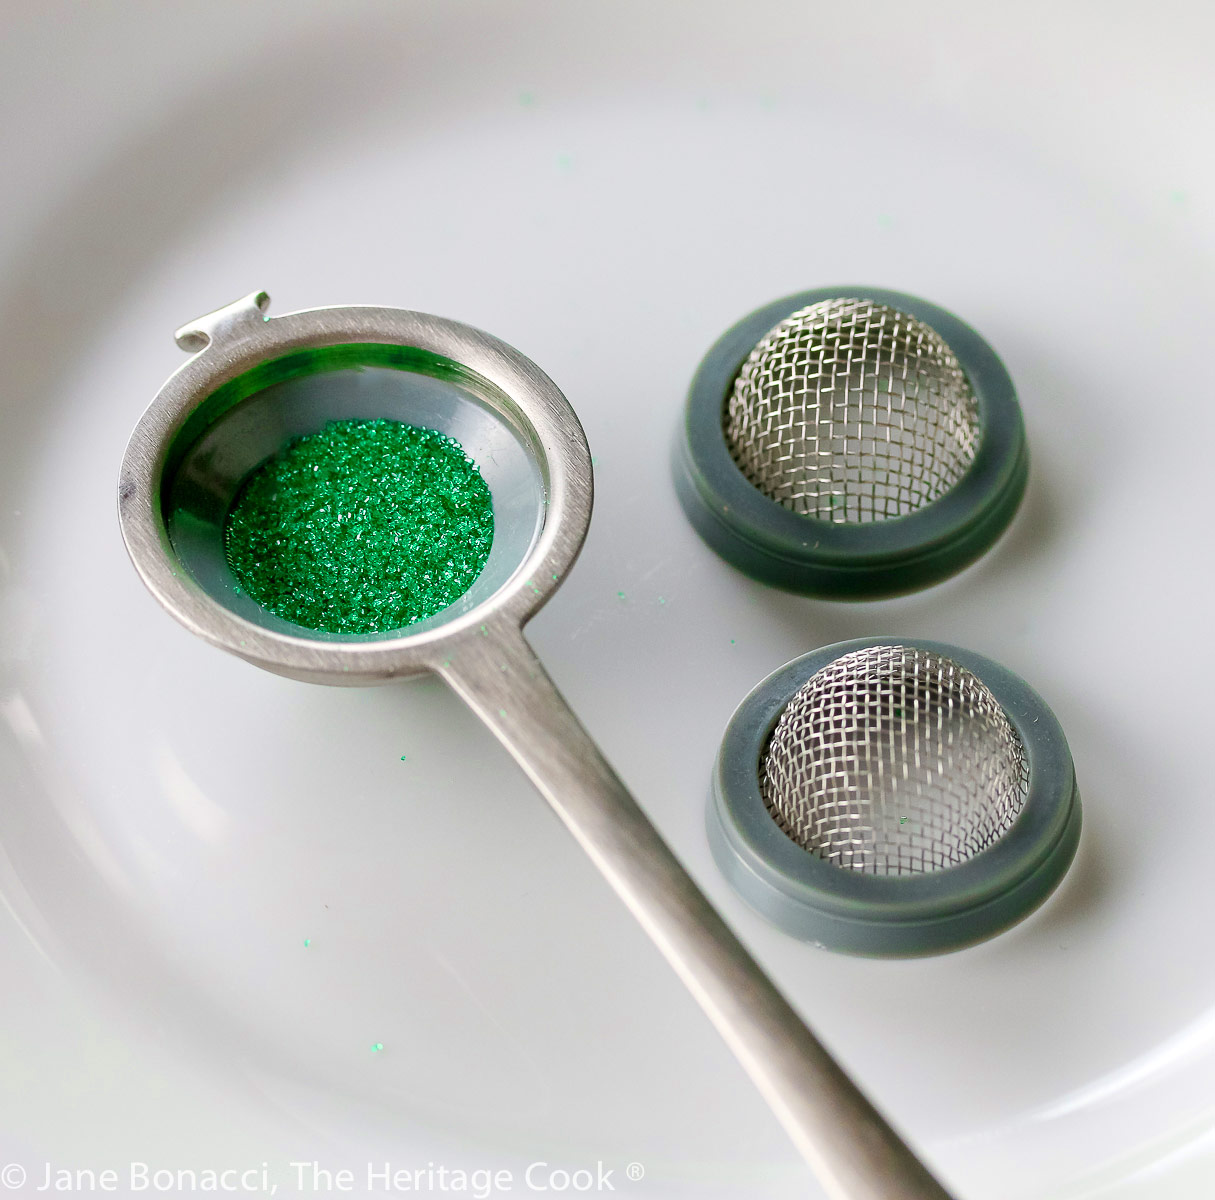
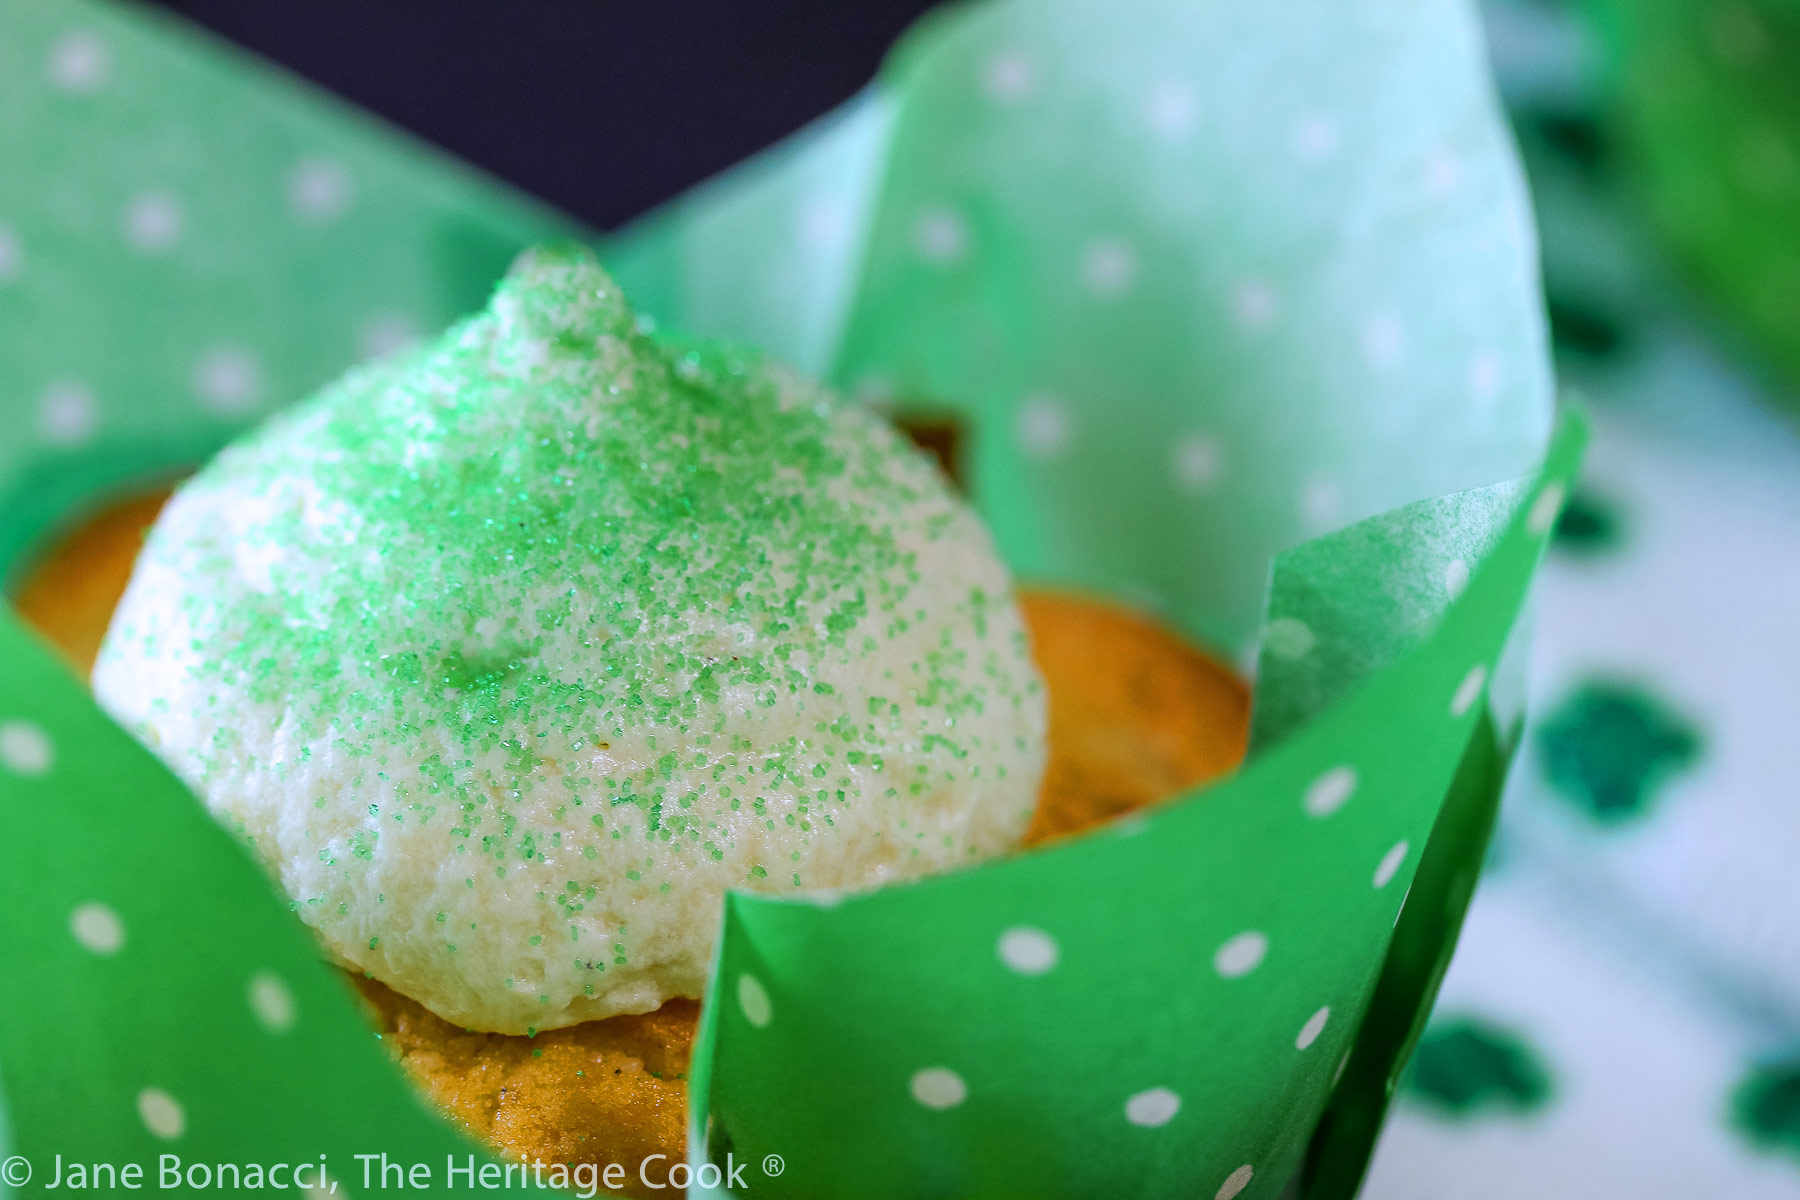
If you want, you can color only half the frosting and lightly sprinkle sanding sugar (extremely finely ground colored sugar) over the plain ones. You still get a festive look with a lot less coloring. And of course if there is a strong reaction to any colorings, leave them out and buy festive cupcake liners.
With jaunty shamrocks and other green decorations scattered around the table, the beautiful white frosting will stand out as if they are lit with a spotlight.
I hope you all have a fun St. Paddy’s Day enjoying these Chocolate Chip Buttermilk Cupcakes this month. May the luck of the Irish be with you all year long!
Happy St. Patrick’s Day everyone!
Did you enjoy this recipe? Let me know in the comments and leave a star rating, I love hearing from you!
Ingredients needed for Chocolate Chip Buttermilk Cupcakes:
- Cupcakes: self-rising gluten-free flour, baking powder, salt, xanthan gum, gluten-free flour blend, milk, buttermilk, vanilla, butter, sugar, eggs, mint chocolate chips
- Buttercream Frosting: butter, vanilla, powdered sugar, milk, food coloring (preferably gel), optional
PRO Tip:
Use a toothpick dipped in the paste colorings to transfer just a little at a time. It is easy to use too much because they are so concentrated. Start with a tiny amount and add more if needed. If you gets it too dark, mix in some more of the white frosting to lighten it.
PRO Tip:
For those who prefer visual learning, here is a video showing you how to pipe frosting using the 1M tip to create roses on the top of cupcakes. For a detailed written description of piping techniques, pop over to Amy’s Healthy Baking written by my friend Amy Atherton. Her directions are toward the bottom of the page, but you will love her entire post. While you’re there be sure to check out all of her amazing healthier recipes!
How to make Chocolate Chip Buttermilk Cupcakes:
- Make the Cupcakes: Combine the flours, xanthan, and salt, whisking until evenly blended and set beside the mixer; in a measuring cup with a spout, combine the milk, buttermilk, and vanilla and set next to the dry ingredients
- In the bowl of your mixer, beat the butter until creamy and smooth, then slowly add in the sugar beating until fluffy and lightened in color; stop the mixer and scrape the sides and bottom of the bowl
- Add the eggs, one at a time, mixing until incorporated before adding the next one, scrape the bowl and beater; add the dry ingredients 1/3 at a time, alternating with the milk mixture, beginning and ending with the dry ingredients, then stir in the mint chocolate chips
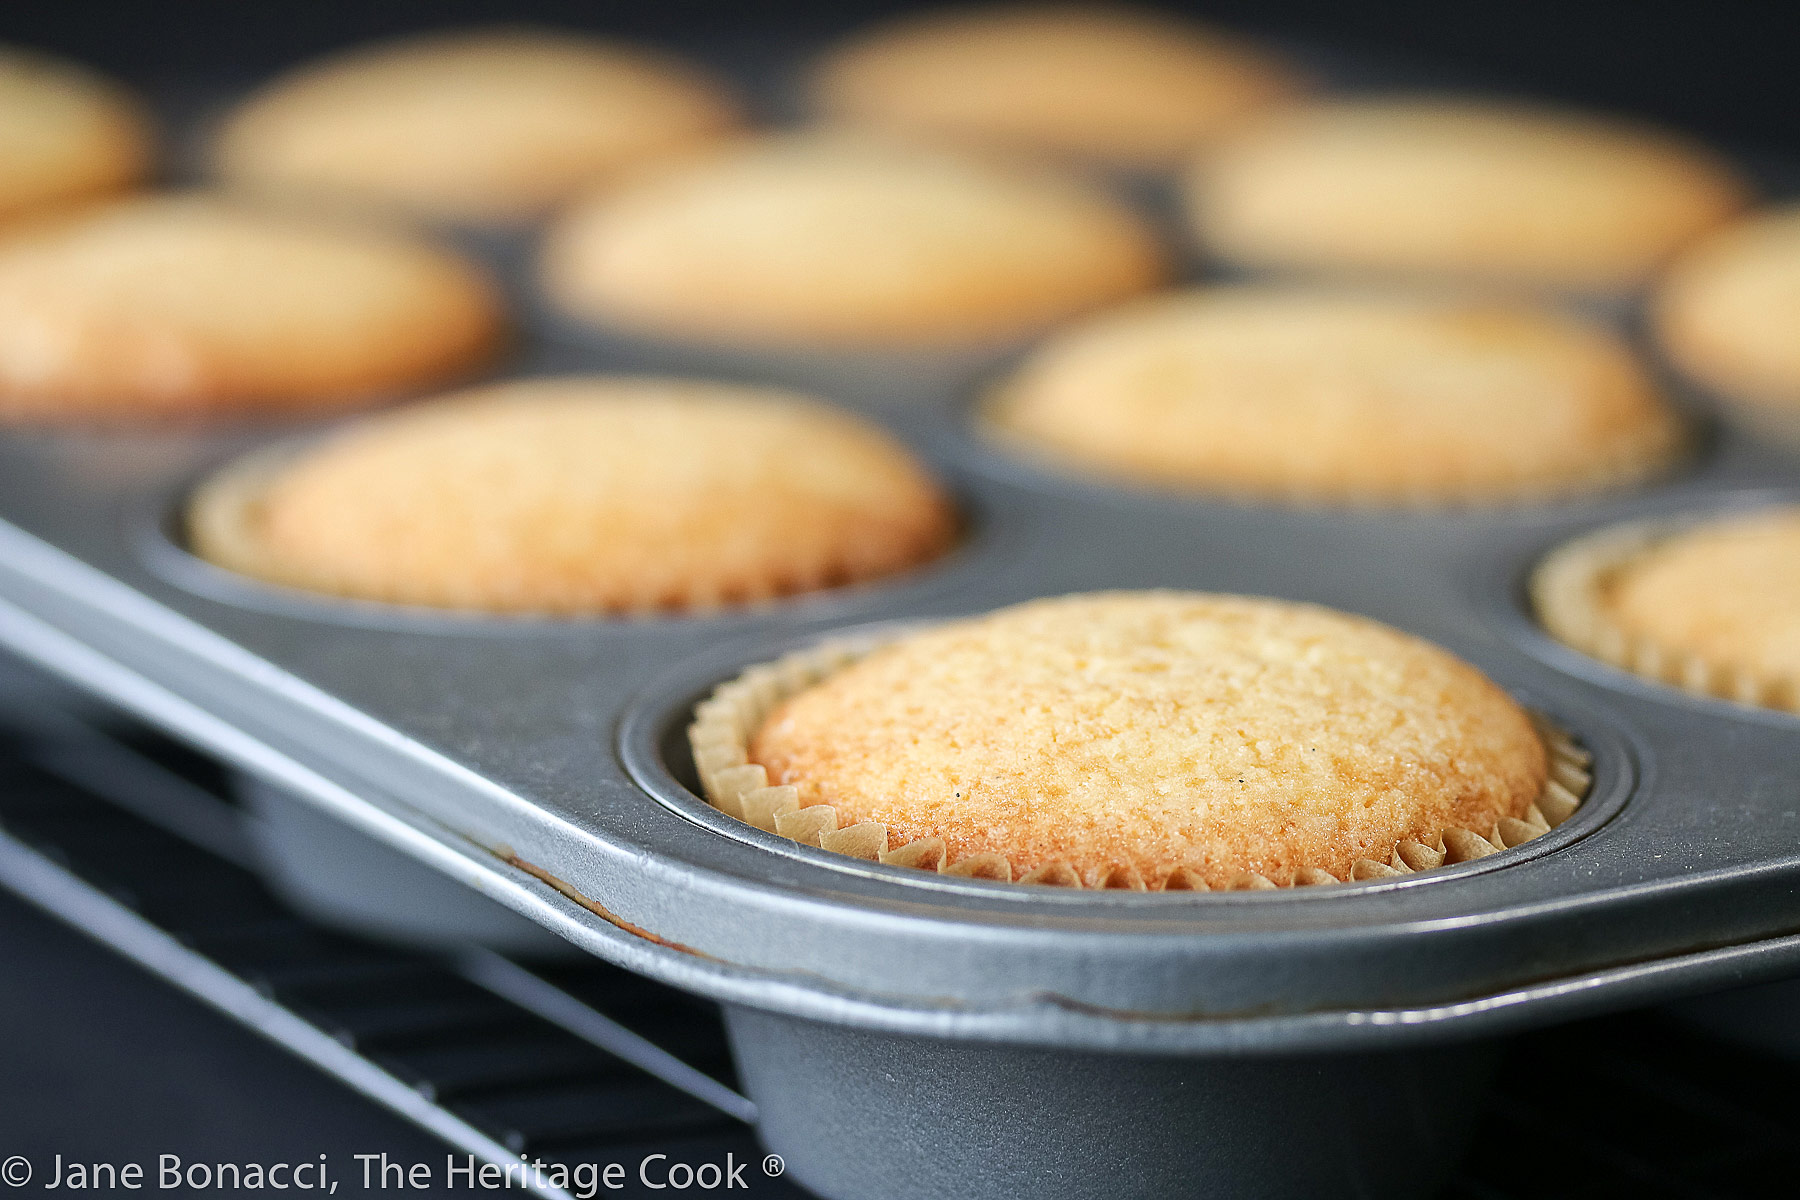
- Line two muffin tins with cupcake papers and fill each one about 2/3 full using a scoop; place the muffin tins on baking sheets to insulate them and bake 20 to 25 minutes at 350°F (177°C) or until a toothpick comes out clean, move the muffin tins to wire racks to cool for 10 minutes then remove the cupcakes from the tins and let cool completely on the wire racks
- Prepare the Frosting: Beat the butter and vanilla on medium speed until smooth, the slowly add the sugar, beating until fully incorporated, and mix in 1 tablespoon of milk; scrape the bowl and beater then slowly increase the speed to medium-high and beat until light and fluffy, if you want it thinner, add a little more milk, if it is too thin, add more sugar
- Add food coloring if using, dividing the frosting into individual bowls if you’re making more than one color, stir in the coloring (preferably gel) until there are no streaks, one color per bowl
- Spread the frosting on the cooled cupcakes or use a piping bag and tip if you prefer piping it; if the frosting is too soft to pipe well, you can chill it for a little bit or add more powdered sugar
PRO Tip:
If you are reading a recipe and it calls for adding the eggs one at a time, this is easier than it sounds. Break all the eggs the recipe calls for into a measuring cup with a spout. Then you can pour in one yolk and white at a time. And if two slip in at the same time, not to worry. Just keep beating and adding the rest of the eggs one at a time!
Recommended Tools (affiliate links; no extra cost to you):
- Mixing bowls
- Kitchen scale
- Measuring cup with a spout
- Two muffin tins
- Stand mixer or hand mixer
- Spatula
- Spring-loaded scoop
- Baking sheet pans
- Wire cooling racks
- Piping bags
- Jumbo piping tips
Gluten-Free Tips:
You can adjust any baking recipe to gluten-free by using 120 grams per cup of my favorite gluten-free flour blend. If you are using another brand of gluten-free flour, whisk the mix, spoon it lightly into a measuring cup until mounded, level off the top with the back of a knife, and weigh the flour left in the cup. Use that weight as your standard per cup of that specific flour. Do this for each flour blend you use. Commercial blends such as Pamela’s All-Purpose Artisan Blend, Bob’s Red Mill 1-to-1, or King Arthur Measure for Measure are all good choices.
All recommended ingredients are gluten-free as of the writing of this article. Always check to be sure the products haven’t changed and are still safe to consume.
Chocolate Chip Buttermilk Cupcakes (Gluten-Free)
These fun and festive chocolate chip buttermilk cupcakes will be the star attraction at your St. Patrick's Day celebrations. Vanilla cupcakes with a surprise inside and covered with luscious buttercream frosting. Try Kerrygold Irish butter for amazing flavor on this Irish holiday!
Ingredients
Cupcakes
- 1-1/2 cups (180g) gluten-free flour blend converted to self-rising* flour (see directions in step 11)
- 1/4 tsp xanthan gum if you are using GF flour that doesn’t already contain it
- 1-1/4 cups (150g) gluten-free flour blend
- 1/2 tsp kosher or fine sea salt
- 1/2 cup (113g) milk
- 1/2 cup (113g) buttermilk
- 2 tsp vanilla paste or pure vanilla extract
- 1 cup (2 sticks; 227g) unsalted butter, at room temperature
- 2 cups (396g) granulated sugar
- 4 (200g) large eggs (break into a measuring cup with a spout)
- 1-1/2 cups (255g) chocolate chips or mint chocolate chips
Buttercream Frosting
- 3/4 cup (1-1/2 sticks; 170g) butter, at room temperature
- 1-1/2 tsp pure vanilla extract or paste
- 3 cups (340g) sifted powdered sugar
- About 6 tbsp milk, or as needed
- Food coloring, preferably paste or gel, optional
Instructions
- Set a rack in the upper third of the oven and preheat to 350°F (177°C). Place cupcake liners in two 12-cup muffin tins.
- Make the Cupcakes: In a medium mixing bowl, combine the flours, xanthan if using, and salt. Whisk until thoroughly blended (this takes the place of sifting). Set beside your mixer. Combine the milk, buttermilk, and vanilla in a 1-cup (237ml) measuring cup with a spout. Set next to the flour blend.
- In the bowl of your stand mixer, beat the butter on medium speed until creamy and smooth. With the motor on low, slowly add the sugar and beat until fluffy and lightened in color, about 1 to 2 minutes (this is called creaming). Stop the mixer and scrape the sides and bottom of the bowl.
- With the mixer on low, add the eggs, one at a time, beating until each egg is fully incorporated before adding the next one. Scrape the bowl and beater. Add the dry ingredients, 1/3 at a time, alternating with the milk mixture. Begin and end with the dry ingredients. After each addition beat only until the ingredients are incorporated. Stir in the chocolate chips.
- Fill the lined cups about 2/3 full using a spring-loaded ice cream scoop - it is fast, easy, and clean. Place the muffin tins on baking sheets to insulate the bottoms. Place in the hot oven.
- Bake for 20 to 25 minutes or until a toothpick inserted in the center comes out clean. When done, remove from the oven and place the muffin pans on a cooling rack. Leave cupcakes in the pan about 10 minutes and then transfer to a wire rack until completely cool.
- Make the Frosting: In the bowl of your stand mixer, beat the butter and vanilla on medium speed until smooth and creamy, about 2 minutes. Slowly add the sugar, 1 cup at a time, beating after each addition until all the sugar has been incorporated. If the mixture gets too dry, add 1 tbsp milk after adding the first or second cup of sugar. Stop the motor, scrape the sides and bottom of bowl. Slowly increase the mixer to medium-high speed and beat until light and fluffy.
- If you want a thinner consistency add a little more milk. Add food coloring if using, beating until it is fully incorporated with no streaks. Scrape the bowl and beater, and beat for another 30 seconds if needed to blend in any unincorporated ingredients. If you are making multiple colors, divide the frosting into individual bowls and add one color to each bowl.
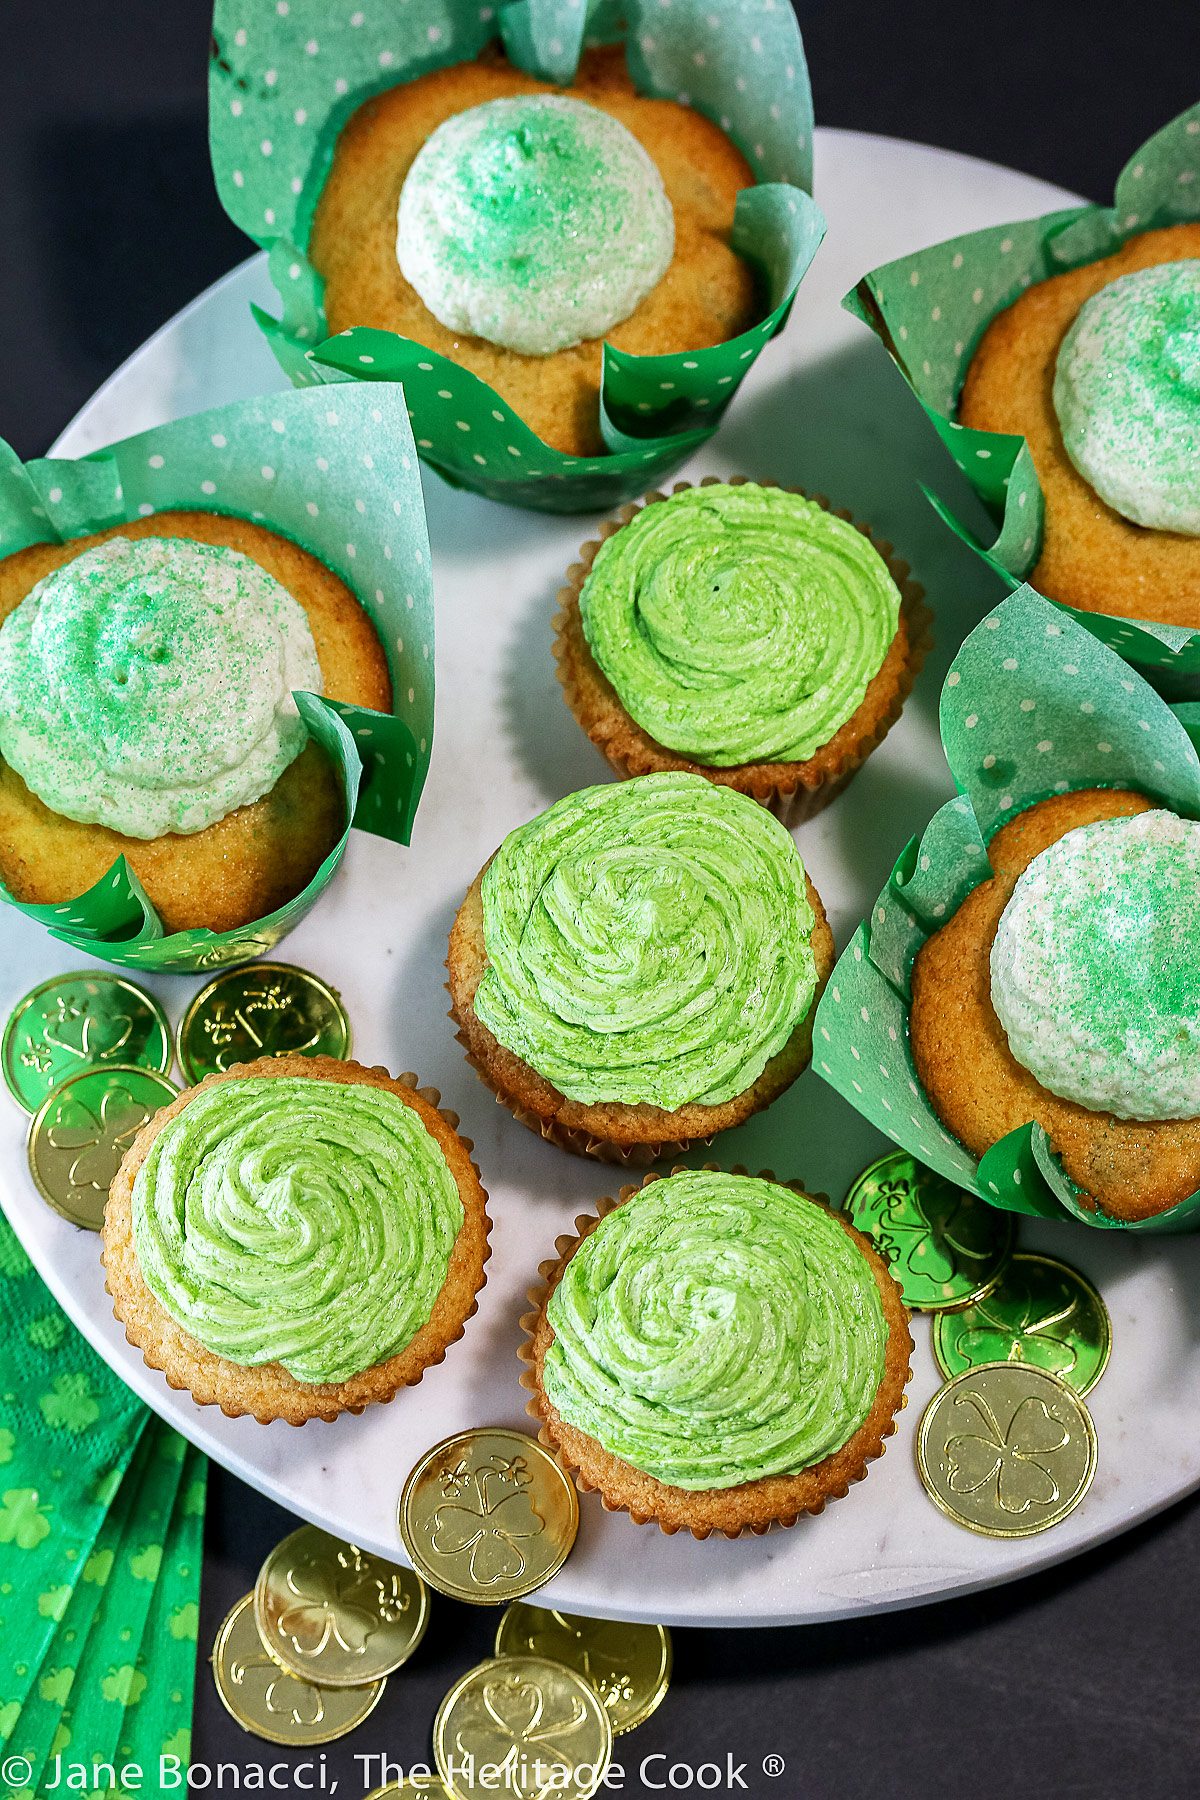
- Frost the cupcakes:You don't have to be fancy with your frosting, people love cupcakes no matter how they are decorated.Spread the frosting with a knife or offset spatula and sprinkle sanding sugars over the tops or use a piping bag fitted with a 1M tip for a beautiful fluted or rose look. (I didn't have the right tip, yours will be much prettier!)
- If the frosting is too soft to pipe designs you can chill it for a bit or add a little more powdered sugar to stiffen it just enough to hold the beautiful designs that piping gives you. You can use a plain round, star, or other tip depending on the look you like. If you make a mistake, scrape off the frosting and start again - that's how you learn!
- * How to Convert flour to Self-Rising: For each 1 cup of flour (regular or gluten-free), add 1-1/2 teaspoons baking powder and 1/4 teaspoon fine salt. Whisk together thoroughly before using.
Recipe found at www.theheritagecook.com
Notes
You can adjust any recipe to gluten-free by using 120 grams per cup of my favorite gluten-free flour blend. If you are using another brand of gluten-free flour, whisk the mix, spoon it lightly into a measuring cup without a spout until mounded, level off the top with the back of a knife, and weigh the flour left in the cup. Use that weight as your standard per cup of that specific flour. Do this for each flour blend you use. Commercial blends such as Pamela's, Bob's Red Mill 1-to-1, or King Arthur Measure for Measure are all good choices.
All recommended ingredients are gluten-free as of the writing of this article. Always check to be sure the products haven’t changed and are still safe to consume.
Adapted from a recipe from More From Magnolia cookbook
Nutrition Information:
Yield:
24Serving Size:
1Amount Per Serving: Calories: 247Total Fat: 3gSaturated Fat: 1gTrans Fat: 0gUnsaturated Fat: 1gCholesterol: 9mgSodium: 175mgCarbohydrates: 50gFiber: 1gSugar: 17gProtein: 5g
The nutritional information for recipes on this site is calculated by online tools and is merely an estimate.
If you enjoyed this recipe, be sure to follow me on social media so you never miss a post:
Create a New Tradition Today!
Welcome! The suggestions here are not intended as dietary advice or as a substitute for consulting a dietician, physician, or other medical professional. Please see the Disclaimers/Privacy Policy page for additional details. Unauthorized use, distribution, and/or duplication of proprietary material from The Heritage Cook without prior approval is prohibited. If you have any questions or would like permission, please contact me. We participate in the Amazon Services LLC Associates Program, an affiliate advertising program designed to provide a means for sites to earn advertising fees by advertising and linking to amazon.com. As an Amazon Associate, I earn a small amount from qualifying purchases without any additional cost to you. This page may contain affiliate links. This post was first shared in March 2016. The article was updated in 2023.


SallyBR
Eighteen years! We just celebrated sixteen last week, and I must agree, time flies by so quickly
I love these cupcakes, and of course the mini-strainer is the cutest gadget ever!
and the paper liners, so perfect for the occasion…
Jane Bonacci
Congratulations to you too Sally! I love creating festive treats – especially for one of my favorite holidays! 🙂