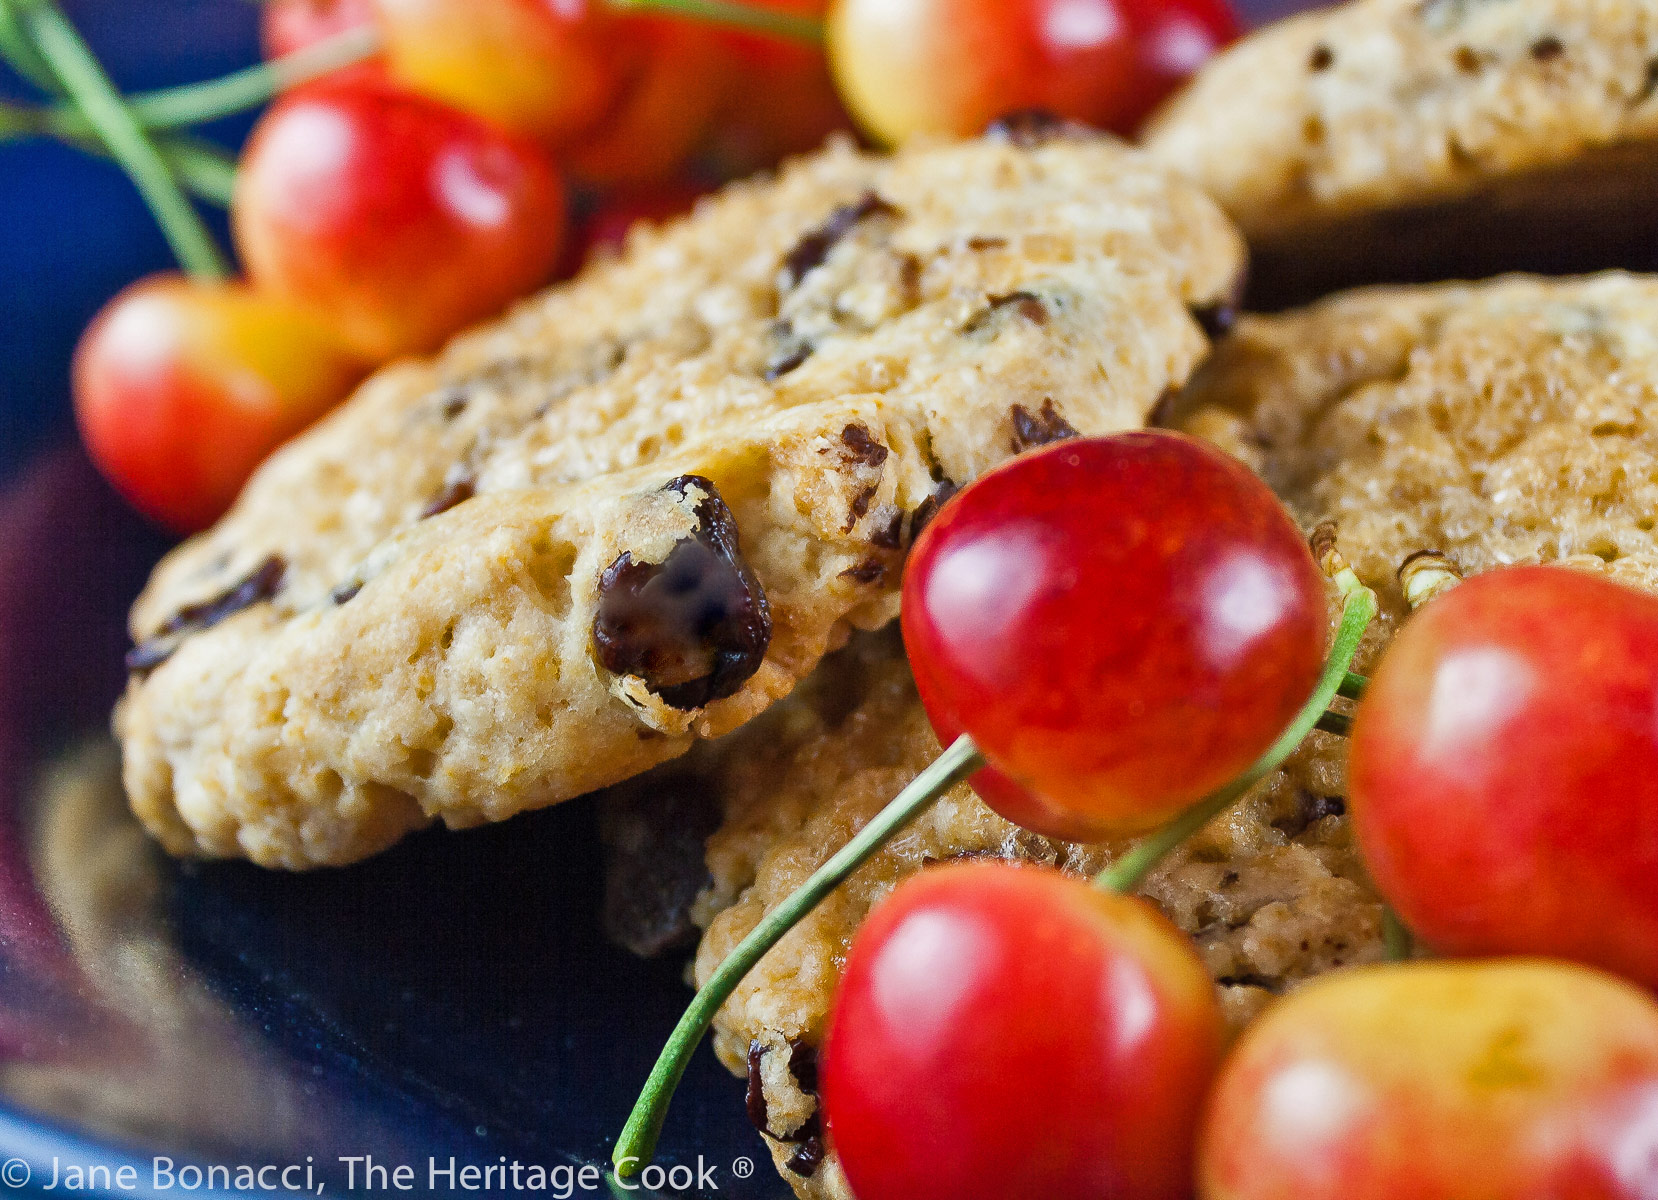
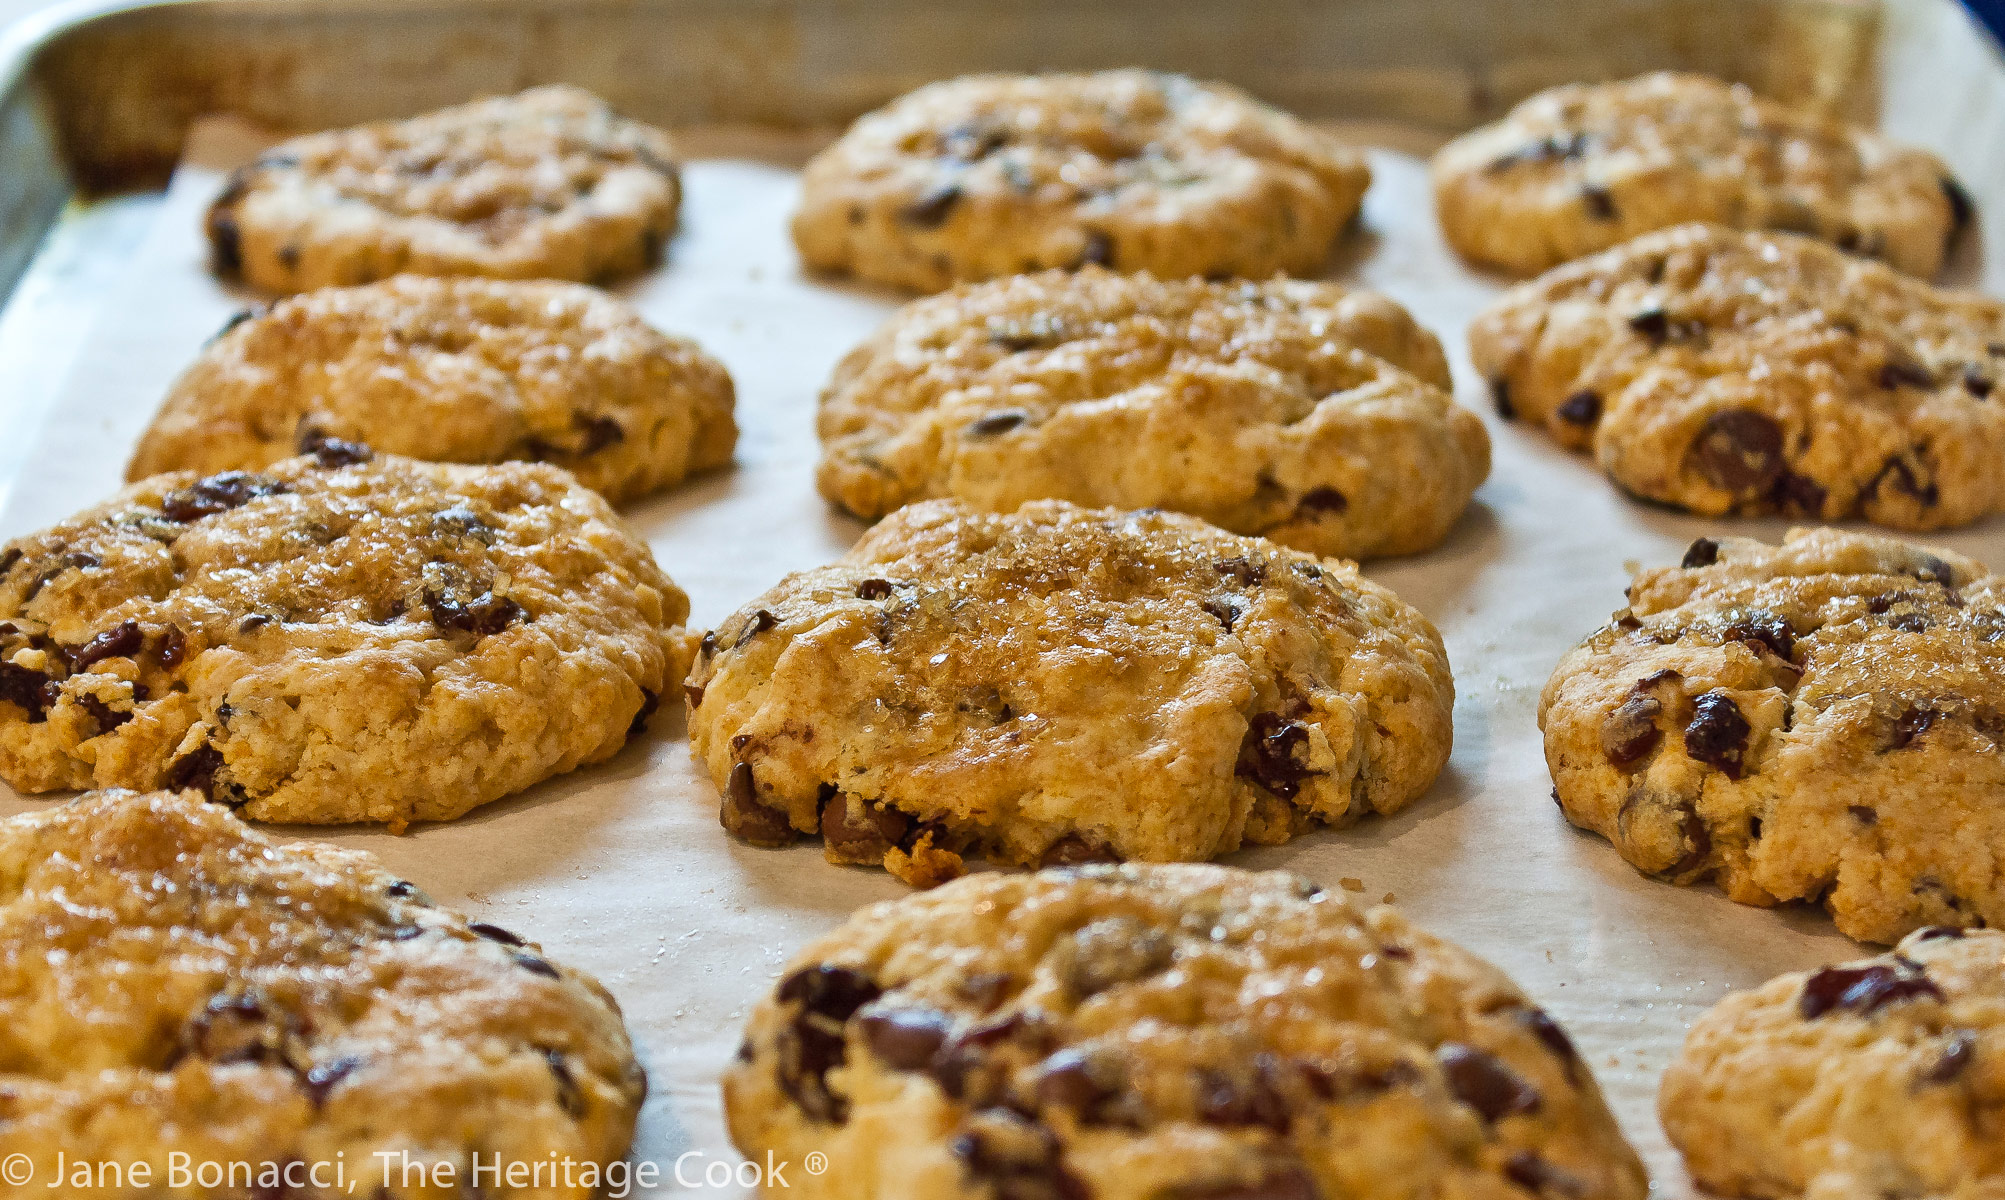
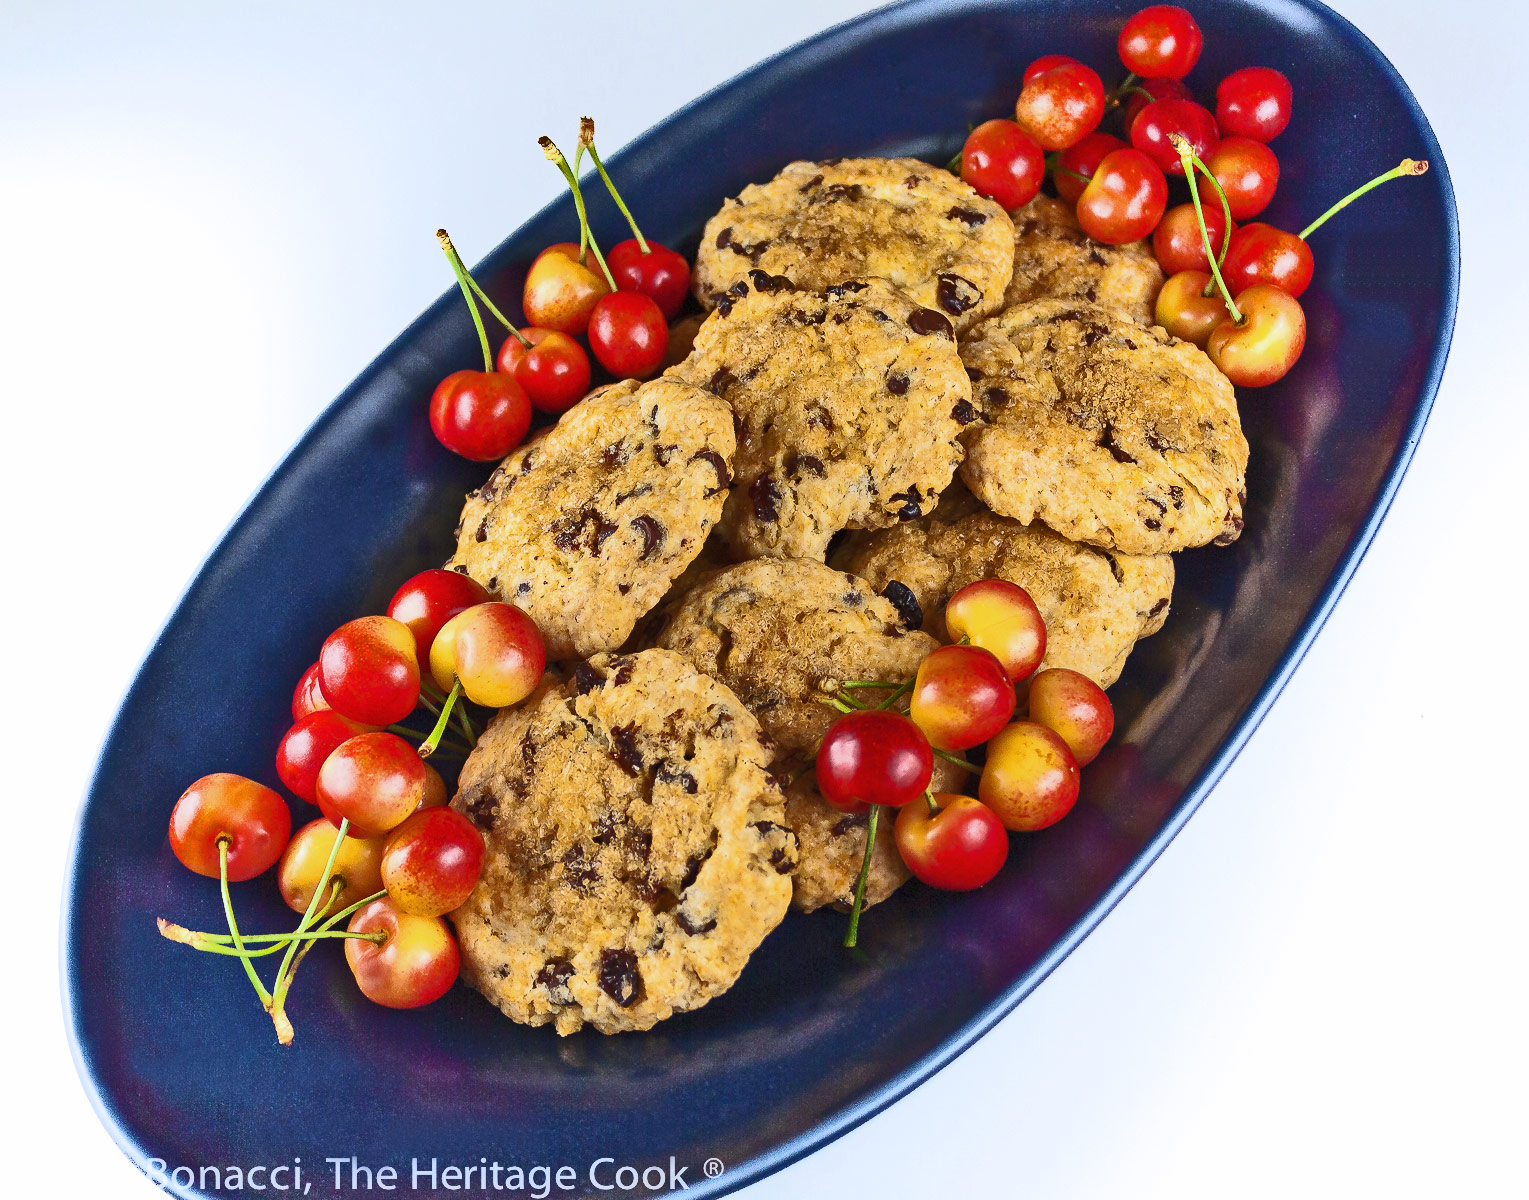
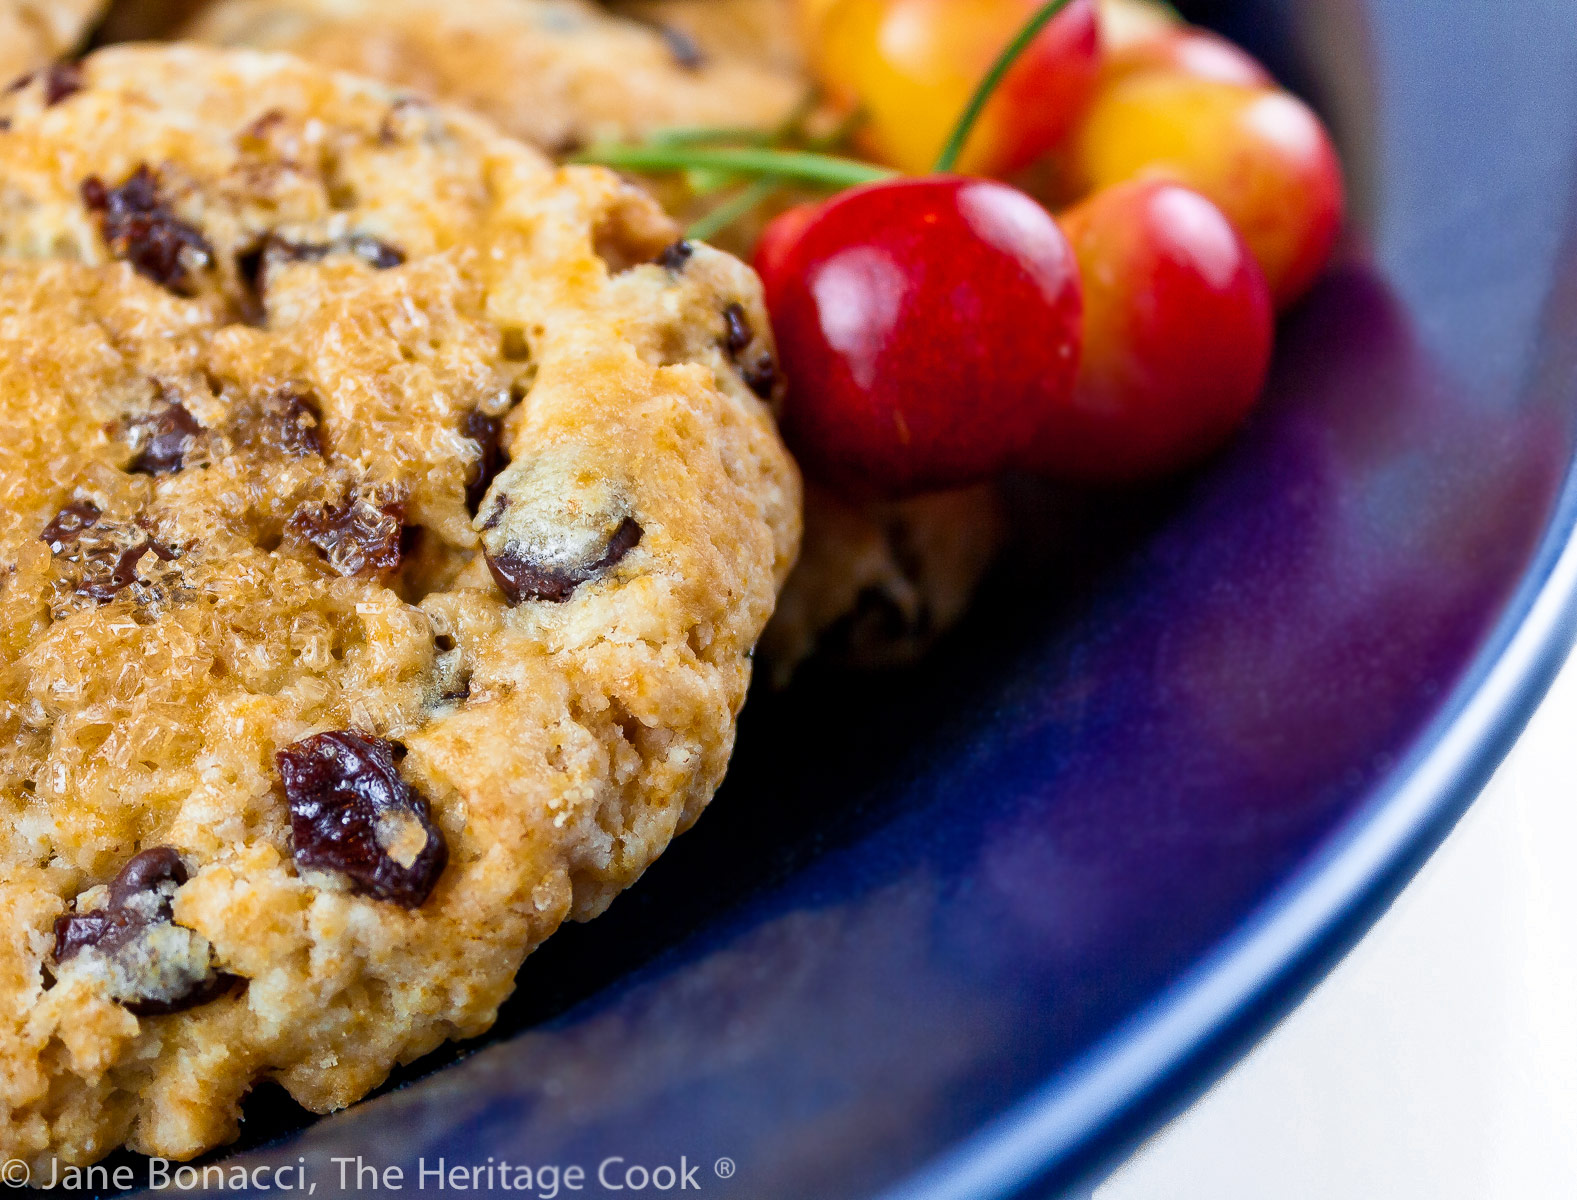
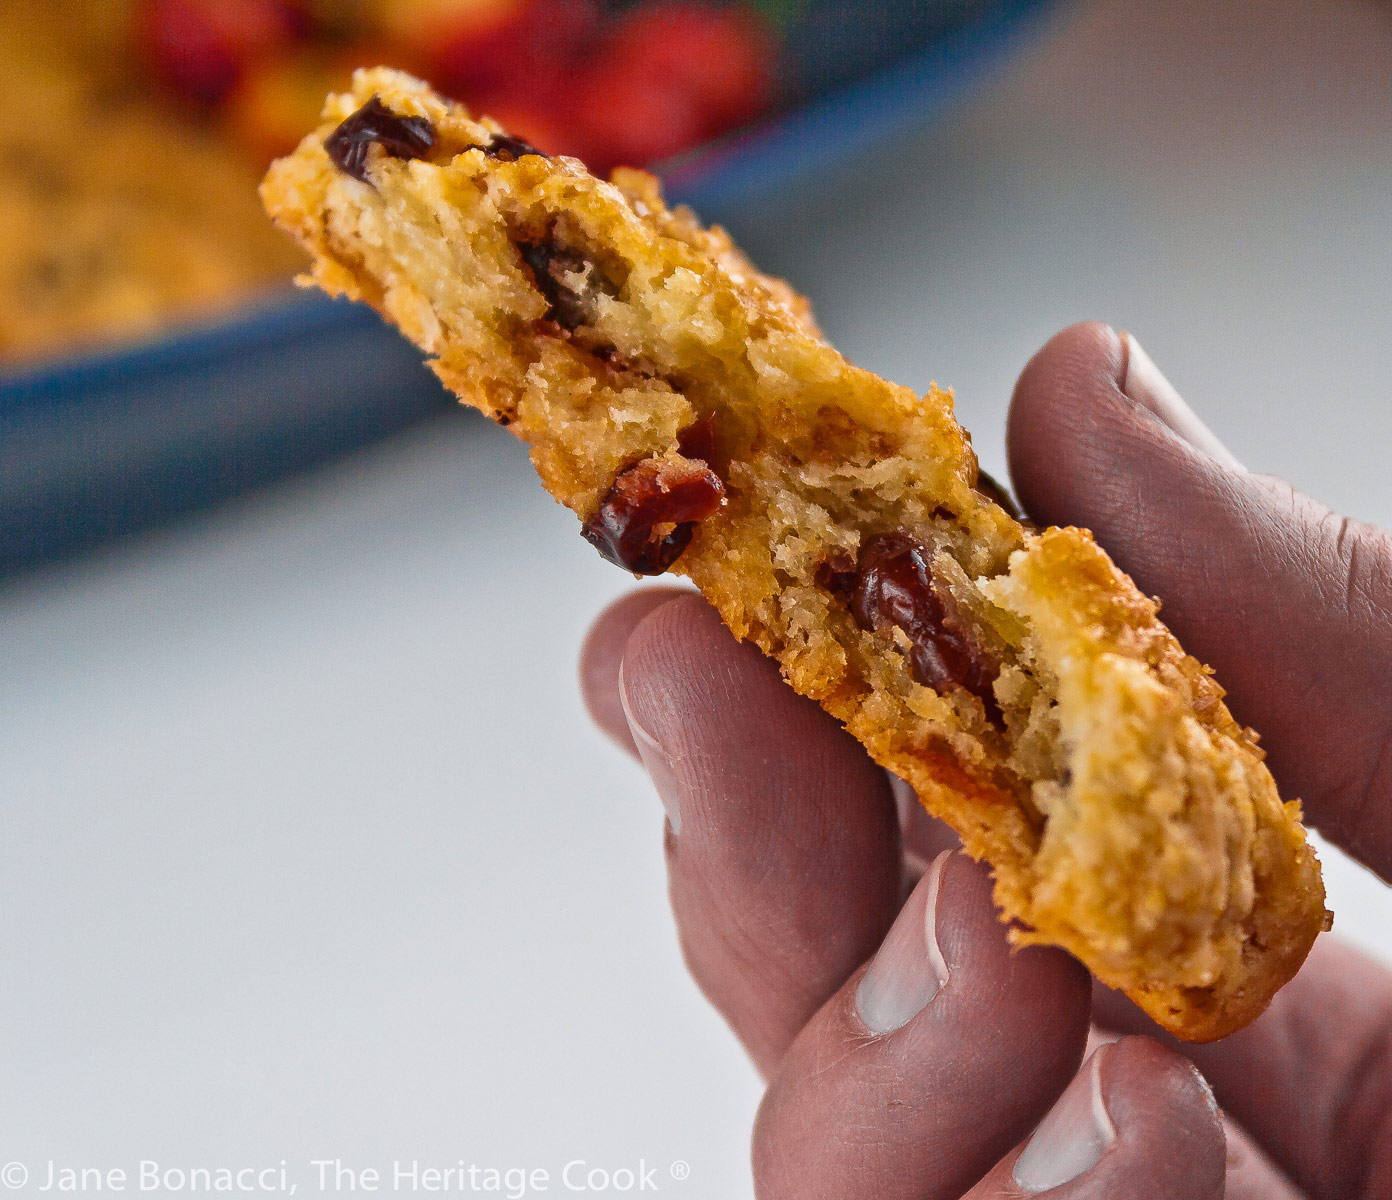
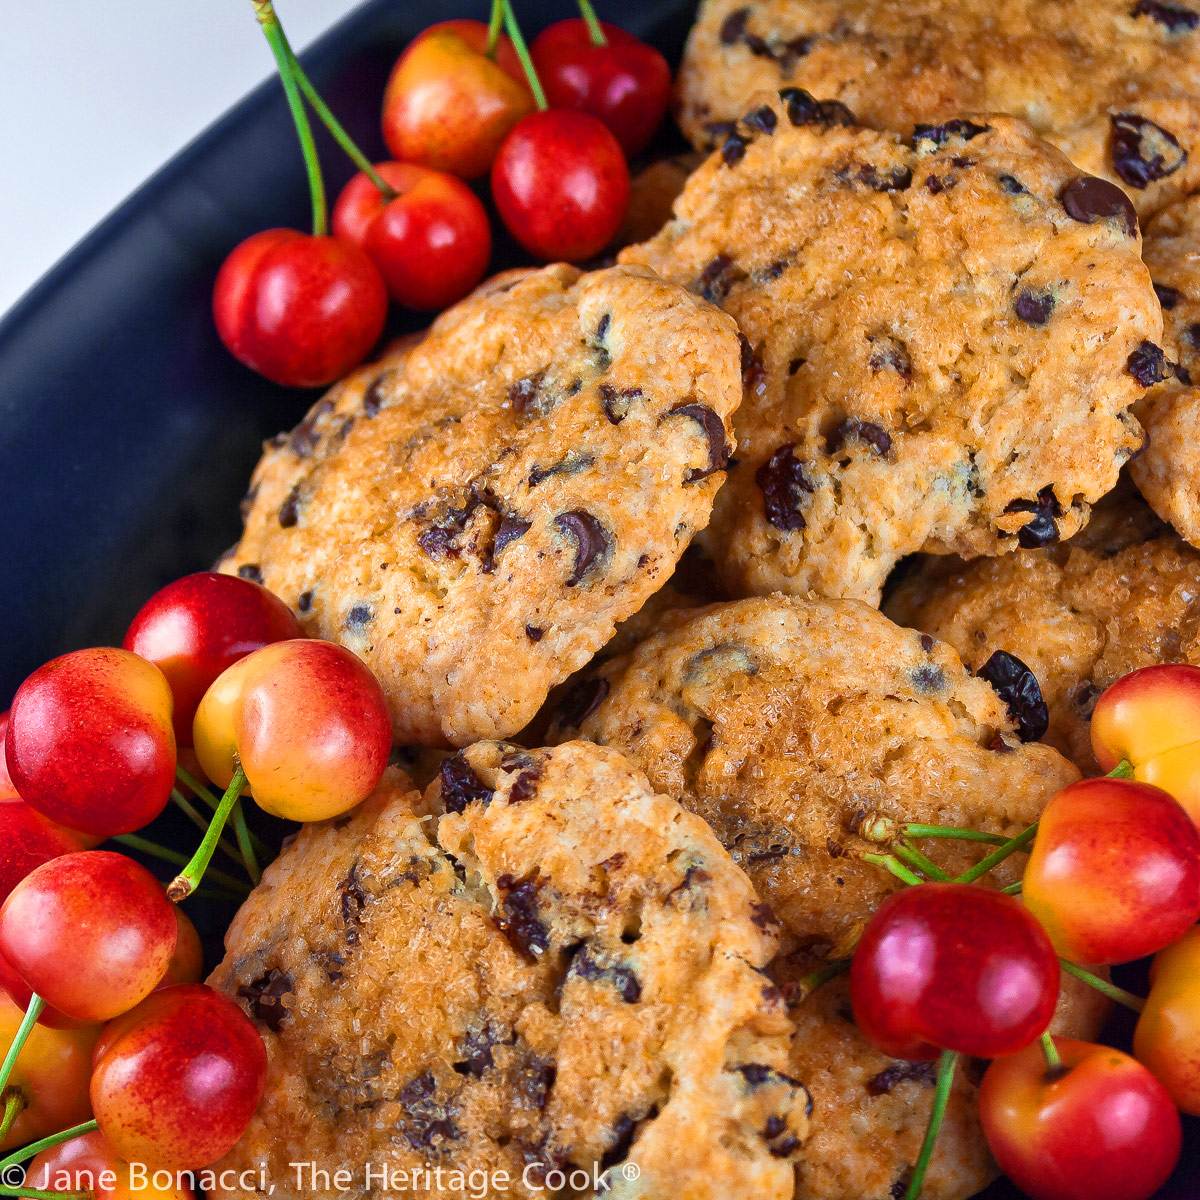
These Chocolate Chip Cherry Cream Scones are tender and delicate. The cream helps keep them soft and creates a texture you will love. I love scones but too often they are dry and tough, leaving many people with the impression that this is what they are supposed to be like. In reality they should be tender and moist, a truly delightful treat. I also enjoy the flavor combination of chocolate and cherry; it is a classic!
One trick to perfect scones is to use cream as the liquid, adding much needed fat that helps keep the scones tender. Cream scones are common all over the country and you can find many recipes on the Internet with minor variations.
Today’s version is from a pastry chef at The French Laundry, working under Chef Thomas Keller. Lena Kwak is the developer of Cup4Cup, one of the premiere gluten-free flour blends on the market. If you are on a gluten-free diet or need to make something for a person who is, this is a good option.
The challenge is that Cup4Cup is one of the most expensive GF blends available and contains dairy. That is why I make up my own blend and store it on my counter in a lidded container.
The original recipe made 24 scones, but with just the two of us in the house, The Artist and I would have a lot of trouble eating a whole batch so I cut it in half. One of the biggest challenges when adjusting the yield of a recipe is doing the math. I’ve never been great at fractions, so I have included weights in grams to make it super easy for you – just double the gram weight of each ingredient and you’ll have the original measurements again. A kitchen scale makes this incredibly quick and easy!
I love these scones and the gluten-free version is definitely better on the second day. There are a couple of benefits to gluten-free baking. First, because there is no gluten in the flour you don’t have to worry about overworking doughs as much and the resulting tough products. The other benefit is that many GF baked goods are even better on the second day. This lets you plan ahead and not have to worry about baking on the same day as you are making all the other dishes for your parties.
Cream scones are the perfect basic recipe from which you can make all sorts of creative treats. Instead of the chocolate chips, you can substitute toffee, peanut butter, cinnamon, or other chips. Try some chopped almonds, pecans, or walnuts. Add citrus zest, a touch of rum or other liquor, other chopped fresh fruit. The sky is the limit!
I hope you enjoy making these Chocolate Chip Cherry Cream scones for an upcoming Sunday brunch, a luncheon with the ladies, to take to a church potluck, or just because you want a special indulgence. I don’t know about you, but some days I just need a little luxury, LOL!
Have a wonderful week and Happy Chocolate Monday!!!
Did you enjoy this recipe? Let me know in the comments and leave a star rating, I love hearing from you!
Ingredients needed for Chocolate Chip Cherry Cream Scones:
- GF flour blend, xanthan gum, sugar, baking powder, baking soda
- Kosher salt, cold butter, vanilla, heavy cream, dried cherries
- Semisweet chocolate chips, heavy cream, coarse sugar or sprinkles
How to make Chocolate Chip Cherry Cream Scones:
- Whisk together the flour, sugar, baking powder, baking soda, and salt; add the cold butter pieces to the dry ingredient and cut it in leaving some large pea-sized pieces for texture, then stir in the cream and fully incorporated, adding more cream if needed
- Add the cherries and chocolate chips, stirring until evenly distributed; press the dough into a rough circle and cut into 12 evenly sized pieces, brushing the tops of each with some cream and sprinkle the tops with the coarse sugar or sprinkles if desired
- Bake in a 350°F (177°C) oven, baking 10 minutes, spin the baking tray(s) front to back and swap the top to the bottom; return to the oven and continue baking another 6 to 10 minutes or until golden brown, puffed, and firm when gently pressed in the center
- Remove from the oven and let sit on the baking sheet(s) 5 minutes then transfer to wire cooling racks to finish cooling
PRO Tip:
When you are cutting butter into flour make sure you use a very large bowl so you don’t get flour all over the floor! For many years my mother used two table knives to do this. She thought I was being extravagant when I bought my first pastry cutter, LOL!
PRO Tip:
The primary trick to delectable baked pastries is to have a mixture of minuscule bits of butter about the consistency of cornmeal, small pebble-sized pieces, and medium-sized clumps in the flour mixture. In addition to its luscious flavor, as the scones bake, these chunks of butter will melt leaving space for air to expand, helping to lift your baked goods.
Recommended Tools (affiliate links; no extra cost to you):
- Kitchen scale
- Chef’s knife
- Cutting board
- Pastry cutter
- Silicone spatulas
- Electric mixer or you can mix by hand
- Baking sheets
- Parchment paper or Silpats
- Pastry brush
Gluten-Free Tips:
When it is time for me to make up a new batch of my gluten-free flour blend, I place the plastic bucket in the sink. Gluten-free flours are very light and silky and tend to get everywhere. This saves me having to mop the floor when I am done!
You can adjust any baking recipe to gluten-free by using 120 grams per cup of my favorite gluten-free flour blend. If you are using another brand of gluten-free flour, whisk the mix, spoon it lightly into a measuring cup until mounded, level off the top with a straight edge, and weigh the flour left in the cup. Use that weight as your standard per cup of that specific flour. Do this for each flour blend you use. Commercial blends such as Pamela’s All-Purpose Artisan Blend, Bob’s Red Mill 1-to-1, or King Arthur Measure for Measure are all good choices.
All recommended ingredients are gluten-free as of the writing of this article. Always check to be sure the products haven’t changed and are still safe to consume.
Chocolate Chip Cherry Cream Scones (Gluten Free)
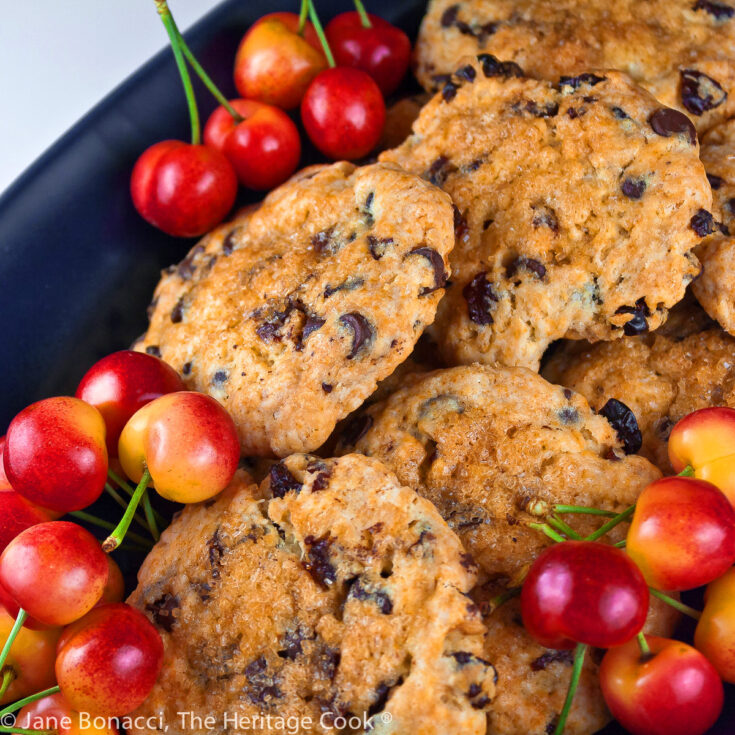
These Chocolate Chip Cherry Cream Scones are tender and delicate. The cream helps keep them soft and creates a texture you will love. I love scones but too often they are dry and tough, leaving many people with the impression that this is what they are supposed to be like. In reality they should be tender and moist, a truly delightful treat. I also enjoy the flavor combination of chocolate and cherry; it is a classic!
Ingredients
- 2 cups (240g) gluten-free flour blend or all-purpose flour *See Note
- 1/4 tsp xanthan gum, if your blend doesn’t already contain it
- 3 tbsp (38g) granulated sugar
- 3/4 tsp + 1/8 tsp baking powder
- 1/2 tsp baking soda
- 3/4 tsp kosher salt (1/2 tsp if using regular table salt)
- 1 stick plus 2 tbsp (141g) cold butter, cut into 1/2-inch pieces
- 1 tsp pure vanilla extract
- 1/2 cup plus 2 tbsp (141g) heavy cream, more if needed
- 1/2 cup plus 2 tbsp (89g) dried cherries (or fresh if desired), coarsely chopped
- 1/2 cup (85g) semisweet chocolate chips
- Additional heavy cream, for brushing the tops of the scones
- Coarse sugar such as Demerara, Turbinado or colored sprinkles, optional
Instructions
- Preheat the oven to 350°F (177°C) with racks in the upper and lower thirds. Line two baking sheets with parchment paper or silicone liners.
- In a large mixing bowl, whisk together the flour, sugar, baking powder, baking soda, and salt. Add the butter to the dry ingredients and using your hands or a pastry cutter, cut in butter until it is distributed evenly, leaving some pea-sized or larger lumps. Stir in cream, using a rubber spatula until all the dry ingredients have been
incorporated, adding more cream if needed (see note). Add the cherries and chocolate chips and mix with your hands until evenly distributed. - Press dough into a rough circle and cut into 12 evenly sized pieces. To do this, cut the circle in quarters and then cut each quarter into three pieces. Transfer to the prepared baking sheets. You can leave them in the triangular shape or roll each piece into balls and flatten with your palm if desired.
- Brush lightly with additional cream and sprinkle with the coarse sugar if desired. Transfer baking sheets to the hot 350°F (177°C) oven and bake 10 minutes. Spin both baking sheets and switch them so the one on the bottom rack is now on the top. Continue baking another 6 to 10 minutes or until golden brown, puffed and firm when gently pressed on the top center.
- Remove from the oven and let sit on the baking sheet for 5 minutes before carefully transferring to wire racks to finish cooling.
NOTE: Just like when you are making pie dough, this scone dough may need a little more or less cream depending on the weather. In dry conditions I typically have to add 2 to 3 more tablespoons of liquid, especially when using gluten-free flours.You want enough liquid so that there are no dried bits left in the bowl and the entire dough holds together. Add the extra cream, 1 tablespoon at a time, until it reaches the right consistency.
Recipe found at www.theheritagecook.com
Notes
Adapted from Lena Kwak, The French Laundry
You can adjust any recipe to gluten-free by using 120 grams per cup of my favorite gluten-free flour blend. If you are using another brand of gluten-free flour, whisk the mix, spoon it lightly into a measuring cup without a spout until mounded, level off the top with a straight edge, and weigh the flour left in the cup. Use that weight as your standard per cup of that specific flour. Do this for each flour blend you use. Commercial blends such as Pamela's, Bob's Red Mill 1-to-1, or King Arthur Measure for Measure are all good choices.
All recommended ingredients are gluten-free as of the writing of this article. Always check to be sure the products haven’t changed and are still safe to consume.
Nutrition Information:
Yield:
12Serving Size:
1Amount Per Serving: Calories: 208Total Fat: 7gSaturated Fat: 4gTrans Fat: 0gUnsaturated Fat: 3gCholesterol: 14mgSodium: 203mgCarbohydrates: 32gFiber: 1gSugar: 3gProtein: 4g
The nutritional information for recipes on this site is calculated by online tools and is merely an estimate.
If you enjoyed this recipe, be sure to follow me on social media so you never miss a post:
Create a New Tradition Today!
Welcome! The suggestions here are not intended as dietary advice or as a substitute for consulting a dietician, physician, or other medical professional. Please see the Disclaimers/Privacy Policy page for additional details. Unauthorized use, distribution, and/or duplication of proprietary material from The Heritage Cook without prior approval is prohibited. If you have any questions or would like permission, please contact me. We participate in the Amazon Services LLC Associates Program, an affiliate advertising program designed to provide a means for sites to earn advertising fees by advertising and linking to amazon.com. As an Amazon Associate, I earn a small amount from qualifying purchases without any additional cost to you. This page may contain affiliate links. This post was first shared in June 2013. The article was updated in 2022.

