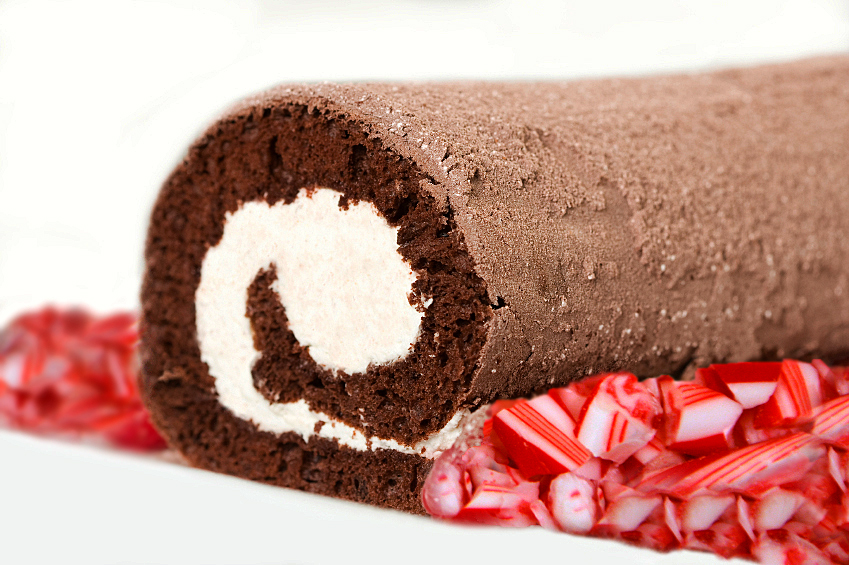
Chocolate and peppermint is one of my favorite flavor combinations, from Junior Mints at the movie theater to my days on the ski slopes. I still dream of the hot chocolate spiked with peppermint schnapps that I always downed at the end of the day to warm up. Nothing ever tasted better!
When I think of Chocolate Monday and the Holidays, this is the dessert I want to serve and that I know my guests will greet with sighs of delight and if I am lucky, a round of applause! While it does take a bit of time and effort, this time of the year and my appreciative audience deserve it.
It is also much lighter than it appears. Because it is filled with a flavored whipped cream, it is perfect to serve after heavier cold weather meals like those we tend to serve at the holidays. This will grace our Christmas dinner table this year because my brother-in-law is passionate about chocolate and nothing else will do for the holidays, LOL.
This is one of those desserts that is more intimidating than difficult. A few tricks make this easier than you can imagine. When you are lining the cake pan (a baking sheet with sides), make sure the parchment hangs over the edge a bit on both ends. This creates “handles” that will make getting the cake out of the pan a cinch.
When you start to roll the cake up, use the parchment to help guide the roll, but don’t roll it into the cake itself – remember you will be slicing and serving this like a jelly roll. And don’t panic if the cake cracks a bit. That is normal and it will be hidden by the filling.
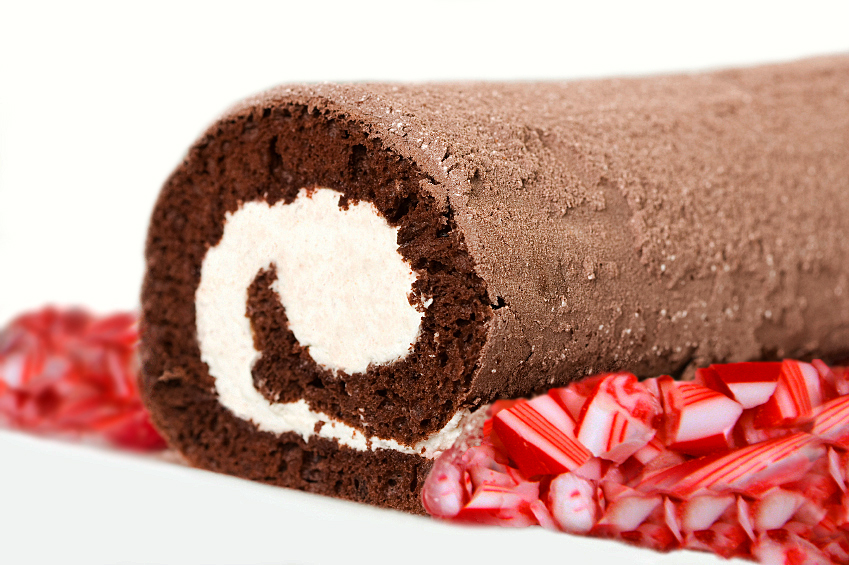
Because you make this cake with semisweet chocolate, it is not a huge hit of chocolate, but I love the way it complements the peppermint whipped cream filling. If you want a more intense chocolate cake you can try substituting bittersweet chocolate for half the total chocolate. This will also cut down on the sweetness of the cake.
Finishing this with a glaze of the ganache is not necessary, but definitely makes this worthy of a Chocolate Monday offering! Start by pouring it down the center and then come back up one side of the original line of chocolate and down the other. The ganache will flow down the sides of the cake on its own and may only need a little nudging from an offset spatula. You can use any that falls on the plate to fill in little holes if needed.
The crushed peppermint candies make this look very festive and let everyone know what flavor to expect. The easiest way to crush them is to put them in a freezer-style resealable bag and hit them with a rolling pin or the bottom of a frying pan. You want to leave them fairly large so they are easily identified. If you prefer, you can buy thick peppermint sticks and leave them whole, using them as a garnish if you like.
I hope this dessert reminds you of childhood treats and has you dreaming of peppermint roulades instead of sugarplums tonight!


- Cake
- 4 oz semisweet chocolate, about 60%, chopped finely
- 6 large eggs, separated
- 1/4 cup plus 2 tbsp granulated sugar, divided
- 1 tsp vanilla extract
- Pinch of kosher salt
- 3/4 tsp cream of tartar
- Peppermint Whipped Cream Filling
- 1-1/4 cup cold heavy whipping cream
- 3 tbsp granulated sugar
- 2 tsp vanilla extract
- 1 to 2 tsp peppermint extract, or to your taste
- Ganache Topping (optional)
- 1 cup semi-sweet chocolate pieces
- 2/3 cups heavy cream
- Garnish
- Crushed peppermint candies
- To make the Cake: Place a rack in the upper third of the oven and preheat oven to 350°F.
- Grease a 17×12-inch baking sheet with sides. Line the baking sheet with parchment paper (do not use foil), and grease and flour the paper too. The parchment should overhand the sides of the pan just an inch or so which will help you remove the cake after it is baked. Set aside.
- It’s easiest to separate egg yolks from egg whites when they are cold. Crack them and holding your hands over a bowl, pour each egg into one hand and toss it gently back and forth, allowing the whites to fall through your fingers while holding back the yolks. Set the yolks in a separate bowl. Repeat with all eggs. After separating, allow them about 20 minutes to come to room temperature.
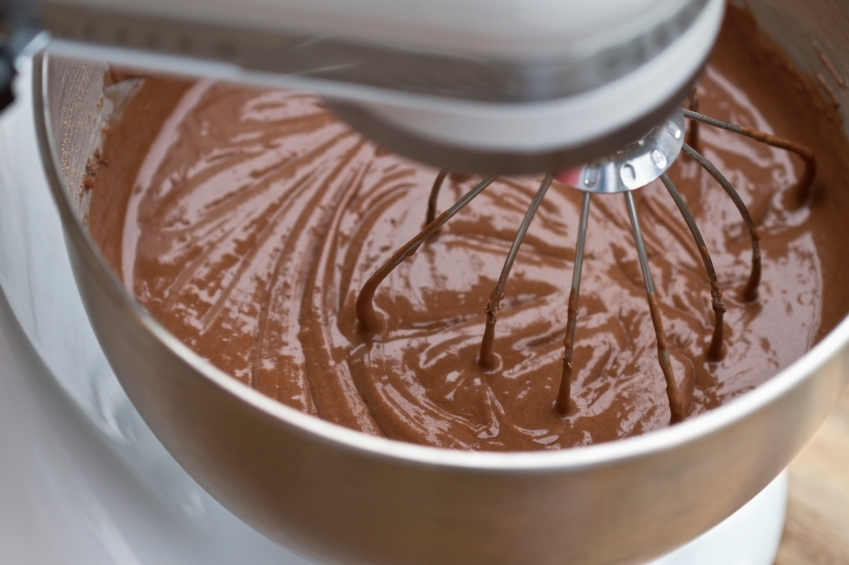
- In the bowl of an electric stand mixer, fitted with a whisk attachment, beat together the egg yolks and 1/4 cup of the granulated sugar. Beat the eggs until they are thick and pale in color. This usually takes 5 to 7 minutes at medium-high speed (depending on the strength of your mixer). The egg yolk mixture will form a thick ribbon when you lift the whisk once they’ve been beaten enough.
- While the eggs are beating, melt the chocolate pieces. Place a few inches of water in a medium pan. Bring to a simmer. Place chocolate pieces in a heatproof bowl and place the bowl over the simmering water. Stir the chocolate until it is mostly melted. Carefully remove the bowl from the simmering water, set it on a towel and allow the chocolate to cool for just a few minutes.
- With the machine running, slowly add the chocolate to the whipped eggs, beating until just incorporated. The mixture will appear fluffy. Set aside.
- Wash the bowl and whisk attachment of your electric mixer well with soap and water. Dry them completely. Add the egg whites to the bowl. Using the whisk attachment, beat on medium speed until frothy, about 2 minutes. Add the pinch of salt and gradually add the cream of tartar. Increase speed to medium-high until soft peaks form. Gradually add the remaining 2 tablespoons of sugar while beating. Allow the mixture to beat until stiff peaks form.
- Place the chocolate mixture in a large bowl. Add about 1/3 of the stiff egg whites to the bowl and gently fold to lighten the mixture. You will still see large white streaks in the batter. Add another 1/3 of the egg whites and continue to fold them in. do this carefully so you don’t deflate the egg whites any more than necessary. Fold in the remaining egg whites and gently work until just about entirely incorporated. A few remaining streaks is OK.
- Immediately transfer the batter to the prepared baking sheet. Carefully smooth into the pan creating an even thickness without working it too much. The more fussing, the more the cake deflates. If the cake batter doesn’t easily reach end to end, then just try to make an even rectangle.
- Bake cake for 15 to 17 minutes. When done the cake will have a dry top and it will spring back when lightly pressed. Remove from the oven and cool completely.
- While the cake cools, prepare the whipped cream and ganache.
- To make the Peppermint Whipped Filling: Place heavy cream in the bowl of an electric stand mixer with the granulated sugar, vanilla and peppermint extract. Using the whisk attachment, beat to soft, whipped cream peaks. The whipped cream should hold its shape but still be velvety and spreadable. Allow to rest, covered, in the refrigerator.
- To make the Ganache: Place chocolate pieces in a medium heatproof bowl. Heat cream in a small saucepan until steaming, but not boiling. This is called scalding. Pour the hot cream over the chocolate pieces. Let stand for one minute before whisking into a smooth and glossy chocolate sauce. Allow to rest in the fridge until thickened slightly, about 30 minutes.
- To Assemble the Cake: Once the cake has cooled completely, remove it from the pan, using the overhang of parchment paper. Spread with a thin layer of whipped cream filling. When the cake is rolled, there will be ample filling.
- Place the cake so that the short side is facing you. Gently roll the cake into a log, using the parchment paper to help you, but do not roll the parchment into the cake. Don’t worry about creating a tight roll. This isn’t like rolling cinnamon rolls. Don’t worry if the cake cracks a bit, that is fine.
- Gently lift cake and place on a clean serving board or plate. Allow the cake to rest for about 30 minutes in the fridge, lightly covered.
- Remove cake from the fridge and drizzle with chocolate ganache. Alternately you can shake powdered sugar or cocoa powder over the top in lieu of the ganache. Chill in the refrigerator, covered lightly, until ready to serve. Just before serving, garnish the cake with crushed peppermint candies.
- To Serve: Cut a thin slice off each end to make a clean edge. You can throw these pieces away or save to eat later. Slice remaining log with a sharp serrated knife into about 8 pieces. Lay each slice on a serving plate and sprinkle with additional peppermint candy pieces if desired.
- Cake will last, wrapped in the fridge, for up to 3 days.
- Yield: about 8 servings
- Make Ahead: While this is best made and served on the day it is baked, the components can be made a day ahead and assembled about an hour before serving. Bake the cake and leave it in the pan, covered. The whipped cream may separate overnight; just rewhip it before using. Rewarm the ganache to a pouring consistency before pouring over the roll.
Thank You!


