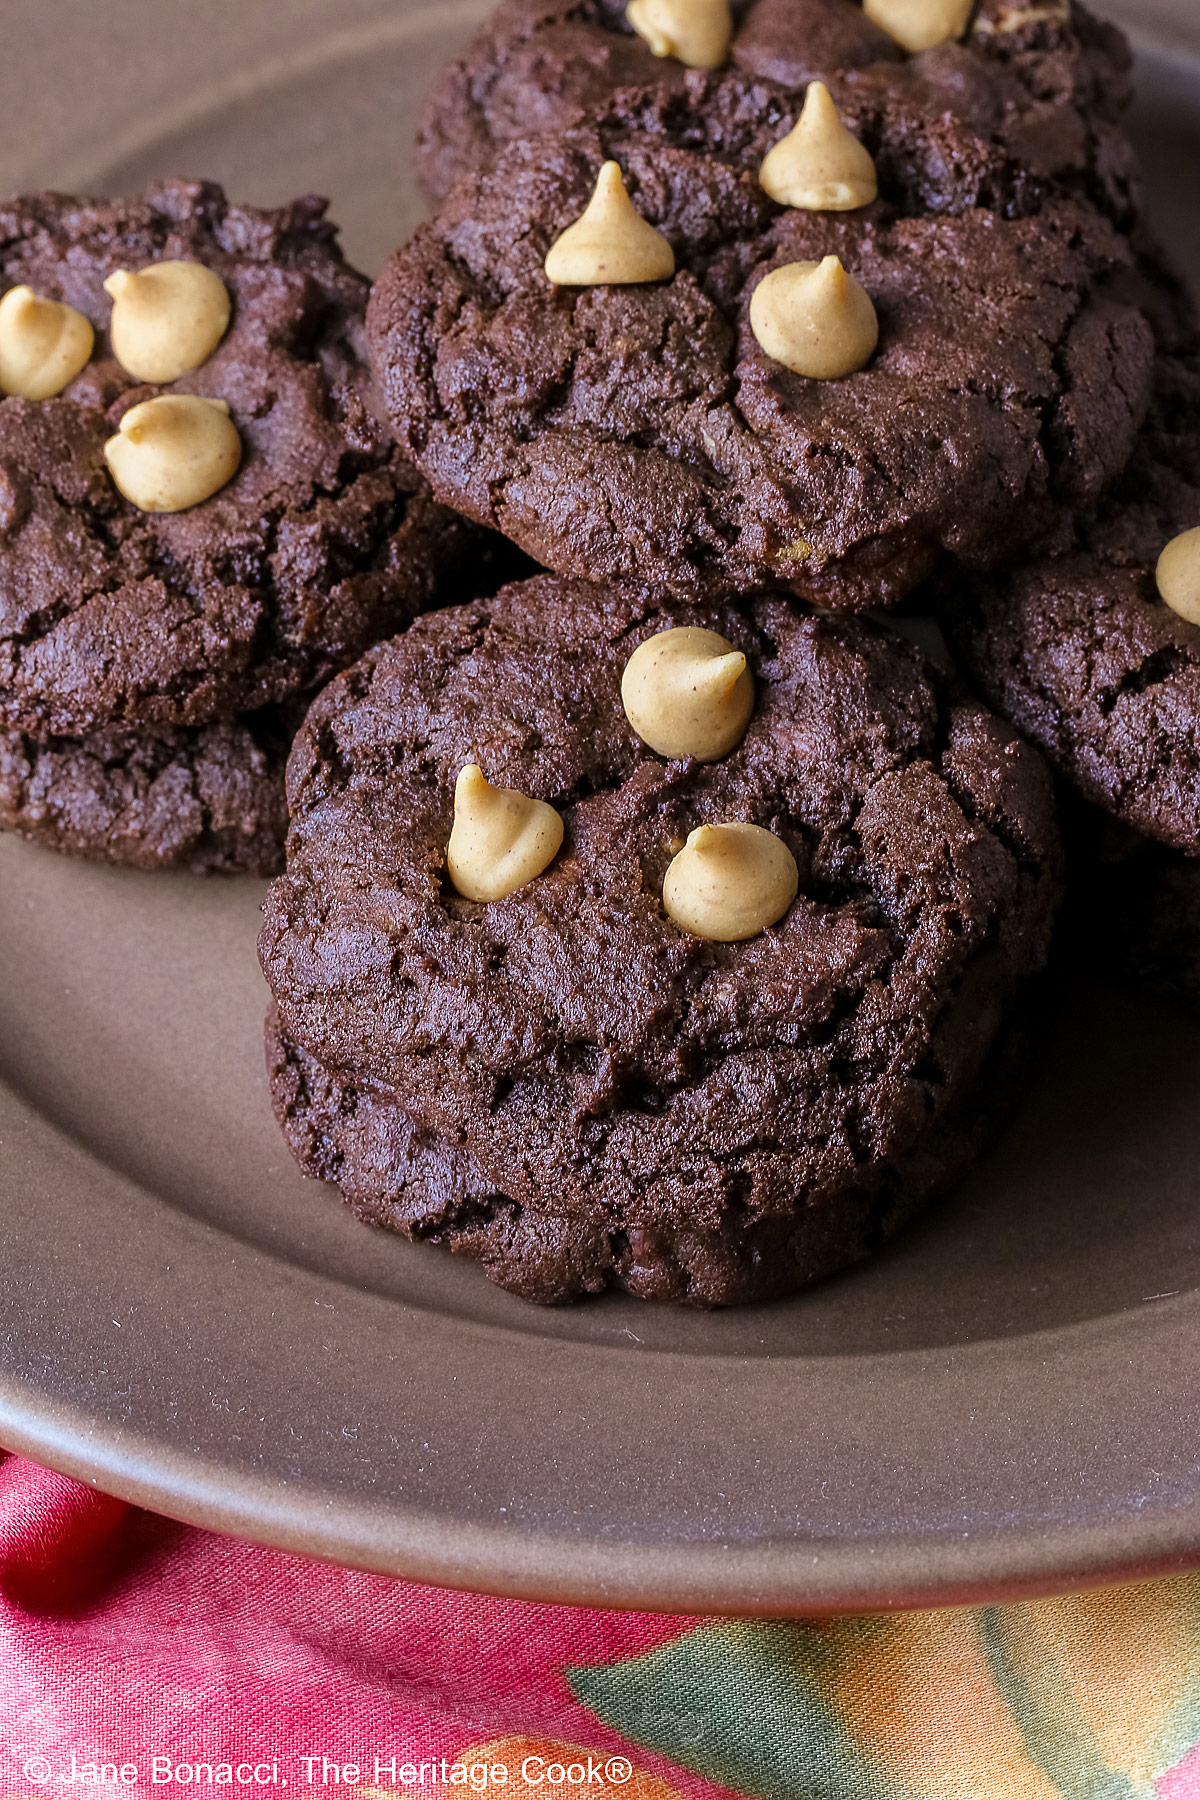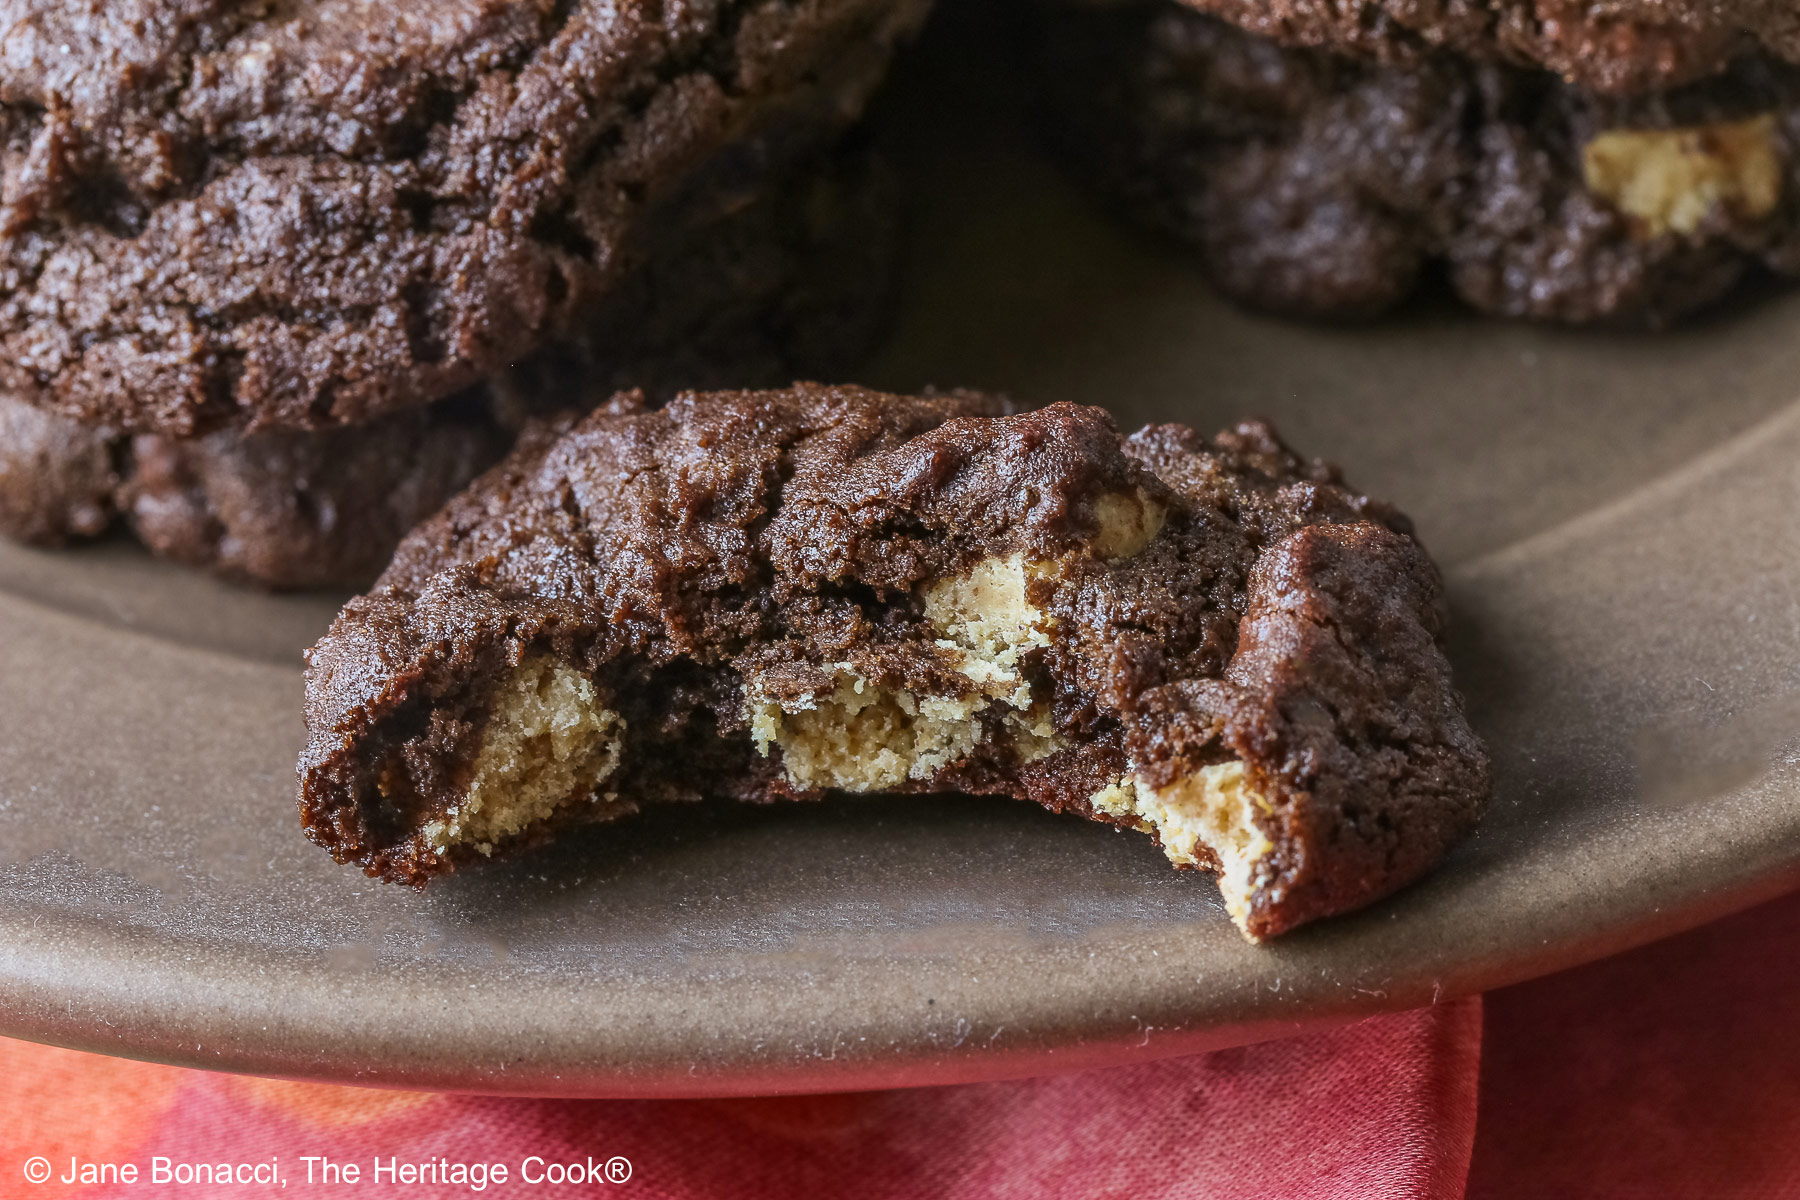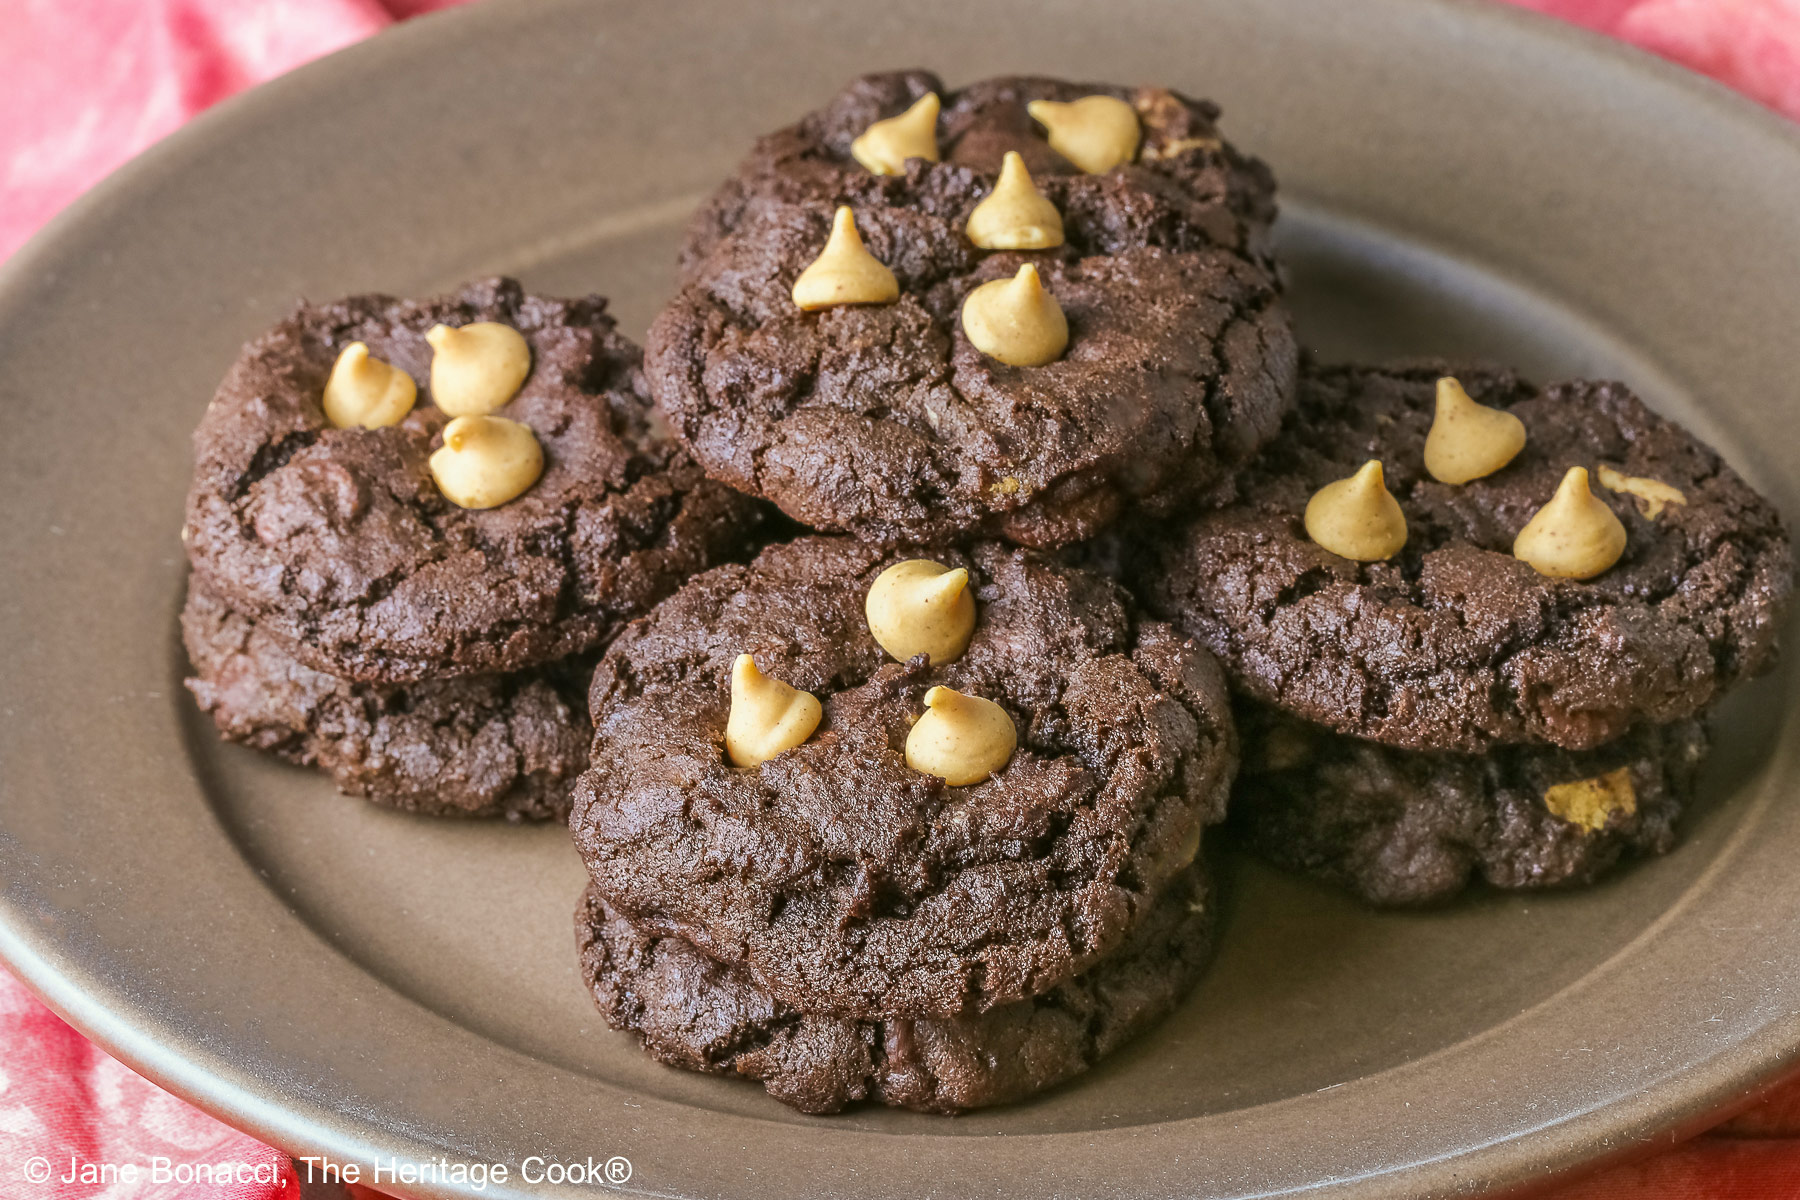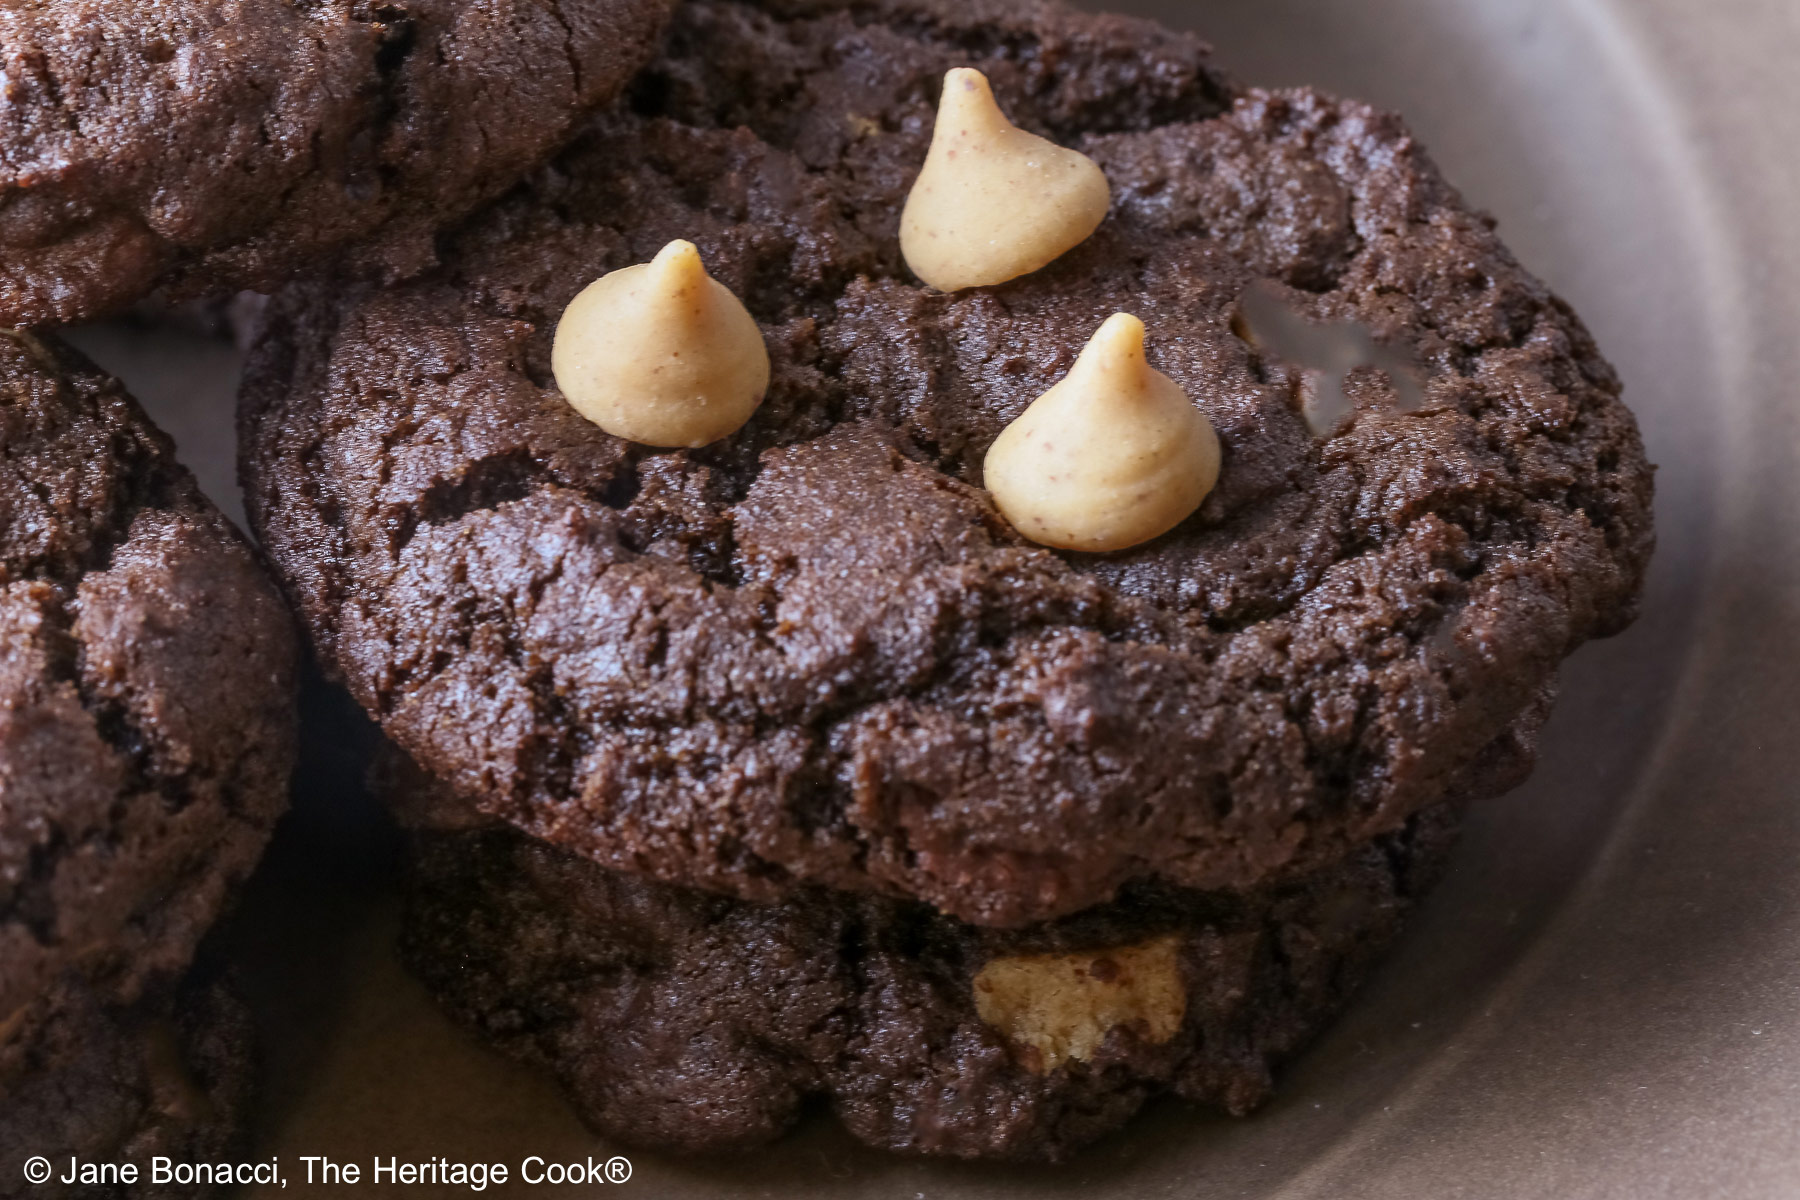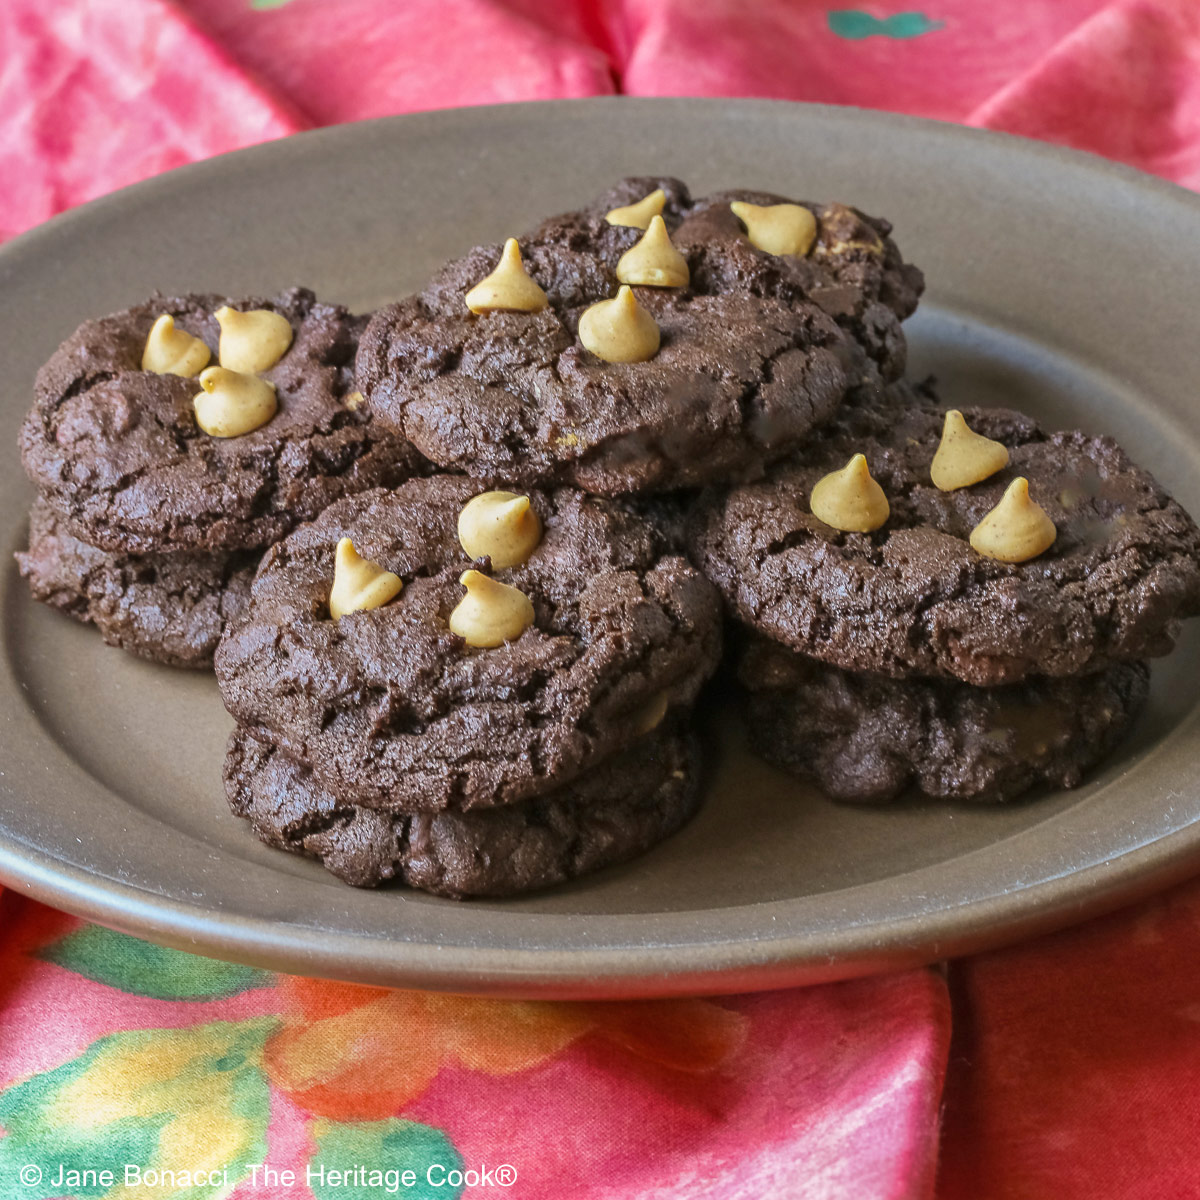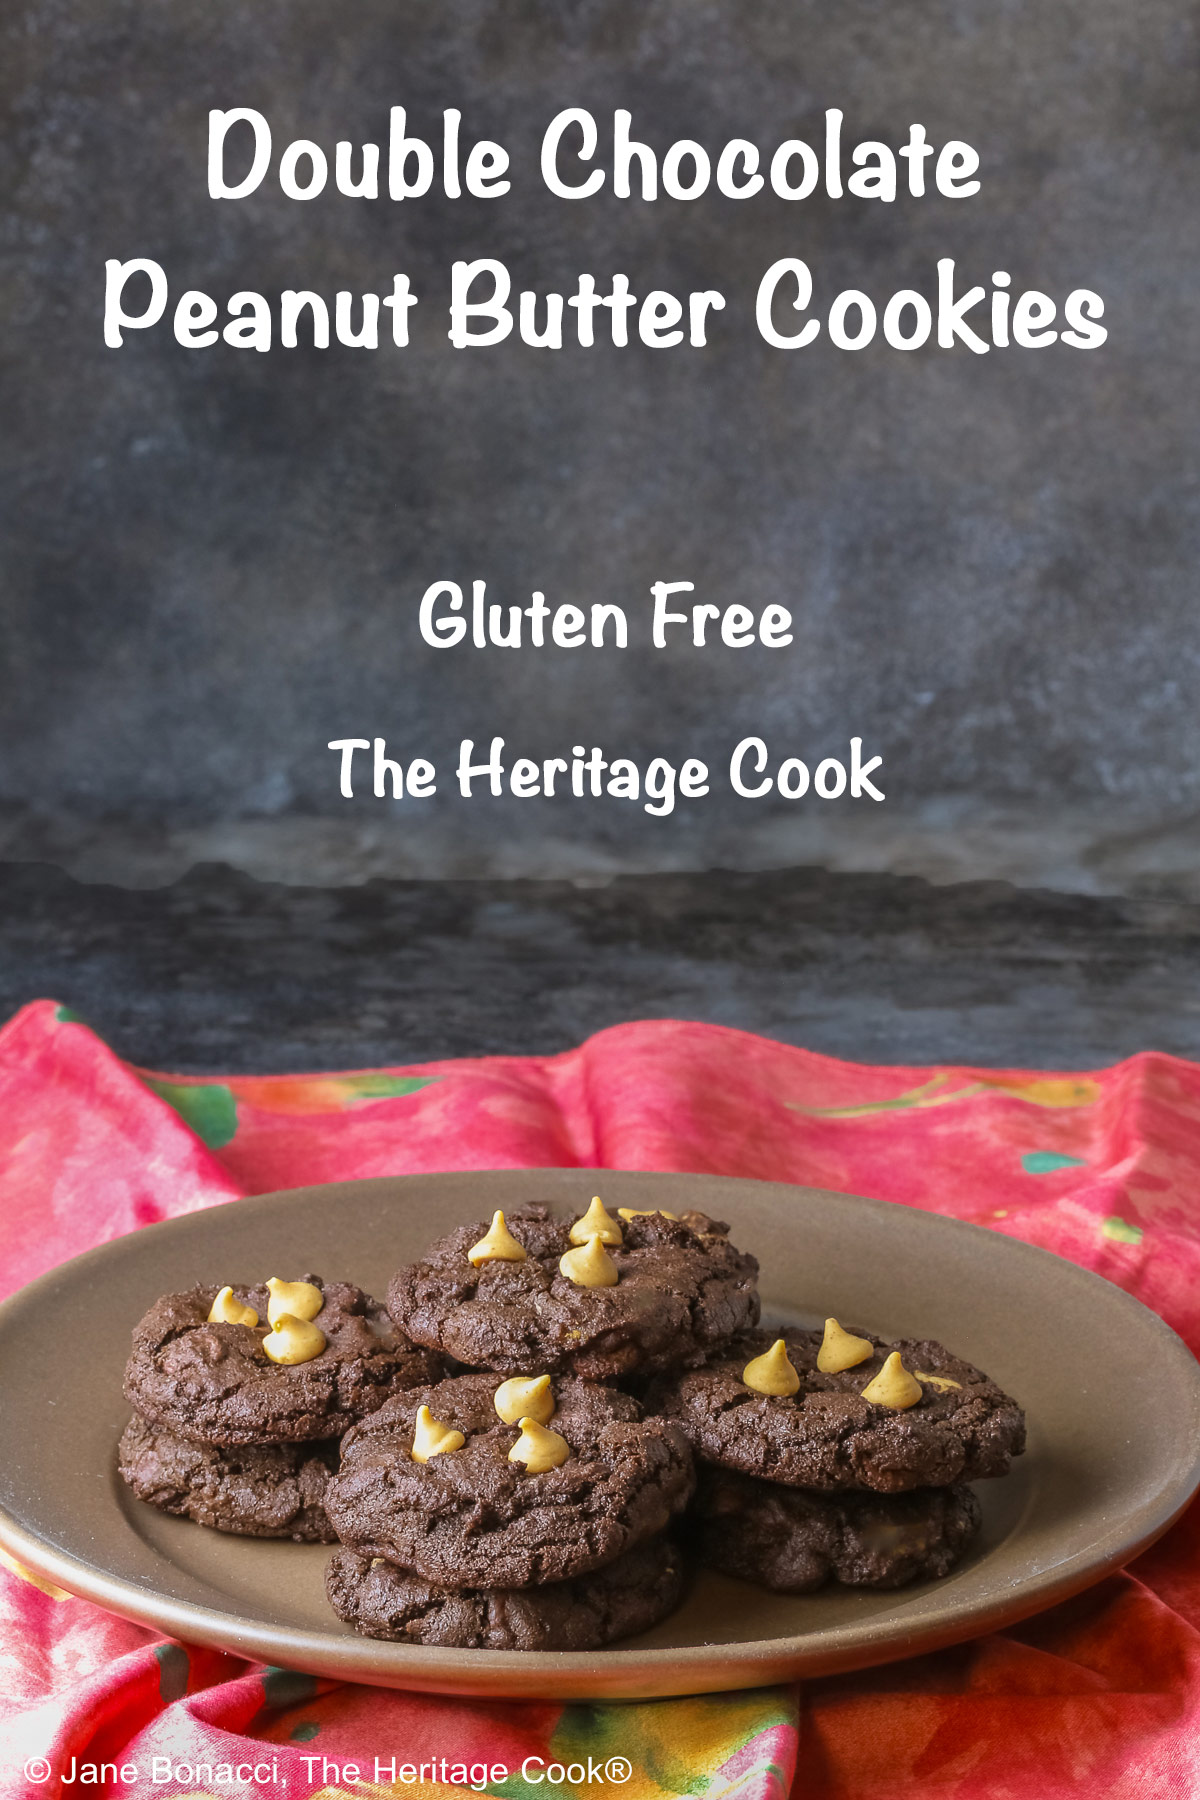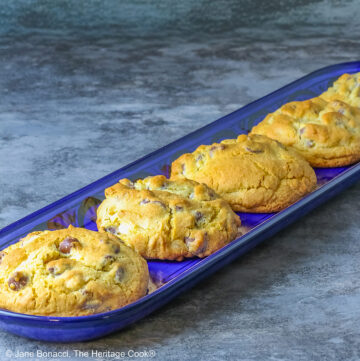
Peanut butter and chocolate is the perfect pairing. The cookies have enough cocoa powder and chocolate chips in them to satisfy even the most ardent chocoholics in your crowd. And the peanut butter chips complement the chocolate and add a pleasing complementing flavor.
I love how simple these are to make. The only challenging thing is leaving them in the refrigerator for 3 hours to completely chill through. But it is worth the wait when you get ready to form them into balls, they won’t be as sticky and difficult to work with.
Use a cookie scoop with a sweep arm to assist you in making them all the same size. Then use your damp hands to form them into balls that are taller than they are wide – think of a rounded modified pyramid shape. This shape will help keep the cookies thicker and chewy rather than thin and crispy. Also, the colder the dough, the thicker the cookies!
Don’t forget to pull out the cube of butter ahead of time so it can come to room temperature.
And always read the recipe through a couple of times to be sure you have all the ingredients and understand all the steps you need to do. This is a great habit to get into for every time you are making a new recipe.
I like to set out all my ingredients on one side of my mixer and move them, one by one, as they are added to the other side of the counter. This helps me know at a glance if I’ve forgotten to add anything. It helps a lot if you are in a busy house with lots of distractions.
Using parchment paper or silicone baking mats (Silpats) on your sheet pans guarantees your cookies won’t stick. I use the same sheet of parchment about 4 to 5 times and they are just as nonstick as the first use. And it saves me from having to wash the baking sheets!!
Chocolate cookies are hard to tell when they are done and easy to overbake. I tried both 11 minutes and 12 minutes and liked the 11 minute cookies better. They were softer and chewier. Just be sure to keep an eye on them so they don’t burn!
If you want your cookies to look like a professional made them, have some extra chocolate or peanut butter chips and press them gently into the tops of the warm cookies while they are firming up on the baking sheet. They will melt slightly and be gorgeous!
These soft and chewy cookies will thrill you and be the first thing to disappear on your buffet table. One bite and everyone will rush to grab another!
Double Chocolate Peanut Butter Cookies are the ultimate treat after school or for dessert. Packed with chocolate flavor and enhanced with peanut butter chips, you will have a very hard time resisting these beauties!
If you try this recipe, let me know! Please leave a star rating in the recipe card, comment below, and don’t forget to snap a pic and tag it @theheritagecook on Instagram! Seeing your creations makes my day and I love hearing from you!
Ingredients needed for Double Chocolate Peanut Butter Cookies:
- Unsalted butter, sugar, brown sugar, egg, vanilla, GF flour, cocoa powder, baking soda, salt, milk or water, semisweet or white chocolate chips, peanut butter chips
PRO Tip:
Chilling the dough it a necessity because without it the dough is too sticky to shape into balls. Use damp hands to form them if you don’t use a cookie scoop.
How to make Double Chocolate Peanut Butter Cookies:
- Cream the butter and both sugars together until fluffy and lightened in color. Mix in the egg and vanilla, beating until well combined. Scrape the bowl well.
- In another bowl, whisk together the flour, cocoa powder, baking soda, and salt. Gradually add the dry ingredients to the butter/sugar mixture, mixing after each addition; beat on low until fully incorporated. Mix in the chocolate and peanut butter chips.
- Cover the dough with plastic wrap pressed onto the surface and chill in the refrigerator for at least 3 hours and up to 3 days. When ready to bake, remove from the refrigerator and let sit on the counter about 15 minutes.
- Portion the dough into 1.5 tablespoon balls of dough using a cookie scoop. Using damp hands, form each ball if not using a scoop. Place them 2 to 3 inches apart on parchment-lined (or use silicone baking mats) baking sheets.
- Bake at 350°F (180°C) for 11 to 12 minutes until the edges are set and the centers still look soft. They will finish baking on the sheets while they rest.
- Leave cookies on the baking sheet for about 5 minutes to firm up. If you want, you can press a few more chocolate or peanut butter chips into the tops of the warm cookies. Transfer to wire rack to cool completely.
PRO Tip:
The dough has to chill at least 3 hours so plan ahead. You can chill it overnight or up to 3 days, covered. This shortens the time to make the cookies on baking day.
Recommended Tools (affiliate links; no extra cost to you):
- Kitchen scale
- Mixing bowls
- Stand mixer or hand mixer
- Cookie scoop
- Baking sheet pan
- Parchment paper or silicone baking mats
Gluten-Free Tips:
*You can adjust any baking recipe to gluten-free by using 120 grams per cup of my favorite gluten-free flour blend. If you are using another brand of flour or regular flour, whisk it, spoon it lightly into a measuring cup until mounded, level off the top with a knife, and weigh the flour left in the cup. Use that weight as your standard per cup of that specific flour. Do this for each flour blend you use. Commercial gluten-free blends such as Pamela’s All-Purpose Artisan Blend, Bob’s Red Mill 1-to-1, or King Arthur Measure for Measure are all good gluten-free choices.
You will get the best and most consistent results by using a digital kitchen scale and weighing your ingredients, especially when you are baking. And use grams, they are much more accurate than pounds and ounces.
All recommended ingredients are gluten-free as of the writing of this article. Always check to be sure the products haven’t changed and are still safe to consume.
Double Chocolate Peanut Butter Cookies (GF)

Double Chocolate Peanut Butter Cookies are the ultimate treat after school or for dessert. Packed with chocolate flavor and enhanced with peanut butter chips, you will have a very hard time resisting these beauties! The dough needs to chill at least 3 hours or overnight, so plan ahead for the wait time! If you want more cookies, double the recipe.
Ingredients
- 1/2 cup (1 stick; 113g) unsalted butter, at room temperature
- 1/2 cup (100g) granulated sugar
- 1/2 cup (107g) firmly packed brown sugar
- 1 large egg
- 2 tsp pure vanilla extract
- 1 cup (120g*) gluten-free all-purpose flour or regular all-purpose flour such as Gold Medal*
- 2/3 cup (56g) natural unsweetened cocoa powder, like Hershey’s brand
- 1 tsp baking soda
- 1/4 tsp salt
- 2 tsp milk or water
- 1 cup (170g) semisweet or white chocolate chips
- 1/2 cup (85g) peanut butter chips
Instructions
1. This cookie dough requires at least 3 hours of chilling or overnight so plan ahead. The colder the dough, the thicker the cookies.
2. In the bowl of your stand mixer or a large bowl if using a hand mixer, beat the butter, granulated sugar, and brown sugar together on medium high speed until fluffy and lightened, about 2 to 3 minutes. Add the egg and vanilla extract, and then beat until combined. Scrape down the sides of the bowl.
3. In another bowl, whisk the flour, cocoa powder, baking soda, and salt together. Gradually add the flour/cocoa mixture to the wet ingredients, mixing after each addition. Beat on low until thoroughly combined. The dough will be heavy. Add the milk and beat until incorporated. Beat in the chocolate and peanut butter chips.
4. Cover the dough with plastic wrap pressed onto the surface and chill in the refrigerator for at least 3 hours and up to 3 days. Don’t skip the chilling step with this sticky dough!
5. When ready to bake, remove the cookie dough from the refrigerator and allow to sit at room temperature for about 20 minutes while the oven preheats.
6. Preheat the oven to 350°F (180°C). Line your baking sheets with parchment paper or silicone baking mats. Set aside.
7. Using a #40 cookie scoop (about 1.5 to 2 tbsp), portion the dough into balls. Arrange 2 to 3 inches (5 to 8cm) apart on the baking sheets. I was able to place 8 on each baking sheet.
8. Bake the cookies for 11 to 12 minutes or until the edges appear set and the centers still look soft. They will finish baking on the sheet pan.
9. Cool cookies for about 5 minutes on the baking sheet. If you want, press a few more chocolate chips into the tops of the warm cookies. Transfer to a cooling rack to cool completely.
10. Cover leftover cookies tightly and store at room temperature for up to 1 week.
Recipe found at www.theheritagecook.com
Notes
* You can adjust any recipe to gluten-free by using 120 grams per cup of my favorite gluten-free flour blend. If you are using another brand of gluten-free flour, whisk the mix, spoon it lightly into a measuring cup without a spout until mounded, level off the top with the back of a knife, and weigh the flour left in the cup. Use that weight as your standard per cup of that specific flour. Do this for each flour blend you use. Commercial blends such as Pamela's, Bob's Red Mill 1-to-1, or King Arthur Measure for Measure are all good gluten-free choices.
You will get the best results by using a digital kitchen scale and weighing your ingredients, especially when you are baking. And use grams, they are much more accurate than pounds and ounces.
All recommended ingredients are gluten-free as of the writing of this article. Always check to be sure the products haven’t changed and are still safe to consume.
Adapted from a Sally’s Baking Addiction recipe
Nutrition Information:
Yield:
24Serving Size:
1Amount Per Serving: Calories: 72Total Fat: 2gSaturated Fat: 1gTrans Fat: 0gUnsaturated Fat: 1gCholesterol: 9mgSodium: 93mgCarbohydrates: 12gFiber: 0gSugar: 3gProtein: 2g
The nutritional information for recipes on this site is calculated by online tools and is merely an estimate. If you need nutritional calculations for medical reasons, please use a source that you trust.
If you enjoyed this recipe, be sure to follow me on social media so you never miss a post:
Create a New Tradition Today!
Welcome! The suggestions here are not intended as dietary advice or as a substitute for consulting a dietician, physician, or other medical professional. Please see the Disclaimers/Privacy Policy page for additional details. Unauthorized use, distribution, and/or duplication of proprietary material from The Heritage Cook without prior approval is prohibited. If you have any questions or would like permission, please contact me. We participate in the Amazon Services LLC Associates Program, an affiliate advertising program designed to provide a means for sites to earn advertising fees by advertising and linking to amazon.com. As an Amazon Associate, I earn a small amount from qualifying purchases without any additional cost to you. This page may contain affiliate links. The author makes no claims regarding the presence of food allergens and disclaims all liability in connection with the use of this site.

