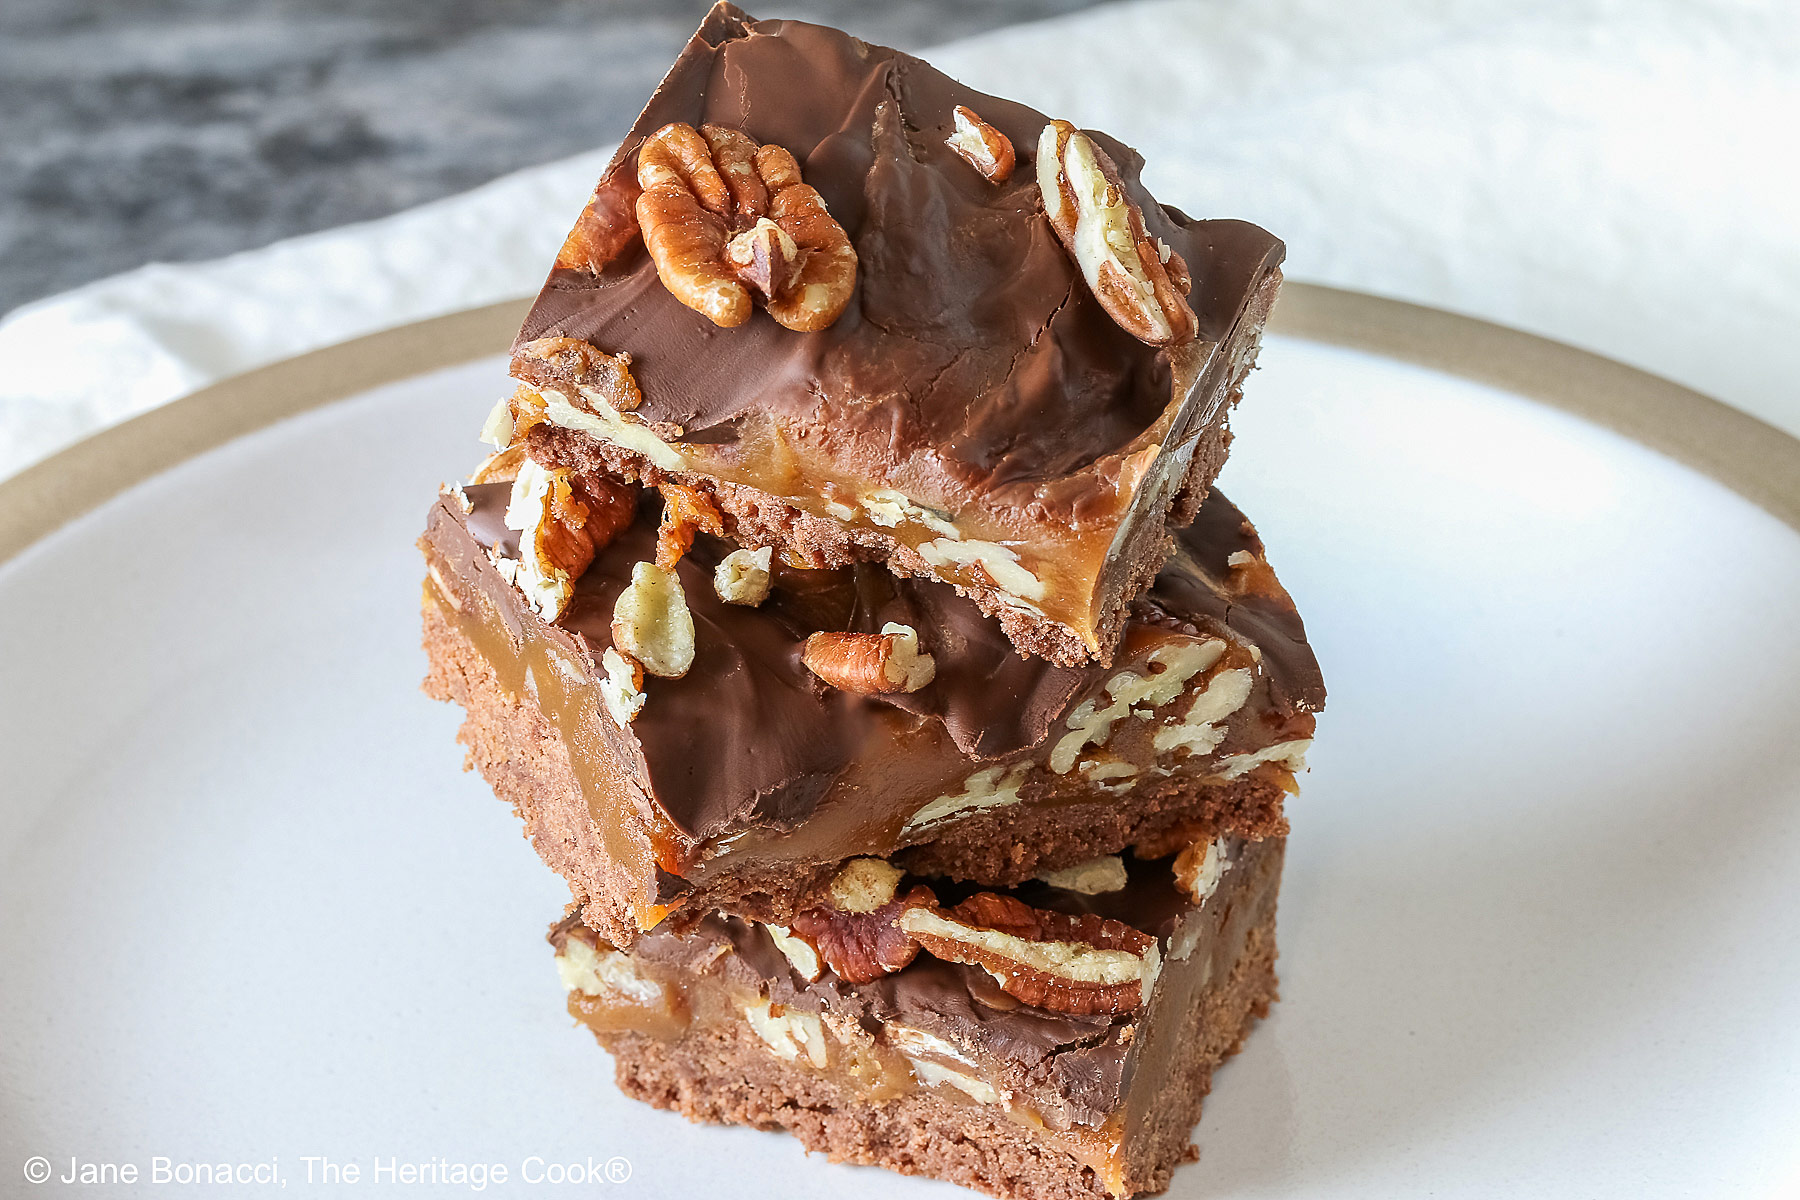
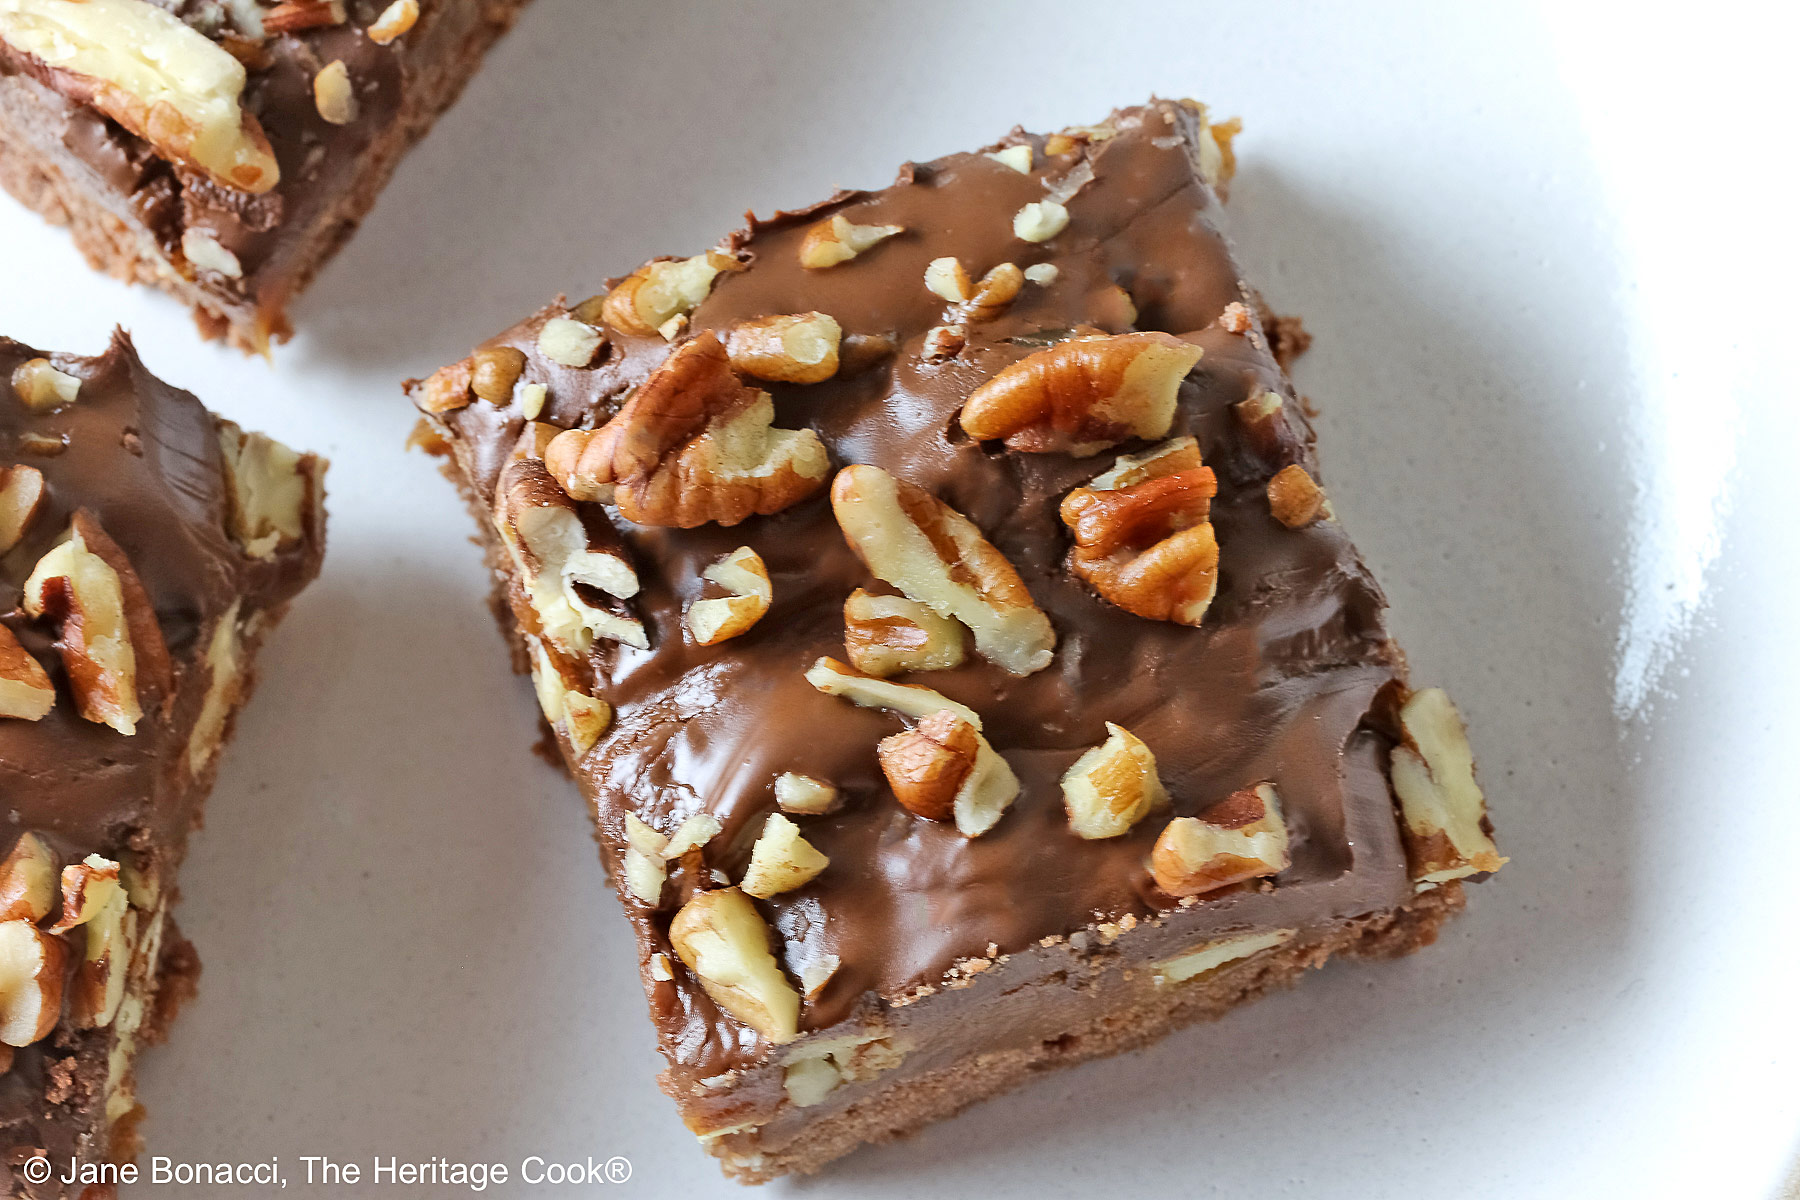
You guys know how much I love turtle candies and that I buy them whenever I see them at a candy shop, right? Today’s Caramel, Pecan, and Chocolate Turtle Bars have all the same ingredients and flavors that I love so much. With their similarity to “Twix” bars, thanks to the crunchy base layer and chocolate coating, no one can resist them!
The blending of chocolate, caramel, and nuts is a classic combination. If you press nuts into softened caramel and cover it all with melted chocolate, you have turtle candies! Turtles have always been one of the few candies I cannot say No to and I always look for new ways to combine these three ingredients. What’s not to love!
Perfect for any occasion, you can serve these Caramel, Pecan, and Chocolate Turtle Bars at potluck parties, include as part of a holiday dessert buffet or cookie exchange, for team meetings at work, and more … the sky’s the limit! What event would you take them to?
For these candy bar bites, the caramel layer starts with dulce de leche. Dulce de leche is a thick, caramel-like sauce and can be found in the international or baking aisle of most supermarkets. It also may be found near the ice cream topping area. If you can’t find it, you can substitute one 14 oz (396g) can of sweetened condensed milk. It will still be delicious.
When making the caramel, use a large heavy-bottomed saucepan and stir frequently to help ensure that the caramel doesn’t scorch. The heavy pan will help keep the heat even and they have fewer hot spots where burning can happen. Make sure you keep stirring!
For a caramel topping with the right chewy texture, monitor the temperature with an instant-read thermometer as it cooks, they are much more accurate and easy to read than a traditional candy thermometer. And you can take the temperature from different locations in the boiling candy easily, being sure you are in the temperature range.
It is essential to bring the candy mixture to between 235°F and 240°F (113°C to 116°C) for the caramel to set up properly, no hotter or cooler. If you’re using an electric stove, the mixture may take longer than 12 minutes to reach 235°F (113°C). Be sure you start counting after it is fully boiling.
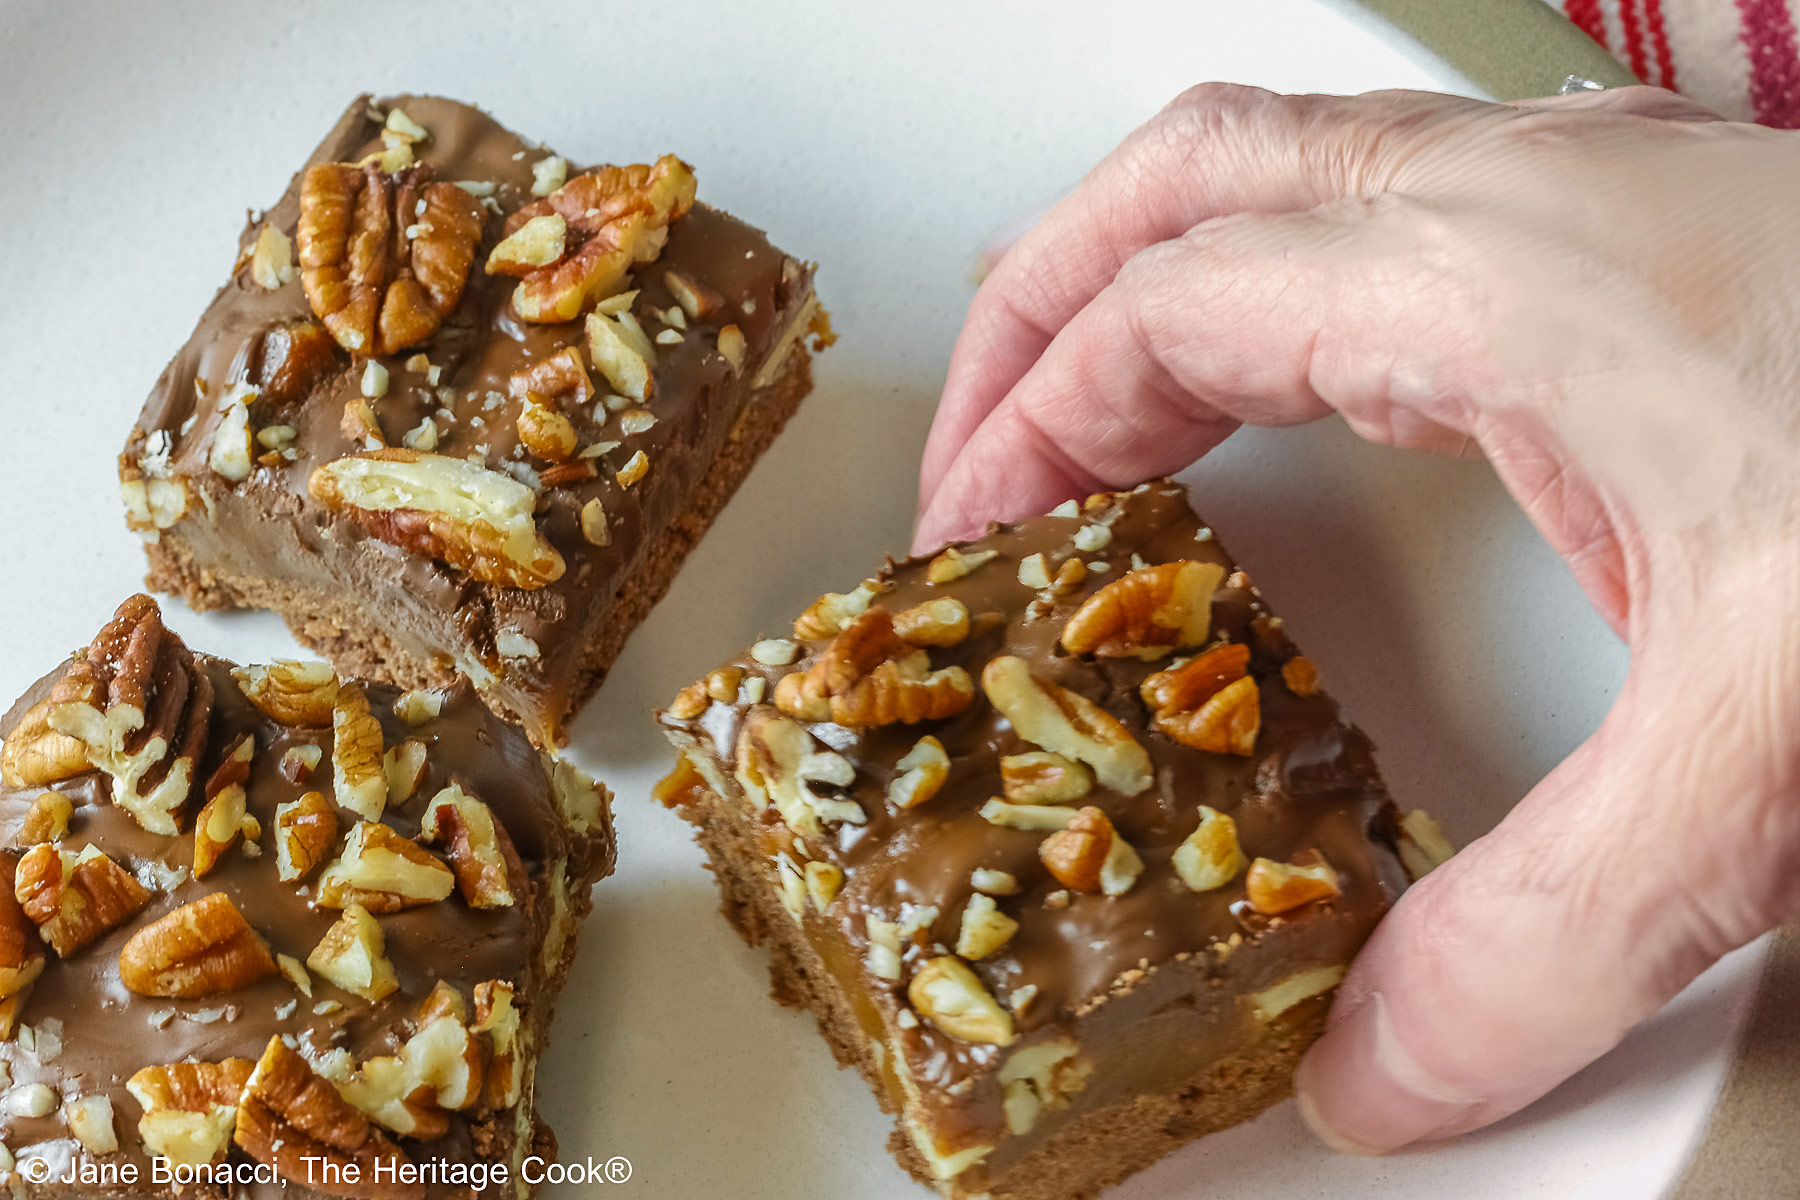
Bar cookies are one of the best desserts for a crowd. They can be eaten like a cookie but have a softer topping. If you like really sweet, indulgent desserts, these cookie bars are for you!
I have been dreaming of a gluten-free “Twix” bar for years and this is pretty darn close! The chewy caramel is perfectly offset by the crunchy crust. It is pure delight in every bite!
I love creating interesting and fun treats for my friends and family. Like turtles, this dessert’s emphasis is the caramel-flavored layer, balanced and offset by the savory nuts, a crunchy base, and light bitterness of the chocolate.
Even though you may be tempted to use milk chocolate, resist that urge and stick with the darker semisweet or bittersweet chocolates for the topping. It will help cut the sweetness a touch and give you a much more satisfying dessert.
These Caramel, Pecan, and Chocolate Turtle Bars are terrific for your kids to enjoy, to serve at luncheons, dinner parties, showers, holiday parties, and more. Add these turtle bars to your menu and they will be winners on your buffet!
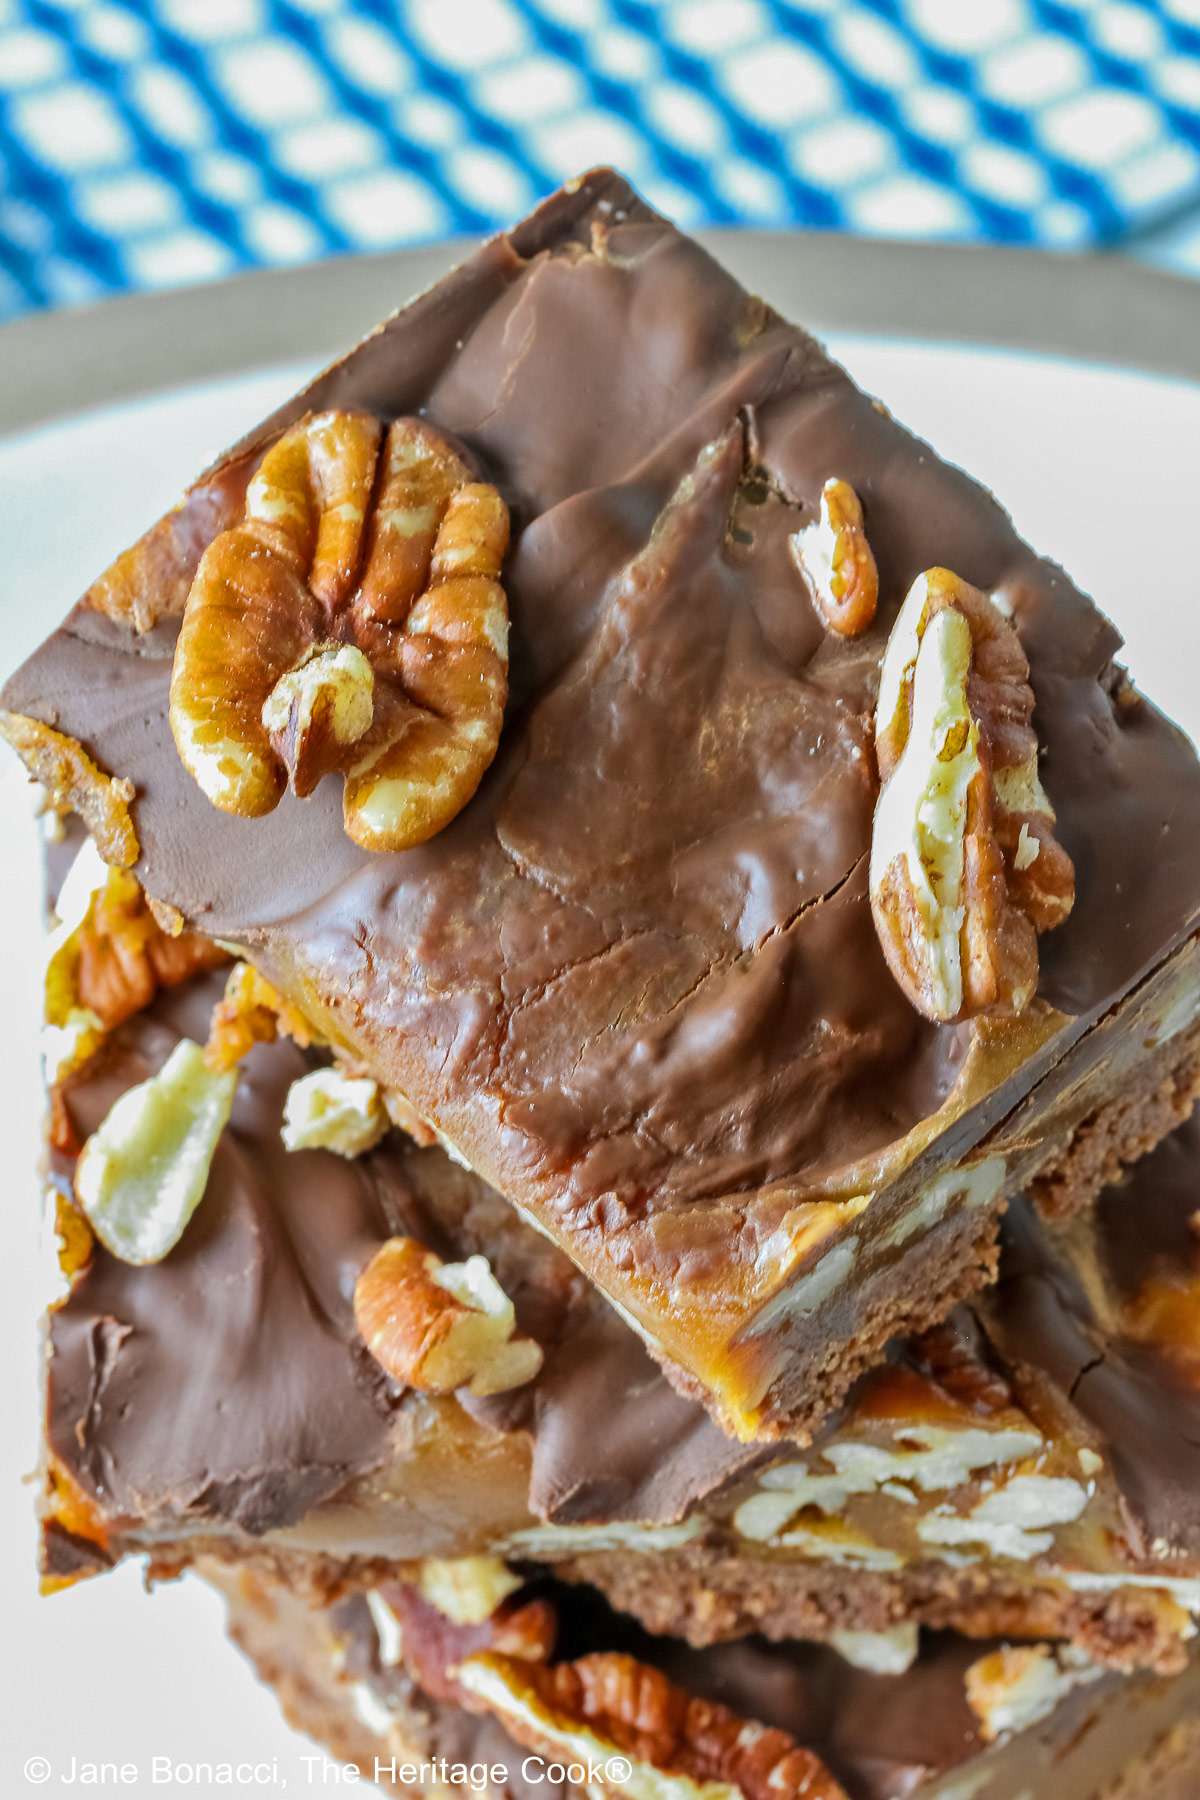
You make these Caramel, Pecan, and Chocolate Turtle Bars in a 9×13-inch (23x33cm) baking dish so it serves a lot of people. Because it is so rich, you can cut your bars a little smaller than called for and let people come back for seconds if you want. This is a great option if you’ve got a dessert bar for your dinner.
I hope you enjoy today’s gooey, chocolatey, caramelly, nutty, crunchy, and creamy Caramel, Pecan, and Chocolate Turtle Bars for a scrumptious dessert or sweet treat!
If you try this recipe, let me know! Please leave a star rating in the recipe card, comment below, and don’t forget to snap a pic and tag it @theheritagecook on Instagram! Seeing your creations makes my day and I love hearing from you!
Ingredients needed for Caramel, Pecan, and Chocolate Turtle Bars:
- Crust: flour, sugar, unsweetened cocoa powder, salt, butter
- Caramel Topping: dulce de leche, brown sugar, heavy cream, light corn syrup, butter, salt, pecans, semisweet chocolate chips, sea salt
PRO Tip:
Use an instant-read thermometer for the most accurate way to monitor the temperature of the caramel as it cooks. The temperature is crucial for a perfect caramel at the end! Instant-read thermometers are much more accurate than a traditional candy thermometer and much easier to read. My favorite is the Thermapen from Thermoworks. They are the best available right now and I don’t know what I would do without mine! If you want a less expensive option, look at their ThermoPop2. An excellent thermometer that works for many applications including candy making!
PRO Tip:
Don’t be afraid of using corn syrup … when making candy it helps keep it from re-crystalizing. It is a safety measure that allows you to stir the candy as it is cooking to avoid scorching the bottom. And it is absolutely not high fructose corn syrup – totally different substances!
How to make Caramel, Pecan, and Chocolate Turtle Bars:
- Line a 9×13-inch (23x33cm) baking pan with parchment or foil, leaving the ends hanging over opposite ends to create a sling.
- Make the Crust: Combine the flour, sugar, cocoa, and salt in a mixing bowl. Add the melted butter and mix until thoroughly moistened then crumble over the prepared baking pan and press into a crust. Poke with a fork all over then bake at 350°F (180°C) for about 18 minutes until fragrant and dry looking. Place on a wire rack to cool slightly.
- Prepare the Caramel: In a large heavy-bottomed saucepan combine the dulce de leche, sugar, cream, corn syrup, butter, and salt. Bring to a boil over medium heat which will take 7 to 9 minutes, stirring often with a heatproof spatula.
- Cook, stirring often, until the mixture reaches 235°F to 240°F (113°C to 116°C), measuring in several places in the caramel. It will take about 9 to 11 additional minutes or longer depending on the strength of your stove. Remove from the heat and stir in 1-1/2 cups (171g) of the pecans.
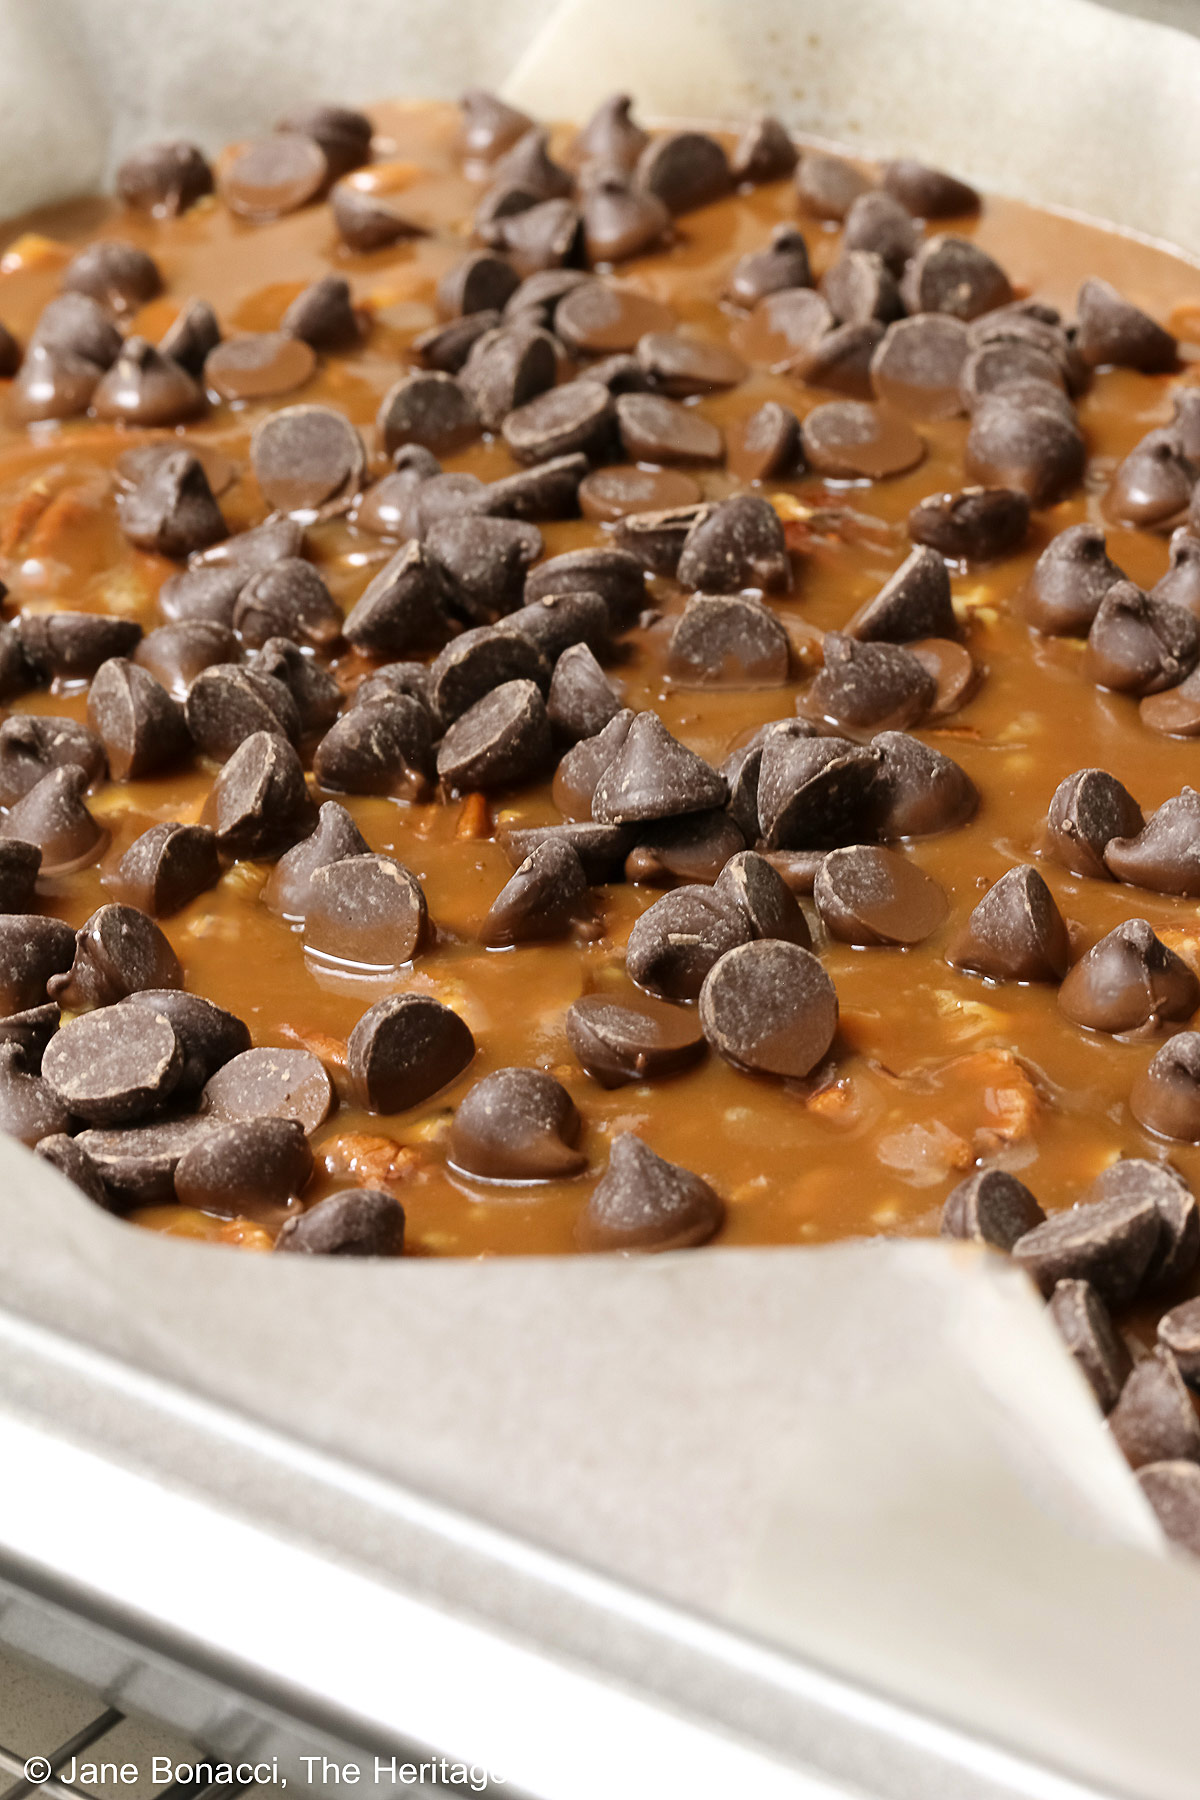
- Pour the caramel over the crust in the pan and spread to an even layer using an offset spatula. Sprinkle the chocolate chips over the top and let sit about 5 minutes until they have softened.
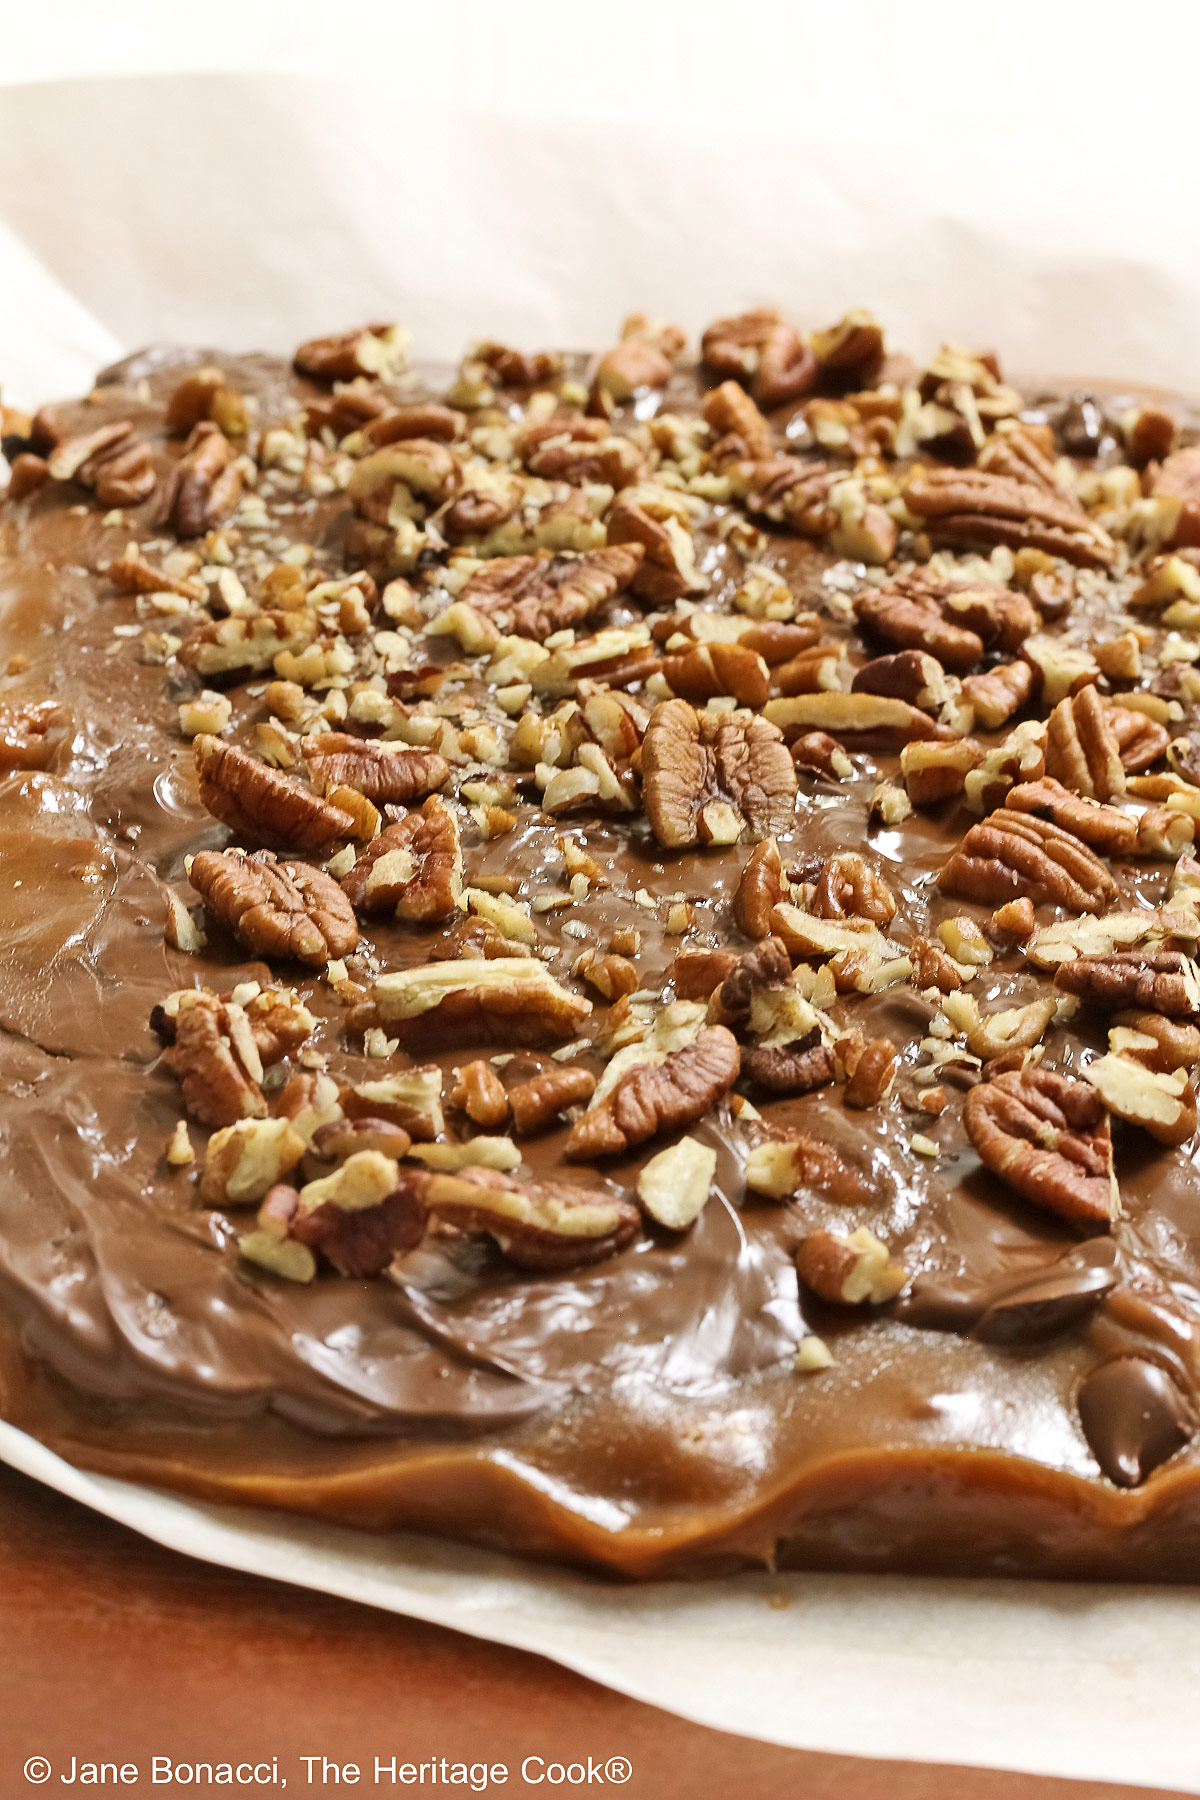
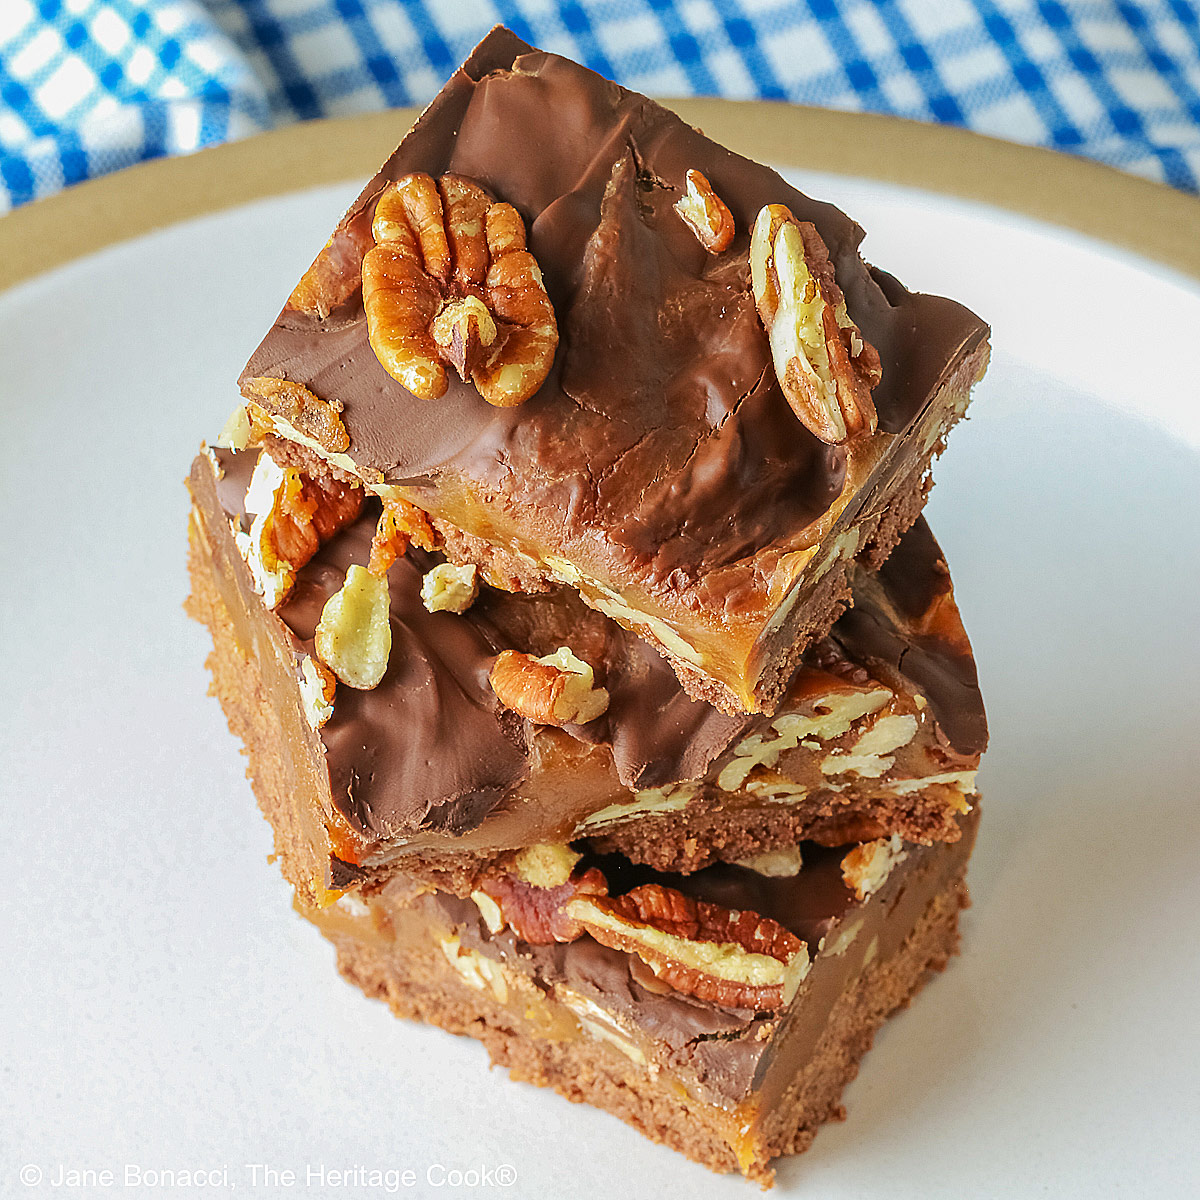
- Swirl the chocolate through the caramel with an offset spatula or round knife. Sprinkle the remaining 1/2 cup (57g) of pecans over the top. Let bars sit at room temperature until the chocolate is set, about 3 to 4 hours.
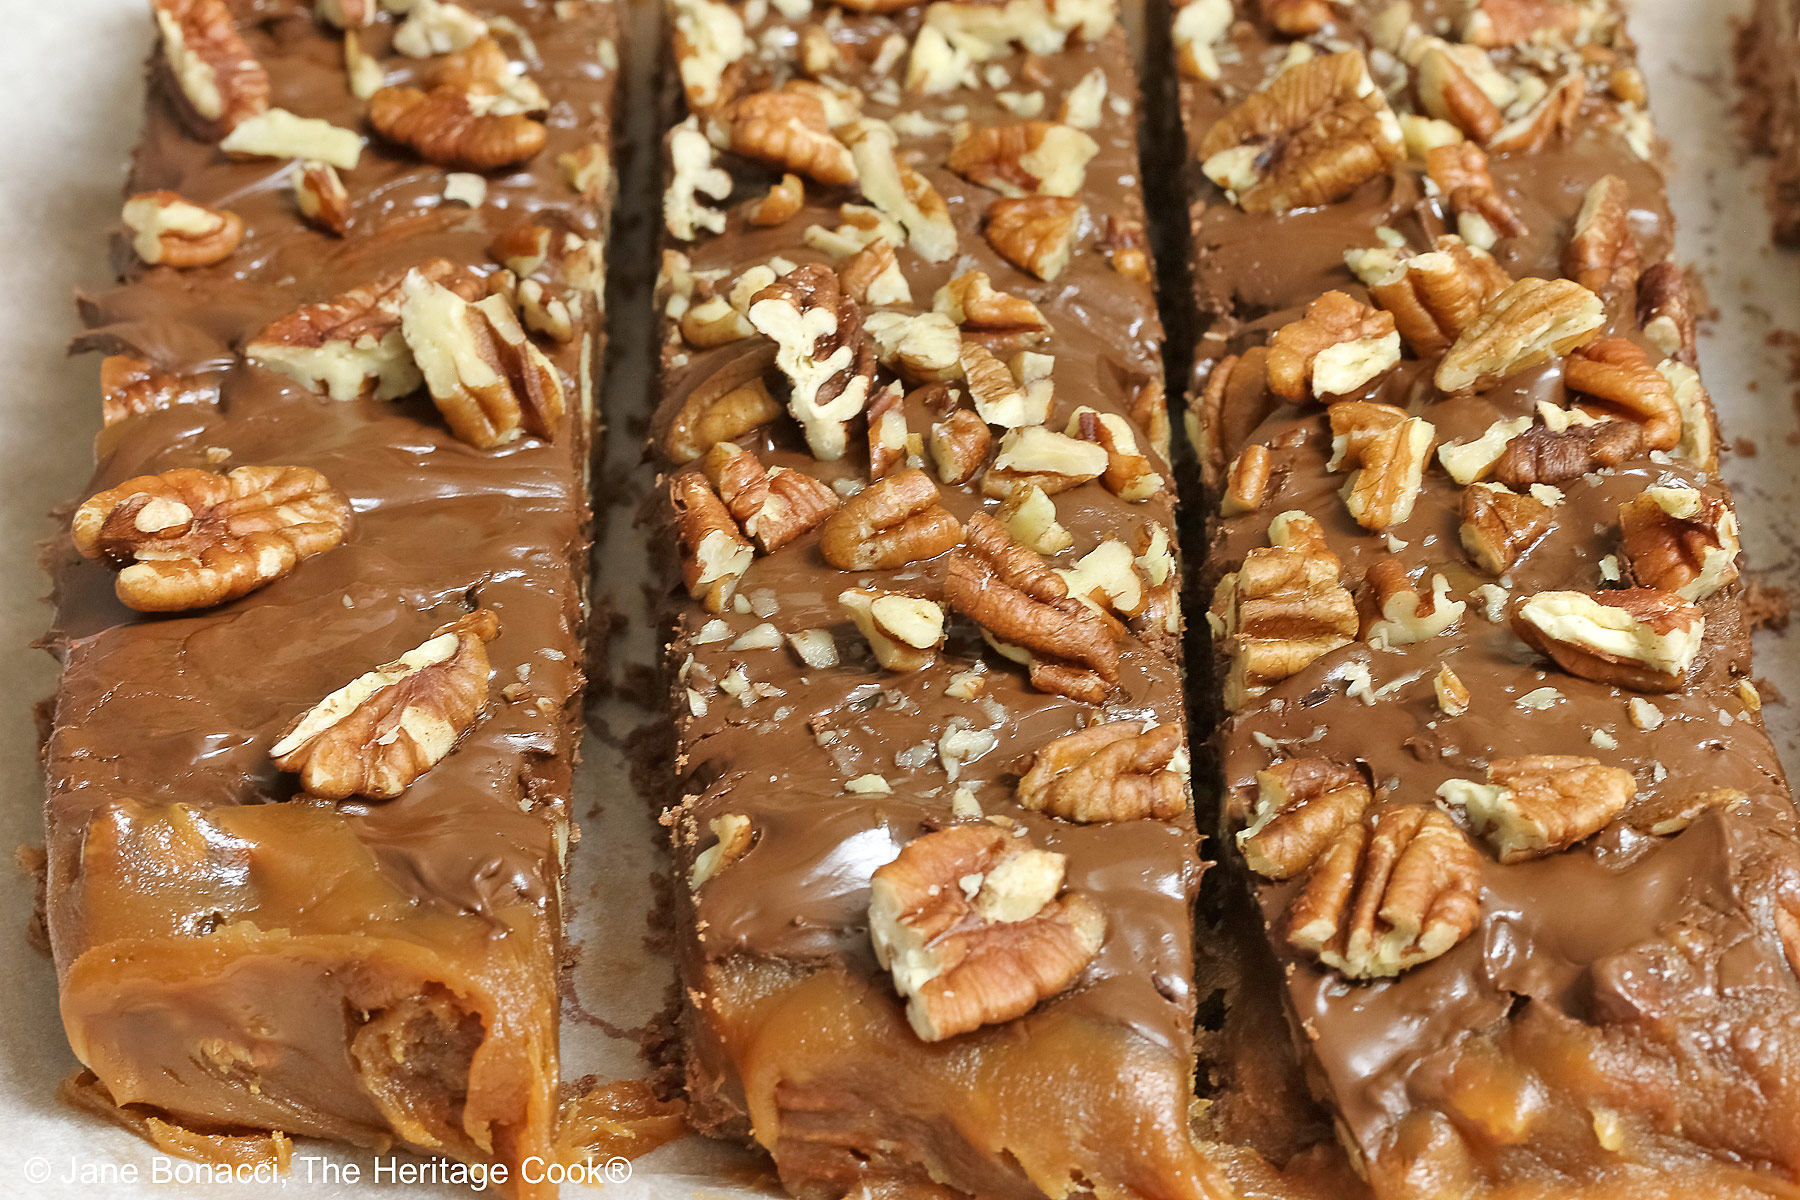
- To Serve: Using the paper or foil sling, lift the bars out of the pan and place on a cutting board. If the caramel sticks to the sling, just use a small knife to release it. Use a long, sharp knife to cut into 24 pieces and serve. Make 5 cuts across the short part of the bars and 3 cuts lengthwise. Bars can be stored in an airtight container at room temperature up to 5 days.
PRO Tip:
Dulce de leche is a thick, caramel-like sauce and can be found in the international or baking aisle of most supermarkets. It also may be found near the ice cream topping area. If you can’t find it, you can substitute one 14 oz (396g) can of sweetened condensed milk.
PRO Tip:
Be sure to wait for both the chocolate and caramel to firm up before trying to cut these into bars. I would guess it took about 5 hours for mine to fully cool and become easy to slice. Start this early in the day so you have time to let them cool and set up before slicing, or make them a day ahead for even easier cutting.
Recommended Tools (affiliate links; no extra cost to you):
- Kitchen scale
- Chef’s knife
- 9×13-inch (23×33 cm) baking pan
- Parchment paper or aluminum foil
- Large, heavy-bottomed saucepan
- Heatproof silicone spatula
- Instant read thermometer
Gluten-Free Tips:
* You can adjust any baking recipe to gluten-free by using 120 grams per cup of my favorite gluten-free flour blend. If you are using another brand of flour or regular flour, whisk it, spoon it lightly into a measuring cup until mounded, level off the top with a knife, and weigh the flour left in the cup. Use that weight as your standard per cup of that specific flour. Do this for each flour blend you use. Commercial gluten-free blends such as Pamela’s All-Purpose Artisan Blend, Bob’s Red Mill 1-to-1, or King Arthur Measure for Measure are all good gluten-free choices.
** My preferred brand of kosher salt is from Diamond Crystal. If you use Morton’s or another brand you will likely not need as much because they are saltier.
All recommended ingredients are gluten-free as of the writing of this article. Always check to be sure the products haven’t changed and are still safe to consume.
Caramel, Pecan, and Chocolate Turtle Bars (GF)

I hope you enjoy today’s gooey, chocolatey, caramelly, nutty, crunchy, and creamy Caramel, Pecan, and Chocolate Turtle Bars for a scrumptious dessert or sweet treat! Bar cookies are one of the best desserts for a crowd. Start this early in the day so you have time to let them cool and set up before slicing, or make them a day ahead.
Ingredients
Chocolate Crust
- 1-2/3 cups (236g*) gluten-free all-purpose flour* or regular flour like Gold Medal
- 1/4 tsp xanthan gum (add only if your GF blend does not already contain it)
- 1/2 cup (100g) granulated sugar
- 1/3 cup (28g) unsweetened natural cocoa powder
- 1-1/4 tsp kosher salt**
- 12 tbsp (1-1/2 sticks; 170g) unsalted butter, melted
Caramel
- 1 can (13.4 oz; 380g) dulce de leche or 1 can (14 oz; 396g) sweetened condensed milk
- 1 cup packed (7 oz; 198g) light brown sugar
- 1/2 cup (113g) heavy cream
- 1/2 cup (156g) light corn syrup
- 8 tbsp (1 stick; 113g) unsalted butter, sliced
- 1/2 tsp table salt
- 1-1/2 cups (171g) coarsely chopped pecans
Toppings
- 3/4 cup (128g) semisweet or bittersweet chocolate chips
- 1/2 cup (57g) coarsely chopped pecans
Instructions
1. Set the oven rack in the middle of the oven and preheat it to 350°F (180°C). Make a sling for a 9x13-inch (23x33 cm) baking pan either out of parchment or aluminum foil, leaving the longer ends hanging over the opposite edges to help lift the bars out of the pan later. Spray the liner very well with vegetable oil spray (without flour if GF!). This spray helps the caramel and bars release later.
2. Make the Crust: Combine the flour, xanthan (if using), sugar, cocoa, and salt in a mixing bowl. Add the melted butter and stir until evenly moistened and crumbly with no dry ingredients still showing. By hand, crumble small pieces of the dough over the entire bottom of the prepared pan. Create a crust by pressing the dough pieces together with your fingers. Be sure the crust goes all the way to the edge all around the pan. Poke the dough all over with a fork.
3. Bake the Crust: Place in the hot oven and bake until the crust is fragrant and looks dry, 18 to 20 minutes. Transfer the pan to a wire rack while you make the topping. The crust will not be completely cool before adding the caramel.
4. Make the Caramel: In a very large heavy-bottomed saucepan (preferably nonstick) combine the dulce de leche, sugar, cream, corn syrup, butter, and salt. Bring to a boil over medium to medium-high heat, stirring often. This will take 7 to 9 minutes to come to a boil. It is at a full boil when the bubbles cover the surface and do not stop when you stir the pan. I used a heatproof spatula to make sure the whole pan was scraped well so nothing stuck and burned.
5. Once boiling, continue to cook, stirring quite often to prevent scorching, until the mixture registers between 235°F and 240°F (113°C to 116°C), about 9 to 12 additional minutes. The mixture will be thick, darker, and bubbling vigorously. Measure the temperature in several places to be sure you are within the range. Remove from the heat and stir in 1-1/2 cups (171g) of the pecans. Pour the caramel mixture over the crust and spread to an even thickness with an offset spatula. Sprinkle with the chocolate chips and let sit until the chips have softened, about 5 minutes.
6. Spread the softened chocolate over the caramel topping using an offset spatula, covering the entire surface. Sprinkle with the remaining 1/2 cup (57g) chopped pecans. Let the bars sit at room temperature until both the chocolate and caramel have cooled and are set and the pan is fully cool, at least 3 to 5 hours.
7. Cut and Serve: Using the paper or foil overhang, lift the bars out of the pan. Pull down the paper or foil, releasing it, if it sticks at the edges, use your fingers or a small knife to loosen it and pull the paper away. Using a long, very sharp knife, trim the edges and then cut into about 24 pieces. You will have to push a bit to get through the base layer. Serve and enjoy!
8. While best eaten on the day they are made, the bars can be stored in an airtight container at room temperature for up to 5 days.
Recipe found at www.theheritagecook.com
Notes
Read the recipe all the way through twice, marking anything that you need to focus on before you start cooking. Set out all your ingredients to be sure you have everything you need. Pre-measure anything you can, like the first 1-1/2 cups (171g) nuts, the chocolate chips, and second part of the nuts in this recipe. Have it ready to go before you start making the caramel.
* You can adjust any recipe to gluten-free by using 120 grams per cup of my favorite gluten-free flour blend. If you are using another brand of gluten-free flour, whisk the mix, spoon it lightly into a measuring cup without a spout until mounded, level off the top with the back of a knife, and weigh the flour left in the cup. Use that weight as your standard per cup of that specific flour. Do this for each flour blend you use. Commercial blends such as Pamela's, Bob's Red Mill 1-to-1, or King Arthur Measure for Measure are all good gluten-free choices.
** My preferred brand of kosher salt is from Diamond Crystal. If you use Morton’s or another brand you will likely not need as much because they are saltier.
If you want a smaller amount of bars, you can halve the recipe and make them in a 9x9-inch (23cm) square baking pan. Start checking the crust early because it should bake more quickly.
You will get the best and most consistent results by using a digital kitchen scale and weighing your ingredients, especially when you are baking. And use grams, they are much more accurate than pounds and oz.
All recommended ingredients are gluten-free as of the writing of this article. Always check to be sure the products haven’t changed and are still safe to consume.
Slightly adapted from a recipe by America’s Test Kitchen
Nutrition Information:
Yield:
24Serving Size:
1Amount Per Serving: Calories: 284Total Fat: 20gSaturated Fat: 10gUnsaturated Fat: 10gCholesterol: 32mgSodium: 58mgCarbohydrates: 25gFiber: 3gSugar: 21gProtein: 3g
The nutritional information for recipes on this site is calculated by online tools and is merely an estimate. If you need nutritional calculations for medical reasons, please use a source that you trust.
If you enjoyed this recipe, be sure to follow me on social media so you never miss a post:

Create a New Tradition Today!
Welcome! The suggestions here are not intended as dietary advice or as a substitute for consulting a dietician, physician, or other medical professional. Please see the Disclaimers/Privacy Policy page for additional details. Unauthorized use, distribution, and/or duplication of proprietary material from The Heritage Cook without prior approval is prohibited. If you have any questions or would like permission, please contact me. We participate in the Amazon Services LLC Associates Program, an affiliate advertising program designed to provide a means for sites to earn advertising fees by advertising and linking to amazon.com. As an Amazon Associate, I earn a small amount from qualifying purchases without any additional cost to you. This page may contain affiliate links. The author makes no claims regarding the presence of food allergens and disclaims all liability in connection with the use of this site. This post was first shared in Jan 2014. The article was updated in 2026.


kolay yemek tarifleri
For a chocolate and almond lover this is a super dessert. Besides Photos are great…