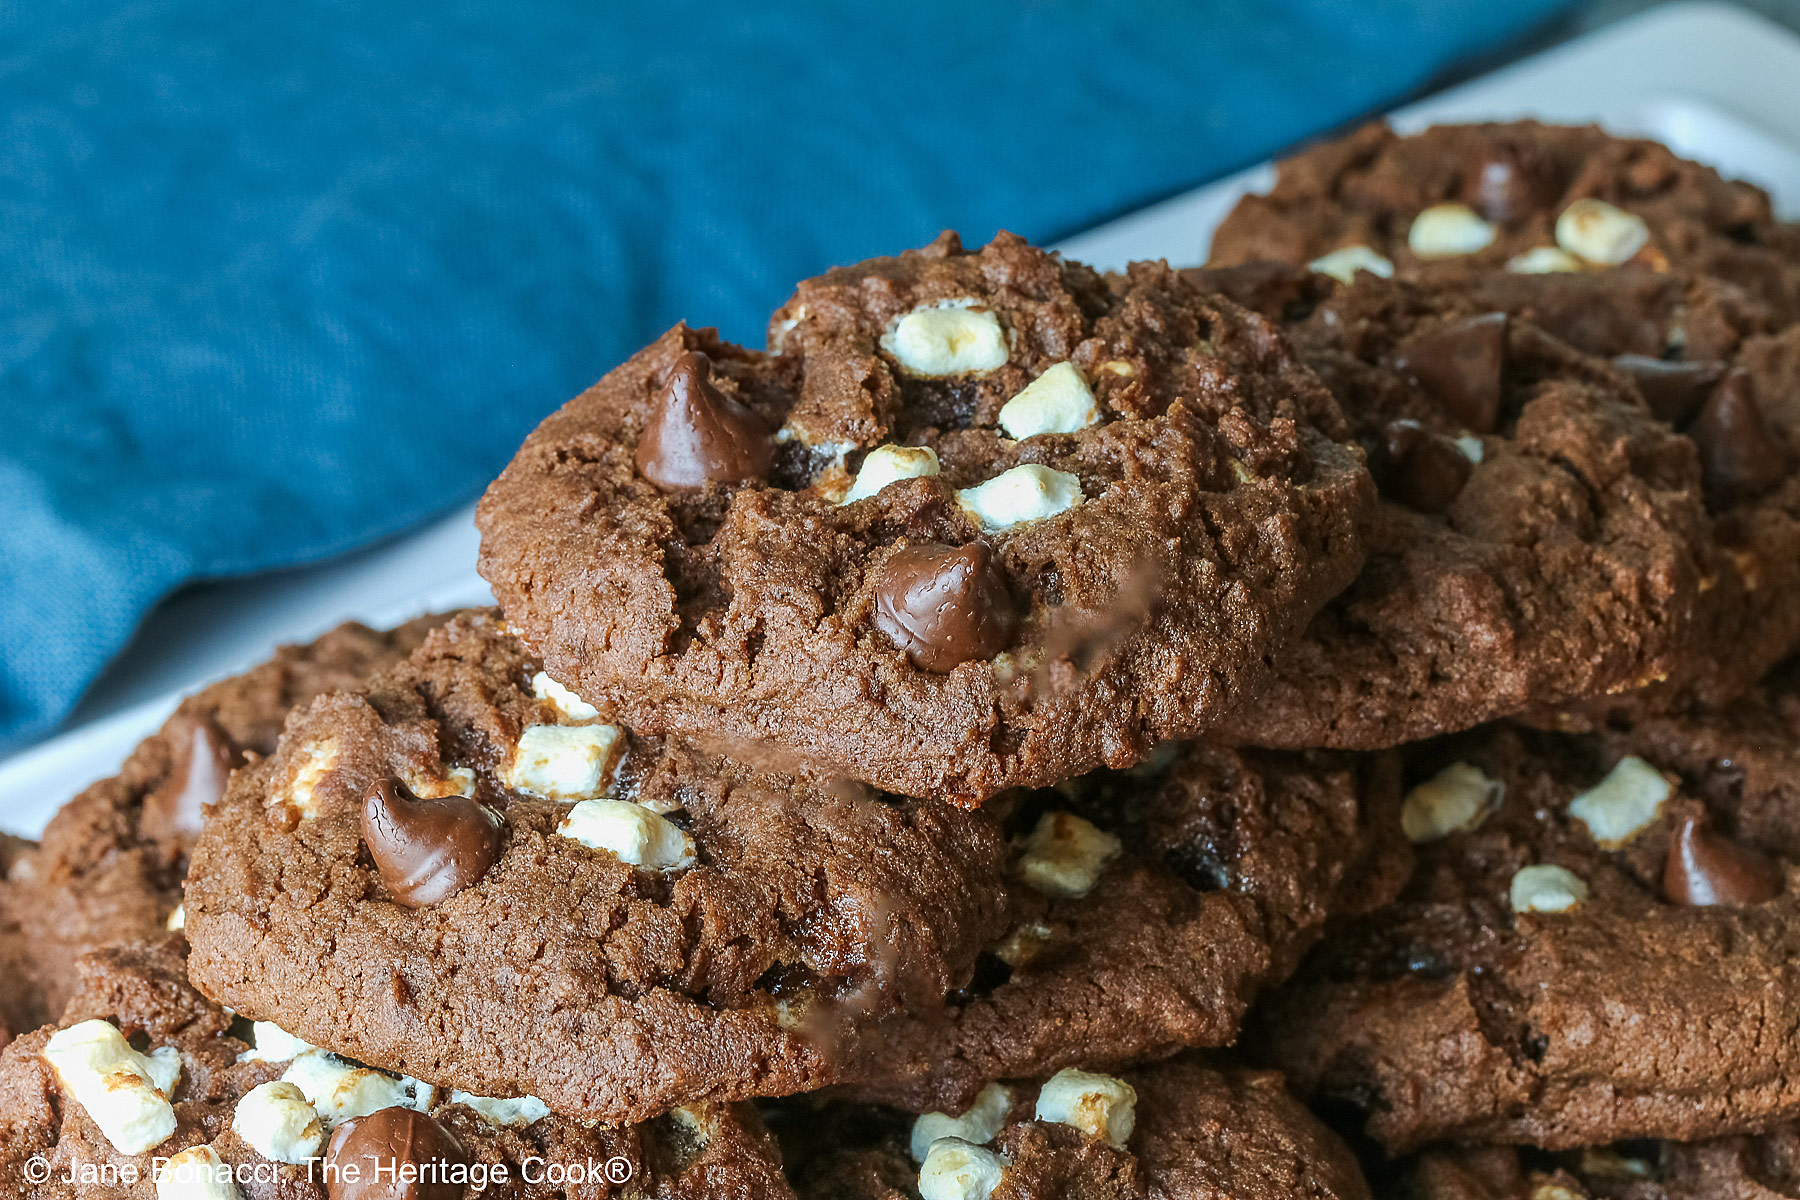
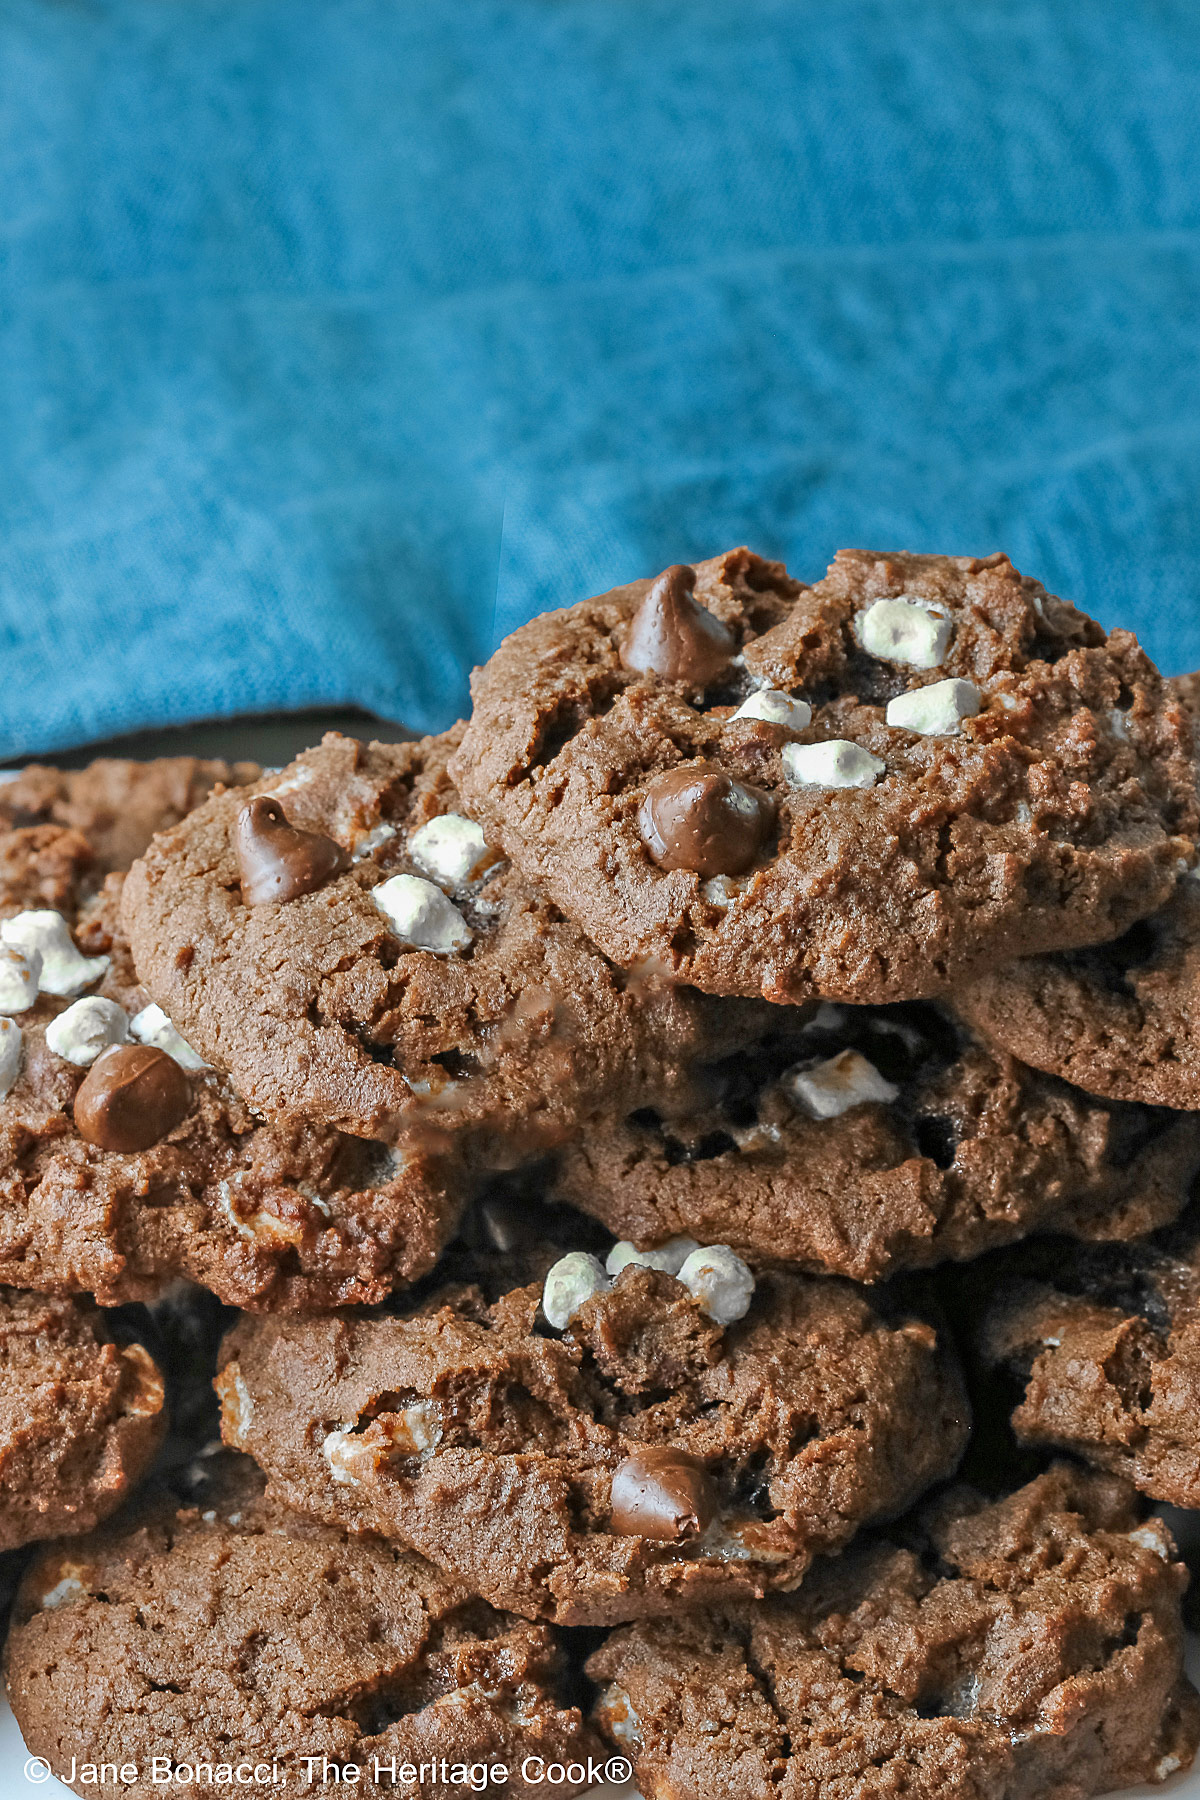
 Hot chocolate with marshmallows in a mug is a favorite of every child I know and most adults. But when you take the concept and put it into cookie form, everyone loves these Hot Cocoa Cookies! Studded with mini dehydrated marshmallows and chocolate chips, these soft cookies are perfection in every bite.
The first question I get asked is how do I find those special mini marshmallows? I found the marshmallow bits online. The ones I got are called Vanilla Dehydrated Marshmallow Bits from Candy Factory. They are versatile – you can also use them in hot chocolate, brownies, cakes, etc.
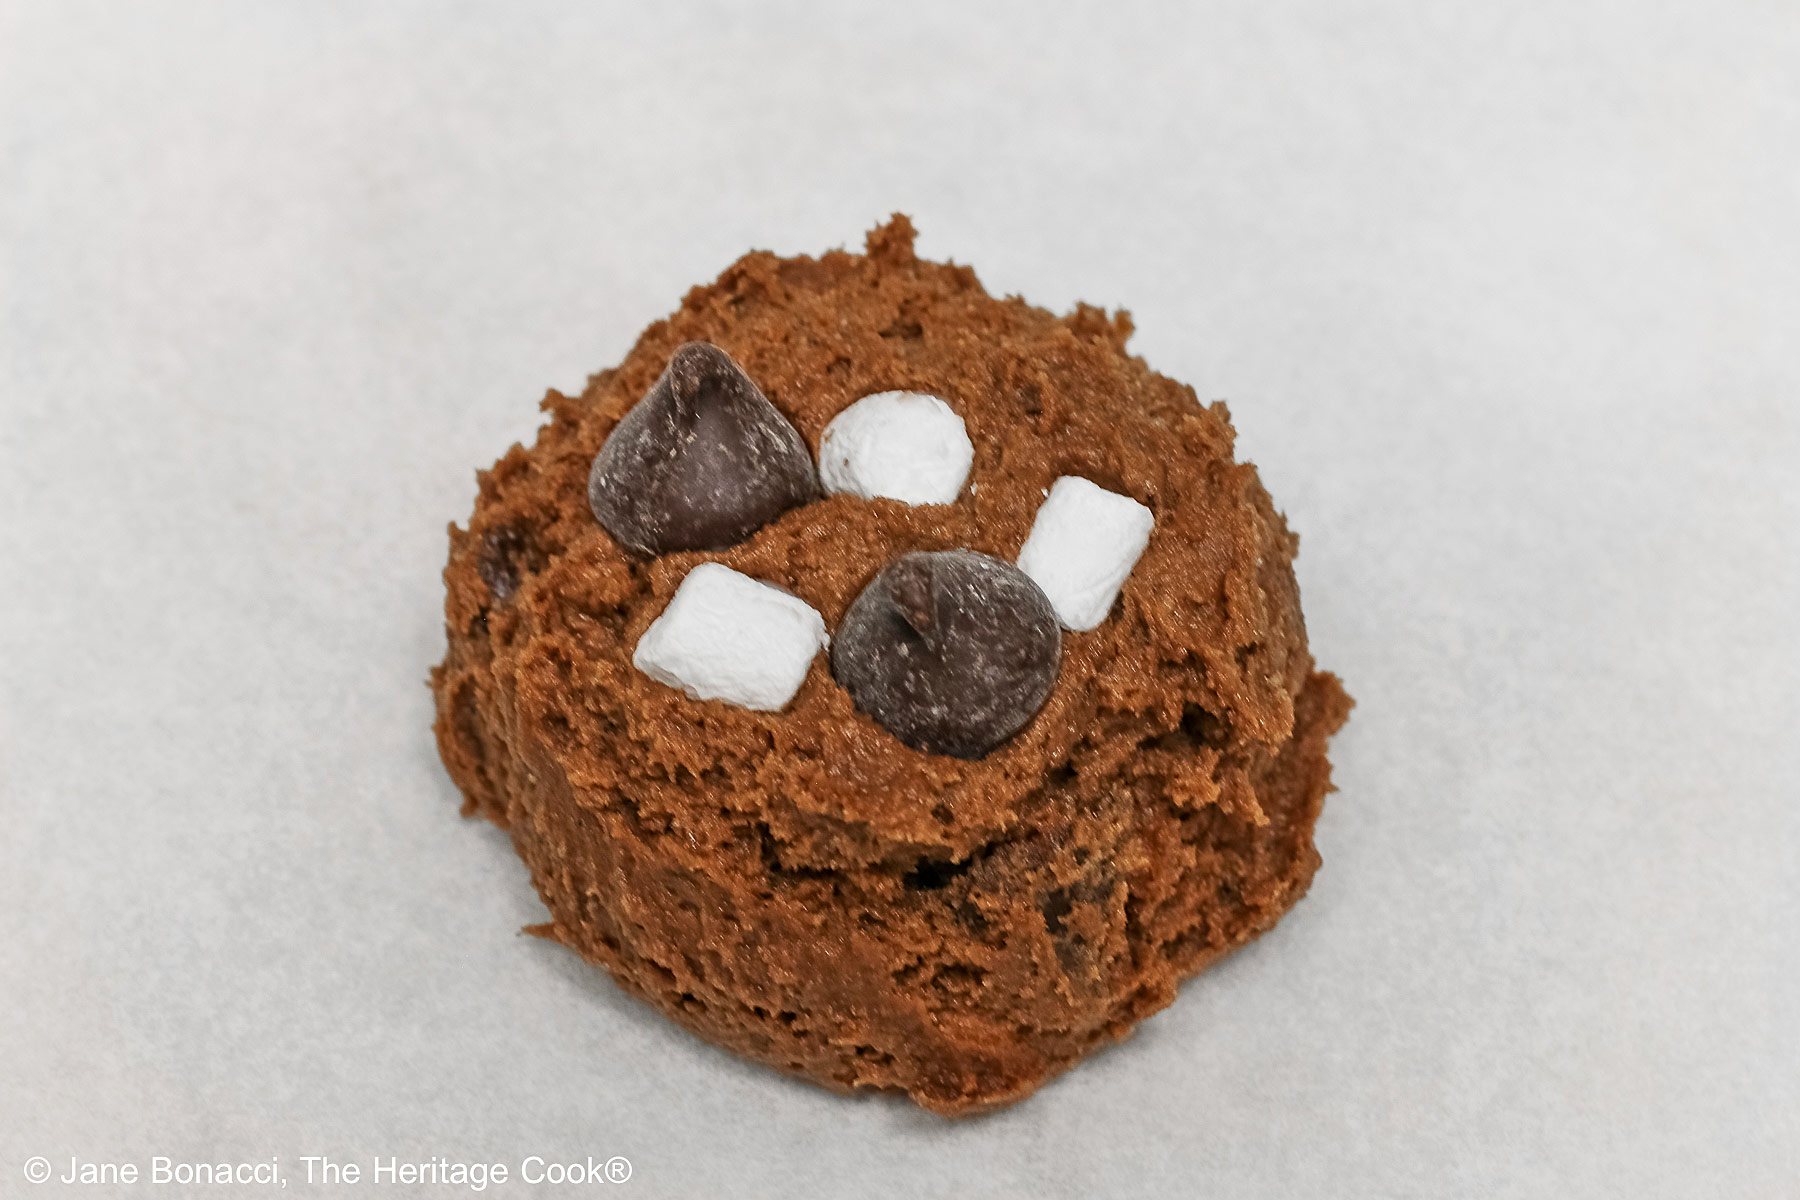
Decorated and ready to bake
You might be tempted to use regular mini marshmallows instead but resist the urge. Regular mini marshmallows will melt while baking while these dehydrated marshmallow bits will hold up better in these cookies.
I was pleasantly surprised when I tried the dehydrated marshmallows – they look like they would be rock hard, but they are pretty soft and taste just right. I can see using them in many desserts.
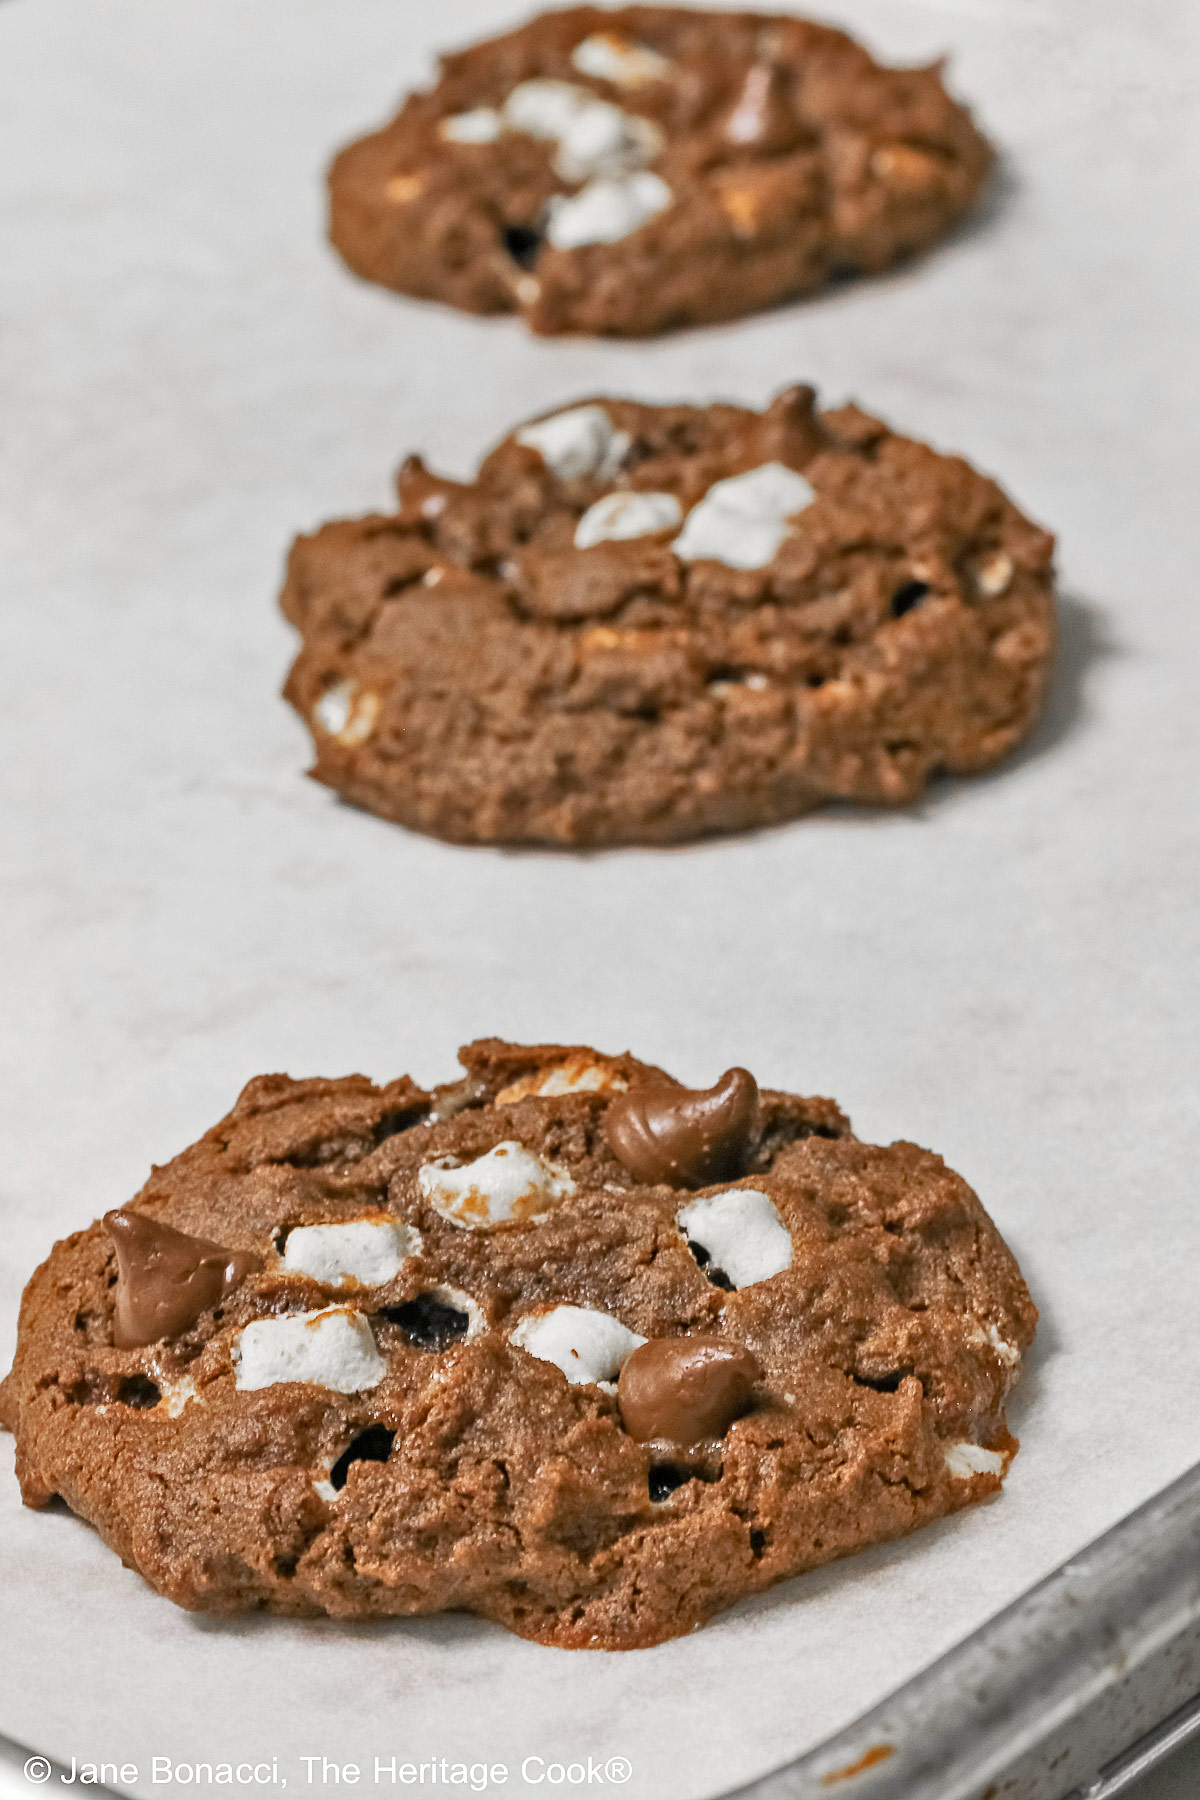
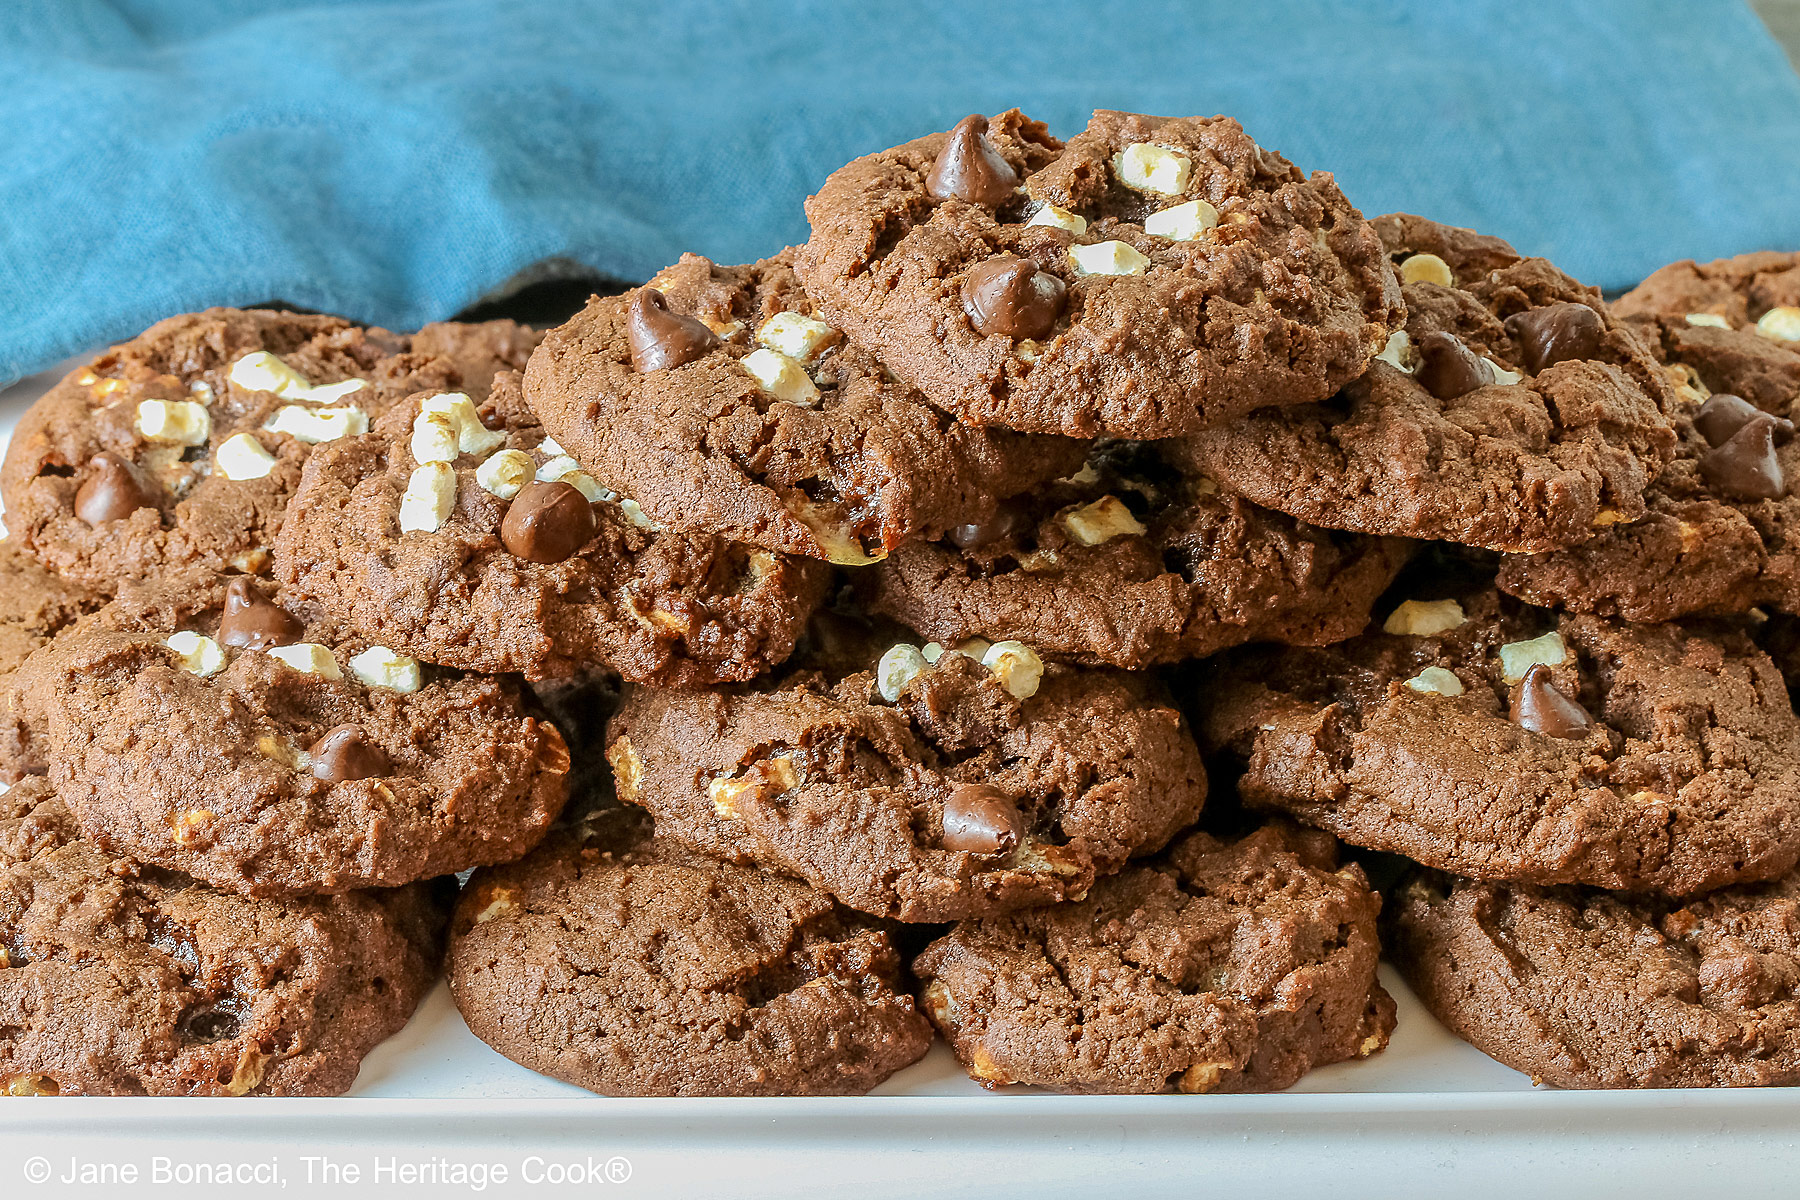
Hot from the oven!
If you want to, you can gently press a few extra marshmallows and chocolate chips on the top. Not necessary but they make a pretty addition. I added some and then gently pressed down on the cookies to slightly flatten them. Not required but it helps the toppings stay where you put them.
When you are baking chocolate cookies, watch your timing carefully. It is are hard to tell when they are done. There isn’t a change in color to guide you, but they do spread a little and look a bit dry on top when ready to pull out of the oven.
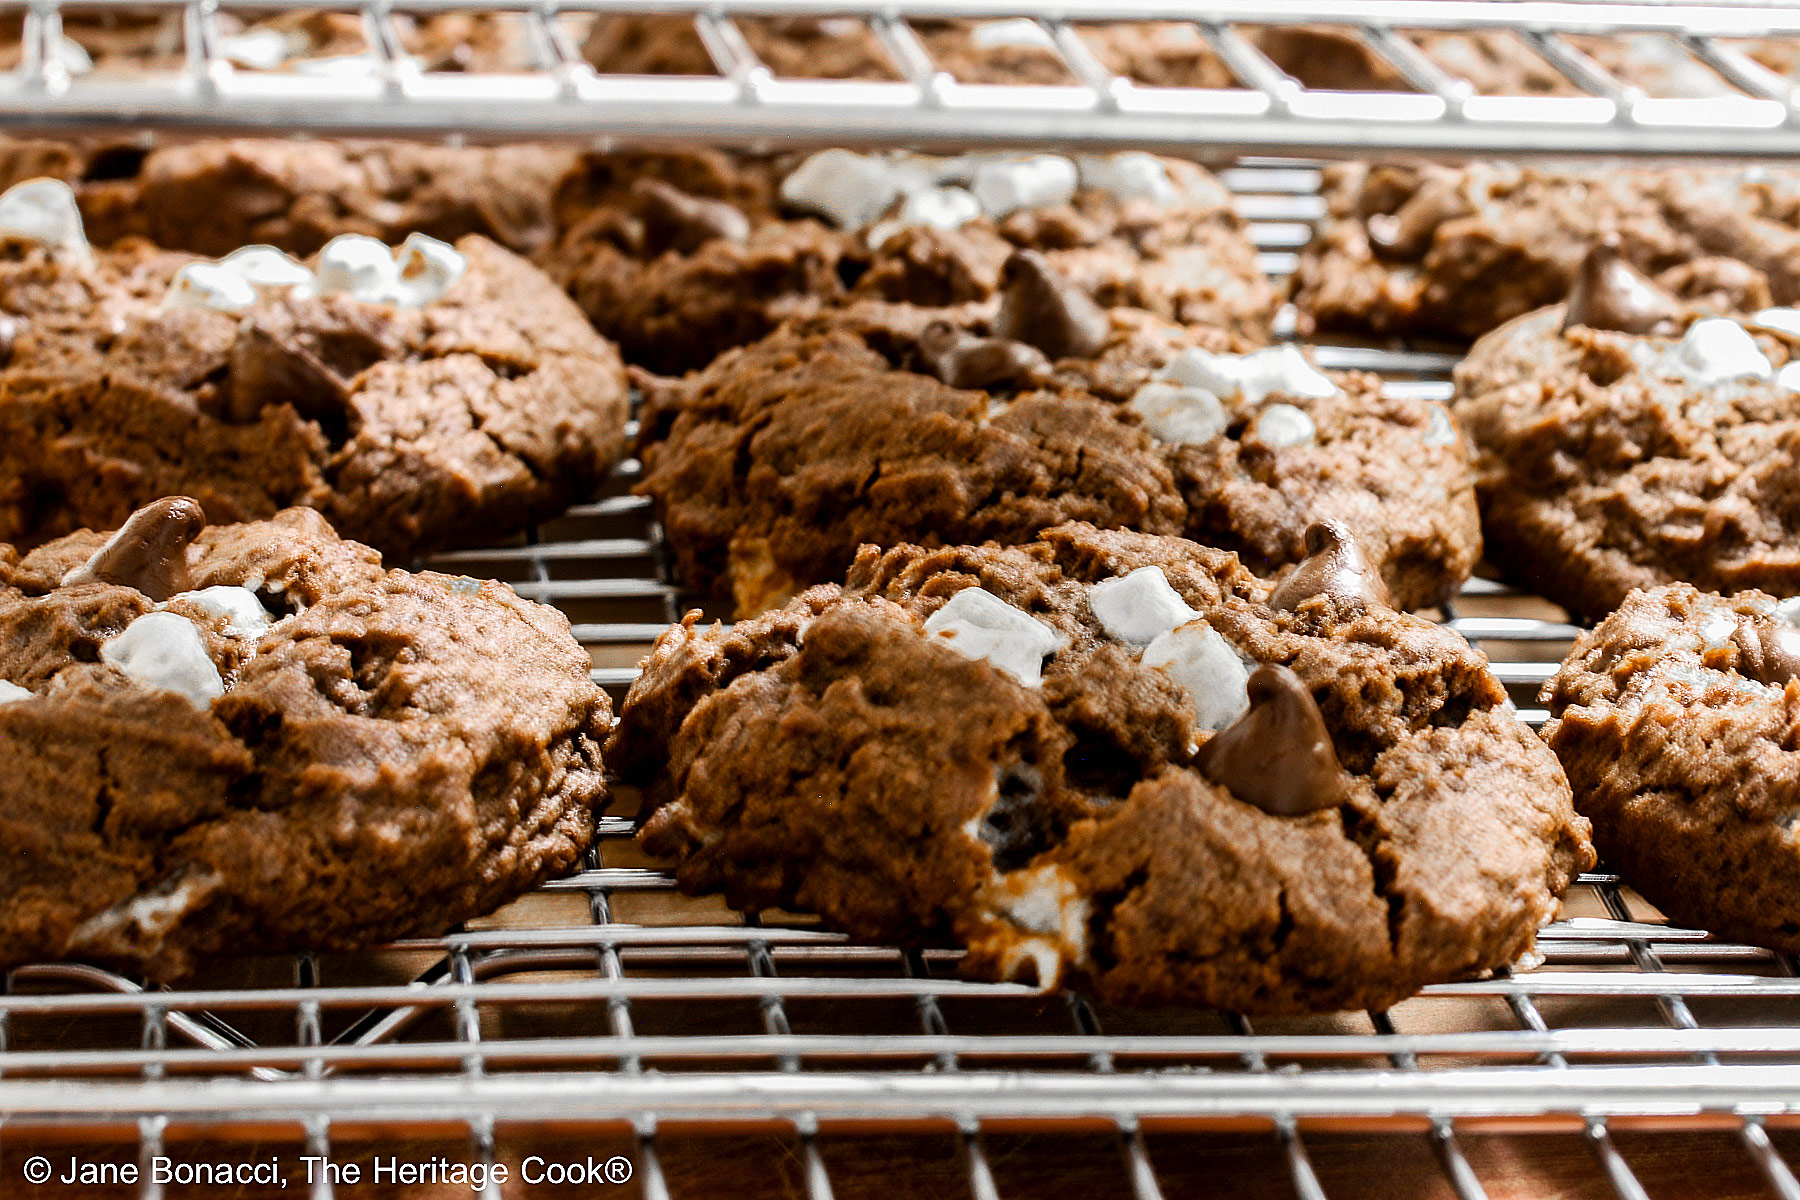
Cookies on stacked cooling racks
Your house will smell amazing while they are baking – another sign they are done! Everyone will flock to the kitchen to see what you are making.
Let them cool on the baking sheet for about 3 minutes before moving them to a wire rack to finish cooking. It is hard to wait for them to cool but necessary, especially with gluten-free, before eating!
Because there is baking soda in this recipe, do not use dark or Dutch processed cocoa. They don’t play well together and your cookies may wind up tasting soapy!
I also left the dough on the counter to rest for about 30 minutes before portioning them onto the baking sheet. This gives the flours more time to fully absorb the liquids and hydrate. Again, not required but always a good idea especially with gluten-free doughs.

Baking one sheet pan of cookies at a time is a luxury of not having kids anxiously waiting. But it does give you more even baking and there is no need to spin and swap pans. You can load the second pan while the first one bakes, and slide it in the oven as soon as you pull out the other batch. It goes quite quickly and efficiently.
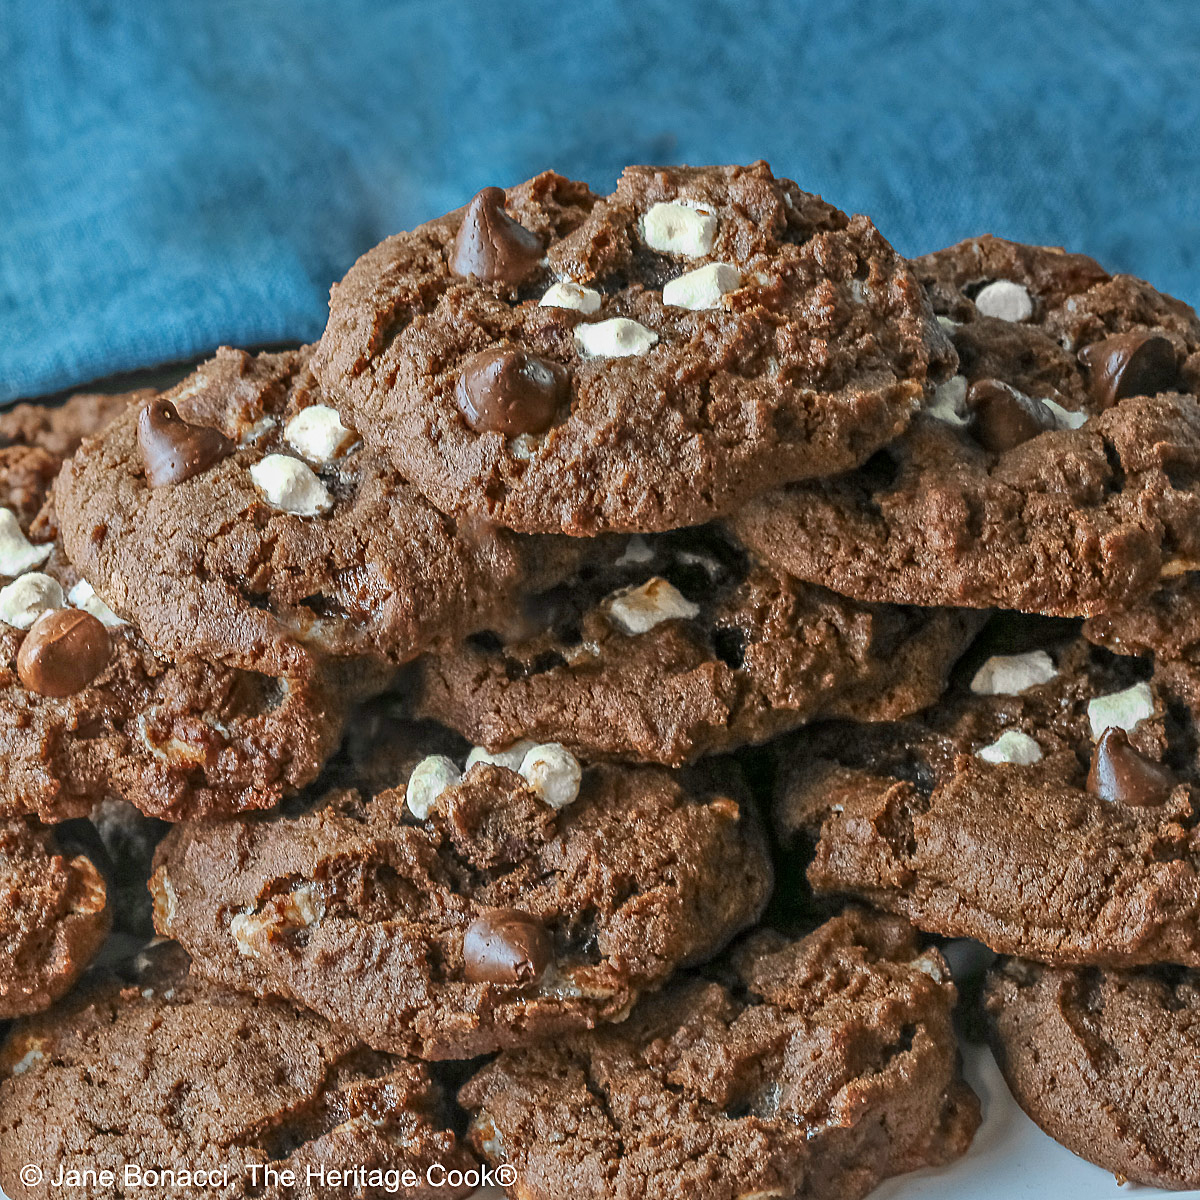
I hope you give these intensely chocolatey Hot Cocoa Cookies a try for your next event or holiday. They are luscious, soft cookies and absolutely packed with chocolate, just what you want when you are craving sweets!
Happy Chocolate Monday – have a wonderful week and I’ll see you back here on Friday for another savory recipe!
If you try this recipe, let me know! Please leave a star rating in the recipe card, comment below, and don’t forget to snap a pic and tag it @theheritagecook on Instagram! Seeing your creations makes my day and I love hearing from you!
Ingredients needed for Hot Cocoa Cookies:
- Butter, sugar, vanilla, flour*, cocoa powder, baking powder, baking soda, salt, milk, mini dehydrated marshmallow bits, chocolate chips
PRO Tip:
I found the mini marshmallow bits online. The ones I got are called Vanilla Dehydrated Marshmallow Bits from Candy Factory and came in an 8 oz (227g) bag. They are quite flexible and you can also use them in hot chocolate, brownies, cakes, etc. Regular mini marshmallows will melt while baking while these dehydrated marshmallow bits will hold up better in these cookies.
How to make Hot Cocoa Cookies:
- Cream together the butter, sugar, and vanilla until light and fluffy. In another bowl, whisk together the flour, cocoa, baking powder, baking soda, and salt.
- Alternating, add the dry ingredients and milk to the butter mixture, beginning and ending with the dry ingredients. Mix together until creamy. Mix in the marshmallows and chocolate chips.
- Use a cookie scoop and portion the dough into balls, place on a parchment-covered baking sheets. Top with extra marshmallow bits and chocolate chips if desired.
- Bake at 350°F (180°C) for 11 to 13 minutes until the tops of the cookies look dry and they smell done. Leave on the baking pan 3 minutes before transferring to a wire rack to finish cooling.
- While they are baking, load your second baking sheet and top each cookie with some marshmallow bits and chocolate chips if desired. Bake remaining cookies.
PRO Tip:
It can be hard to tell when chocolate cookies are done baking. Note the aromas coming from the oven. You will notice the smell of the cookies when they are close to being finished. They also will look a bit dry on top. Always watch them closely because they can over bake easily.
Recommended Tools (affiliate links; no extra cost to you):
- Kitchen scale
- Baking sheet pans
- Parchment paper sheets
- Stand mixer or hand mixer
- Mixing bowls
- Cookie scoop
Gluten-Free Tips:
* You can adjust any baking recipe to gluten-free by using 120 grams per cup of my favorite gluten-free flour blend. If you are using another brand of flour or regular flour, whisk it, spoon it lightly into a measuring cup until mounded, level off the top with a knife, and weigh the flour left in the cup. Use that weight as your standard per cup of that specific flour. Do this for each flour blend you use. Commercial gluten-free blends such as Pamela’s All-Purpose Artisan Blend, Bob’s Red Mill 1-to-1, or King Arthur Measure for Measure are all good gluten-free choices.
** My preferred brand of kosher salt is from Diamond Crystal. If you use Morton’s or another brand you will likely not need as much because they are saltier.
You will get the best and most consistent results by using a digital kitchen scale and weighing your ingredients, especially when you are baking. And use grams, they are much more accurate than pounds and ounces.
All recommended ingredients are gluten-free as of the writing of this article. Always check to be sure the products haven’t changed and are still safe to consume.
Hot Cocoa Cookies (GF)

These luscious Hot Cocoa Cookies are great for your next event or holiday. They are comforting, soft cookies and absolutely packed with chocolate, just what you want after a busy day!
Ingredients
- 1 cup (2 sticks; 227g) butter, softened to room temperature
- 3/4 cup (150g) granulated sugar
- 1 tsp vanilla paste or vanilla extract
- 2 cups (240g*) gluten-free all-purpose flour* or regular all-purpose flour like Gold Medal
- 1/2 cup (42g) unsweetened natural cocoa powder, like regular Hershey’s (do not use dark or Dutch processed cocoa)
- 1 tsp baking powder
- 1/2 tsp baking soda
- 1/4 tsp kosher salt**
- 4-1/2 tbsp milk
- 1 cup (49g) dehydrated mini marshmallow bits
- 3/4 cup (128g) semisweet chocolate chips
- Extra mini marshmallow bits and chocolate chips, for decorating, optional
Instructions
1. Preheat the oven to 350°F (180°C) with a rack in the center if you’re baking one sheet at a time, or in the upper and lower third if baking two sheets at the same time.
2. Make the Cookies: In the bowl of your stand mixer or a large bowl if using a hand mixer, cream together the butter, sugar, and vanilla until fluffy, creamy, and lightened in color.
3. In a second medium bowl combine the flour, cocoa powder, baking powder, baking soda, and salt. Whisk to thoroughly combine.
4. Alternating the dry ingredients and milk, add them to the butter/sugar mixture, beginning and ending with the dry ingredients. Mix together until thoroughly incorporated, increasing speed to medium for a few seconds to blend everything. Mix in the marshmallow bits and chocolate chips until distributed throughout the dough.
5. If you have the time, leave the dough to rest for about 30 minutes. This gives the flours time to fully absorb the liquids and hydrate. Not required, but recommended.
6. Portion and Decorate Cookies: Using a cookie scoop or spoon, portion the dough into balls about the size of a walnut. Place the balls about 2-inches (5cm) apart on a cookie sheet. Press some more mini marshmallow bits on top of each cookie and if you want, you can also add a few extra chocolate chips. I placed 8 dough balls on my baking sheets (3 on each long side and 2 in the middle) and baked one sheet at a time.
7. Bake the Cookies: Bake for 11 to 13 minutes until the tops look dry. Leave on the baking sheet for 3 minutes and then transfer to a wire rack to cool thoroughly. While they are baking, load your second baking sheet with cookies dough balls topped with mini marshmallow bits and chocolate chips. Repeat with remaining dough.
8. Once cooled, you can store them in an airtight container up to a week at room temperature. For longer storage freeze them in single layers then transfer to a resealable plastic bag and hold them in the freezer.
Recipe found at www.theheritagecook.com
Notes
* You can adjust any recipe to gluten-free by using 120 grams per cup of my favorite gluten-free flour blend. If you are using another brand of gluten-free flour, whisk the mix, spoon it lightly into a measuring cup without a spout until mounded, level off the top with the back of a knife, and weigh the flour left in the cup. Use that weight as your standard per cup of that specific flour. Do this for each flour blend you use. Commercial blends such as Pamela's, Bob's Red Mill 1-to-1, or King Arthur Measure for Measure are all good gluten-free choices.
** My preferred brand of kosher salt is from Diamond Crystal. If you use Morton’s, another brand, or table salt you will not need as much because they are saltier.
You will get the best and most consistent results by using a digital kitchen scale and weighing your ingredients, especially when you are baking. And use grams, they are much more accurate than pounds and ounces.
All recommended ingredients are gluten-free as of the writing of this article. Always check to be sure the products haven’t changed and are still safe to consume.
Adapted from Michelle of My Heavenly Recipes
Nutrition Information:
Yield:
30Serving Size:
1Amount Per Serving: Calories: 220Total Fat: 9gSaturated Fat: 5gUnsaturated Fat: 4gCholesterol: 18mgSodium: 126mgCarbohydrates: 32gFiber: 2gSugar: 15gProtein: 3g
The nutritional information for recipes on this site is calculated by online tools and is merely an estimate. If you need nutritional calculations for medical reasons, please use a source that you trust.
If you enjoyed this recipe, be sure to follow me on social media so you never miss a post:
Create a New Tradition Today!
Welcome! The suggestions here are not intended as dietary advice or as a substitute for consulting a dietician, physician, or other medical professional. Please see the Disclaimers/Privacy Policy page for additional details. Unauthorized use, distribution, and/or duplication of proprietary material from The Heritage Cook without prior approval is prohibited. If you have any questions or would like permission, please contact me. We participate in the Amazon Services LLC Associates Program, an affiliate advertising program designed to provide a means for sites to earn advertising fees by advertising and linking to amazon.com. As an Amazon Associate, I earn a small amount from qualifying purchases without any additional cost to you. This page may contain affiliate links. The author makes no claims regarding the presence of food allergens and disclaims all liability in connection with the use of this site.


Leave a Reply