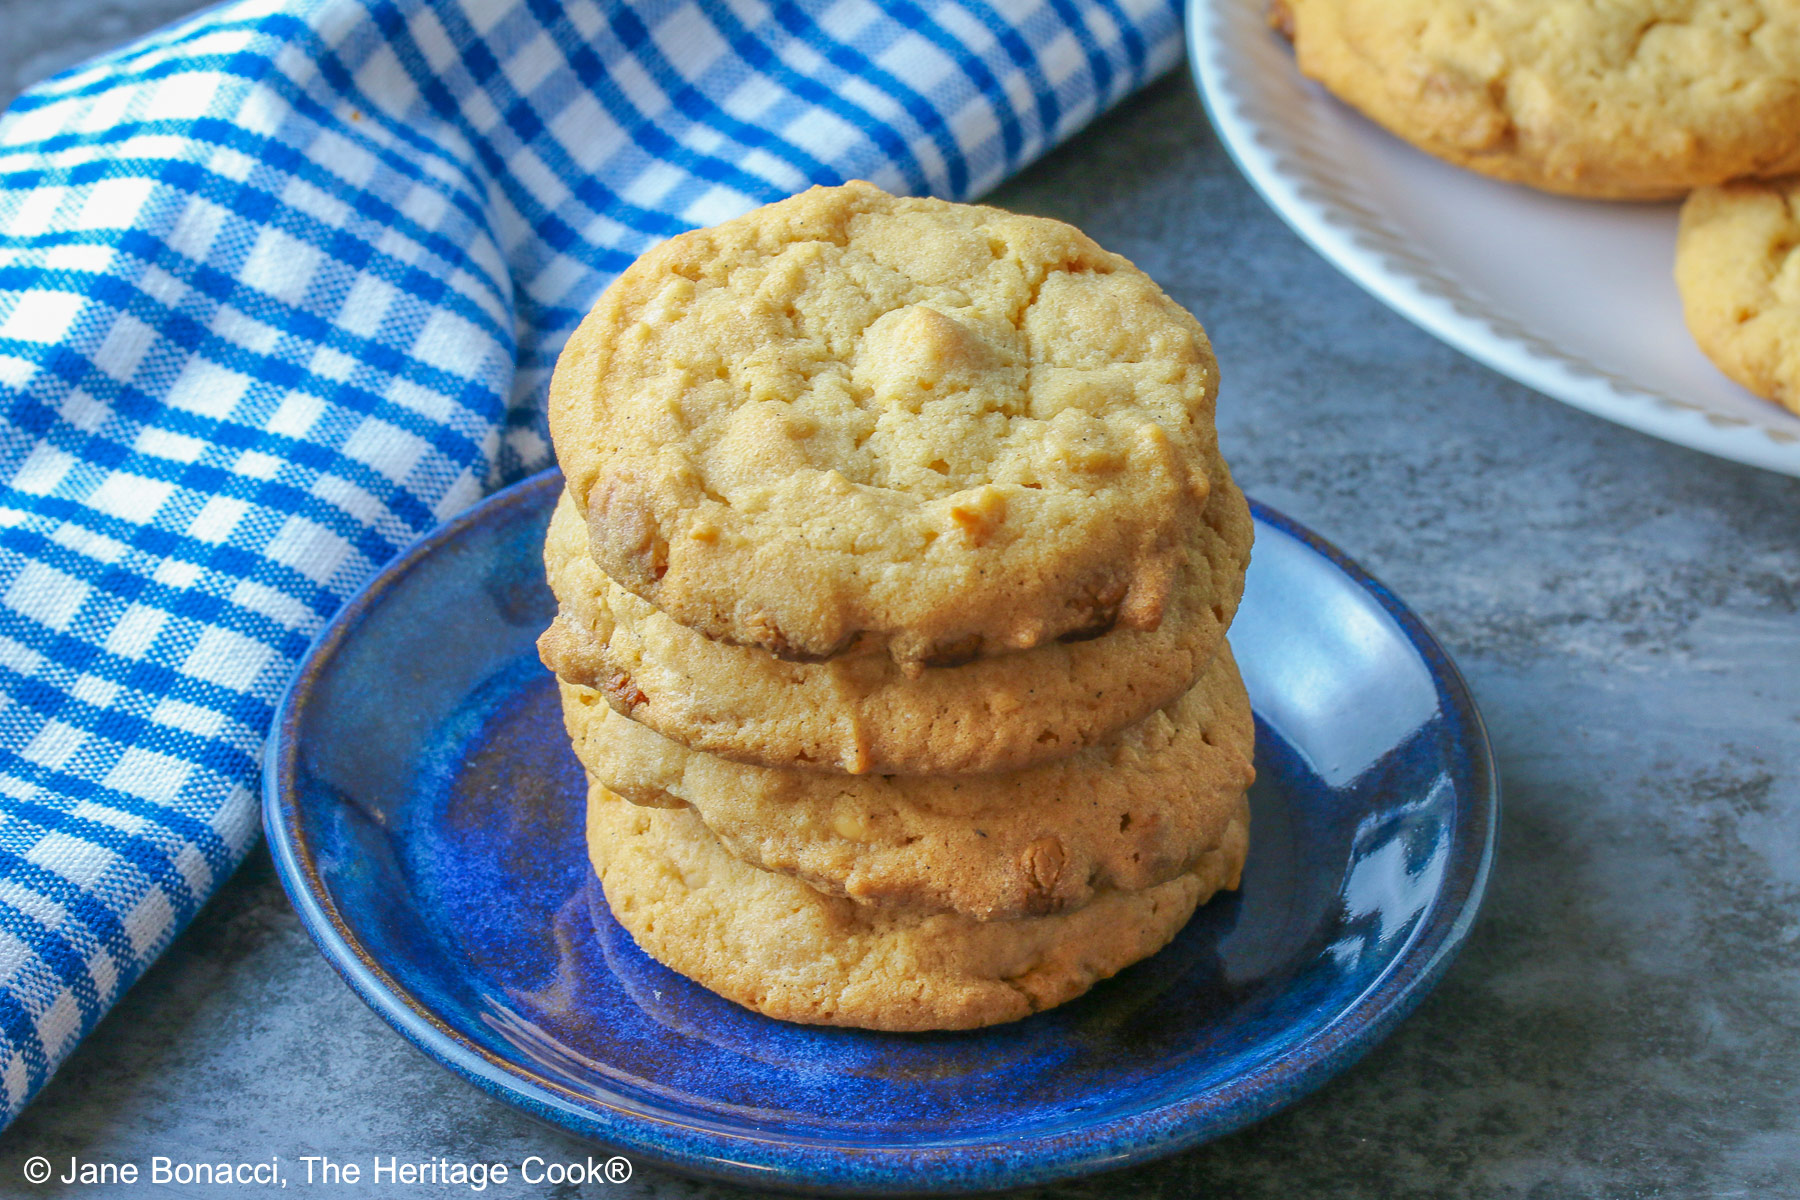
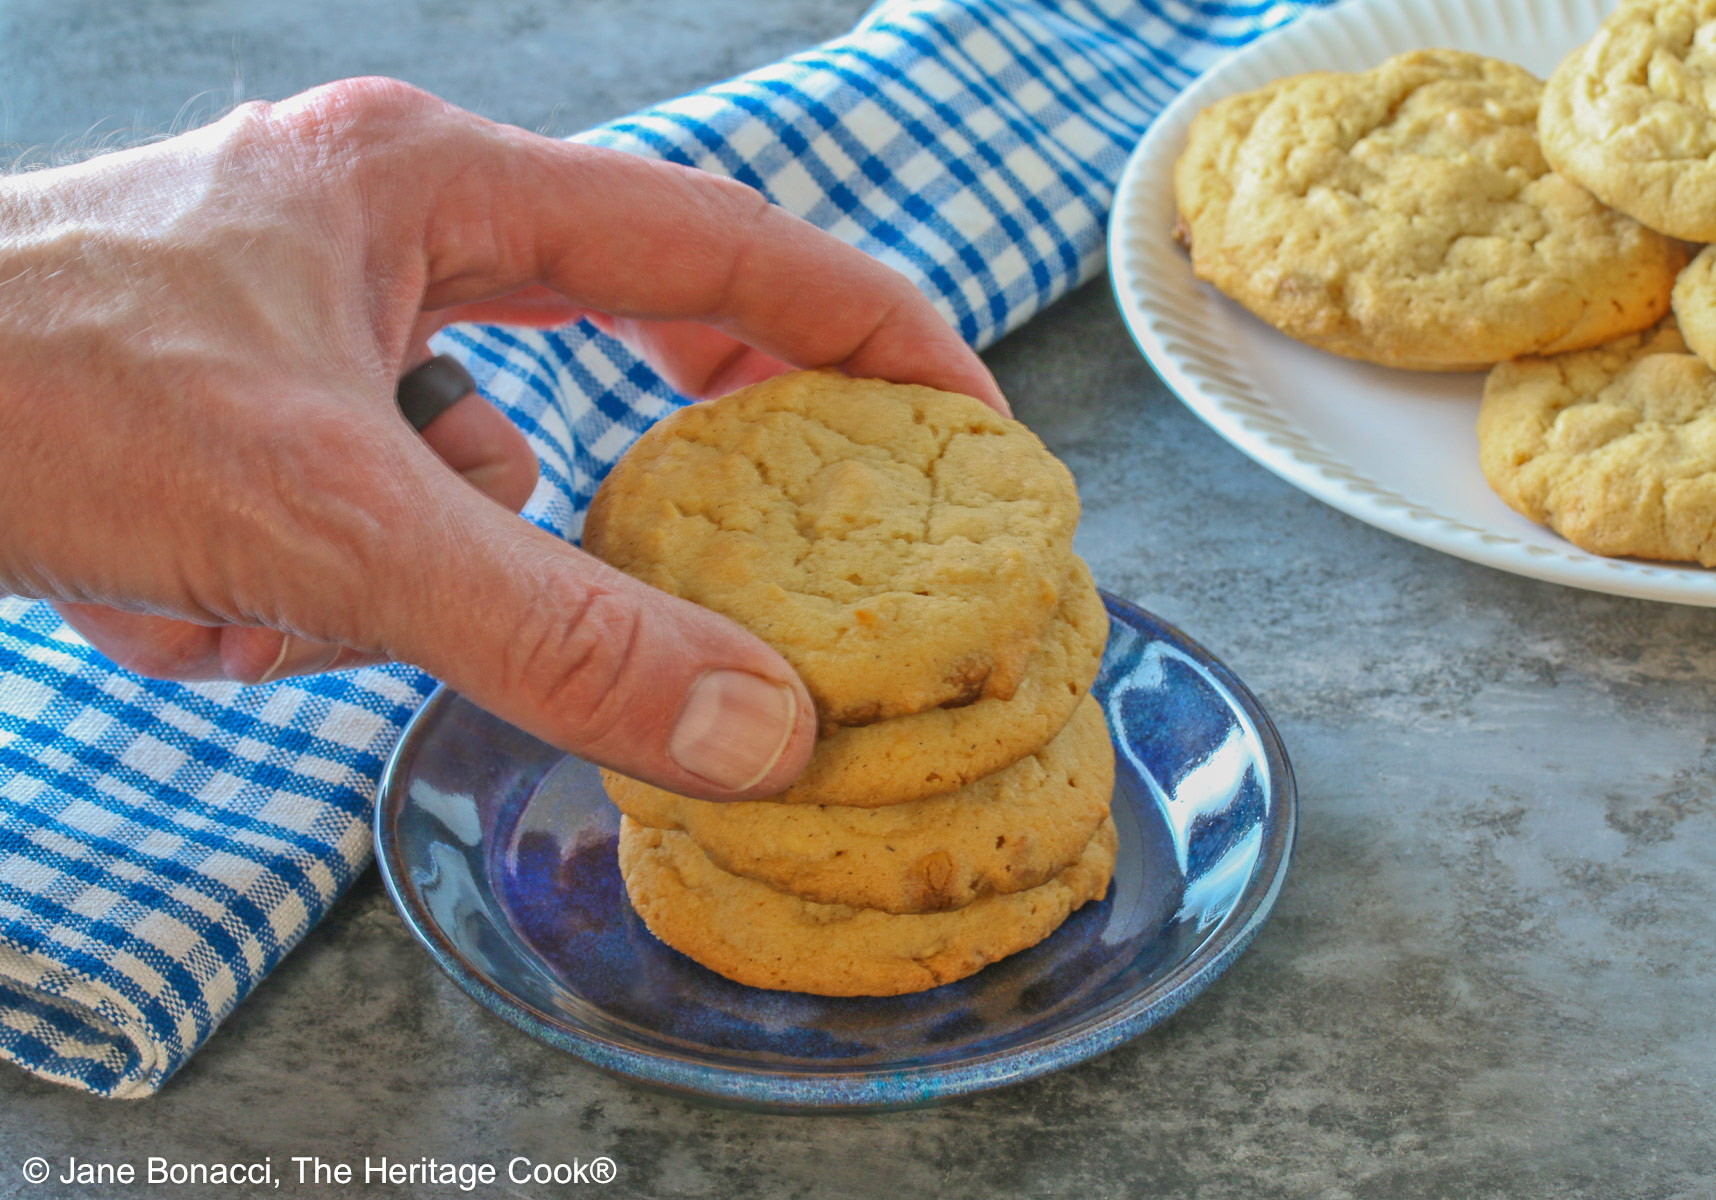
 These Peanut Butter White Chocolate Chip Cookies are lovely treats, with a delightful peanut butter flavor and crammed with white chocolate chips. They will bring back sweet childhood memories of days spent laughing and playing with your friends then coming home to a pile of these cookies and a tall glass of cold milk!
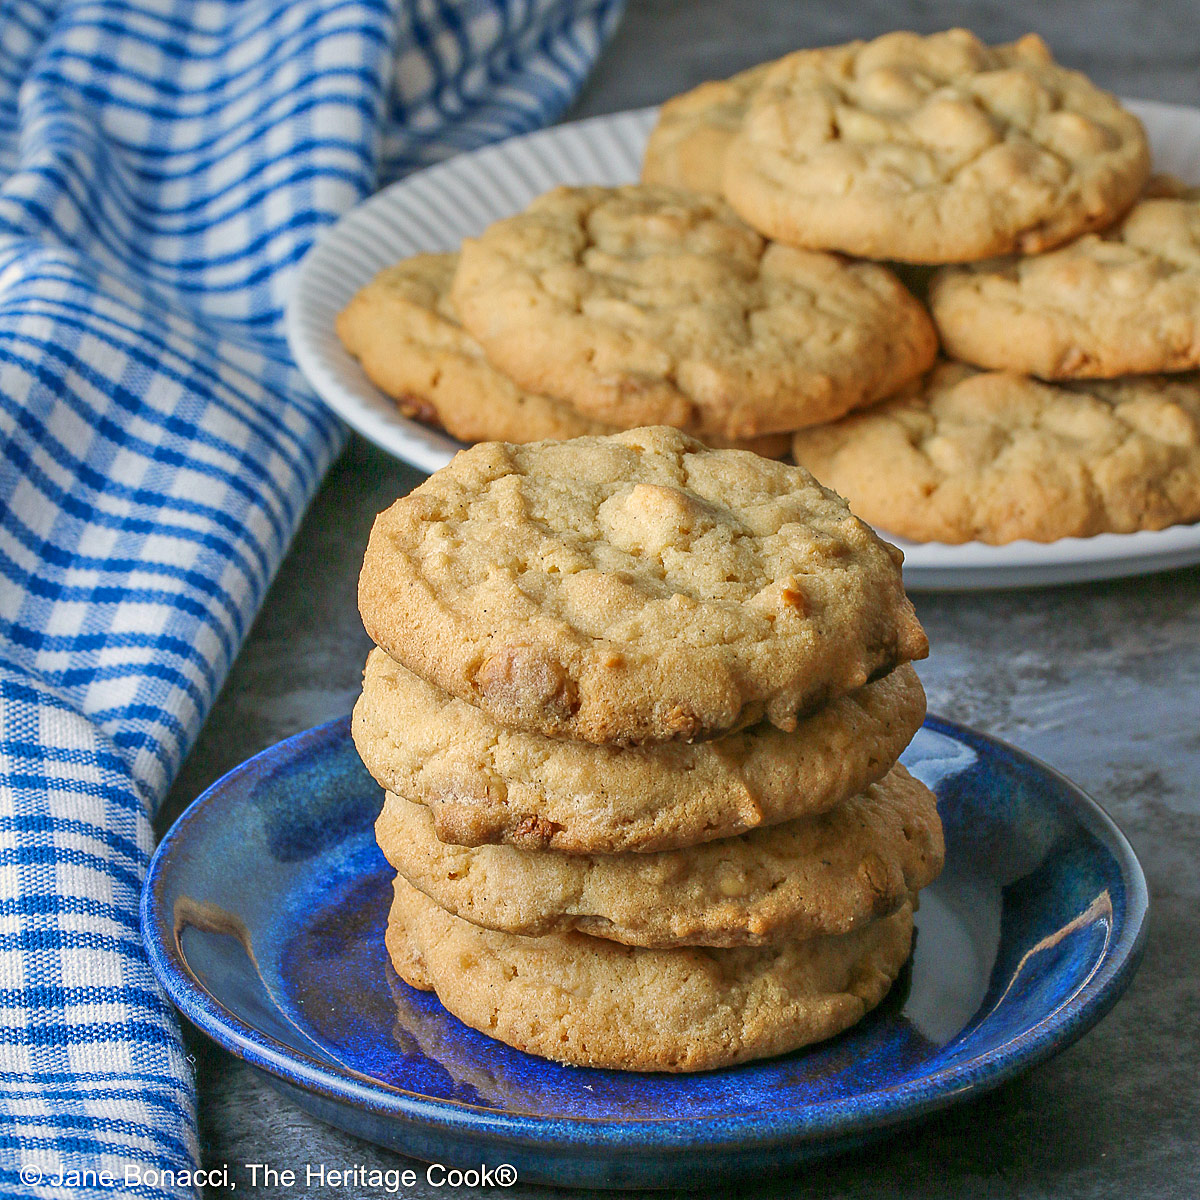
Peanut butter cookies often have chocolate chips in them and they are wonderful. But today I thought I would try something different and use white chocolate chips instead. What a treat!
These aren’t your old-fashioned peanut butter cookies where you press them with the tines of a fork. These are loaded with white chocolate chips and are thicker and more tender.
I love the simplicity of cookies. They are so easy to make from scratch and a great learning opportunity for little ones. They love helping you and they can make this recipe with just a little supervision. Lots of tasks they can do on their own and boy will they love using the cookie scoop!
For these cookies there is no need to chill the dough but you can if you want to make them ahead. Just be sure to press plastic wrap directly onto the top of the dough to keep it airtight. Then warm up on the counter about 20 minutes before forming and baking your cookies.
You don’t want to nibble on any of the unbaked dough. This recipe doesn’t make a ton of cookies so you need all the dough and you might get sick from the raw flour and eggs. It is always safer to wait until you have finished cookies to dive in!
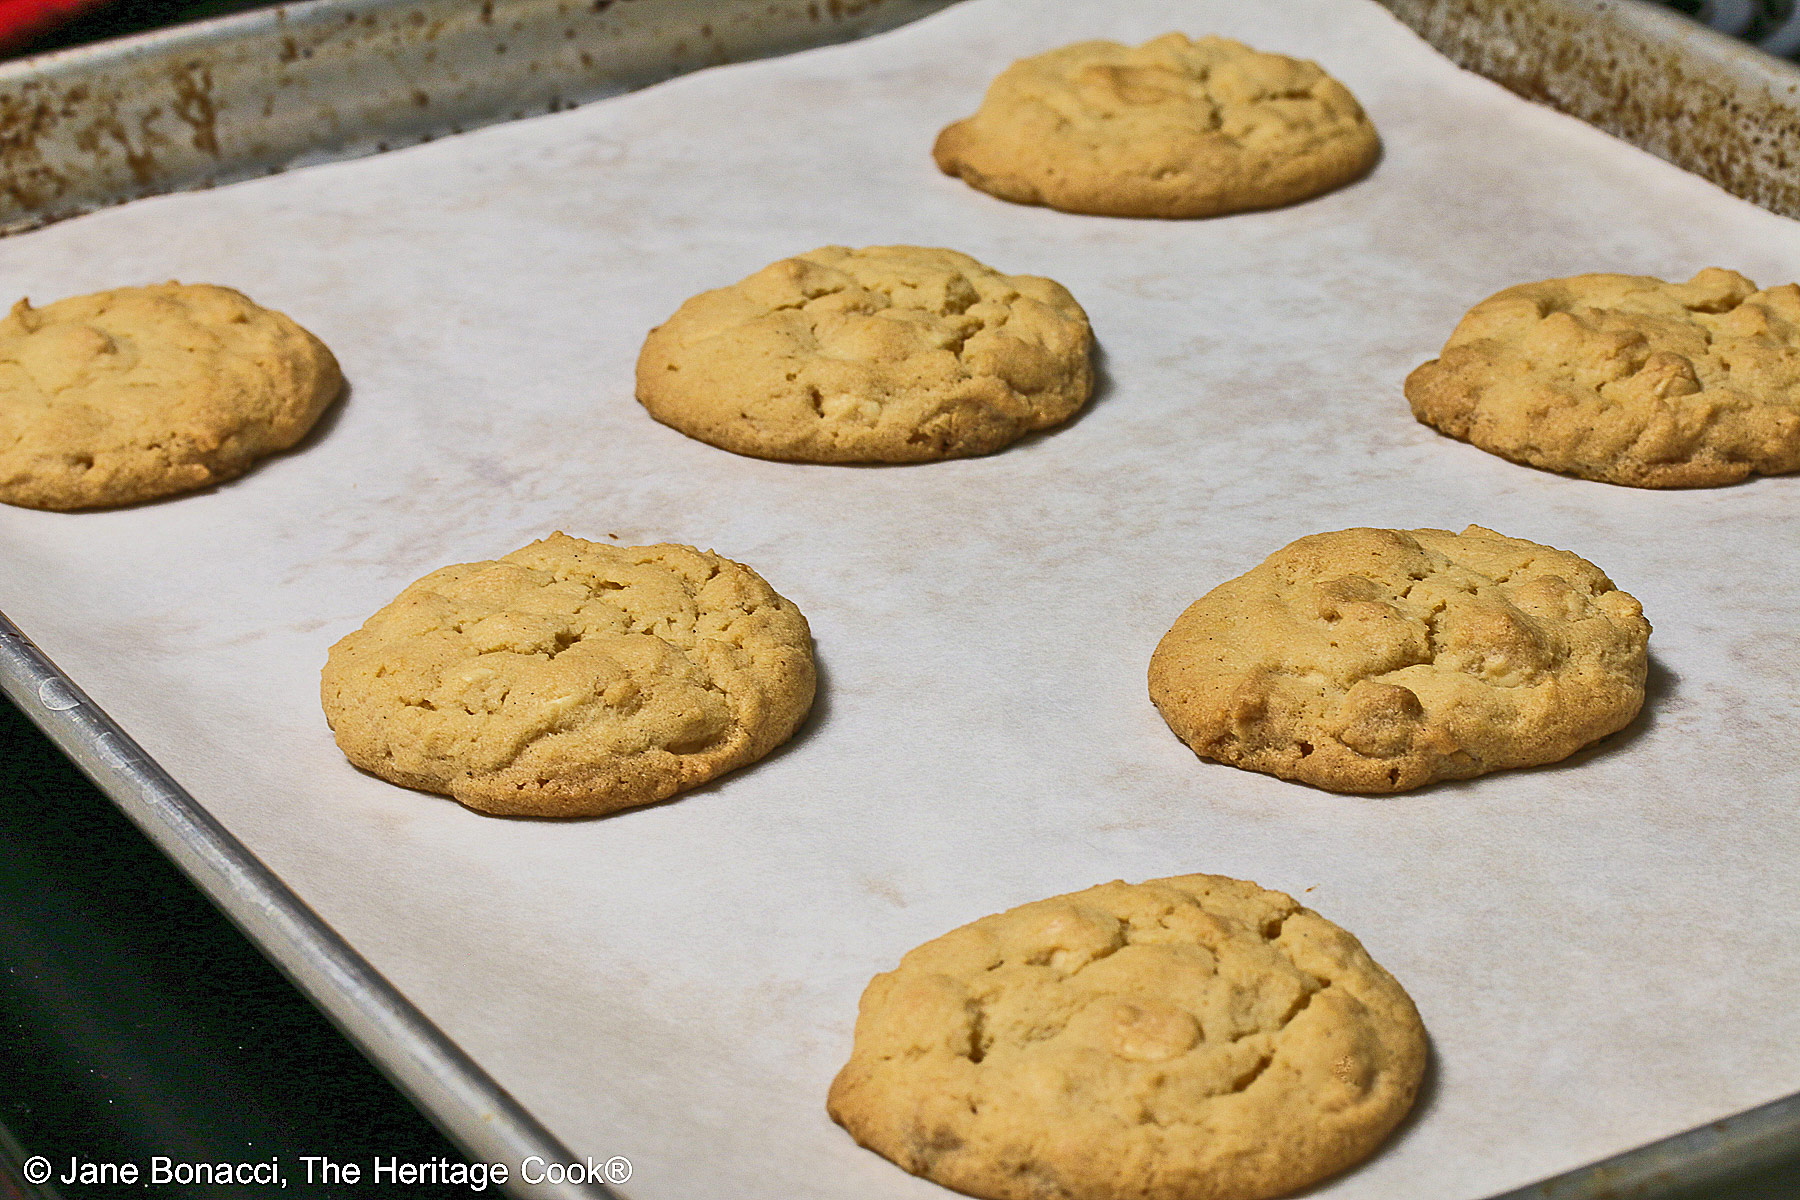
I bake one tray at a time for the most even baking, and even with that, the cookies are done fairly quickly. You will want to spin the tray halfway through baking so all the cookies bake evenly.
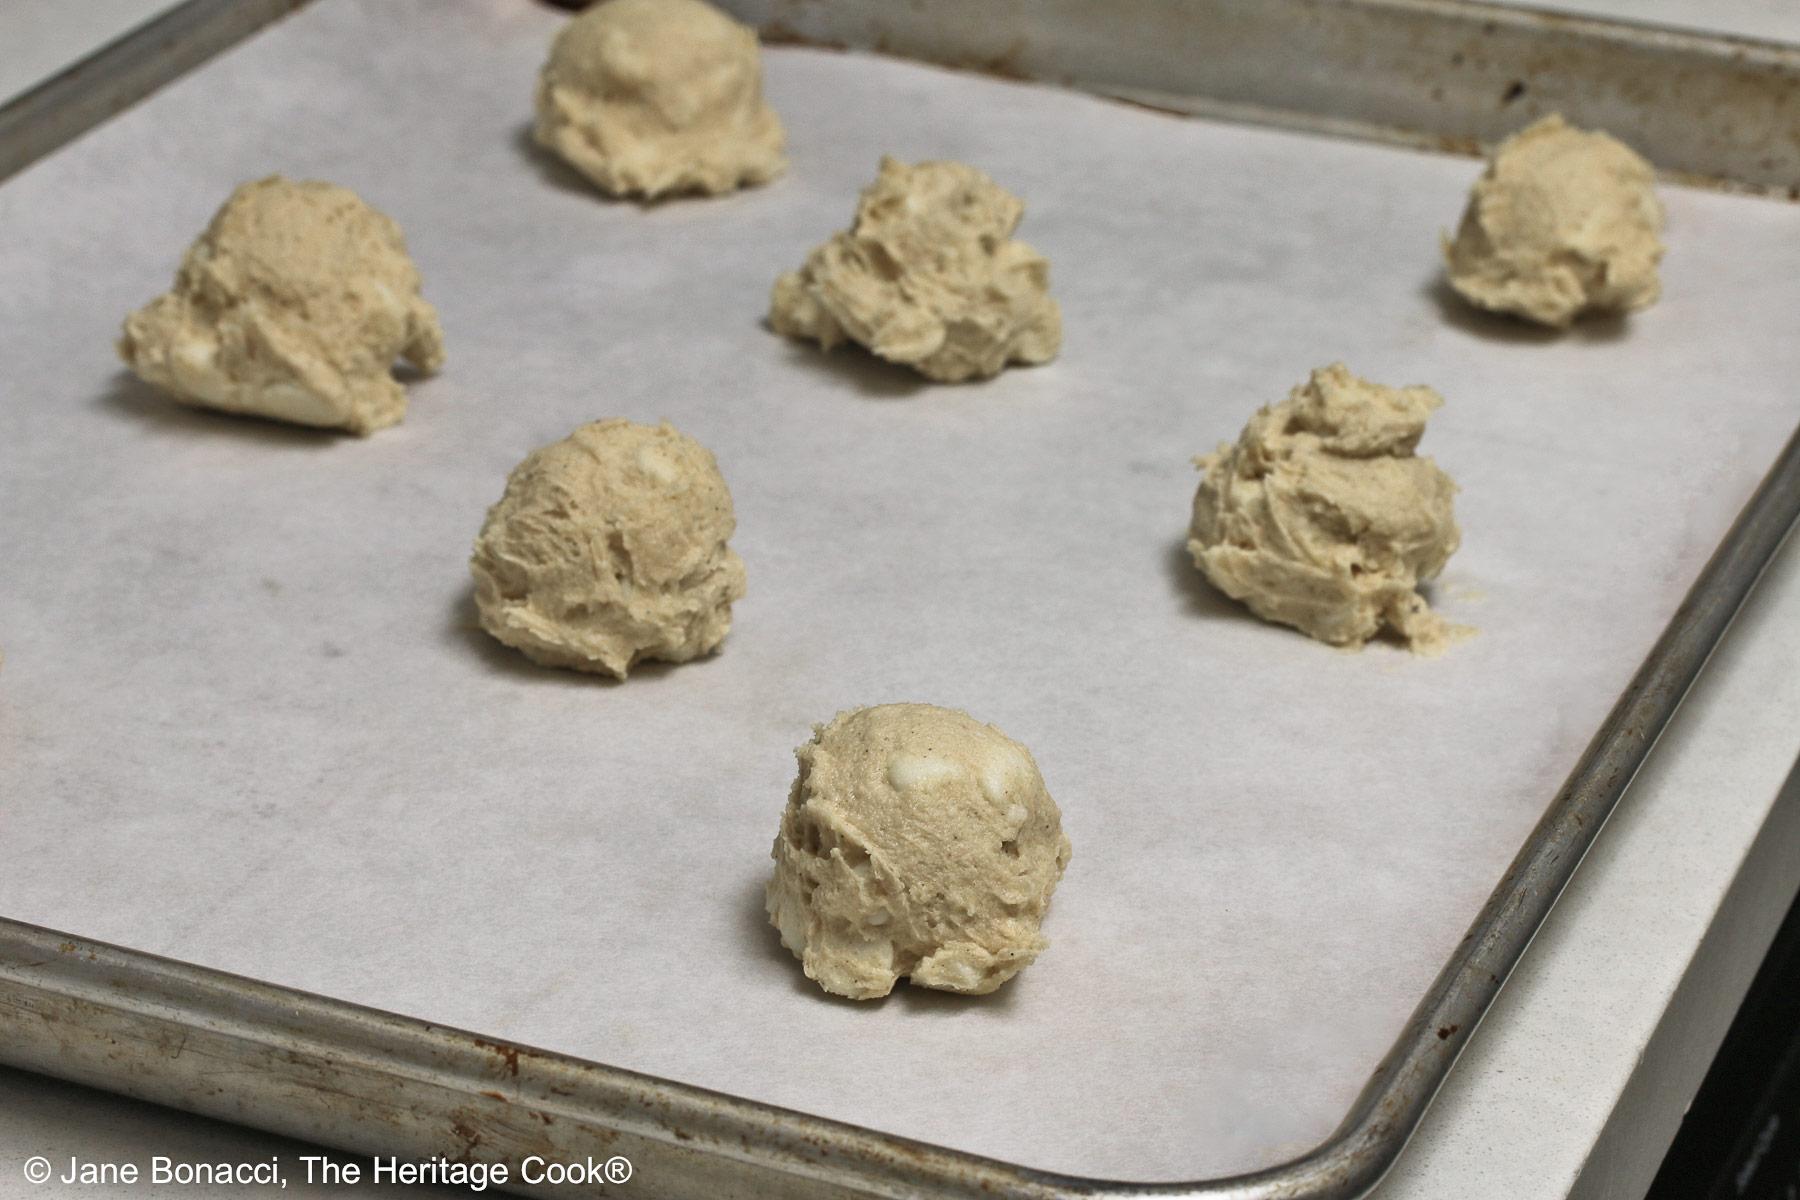
I got 8 cookies per baking sheet, three on each side and two in the middle (see the photo). Be sure to leave them on the baking pan after baking for a couple of minutes to firm up and finish baking, then transfer them to a cooling rack.
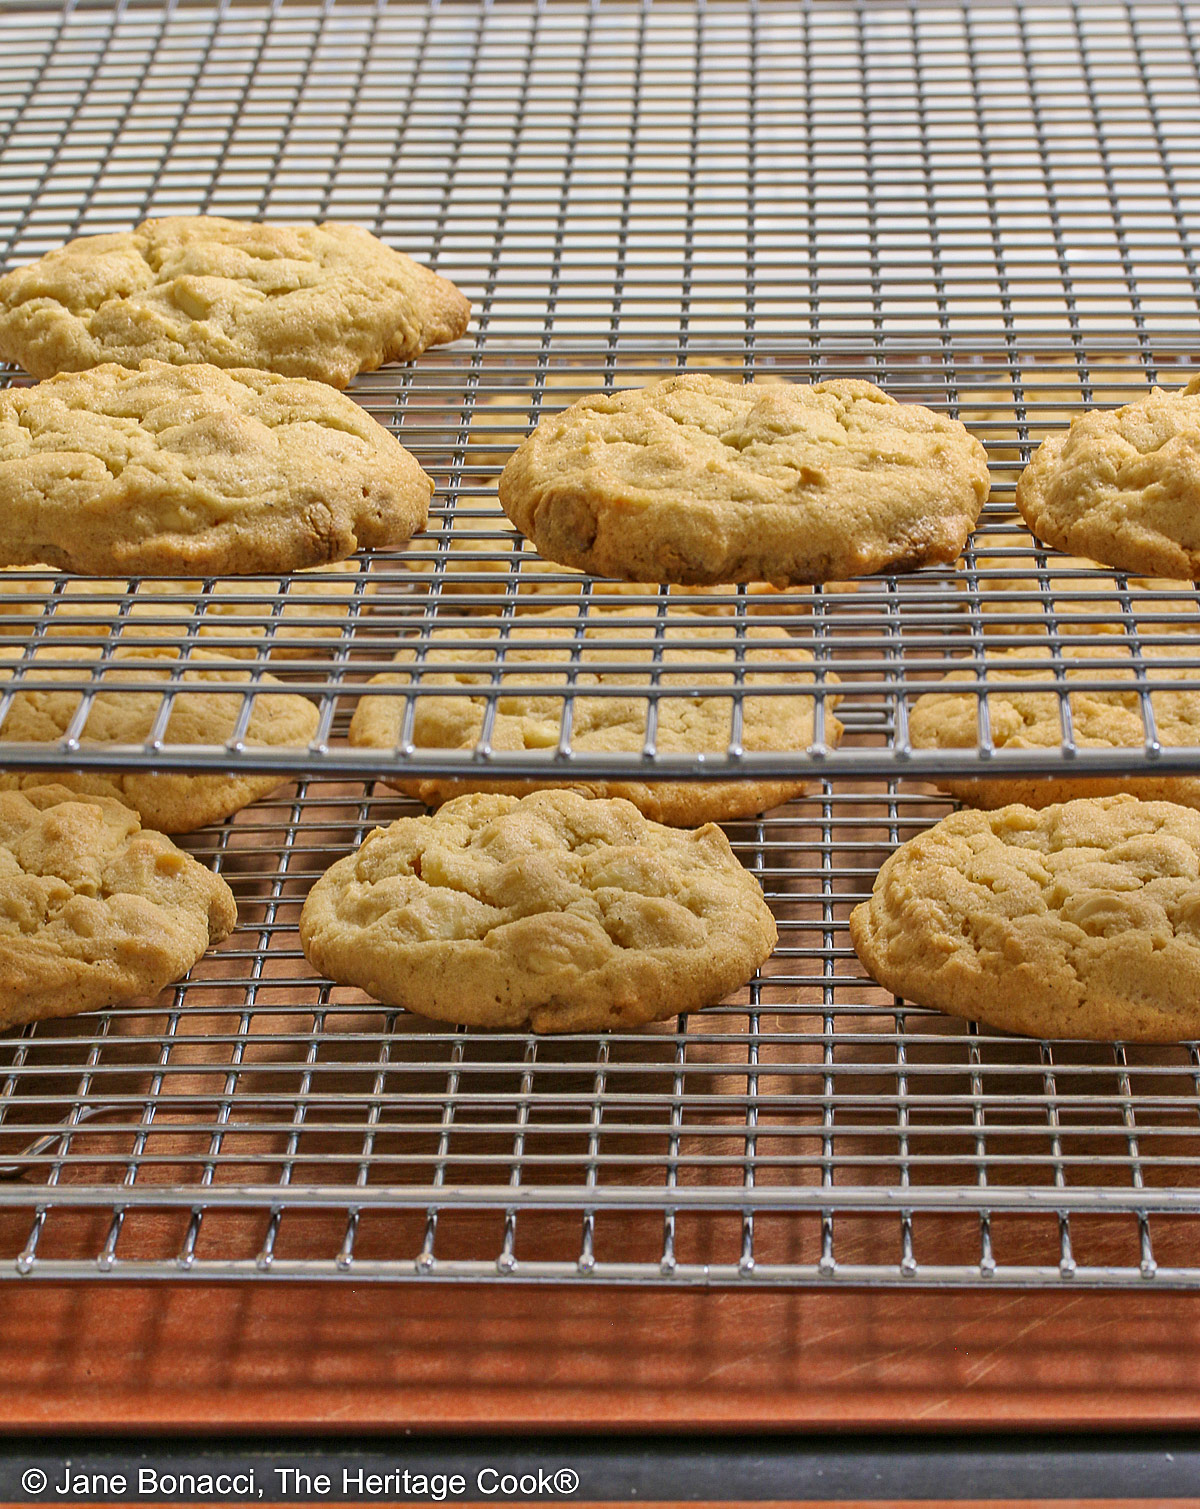
My new tiered cooling racks – such fun and useful in a small kitchen!
For Christmas my husband got me a multi-tiered cooling rack system that is wonderful (see photo above). I work in a small kitchen and space is at a premium so having racks that are vertical is very helpful. Today I used two to stack and was able to cool the entire batch at the same time without juggling space and racks!
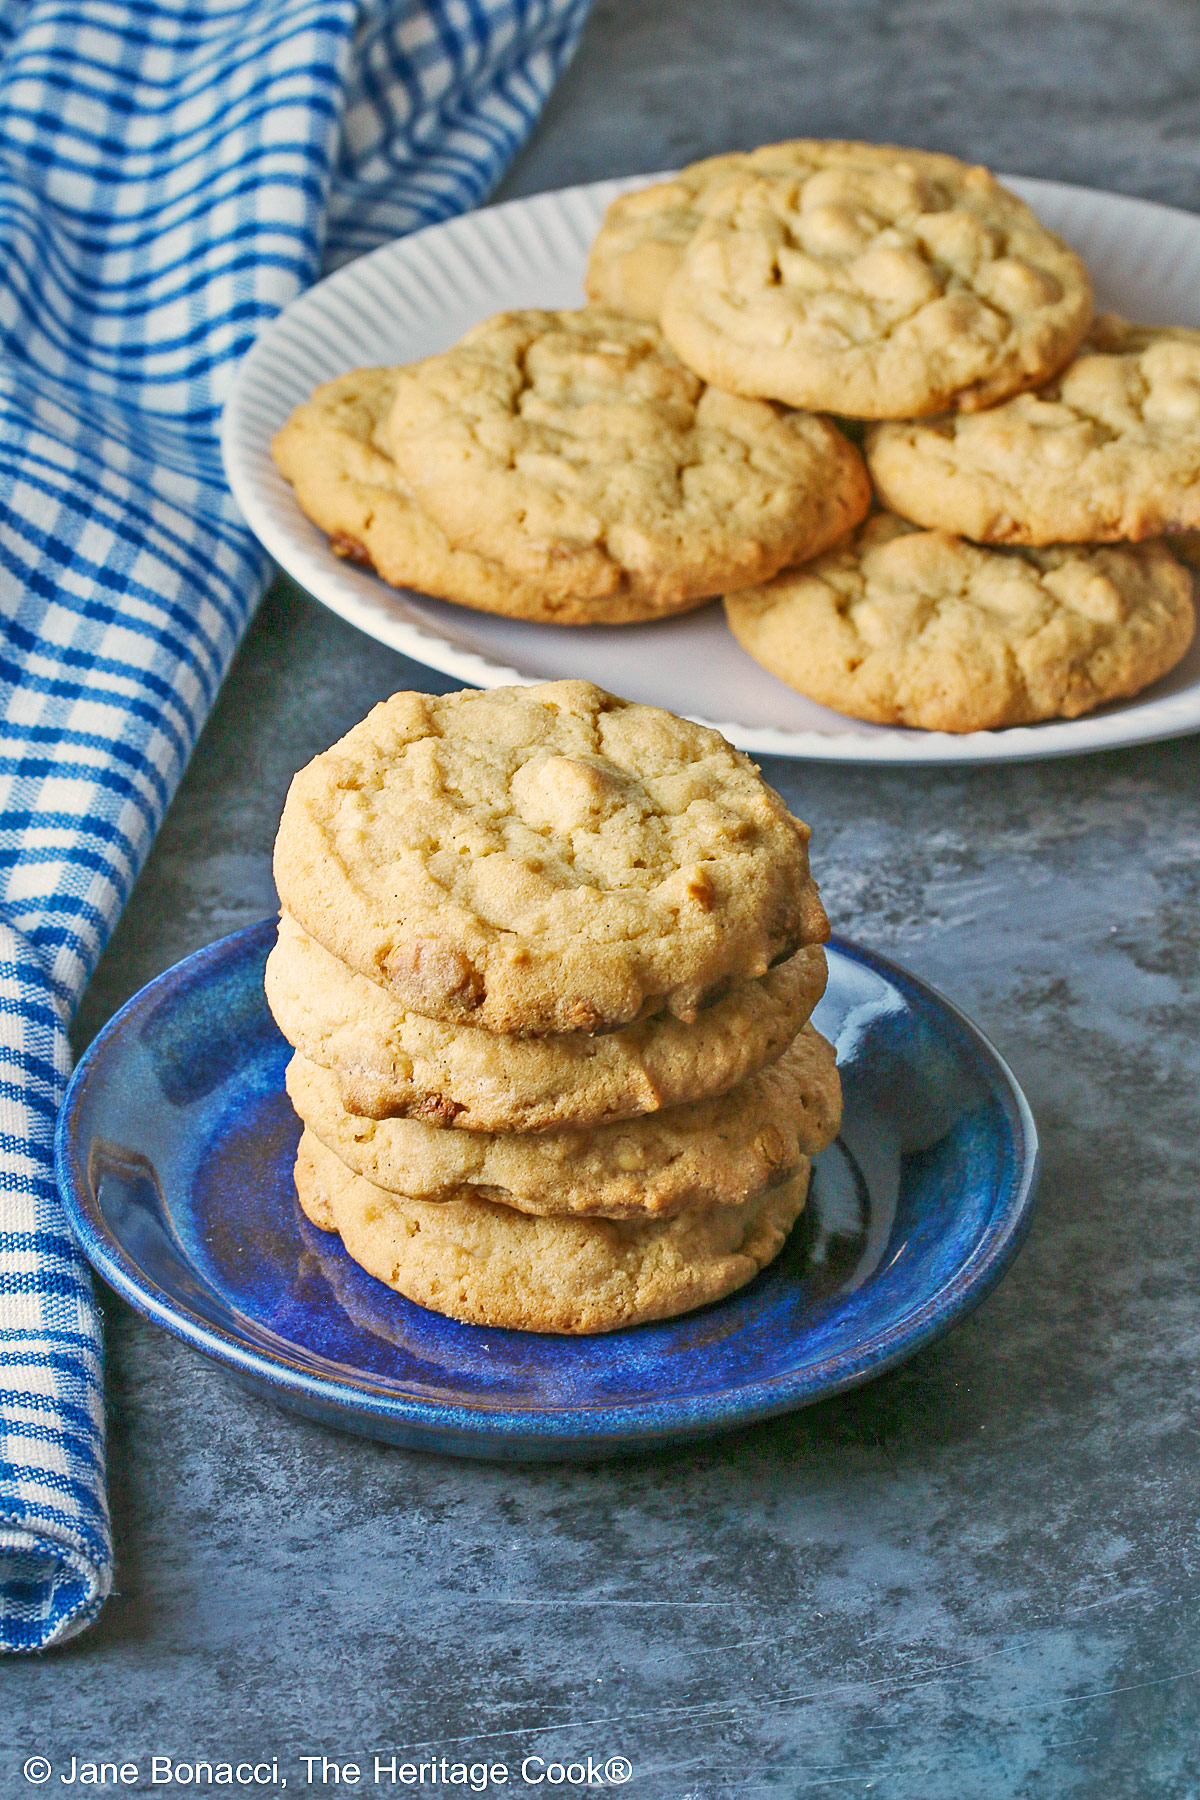
Using a #40 cookie scoop I wound up with 24 cookies but you can get more with a smaller cookie scoop (#60). They will be smaller, about 2 bites each, but just as delicious!
I hope you tuck this recipe for Peanut Butter White Chocolate Cookies into your ‘Must Make’ folder and pull them out the next time you have a potluck dinner, birthday party, or want a treat for your littles when they get home from school!
Have a terrific week – I’ll see you back here on Friday when I’ll have another savory recipe to share!
If you try this recipe, let me know! Please leave a star rating in the recipe card, comment below, and don’t forget to snap a pic and tag it @theheritagecook on Instagram! Seeing your creations makes my day and I love hearing from you!
Ingredients needed for Peanut Butter White Chocolate Chip Cookies:
- Flour, salt, baking soda, butter, peanut butter, sugar, egg, vanilla, white chocolate chips
PRO Tip:
This is a very soft dough, so be sure to scrape the bowl often so that everything gets incorporated evenly. When beating it, be sure you beat it long enough for it to become smooth and lighten in color.
How to make Peanut Butter White Chocolate Chip Cookies:
- Mix together the dry ingredients (flour, salt, baking soda) in a bowl, whisking to combine; set aside.
- Using your electric mixer, cream the sugar, butter, and peanut butter until creamy and scrape the bowl. Add the egg and vanilla and beat well, then scrape the bowl again.
- Add the dry ingredients to the peanut butter mixture, mixing until it forms a soft dough; scrape the bowl again. Add the white chocolate and mix just until evenly distributed.
- Using a cookie scoop (#40 or #60) form the dough into walnut-size balls and place on lined baking sheets, 8 to a pan. Sprinkle with a few extra white chocolate chips if desired, pressing them gently into the dough.
- Bake at 350°F (180°C) for 10 to 12 minutes until lightly browned and the edges are set. Leave on the pan for 2 to 3 minutes to firm up and then transfer to a wire rack to cool completely. Enjoy!
PRO Tip:
Cookie scoops or dishers (see below for link) are the easiest way to portion cookie dough, cupcake batters, pancakes, waffles, etc. Have several sizes so you can control the final size of the cookies. I used a #40 today for 2-inch (5 cm) cookies which were perfect. Use a #60 for more, smaller cookies if you prefer.
Recommended Tools (affiliate links; no extra cost to you):
- Kitchen scale
- Baking sheet pans
- Parchment sheets
- Stand mixer or hand mixer
- Cookie scoop
- Cooling racks
Gluten-Free Tips:
* You can adjust any baking recipe to gluten-free by using 120 grams per cup of my favorite gluten-free flour blend. If you are using another brand of flour or regular flour, whisk it, spoon it lightly into a measuring cup until mounded, level off the top with a knife, and weigh the flour left in the cup. Use that weight as your standard per cup of that specific flour. Do this for each flour blend you use. Commercial gluten-free blends such as Pamela’s All-Purpose Artisan Blend, Bob’s Red Mill 1-to-1, or King Arthur Measure for Measure are all good gluten-free choices.
** My preferred brand of kosher salt is from Diamond Crystal. If you use Morton’s or another brand you will likely not need as much because they are saltier.
You will get the best and most consistent results by using a digital kitchen scale and weighing your ingredients, especially when you are baking. Please use grams, they are much more accurate than pounds and ounces.
All recommended ingredients are gluten-free as of the writing of this article. Always check to be sure the products haven’t changed and are still safe to consume.
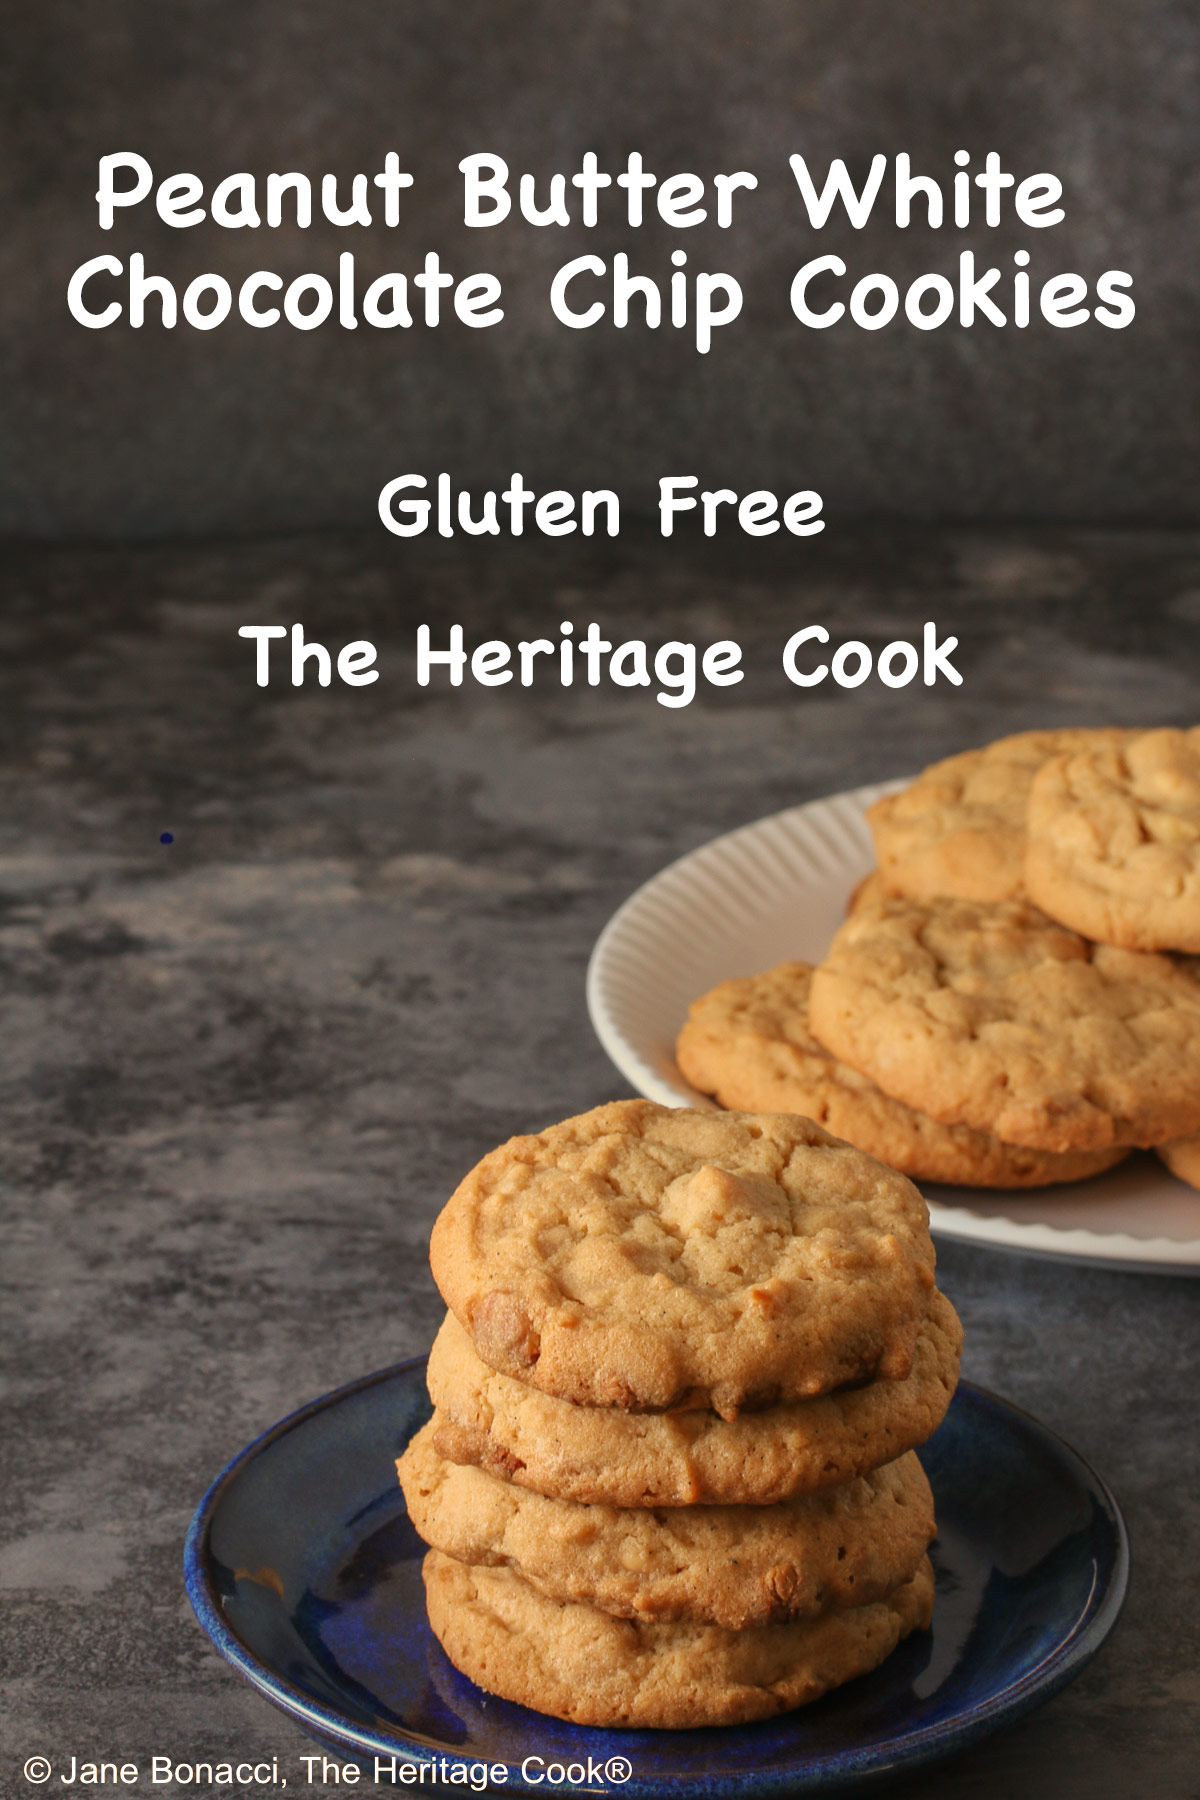
Peanut Butter White Chocolate Chip Cookies (GF)

These are lovely cookies, with a delightful peanut butter flavor and crammed with white chocolate chips. They will bring back sweet childhood memories of days spent laughing and playing with your friends then coming home to a pile of these cookies and a tall glass of cold milk!
Ingredients
- 1-1/4 cups (150g*) gluten-free all-purpose flour* or regular all-purpose flour like Gold Medal brand
- 1/2 tsp kosher salt**
- 1/2 tsp baking soda
- 3/4 cup (149g) granulated sugar
- 1/2 cup (1 stick; 113g) unsalted butter, at room temperature
- 1/3 cup (90g) peanut butter, smooth or chunky
- 1 large egg
- 1 tsp pure vanilla extract
- 1 cup (170g) white chocolate chips
- Additional white chocolate chips for garnish, if desired
Instructions
1. Preheat the oven to 350°F (180°C). Line two baking sheets with parchment paper.
2. In a small bowl, combine the flour*, salt**, and baking soda, whisking to evenly combine.
3. In the bowl of your stand mixer or a large bowl if using a hand mixer, combine the sugar, butter, and peanut butter, mixing until creamy. Scrape the bowl thoroughly. Add in the egg and vanilla, beat well and scrape the bowl again.
4. Add the dry ingredients to the peanut butter mixture, and beat thoroughly until it firms up; scrape the bowl again. Add the white chocolate chips and mix until they are evenly distributed through the dough.
5. Form the dough with a cookie scoop (#40) into walnut-size balls. Set onto the prepared baking sheets, about 2-inches (5cm) apart. Sprinkle the tops with a few more white chocolate chips, if desired, pressing them gently partially into the dough.
6. I bake my cookies one sheet at a time for the most even baking. As soon as one pan comes out, I put in the next pan filled with cookie dough balls in the oven. Once the cookies are ready, I transfer them to a wire rack and when the pan is cool, I re-load it with more cookie dough. It becomes an assembly line of cookies!
7. Bake 10 to 12 minutes or until lightly browned and just set. Leave the cookies to rest on the baking sheets for 2 to 3 minutes, then transfer to a cooling rack and cool completely. Repeat with remaining dough.
Recipe found at www.theheritagecook.com
Notes
* You can adjust any recipe to gluten-free by using 120 grams per cup of my favorite gluten-free flour blend. If you are using another brand of gluten-free flour, whisk well, spoon it lightly into a measuring cup without a spout until mounded, level off the top with the back of a knife, and weigh the flour left in the cup. Use that weight as your standard per cup of that specific flour. Do this for each flour blend you use. Commercial blends such as Pamela's, Bob's Red Mill 1-to-1, or King Arthur Measure for Measure are all good gluten-free choices.
** My preferred brand of kosher salt is from Diamond Crystal. If you use Morton’s or another brand you will likely not need as much because they are saltier.
You will get the best and most consistent results by using a digital kitchen scale and weighing your ingredients, especially when you are baking. And use grams, they are much more accurate than pounds and ounces. We add the weights to help you get the best possible results!
All recommended ingredients are gluten-free as of the writing of this article. Always check to be sure the products haven’t changed and are still safe to consume.
Adapted from Renee of Renee’s Kitchen Adventures
Nutrition Information:
Yield:
24Serving Size:
1Amount Per Serving: Calories: 148Total Fat: 10gSaturated Fat: 5gUnsaturated Fat: 4gCholesterol: 21mgSodium: 109mgCarbohydrates: 15gFiber: 0gSugar: 14gProtein: 2g
The nutritional information for recipes on this site is calculated by online tools and is merely an estimate. If you need nutritional calculations for medical reasons, please use a source that you trust.
If you enjoyed this recipe, be sure to follow me on social media so you never miss a post:
Create a New Tradition Today!
Welcome! The suggestions here are not intended as dietary advice or as a substitute for consulting a dietician, physician, or other medical professional. Please see the Disclaimers/Privacy Policy page for additional details. Unauthorized use, distribution, and/or duplication of proprietary material from The Heritage Cook without prior approval is prohibited. If you have any questions or would like permission, please contact me. We participate in the Amazon Services LLC Associates Program, an affiliate advertising program designed to provide a means for sites to earn advertising fees by advertising and linking to amazon.com. As an Amazon Associate, I earn a small amount from qualifying purchases without any additional cost to you. This page may contain affiliate links. The author makes no claims regarding the presence of food allergens and disclaims all liability in connection with the use of this site.

Leave a Reply