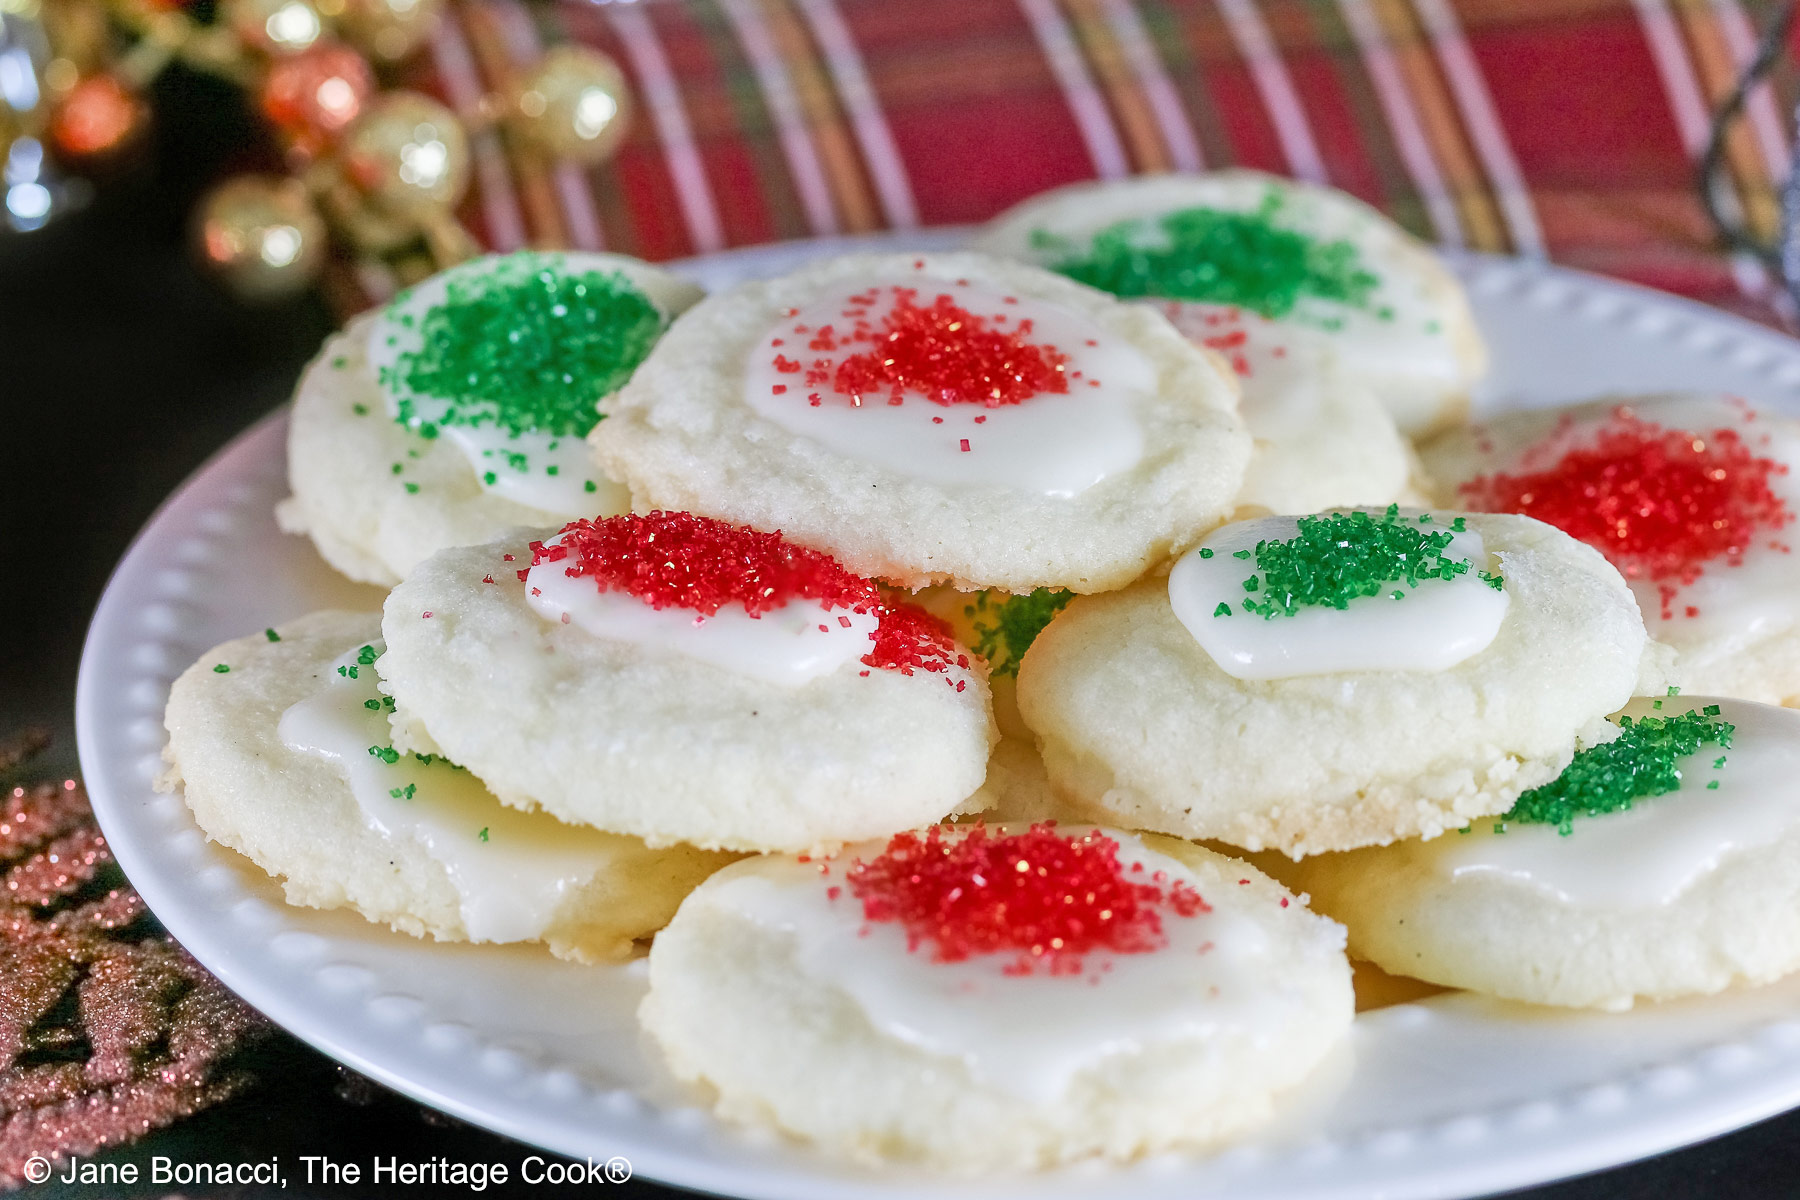
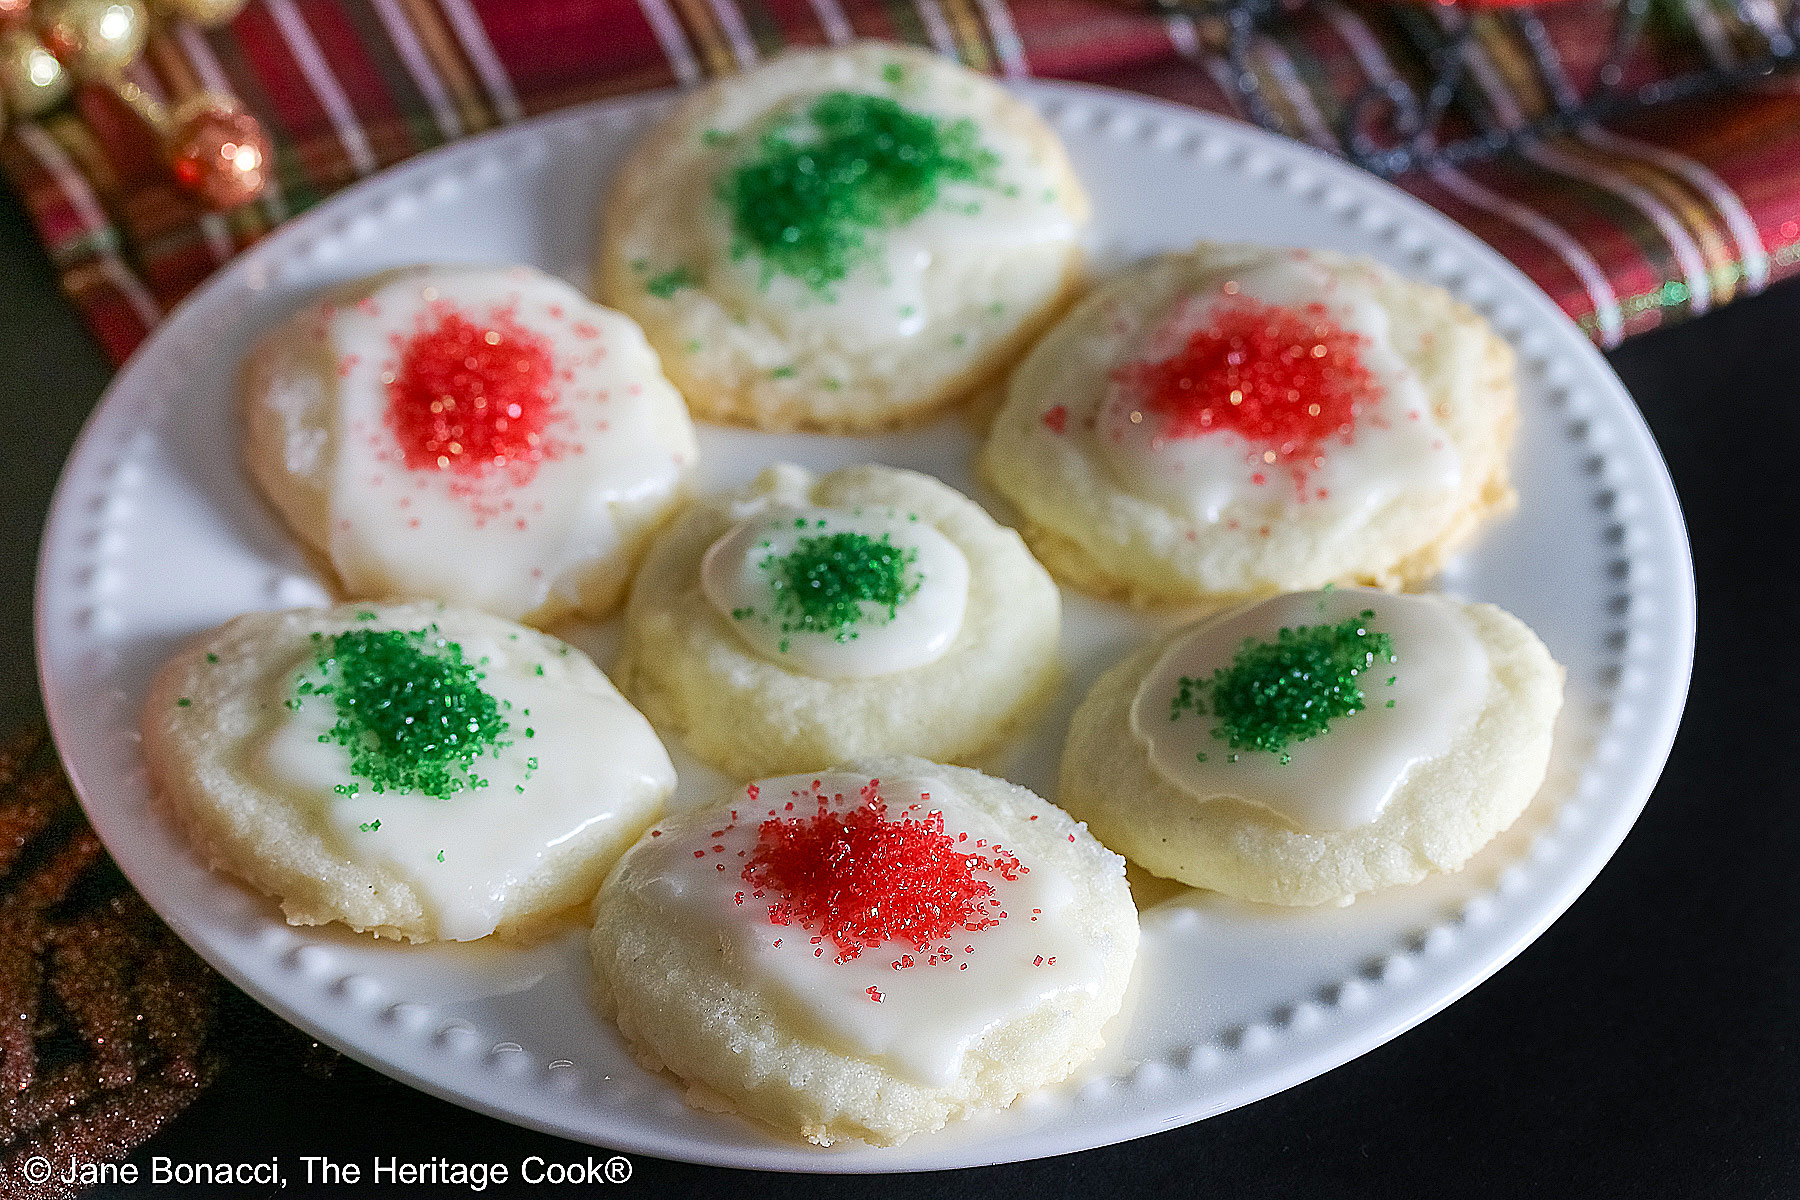
Just 6 ingredients make one of the best cookies in the world. These Shortbread Cookies with White Chocolate Glaze will literally melt in your mouth and they should be on everyone’s holiday cookie platters!
Thanks to the cornstarch in the dough, these cookies are incredibly delicate. They tend to crumble a little when you take a bite, so be sure to eat them over a plate! If you can’t have corn, you can use tapioca starch or arrowroot instead.
There is something so satisfying about a simple cookie. Nothing too elaborate, each ingredient coming together in perfect harmony. This is the time to splurge a little on ingredients because each one has so much impact on the final product.
I am a big proponent of using pure cane sugar in baking and there is a good reason. Sugar cane grows above the ground and sugar beets beneath. No matter how careful you are you cannot remove all the minute particles of soil. This can disrupt your baking projects and cause inconsistencies in your results. It is much safer to use cane sugar!
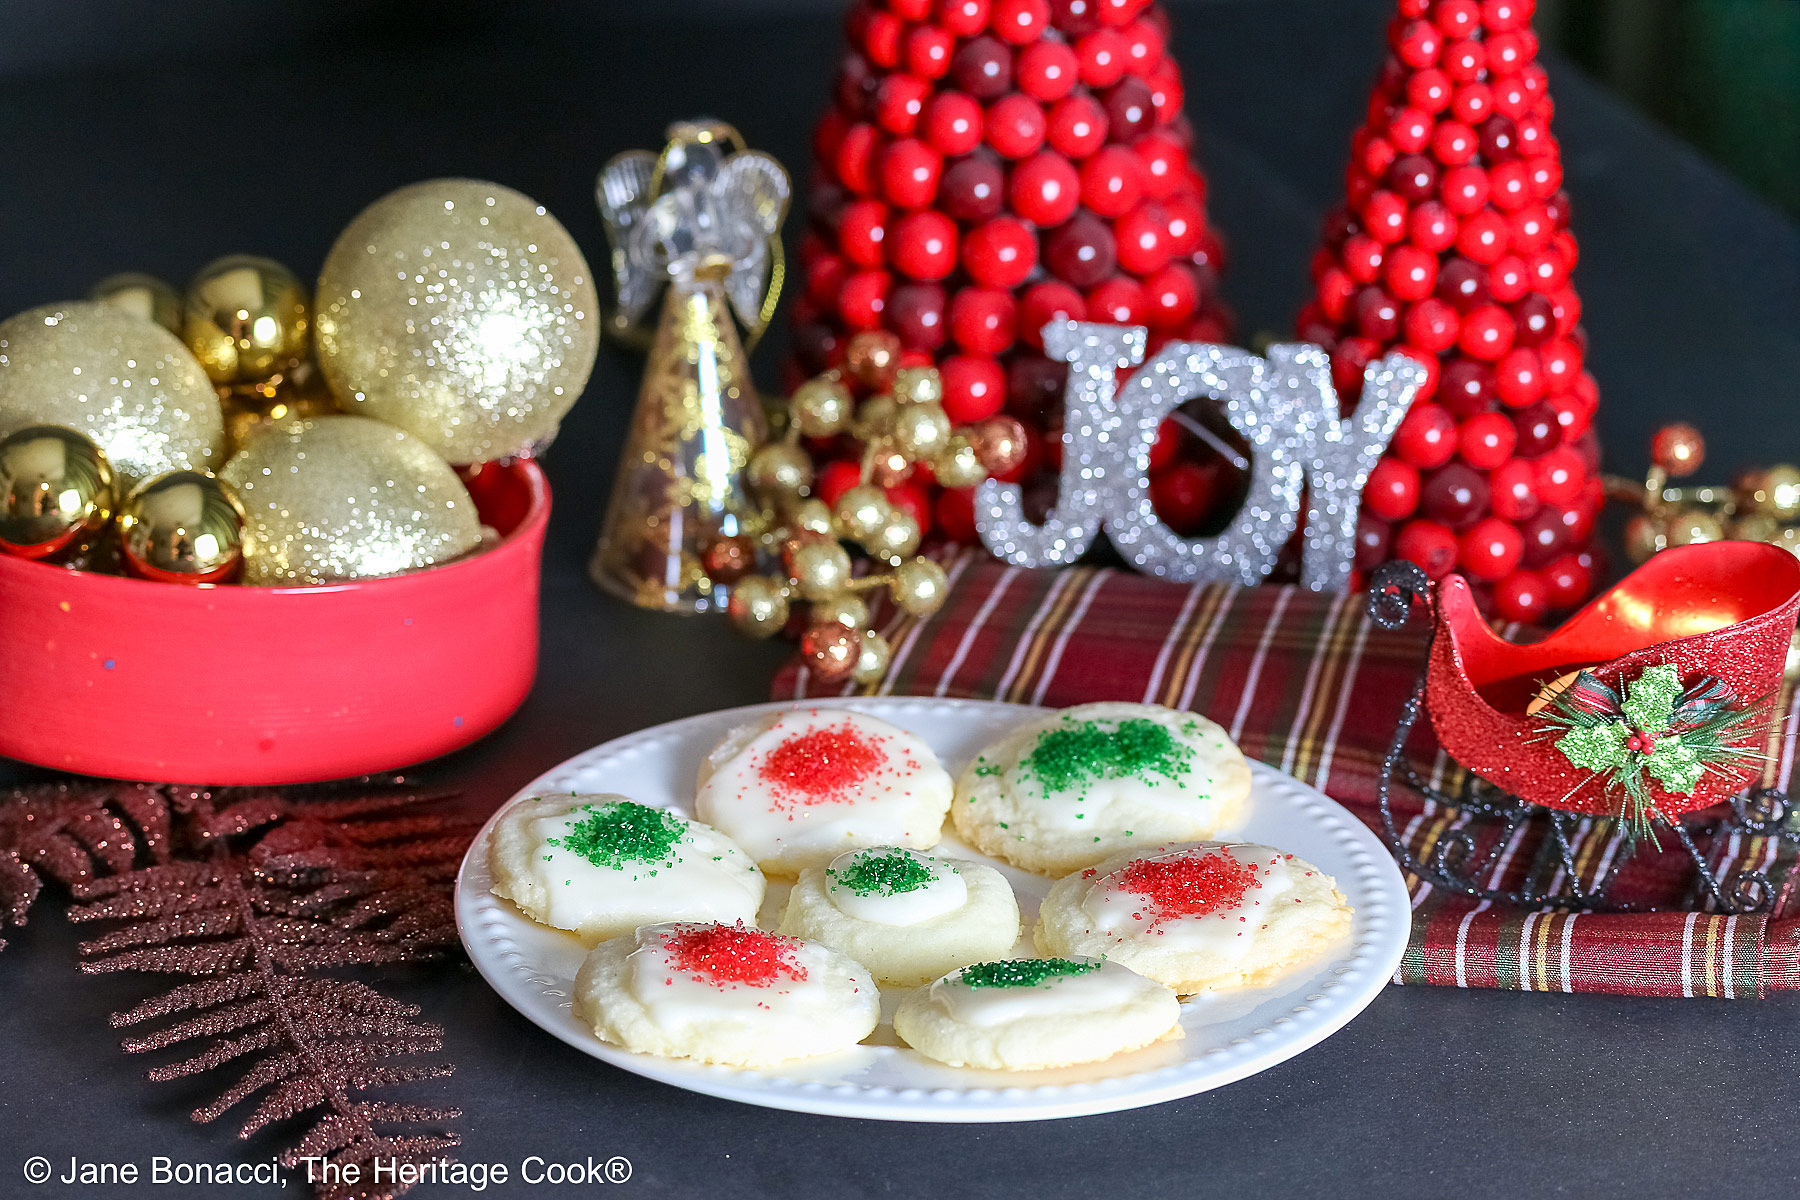
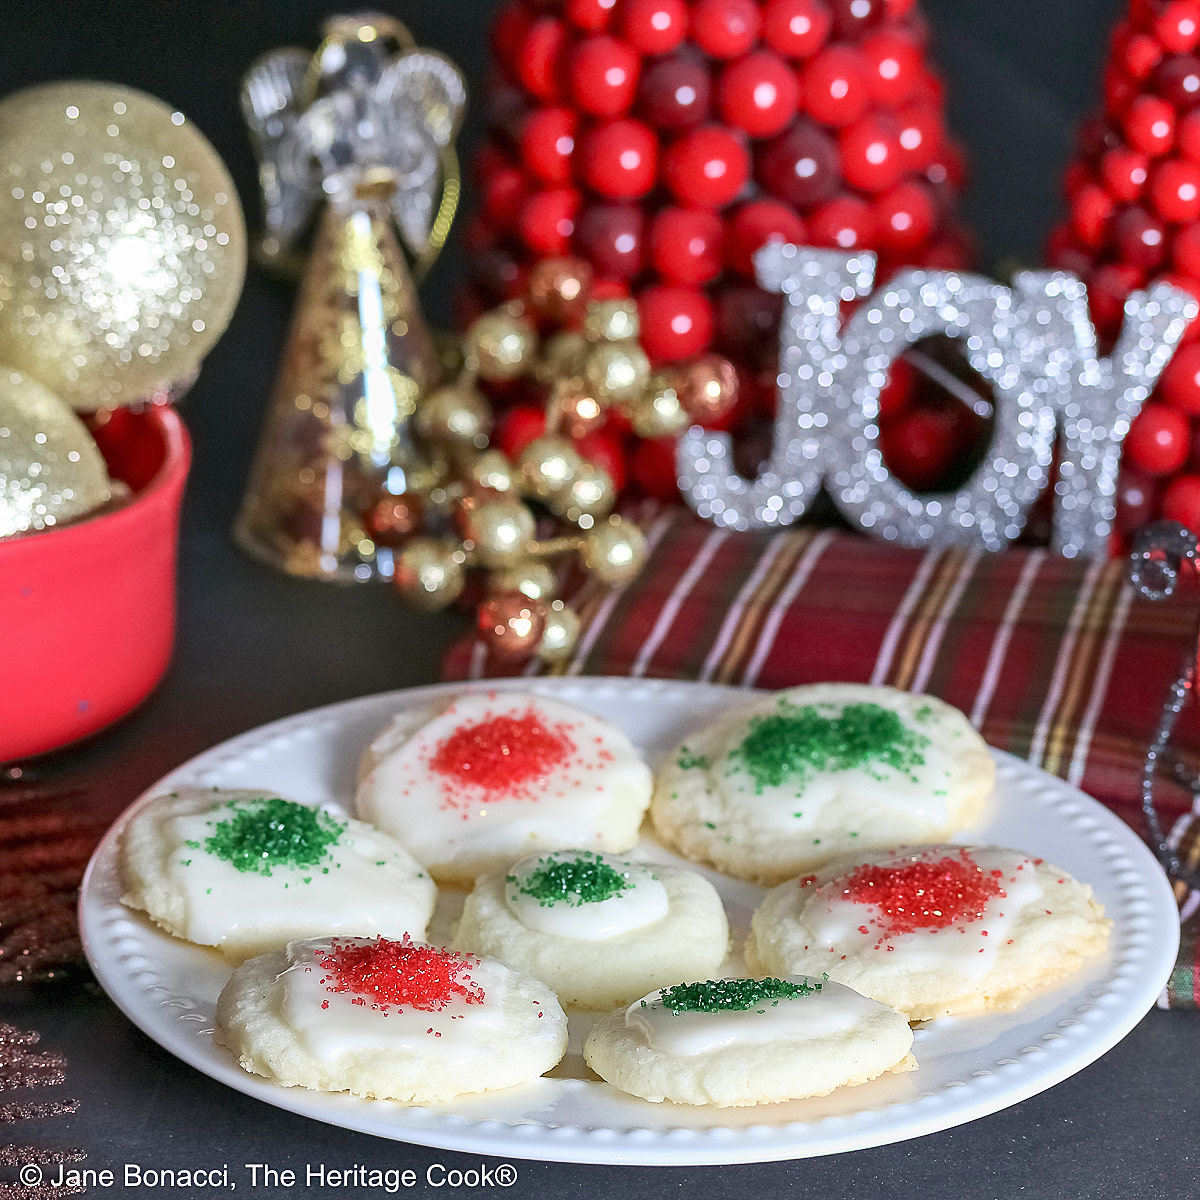
If you want to be extra nice to Santa, leave a plate of these cookies for him. I guarantee there won’t be any coal in your stocking, LOL.
European-style butter will make these cookies even more luxurious than American butters. Definitely an indulgence but a beautiful cookie everyone will adore! I personally love Kerrygold butter and use it for special projects. These cookies would be outstanding with that as the base!
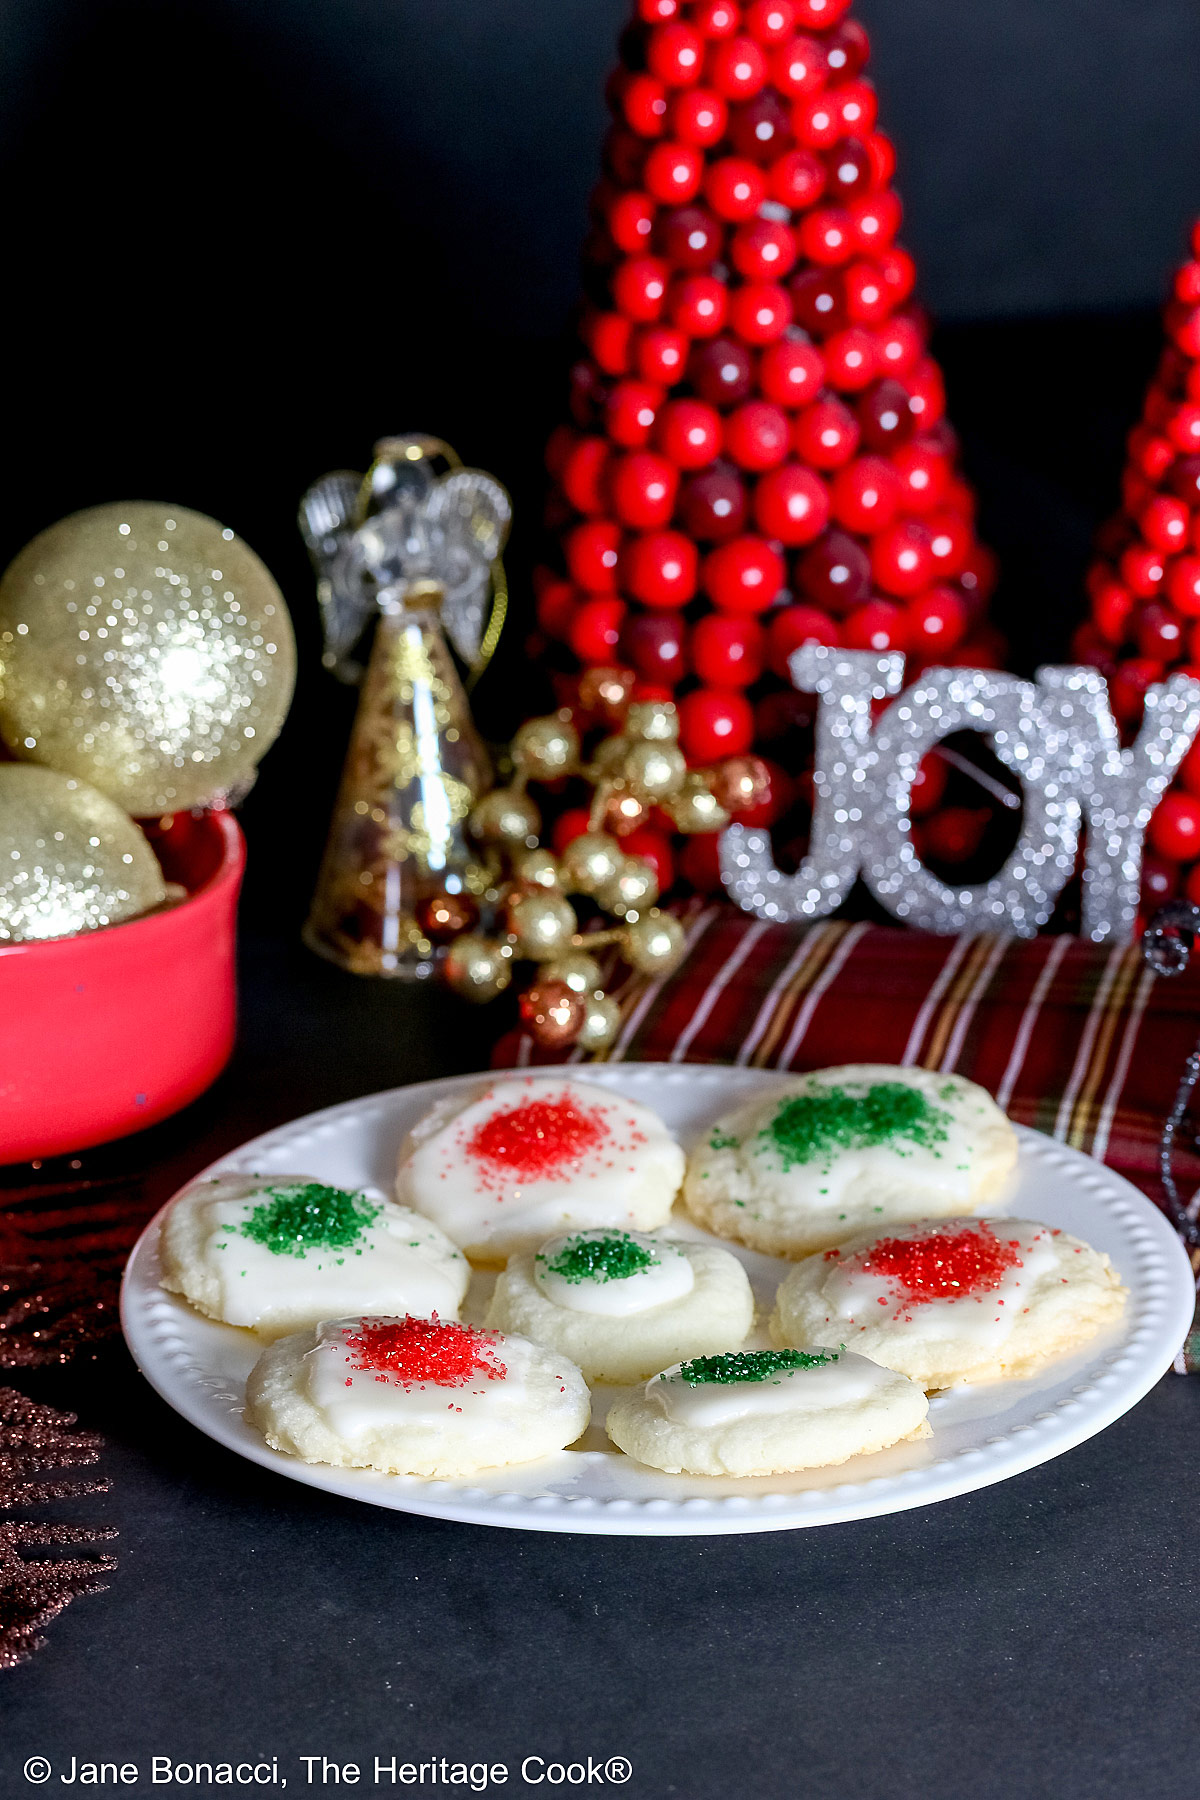
I used sparkling sugars to make my cookies glitter, but you can leave them plain or use other decorations if you want. Gold and/or silver would be beautiful for New Year’s Eve!
I make the glaze when the first cookies are baking and when done, transfer them to wire racks set over parchment or waxed paper for cooling. I scoop the next batch and get them in the oven, and while they are baking, glaze the first batch. Once you get going, you get into a rhythm and the cookies will be done before you know it!
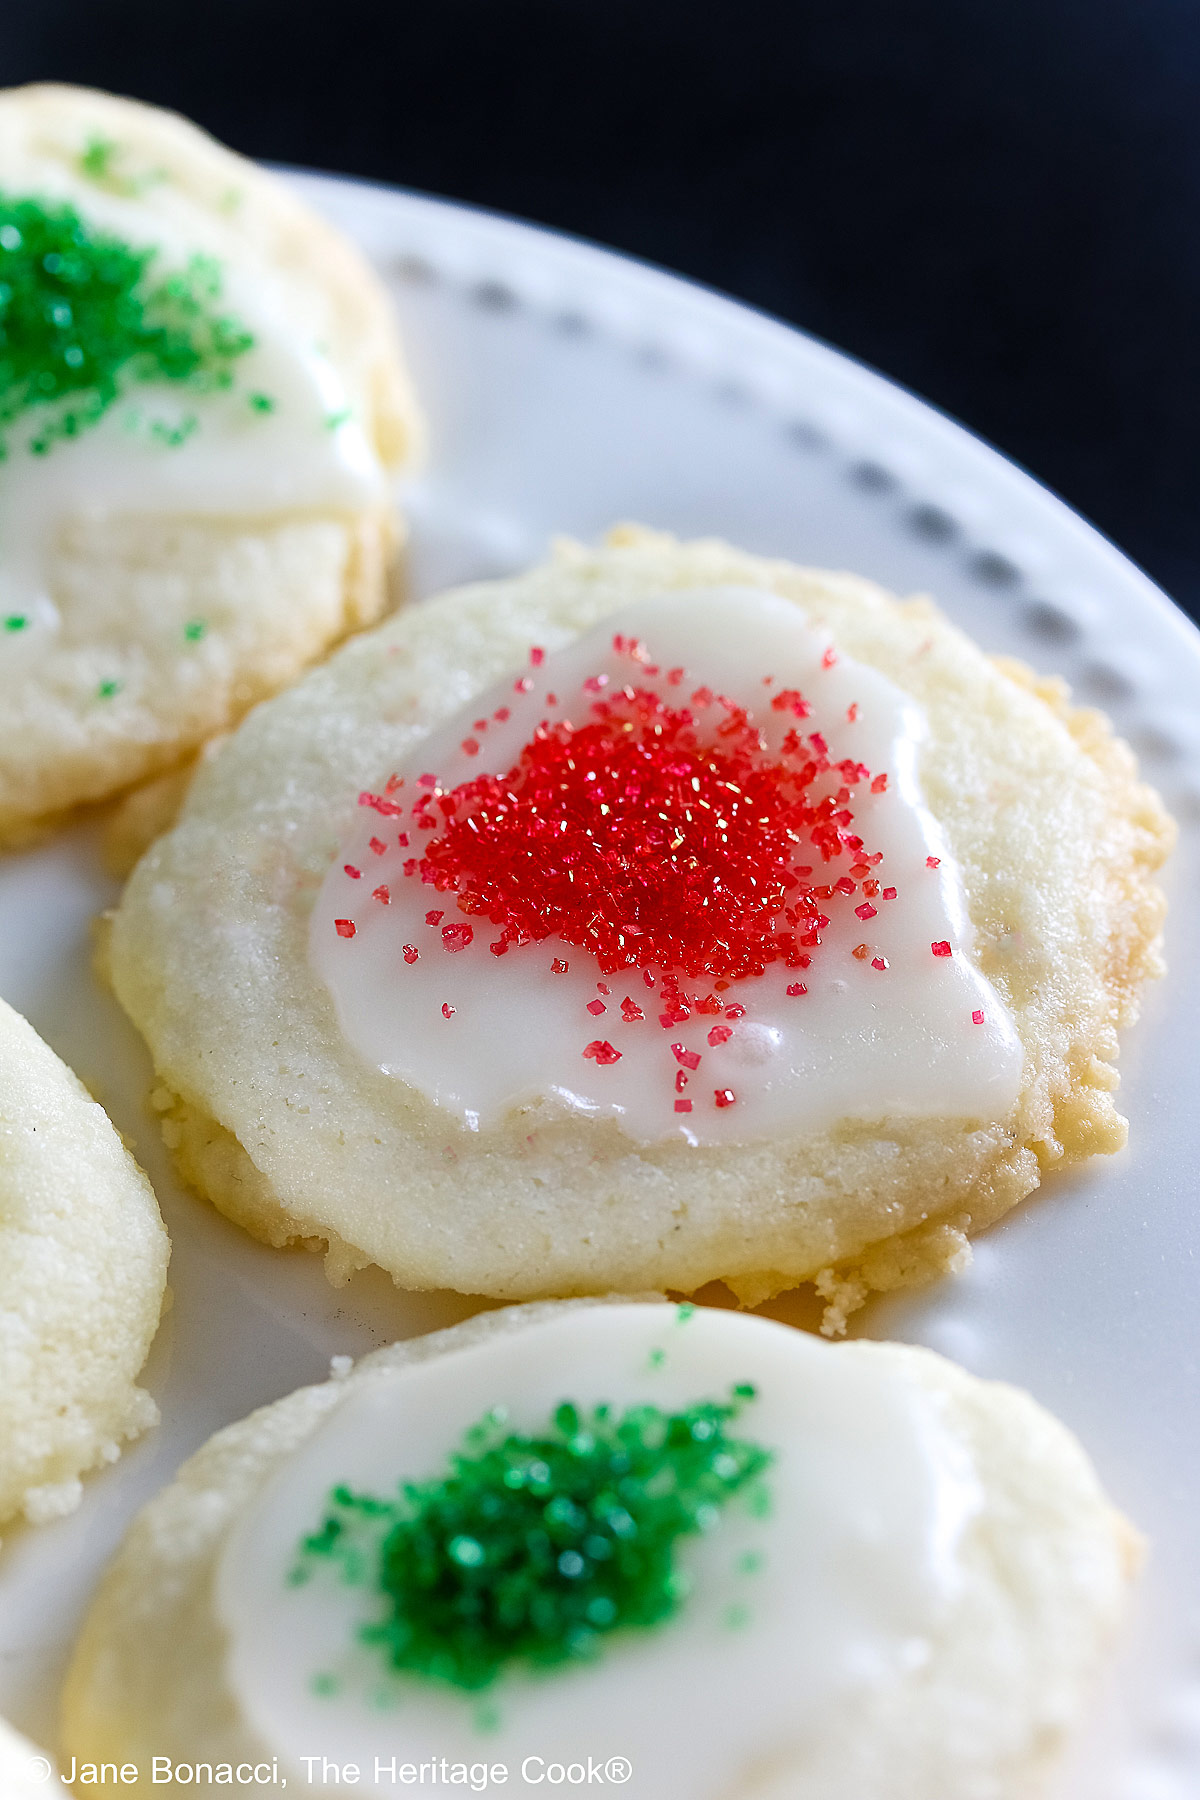
If the glaze starts to get too thick, just put the bowl back over the hot water and re-melt the chocolate to thin it out. I put a dollop right in the center and use the back of the spoon to help cover most of the top.
If the cookies are cool, the glaze will tend to stay in the center and not spread as much. Either way is fine so don’t stress over getting the glaze on immediately.
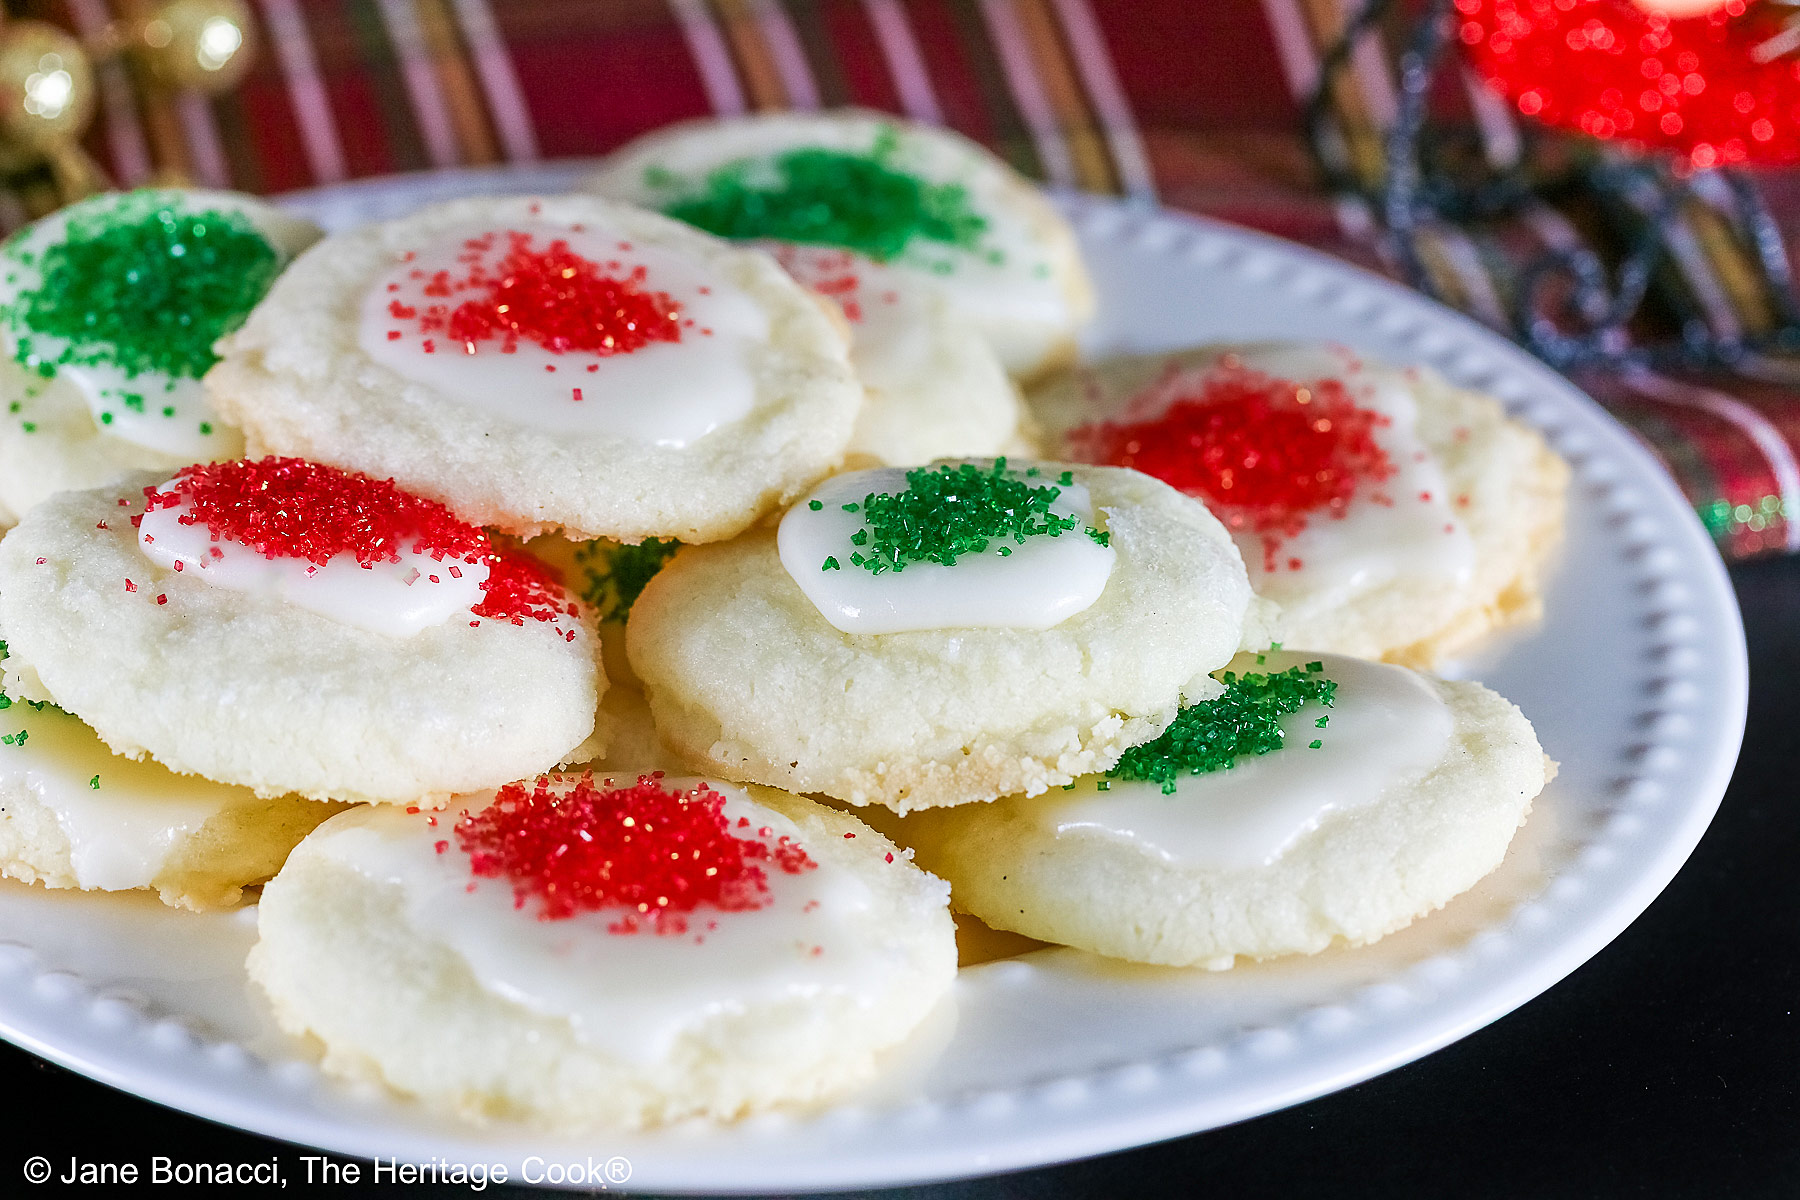
I hope you love these Shortbread Cookies with White Chocolate Glaze as much as The Artist and I do – he could barely wait until they cooled off before diving into a big plate of them!!
Happy Chocolate Monday! Have a wonderful week!
If you try this recipe, let me know! Please leave a star rating in the recipe card, comment below, and don’t forget to snap a pic and tag it @theheritagecook on Instagram! Seeing your creations makes my day and I love hearing from you!
Ingredients needed for Shortbread Cookies with White Chocolate Glaze:
- Cookies: cornstarch, flour, salt, unsalted butter, confectioners’ sugar
- Glaze: white chocolate, butter or coconut oil, vanilla
What if I can’t eat corn products?
You can use either tapioca flour or arrowroot in place of the cornstarch. Both are gluten-free.
PRO Tip:
Have your sparkling sugars or sprinkles right next to the cooling racks so you can quickly sprinkle the cookies while the glaze is still soft.
How to make Shortbread Cookies with White Chocolate Glaze:
- Prepare the Cookies: Combine the cornstarch, flour and salt (if using); whisk to blend.
- With an electric mixer, beat the butter until creamy, add the sugar and mix until smooth; add the flour blend and mix slowly until blended. Refrigerate the dough about 15 minutes to firm up slightly.
- Scoop dough into walnut-sized balls and set 1-inch apart on parchment-lined baking sheets; flatten slightly with a dampened and sugared glass. Bake at 350°F (180°C) about 8 minutes until edges are lightly colored; don’t over bake.
- Make the Glaze: While cookies bake, set a saucepan with an inch of water in the bottom on the stove; place white chocolate and butter or coconut oil in the bowl and heat until mostly melted, stirring often; remove from heat and whisk until smooth and glossy.
- Transfer baked cookies to wire racks set over parchment or waxed paper.
- While warm, spoon the glaze over the tops, and sprinkle with colored sugars if desired. Let the glaze dry before stacking the cookies on a platter.
- Store up to a week, covered, at room temperature.
PRO Tip:
Always use weight (grams) for the dry ingredients when possible, which is especially important if you are baking gluten-free. Scooping the flour can leave you with wildly varying amounts due to how you scoop and level the flour plus the impact of moisture in the air. Weighing your ingredients is much more accurate and will give you very consistent results you can easily replicate.
Recommended Tools (affiliate links; no extra cost to you):
- Kitchen scale
- Baking sheet pans
- Parchment paper
- Stand mixer or hand mixer
- Cookie scoop with a sweep arm, about 2 tbsp size
- Wire cooling racks
- Saucepan
- Mixing bowls
Gluten-Free Tips:
This is the perfect recipe to use Authentic Foods Superfine flours. There is absolutely no grittiness so common in gluten-free baked goods. If you can’t find them in your local gourmet grocery store, mail order them directly from the company like I do. I order in bulk and save some money. I use them exclusively in my homemade flour blend*.
* You can adjust any baking recipe to gluten-free by using 120 grams per cup of my favorite gluten-free flour blend. If you are using another brand of flour or regular flour, whisk it, spoon it lightly into a measuring cup until mounded, level off the top with a knife, and weigh the flour left in the cup. Use that weight as your standard per cup of that specific flour. Do this for each flour blend you use. Commercial gluten-free blends such as Pamela’s All-Purpose Artisan Blend, Bob’s Red Mill 1-to-1, or King Arthur Measure for Measure are all good gluten-free choices.
** My preferred brand of kosher salt is from Diamond Crystal in the white and red box. If you use Morton’s or another brand you will likely need less than what is called for in the recipe.
You will get the best and most consistent results by using a digital kitchen scale and weighing your ingredients, especially when you are baking. And use grams, they are much more accurate than pounds and ounces.
All recommended ingredients are gluten-free as of the writing of this article. Always check to be sure the products haven’t changed and are still safe to consume.
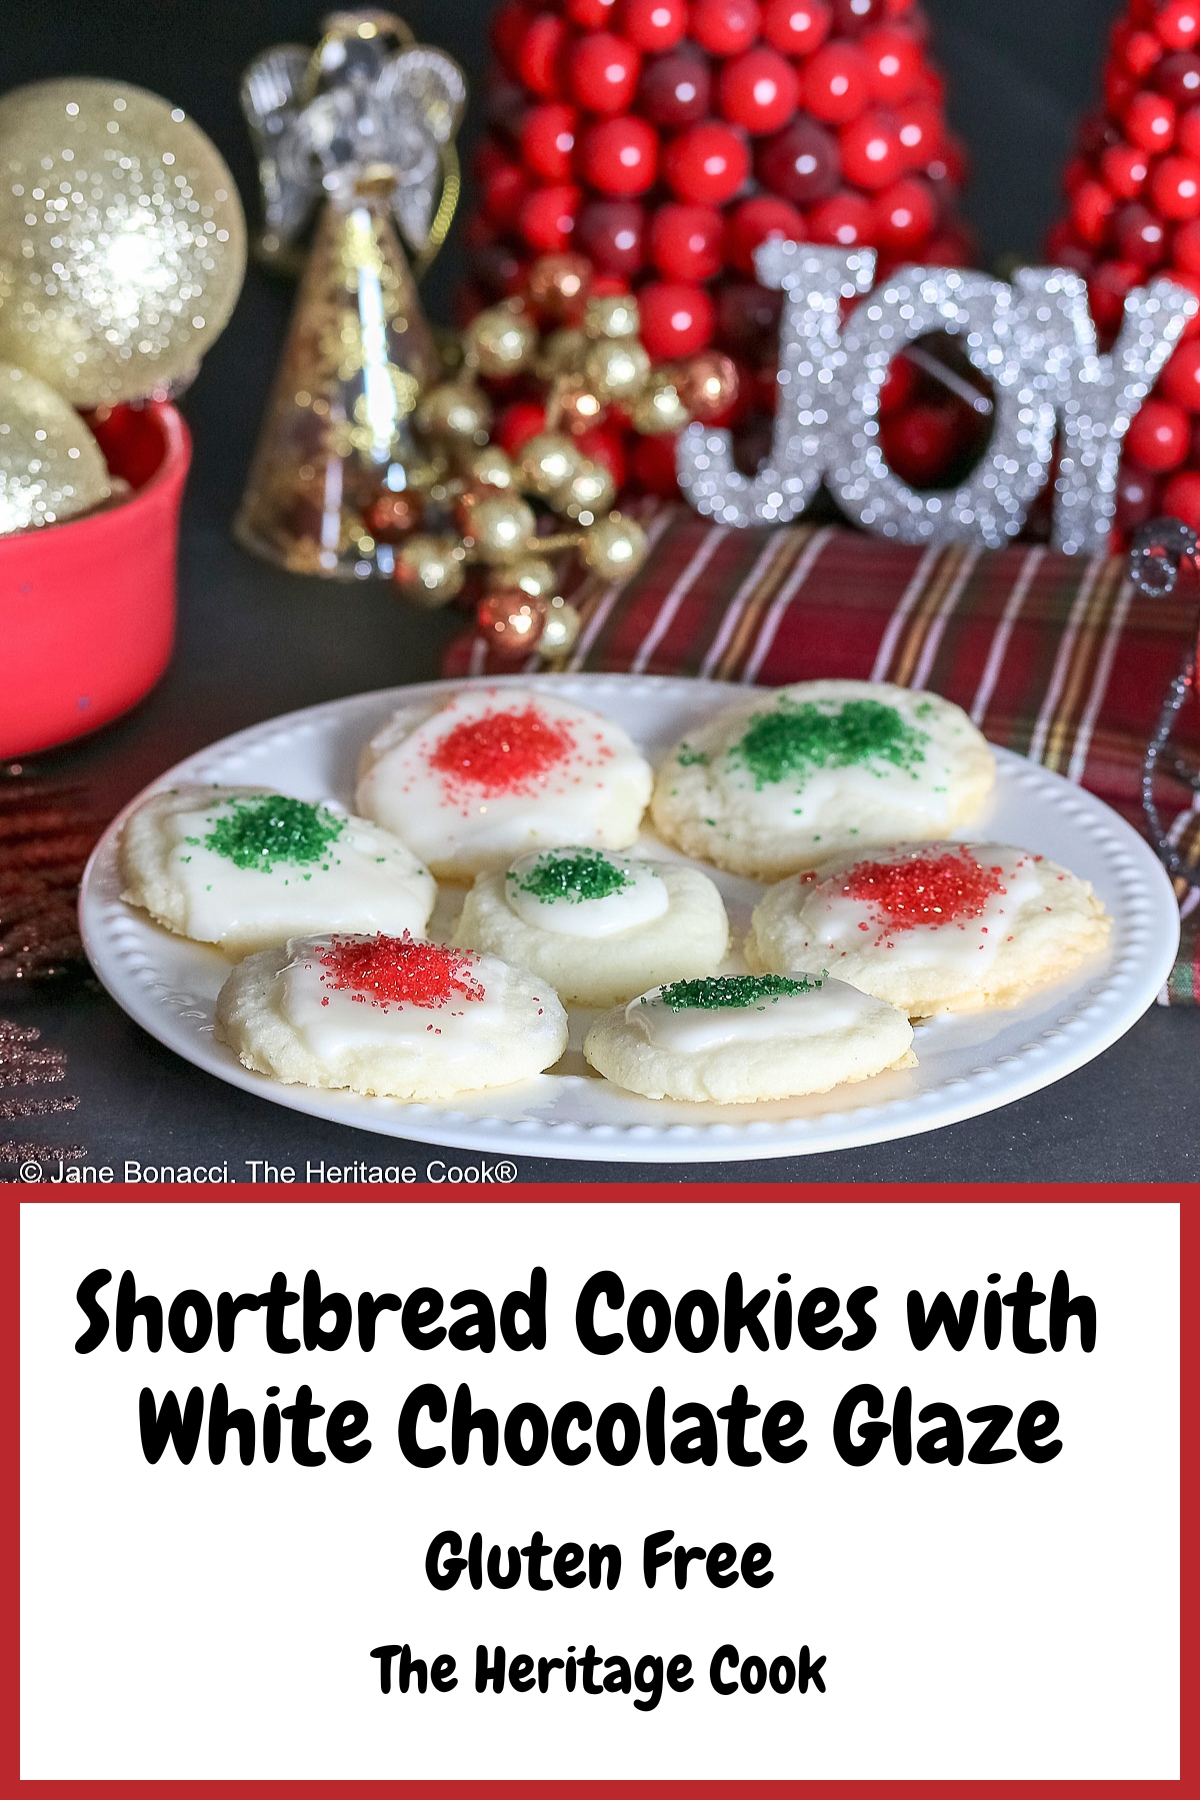
White Chocolate Glazed Shortbread Cookies (GF)

Just 6 ingredients make one of the best cookies in the world. These White Chocolate Glazed Shortbread Cookies will literally melt in your mouth and they should be on everyone's holiday cookie platters!
Ingredients
Cookie Dough
- 1-1/2 cups (192g) cornstarch
- 2 cups (240g*) all-purpose flour* or gluten-free flour blend
- 1 tsp kosher salt** (omit if using salted butter)
- 2 cups (4 sticks/452g) unsalted butter, at room temperature
- 1/2 cup + 3 tbsp (78g) Confectioners' sugar
White Chocolate Glaze
- 12 oz (340g) white chocolate chips or chopped white chocolate, such as Guittard brand
- 2 tsp unsalted butter or coconut oil
- 1/2 tsp pure vanilla extract or vanilla paste
Instructions
- Make the Cookie Dough: Line two baking sheets with parchment paper and set them next to the stove. Preheat the oven to 350°F (180°C).
- In a large bowl, combine the cornstarch, flour, and salt. Whisk until thoroughly blended. Set aside.
- In the bowl of your stand mixer or large bowl if using a hand mixer, beat the butter until smooth, creamy, and lightened in color, about 2 to 4 minutes. Add the sugar and mix again until smooth. Add the flour mixture and mix slowly, pulsing the mixer so the flour doesn't fly out of the bowl. Mix until completely incorporated and smooth.
- Refrigerate the dough about 15 minutes to firm up slightly.
- Use a cookie scoop with a sweep arm to shape the dough into walnut-sized balls and place about 1-inch apart on the prepared baking sheets. Use the bottom of a dampened and sugared glass to slightly flatten each ball.
- Bake the Cookies: Bake about 8 minutes, until the edges are lightly browned. Do not over bake the cookies. Transfer to wire racks set over sheets of parchment paper or waxed paper (to catch drips). While the cookies are still a little warm, drizzle with the white chocolate glaze.
- Prepare the White Chocolate Glaze: Set a heatproof bowl onto a saucepan with simmering water in the bottom of the pan. Place the white chocolate, butter, and vanilla in the bowl and heat, stirring often, until the chocolate is mostly melted. Remove from the heat and whisk until the chocolate is fully melted and the mixture is smooth and glossy.
- Glaze the Cookies: Use a smallish spoon or mini ladle to pour some of the glaze over the top of each cookie for more control, letting the excess fall onto the parchment paper beneath the wire racks.
- If desired, top the cookies with sparkling sugar, sprinkles, or other decorations. Allow the glaze to fully dry before moving the cookies to a platter. These are best eaten on the day they are baked but will hold up to a week, covered, at room temperature.
Recipe found at www.theheritagecook.com
Notes
* You can adjust any recipe to gluten-free by using 120 grams per cup of my favorite gluten-free flour blend. If you are using another brand of gluten-free flour, whisk the mix, spoon it lightly into a measuring cup without a spout until mounded, level off the top with the back of a knife, and weigh the flour left in the cup. Use that weight as your standard per cup of that specific flour. Do this for each flour blend you use. Commercial blends such as Pamela's, Bob's Red Mill 1-to-1, or King Arthur Measure for Measure are all good gluten-free choices.
** My preferred brand of kosher salt is from Diamond Crystal. If you use Morton’s or another brand you will likely not need as much.
You will get the best results by using a digital kitchen scale and weighing your ingredients, especially when you are baking. And use grams, they are much more accurate than pounds and ounces.
All recommended ingredients are gluten-free as of the writing of this article. Always check to be sure the products haven’t changed and are still safe to consume.
Nutrition Information:
Yield:
48Serving Size:
1Amount Per Serving: Calories: 98Total Fat: 5gSaturated Fat: 3gTrans Fat: 0gUnsaturated Fat: 2gCholesterol: 2mgSodium: 55mgCarbohydrates: 14gFiber: 1gSugar: 7gProtein: 1g
The nutritional information for recipes on this site is calculated by online tools and is merely an estimate. If you need nutritional calculations for medical reasons, please use a source that you trust.
If you enjoyed this recipe, be sure to follow me on social media so you never miss a post:
Create a New Tradition Today!
Welcome! The suggestions here are not intended as dietary advice or as a substitute for consulting a dietician, physician, or other medical professional. Please see the Disclaimers/Privacy Policy page for additional details. Unauthorized use, distribution, and/or duplication of proprietary material from The Heritage Cook without prior approval is prohibited. If you have any questions or would like permission, please contact me. We participate in the Amazon Services LLC Associates Program, an affiliate advertising program designed to provide a means for sites to earn advertising fees by advertising and linking to amazon.com. As an Amazon Associate, I earn a small amount from qualifying purchases without any additional cost to you. This page may contain affiliate links. The author makes no claims regarding the presence of food allergens and disclaims all liability in connection with the use of this site. This post was first shared in Dec 2017 The article was updated in 2025.


Leave a Reply