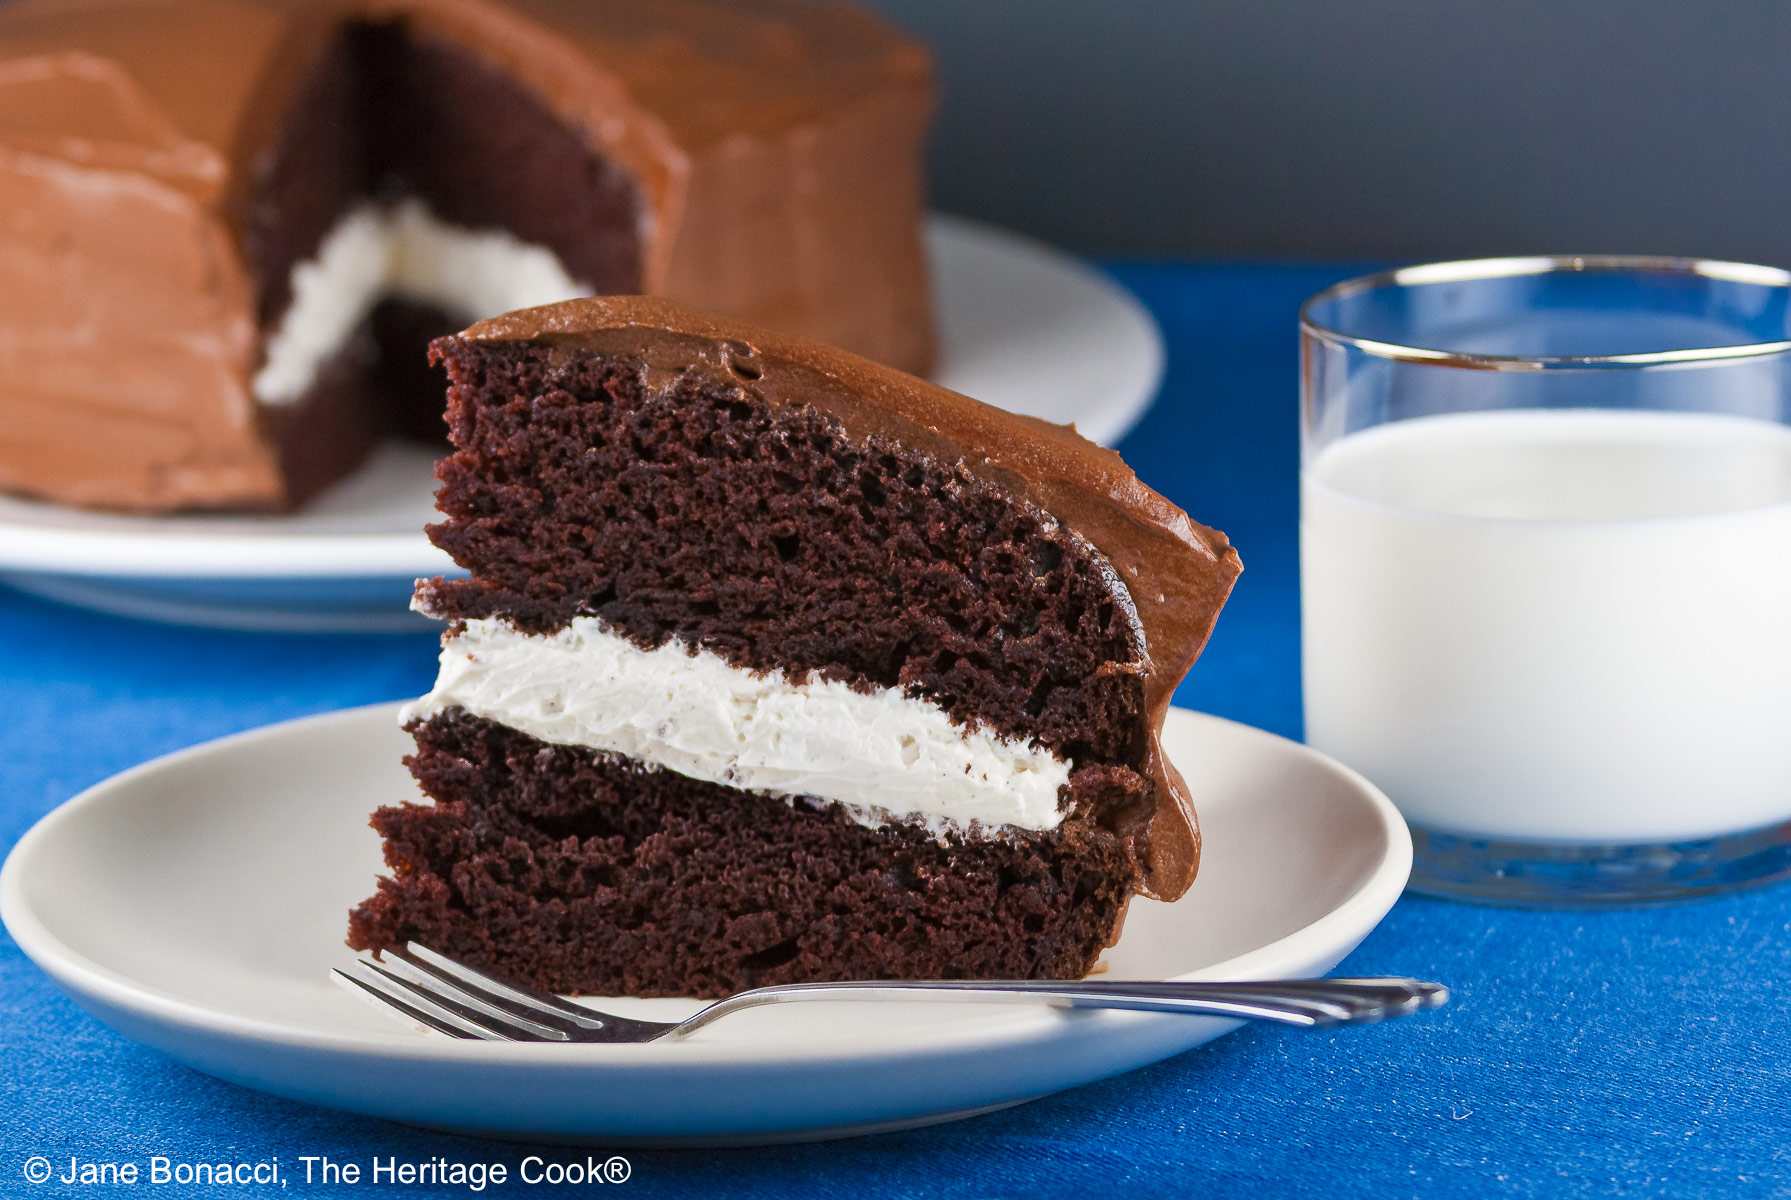
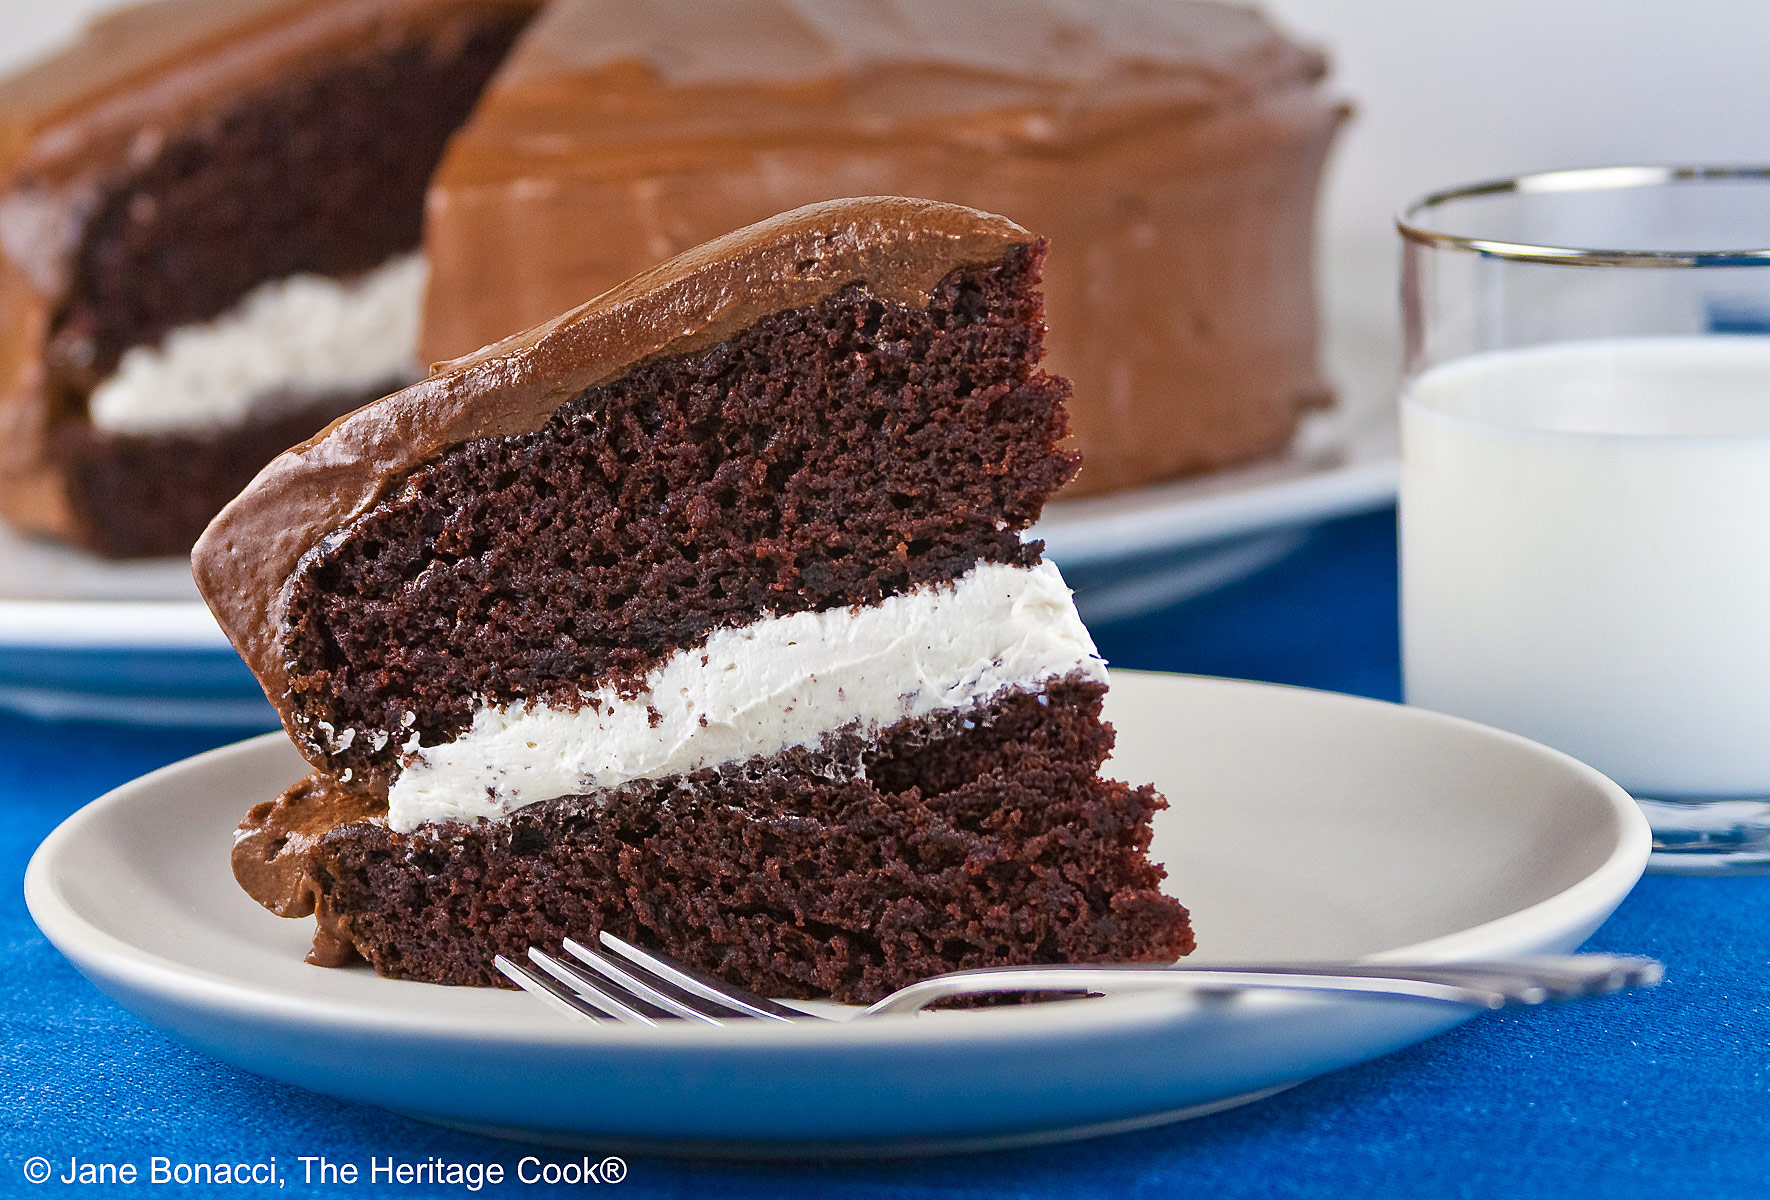
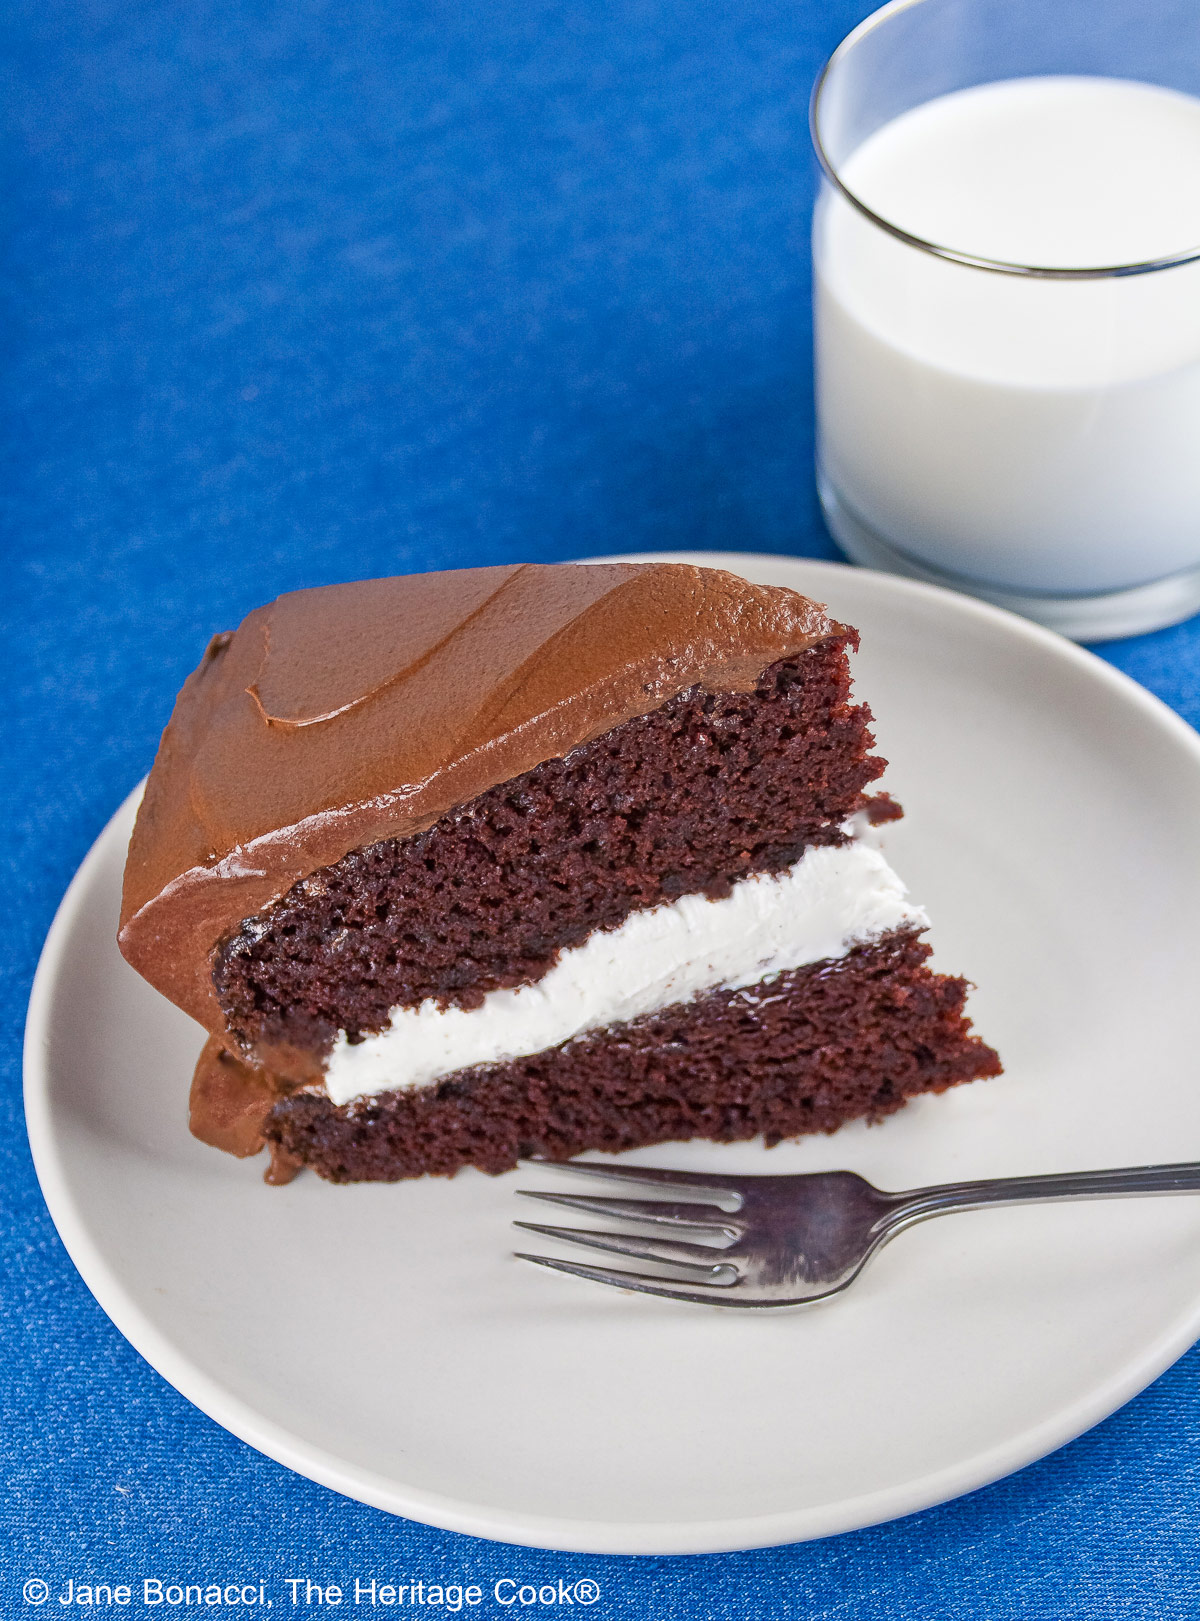
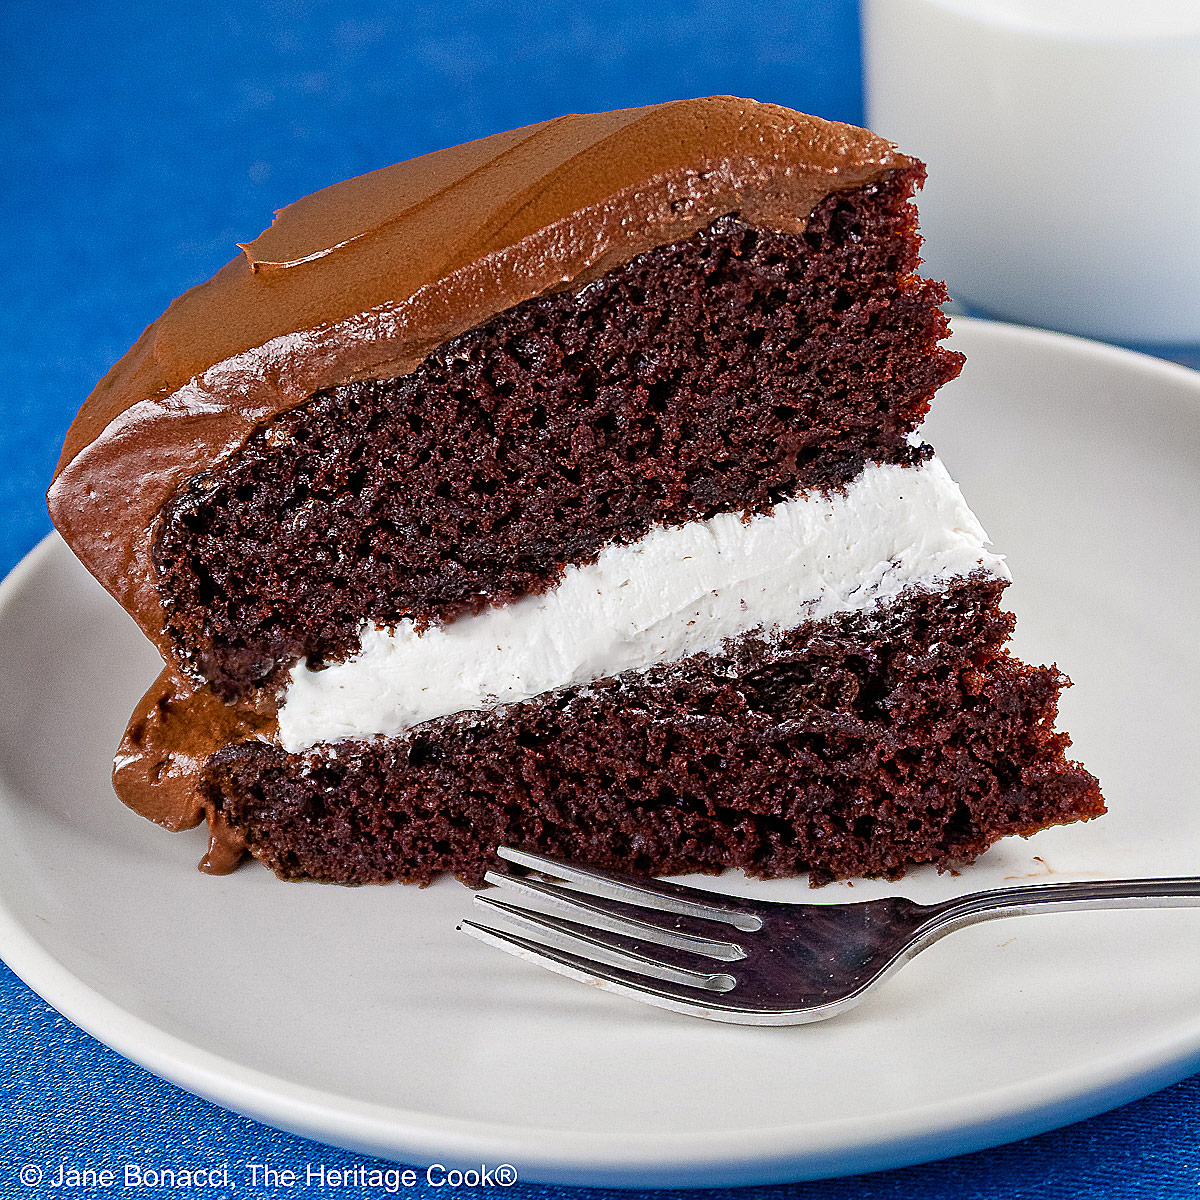
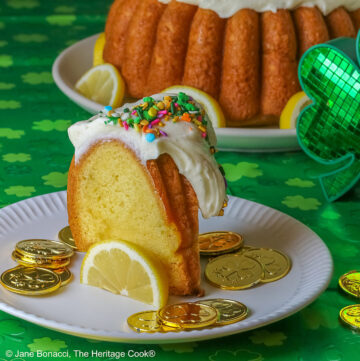
Today’s Little Debbie Chocolate Layer Cake is a treat straight out of our childhood – one of the sweetest memories. This luxurious chocolate layer cake is filled with a delightful vanilla frosting and covered with a decadent chocolate frosting. This is a dessert you will continue to crave long after it is gone!
When you were little, did you ever beg your mom for Ding Dong, Little Debbie, or Ho-Ho treats? Those wrapped packages with little chocolate cakes stuffed with sweet white filling in the center? They were conveniently right at eye level and within easy reach of every kid who came in the store. Oh how I begged.
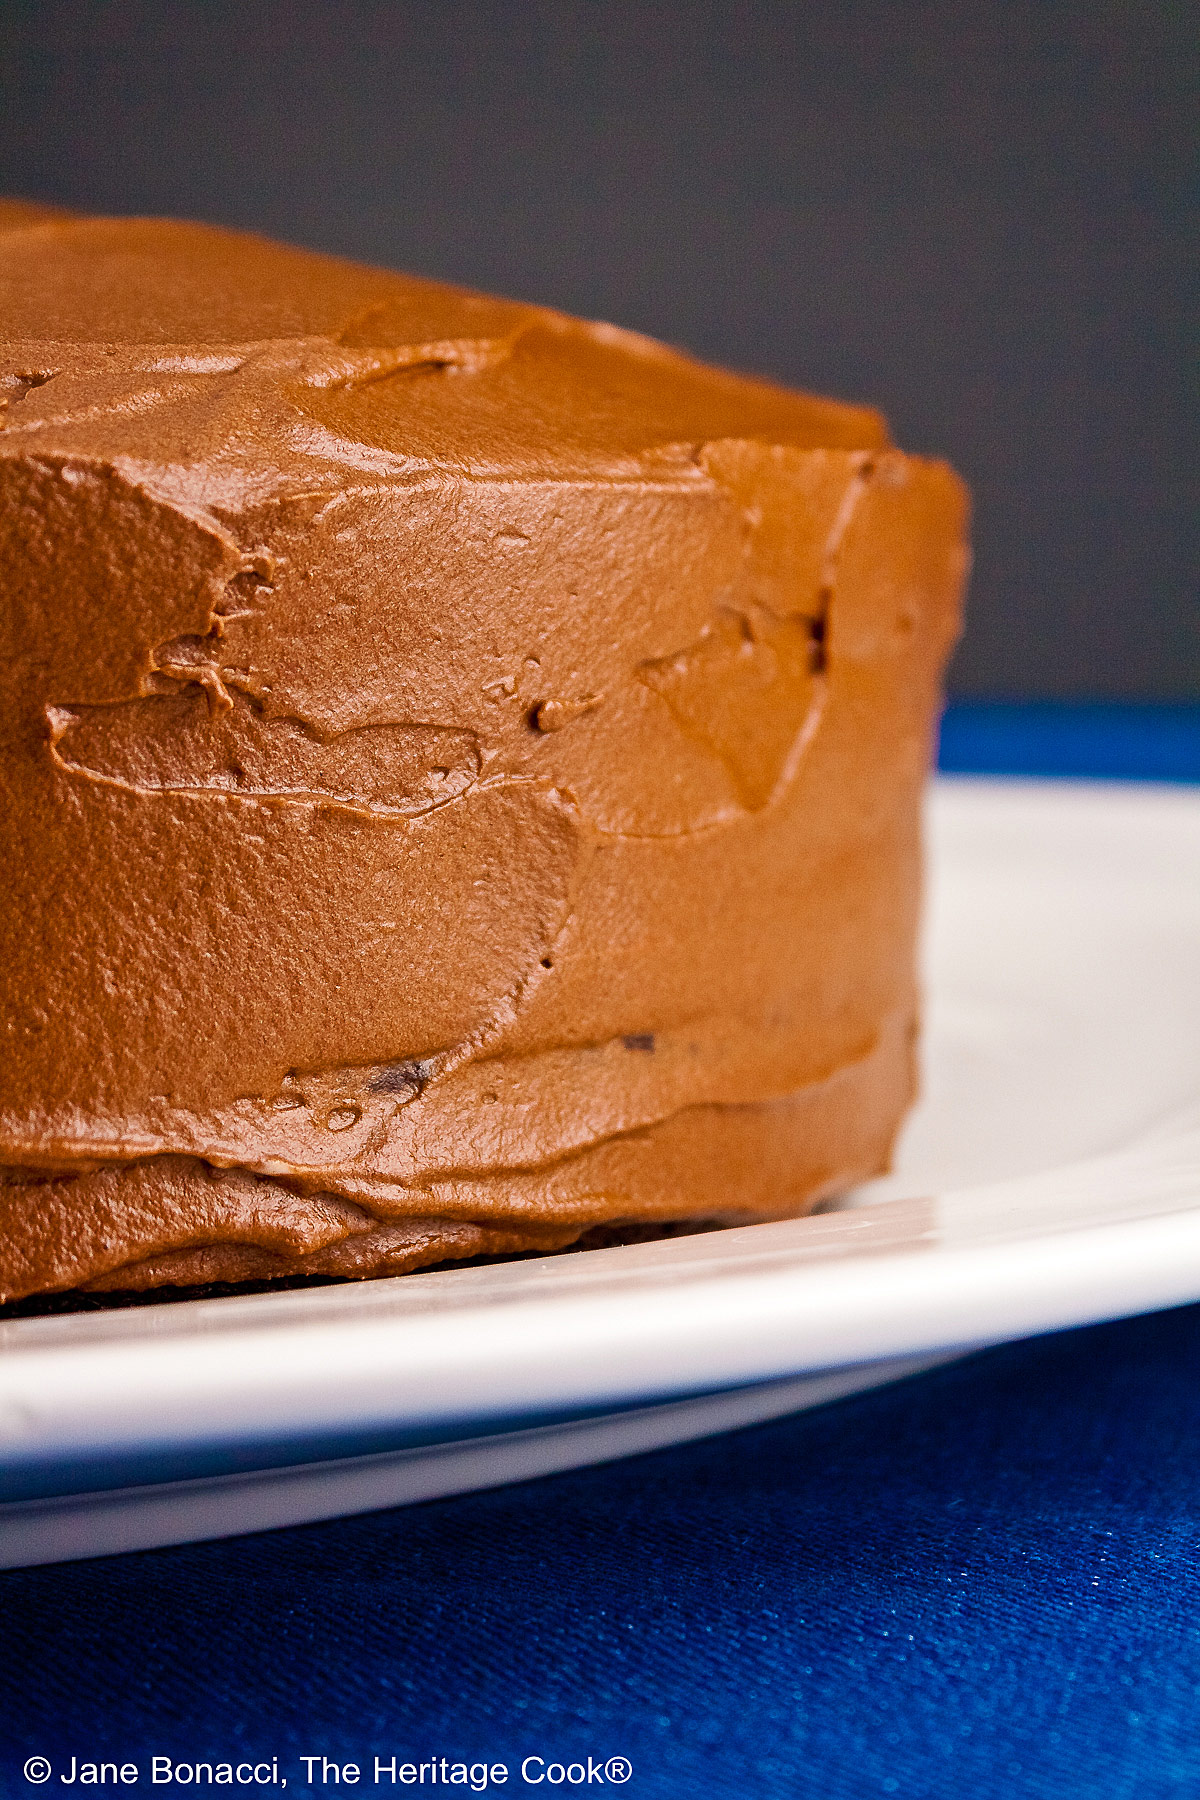
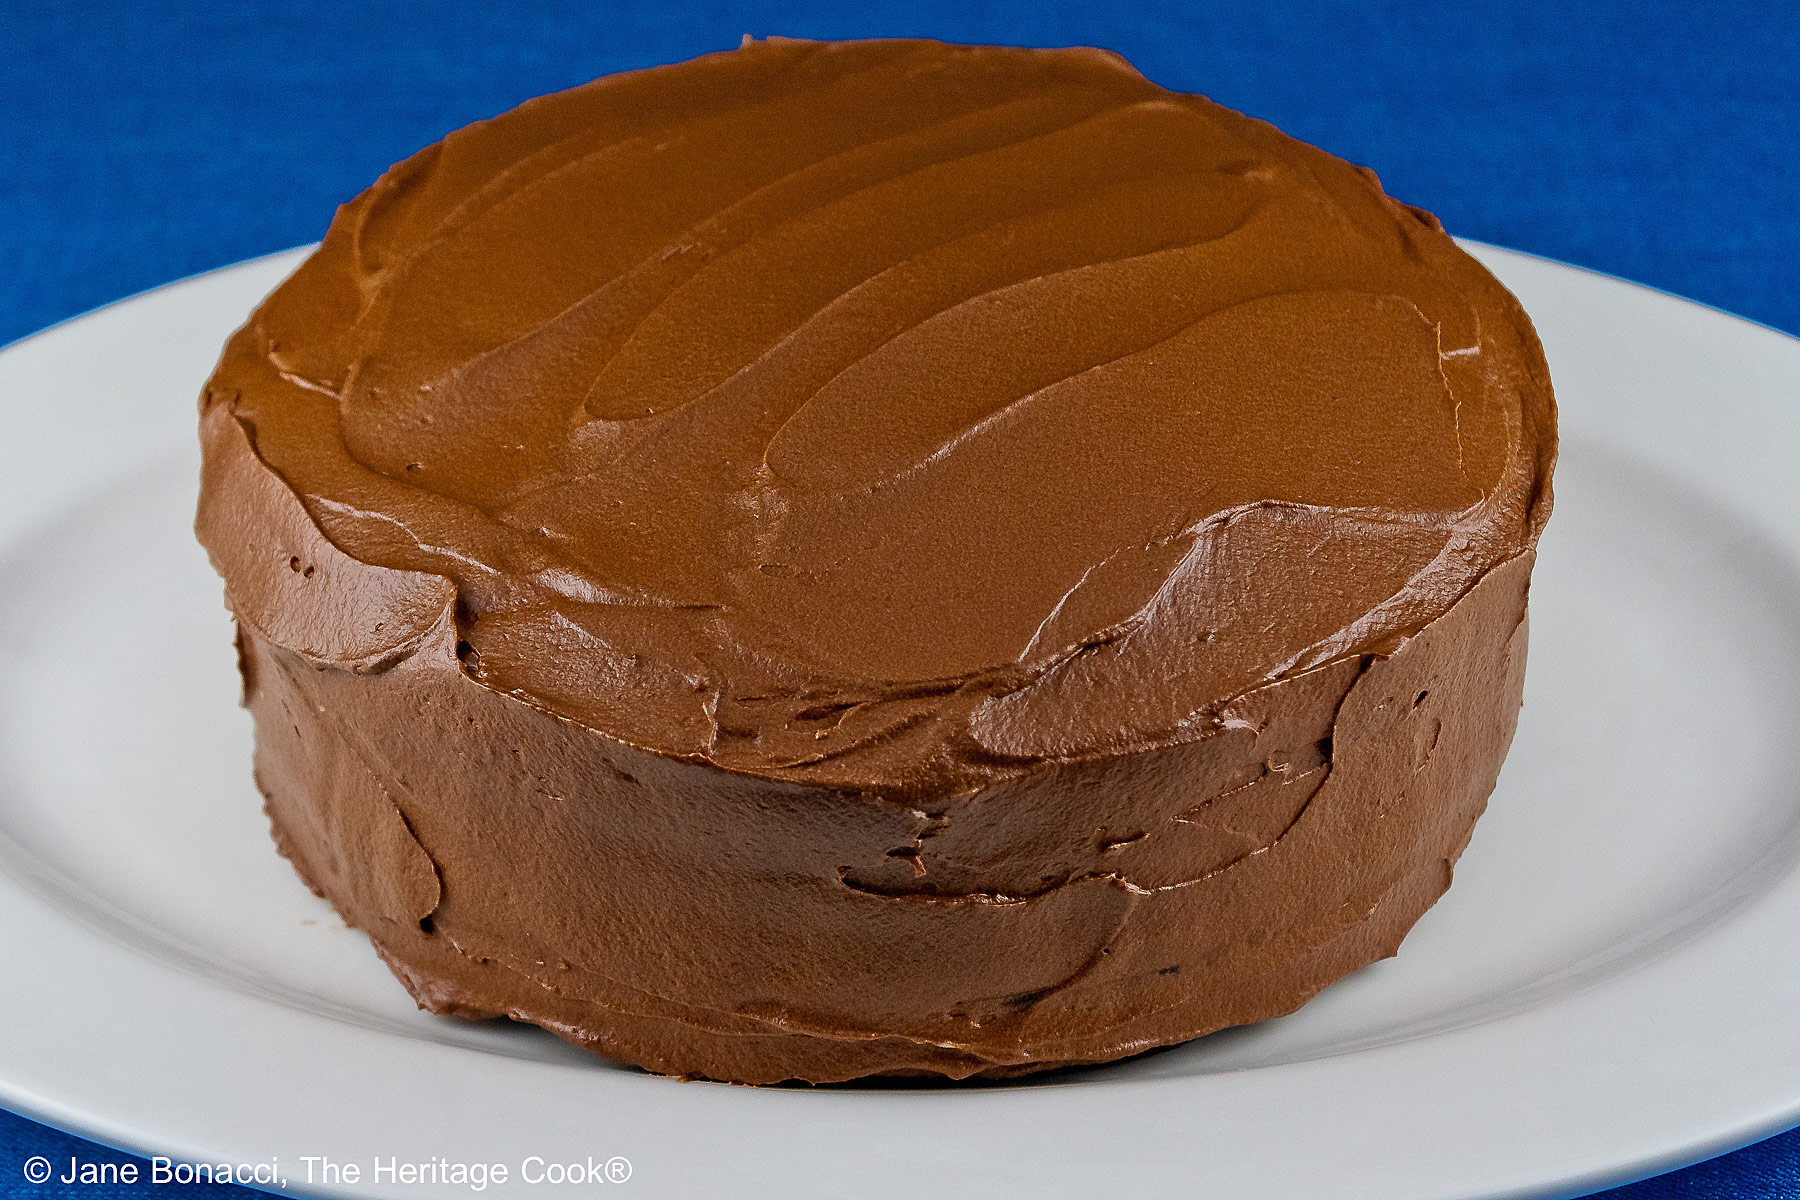
Who wouldn’t want to come home to this beauty?!
Occasionally she would say yes and I would be in heaven. I would inhale it and then all that was left was the plastic wrapper. I always wanted more, and wound up a little let down when it was all gone. A momentary bliss that never lasted long enough.
But now I can have all I want. That’s right folks, I’ve put together a couple of my favorite recipes and made a Little Debbie in a larger cake size with plenty for second helpings.
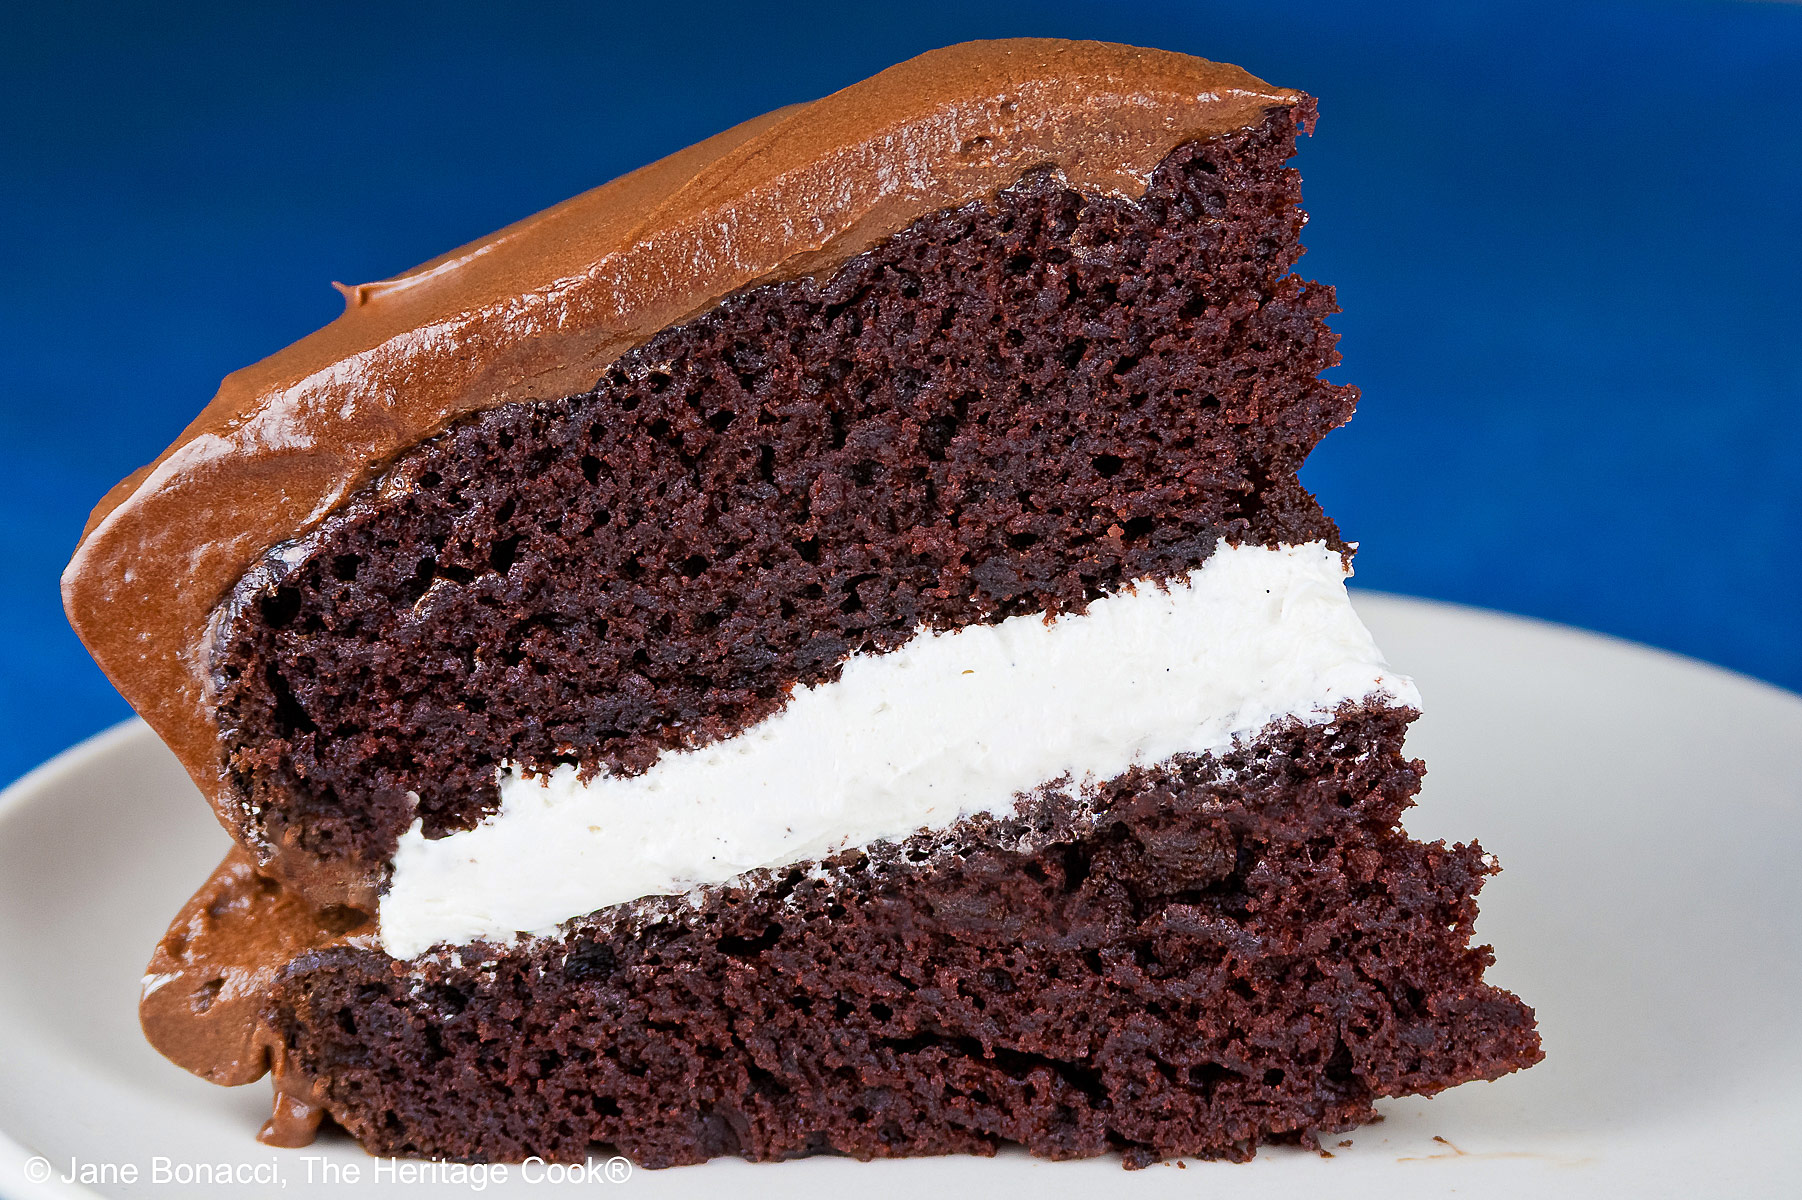
Today’s recipe is a recreation of a true southern classic, the Little Debbie snack cake. If you’ve never had the chance to taste one of these little treats you will be amazed at the flavor combination. This is a chocolate cake with a vanilla cream filling and chocolate frosting. It is the perfect dessert for all the chocoholics in our lives!
This is a rich chocolate layer cake with what I think is the best filling, a modified pure vanilla whipped buttercream studded with vanilla seeds from the vanilla paste I use. Only this one is a little different. You start by making a slurry of milk and flour (use gluten-free if needed), cook it until thickened, and then let it cool. When whipped with softened butter, you get all the flavor of a buttercream frosting with a much lighter texture, bright and airy. This is an old trick that I learned from my grandma.

You may hear it referred to as ermine icing, butter roux icing, or boiled milk icing. I call mine a frosting because it is being beaten into butter making it fluffy, but because it is cooked and starts out thin, technically some prefer to call it an icing.
The cake is an all-purpose chocolate cake that bakes up equally as well in a 9×13-inch (23×33 cm) pan as it does in two round pans. This makes it perfect to take to potluck suppers, church gatherings, and progressive dinners. This is one of the moistest, tenderest cakes I’ve ever made and it is just as delicious using gluten-free flours as it is with regular all-purpose flour.
If you are new to making layer cakes, the biggest trick to making them work is to be sure that the cake layers are completely cooled before trying to assemble the cake. If you are impatient, you will wind up with melted frosting that squishes out the second you touch it and cake layers that slide off. It isn’t a pretty sight – take your time and you’ll be much happier with the results.
And another trick that professional bakers use is to bake the layers in advance, let them cool and assemble the cake. Instead of frosting it right away, they spread a very thin layer of the frosting over the entire cake, sealing in the crumbs so the frosting will go on perfectly smooth. This is called a crumb coat and works like a charm.
The crumb coat also gives your filling time to firm up a bit before you put on the final frosting layer. Then another quick chilling in the refrigerator and you’re ready to slice and serve!
There is another bonus to making this cake. Because it does not require any eggs, you can make it for your family and friends even if they are allergic to eggs or casein! I added an egg to help compensate for the liquid absorption rate of the flours in my gluten-free baking, but if eggs are an allergen for someone in your family, leave it out.
The next time you are throwing a party or having guests over for dinner, you can make this Little Debbie Chocolate Layer Cake and give everyone a taste from their childhood memories!
Enjoy and Happy Chocolate Monday – the sweetest way to start your week!
If you try this recipe, let me know! Please leave a star rating in the recipe card, comment below, and don’t forget to snap a pic and tag it @theheritagecook on Instagram! Seeing your creations makes my day and I love hearing from you!
Ingredients needed for Little Debbie Chocolate Layer Cake:
- Cake: flour or gluten-free flour, sugar, cocoa powder, baking soda, salt, oil, egg, vinegar, vanilla, water
- Filling: flour or gluten-free flour, milk, butter, sugar, salt, vanilla
- Frosting: butter, cocoa powder, powdered sugar milk, salt, vanilla
PRO Tip:
If you can afford it, I highly recommend you buy a second bowl for your stand mixer so you don’t have to stop and wash it between sections of the recipe. This is a huge time saver and is very helpful when making a complex recipe or a huge holiday meal.
How to make Little Debbie Chocolate Layer Cake:
- Make the Cake: Whisk together the dry ingredients, then in another bowl whisk the oil, egg, vinegar, vanilla, and water. Pour the wet ingredients into the dry and beat until smooth. Divide equally between the two buttered and coated with cocoa powder cake pans. Bake at 350°F (180°C) for about 25 minutes.
- Cool cake layers in the pans for 10 to 15 minutes then remove and place upright on wire cooling racks. Cool thoroughly.
- Make the Filling: Whisk the flour and milk over heat and cook until thickened, whisking constantly, about 5 minutes. Cool completely, stirring occasionally. Once cooled, add the butter, vanilla, and sugar; beat on high for about 5 minutes until light and fluffy. Set aside.
- Make the Frosting: Beat the butter and cocoa powder together. Alternate the milk and sugar, beating after each addition. Stir in the vanilla. Beat on high until light and fluffy. Refrigerate if needed to firm up the butter.
- Assemble the Cake: For a two-layer cake, leave the layers whole. If you want a 4-layer cake split each cake layer in half horizontally with a serrated knife. Place one layer top-side-down on a serving plate. If making a 2-layer cake, top with all the filling, spreading to the edges and press down gently. If making a 4-layer cake, use 1/3 of the filling between each layer.
- Frost the Cake: Cover the entire cake with a very thin coating of frosting and place it in the refrigerator to firm up. You can do this up to 1 day ahead. After cooling for 20 minutes, remove the cake and finish frosting. Chill again about 10 minutes, then slice and serve.
PRO Tip:
Covering the cake with a very thin coating of the frosting and refrigerating it to firm up, helps trap the crumbs and is called a crumb coat. You do this to get the very best base for finishing the frosting. You will get a perfectly clean surface every time!
Recommended Tools (affiliate links; no extra cost to you):
- Kitchen scale
- Two 9-inch (23 cm) round cake pans
- Stand mixer or hand mixer
- Mixing bowls
- Saucepan
- Wire cooling racks
Gluten-Free Tips:
* You can adjust any baking recipe to gluten-free by using 120 grams per cup of my favorite gluten-free flour blend. If you are using another brand of flour or regular flour, whisk it, spoon it lightly into a measuring cup until mounded, level off the top with a knife, and weigh the flour left in the cup. Use that weight as your standard per cup of that specific flour. Do this for each flour blend you use. Commercial gluten-free blends such as Pamela’s All-Purpose Artisan Blend, Bob’s Red Mill 1-to-1, or King Arthur Measure for Measure are all good gluten-free choices.
** My preferred brand of kosher salt is from Diamond Crystal. If you use Morton’s or another brand you will likely not need as much.
You will get the best and most consistent results by using a digital kitchen scale and weighing your ingredients, especially when you are baking. And use grams, they are much more accurate than pounds and ounces.
All recommended ingredients are gluten-free as of the writing of this article. Always check to be sure the products haven’t changed and are still safe to consume.
Little Debbie Chocolate Layer Cake (GF)

Ingredients
Cake
- 3 cups (360g) all-purpose flour OR
- For gluten free use 2-1/2 cups (300g*) gluten-free flour blend* with xanthan gum** plus 1/2 cup (42g) ground almond meal or 48g almond flour
- 2 cups (396g) granulated sugar
- 6 tbsp (32g) unsweetened cocoa powder
- 2 tsp baking soda
- 1 tsp kosher salt ***
- 3/4 cup (149g) olive or vegetable oil (neutral flavor)
- 1 large egg, at room temperature, optional but recommended for gluten-free cakes
- 2 tbsp vinegar (white or apple cider)
- 2-1/2 tsp pure vanilla extract or vanilla paste
- 2 cups (454g) water
Filling
- 3 tbsp (23g) all-purpose flour or gluten-free flour blend
- 1/2 cup (113g) milk
- 1/2 cup (1 stick; 113g) butter or shortening, at room temperature
- 1/2 cup (99g) granulated sugar
- Pinch kosher salt ***
- 1 tsp pure vanilla extract or vanilla paste
Frosting
- 1/2 cup (1 stick; 113g) butter, softened to room temperature
- 2/3 cup (56g) unsweetened cocoa powder
- 2 to 3 cups (227g to 339g) powdered sugar, sifted or whisked
- 1/3 to 1/2 cup (76g to 113g) milk, as needed
- Pinch kosher salt ***
- 1 tsp pure vanilla extract or vanilla paste
Instructions
1. Prepare the Cake: Preheat oven to 350°F (180°C). Butter 2 (9-inch) round cake pans and dust with cocoa powder.
2. In the bowl of your stand mixer, combine the flour, sugar, cocoa, baking soda, and salt. Whisk together. In a measuring cup combine the oil, egg (if using), vinegar, vanilla, and water. Pour the wet ingredients into the dry ingredients and beat until smooth. Divide equally between the two prepared pans (or 1/4 in each if using 4 pans).
3. Bake in the hot oven for about 25 minutes, spinning the pans halfway through the baking time, or until fine crumbs cling to a wooden toothpick inserted in the center of the cake layers.
4. Cool in pans for 10 to 15 minutes, remove from the pans and place upright on wire cooling racks and cool completely.
5. The cake layers can be baked a day or two in advance, wrapped tightly in plastic and refrigerated. If you are using gluten-free flours, cakes are usually better a day or two after baking.
6. Make the Filling: Whisk together flour and milk in a small saucepan making sure there are no lumps. Cook over medium-low heat until thickened, about 5 minutes, whisking constantly. Pour into the bowl of your standing mixer and let cool completely, stirring occasionally.
7. Once the flour/milk mixture has cooled, add the butter, vanilla and sugar to the bowl. Beat with mixer on high for about 5 minutes or until light and fluffy. Set aside.
8. Make the Frosting: Beat the butter and cocoa powder together. Alternate the milk and powdered sugar until your desired consistency is reached. Stir in vanilla. Beat on high until light and fluffy. Refrigerate if needed to firm up the frosting slightly (especially if it is a hot summer day).
9. Assemble the Cake: For a two-layer cake, leave the cake layers whole as they are. If you want a four-layer cake, split each cake layer in half horizontally with a serrated knife.
10. Place the bottom layer top-side down on a serving plate. If making a 2-layer cake, top the cake layer with all of the filling, spreading it to the edges and place the second layer on top, rounded side up. Press down gently, helping to spread the filling all the way to the edge. If you are making a 4-layer cake, use 1/3 of the filling between each layer.
11. Cover the entire cake with a very thin coating of the frosting and place it in the refrigerator to firm up. This crumb coat holds any loose crumbs and will help you get a perfectly frosted cake every time!*** After cooling for 20 minutes, remove the cake from the refrigerator and finish frosting. Chill again for about 10 minutes, then slice and serve.
Recipe found at www.theheritagecook.com
Notes
* You can adjust any recipe to gluten-free by using 120 grams per cup of my favorite gluten-free flour blend. If you are using another brand of gluten-free flour, whisk the mix, spoon it lightly into a measuring cup without a spout until mounded, level off the top with the back of a knife, and weigh the flour left in the cup. Use that weight as your standard per cup of that specific flour. Do this for each flour blend you use. Commercial blends such as Pamela's, Bob's Red Mill 1-to-1, or King Arthur Measure for Measure are all good gluten-free choices.
** If your gluten-free flour blend does not include xanthan gum, add 1/4 tsp to the dry cake ingredients before mixing.
*** My preferred brand of kosher salt is from Diamond Crystal. If you use Morton’s or another brand you will likely not need as much.
**** The cake can be made up to the point where you put on the crumb coat up to a day in advance and kept in the refrigerator, wrapped tightly in plastic wrap.
All recommended ingredients are gluten-free as of the writing of this article. Always check to be sure the products haven’t changed and are still safe to consume.
Adapted from Cake and Filling Recipes by Micha of Cookin’ Mimi
Frosting recipe adapted from Hershey’s Perfect Chocolate frosting
Nutrition Information:
Yield:
10Serving Size:
1Amount Per Serving: Calories: 1120Total Fat: 45gSaturated Fat: 13gUnsaturated Fat: 32gCholesterol: 54mgSodium: 640mgCarbohydrates: 163gFiber: 7gSugar: 86gProtein: 15g
The nutritional information for recipes on this site is calculated by online tools and is merely an estimate. Errors may occur. If you need nutritional calculations for medical reasons, please use a source that you trust.
If you enjoyed this recipe, be sure to follow me on social media so you never miss a post:

Create a New Tradition Today!
Welcome! The suggestions here are not intended as dietary advice or as a substitute for consulting a dietician, physician, or other medical professional. Please see the Disclaimers/Privacy Policy page for additional details. Unauthorized use, distribution, and/or duplication of proprietary material from The Heritage Cook without prior approval is prohibited. If you have any questions or would like permission, please contact me. We participate in the Amazon Services LLC Associates Program, an affiliate advertising program designed to provide a means for sites to earn advertising fees by advertising and linking to amazon.com. As an Amazon Associate, I earn a small amount from qualifying purchases without any additional cost to you. This page may contain affiliate links. The author makes no claims regarding the presence of food allergens and disclaims all liability in connection with the use of this site. This post was first shared in Nov 2015 The article was updated in 2026.


Leave a Reply