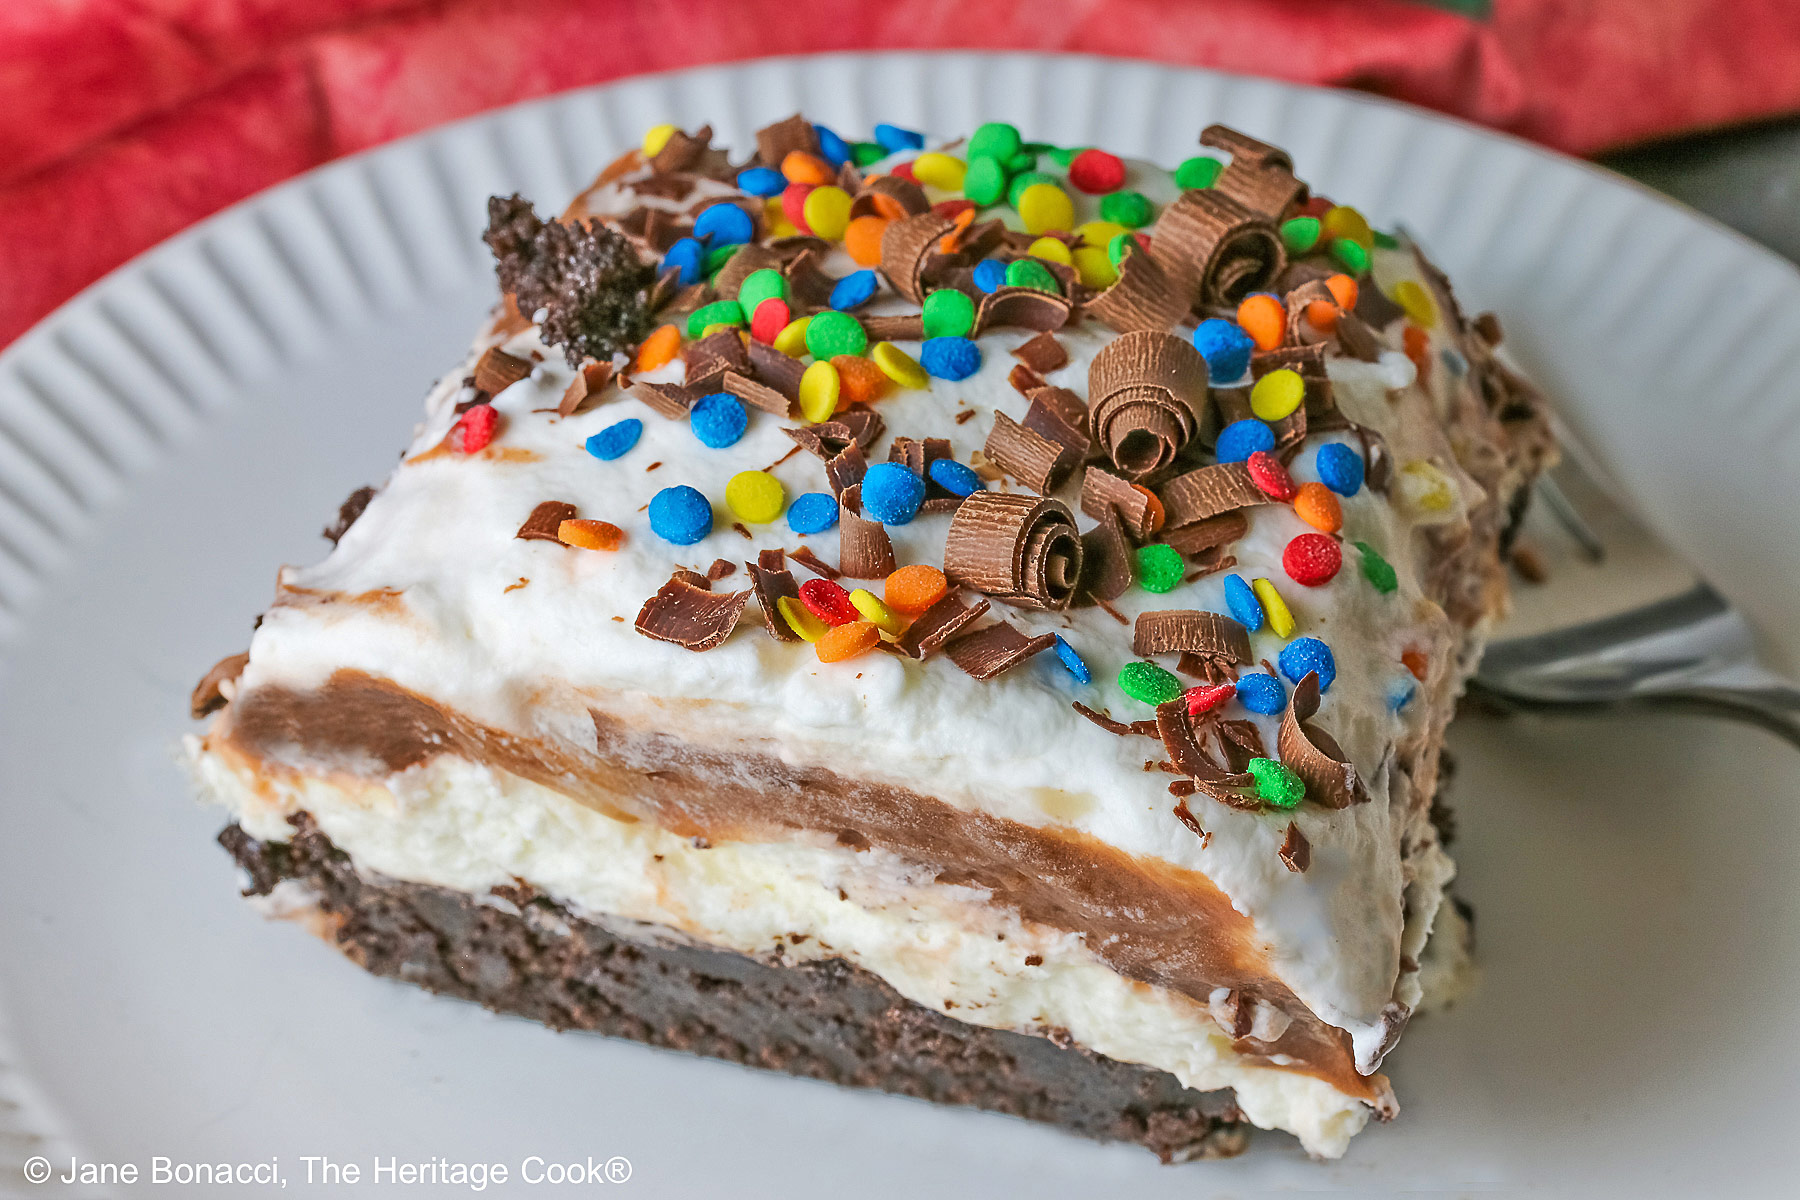
 With layers of rich, intensely chocolatey brownies, creamy pudding, and luscious whipped cream, this Brownie Refrigerator Pudding Cake is just what you crave on these hot summer days! Easy and quick to make and assemble, this cake is perfect for summer barbecues, potluck dinners, and birthday parties. A true crowd-pleasing dessert!
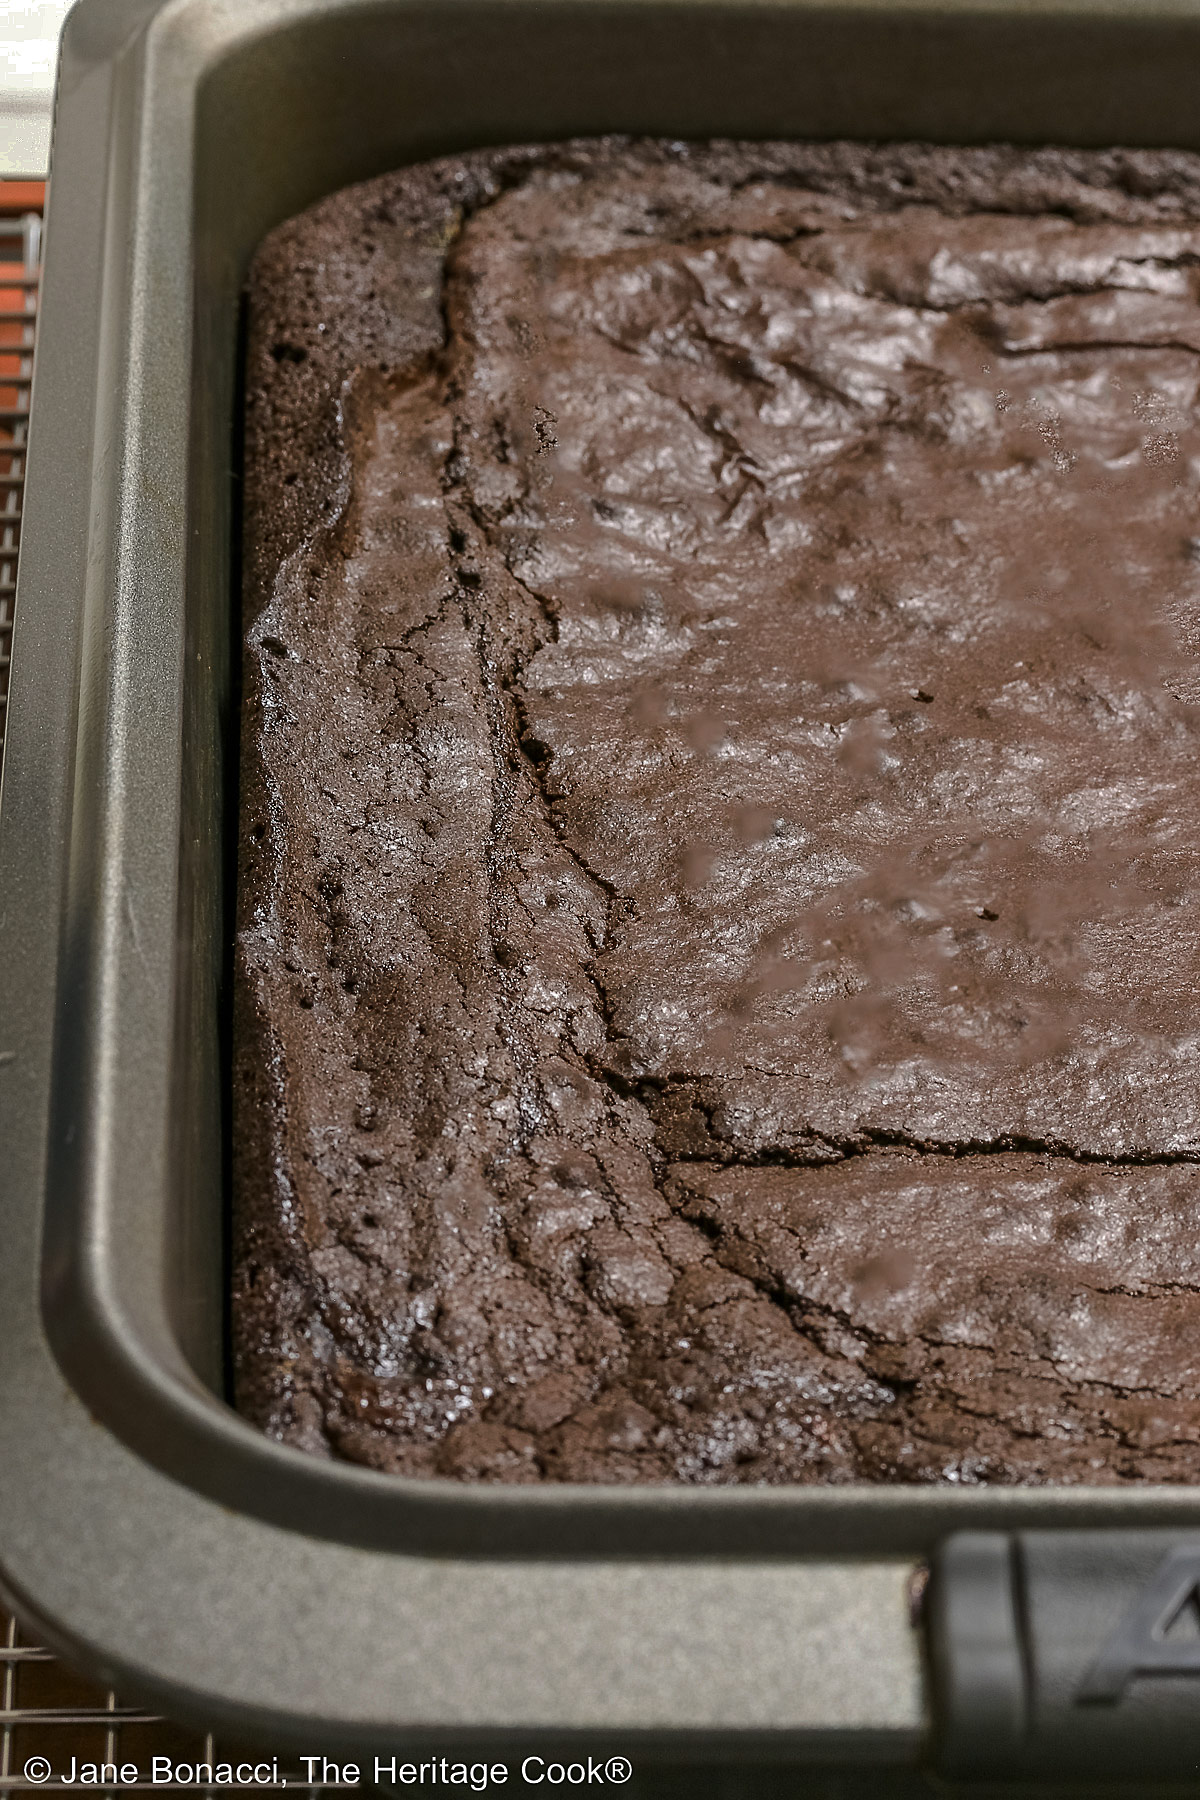
While this is called a refrigerator cake, you do need to bake the brownie layer first and let it cool before assembling the rest of the layered cake. That is the only baking required and can be done early in the day or even a day ahead.
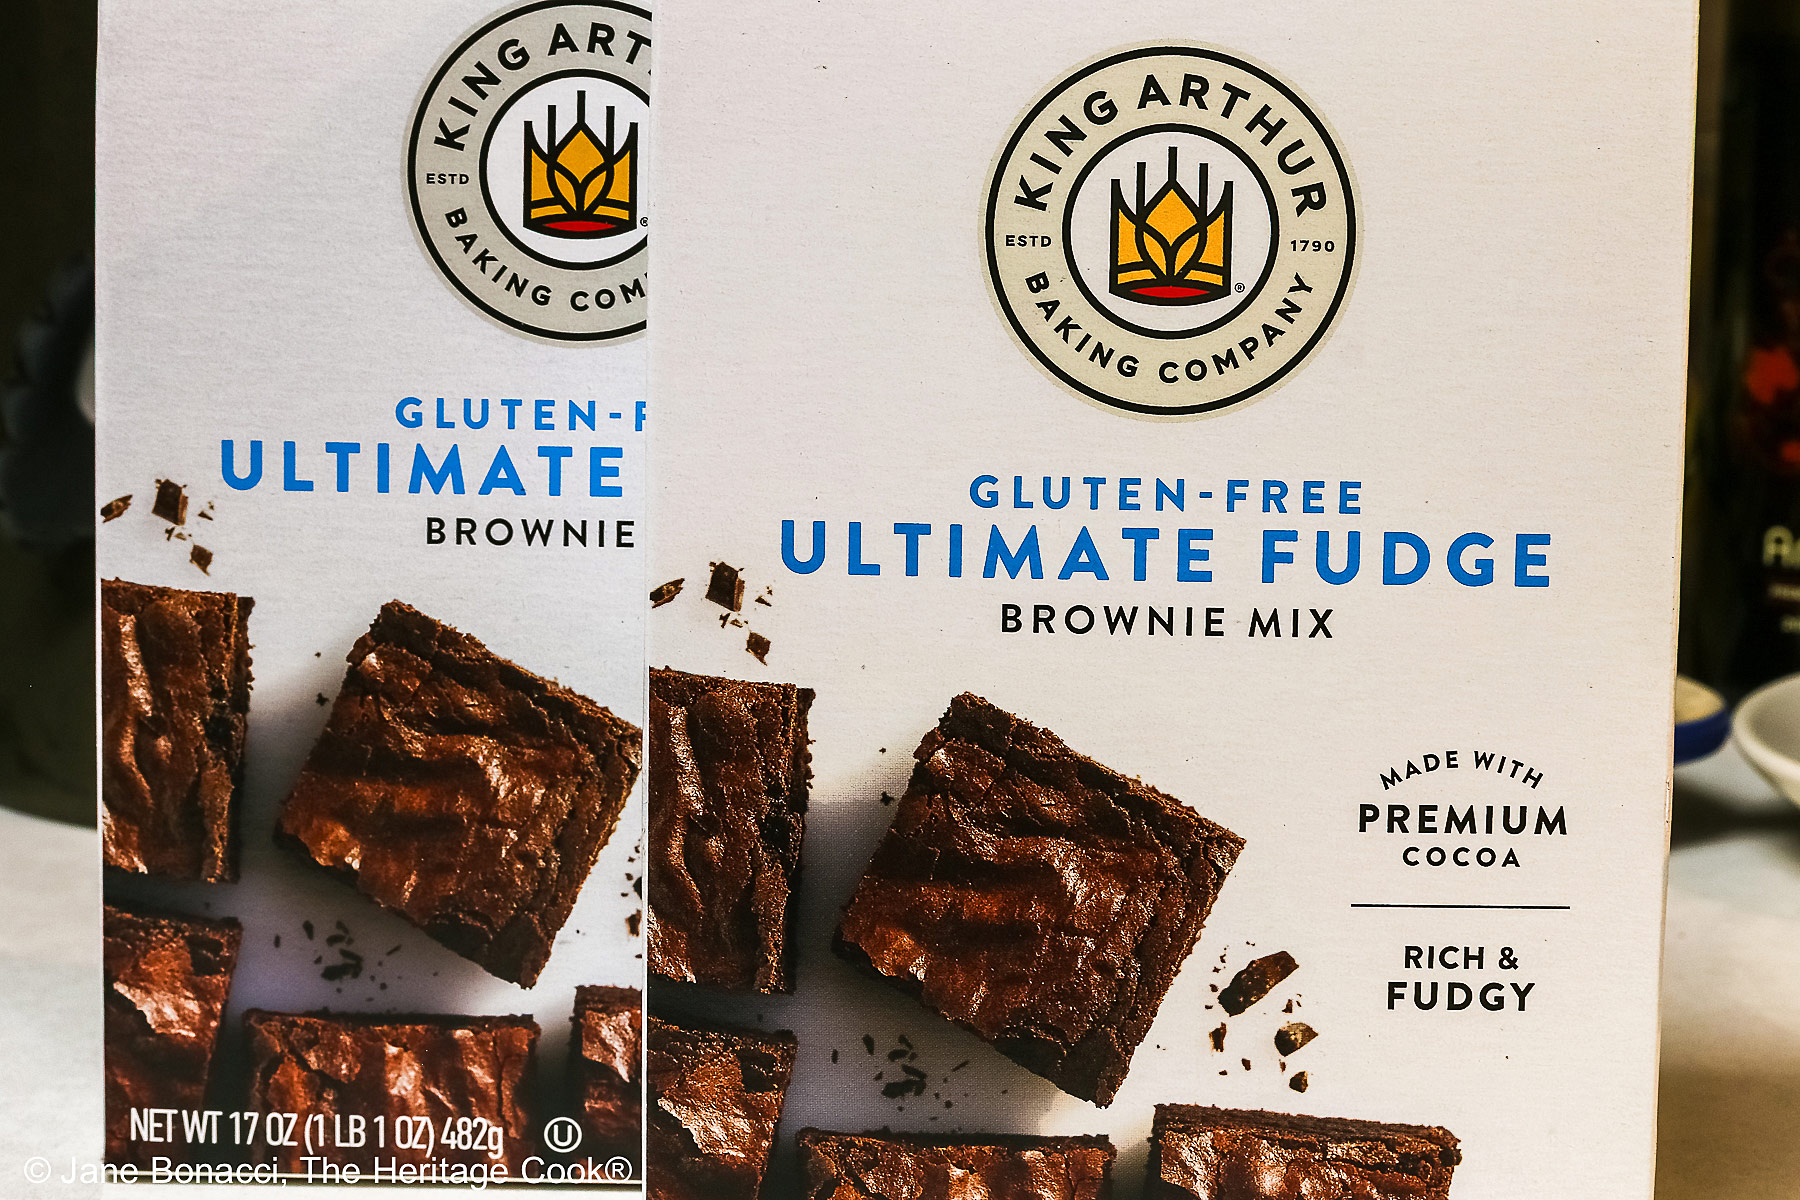
I used 2 boxes of King Arthur’s Gluten-Free Ultimate Fudge Brownie Mix to fit my 9×13-inch (23x33cm) baking pan.
If you do make the brownie layer ahead, store the pan, covered, in the refrigerator then return to room temperature so it is ready for the rest of the layers. And plan ahead because once assembled this takes 4 hours or up to overnight to fully chill and set up!
The brownies call for an additional egg to be added to the batter. Combine all the ingredients called for on the box mix. Then just add the extra egg when you add the other eggs and mix together.
I make my own whipped cream. It is so quick and easy to do and soooo much better tasting! If you don’t have the time to make your own from scratch (it only takes a couple of minutes), if you prefer you can use pre-whipped topping instead.
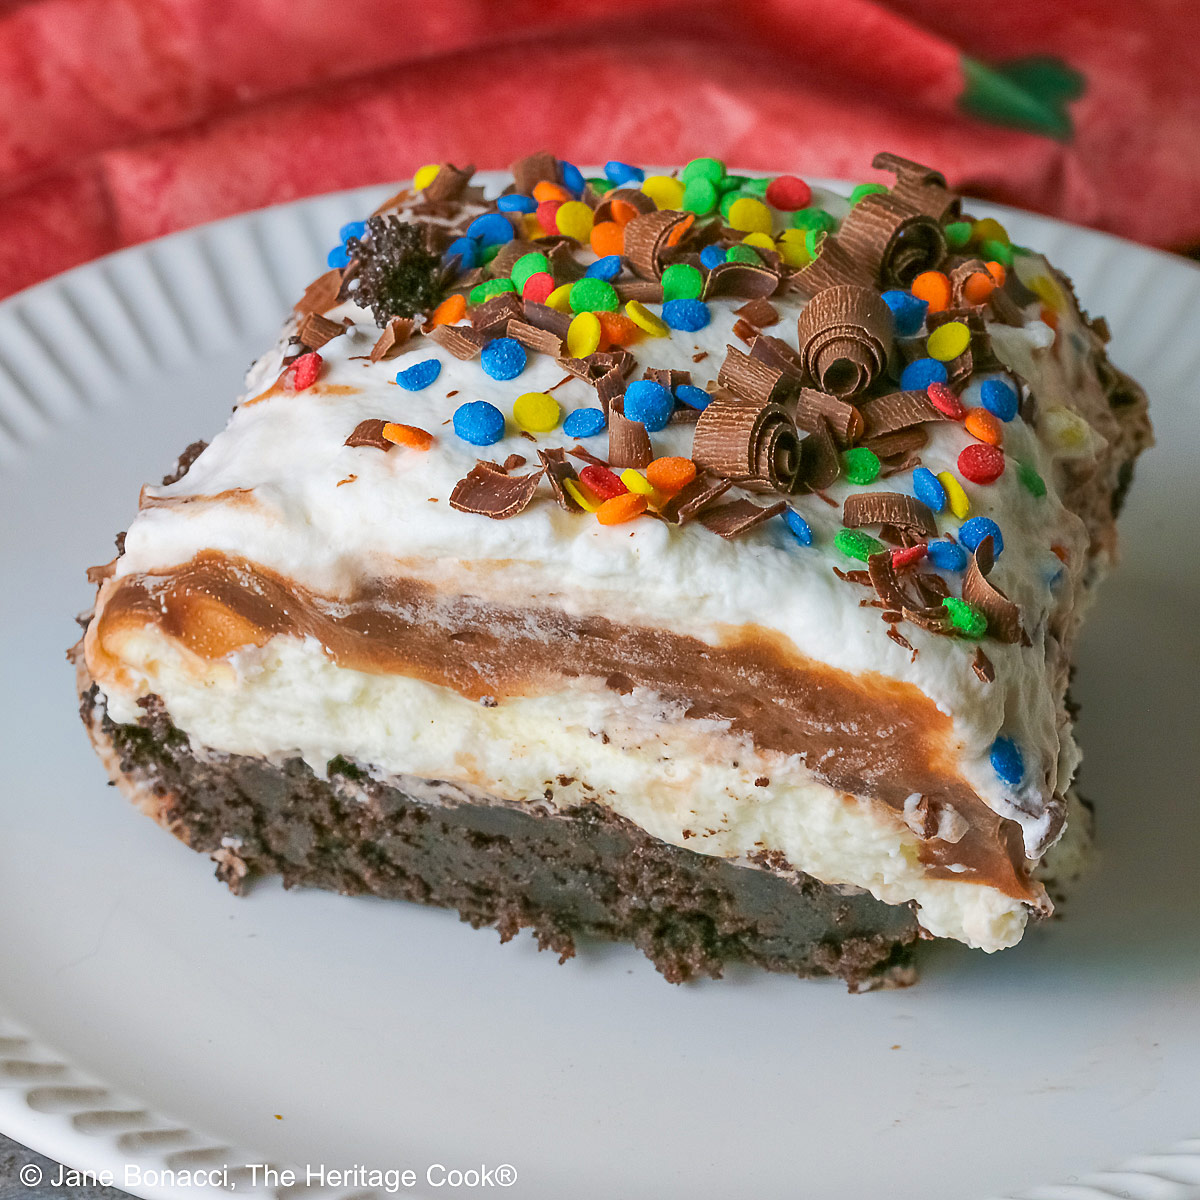
The layers in this dessert are so simple to put together, you will have this ready in no time. This uses a brownie mix to make it faster and easier. You stir the chocolate and vanilla pudding mixes together with the milk and spread them over the cooled brownies and cream cheese layer. Then top with a billowing layer of lightly sweetened whipped cream. Sprinkle the top with some shaved or grated chocolate or other decorations for a beautiful chilled dessert.
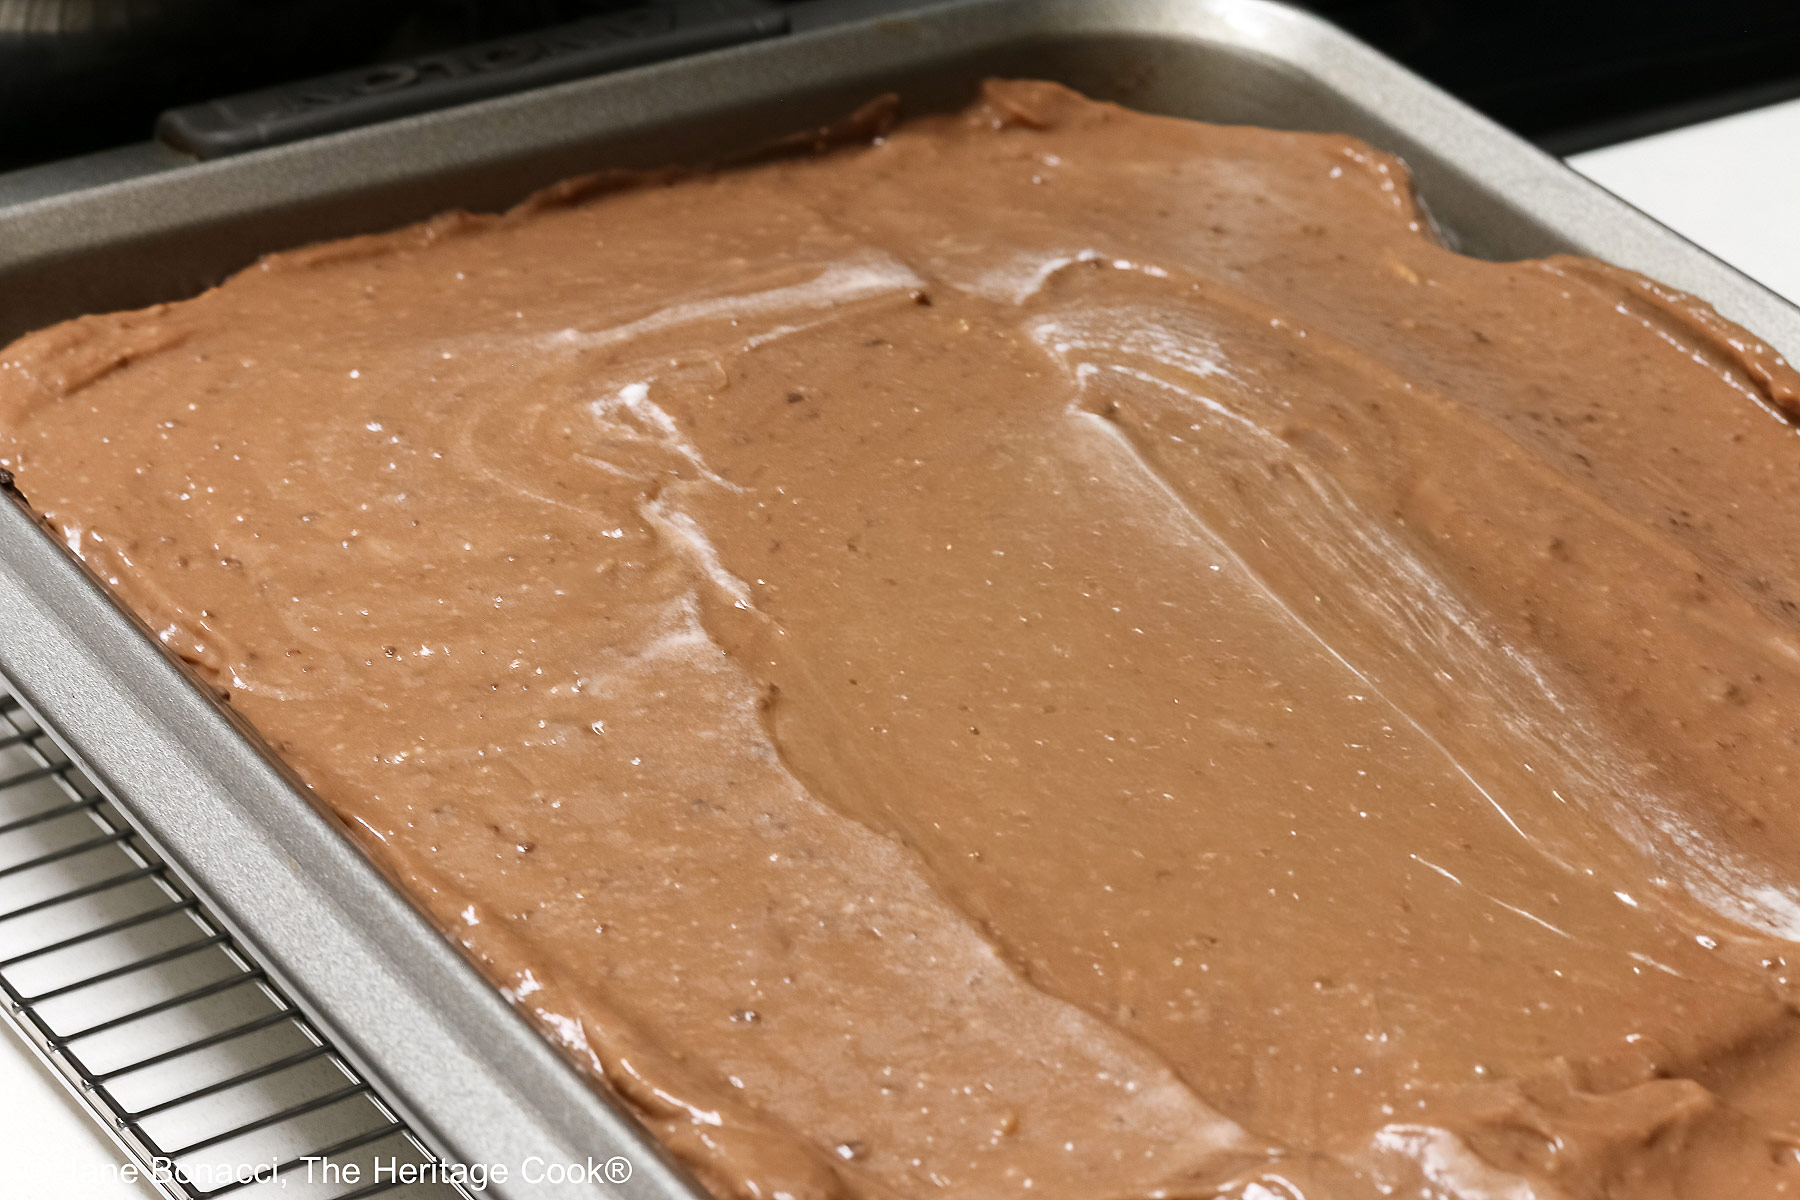
Blending the chocolate and vanilla pudding mixes gives you almost a milk chocolate flavored layer. It complements the intensity of the brownies and creates beautiful contrasting flavors and textures.
When you are getting the chocolate bar ready for decorating the top, grate it on a box grater (large holes) or shave with a vegetable peeler (my preferred method). Be sure the bar is at warm room temperature so it will shave smoothly without breaking too much. Milk chocolate is softer and easier to work with.
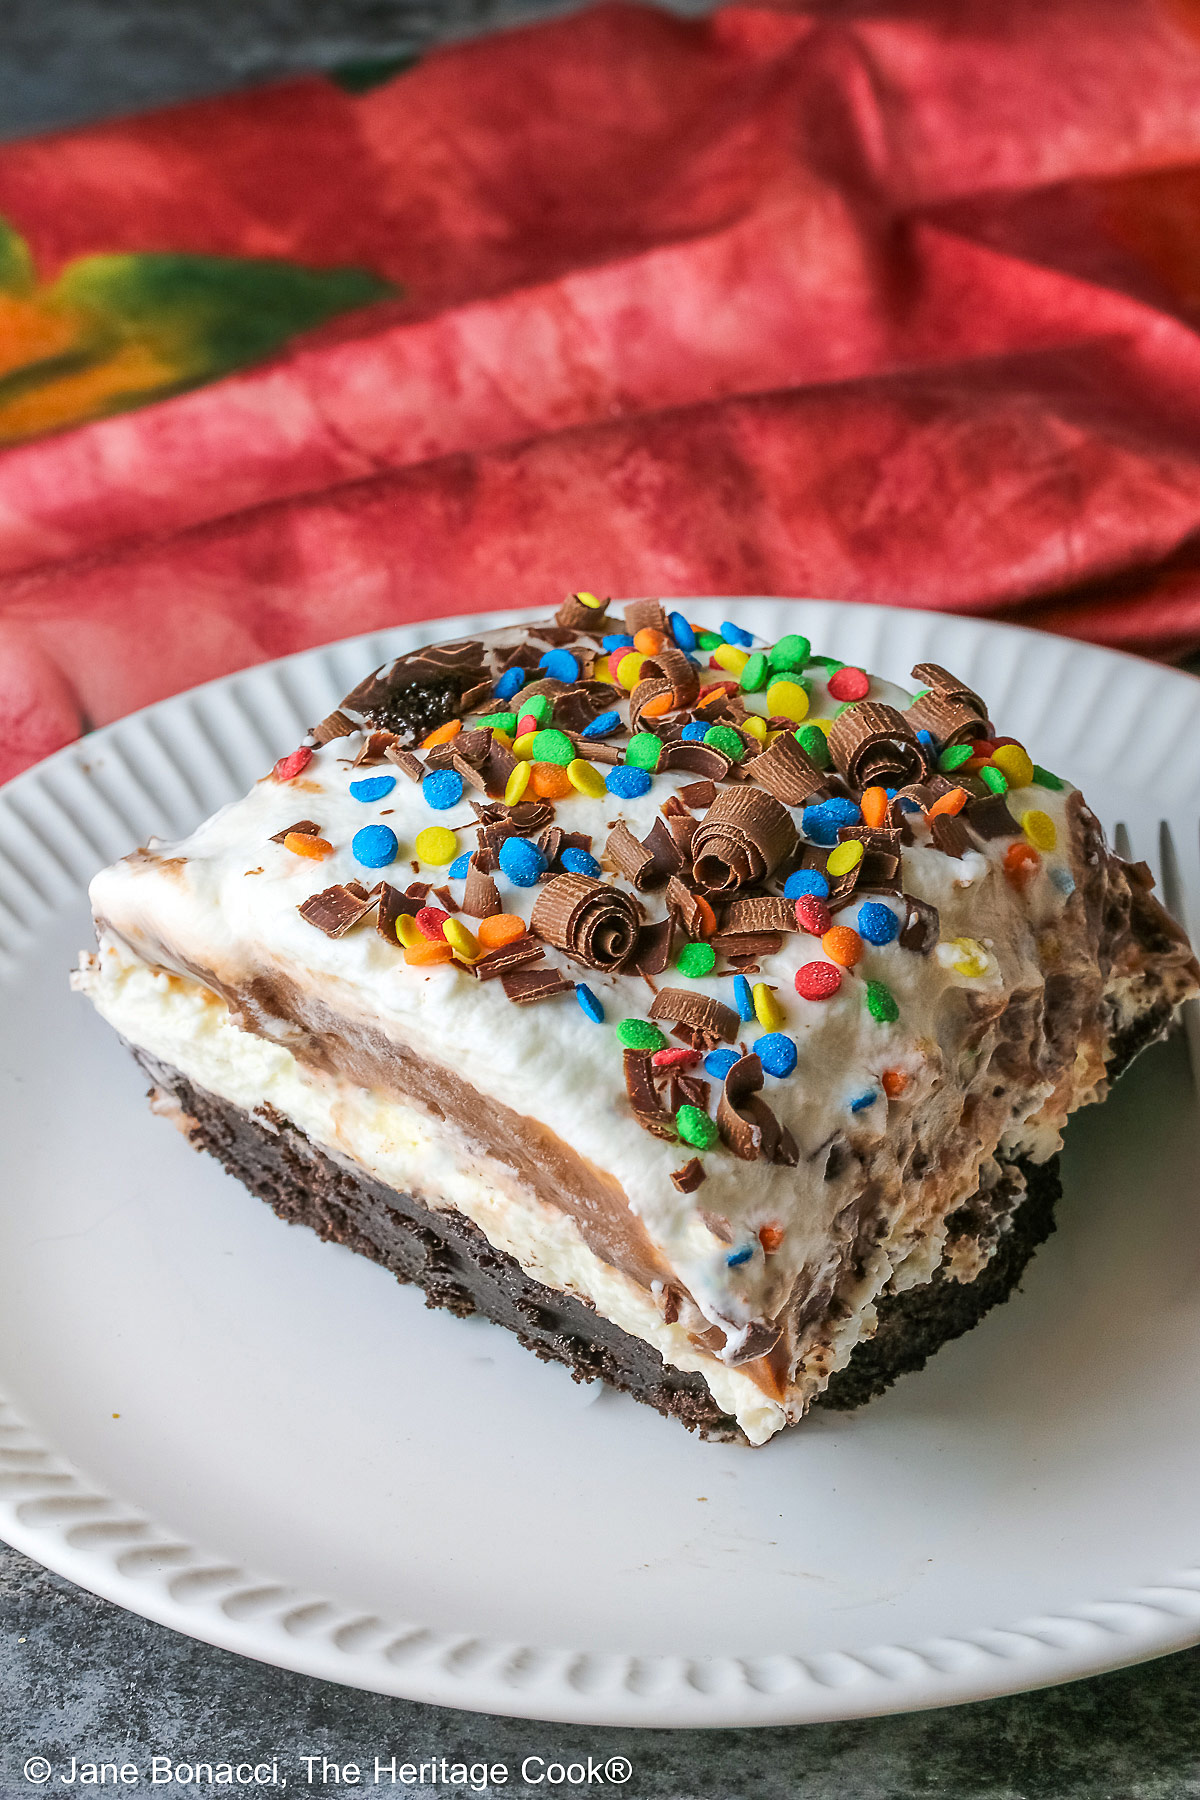
Shave or grate it directly onto the top of the cake to create a well-covered layer of intact, non-melted chocolate. If you want a more festive look like I did, add rainbow sprinkles for pops of color!
Chocolate chips, chocolate chunks, and brightly colored candies would all be fun additions to the top of this dessert. You can use any topping combination, color palette, or designs — decorate to suit the occasion!
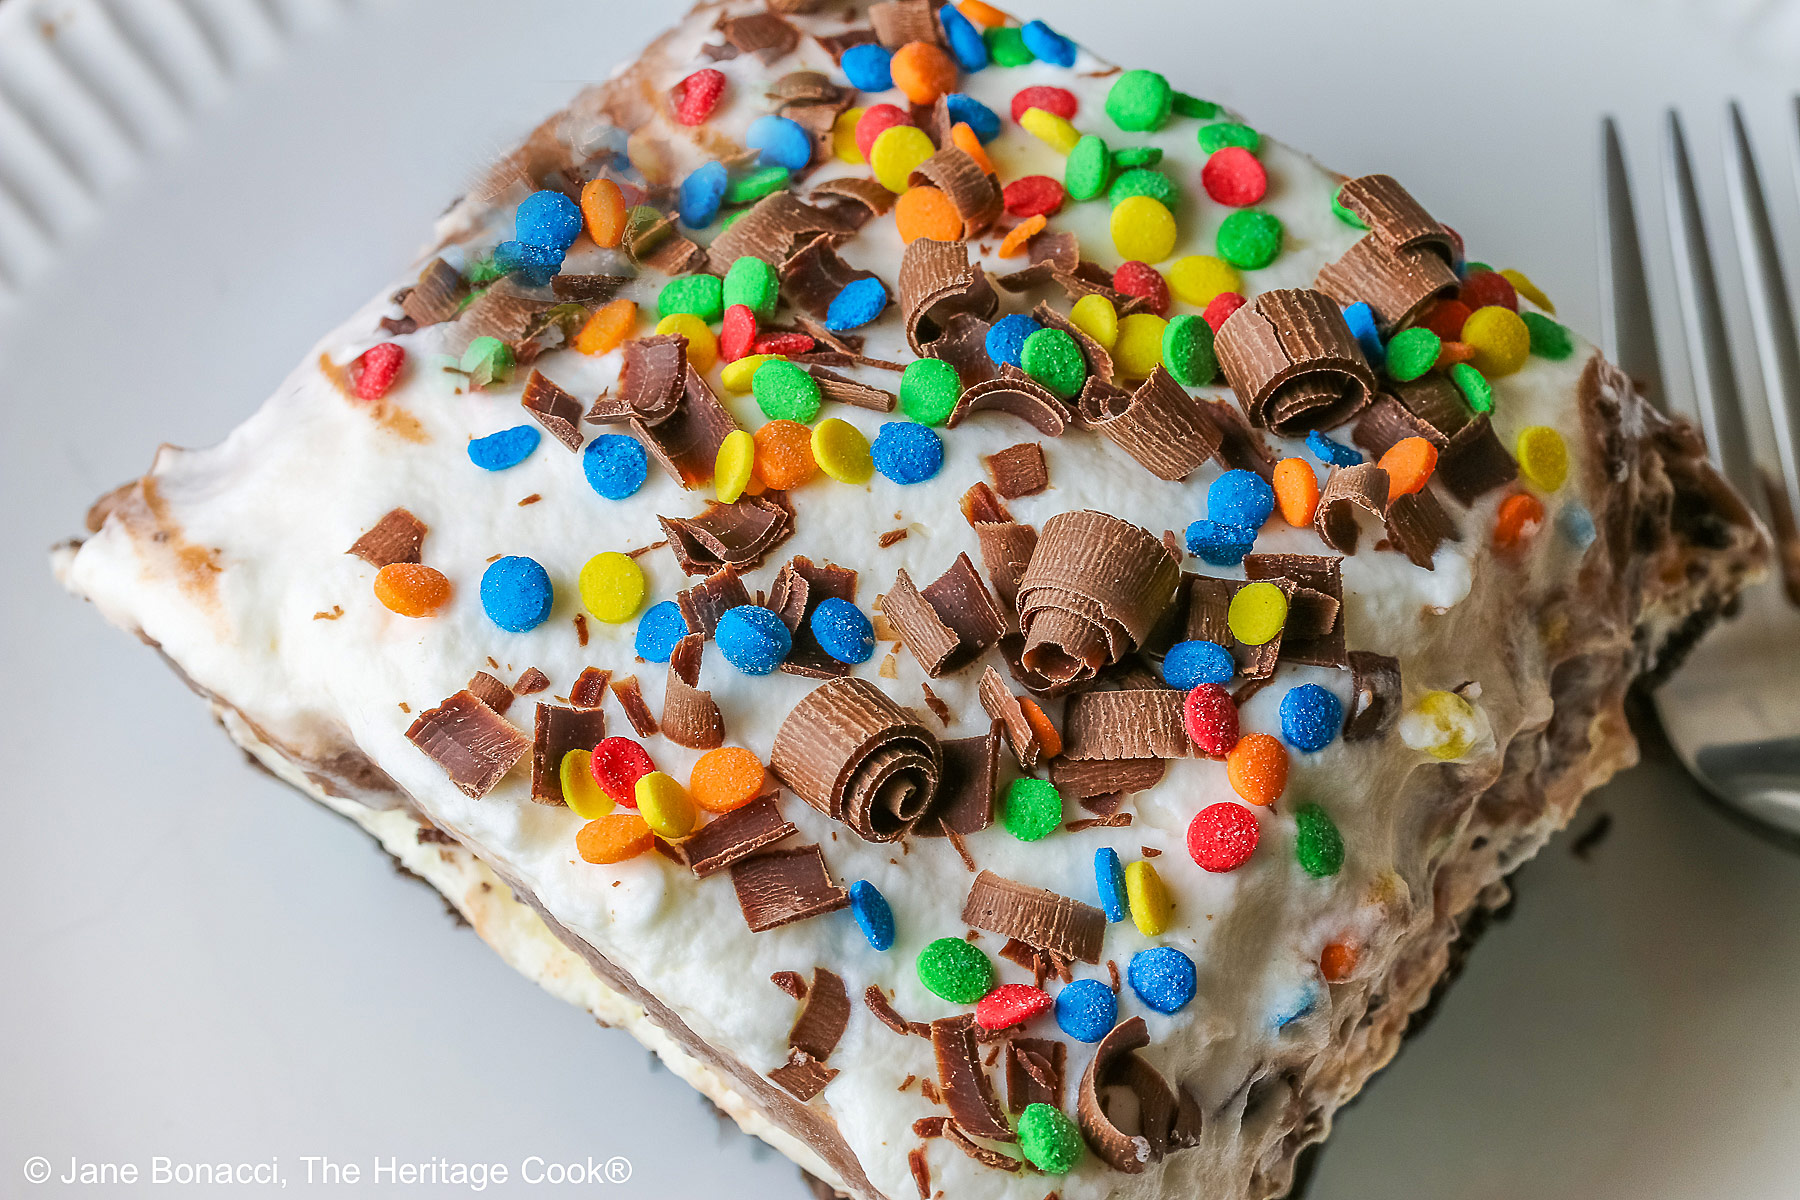
The top covered with shaved chocolate and rainbow sprinkles — so fun!
When you’ve had a relatively heavy lunch or dinner and want something light for dessert, pull out this recipe for Brownie Refrigerator Pudding Cake. You will be thrilled with the airy sweet treat that is so perfect for these hot summer days and warm, balmy evenings.
I hope you make and enjoy this refreshing dessert as much as The Artist and I did! We loved every single bite and kept going back for just one more piece, LOL.
Have a wonderful week, stay cool, and we’ll see you back here on Friday for another favorite savory recipe!
If you try this recipe, let me know! Please leave a star rating in the recipe card, comment below, and don’t forget to snap a pic and tag it @theheritagecook on Instagram or Threads! Seeing your creations makes my day and I love hearing from you!
Ingredients needed for this Brownie Refrigerator Pudding Cake:
- Brownie mix, egg, cream cheese, confectioners’ sugar, heavy cream, instant chocolate pudding, instant vanilla pudding, milk, chocolate bar-chocolate chips-colorful candies, etc. for the top
PRO Tip:
I make my own whipped cream. It is so quick and easy to do and so much better tasting! If you don’t have the time to make your own from scratch, you can use pre-whipped topping (such as Cool Whip) instead.
How to make Brownie Refrigerator Pudding Cake:
- Make the brownies adding an extra-large egg to the mix. Bake and cool to room temperature.
- Whip the cream to firm peaks and set aside. Beat together the cream cheese and powdered sugar. Mix in half the whipped cream until smooth. Spread this over the cooled brownie layer.
- Whisk together the chocolate and vanilla pudding mixes with the milk until smooth and thickened. Pour over the cream cheese layer, spreading it evenly.
- Spread on the remaining whipped cream and top with your choice of shaved chocolate, chocolate chips, chocolate chunks, or colorful candies to suit any occasion.
PRO Tip:
Grate the chocolate bar on a box grater (large holes) or shave with a vegetable peeler (my preferred method). Soften the bar slightly so it will shave smoothly without breaking too much. Shave or grate it onto a sheet of parchment paper so it won’t melt with the heat of your hands. I use a mini offset spatula to move a few pieces at a time over to the whipped cream cake to create a well-covered layer of intact, non-melted chocolate.
PRO Tip:
Chocolate chips, chocolate chunks, and brightly colored candies would all be fun additions to the top of this dessert. Decorate to suit the occasion!
Recommended Tools (affiliate links; no extra cost to you):
- Kitchen scale
- Mixing bowls
- 9×13-inch (23x33cm) baking pan
- Wire cooling rack
- Stand mixer or hand mixer
Gluten-Free Tips:
* If you need gluten-free pudding mix, look for Simple Mixes variety online (Amazon carries them). They have both chocolate and vanilla as well as other flavors that are all gluten-free.
Many gluten-free brownie mixes are made for an 8-inch (20cm) square pan. I used two boxes of King Arthur’s GF ultimate fudge brownie mix (each for an 8-inch (20cm) pan) with one extra egg and got a beautiful layer of brownies in my 9×13-inch (23x33cm) baking pan. They baked for about 30 minutes, your oven may vary.
You can use a box grater to grate the chocolate but I prefer to use a vegetable peeler and run it down the length of the bar. You will get a combination of rolls and small pieces of chocolate.
You will get the best and most consistent results by using a digital kitchen scale and weighing your ingredients, especially when you are baking. Use grams, they are much more accurate than pounds and ounces.
All recommended ingredients are gluten-free as of the writing of this article. Always check to be sure the products haven’t changed and are still safe to consume.
Brownie Refrigerator Pudding Cake (GF)

With layers of rich, intense chocolatey brownies, creamy pudding, and pillowy whipped cream this dessert is just what you crave on these hot summer days! Easy to make, this cake is perfect for summer barbecues, potluck dinners, and birthday parties. A true crowd-pleasing dessert!
Ingredients
Brownies
- 1 box gluten-free brownie mix (big enough for one 9x13-inch [23x33 cm] pan) or two boxes, each for 8-inch (20cm) square pans
- The ingredients called for on the box directions plus:
- 1 large egg
Cream Cheese Layer
- 1 package (8 oz; 227g) cream cheese, softened
- 1 cup (113g) confectioners’ sugar
- 3 cups (681g) heavy cream, whipped with 4 to 5 tbsp confectioners’ sugar (or two {8 oz; 227g} containers of whipped topping such as Cool Whip)
Pudding Layer
- 1 small (3.9 oz; 110g) box gluten-free* instant chocolate pudding
- 1 small (3.4 oz; 96g) box gluten-free* instant vanilla pudding
- 3-1/2 cups (795g) milk
Toppings:
- 1 chocolate bar, grated or shaved over the top of the cake plus optionally, chocolate chips, chocolate chunks, and/or colorful candies scattered over the top with the shaved chocolate
Instructions
1. Make the Brownies: Following directions on the brownie mix box, preheat your oven. Butter a 9×13-inch (23x33 cm) baking dish (even if it is nonstick!).
2. Follow the instructions on the brownie box to mix the brownie batter, plus add the extra egg and mix well. Pour the brownie batter into the prepared baking dish and bake according to the package instructions. It is done when a toothpick inserted in the center comes out clean. Remove from the oven and set on a wire rack. Let it cool in the pan completely. Can be made a day ahead. Store covered.
3. Whip the Cream: Using the bowl of your stand mixer or a large bowl if using a hand mixer, whisk the cream until frothy then with the mixer on low sprinkle in the sugar. Once incorporated, increase the speed to medium-high and beat to very firm peaks. Set aside.
4. Prepare the Cream Cheese Layer: When the brownies are cool, beat the softened cream cheese in a bowl until smooth. With the motor running, gradually add the confectioners’ sugar, mixing until well combined.
5. Mix 1/2 of the whipped cream into the cream cheese mixture until the mixture is smooth and well blended. Spread this cream cheese layer evenly over the cooled brownie base with a spatula.
6. Make the Pudding Layer: In a separate large bowl, whisk together the instant chocolate pudding mix, instant vanilla pudding mix, and milk until smooth with no lumps and thickened. This will take a few minutes. Spoon the pudding mixture over the cream cheese layer, spreading it out evenly with a spatula.
7. Add the Toppings: Spread the remaining whipped cream over the pudding layer, making some peaks and valleys for interest. Cover the cake and refrigerate for at least 4 hours, or overnight, to allow the layers to set.
8. Sprinkle the grated or shaved chocolate over the top. You can also add some chocolate chips and/or bright candies would also be fun.
9. While cold, slice the cake into squares and serve chilled. Store, covered, in the refrigerator. Enjoy this luscious dessert all summer long!
Recipe found at www.theheritagecook.com
Notes
* If you need gluten-free pudding mix, look for Simple Mixes variety online (Amazon carries them). They have both chocolate and vanilla as well as other flavors.
Most gluten-free brownie mixes are made for an 8-inch (20cm) square pan. I used two boxes of King Arthur’s GF Ultimate Fudgy Brownie mix (for an 8-inch (20cm) pan) with one extra egg and got a beautiful layer of brownies in my 9x13-inch (23x33cm) baking pan. They baked for about 30 minutes, your oven may vary.
You can use a box grater to grate the chocolate but I prefer to use a vegetable peeler and run it down the length of the bar on the edge.
You will get the best and most consistent results by using a digital kitchen scale and weighing your ingredients, especially when you are baking. Use grams, they are much more accurate than pounds and ounces.
All recommended ingredients are gluten-free as of the writing of this article. Always check to be sure the products haven’t changed and are still safe to consume.
Adapted from Emily Cookson of KitchenMomy
Nutrition Information:
Yield:
12Serving Size:
1Amount Per Serving: Calories: 346Total Fat: 25gSaturated Fat: 15gUnsaturated Fat: 10gCholesterol: 89mgSodium: 84mgCarbohydrates: 29gFiber: 0gSugar: 24gProtein: 3g
The nutritional information for recipes on this site is calculated by online tools and is merely an estimate. If you need nutritional calculations for medical reasons, please use a source that you trust.
If you enjoyed this recipe, be sure to follow me on social media so you never miss a post:

Create a New Tradition Today!
Welcome! The suggestions here are not intended as dietary advice or as a substitute for consulting a dietician, physician, or other medical professional. Please see the Disclaimers/Privacy Policy page for additional details. Unauthorized use, distribution, and/or duplication of proprietary material from The Heritage Cook without prior approval is prohibited. If you have any questions or would like permission, please contact me. We participate in the Amazon Services LLC Associates Program, an affiliate advertising program designed to provide a means for sites to earn advertising fees by advertising and linking to amazon.com. As an Amazon Associate, I earn a small amount from qualifying purchases without any additional cost to you. This page may contain affiliate links. The author makes no claims regarding the presence of food allergens and disclaims all liability in connection with the use of this site.