
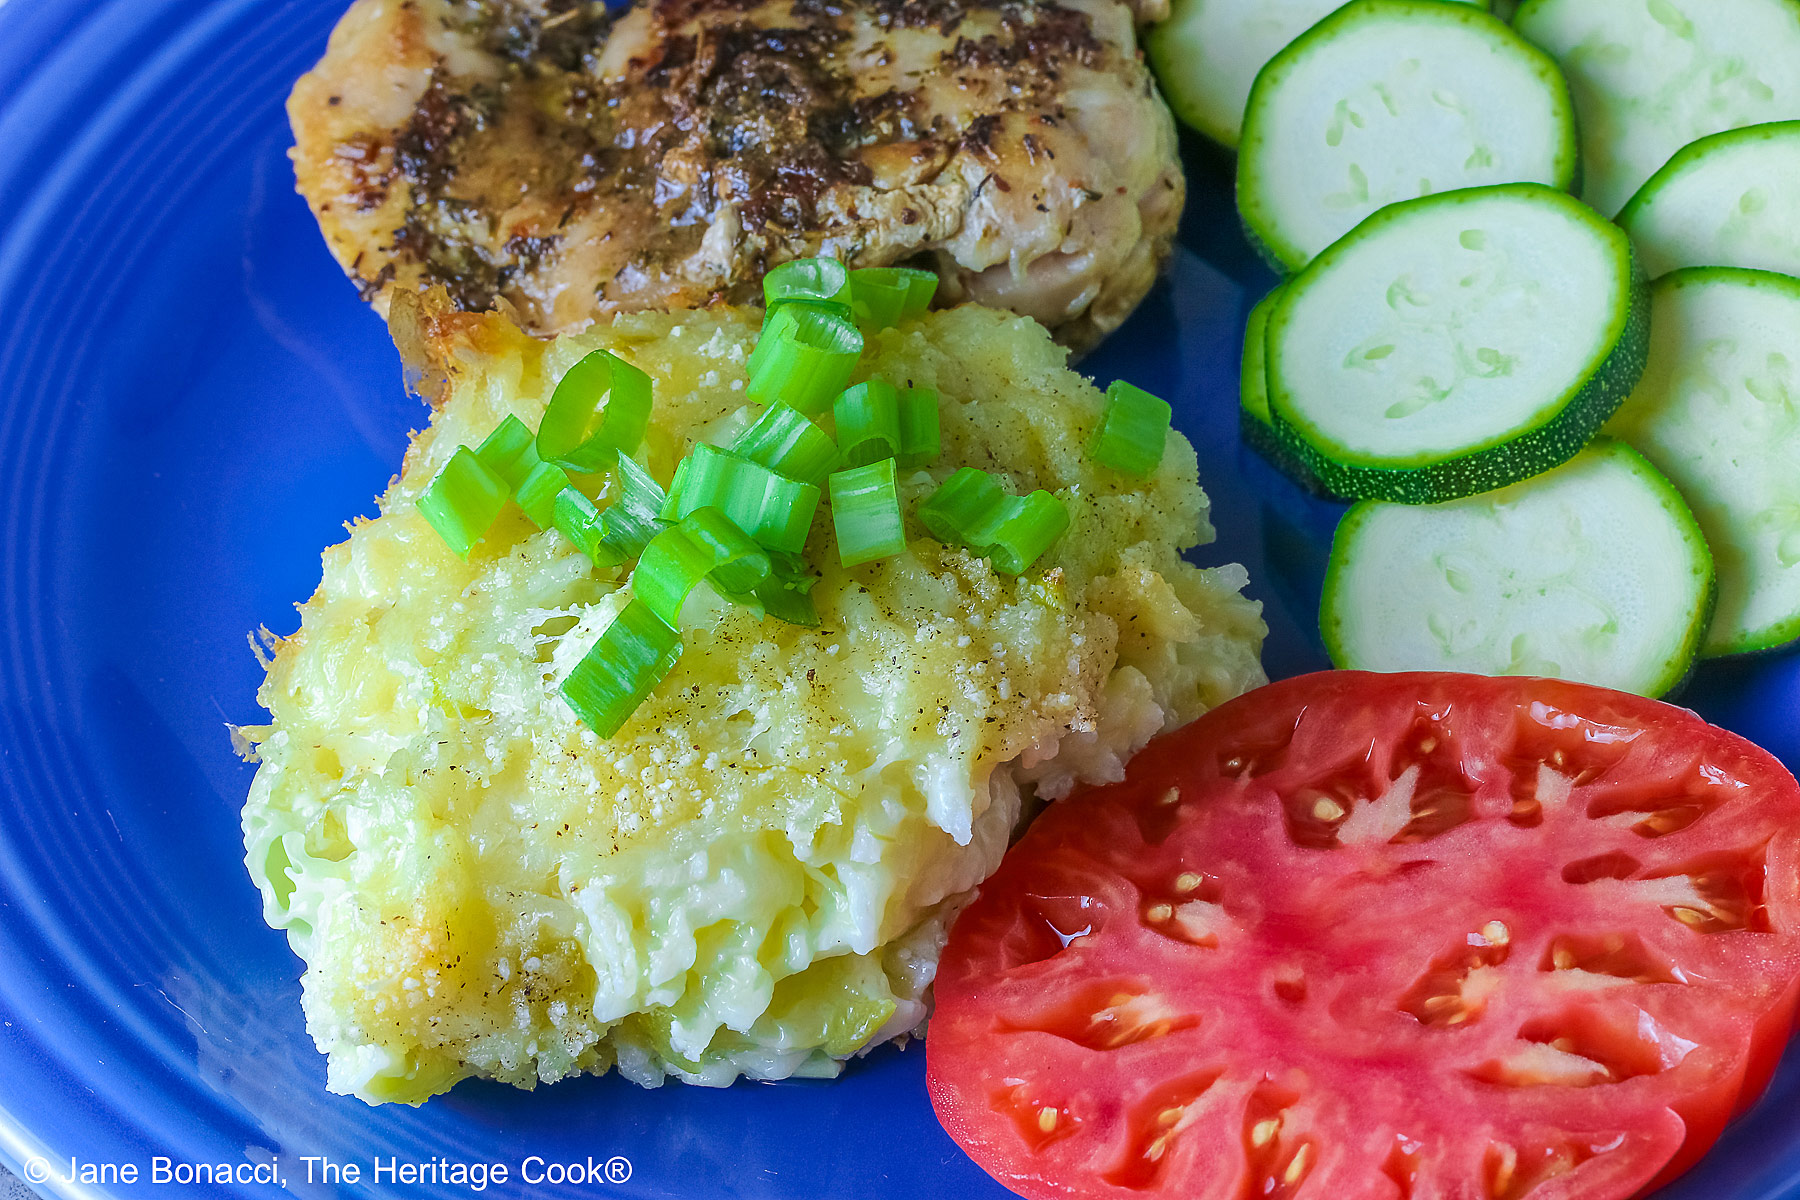
Today’s Cheesy Chile Rice Casserole is a fantastic, lightly spicy, side dish that is great with any grilled or roasted meats, poultry, seafood, southwestern favorites, or my Enchiladas Rancheras. It is also a wonderful option for your vegetarian family members and friends if you use vegetable stock or water to cook the rice.
When I was in college and the beginning of my career, I used to make dinners for my classmates and office mates. A taste of home cooking was a welcome relief from dorm or fast food. I grew up cooking for a large family and I missed making those big dinners. Being in the kitchen, working on multiple dishes always made me happy.
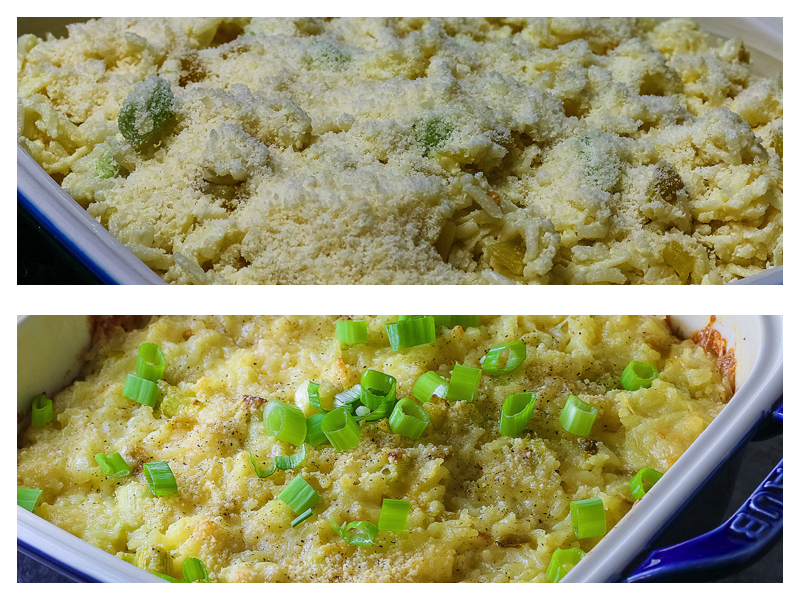
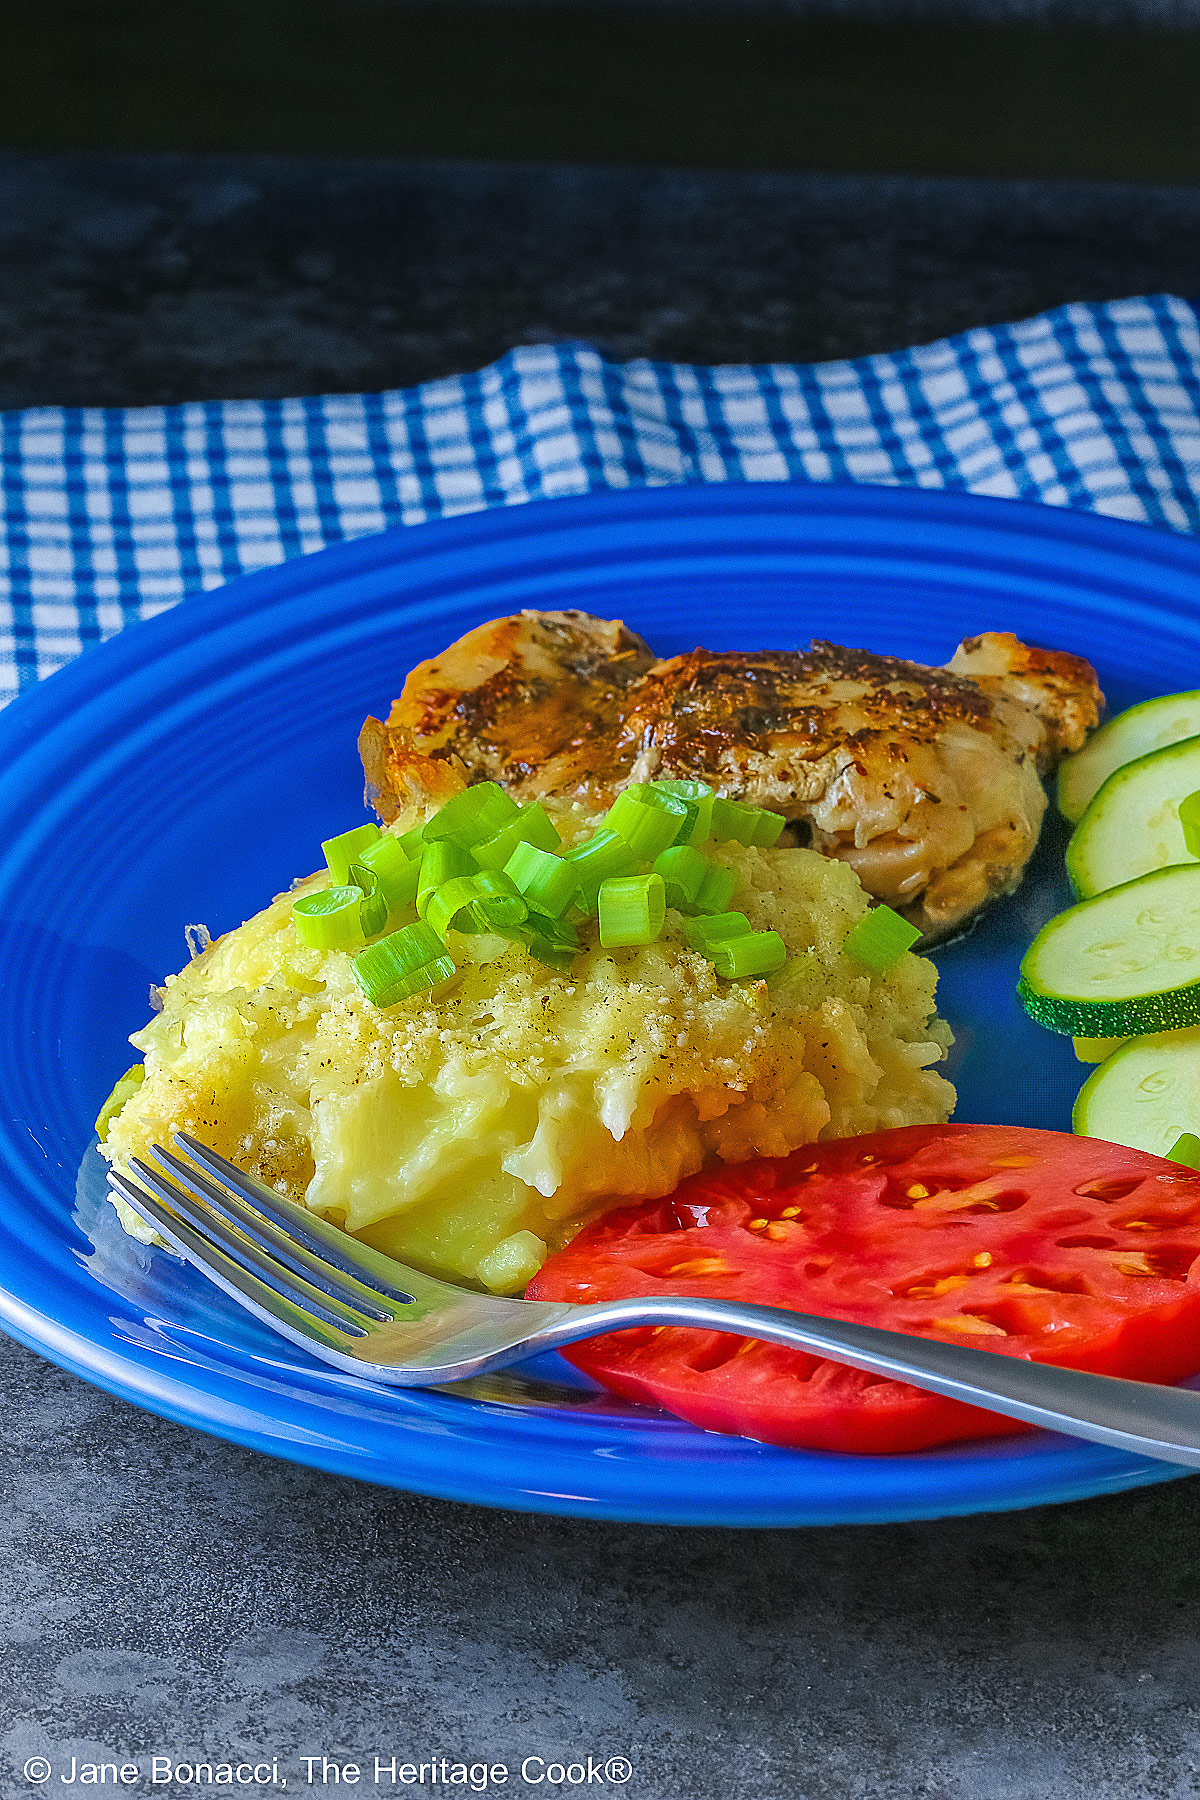
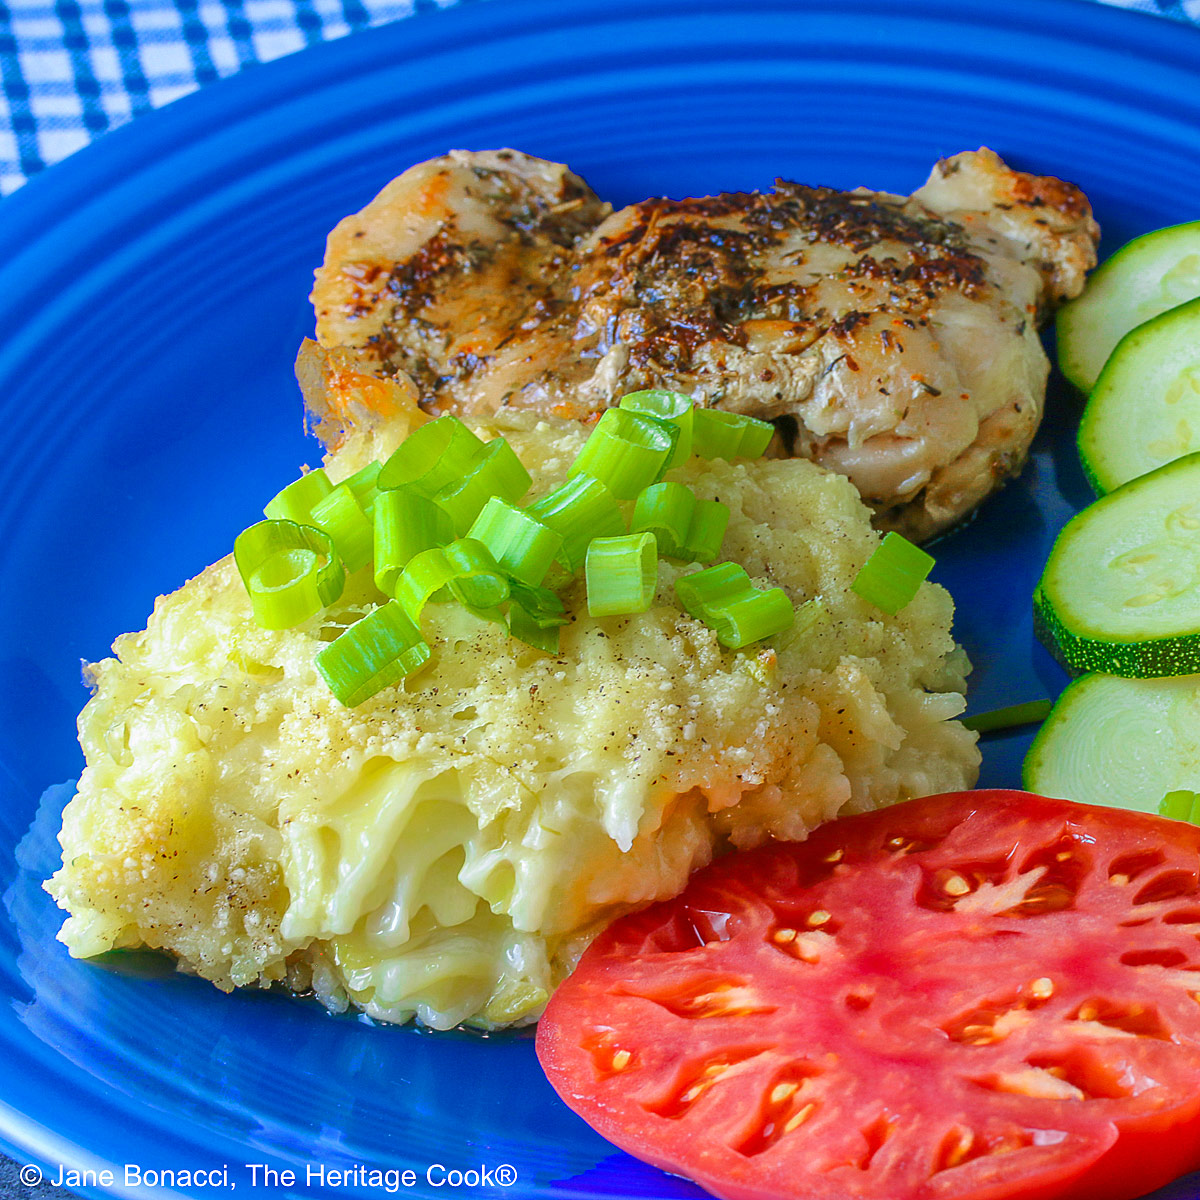
Top: Before baking, topped with Parmesan cheese; Bottom: Hot from the oven and ready for serving.
Having friends over gave me an excuse to make some of my favorite dishes. We often had pasta dinners, barbecues, or parties to celebrate our football team’s victories (those didn’t happen often enough, LOL). And occasionally I would do dinners dedicated to specific cuisines, like a Mexican celebration.
One Christmas, a friend gave me The California Heritage Cookbook, filled with recipes that celebrate the early California settlers. California has a fascinating gastronomic history, due in large part to the influences of the first settlers from Mexico and all the people who have chosen to live here, many who arrived during the Gold Rush. Miners and settlers who came from Spain, Mexico, Italy, China, France, Ireland, Germany, and many other countries, all contributed to create what is known today as “California Cuisine.” This wonderful book is a lesson in the history of both the state and its foods.
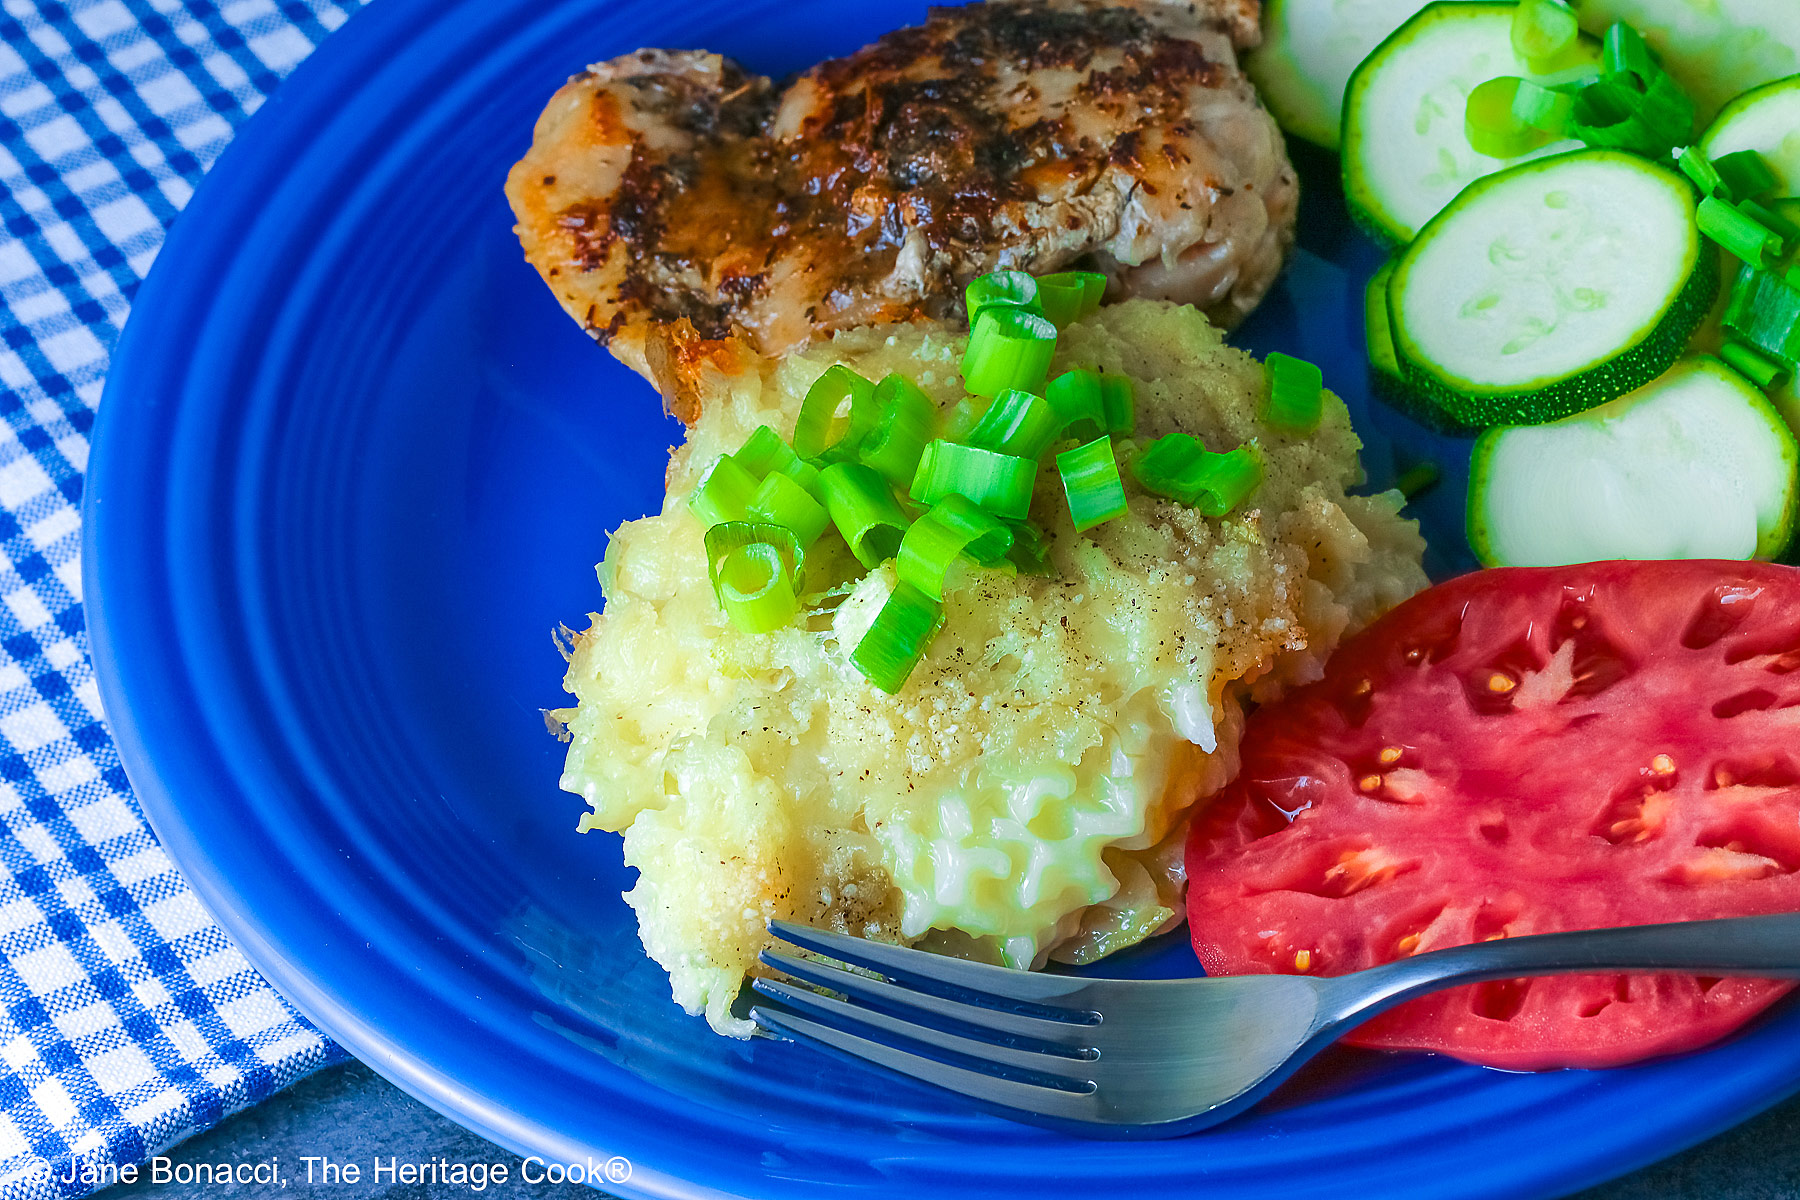
Instead of the traditional Mexican Rice, I like to serve my Enchiladas Rancheras with this Chile Rice Casserole. It is a lush, rich side dish that doesn’t need to be limited to just Mexican dinners. Feel free to change the seasonings, leave out the chiles, add chopped fresh herbs that you enjoy, such as cilantro, thyme, or dill. This is a great recipe for potlucks and progressive dinners. And don’t forget the margaritas for sparkling dinner conversation!
I love how cheesy this dish is with all the Monterey Jack and Parmesan. It is plenty to make all your cheese-head friends very happy! And if you want, you can change up the types of cheese with any other easy to melt varieties. I like Havarti, Muenster, and mascarpone too. What would you use?
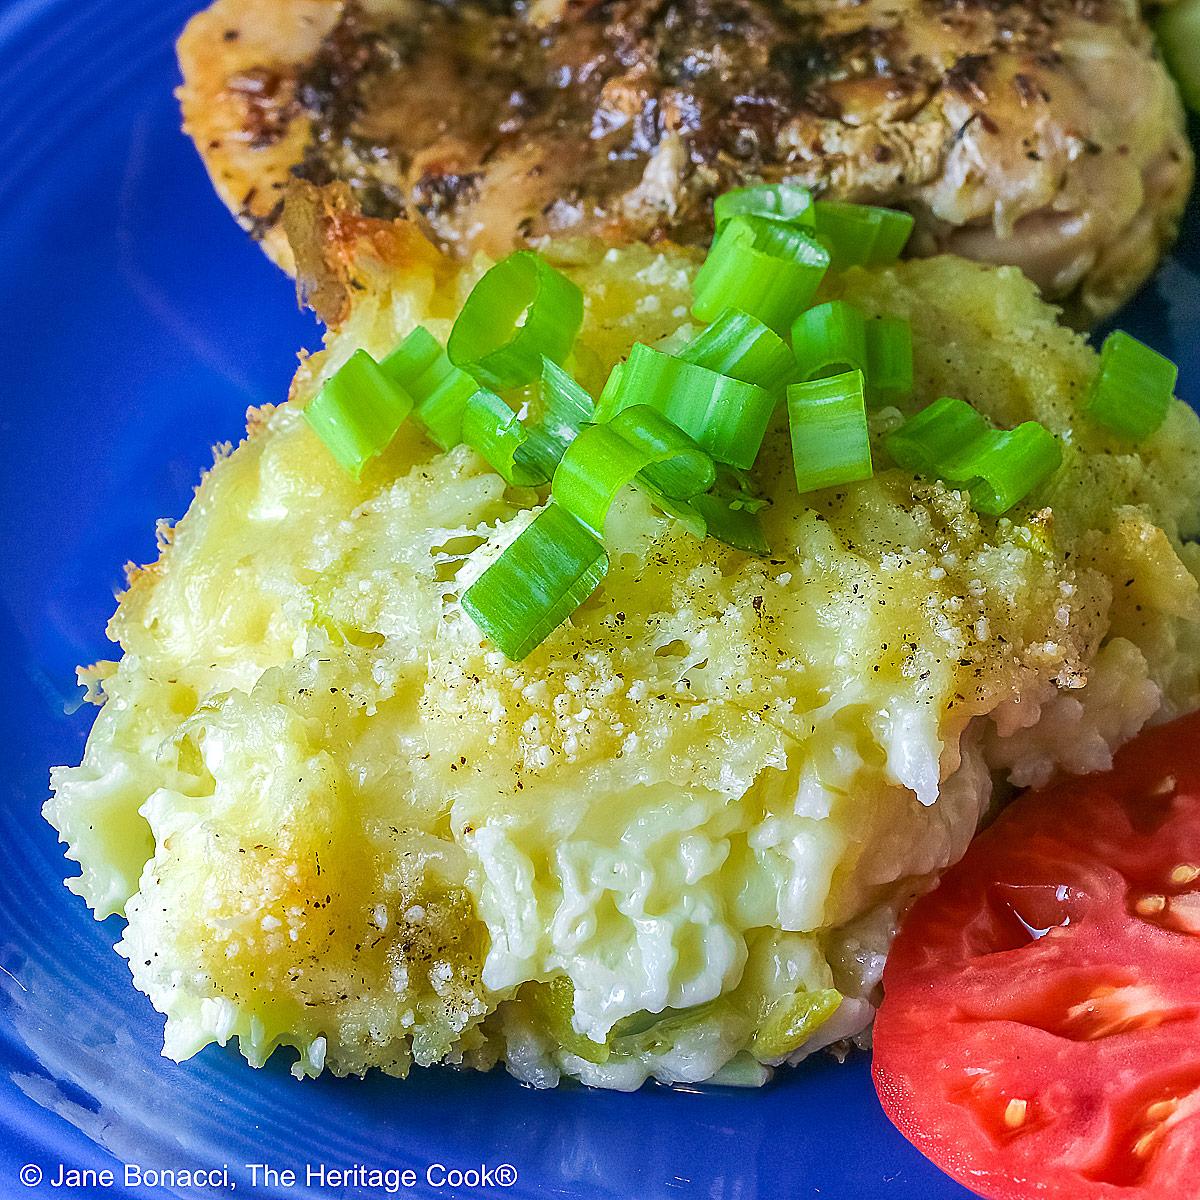
I made this version pretty mild with just 8 ounces of chiles. If you want it hotter, you can increase the amount of green chiles or if you like smoky flavor, use some chopped chipotles en adobo, for even more to love!
If you want a different option, you can use other chile peppers like jalapeno, serrano, or habanero, or your favorite hot sauce. Each has a slightly different flavor profile that you can enjoy. If you are making this for children, you can leave out the chiles if you prefer.
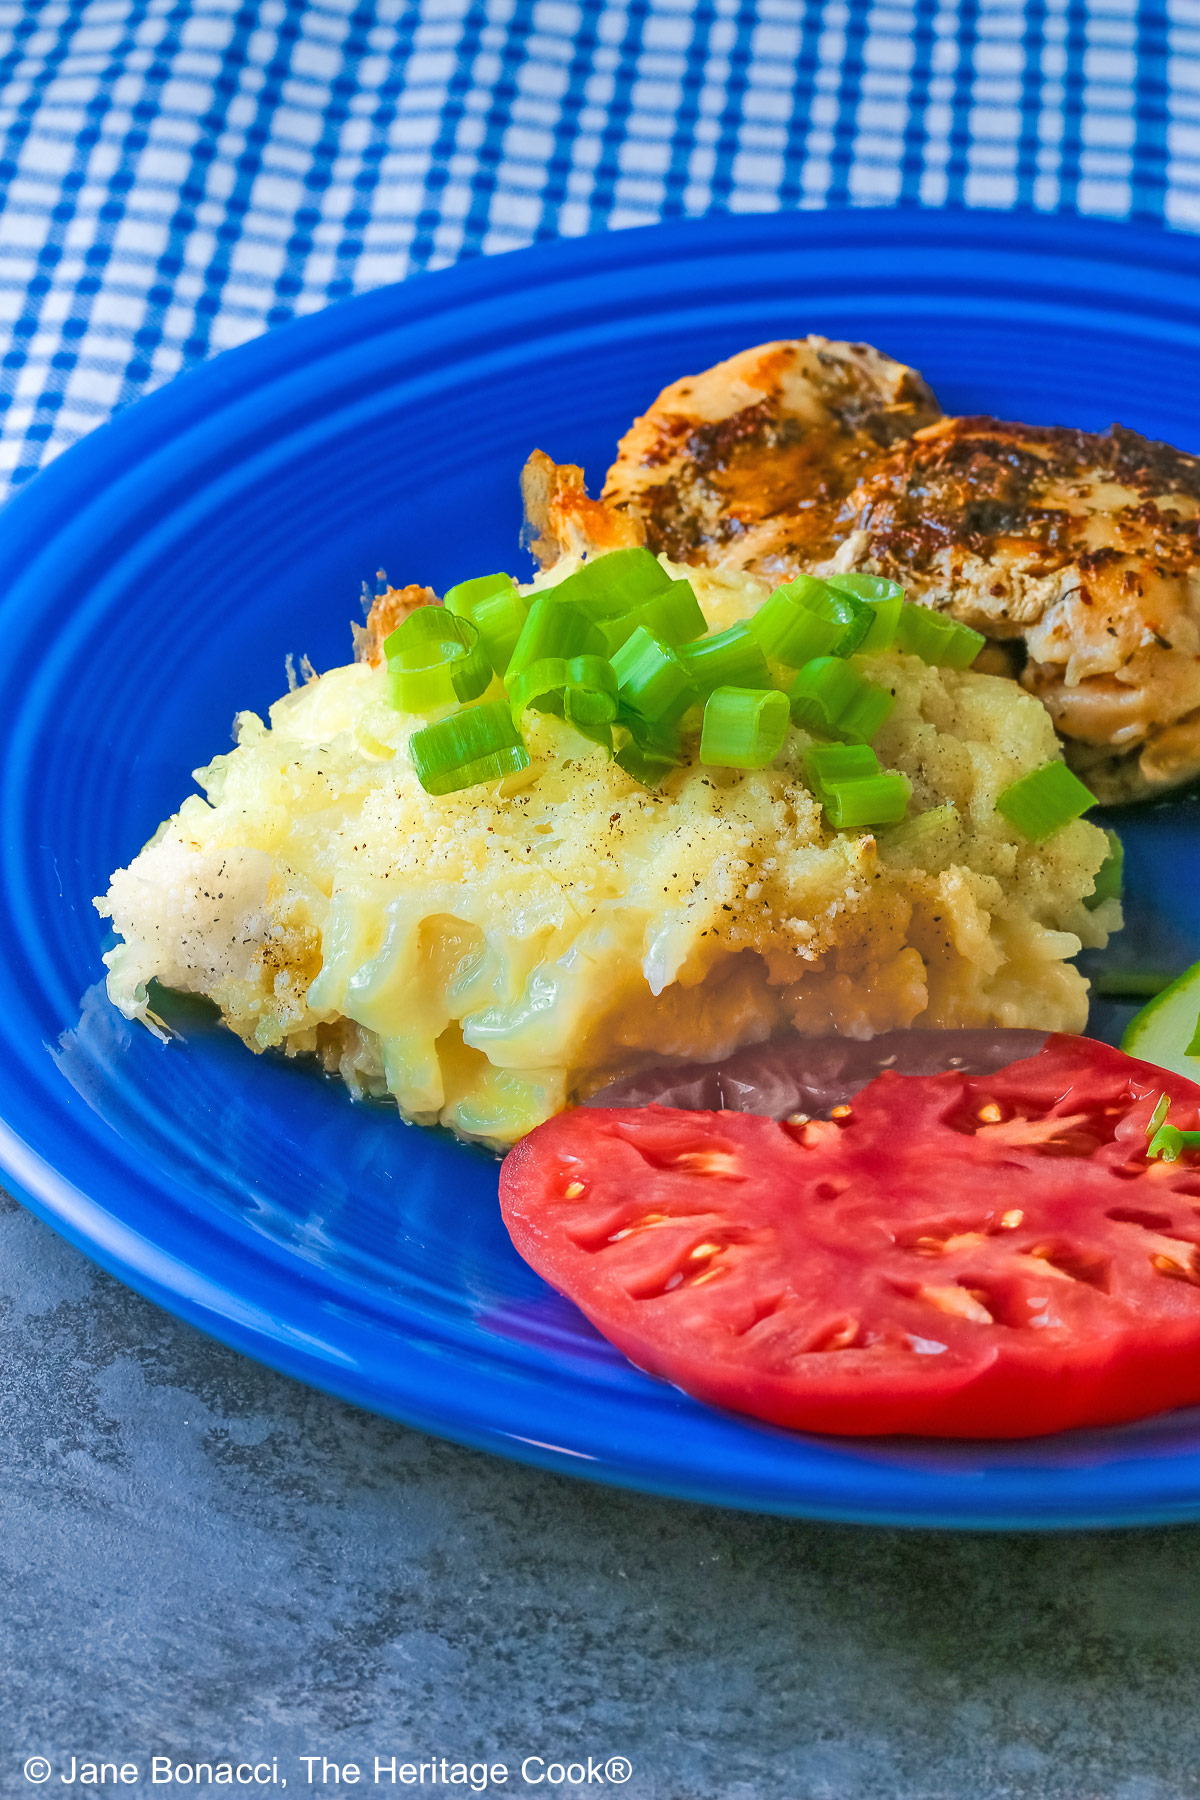
Be sure you let the rice cool before assembling the casserole. You want everything to blend smoothly before melting together in the oven. You can even make it a day ahead and hold it in the refrigerator overnight; return to room temperature before assembling. This will speed up your timing on the second day and lets you get the rest of your dinner prepared more quickly.
Give this Cheesy Chile Rice Casserole a try and I bet you will fall in love with it. Even people who were skeptical at first became fast converts at the first bite!
Have a wonderful weekend and I will see you back here on Monday for another chocolate recipe and welcoming August – I can’t believe how fast the year is flying by!
If you try this recipe, let me know! Please leave a star rating in the recipe card, comment below, and don’t forget to snap a pic and tag it @theheritagecook on Instagram! Seeing your creations makes my day and I love hearing from you!
Ingredients needed for Cheesy Chile Rice Casserole:
- Chicken stock, rice, salt, sour cream, water, cumin, Monterey Jack cheese, green chiles, green onions, butter, Parmesan cheese
PRO Tip:
I strongly recommend you grate your own block of cheese by hand or using a food processor. Pre-shredded cheese in the store has a coating to keep it from clumping together and that can compromise your final dish – it won’t be as creamy.
PRO Tip:
I have found some of my most favorite recipes in my collection of Junior League cookbooks. Ever since the Junior League of Augusta published its very first cookbook in 1940, Junior League members have built collections of recipes and written books to raise money for charitable community programs. Today there are more than 200 League cookbooks in print. Their cookbooks are a wonderful way to learn about the variety of food styles of the United States.
How to make Cheesy Chile Rice Casserole:
- Cook the rice in stock or water as directed on the package and the liquid is absorbed. Spread out on a baking sheet pan and cool to room temperature, stirring occasionally.
- In a large bowl, mix together the cooled rice, sour cream mixture, and salt to taste. Stir in the Jack cheese, chiles, half the green onions, butter, and half the Parmesan until evenly mixed. Scoop into a buttered 8-inch (20cm) square baking pan and sprinkle with the remaining Parmesan cheese.
- Bake, uncovered, in a 350°F (180°C) oven for 30 minutes. Remove from the oven and sprinkle the top with the remaining green onions. Let sit for 10 minutes, then scoop servings onto plates and serve while hot.
PRO Tip:
The rice needs to be cooked and cooled before mixing it with the rest of the ingredients. You can do it earlier in the day and spread it out on a baking sheet to cool faster, stirring it occasionally. Or make it a day ahead, refrigerate covered, and return to room temperature before continuing with the recipe.
PRO Tip:
When you go to mix everything together, use a very large bowl so you have plenty of room to toss all the ingredients without grains of rice falling on the floor.
Recommended Tools (affiliate links; no extra cost to you):
- Food processor or box grater
- Chef’s knife
- Saucepan with a tight-fitting lid
- Baking sheet pan
- 8×8-inch (20cm) square baking dish
- Mixing bowls
Gluten-Free Tips:
* My preferred brand of kosher salt is from Diamond Crystal. If you use Morton’s, another kosher brand, or table salt, you will not need as much because they are saltier.
You will get the best and most consistent results by using a digital kitchen scale and weighing your ingredients, especially when you are baking. Use grams, they are much more accurate than pounds and ounces.
All recommended ingredients are gluten-free as of the writing of this article. Always check to be sure the products haven’t changed and are still safe to consume.
Cheesy Chile Rice Casserole (GF)

This is a lush, rich side dish that goes with so many meals. You can leave out the green chiles if you don’t want the heat. Feel free to add chopped fresh herbs that you enjoy. This is a great recipe for potlucks and dinner parties and is vegetarian-friendly by using vegetable stock or water to cook the rice.
Ingredients
- 1-1/2 to 2-1/2 cups (340g to 568g) chicken stock, vegetable stock, or water – according to package directions
- 1 cup (198g) gluten-free raw white rice, rinsed well and drained, such as Lundberg brand
- 1 tbsp butter, optional (for rice) or use olive oil
- 1 tsp kosher salt *
- 1/2 cup (113g) sour cream
- 1 tbsp water, chicken stock, or vegetable stock
- 1 tsp ground cumin
- Kosher salt*, to taste
- 3/4 lb (12 oz; 340g) grated Monterey Jack cheese, grated
- 2 (4 oz; 113g each) cans diced mild green chiles, drained (preferably Hatch brand for gluten-free)
- 3 green onions, tough tops removed, sliced thinly, divided
- 3 tbsp butter at warm room temperature, optional
- 3/4 cup (75g) freshly grated Parmesan cheese (more if desired), divided
Instructions
1. In a medium-sized saucepan with a tight-fitting lid, bring the stock to a boil. Add the rice, 1 tbsp butter, and 1 tsp kosher salt, cover the pan with the tight lid, and simmer over low heat until the liquid is absorbed, approximately 15 to 25 minutes, or according to package directions. Let rest with the lid on for about 10 minutes, or according to package directions. When done, spread the rice out on a baking sheet pan. Let it cool, stirring occasionally.**
2. Preheat oven to 350°F (180°C). Grease an 8x8-inch (20cm) square casserole dish; set aside. In a small bowl, whisk together the sour cream with the water to thin. Stir in the cumin.
3. In a large mixing bowl, combine the cooled rice with the sour cream mixture and an additional 1 tsp kosher salt if desired. Stir in the shredded Jack cheese, chiles, 1/2 of the green onions, the butter, and about 1/2 the Parmesan. Stir until completely blended. Scoop rice into the prepared casserole dish. Sprinkle the top with the remaining Parmesan cheese.
4. Bake, uncovered, in the preheated 350°F oven for 30 minutes. Remove from the oven and let sit for 10 minutes. Sprinkle the top with the remaining green onions and then scoop servings onto plates and serve hot.
Recipe found at www.theheritagecook.com
Notes
* My preferred brand of kosher salt is from Diamond Crystal. If you use Morton’s, another kosher brand, or table salt, you will not need as much because they are saltier.
** The rice can be made a day in advance and brought to cool room temperature before continuing with the casserole. This gives you plenty of time to get the rest of dinner ready. This rice is an exceptional accompaniment for many main courses.
You will get the best and most consistent results by using a digital kitchen scale and weighing your ingredients, especially when you are baking. Use grams, they are much more accurate than pounds and ounces.
All recommended ingredients are gluten-free as of the writing of this article. Always check to be sure the products haven’t changed and are still safe to consume.
Nutrition Information:
Yield:
8Serving Size:
1Amount Per Serving: Calories: 394Total Fat: 29gSaturated Fat: 16gUnsaturated Fat: 13gCholesterol: 78mgSodium: 1010mgCarbohydrates: 15gFiber: 0gSugar: 1gProtein: 19g
The nutritional information for recipes on this site is calculated by online tools and is merely an estimate. If you need nutritional calculations for medical reasons, please use a source that you trust.
If you enjoyed this recipe, be sure to follow me on social media so you never miss a post:
Create a New Tradition Today!
Welcome! The suggestions here are not intended as dietary advice or as a substitute for consulting a dietician, physician, or other medical professional. Please see the Disclaimers/Privacy Policy page for additional details. Unauthorized use, distribution, and/or duplication of proprietary material from The Heritage Cook without prior approval is prohibited. If you have any questions or would like permission, please contact me. We participate in the Amazon Services LLC Associates Program, an affiliate advertising program designed to provide a means for sites to earn advertising fees by advertising and linking to amazon.com. As an Amazon Associate, I earn a small amount from qualifying purchases without any additional cost to you. This page may contain affiliate links. The author makes no claims regarding the presence of food allergens and disclaims all liability in connection with the use of this site. This post was first shared in May 2011. The article was updated in 2026.


Carlin
This is excellent! Had it as a side to chile meatloaf but would have been happy just having the rice.
Creamy, tasty, perfection.
Jane Bonacci
I am thrilled Carlin, thanks so much for letting me know. I love this rice dish and often serve it alongside enchiladas rancheras. It is so good! Your meatloaf sounds wonderful too! Great choice!!