Buckeye candies are peanut butter balls that are partially covered in melted chocolate, leaving the top exposed, like a partially dipped truffle. The centers are sweet and a touch salty that perfectly complement the rich chocolate covering.
Ohio is called the Buckeye State. Buckeye trees used to flourish in the Ohio area when it was settled in the late 18th century. The trees bear nuts which, when dried, are a dark brown color with a lighter brown spot. This reminded the settlers of the eye of a deer and the nickname stuck.
During childhood trips to Indiana and Ohio to visit relatives, buckeye candies were a must. We always looked forward to the sweet treats, wishing they were available in California.
Because they are served at room temperature, you can make and serve them all year long. There is nothing more delicious than buckeyes. If people eat ice cream all year long, you can serve these buckeye brownies alongside!
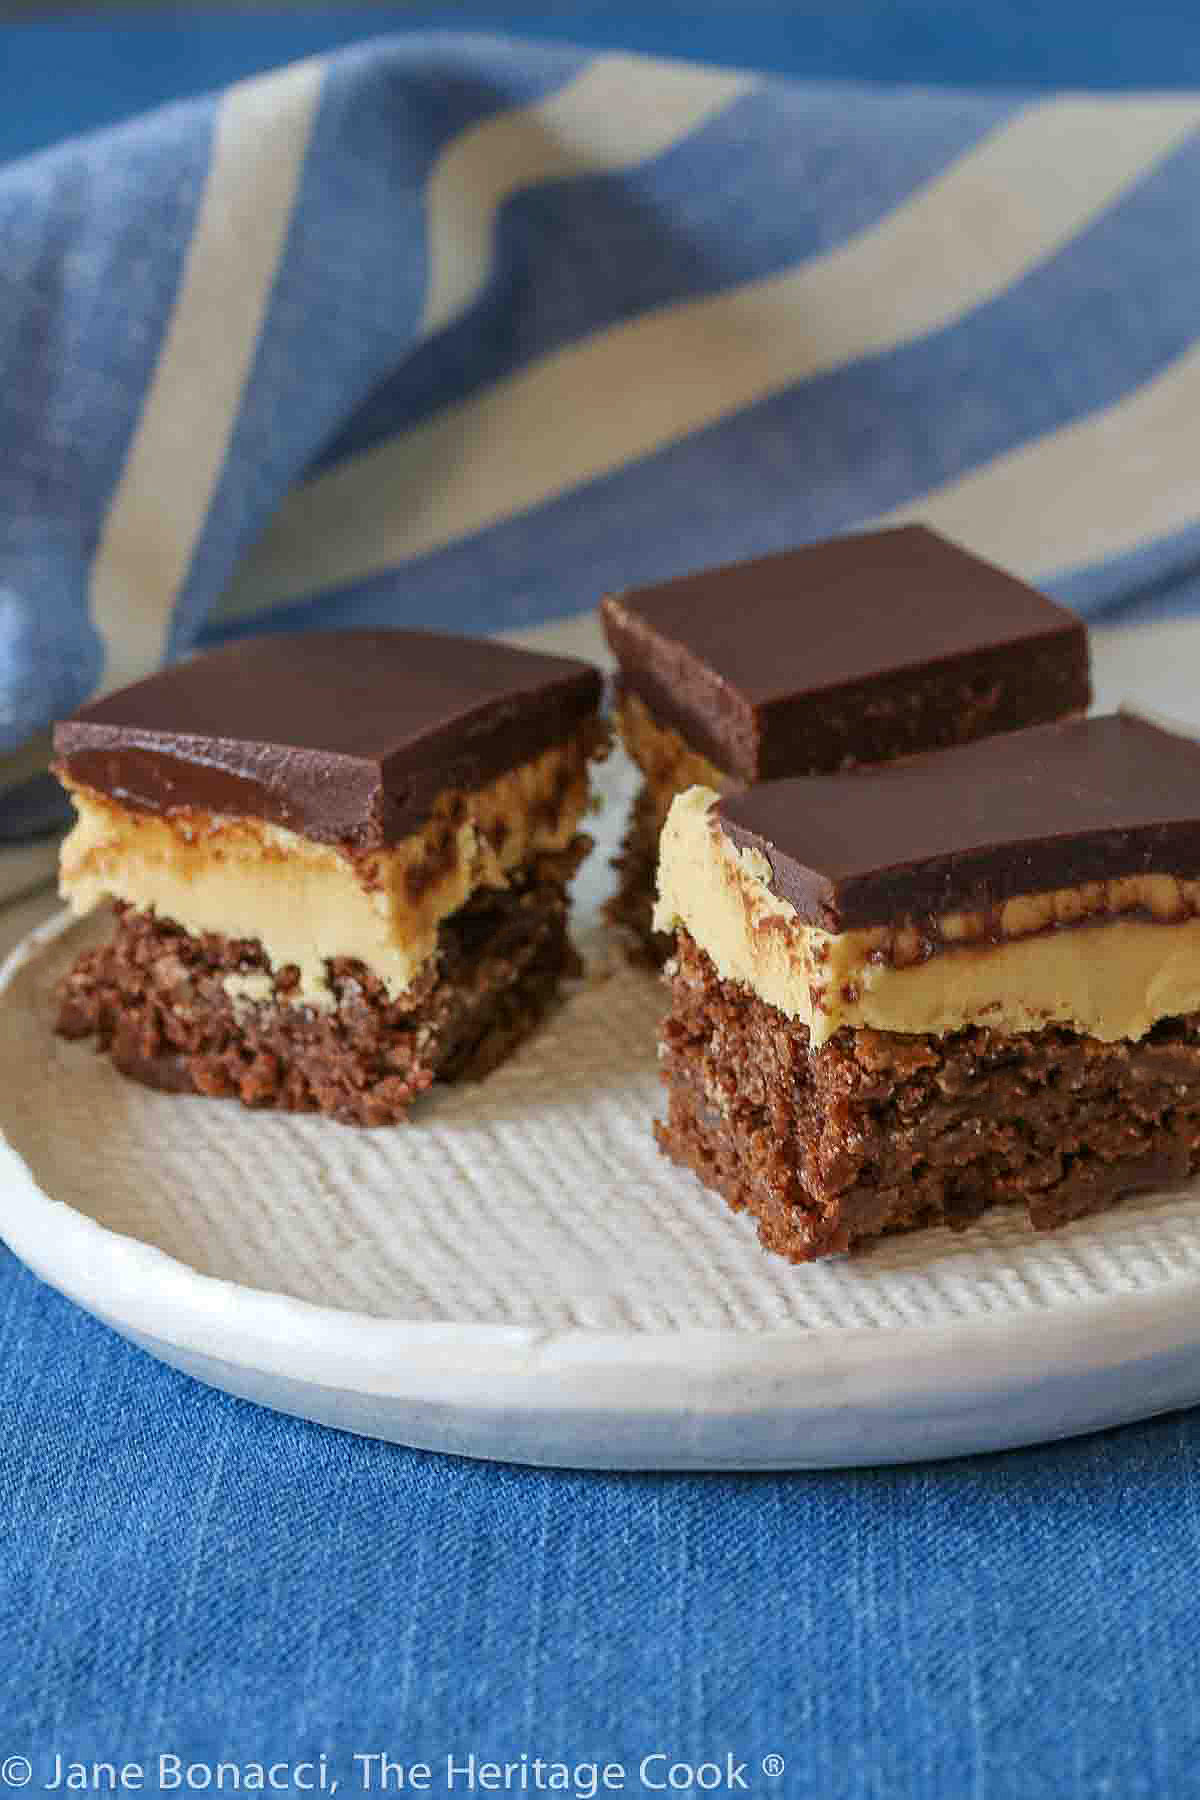
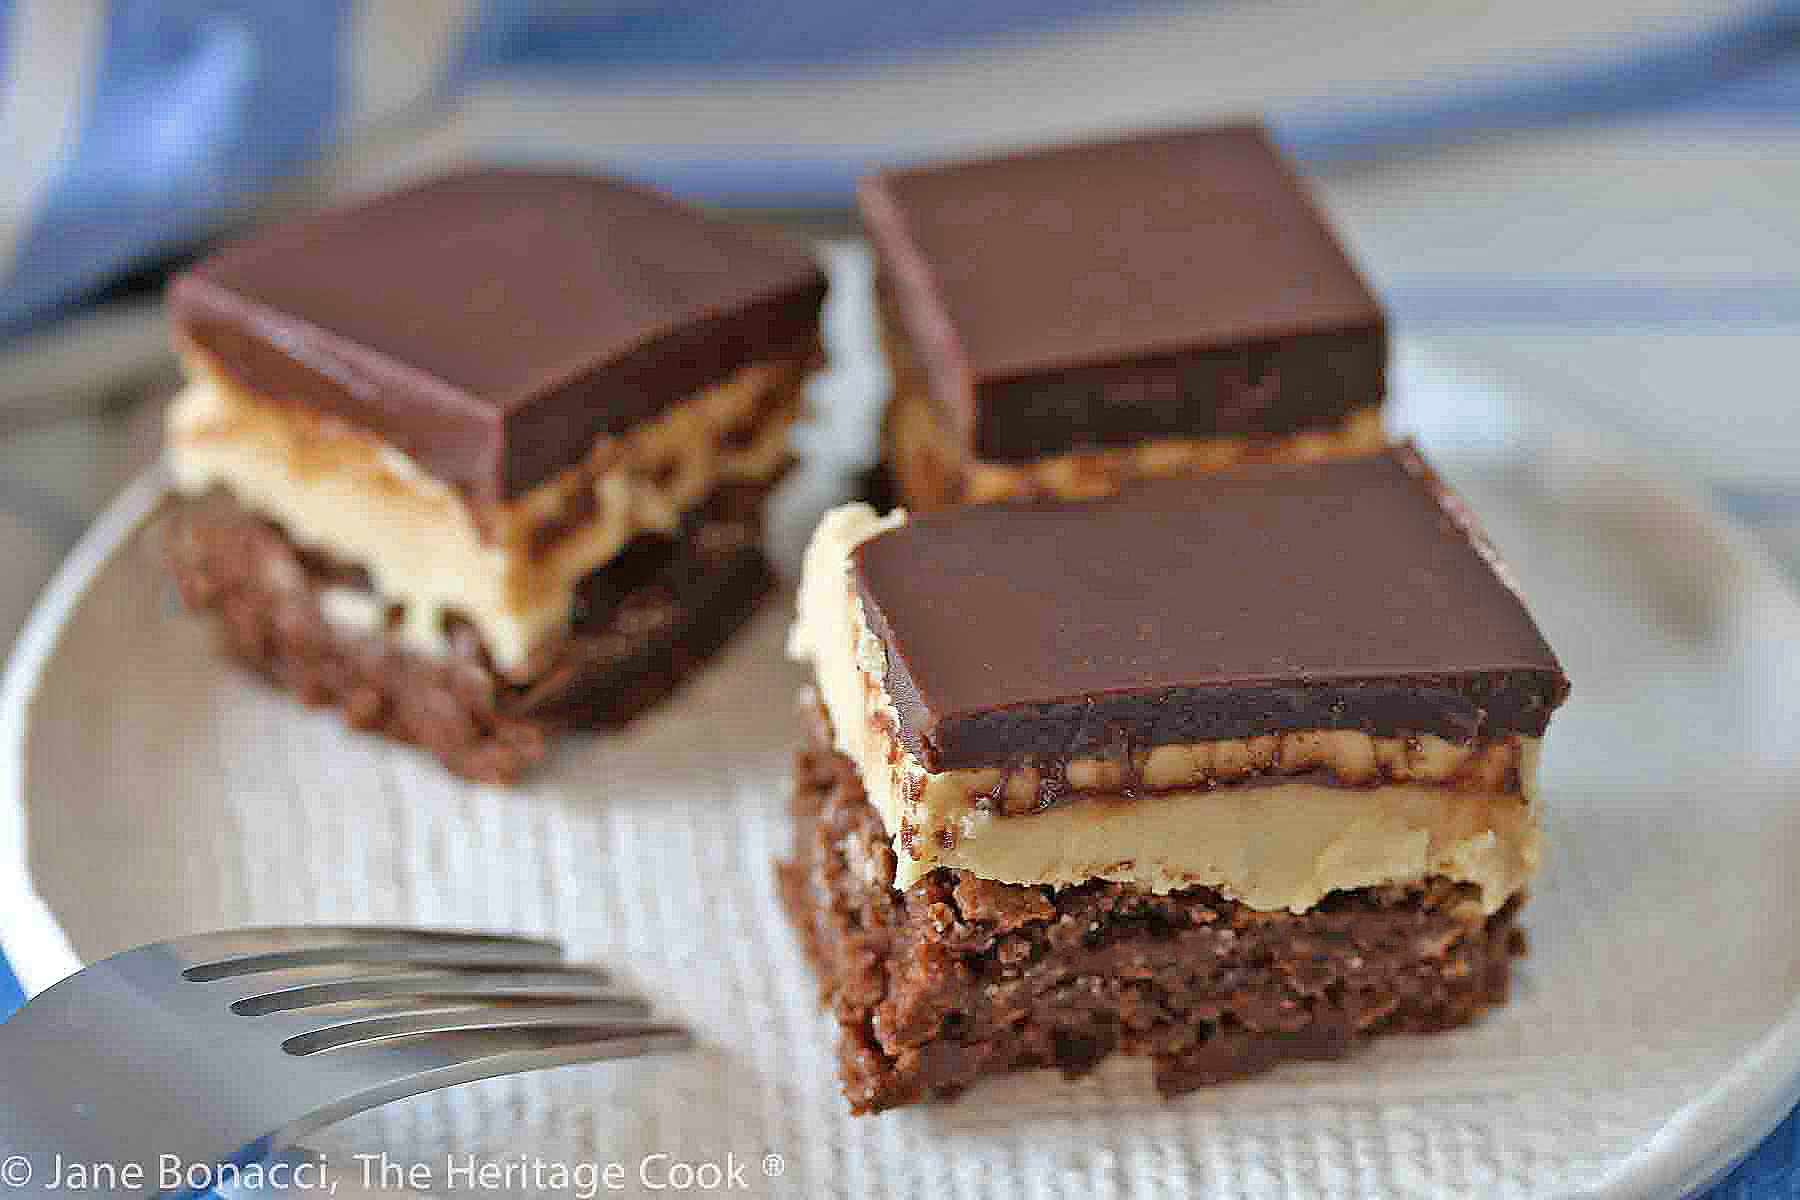
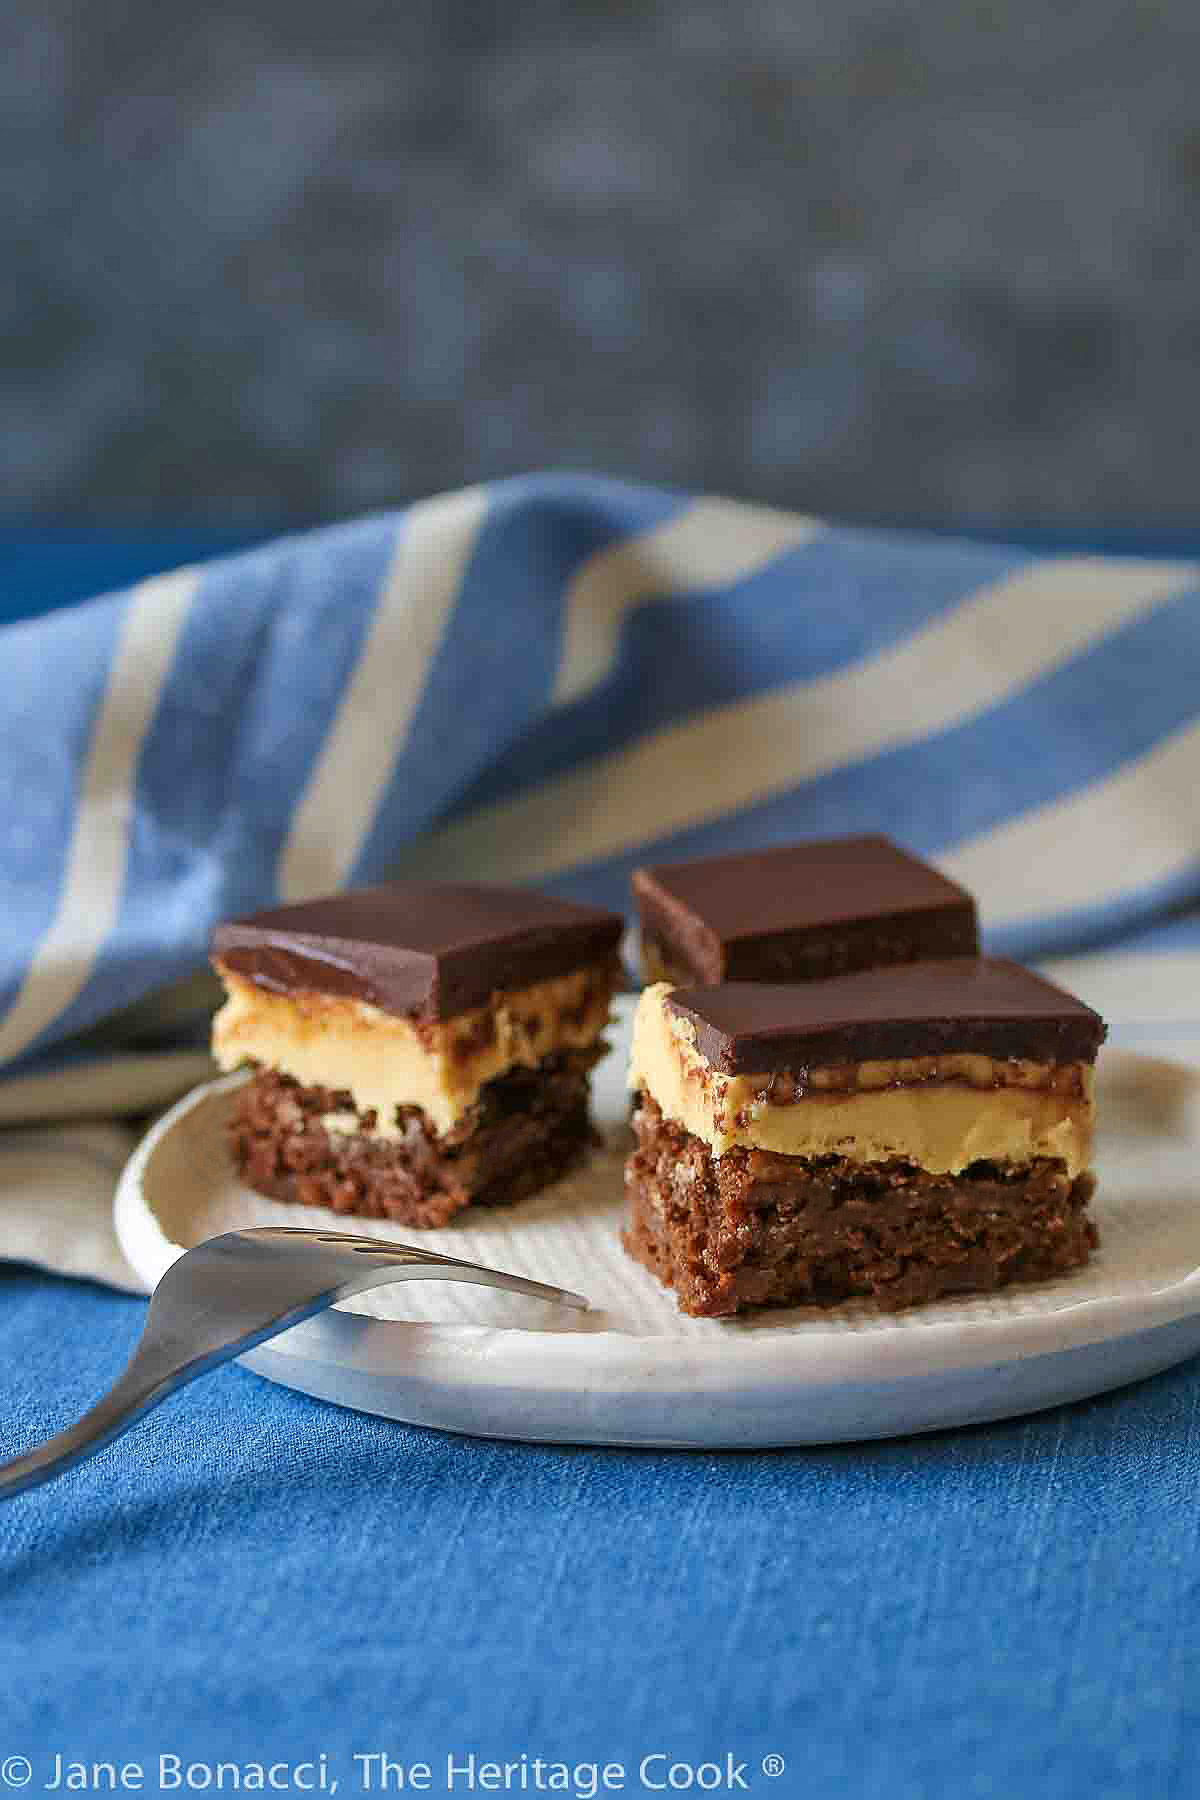
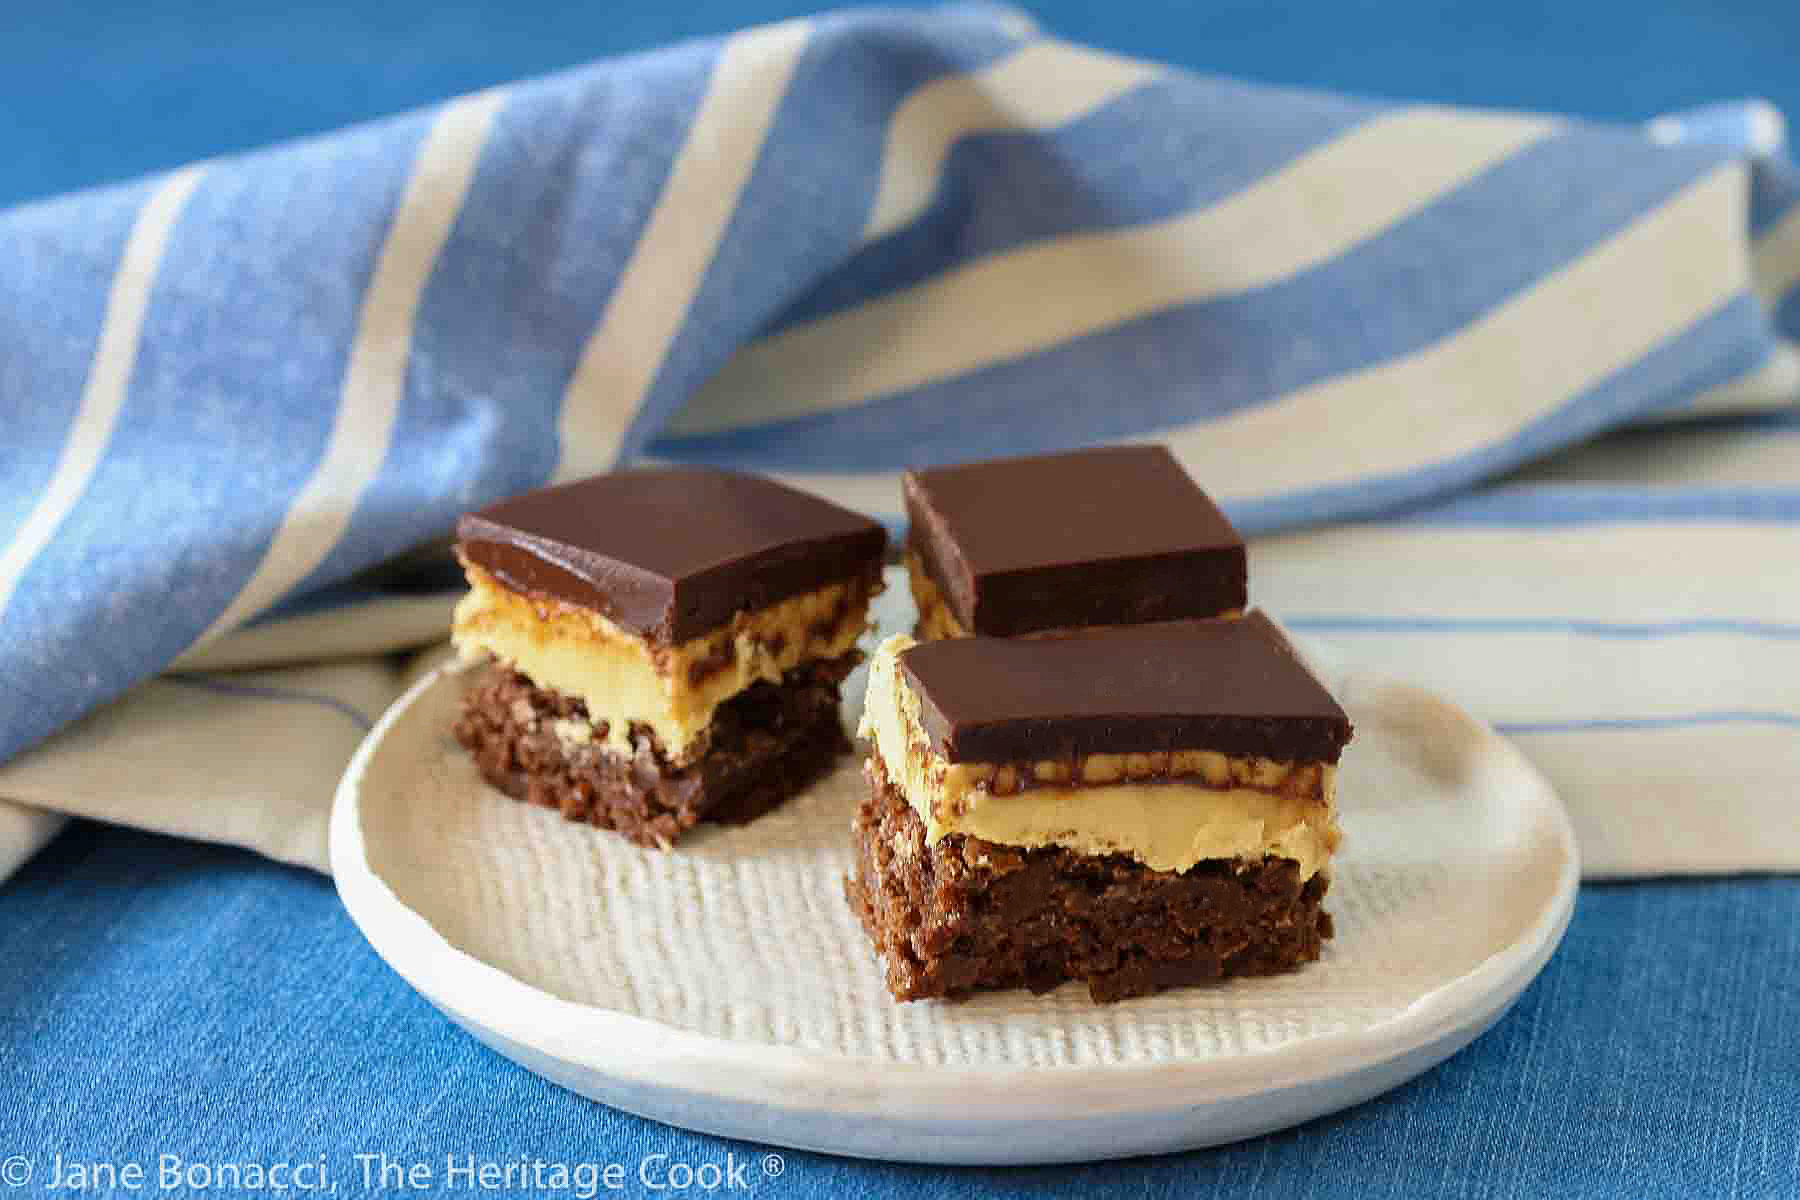
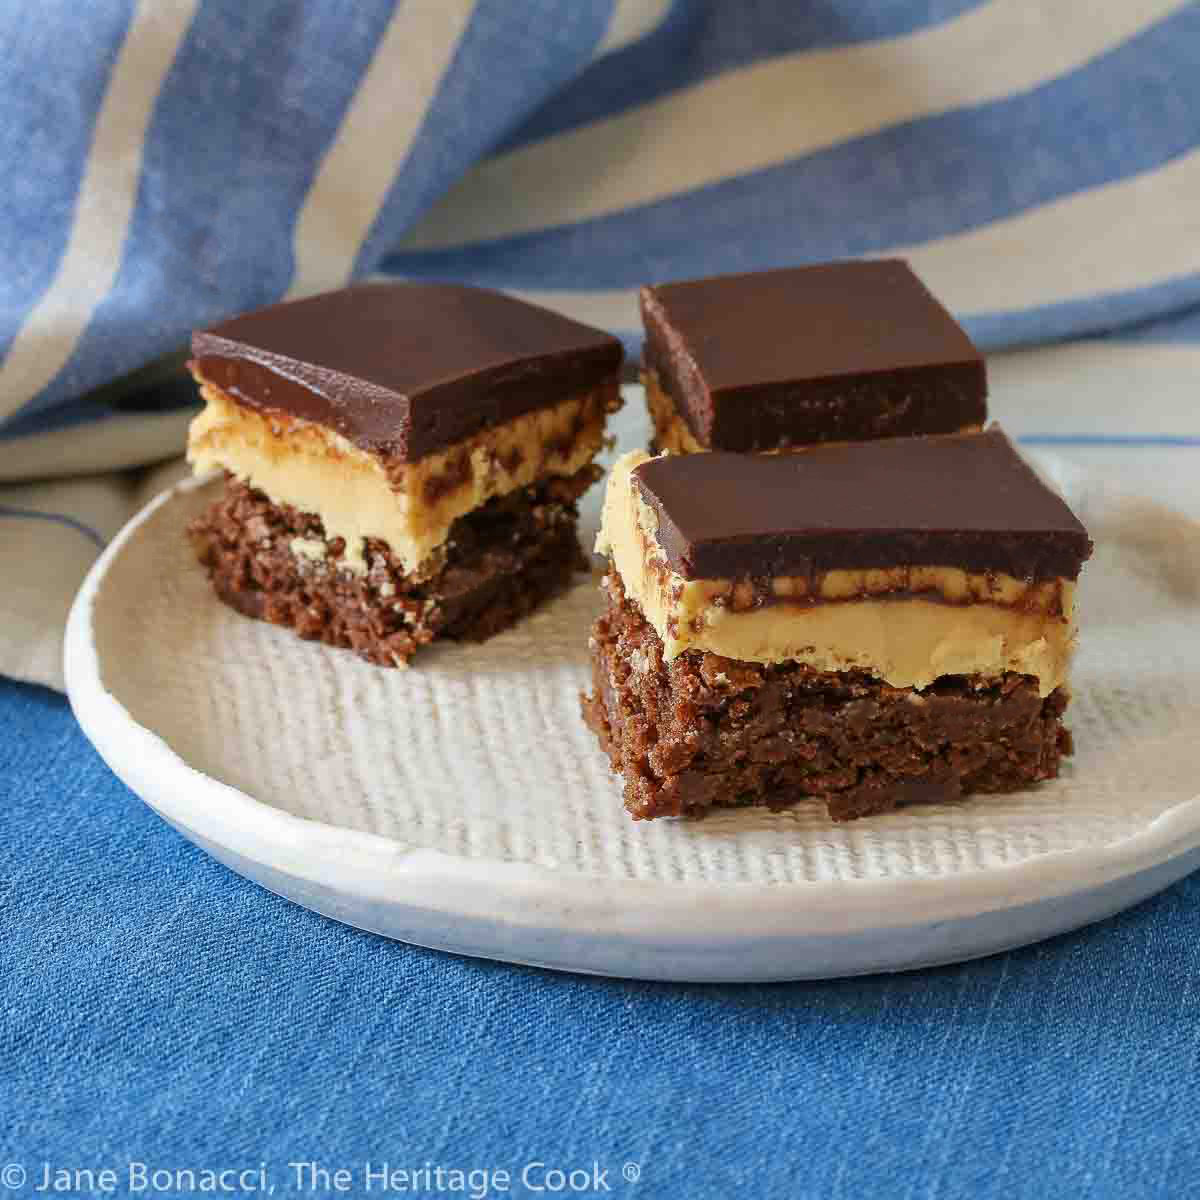
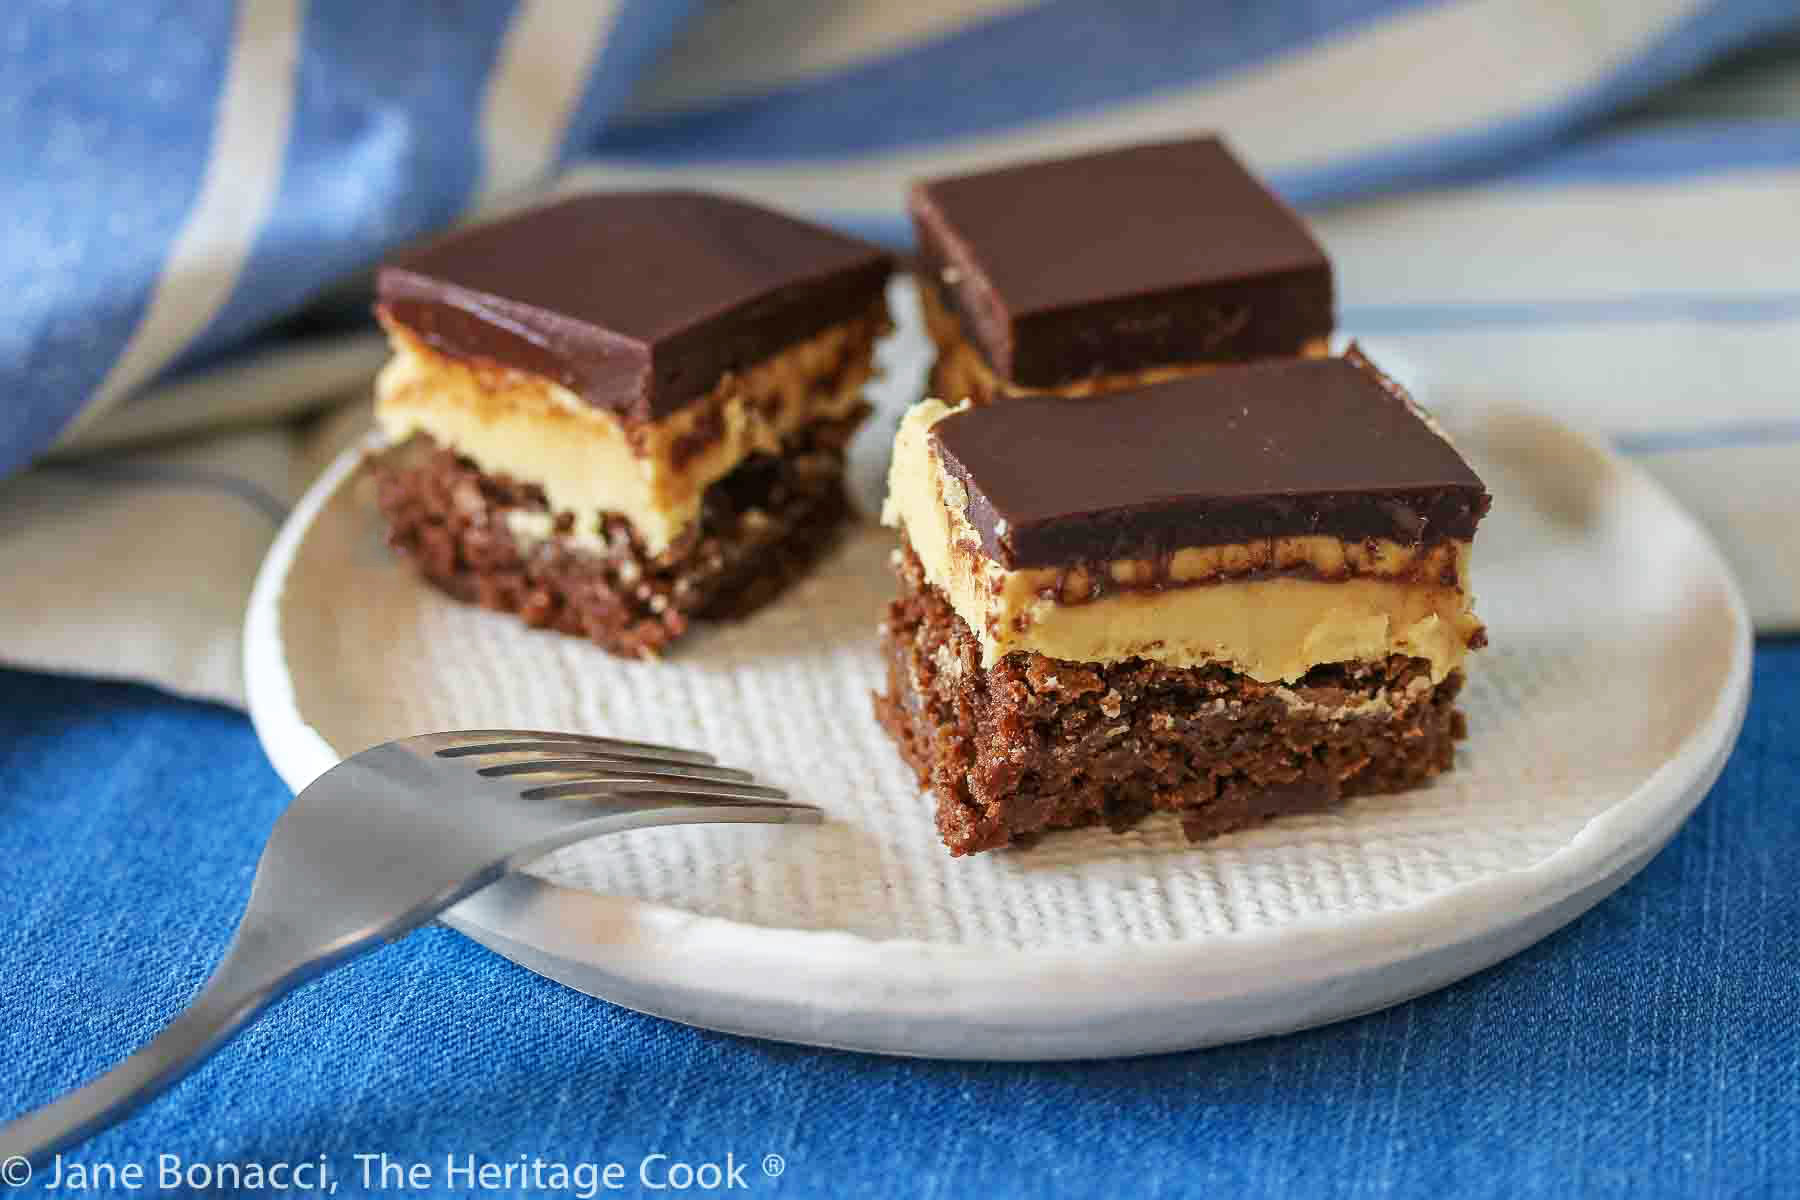
As much as I love buckeyes, I was hoping to find something that would give me the flavors without all the work. Today’s recipe is a spin on the classic buckeye, without having to roll all the peanut butter balls and dip each one in melted chocolate. The bottom layer is a rich chocolate brownie topped with a layer of sweetened peanut butter followed by melted chocolate ganache. If you love peanut butter cups, you are going to inhale these Buckeye Peanut Butter Brownies!
These are really easy to make. They just take some time because you have to wait for the brownies to cool before adding the peanut butter layer. And then there is chill time while you make the top chocolate layer. This takes some time but trust me when I say they are totally worth it!
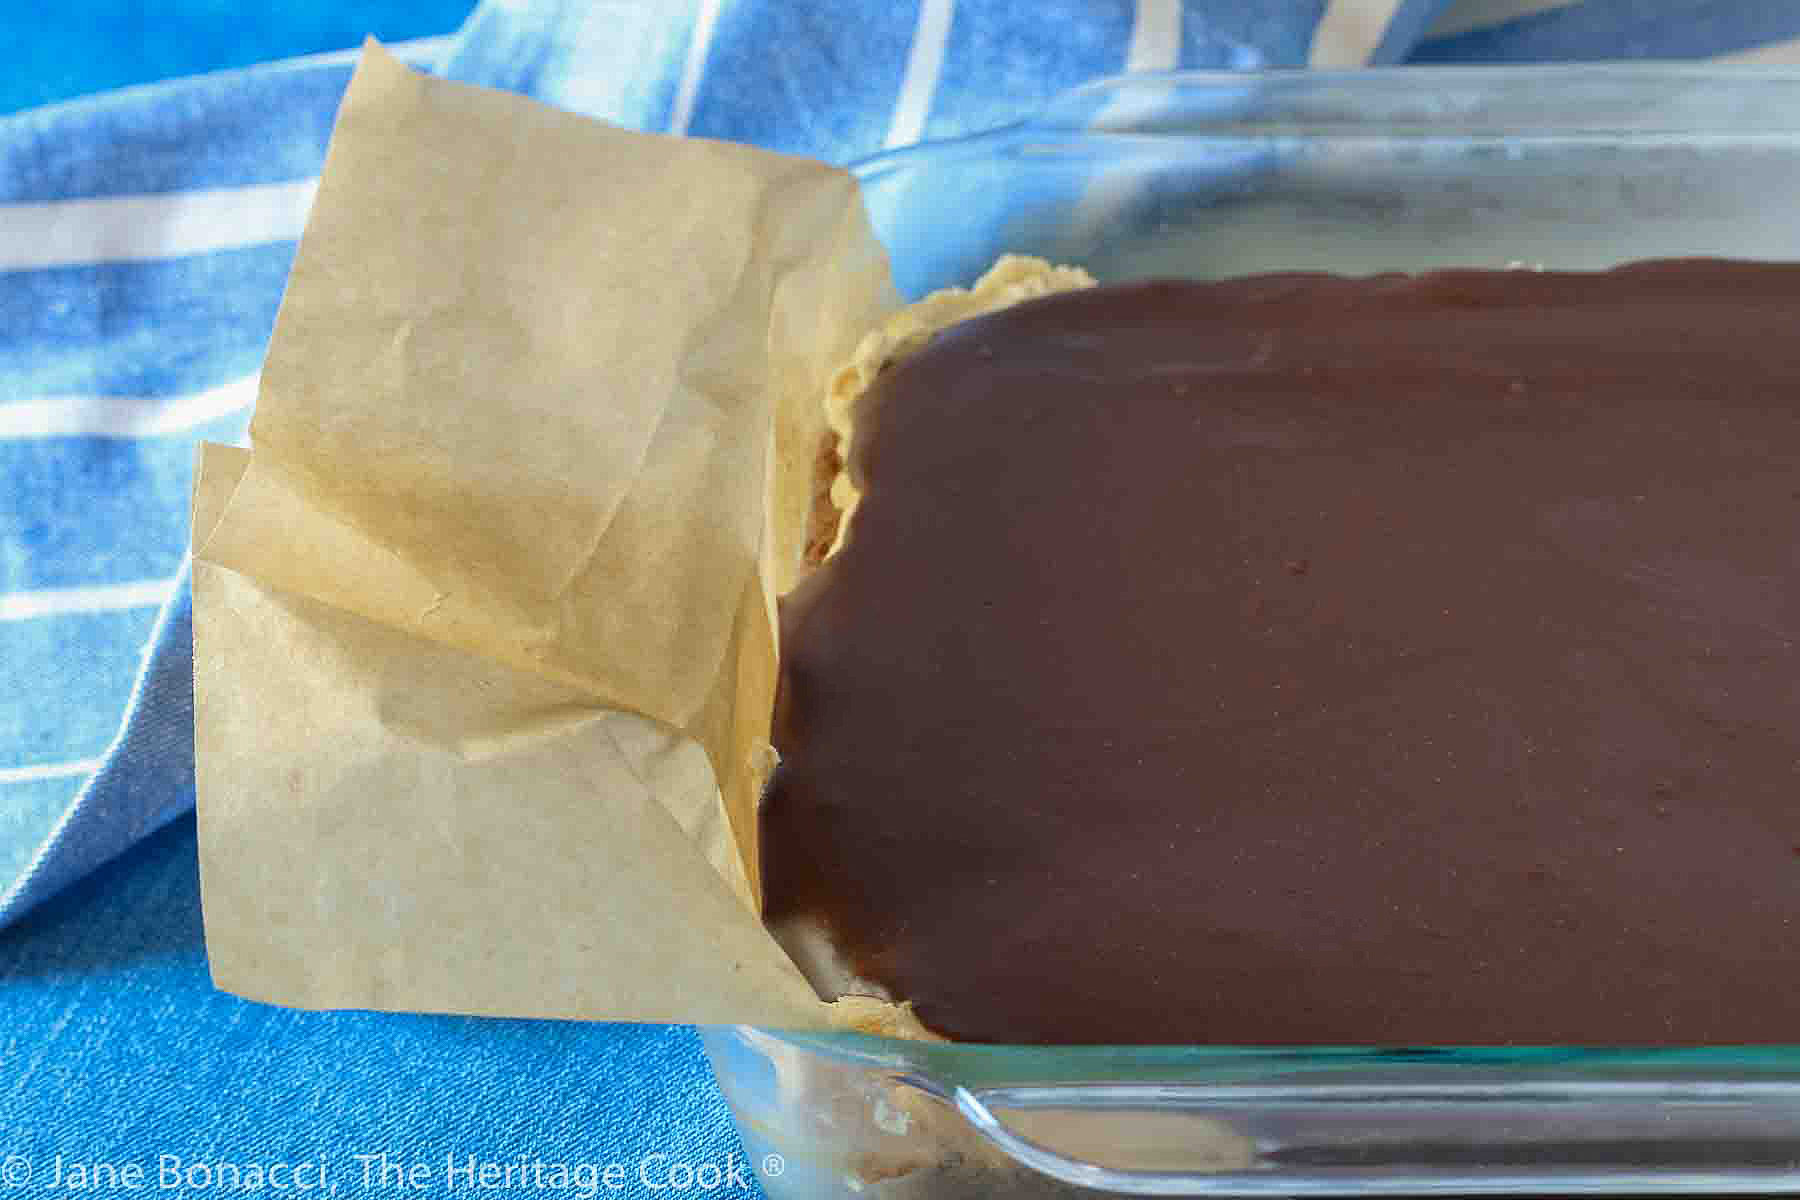
When the brownies are cooled but not topped yet, use the parchment sling to carefully lift them up, loosening them from the pan. Then set them back into the pan to finish layering the dessert. This will greatly help when you have to lift them onto a cutting board.
I hope you make these brownies in the near future – they are too good to put away for a later date! If you are feeding a crowd, make two different batches instead of doubling the recipe. It is always safer that way!
These Buckeye Peanut Butter Brownies are really lovely, a delicate brownie base with ethereal whipped peanut butter filling and topped with an intense chocolate coating. A light chocolate dessert perfect after any meal or as a snack on game day (like this weekend)!
If you try this recipe, let me know! Leave a star rating, comment below, and don’t forget to snap a pic and tag it #theheritagecook on Instagram! Seeing your creations makes my day. I love hearing from you!
Ingredients needed for Buckeye Peanut Butter Brownies:
- Brownies: sugar, eggs, vanilla, butter, cocoa powder, flour, baking powder
- Peanut Butter Layer: butter, peanut butter, confectioners’ sugar, pinch of salt
- Chocolate Topping: chopped chocolate, butter
PRO Tip:
Be sure to use regular creamy peanut butter for this recipe, not a natural variety with the oil separated from the ground nuts. You won’t get a truly smooth and creamy filling with a natural peanut butter.
PRO Tip:
For the cleanest cuts when slicing desserts, always rinse the knife under hot running water and wipe dry after each cut. You will drag fewer crumbs this way. The hot blade will also cut through chocolate or cheesecakes (any clingy ingredients) more easily.
How to make Buckeye Peanut Butter Brownies:
- Mix together the sugar, eggs, and vanilla, then pour in the melted butter and beat until smooth.
- Whisk together the cocoa powder, flour, and baking powder, then stir into the wet ingredients until just combined. Pour the batter into an 8-inch square pan, buttered and lined with parchment.
- Bake at 350°F (177°C) for 20 to 25 minutes until a toothpick comes out with a few moist crumbs. Cool completely on a wire rack. Loosen the brownies and lift carefully then place back in the pan.
- When the brownies are fully cooled make the peanut butter layer. Beat together the butter, peanut butter, sugar and salt until smooth and creamy. Spread evenly over the brownie layer and chill while you make the chocolate topping.
- Melt the chocolate and butter together, stirring until smooth and silky. Pour over the peanut butter layer, spreading quickly before it sets. Chill again until the chocolate is set.
- Use the parchment to lift the brownies out of the pan and cut into 16 pieces. Serve at room temperature.
PRO Tip:
If you are serving a larger crowd, make two separate batches instead of doubling the recipe. It is always a safer practice with baked goods!
Recommended Tools (affiliate links; no extra cost to you):
- Kitchen scale
- Parchment paper sheets
- Stand mixer, hand mixer or whisk
- Small saucepan (to melt the butter)
- Offset spatula
- Long, sharp knife
Gluten-Free Tips:
*You can adjust any baking recipe to gluten-free by using 120 grams per cup of my favorite gluten-free flour blend. If you are using another brand of gluten-free flour, whisk the mix, spoon it lightly into a measuring cup until mounded, level off the top with the back of a knife, and weigh the flour left in the cup. Use that weight as your standard per cup of that specific flour. Do this for each flour blend you use. Commercial blends such as Pamela’s All-Purpose Artisan Blend, Bob’s Red Mill 1-to-1, or King Arthur Measure for Measure are all good choices.
All recommended ingredients are gluten-free as of the writing of this article. Always check to be sure the products haven’t changed and are still safe to consume.
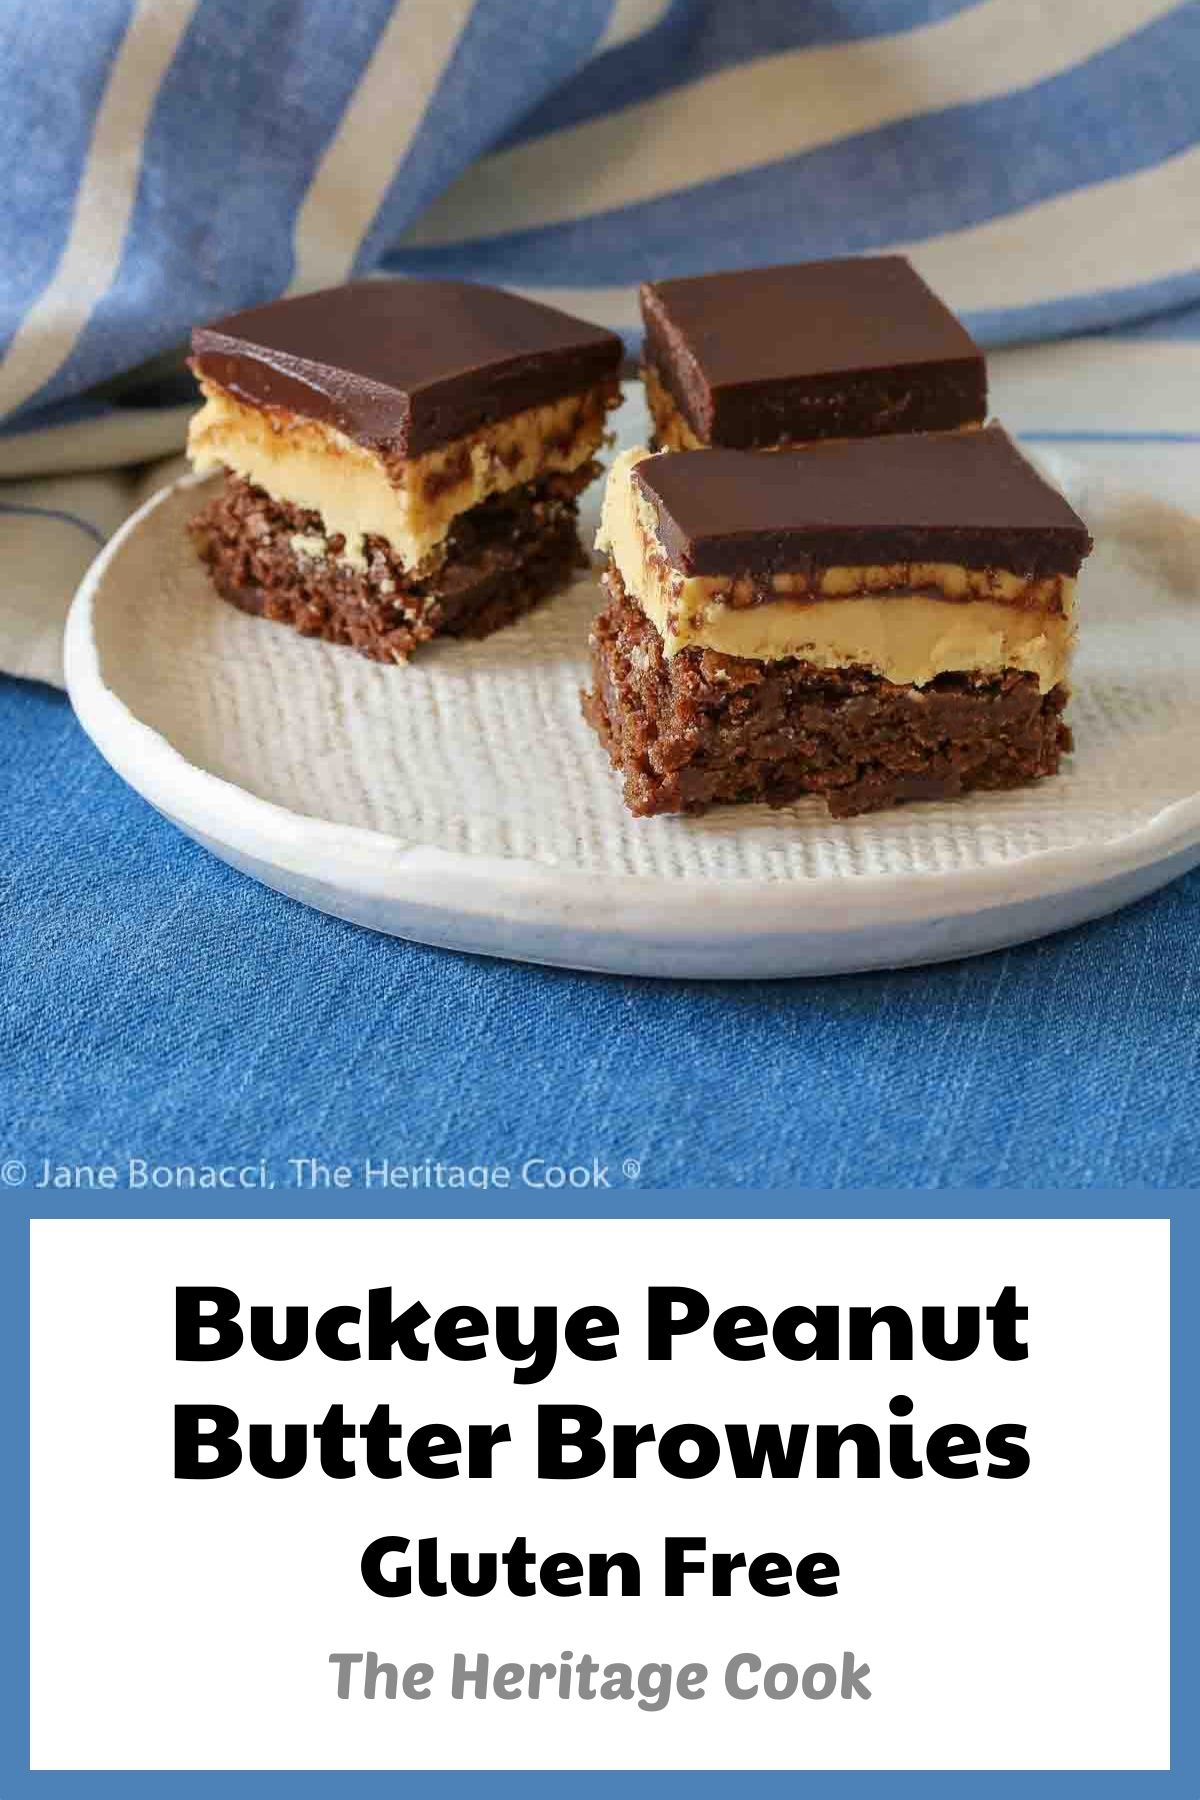
Buckeye Peanut Butter Brownies (Gluten Free)
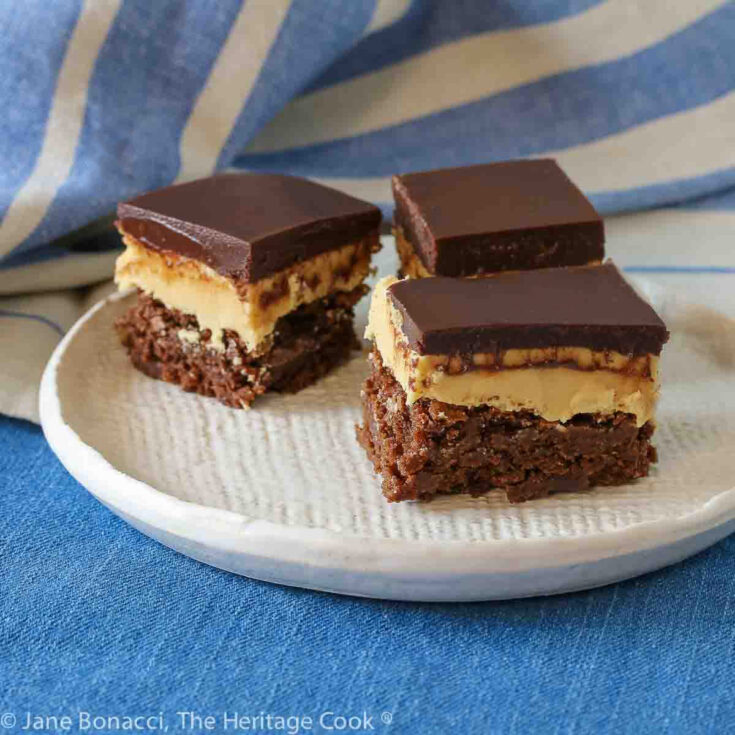
These Buckeye Peanut Butter Brownies are really lovely, a delicate brownie base with ethereal whipped peanut butter filling and topped with an intense chocolate coating. A light chocolate dessert perfect after any meal or as a snack when the mood strikes.
Note: This recipe requires 3 sticks of butter, one in each part of the recipe. Don’t get caught short!
Ingredients
Brownies
- 1 cup (198g) granulated sugar
- 2 large eggs (100g)
- 1 tsp vanilla
- 1/2 cup (1 stick; 113g) butter, melted
- 1/3 cup (28g) unsweetened cocoa powder
- 1/2 cup (60g)* gluten-free flour blend or all-purpose flour
- 1/2 tsp baking powder
Peanut Butter Layer
- 1/2 cup (1 stick; 113g) unsalted butter, softened
- 1/2 cup (135g) creamy peanut butter (not chunky style), at room temperature
- 1-3/4 cups (198g) confectioners’ sugar
- Pinch of salt
Chocolate Topping
- 6 oz (6 oz; 170g) semisweet or dark chocolate, chopped
- 1/2 cup (1 stick; 113g) butter, cut into cubes
Instructions
- Preheat the oven to 350°F (177°C). Lightly butter an 8×8-inch (20x20cm) baking pan and line with parchment paper or foil, leaving two sides hanging over opposite sides of the pan to create a sling; set aside.
- Make the Brownies: With your stand mixer, hand mixer, or whisking by hand, beat the sugar, eggs, and vanilla together, then with the mixer running, pour in the slightly cooled melted butter and beat until smooth.
- In a second bowl, whisk together the cocoa powder, flour, and baking powder, then stir them into the wet ingredients until just combined. Scrape the bowl. Pour batter into the prepared pan.
- Bake in the preheated oven for 20 to 25 minutes until a toothpick comes out with a few moist crumbs attached. Remove from the oven and cool completely on a wire rack. When cool, loosen the brownies and lift carefully, then place back in the pan. This will help later when you have to transfer them to a cutting board.
- Peanut Butter Layer: Once the brownies are cool, in a bowl, beat the peanut butter layer ingredients together until smooth and creamy. Turn up the speed and beat for another minute to lighted the mixture. Spread over the completely cooled brownies with an offset spatula. Chill in the refrigerator while you make the top layer.
- Chocolate Topping: Melt the chocolate and butter together in the microwave in 10 seconds intervals or on the stove until the chocolate is melted; stir until smooth and creamy. Let cool for 5 minutes. Pour over the chilled peanut butter topped brownies and spread evenly before it sets up using an offset spatula. Chill again until the chocolate is set.
- Using the parchment sling, lift the brownies out of the pan and place on a cutting board. Use a long sharp knife to cut the block into 16 pieces. Return brownies to the pan for storage. Serve at room temperature.
Recipe found at www.theheritagecook.com
Notes
*You can adjust any recipe to gluten-free by using 120 grams per cup of my favorite gluten-free flour blend. If you are using another brand of gluten-free flour, whisk the mix, spoon it lightly into a measuring cup without a spout until mounded, level off the top with the back of a knife, and weigh the flour left in the cup. Use that weight as your standard per cup of that specific flour. Do this for each flour blend you use. Commercial blends such as Pamela's, Bob's Red Mill 1-to-1, or King Arthur Measure for Measure are all good choices.
All recommended ingredients are gluten-free as of the writing of this article. Always check to be sure the products haven’t changed and are still safe to consume.
Adapted from a recipe on Little House, Big Alaska
Nutrition Information:
Yield:
16Serving Size:
1Amount Per Serving: Calories: 125Total Fat: 5gSaturated Fat: 3gTrans Fat: 0gUnsaturated Fat: 2gCholesterol: 25mgSodium: 43mgCarbohydrates: 17gFiber: 1gSugar: 7gProtein: 3g
The nutritional information for recipes on this site is calculated by online tools and is merely an estimate.
If you enjoyed this recipe, be sure to follow me on social media so you never miss a post:
Create a New Tradition Today!
Welcome! The suggestions here are not intended as dietary advice or as a substitute for consulting a dietician, physician, or other medical professional. Please see the Disclaimers/Privacy Policy page for additional details. Unauthorized use, distribution, and/or duplication of proprietary material from The Heritage Cook without prior approval is prohibited. If you have any questions or would like permission, please contact me. We participate in the Amazon Services LLC Associates Program, an affiliate advertising program designed to provide a means for sites to earn advertising fees by advertising and linking to amazon.com. As an Amazon Associate, I earn a small amount from qualifying purchases without any additional cost to you. The author makes no claims regarding the presence of food allergens and disclaims all liability in connection with the use of this site.

