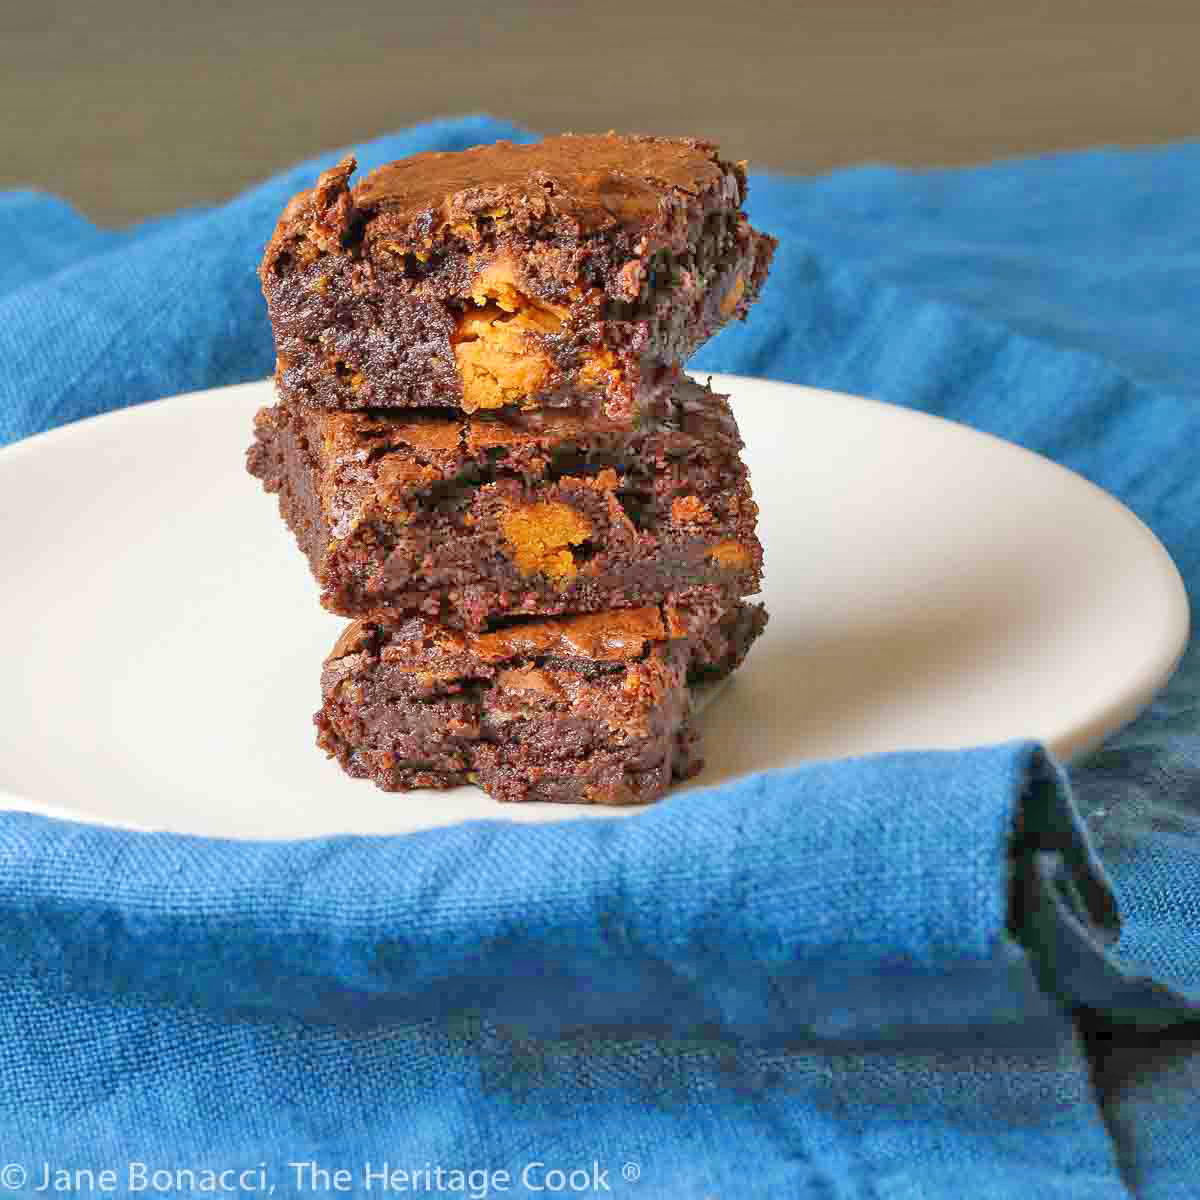
Today’s brownie recipe is adapted from a recipe in Alice Medrich’s book, “Bittersweet,” one of my favorite cookbooks of all time. The recipes are reliable and outstanding, but it is the explanations of why to use which chocolate ingredient that fascinates me. I actually own two versions of the book because the first one was so good that when the updated version came out I had to have it too!
Alice helps all of us understand the impact the difference in percentages of cocoa liquor in chocolate has on recipes. In her second version, “Seriously Bittersweet” she guides us through how to adapt a recipe to use the kind of chocolate we have in our pantry, and explains how to temper chocolate in a way that everyone can understand. If you love chocolate, you have to add this book to your library!
For those of you who crave the crispy crust that breaks when you bite into a perfectly baked brownie, Alice’s brownies will give you that and much more. These brownies depend on cocoa powder instead of melted chocolate for two reasons.
Because virtually all the fat in these is from butter and not cocoa butter, and all the sugar is granulated and not the superfine milled version they use to make formed chocolate, you not only get the most intense chocolate flavor and a soft center, but the crunchy crust on top. The better the quality of your cocoa powder, the better the brownies!
Any unsweetened natural or Dutch-process cocoa powder works well here. Natural cocoa produces brownies with more flavor complexity and lots of tart, fruity notes. Dutch-process cocoa results in a darker brownie with a mellower chocolate pudding flavor. I think the Dutch-process cocoa is a better fit here because it highlights the Butterfinger’s flavor more.
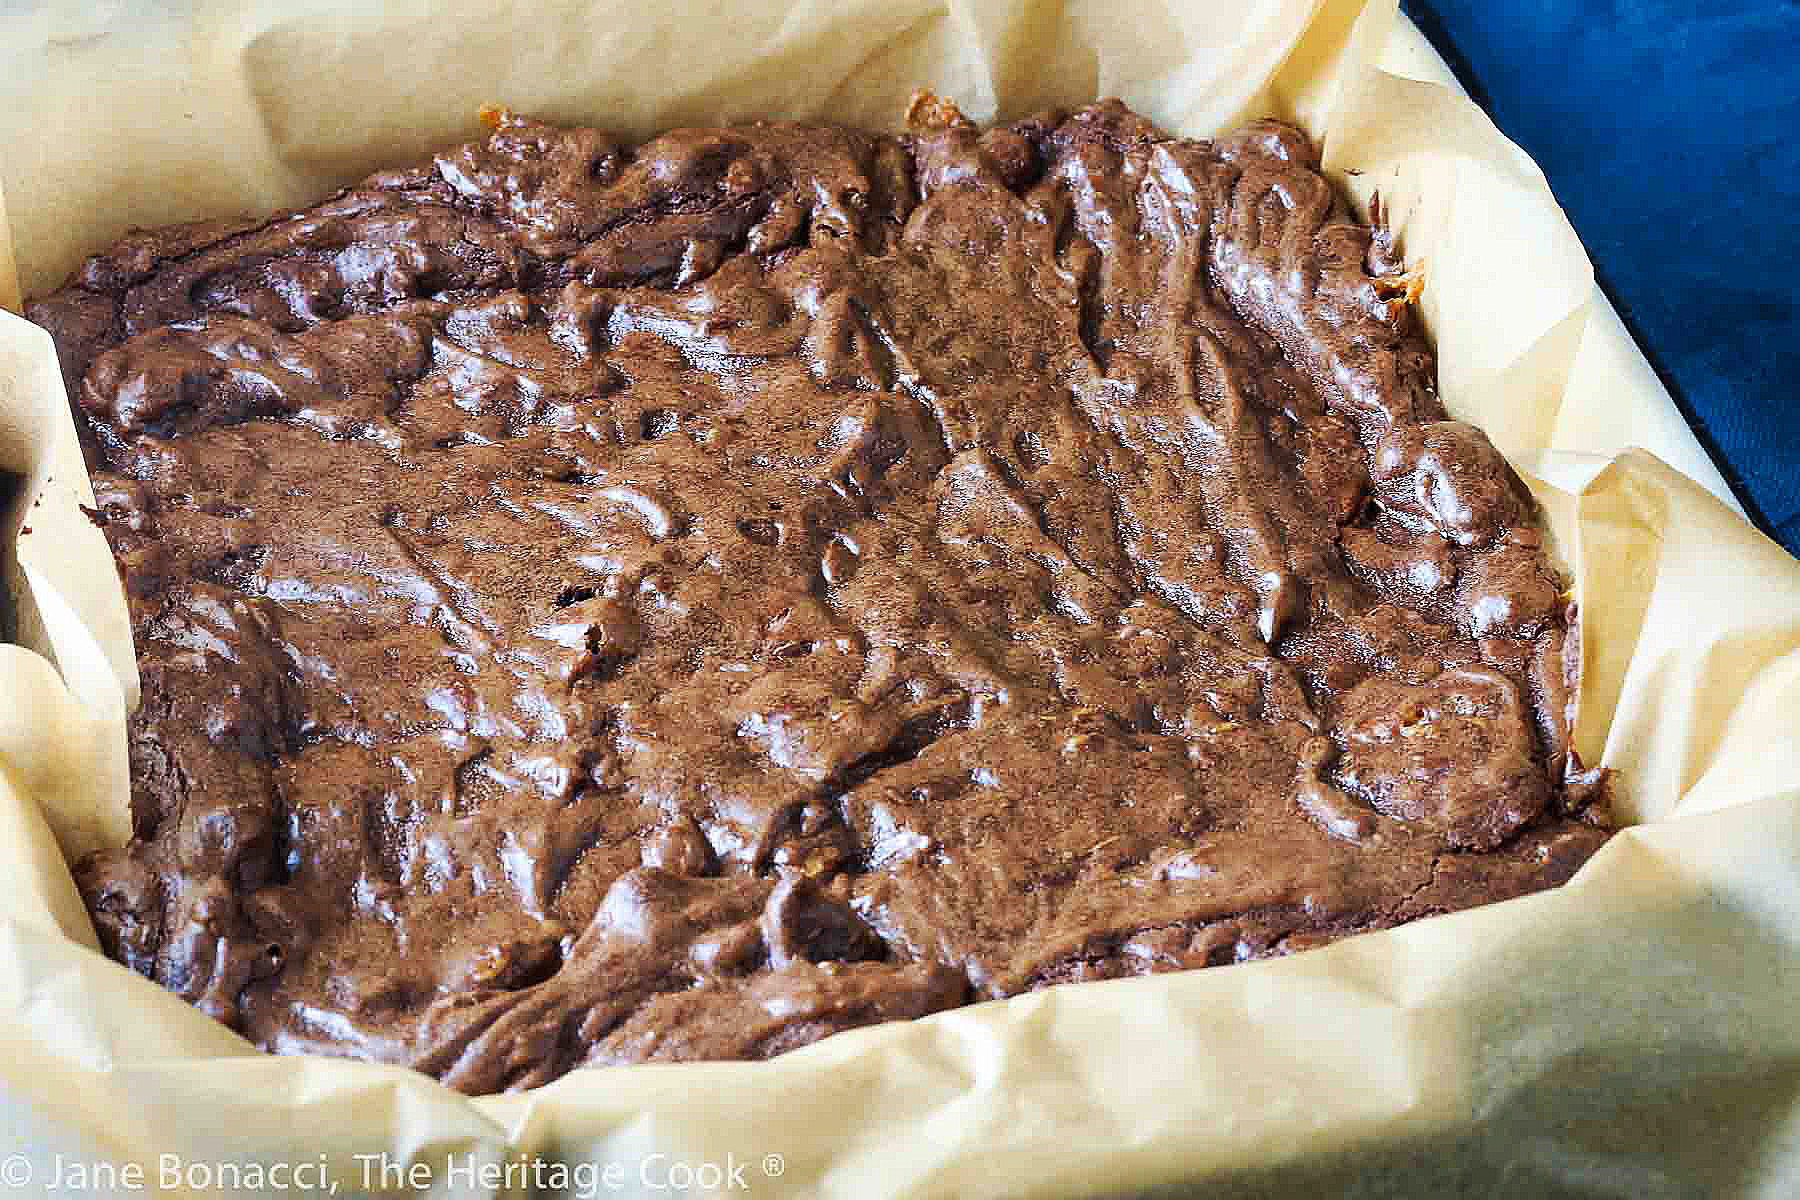
With the addition of the chopped Butterfinger candies, this makes a really thick batter. Use a spatula to spread it into the parchment-lined baking dish and push it into the corners to get an even layer.
I used a 9-inch (23 cm) square baking pan, but if you want thicker, fudgier brownies, you can use an 8-inch (20 cm) square pan. The baking time may be a little longer. Watch them closely.
There are a ton of recipes for brownies floating around the Internet, but this is the one that I go back to time after time. I love the crunchy top layer that covers the fudgy, decadent center. And when I had to switch to gluten-free, this recipe is a simple adaptation because there is so little flour in it. It’s almost more like a flourless cake than a brownie, and it is one dessert I crave over and over!
You can frost the brownies if you prefer and I recommend this recipe from Frosting and Fettuccine.
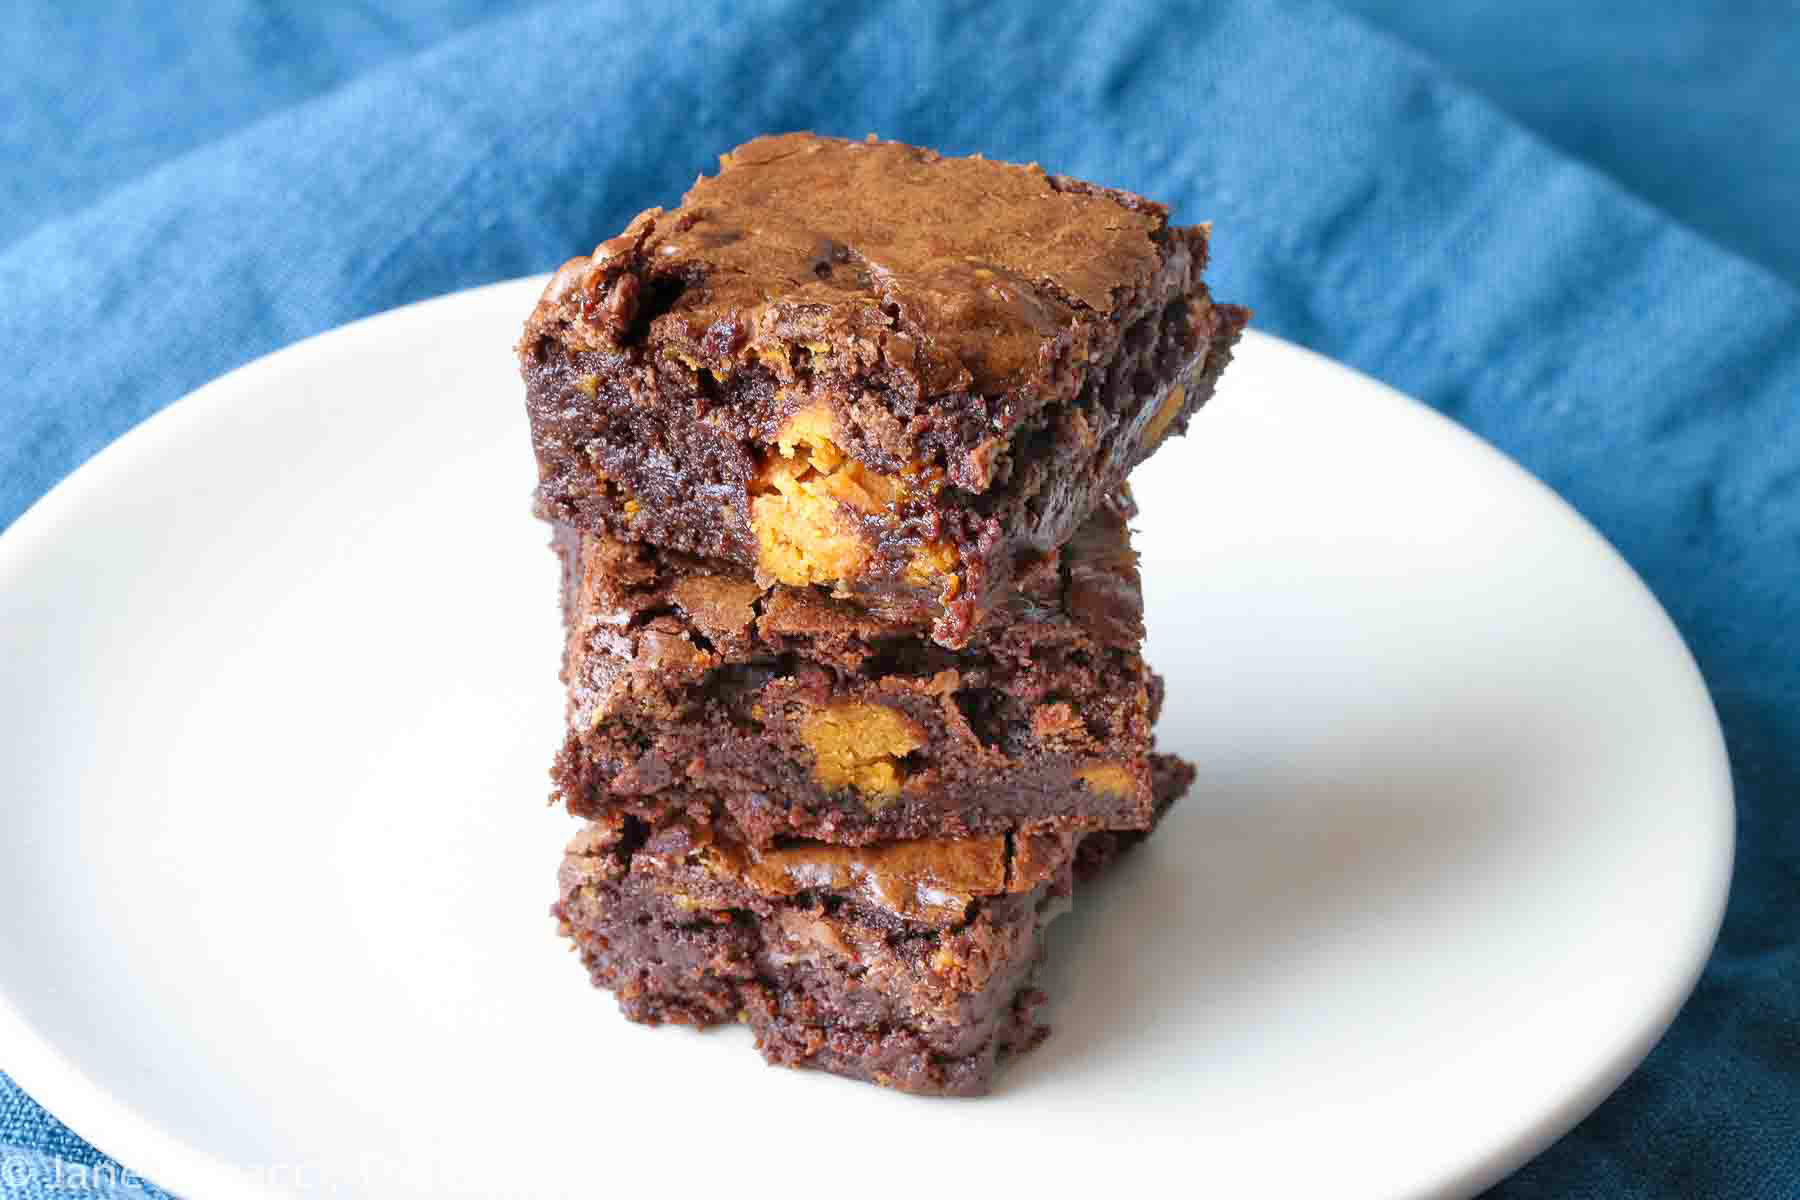
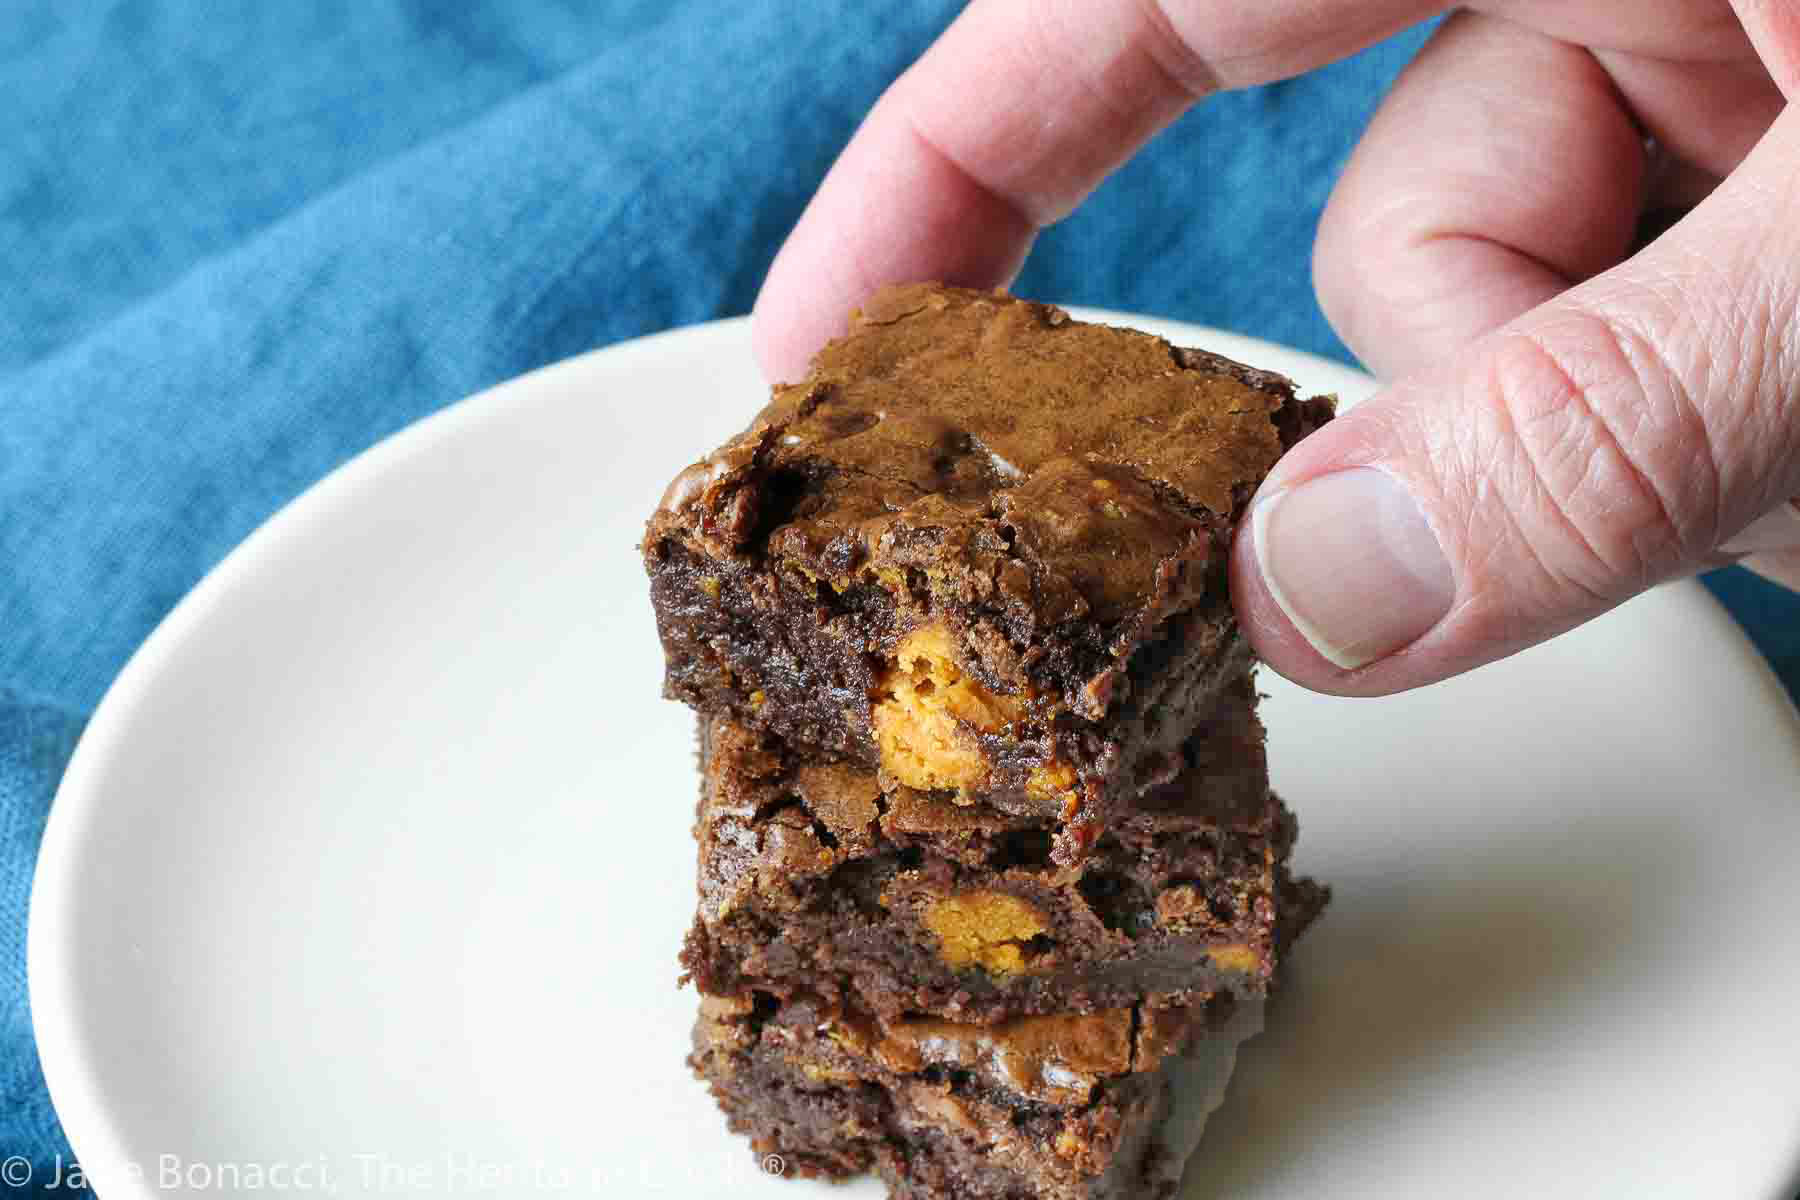
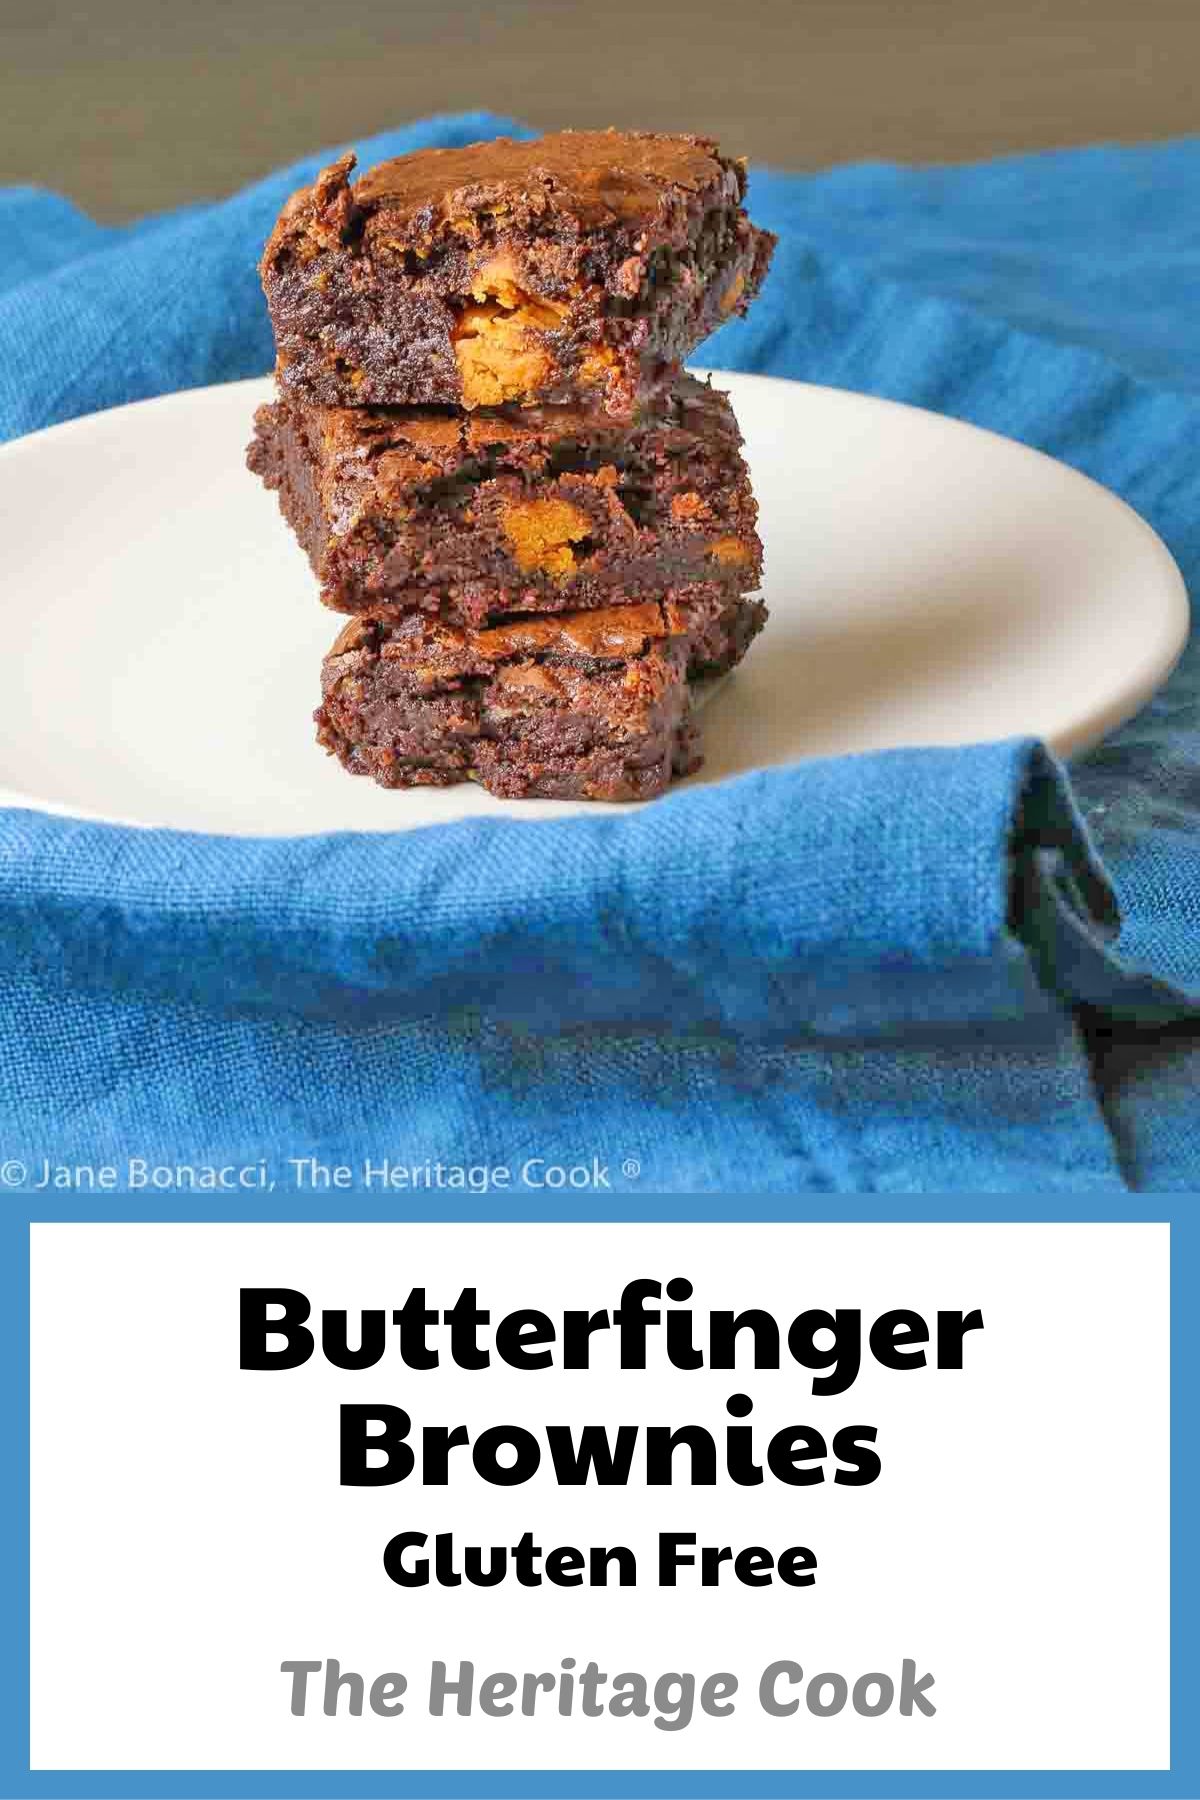
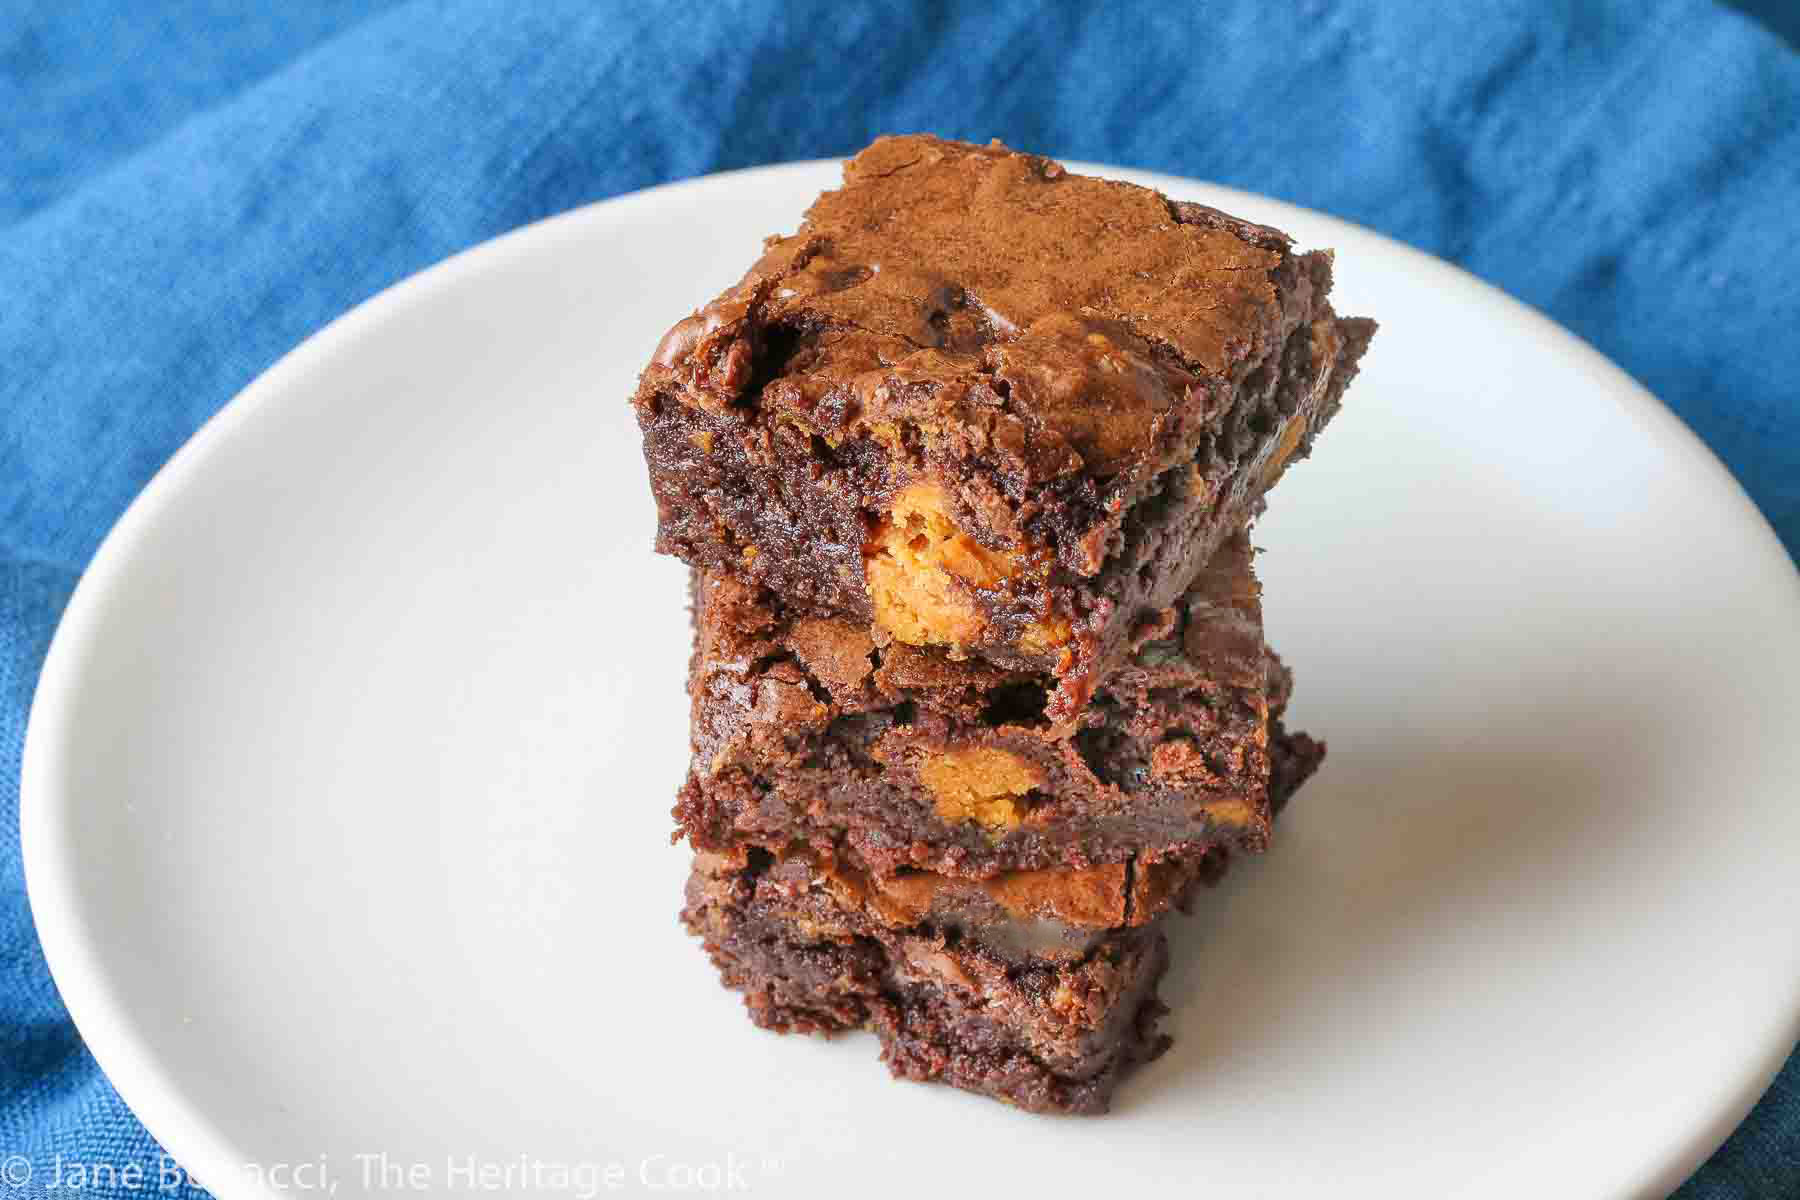
These incredible brownies are enhanced by the addition of chopped Butterfinger candies. Stir them into the batter and then bake up a treat that will have your family and friends begging for seconds. Butterfinger Brownies are a true winner of a recipe and a lovely treat for Halloween!
Did you enjoy this recipe? Let me know in the comments and leave a star rating, I love hearing from you!
Ingredients needed for Butterfinger Brownies:
- Unsalted butter, sugar, unsweetened cocoa powder, salt,
- Vanilla, eggs, flour, xanthan gum (if needed), Butterfingers
PRO Tip:
Any unsweetened natural or Dutch-process cocoa powder works well in this recipe. Natural cocoa produces brownies with more flavor complexity and lots of tart, fruity notes. Dutch-process cocoa results in a darker brownie with a mellower chocolate pudding flavor. I used Dark Hershey’s cocoa, the same brand my grandmother Mimi used when I was young and learning how to bake!
PRO Tip:
When a recipe tells you to add eggs “one at a time”, the easiest way to do this is to break them into a measuring cup with a spout. This helps keep pieces of shell out of the batter. Then you can pour one yolk with accompanying whites, stop and beat it in, then add the next yolk/whites. Don’t worry if you get more whites with one yolk than the others, it will all balance out in the end.
How to make Butterfinger Brownies:
- In a heatproof bowl or the bowl of your stand mixer, combine the butter, sugar, cocoa, and salt. Set the bowl over a saucepan with 2-inches (5 cm) of simmering water. Stir occasionally until the mixture is smooth.
- Remove from the heat and set on a wire cooling rack until warm, not hot, and you can comfortably hold the bottom in the palm of your hand.
- Using a stand mixer or hand mixer, stir in the vanilla. Add the eggs one at a time, mixing after each addition. Add the flour and beat on low until there are no more white streaks, then increase to medium speed and beat for 30 seconds. Stir in the chopped Butterfinger candy pieces.
- Line a 9-inch (23 cm) square baking pan with parchment or foil with two ends hanging over the sides. Butter any exposed sides.
- Bake at 325°F (163°C) for about 20 to 25 minutes until a toothpick comes out slightly moist with batter. Let cool completely on a rack.
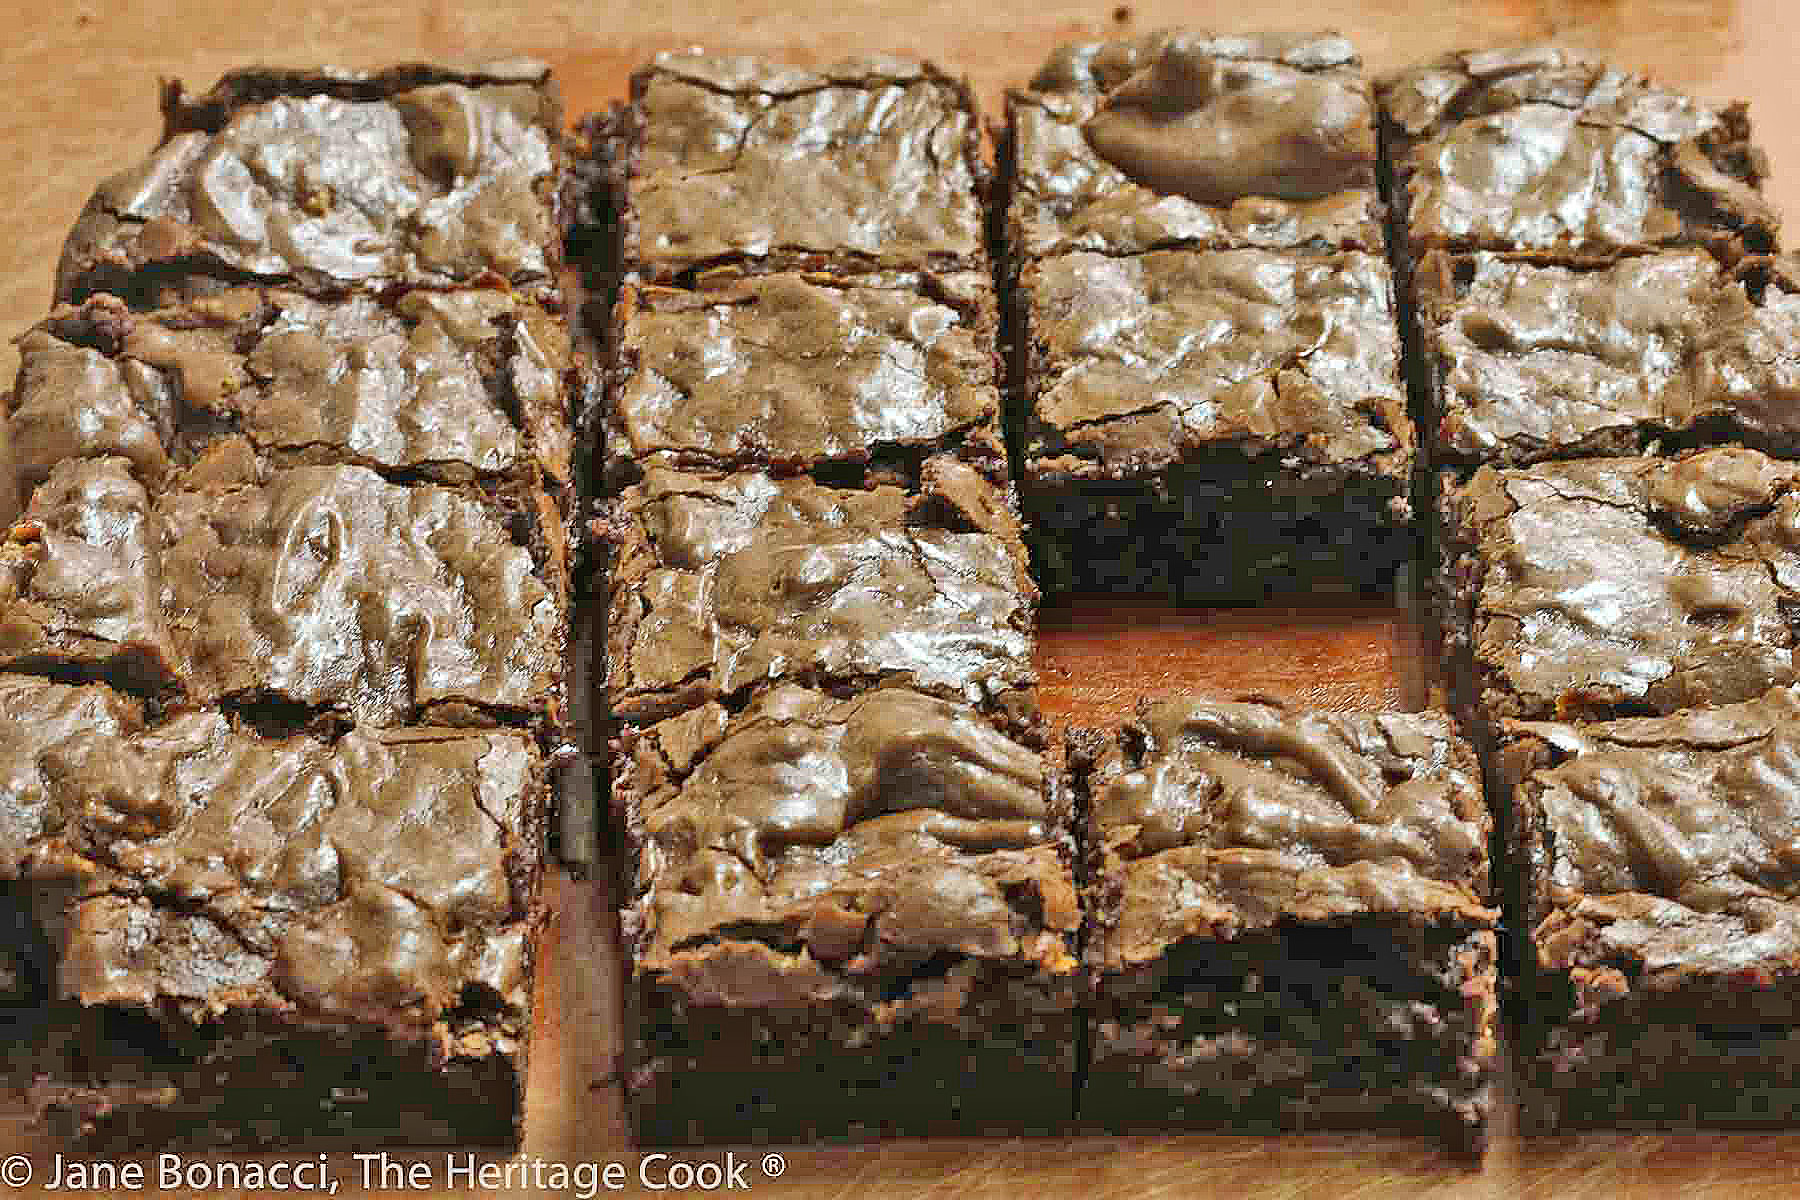
- When cool, use the parchment sling and lift the brownies out of the pan and place on a cutting board. Use a long knife to cut into 16 or 25 pieces. You can frost the brownies if you prefer and if you do, I recommend this recipe from Frosting and Fettuccine.
PRO Tip:
While I used my stand mixer, you can easily mix this all by hand if you prefer using a wooden spoon and whisk. My grandmothers always mixed everything by hand so it is no surprise that they had very strong arms!
Recommended Tools (affiliate links; no extra cost to you):
- Chef’s knife
- Cutting board
- Kitchen scale
- Parchment paper
- 9-inch square baking pan
- Heatproof bowl
- Saucepan
- Stand mixer or hand mixer
- Long, sharp knife
Gluten-Free Tips:
Butterfingers are a gluten-free candy, all versions except the “Crisp” variety. Stick with the traditional original flavor. If you have any questions, you can check out my friend Sandi’s article here.
*You can adjust any baking recipe to gluten-free by using 120 grams per cup of my favorite gluten-free flour blend. If you are using another brand of gluten-free flour, whisk the mix, spoon it lightly into a measuring cup until mounded, level off the top with the back of a knife, and weigh the flour left in the cup. Use that weight as your standard per cup of that specific flour. Do this for each flour blend you use. Commercial blends such as Pamela’s All-Purpose Artisan Blend, Bob’s Red Mill 1-to-1, or King Arthur Measure for Measure are all good choices.
All recommended ingredients are gluten-free as of the writing of this article. Always check to be sure the products haven’t changed and are still safe to consume.
Butterfinger Brownies (Gluten Free)
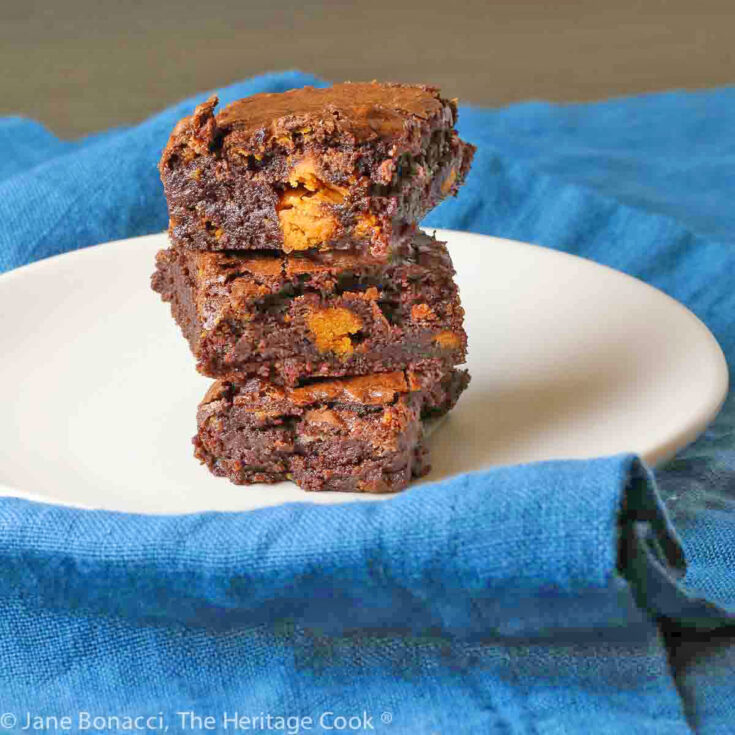
These incredible brownies are enhanced by the addition of chopped Butterfinger candies. Stir them into the batter and then bake up a treat that will have your family and friends begging for seconds. Butterfinger Brownies are a true winner of a recipe and a lovely treat for Halloween!
Ingredients
- 10 tbsp (1 stick+2 tbsp; 141g) unsalted butter, cut into slices
- 1-1/4 cups (248g) granulated sugar
- 3/4 cup + 2 tbsp (74g) unsweetened Dutch-process cocoa powder
- 1/4 tsp salt
- 1/2 tsp pure vanilla extract
- 2 cold large eggs (100g)
- 1/2 cup (60g) gluten-flour blend* or all-purpose flour
- 1/4 tsp xanthan gum (only for gluten-free; leave out if your blend already contains it)
- 6 oz (about 170g) “Fun Size” Butterfingers, chopped (8 to 9 mini bars)**
Instructions
- Combine the butter, sugar, cocoa, and salt in a medium heatproof bowl or the bowl of your stand mixer, and set the bowl over a medium saucepan with 2-inches (5 cm) of barely simmering water. Be sure the bottom doesn’t touch the water. Stir from time to time until the butter is melted and the dry ingredients are fully incorporated and the mixture is smooth.
- Remove the bowl from the heat and set on a wire cooling rack to cool until the mixture is warm, not hot, and you can comfortably hold the bottom of the bowl in the palm of your hand. Whisk occasionally to help it cool. If the mixture is too hot, you risk scrambling the eggs.
- Position a rack in the lower third of the oven and preheat the oven to 325°F (163°C). Line the bottom and sides of a 9-inch (23 cm) square baking pan with parchment paper or foil, leaving an overhang on two opposite sides. Butter any exposed sides.
- Using your stand mixer, a hand mixer, or using a spoon, stir in the vanilla on low. Add the eggs one at a time, beating after each addition. When the batter looks thick, shiny, and well blended, add the flour and xanthan and blend on low until you cannot see any white streaks, then beat on medium for about 30 seconds. Stir in the chopped Butterfinger candies. Spread the batter evenly in the prepared pan. The batter will be very thick, work with a spatula to get it into the corners.
- Bake until a toothpick inserted into the center comes out slightly moist with batter, 20 to 25 minutes. Let cool completely on a rack. The brownies will finish baking in the center while they rest.
- When cool, lift up the ends of the parchment or foil liner, and transfer the brownies to a cutting board. Cut into about 16 squares with a long knife. You can frost the brownies if you prefer and I recommend this recipe from Frosting and Fettuccine.
Recipe found at www.theheritagecook.com
Notes
Butterfingers are a gluten-free candy, all versions except the “Crisp” variety! Stick with the traditional original flavor and you’ll be fine. If you have any questions, you can check out my friend Sandi’s article here.
*You can adjust any recipe to gluten-free by using 120 grams per cup of my favorite gluten-free flour blend. If you are using another brand of gluten-free flour, whisk the mix, spoon it lightly into a measuring cup without a spout until mounded, level off the top with the back of a knife, and weigh the flour left in the cup. Use that weight as your standard per cup of that specific flour. Do this for each flour blend you use. Commercial blends such as Pamela's, Bob's Red Mill 1-to-1, or King Arthur Measure for Measure are all good choices.
** You can cut each Butterfinger bar into about 5 slices which worked well for me.
All recommended ingredients are gluten-free as of the writing of this article. Always check to be sure the products haven’t changed and are still safe to consume.
Adapted from an Alice Medrich recipe.
Nutrition Information:
Yield:
16Serving Size:
1Amount Per Serving: Calories: 224Total Fat: 12gSaturated Fat: 7gTrans Fat: 0gUnsaturated Fat: 4gCholesterol: 42mgSodium: 154mgCarbohydrates: 27gFiber: 1gSugar: 11gProtein: 3g
The nutritional information for recipes on this site is calculated by online tools and is merely an estimate.
If you enjoyed this recipe, be sure to follow me on social media so you never miss a post:
Create a New Tradition Today!
Welcome! The suggestions here are not intended as dietary advice or as a substitute for consulting a dietician, physician, or other medical professional. Please see the Disclaimers/Privacy Policy page for additional details. Unauthorized use, distribution, and/or duplication of proprietary material from The Heritage Cook without prior approval is prohibited. If you have any questions or would like permission, please contact me. We participate in the Amazon Services LLC Associates Program, an affiliate advertising program designed to provide a means for sites to earn advertising fees by advertising and linking to amazon.com. As an Amazon Associate, I earn a small amount from qualifying purchases without any additional cost to you. This page may contain affiliate links.

