You are in for a real treat today. These Chocolate Brownie Cookies are one of my most popular recipes and one that people constantly ask me to bake for them. When I first shared these cookies I was not gluten-intolerant. Now that I can’t eat regular flour, I wanted to make them again to be sure they would still be delicious with gluten-free flour. Yay! They are just as good and maybe even better!
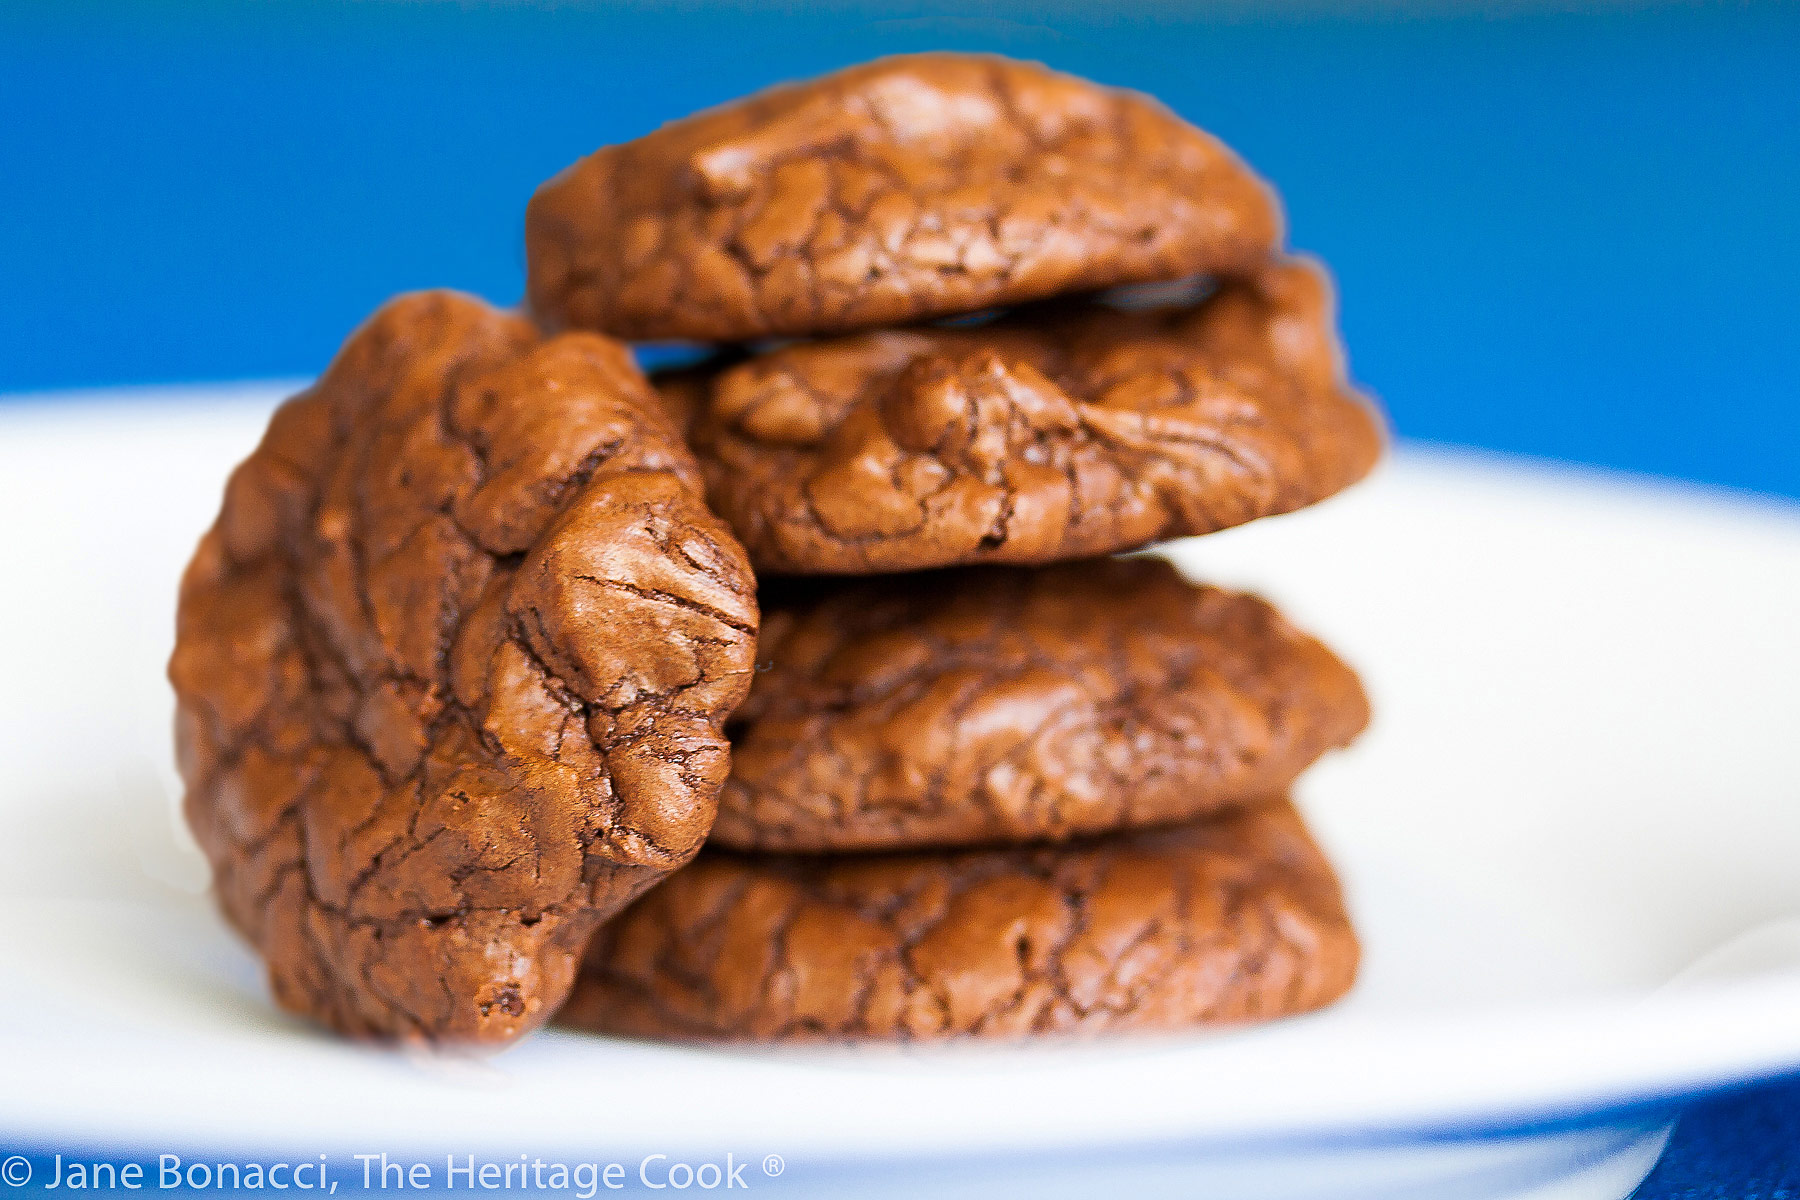
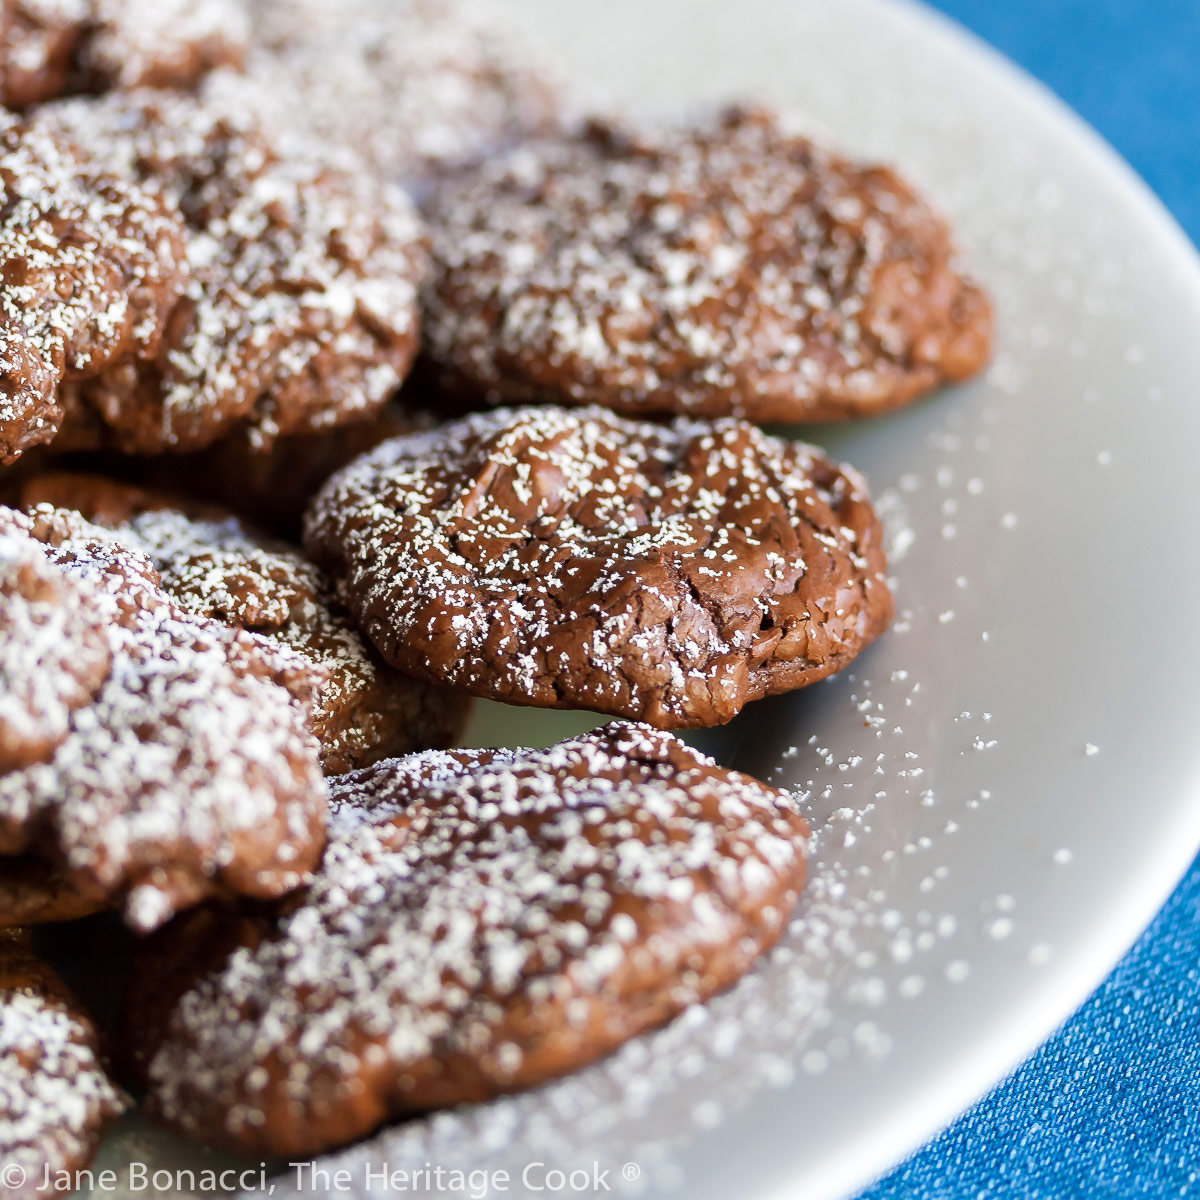
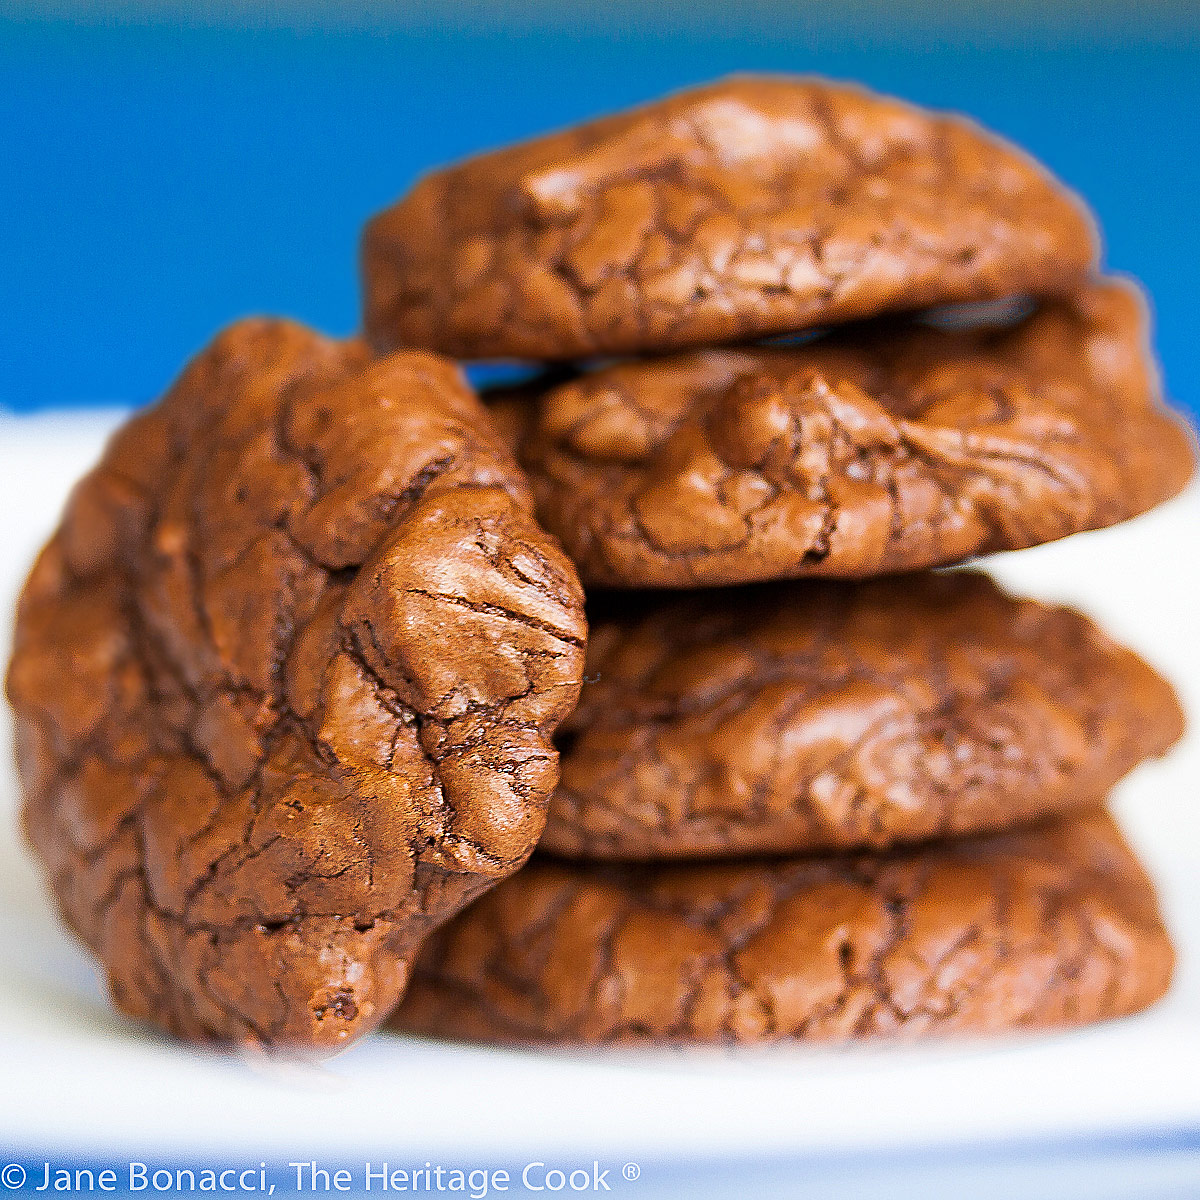
Brownies are wonderful but a bit messy to eat. Cookies travel well but can be dry and crumbly. A combination of the two would be perfect wouldn’t it? Well, you’re in luck today because we have that winning combination. The dense chewiness of brownies wrapped in a crispy cookie exterior. A little heaven in every bite to start your week! That’s the fun of Chocolate Mondays!!
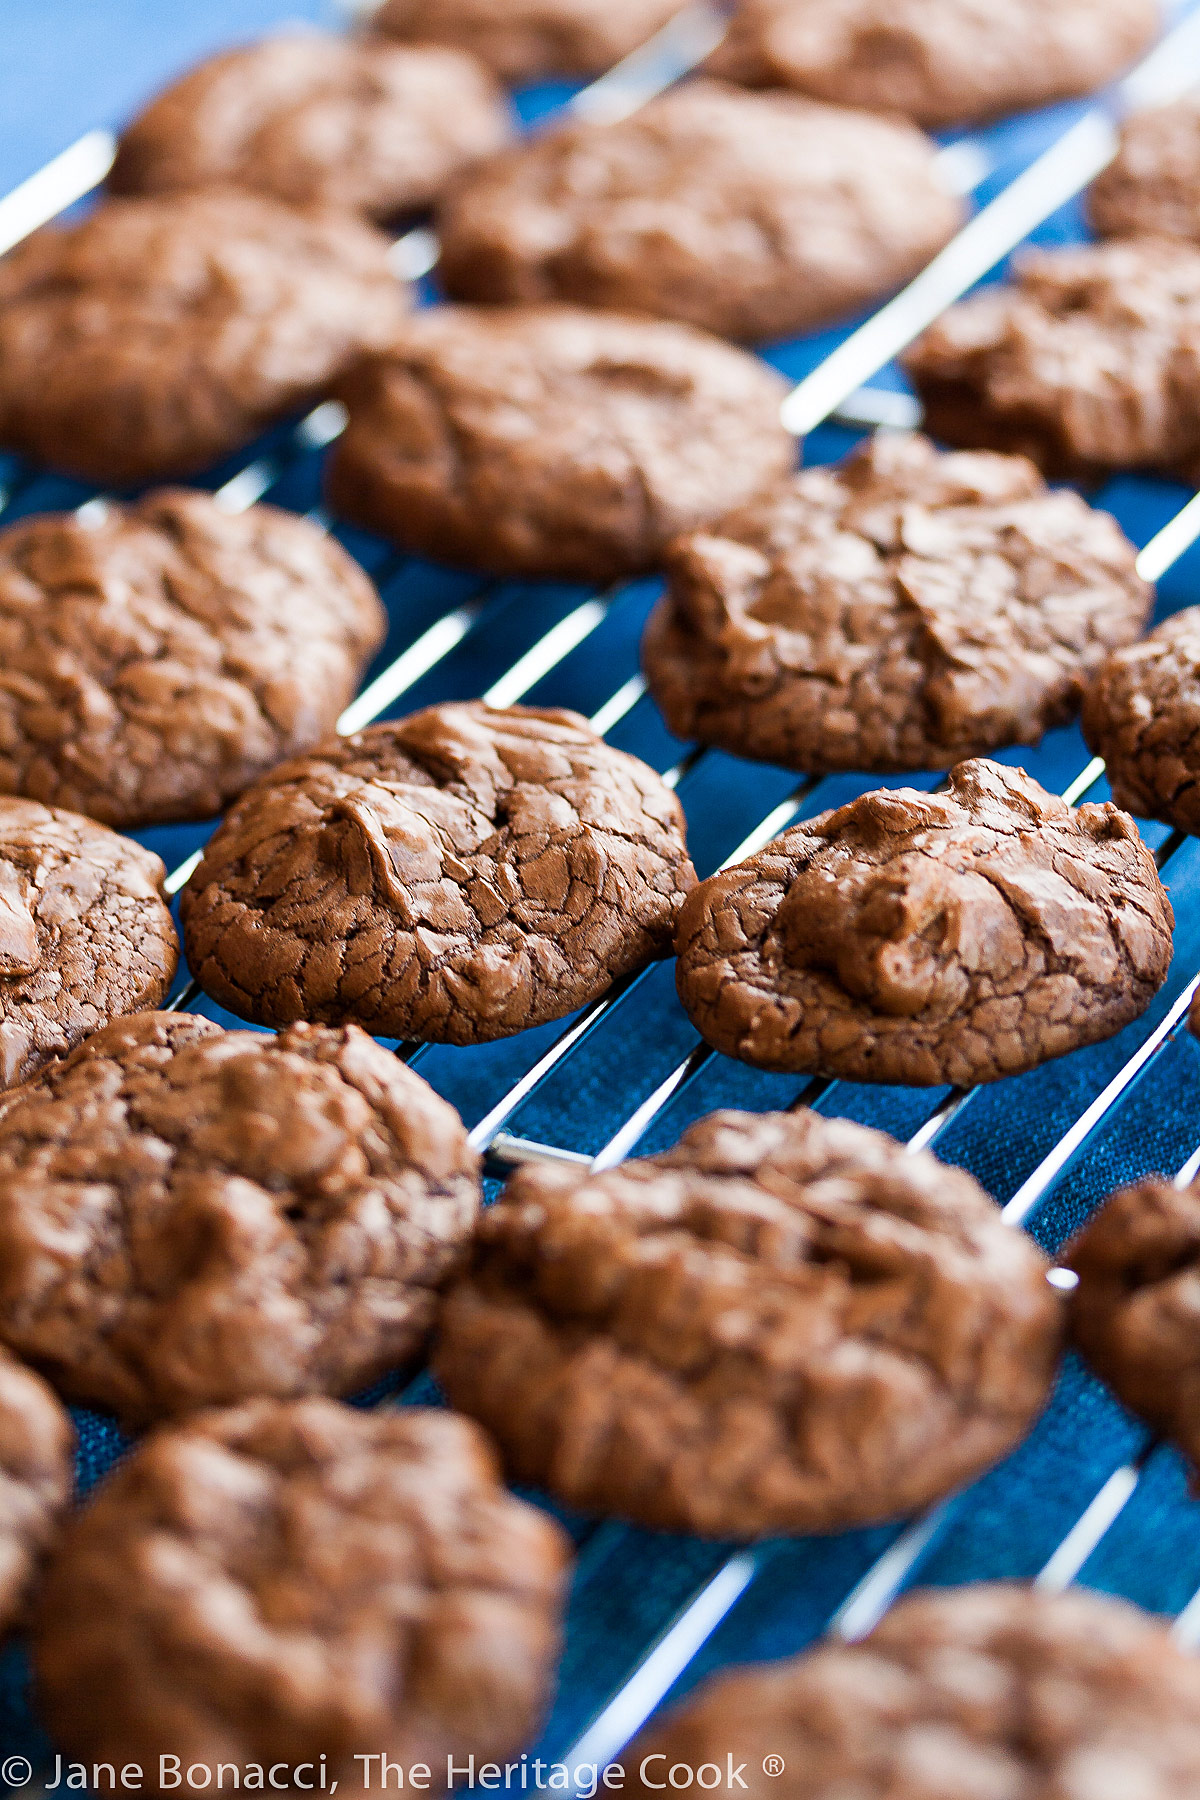
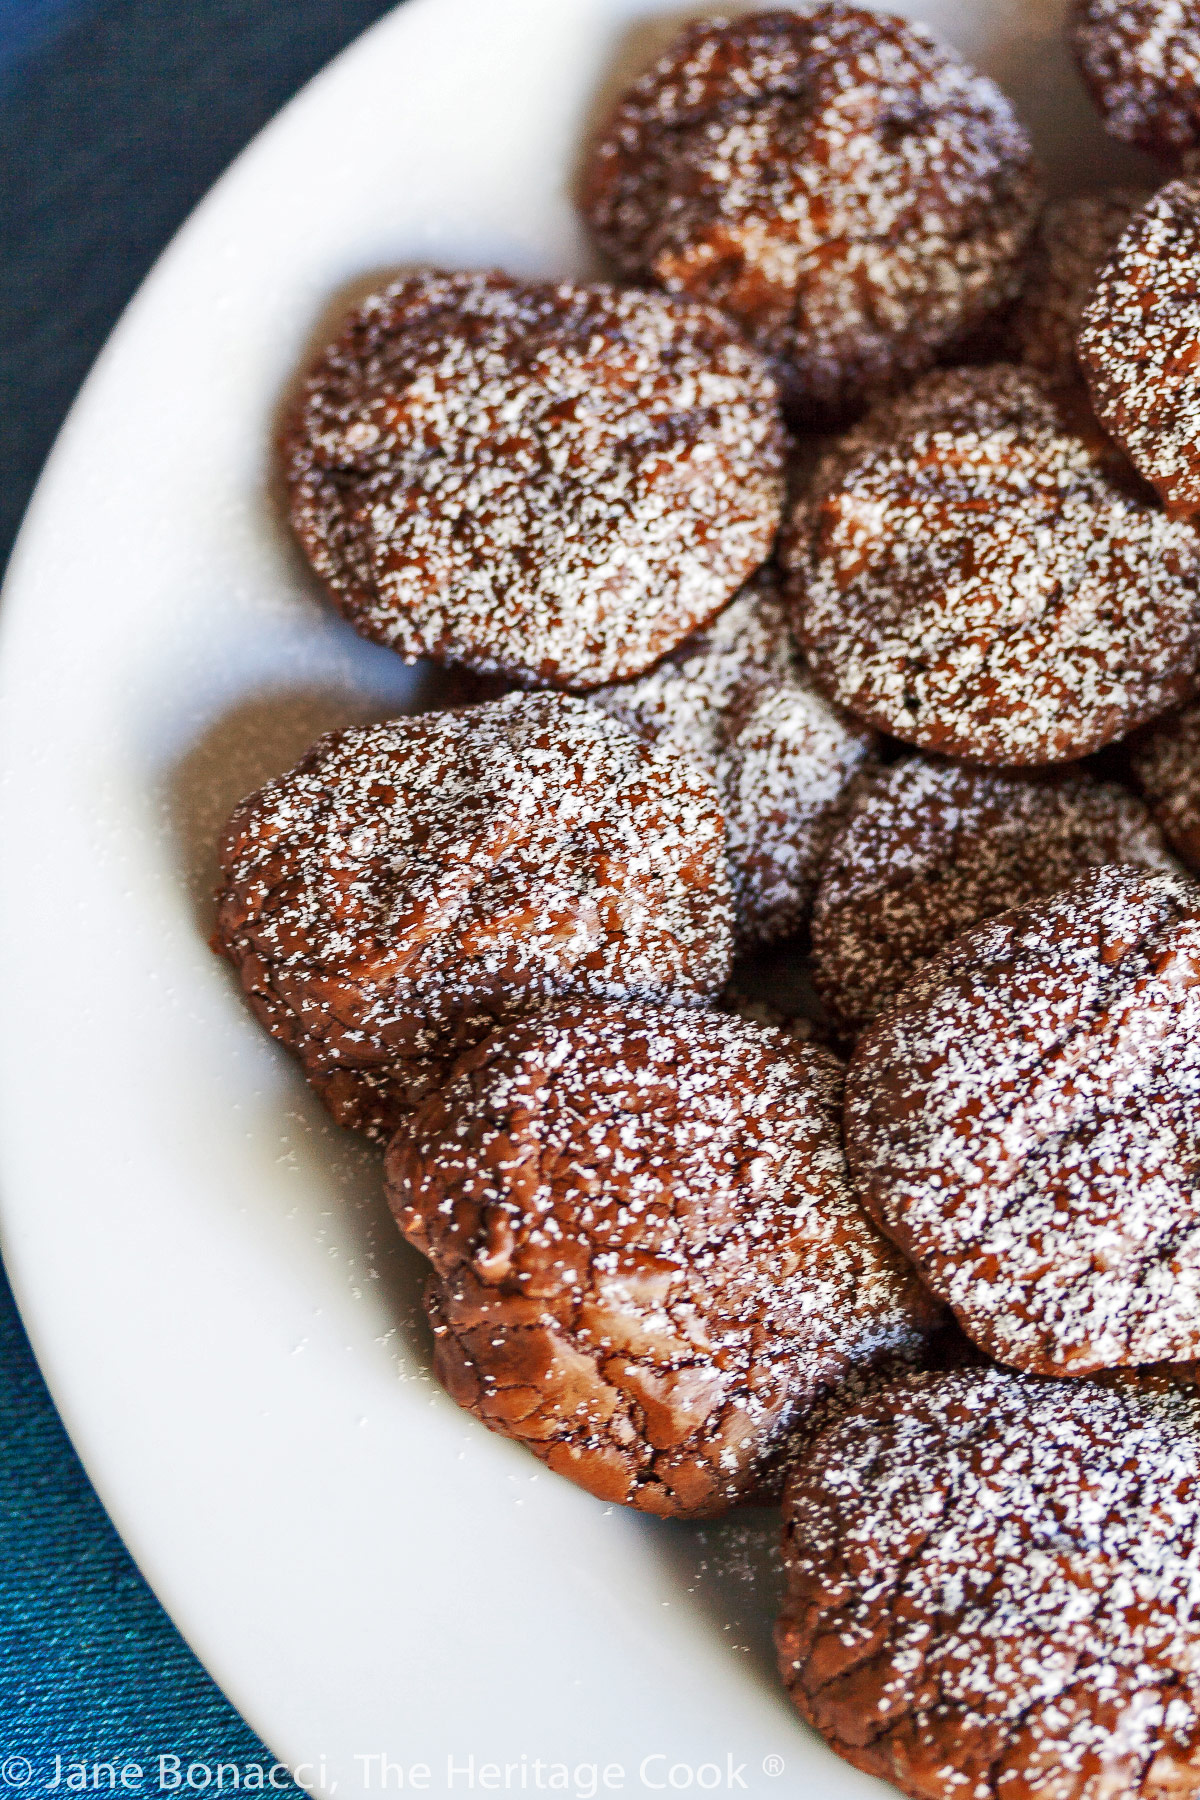
Hot from the oven!
Rich, full of intense chocolate and just enough sugar to take the edge off the bitterness, these are cookies that you will crave long after the last one has been eaten. As a matter of fact, they are so good that I recommend you just double the recipe because if you don’t you will wish you had!
These gluten-free cookies are fairly delicate. When you look at the recipe you may be surprised that there is only 1/4 cup of flour and 1/4 tsp of baking powder in the mix. In this case, beating the eggs until thick provides the majority of leavening for the dough. When making this dough, don’t take any shortcuts when beating the eggs. You’ll thank me later!
I strongly urge you to use a stand mixer to make these cookies so you can more easily whip the eggs. It takes a long time and your arm will get tired if you are using a hand mixer. The strength of stand mixers (I love my Kitchenaid) make this step easy and hands-off, leaving you time to assemble other ingredients and equipment while it does all the work!
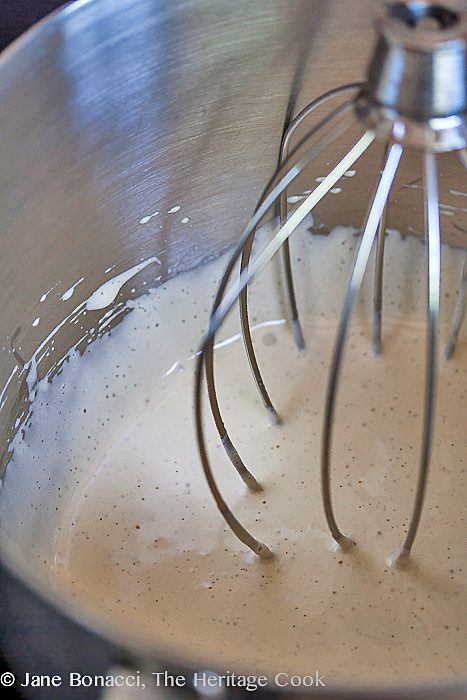
The eggs and sugar will expand dramatically as you beat them on high speed – look for this consistency and volume.
I was very pleased and impressed with the texture of these cookies. I used Authentic Foods Superfine Ground Brown Rice flour in my blend and there is absolutely no grittiness, so common with gluten-free baked goods. I swear by this flour and no one can tell that my baked goods are gluten-free. That, my friends, is the sign of a good flour!
Here is a little baking chemistry for you … most baking powder sold today is called Double-Acting. This means that part of the chemical reaction happens when you mix it with liquids, and then it activates again when you heat it. In the old days you had to mix everything together quickly and pop it in the oven before the baking powder stopped working. Isn’t technology great!
When using gluten-free flours, sometimes you need a little more oomph to get the lightness you are accustomed to in wheat pastries. For these cookie I added an extra 1/8 tsp and they came out light and tender, just the way I remembered them from the first time I made them.
Today’s recipe is from Claudia Fleming, Pastry Chef of Gramercy Tavern in New York City. Claudia is one of America’s finest Pastry Chefs and a celebrity in her own right. From her bio on StarChefs.com: “In 1991, Claudia was determined to hone her skills and she decided to go directly to the source and study pastry in Paris. After a stint at the prestigious Fauchon, Claudia returned to New York and a new career. Back in New York City, Claudia delved into pastry making at Montrachet, TriBeCa Grill and Luxe. In 1994 Danny Meyer and Tom Colicchio hired Claudia as pastry chef of their new restaurant, Gramercy Tavern – the perfect complement to their new team. Like the rest of Gramercy Tavern’s food, Claudia’s baking style relies on the use of seasonal ingredients. She favors creations that maintain the integrity of each ingredient, and is committed to intense flavor over architectural flights of fancy. Her minimalist sensibility, ironically, allows for maximum flavor.”
I highly recommend any of Claudia’s cookbooks. She develops beautiful recipes, writes them clearly and concisely, and the testing process is intensive. These are recipes that you will have success making every single time!
While The Artist and I are celebrating my birthday today, you get to enjoy these wonderful, decadent cookies! I hope you give these Chocolate Brownie Cookies a try and love them as much as we do. They are very hard to resist!
Did you enjoy this recipe? Let me know in the comments and leave a star rating, I love hearing from you!
Ingredients needed for Chocolate Brownie Cookies:
- AP Flour or gluten-free flour blend, baking powder, salt, eggs, sugar, espresso
- Vanilla, butter, bittersweet chocolate, unsweetened chocolate, chocolate chips
PRO Tip:
Before you ask, yes the 1/4 cup flour is correct – it is not a typo. Beating the eggs fully is key in this recipe. Eggs are magical! They provide volume and lift creating the airy texture that is absolutely addicting. When you first put the mixture in the bowl it will barely cover the bottom, but as the eggs expand during beating, it will grow until it fills about 1/3 of the bowl.
PRO Tip:
This is definitely the recipe to use your stand mixer. Beating the eggs takes quite a while and your arms will get very tired if using a hand mixer.
How to make Chocolate Brownie Cookies:
- Whisk together the flour, baking powder, and salt; set aside. Place the eggs in the bowl of your stand mixer and using the whisk attachment, lightly beat the eggs to combine. Add the sugar, espresso, and vanilla and whip on high speed for 15 minutes until thick. Do not skimp on the beating, you need the air in the eggs to aid in lifting the cookies.
- Meanwhile, place a bowl over a saucepan with about an inch of simmering water in the bottom. Place the butter in the bowl and top with the bittersweet and unsweetened chocolate pieces. Heat, stirring occasionally, until the butter and chocolates are melted. Remove from the heat and whisk until smooth.
- Gently fold the chocolate mixture into the beaten eggs until partially combined – there will be some streaks and that’s OK. Sprinkle the dry ingredients over the top of the egg/chocolate mixture and gently fold it in, being careful not to deflate the air in the eggs. Fold in the chocolate chips.
- Chill the dough until it thickens. Drop the dough by heaping teaspoons (NOT tablespoons!) onto parchment-lined baking sheets about 1-inch apart. Bake at 375°F for 8 to 10 minutes or until it has a crackly top. Remove from the oven and leave the cookies on the baking sheets for a couple of minutes to firm up before transferring to wire racks to cool completely. Repeat with remaining dough.
PRO Tip:
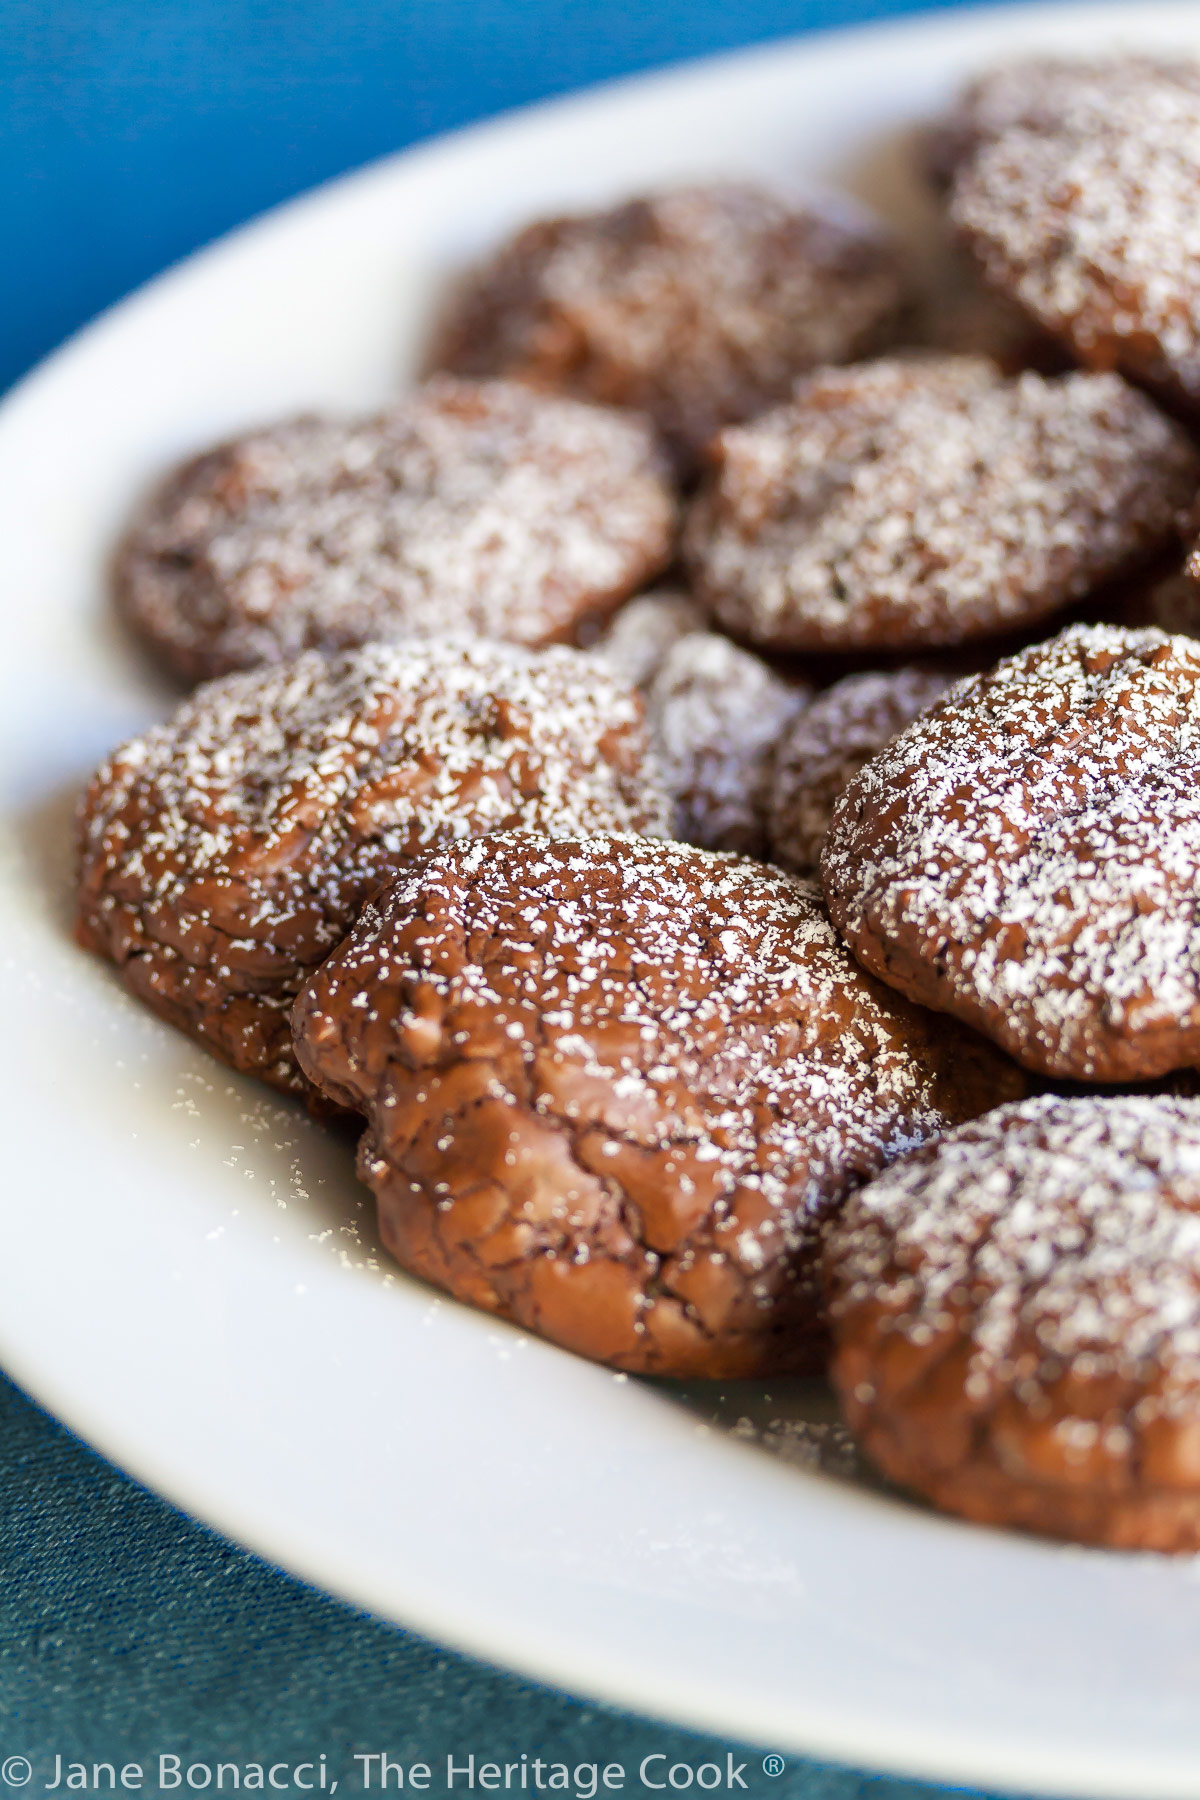
Despite the manufacturer’s best efforts, powdered sugar tends to clump. By pouring it into a wire strainer and then tapping the side of the strainer, the powdered sugar comes out in a perfect, even shower. No more clumps or piles of sugar!
Recommended Tools (affiliate links; no extra cost to you):
- Kitchen scale
- Baking sheets
- Parchment paper sheets
- Stand mixer
- Aluminum bowl
- Saucepan
- Cookie scoop
- Wire cooling rack
Gluten-Free Tips:
If you are making these with gluten-free flour, add an extra 1/8 tsp of baking powder to help boost the rise of the cookies. They won’t rise quite as tall due to the lack of gluten in the flour blend.
You can adjust any baking recipe to gluten-free by using 120 grams per cup of my favorite gluten-free flour blend. If you are using another brand of gluten-free flour, whisk the mix, spoon it lightly into a measuring cup until mounded, level off the top with the back of a knife, and weigh the flour left in the cup. Use that weight as your standard per cup of that specific flour. Do this for each flour blend you use. Commercial blends such as Pamela’s All-Purpose Artisan Blend, Bob’s Red Mill 1-to-1, or King Arthur Measure for Measure are all good choices.
All recommended ingredients are gluten-free as of the writing of this article. Always check to be sure the products haven’t changed and are still safe to consume.
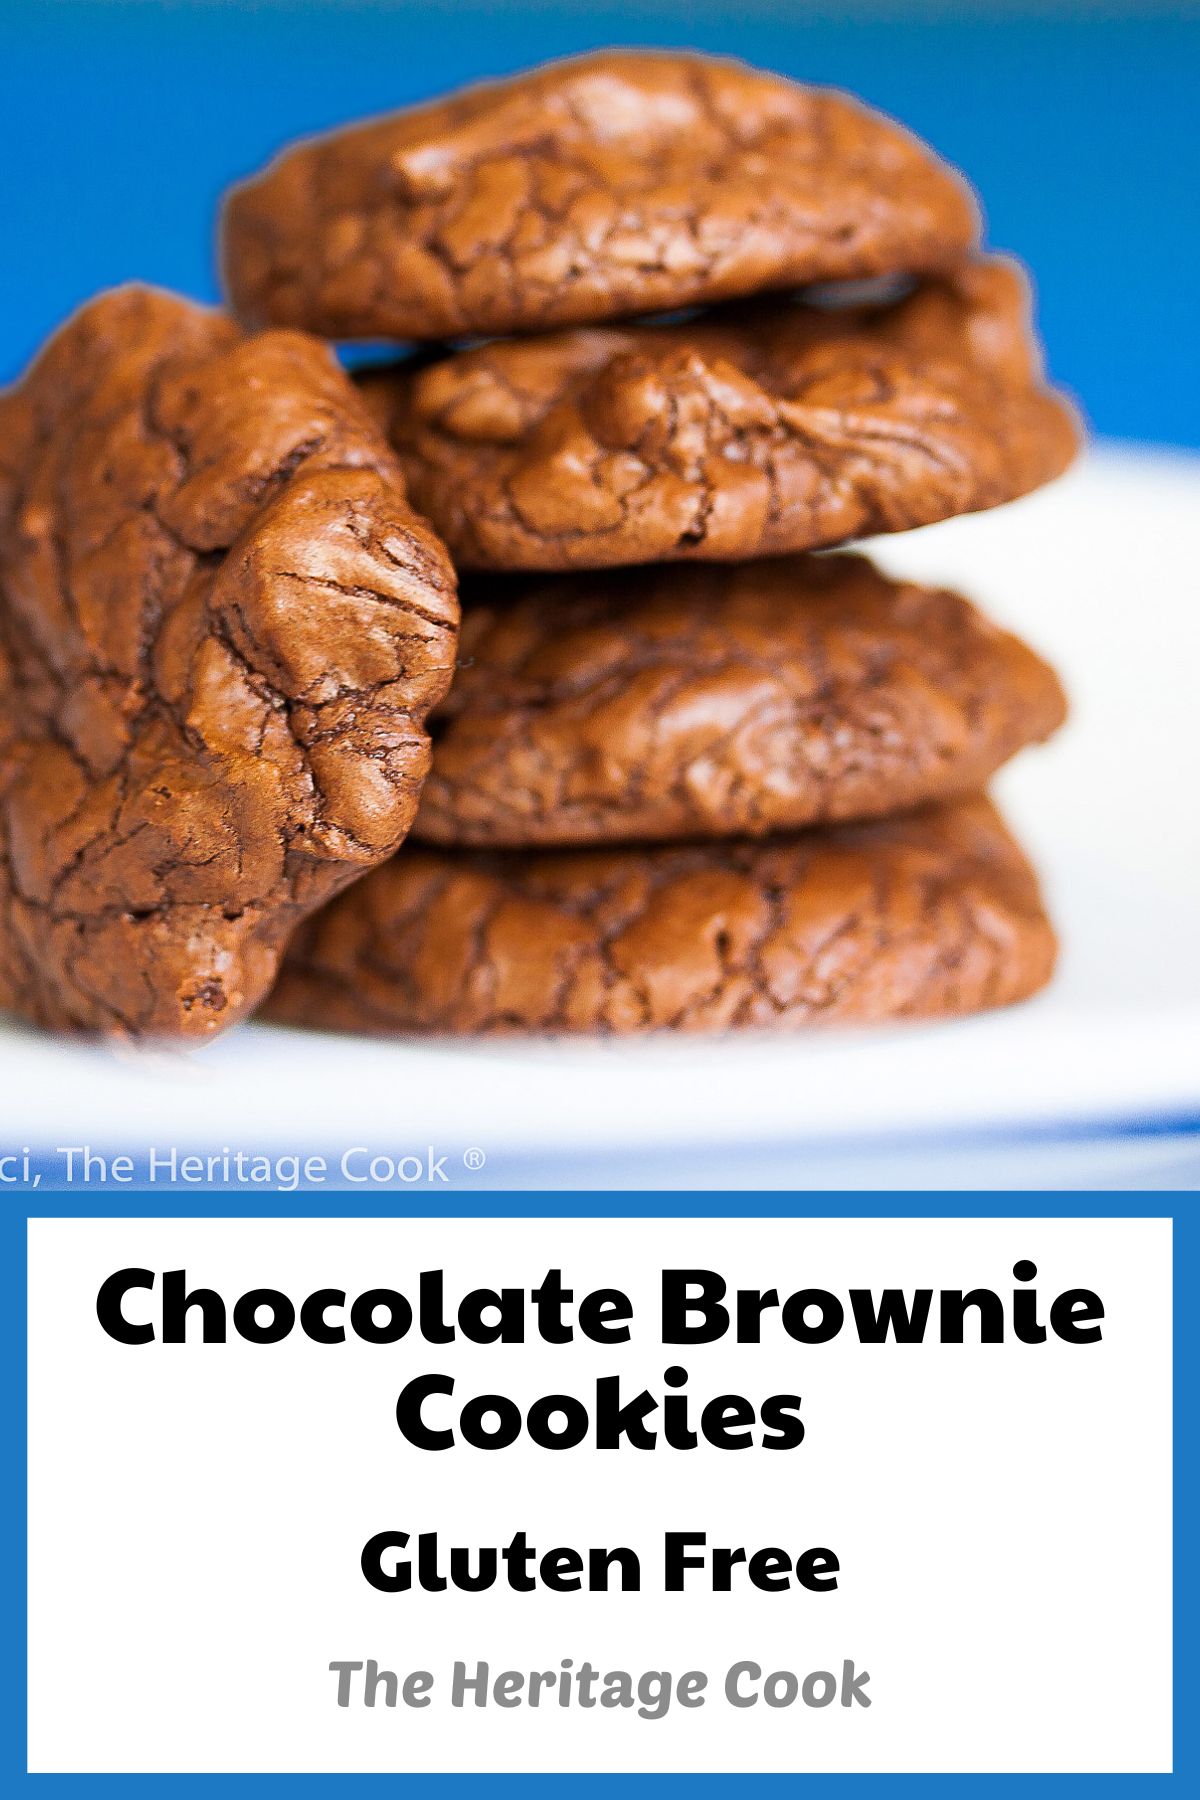
Chocolate Brownie Cookies (Gluten-Free)

Rich, full of intense chocolate and just enough sugar to take the edge off the bitterness, these are cookies that you will crave long after the last one has been eaten. As a matter of fact, they are so good that I recommend you just double the recipe because if you don’t, you will wish you had!
Ingredients
- 1/4 cup (30g) all-purpose flour or gluten-free all-purpose flour blend**
- 1/4 tsp baking powder (if baking gluten free, add 1/8 tsp more)
- 1/8 tsp kosher salt
- 2 large eggs (100g)
- 2/3 cup (132g) granulated sugar
- 1/2 tbsp brewed espresso or coffee
- 1 tsp vanilla extract or vanilla paste
- 2 tbsp (28g) unsalted butter
- 5 oz (142g) bittersweet chocolate (70% or higher), chopped
- 2 oz (57g) unsweetened chocolate, chopped
- 3/4 cup (133g) mini semisweet chocolate chips
Instructions
- Preheat oven to 375°F (191°C). Line 2 baking sheets with parchment paper.
- In a small bowl, whisk together the flour, baking powder, and salt. Set aside.
- In the bowl of an electric mixer with the whisk attachment, briefly whip the eggs to break them up. Add the sugar, espresso, and vanilla and whip on high speed for 15 minutes, until thick. (This will help add body to the batter because there is so little flour in the recipe.) If you are using a hand mixer, this could take as long as 30 minutes. Be prepared!
- While the eggs are whipping, place the butter in the top of a double boiler, or in a small metal bowl suspended over a pot of simmering (not boiling) water, and scatter the extra-bittersweet and unsweetened chocolate on top. Heat until the butter and chocolate melt. Remove the boiler top from over the water and stir the chocolate and butter until smooth.
- When the eggs are done, remove the bowl from the mixer. Gently fold the chocolate mixture into the egg mixture until partially combined (there should still be some streaks). Add the flour mixture to the batter and carefully fold it in. Try not to deflate all the air bubbles you worked so hard to build! Fold in the chocolate chips. If the batter is very runny, let it rest until it thickens slightly, about 5 minutes. Or you can chill it in the refrigerator until thickened. If it is a hot day, return the bowl to the refrigerator after portioning each pan of cookies.
- Drop the batter by heaping teaspoons* (about 7.4 cm3) onto the prepared baking sheets about 1-inch (2.5 cm) apart. They do not spread much but need room for the air to circulate around each cookie. Bake until puffed and cracked, 8 to 10 minutes, spinning the trays halfway through baking for the most even results. When done, the cookies will have lost their sheen and developed a crackly top. They should only give slightly when gently pressed with your finger.
- Transfer the baking sheet to a wire rack. Leave the cookies on the sheet about 2 minutes to finish baking and firm up before transferring them to another wire rack to cool fully.
*NOTE: Most of us use tablespoons to measure out cookie dough. This recipe calls for teaspoons, 1/3 the size of normal! If you want larger cookies or higher yield, double the recipe. By using a small scoop and only filling it about 1/2 full (about 1-1/2 tsp; 7.4 cm3), I got just under 4-dozen (48) cookies.
Recipe found at www.theheritagecook.com
Notes
If you are making these with gluten-free flour, add an extra 1/8 tsp of baking powder to help boost the rise of the cookies. They won’t rise quite as tall due to the lack of gluten in the flour blend.
**You can adjust any recipe to gluten-free by using 120 grams per cup of my favorite gluten-free flour blend. If you are using another brand of gluten-free flour, whisk the mix, spoon it lightly into a measuring cup without a spout until mounded, level off the top with the back of a knife, and weigh the flour left in the cup. Use that weight as your standard per cup of that specific flour. Do this for each flour blend you use. Commercial blends such as Pamela's, Bob's Red Mill 1-to-1, or King Arthur Measure for Measure are all good choices.
All recommended ingredients are gluten-free as of the writing of this article. Always check to be sure the products haven’t changed and are still safe to consume.
Nutrition Information:
Yield:
30Serving Size:
2Amount Per Serving: Calories: 30Total Fat: 2gSaturated Fat: 1gTrans Fat: 0gUnsaturated Fat: 1gCholesterol: 15mgSodium: 22mgCarbohydrates: 3gFiber: 0gSugar: 2gProtein: 1g
The nutritional information for recipes on this site is calculated by online tools and is merely an estimate.
If you enjoyed this recipe, be sure to follow me on social media so you never miss a post:
Create a New Tradition Today!
Welcome! The suggestions here are not intended as dietary advice or as a substitute for consulting a dietician, physician, or other medical professional. Please see the Disclaimers/Privacy Policy page for additional details. Unauthorized use, distribution, and/or duplication of proprietary material from The Heritage Cook without prior approval is prohibited. If you have any questions or would like permission, please contact me. We participate in the Amazon Services LLC Associates Program, an affiliate advertising program designed to provide a means for sites to earn advertising fees by advertising and linking to amazon.com. As an Amazon Associate, I earn a small amount from qualifying purchases without any additional cost to you. This page may contain affiliate links. This post was first shared in May 2014. The article was updated in 2023.


Susan Sweet
I must have done something wrong. I DID use Stevia instead of sugar but everything else was to the letter. I used a kitchen-Aid mixer with the whip attachment to beat the air into the egg mixture. It seemed just right I thought (like a loose meringue) when I folded the other ingredients in. The recipe says that the dough will be very runny. Mine wash’t at all runny. As a result the cookies didn’t look like the picture and no cracks formed. They were still tasty!
Jane Bonacci
Hi Susan,
I’m sorry they didn’t turn out the same as mine, but I’m glad they tasted good! Usually when you substitute stevia for sugar in a recipe, you use a lot less stevia. By using a much smaller amount of sweetener, it would definitely affect the batter. Unless you need to avoid cane sugar for health reasons, I would recommend using it for this recipe. Also, I live in Calif and we have virtually no humidity – the moisture in the air can affect baking results.
I took the eggs, sugar, espresso & vanilla to the ribbon stage, then folded in the dry ingredients. It was a moderately thick, but still quite soft (not liquidy). I chilled it for about 15 minutes and then scooped it out. You can see in the photos above the moisture content of the batter.
If you try these again, I hope they turn out better for you!
Katrina
Man, I want to make these. These might just have to be a cheat with my organic cane sugar that I from time to time call “unrefined”. 😉 Triple chocolate!
Jane Bonacci
Using unrefined sugar would make these a bit easier to justify – not that I have any trouble with that, LOL!
Christine from Cook the Story
There’s a whole lot of chocolate love going on in this recipe. LOVE it!
Jane Bonacci
Oh yeah Christine, that’s the way we roll here every Chocolate Monday! 😉