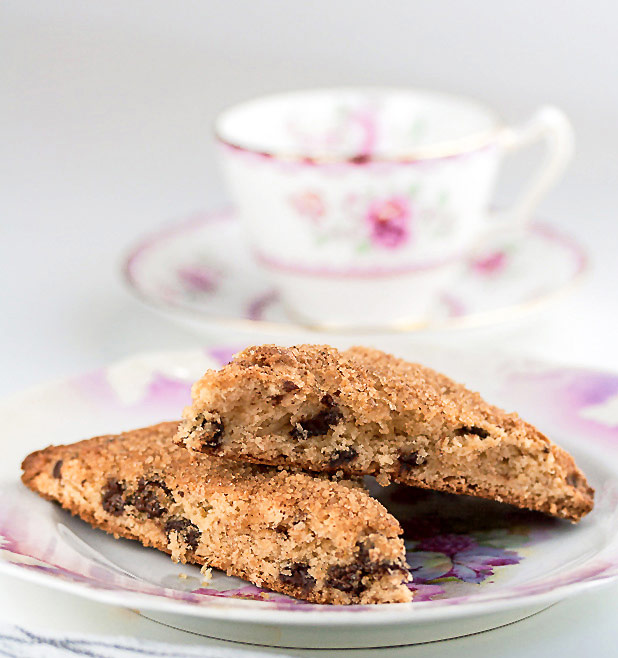
My mother loved throwing parties and entertaining her friends. She said everything tasted better when served in a beautiful glass or on an antique plate. You always knew that when you came over, the table would be set impeccably with beautiful china and crystal.
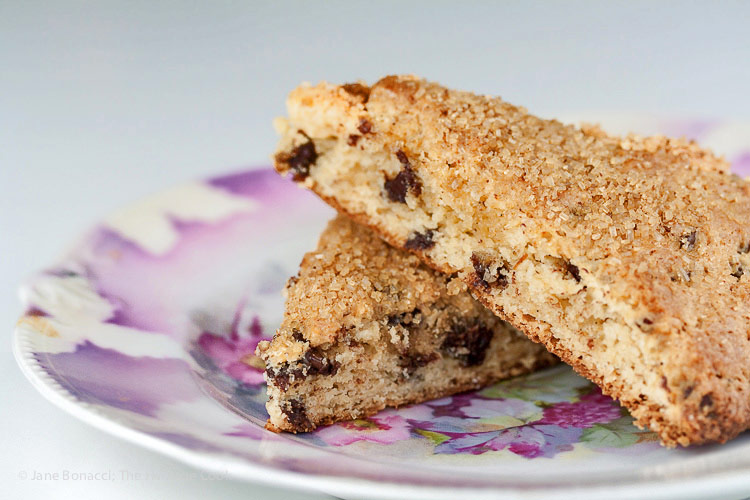
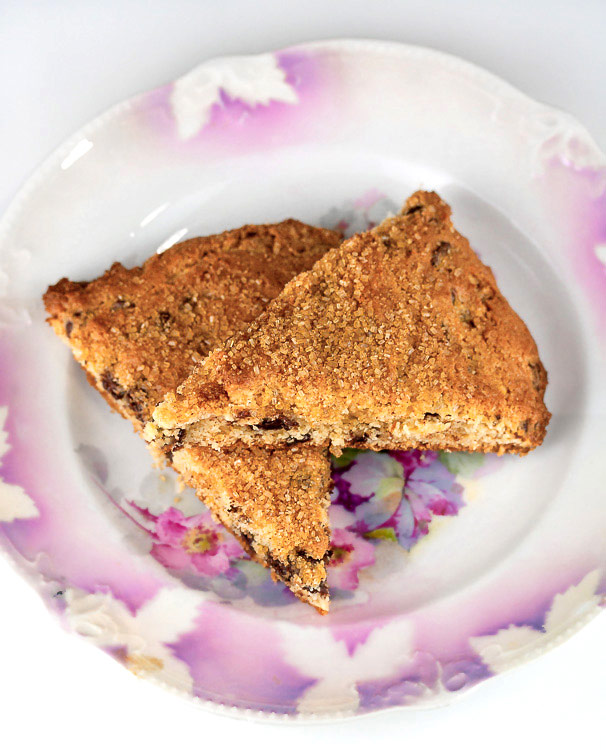
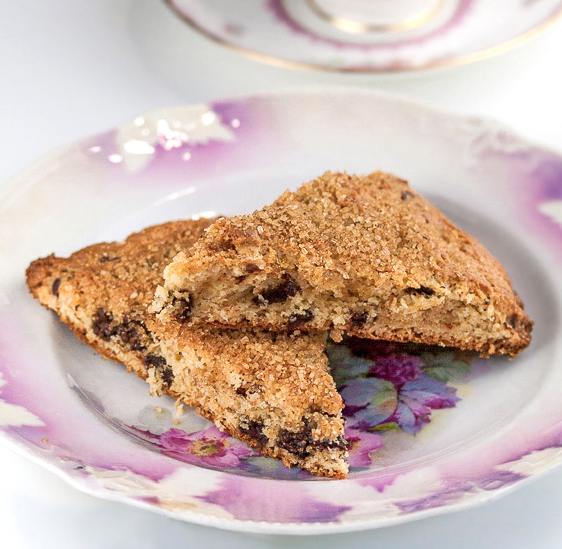
Today’s chocolate chip scones are served on one of mom’s favorite plates with a darling little teacup. I like to think that she would be proud of what I’ve accomplished since I founded this blog in 2010, it’s been a wild ride and a fun one!
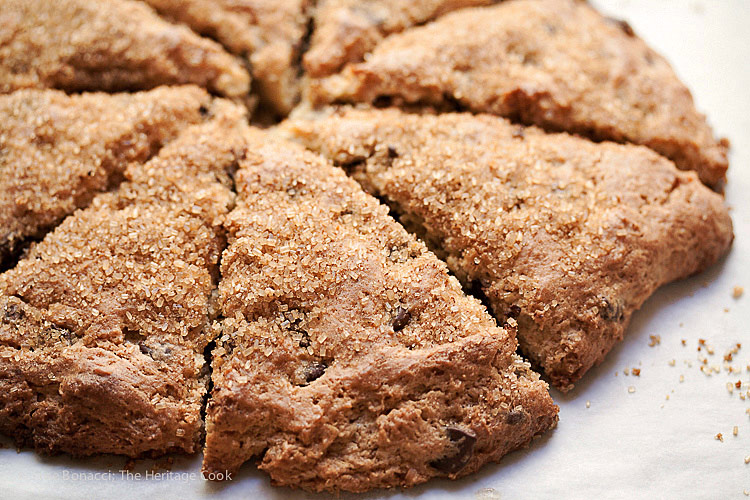
Hot from the oven!
If you are having guests over for coffee or have friends spending the weekend, these would be the perfect treat. You can have them ready in no time … the night before, combine the dry ingredients and cut in the butter. Then the following morning all you have to do is mix in the wet ingredients and bake. Your house will smell amazing as they bake!
Scones can seem scary, but all you need is the right formula and they will turn out every time. Using buttermilk in place of the ordinary heavy cream gives you the most tender results and the slight tang beautifully balances the sweetness.
Having the ingredients very cold keeps the butter from warming during mixing, helping form a delicate crumb in the baked scones. The coarse sugar on top adds a nice crunch and a punch of caramel flavor from the extra molasses.
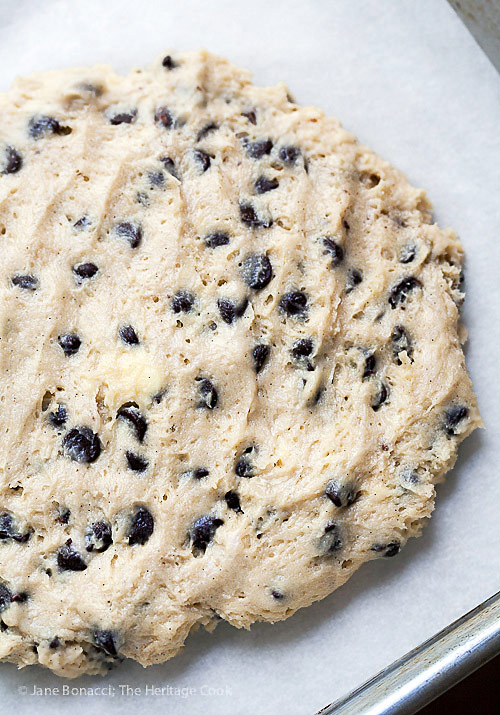
Don’t pat these too flat, they won’t rise much. Mine wound up thinner than I prefer, but were still delicious.
I hope you have an occasion to make these chocolate chip scones soon, or what the heck, make them just because it is Saturday! Have a wonderful week and Happy Chocolate Monday!
Gluten-Free Tips:
You can use any cup-for-cup style gluten-free flour blend in this recipe, but if you will be baking often, save money by making your own blend like this one. If you keep it on the counter, it will be ready for your spur of the moment baking urges! Also, use a kitchen scale to weigh your dry ingredients for the most consistent and tasty results.
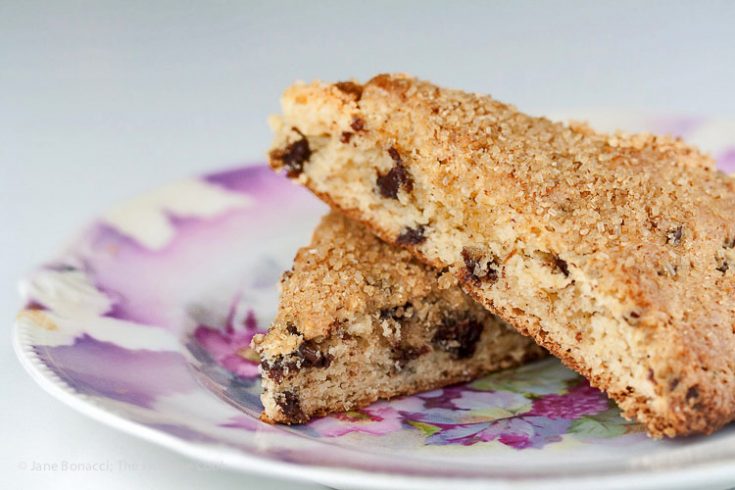
Chocolate Chip Scones (Gluten Free)
Ingredients
- 2 cups (240g) gluten-free flour blend or all-purpose flour
- 1/2 cup (100g) firmly packed brown sugar
- 1/4 cup (50g) granulated sugar
- 2-1/2 tsp baking powder
- 1/2 tsp kosher or fine sea salt
- 8 tbsp (1 stick) cold butter, cut into small pieces
- 1/4 cup cold half and half
- 1/4 cup cold buttermilk
- 1 large cold egg
- 1 tsp vanilla paste or pure vanilla extract
- 3/4 cup semisweet chocolate chips
- Coarse or raw sugar (such as Turbinado) for sprinkling on top
Instructions
Preheat oven to 400°F degrees. Line a baking sheet with parchment paper or a Silpat. Set aside.
In the bowl of your stand mixer, combine the flour, both sugars, baking powder, and salt. Using the paddle attachment beat on low until blended. Add the butter cubes and mix on low for about 2 minutes or until the butter has been cut into the dry ingredients, with some larger pieces still visible.
In a bowl, whisk the half and half, buttermilk, egg, and vanilla together. Add to the dry mixture and beat until mostly incorporated. Stop the mixer and scrape the bowl. Add the chocolate chips, and mix just until they are distributed. Take off the mixer and scrape the bowl again. If there are any dry ingredients still in the bottom of the bowl, mix and press into the dough with a flexible spatula.
If you are working with gluten-free flours, the dough will be more like a heavy cookie dough than what you may be used to. Scoop half of it out of the mixing bowl and drop on one end of the prepared sheet. Scoop the rest of the dough onto the other end.
Using damp hands, pat each section of the dough into a circle about 1-inch thick. Leave at least 2-inches between the two disks to allow for spreading. Use a sharp knife to score the disks into 8 triangles each. Sprinkle the tops with the coarse sugar.
Place the scones in the hot oven and bake for 10 minutes. Spin the tray so the side that was in the front is now facing the back of the oven. Bake another 10 minutes. Remove from the oven and cut along the scoring lines. Keep the triangles fairly close to each other and return to the oven and bake until the centers are cooked through, another 5 minutes or as needed.
Remove from the oven, slide the parchment with the scones on it onto a wire rack to cool.
Scones keep well at room temperature for 2 days tightly wrapped in plastic. For longer storage, wrap well twice in plastic and then in foil. Freeze up to 3 months.
Nutrition Information:
Yield:
16Serving Size:
1Amount Per Serving: Calories: 187Total Fat: 9gSaturated Fat: 6gTrans Fat: 0gUnsaturated Fat: 3gCholesterol: 28mgSodium: 286mgCarbohydrates: 26gFiber: 1gSugar: 19gProtein: 2g
Create a New Tradition Today!
Welcome! Unauthorized use, distribution, and/or duplication of proprietary material from The Heritage Cook without prior approval is prohibited. If you have any questions or would like permission, please contact me. The suggestions here are not intended as dietary advice or as a substitute for consulting a dietician, physician, or other medical professional. Please see the Disclaimers/Privacy Policy page for additional details. This page may contain affiliate links. Thanks for visiting The Heritage Cook!

