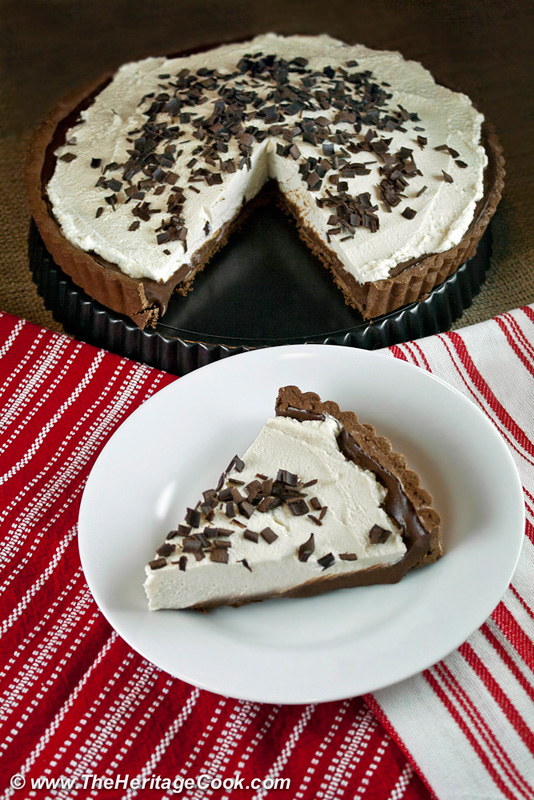
Starting with the crunchy chocolate crust, this tart is a chocoholic’s dream dessert. It is similar to a chocolate cream pie, but oh so much more decadent. Why is this called a tart and not a pie? The primary difference between pies and tarts is the type of crust. Pies usually are made with a flaky crust. A tart often has more of a cookie crust. Also pies remain in their baking dishes but with tarts you remove the outside ring and serve them on their round metal inserts. While I love them both, if you are looking for a beautiful presentation without needing to leave it in the baking pan, try this tart. You’ll be happy you did!
The color of your baking pans also makes a difference in how they perform in the oven. If your tart pan is shiny aluminum, it will reflect some of the heat and create a lighter crust. A dark surface will absorb more heat, resulting in a darker crust. When you are baking chocolate desserts in dark-colored pans, be extra careful to avoid burning.
The silky chocolate filling is flavored with Kahlua, but you can also use espresso giving it a flavor similar to original tiramisu recipes. Because there are no eggs in this filling, you don’t have to worry about cooking it. But it is made with cream so keeping it well chilled is essential to avoid spoilage. And it will melt quickly if left out of the refrigerator very long. Don’t let this dessert sit on a buffet table for hours – serve it fresh from the refrigerator for best results.
If it seems that there is a high percentage of alcohol in the filling and topping, don’t forget that flavors are somewhat suppressed when you serve any item chilled. If you don’t want to use alcohol, substitute an equal amount of brewed espresso or strong coffee. I keep espresso powder on hand to enhance the flavor of all my chocolate desserts.
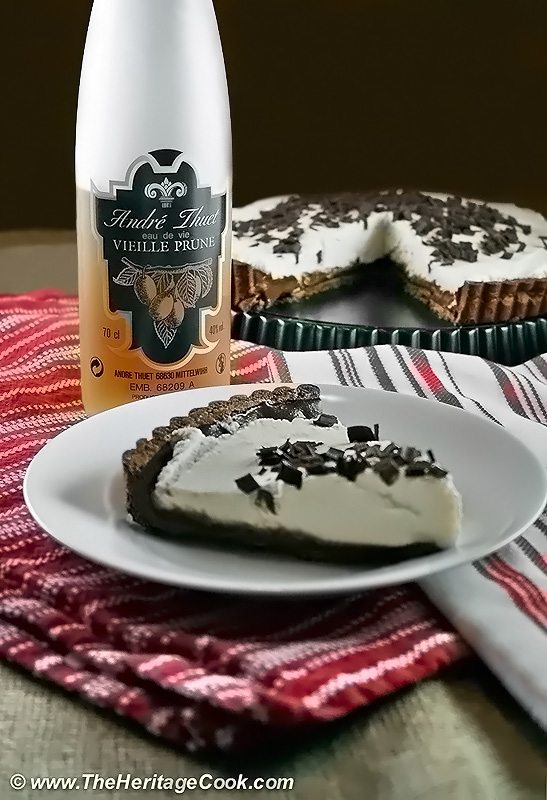
Today I used a very special treat brought to The Artist and me by our friend Tarek from France to flavor the tart filling. It is a plum-infused liqueur that is absolutely addicting. Thank you again Tarek, the “Andre Thuet Vieille Prune” made this an incredibly special dessert!! I told you I would figure out a recipe where this would be the perfect addition. 😉
You could simply top this tart with sweetened whipped cream, but the mascarpone adds a luxury that you don’t want to skip. The mascarpone adds extra butterfat that is unmistakable on your tongue. You may have heard the term “mouthfeel” in food and wine writing. It refers to the physical sensation that a food or drink creates in the mouth and on the tongue. If you made two tarts, one with the mascarpone and one with plain whipped cream, and took a bite of each, the difference would be astounding.
All the components of this dessert can be made ahead and stored separately overnight. Then an hour or two before serving, you can assemble the tart, helping to keep the crust as crunchy as possible. If you are transporting the dessert, do not top the filling with the mascarpone cream before traveling. Whip it up and place it in a plastic container. It is much easier to pack up the chilled tart on its own and then spread the topping over the filling when you arrive at your destination. And don’t forget to take your grated chocolate and curls for decorating!
When you are working with chocolate recipes, they will often contain a percentage listed next to the chocolate. Have you wondered what it meant? This is an indication of how much cocoa mass or chocolate liquor is contained in the chocolate. The higher the percentage, the darker the color, more intense the flavor and lower sugar content. If a chocolate has 70% cocoa mass, it will contain 30% sugar.
Unfortunately, a higher percentage number on the label does not guarantee a high quality chocolate. Some less reputable manufacturers will use lower quality beans, roasting them longer to mimic the deeper flavor of high quality beans. This results in a strong bitterness and sometimes a soapy flavor. Don’t waste your money on so called “deals” – always buy from a well respected chocolatier. Some of my favorites are Scharffen Berger, Guittard, Valrhona, Cocoa Berry and Callebaut.
Enjoy this outstanding dessert that is perfect for any special occasion. The chocoholics in your life will thank you!
Gluten-Free Tips:
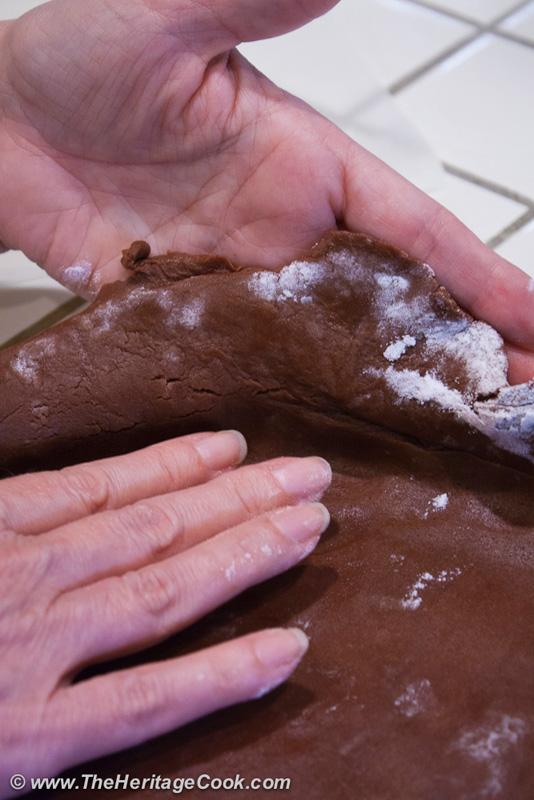
Gluten-free dough is easier to work with at room temperature. If you are using gluten-free flour, roll out dough between two sheets of lightly floured parchment paper until it is 1/2-inch larger than your tart pan. Set the pan next to your dough, remove the top piece of parchment and flip dough into tart pan. Gently fit into pan, pressing into the corners and edges. Fix any tears that happen by pressing a little of the extra dough as needed to patch. Brush off any excess flour with a dry pastry brush.
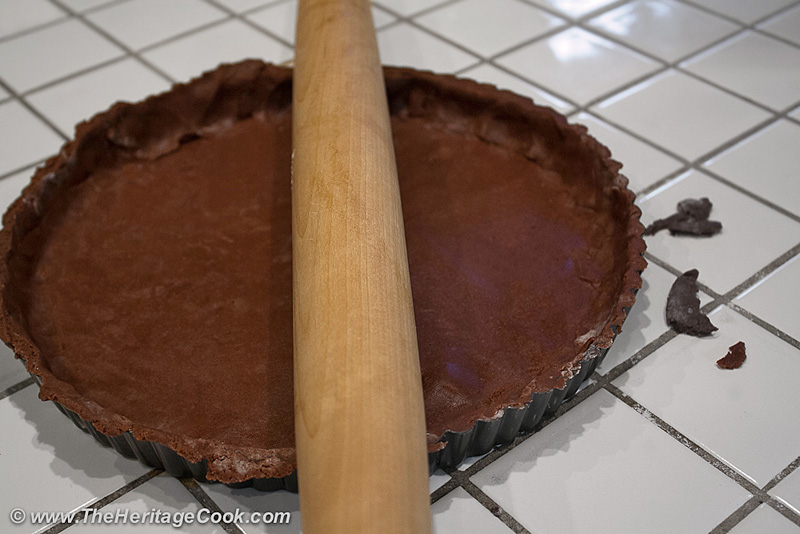
Use your rolling pin to cut off excess dough by rolling it over the edges. The excess dough will fall away from the pan. Wrap pan in plastic and then chill about 15 minutes. Once chilled, remove the plastic wrap, prick the bottom crust with a fork and bake as directed above. The remaining elements are naturally gluten-free.
This gluten-free crust is very crumbly but delicious. Letting it sit overnight with the filling in it will transfer some of the liquid to the crust and improve its texture. This makes it the perfect make-ahead dessert, equally good for hot summer evenings or busy days during the holidays!
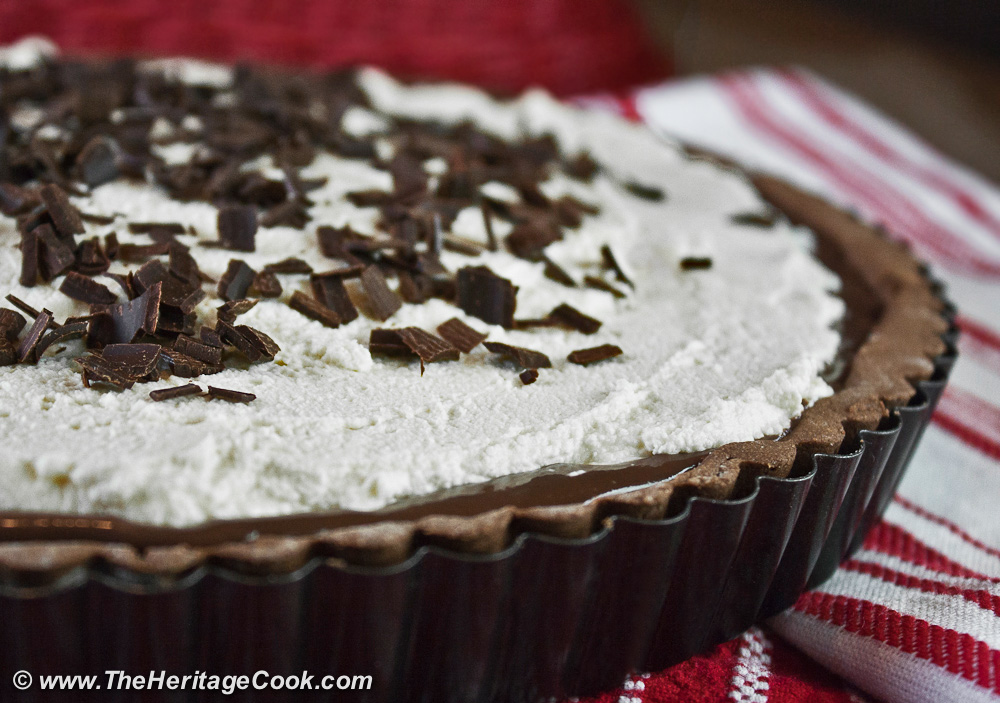

- Chocolate Tart Shell
- 1/2 cup (1 stick) butter, softened
- 1/2 cup confectioner’s sugar
- 3/4 tsp vanilla
- 2 large egg yolks
- 1-1/4 cups flour or gluten-free flour blend
- 1/4 cup cocoa powder, sifted
- Chocolate Cream Layer
- 1-1/4 cup whipping cream
- 1-1/4 cup finely chopped high quality semisweet chocolate (about 65%)
- 3 tbsp Kahlua or prepared espresso (you can use espresso powder & boiling water)
- Kahlua Mascarpone Cream
- 1 cup whipping cream
- 1-1/2 cups mascarpone cheese, at room temperature
- 3 tbsp confectioner’s sugar
- 3 tbsp Kahlua or prepared espresso (you can use espresso powder & boiling water)
- Garnish
- 5 oz high-quality semisweet chocolate, grated
- Chocolate Tart Shell: In your stand mixer, cream the butter and sugar together. Add the vanilla and the yolks, scraping down the bowl as needed. Add the flour and cocoa, mixing on low just to combine. Remove from the bowl and form the dough into a flattened round disk, wrap in plastic and chill for at least an hour before rolling. (If using the gluten-free flours, see Tips and Hints above.)
- Set a rack in the center of the oven and preheat to 350°F.
- Roll out dough and ease into an 11-inch diameter tart pan with a removable bottom. Press the dough into the edges of the pan and use the rolling pin to trim off excess from the top. Prick the bottom of the tart all over with a fork and bake for approximately 20 minutes, or until firm when pressed lightly in the center and starting to pull away from the sides of the pan. As with any chocolate baked goods, be careful not to overcook and burn the crust - trust your nose to know when it is done! Remove from the oven and set on a wire rack to cool.
- Chocolate Cream Layer: Place the chocolate in a medium heatproof bowl. Set aside. In a medium saucepan, heat the cream to boiling over medium-high heat. Pour over the chocolate in the bowl. Stir with a whisk until the chocolate is completely melted. Stir in the Kahlua or espresso. Set aside to cool a bit.
- Pour slowly into the cooled tart shell to avoid creating air bubbles and refrigerate until set and firm, at least 4 hours or overnight.
- Kahlua Mascarpone Cream: Using the whisk attachment on your standing mixer or whisking by hand, whip the cream to medium peaks. Transfer the whipped cream to a bowl and set aside.
- In the same bowl you used for whipping the cream, beat the mascarpone cheese just until smooth; do not over-beat. Reduce speed to low, beat in the sugar, and then the Kahlua. Take the bowl off the mixer and fold in half the whipped cream by hand to lighten the mascarpone mixture. Then add the rest of the whipped cream, folding it in until completely incorporated.
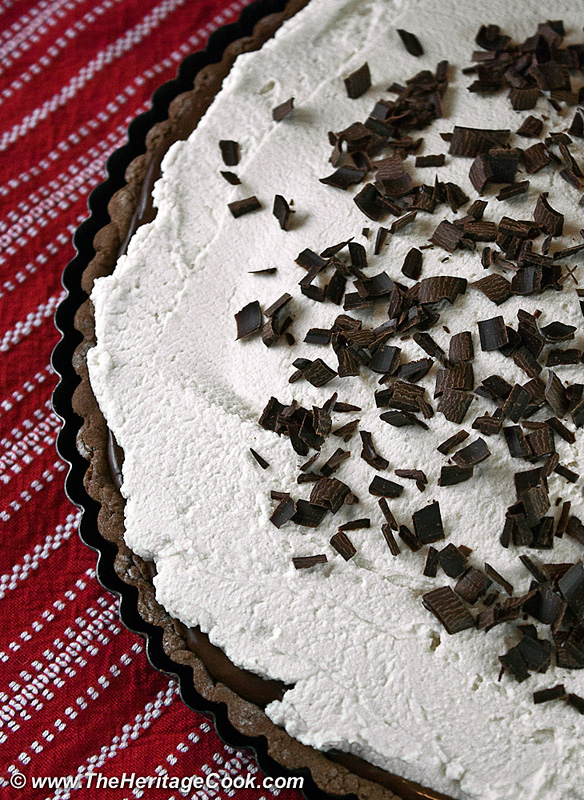
- Using an offset spatula, gently spread mascarpone cream on top of the chocolate layer in the tart shell, mounding it in the center. Sprinkle grated chocolate over the top. Keep covered and refrigerated until serving.
- Yield: 8 to 10 servings.
- Allow adequate time for chilling
- If you are transporting this dessert, make the whipped cream topping and store it separately from the tart. Once at your location, spread cream over the tart, garnish with chocolate shavings and curls, wrap in plastic and refrigerate again before serving. The chocolate shavings will help keep the plastic wrap from sticking to the cream topping. You can also use toothpicks to help suspend the plastic wrap above the topping.
Create a New Tradition Today!
Unauthorized use, distribution, and/or duplication of proprietary material from The Heritage Cook without prior approval is prohibited. This includes copying and reprinting content and photographs. If you have any questions or would like permission, I can be contacted via email at theheritagecook (at) comcast (dot) net. Feel free to quote me, just give credit where credit is due, link to the recipe, and please send people to my website, www.theheritagecook.com. Please see the Disclaimers page for additional details.
This site is not intended to provide medical advice. The suggestions here are not intended as dietary advice or as a substitute for consulting a dietician, physician, or other medical professional. It is the reader’s sole responsibility to determine which foods are appropriate and safe for their family to consume. Always consult your doctor. The author makes no claims regarding the presence of food allergens and disclaims all liability in connection with the use of this site.
Thank You!



Radhika Vasanth
Beautiful tart and I heart chocolate
Jane Bonacci
Thank you Radhika!! I heart chocolate too, LOL!
Kate McDermott
Oh Gosh! I’m not sure whether to bow down before you in gratitude or with tears. This looks sooooo good, Jane!
Jane Bonacci
Ah Kate, I am honored to have your approval. You are the Queen!! Save the tears and just dive in with joy!!