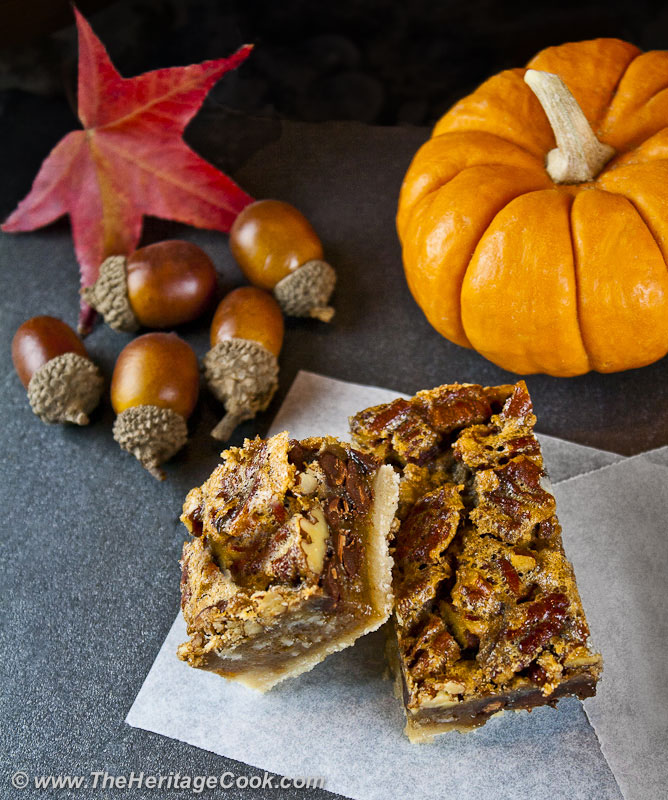
The perfect dessert to take to Thanksgiving dinner at your relative’s house
There are a lot of people that are uncomfortable with the thought of baking pies, especially for family holiday get-togethers. Plus, pies are hard to transport safely if you are going to someone else’s home for Thanksgiving dinner. If you are in this situation, I have a great solution for you!
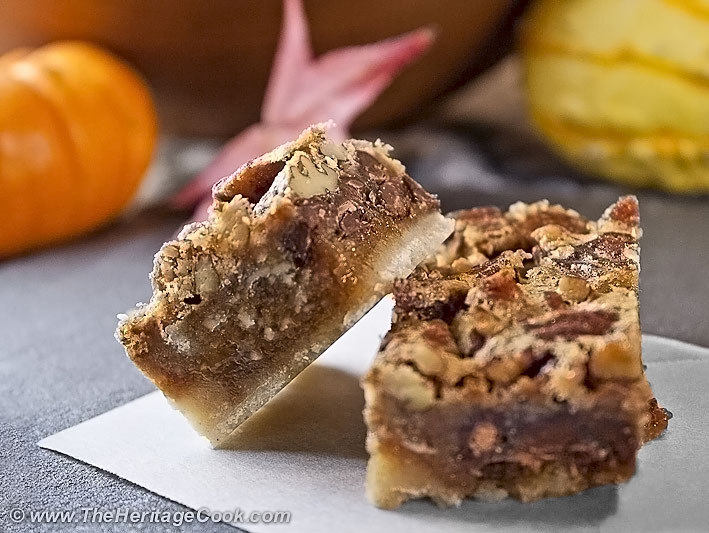
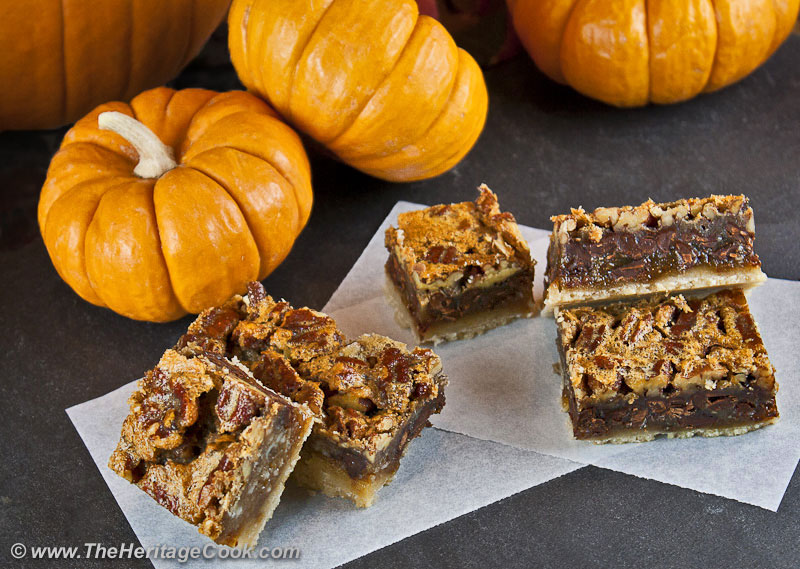
Today’s recipe is perfect for snacking any time of the year, but it is especially suited for Thanksgiving and Christmas. I grew up eating pecan pie every Thanksgiving and then took over the baking and made them each year for my family. This year, with my recent switch to gluten-free baking I haven’t had a chance to tackle GF pie crusts yet. So I set about to find a recipe that I knew I could make for Thursday’s dinner, that was easy to transport, and that would still be reminiscent of our favorite desserts. These bars are perfect and a snap to make!
I started with my favorite pecan pie filling recipe and combined it with a traditional bar cookie. Next time I think I will double the crust to make it a bit more substantial and use a slightly deeper baking dish. Using the parchment “sling” worked like a charm, but since this is such a sticky dessert, you might want to double it up and create an “X”. This will make it even easier to get out of the baking pan.
Refrigerating or freezing the bar after you take it out of the baking pan and before you try to slice it definitely will help you manage the softness and stickiness. I lifted the parchment out of the pan, set it on a baking sheet and set it in the freezer. It firmed up the butter, making it easier to work with. And just like any other creamy or sticky dessert that you are cutting, use a very sharp knife that you’ve run under hot water. Wipe clean between each cut with a wet towel and reheat under hot water, then dry and make the next cut.
An indispensible product that I always have on hand is pre-cut parchment sheets that fit into half baking sheets. They are perfect for baking cookies, making candies, lining pans to make clean up easier, etc. In combination with Silpats, I never have to grease pans anymore and can make the stickiest products without any problems. They come in a tube and I immediately unroll them and store them between two of my baking sheets. They are always available when I need them, perfectly flat and ready to go!
I would suggest you serve these on pieces of parchment paper and if you have any leftover, pack them into an airtight container using the parchment to keep each piece separated. Instead of using scissors to cut pieces, I use a metal ruler and hold it flat on top of the sheet of parchment. Then grab one corner and tear off a strip. You can very quickly make exactly the size and number you need.
I will tell you, no one will be able to tell they are gluten-free and those who haven’t been able to eat pie in years will grovel at your feet, thanking you for the special treat!
I hope you all enjoy this busy week of cooking and baking. Make a list of your to do’s, print it out along with your recipes and tape them on the cabinets in your kitchen. Do the bulk of your shopping today or tomorrow to avoid the long lines and crazy stressful last minute rush. Use an instant read thermometer to make sure the turkey is fully cooked and most importantly, relax and enjoy your friends and family!
Happy Chocolate Monday!
Jane’s Tips and Hints:
Trimming the edges off the square before slicing is exactly what the professional pastry chefs do and will give you beautiful clean edges on all sides! Besides, that gives you plenty of trimming to nibble on while you wait to serve dessert, LOL!
Gluten-Free Tips:
I really like the flavor and consistency of sorghum flour and it is quickly becoming one my favorite gluten-free flour alternative when blended with other flours. When figuring out which to use, I went to the conversion chart (under the Gluten-Free tab at the top of the page, on the Flour Power drop down) and found those flours that are 1:1 with all-purpose flour. Out of that list I looked for the flours that I already had in my cupboard and came up with the blend of sorghum and tapioca flour/starch.
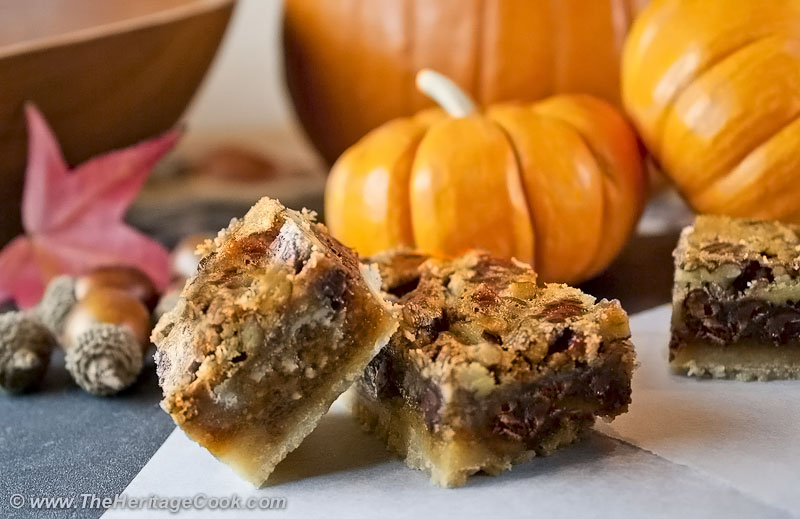

- Crust
- 1/2 cup (1 stick) butter, plus extra for buttering the pan
- 1 cup unbleached all-purpose flour OR
1/2 cup sorghum flour plus
1/2 cup tapioca starch
- 1/4 cup granulated sugar
- Pecan Pie Layer
- 1 cup pecan halves, coarsely chopped into 1/4 to 1/2-inch pieces
- 2 oz (1/2 stick) butter, melted and cooled slightly
- 3/4 cup firmly packed dark brown sugar
- 1-1/2 tbsp unbleached all-purpose flour OR
- 1-1/2 tbsp sorghum flour
- 3 large eggs, beaten
- 3/4 cup dark corn syrup
- 1/2 tbsp pure vanilla extract
- 6 oz semisweet chocolate, finely chopped
- Powdered sugar, for garnish
- Preheat oven to 325°F.
- Butter the bottom and sides of an 8 x 8-inch baking pan. Cut a piece of parchment wide enough to fit the bottom of the pan and long enough to hang over two sides to give you “handles”. Press into the pan and lightly butter. Set aside.
- Make the Crust: In a small saucepan over medium heat, melt 1 stick of the butter. In a mixing bowl combine the flour (or gluten-free flours) and sugar. Pour in the melted butter and whisk until it comes together into a paste-like mixture. Evenly pat into prepared pan, covering the bottom completely. Set aside.
- Make the Filling: Toast the pecans on a baking sheet until toasty smelling, about 5 to 10 minutes. Set them aside to cool to lukewarm.
- Melt the remaining butter in a small, heatproof bowl in the microwave; about 45 seconds on high. Set aside to cool slightly.
- In a large bowl combine the flour and brown sugar, whisking until evenly blended. Add the beaten eggs, corn syrup, and vanilla. Whisk until smooth. Pour in the melted and cooled butter, whisking again until smooth. Stir in the chocolate chips and pecans.
- Pour the filling over the crust and make sure the nuts and chocolate chips are evenly distributed.
- Bake the Bars. Place the pan into the preheated oven and bake for 50 to 60 minutes, or until the filling is firm but the center is still jiggly. Remove from the oven and set on a wire cooling rack. Cool to room temperature. Cover and refrigerate until firm for easiest cutting. You can also place it in the freezer for about 20 minutes.
- To Serve: Use a flexible metal spatula to loosen the sides, and then using the parchment paper “handles” lift the bar out of the pan. Place on a cutting board and using a very sharp knife, cut into 2x1-inch rectangles or 1-inch squares. For the neatest presentation, first trim a thin strip off each side and then cut into either rectangles or squares.
- Keep bars stored in the refrigerator, covered with plastic wrap, until just before serving. Transfer to a serving platter and dust with powdered sugar if desired before serving.
- Yield: 16 (2-inch) bars or 32 (1-inch) squares
The intention of the content on this site is for your inspiration and enjoyment. It is not a substitute for advice given by a licensed health-care professional. You are responsible for medically confirming any dietary restrictions and ingredient safety with product manufacturers before consuming or using any product. If you have dietary restrictions, always read the labels before including any ingredient in your cooking.
As an affiliate member, if you click on links in my posts and purchase a product, I may receive a small percentage of the sale. Any commissions received will be used to offset a portion of the costs of running The Heritage Cook. If I have received products for review or had travel expenses covered, I will disclose that in the content of each article where applicable.
Thank You!

