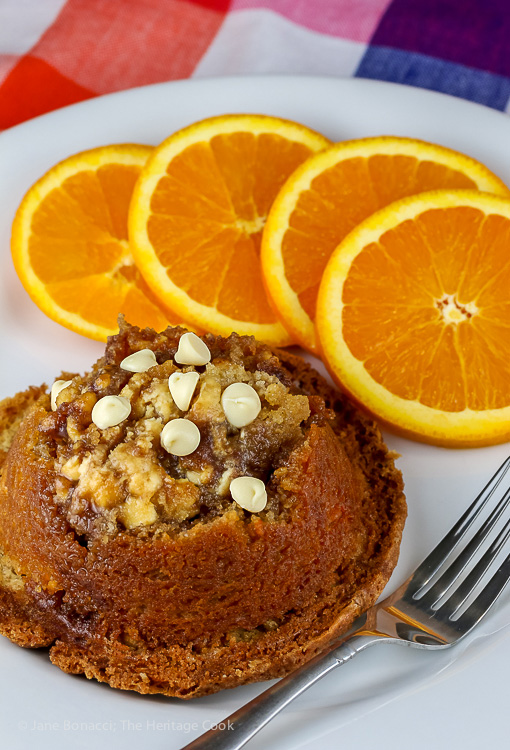
Coffee cake is one of my favorite breakfast and brunch treats, especially when I have guests spending the night. There is nothing better than waking up to the aroma of sweet cakes baking in the oven. The scents of cinnamon and ginger tickle the noses of everyone in the house and gently nudge them awake. Soon you have a happy crowd in the kitchen, sipping coffee and anxiously waiting for the coffee cake to be cool enough to eat. It’s the best way to start the day!
In a perfect world where we each have a private pastry chef in our kitchens, we could wake up to fresh cinnamon rolls, croissants, pastries, and breads every day. Unfortunately that isn’t the reality most of us live in. That’s where coffee cake comes in. Because it isn’t yeast risen, we can still have our sweet treats in a fraction of the time. God bless baking soda and baking powder!
One of the things about baking that I took for granted was using baking powder and/or baking soda (in old recipes you’ll often find it listed as just “soda”) in nearly every recipe. I always followed along without really thinking about it.
The secret of leavening is balance ~ too much of one or the other will wreak havoc and have you pulling your hair out. Never second guess a recipe unless you are sure you know what you are doing. The balance of the two is crucial for perfect leavening as well as flavor and browning. There is much more chemistry involved, but this is the basic understanding of how the two work in recipes. For more detailed information check out Sally’s Baking Addition and Fine Cooking. This is one chemistry experiment I normally leave to the experts.
Instead of baking the coffee cake in a regular pan, I decided to use jumbo muffin tins. This way we get individual coffee cakes, perfect for a breakfast on the run or to wrap for an afternoon snack.
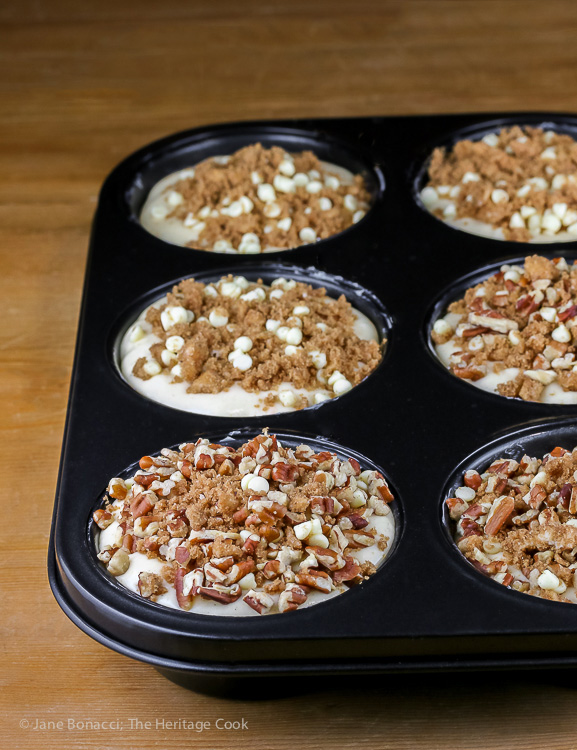
One of my favorite tricks is to put part of the streusel topping in the center of the cakes and the rest on top creating a soft, sweet, gooey surprise when you cut into your muffin. It’s always fun to have sweetness running through every bite.
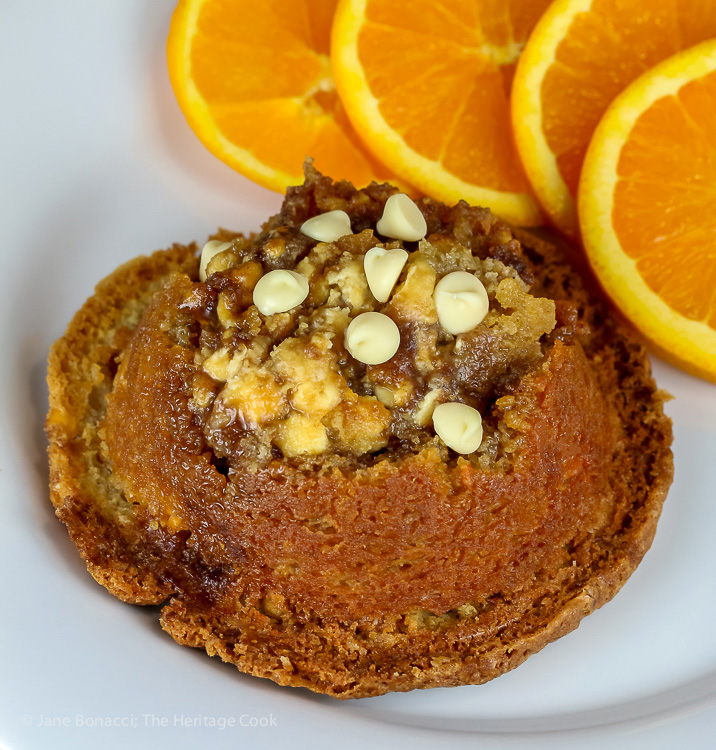
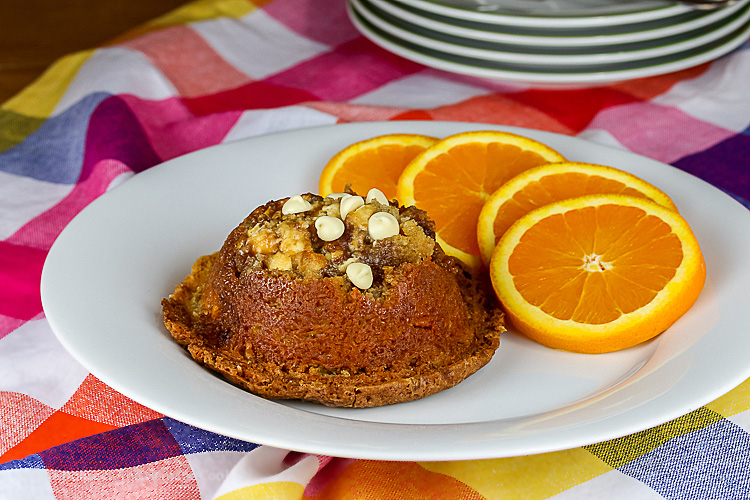
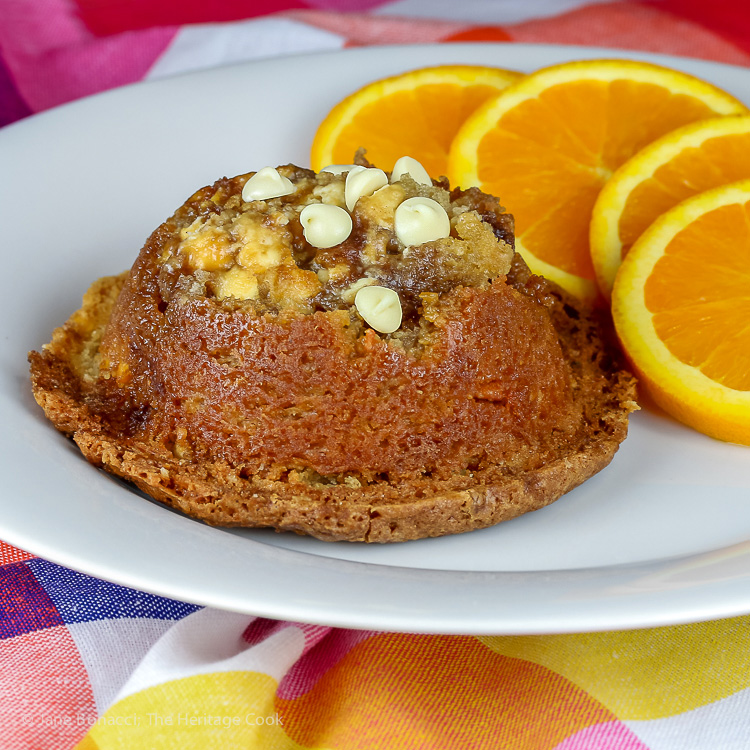
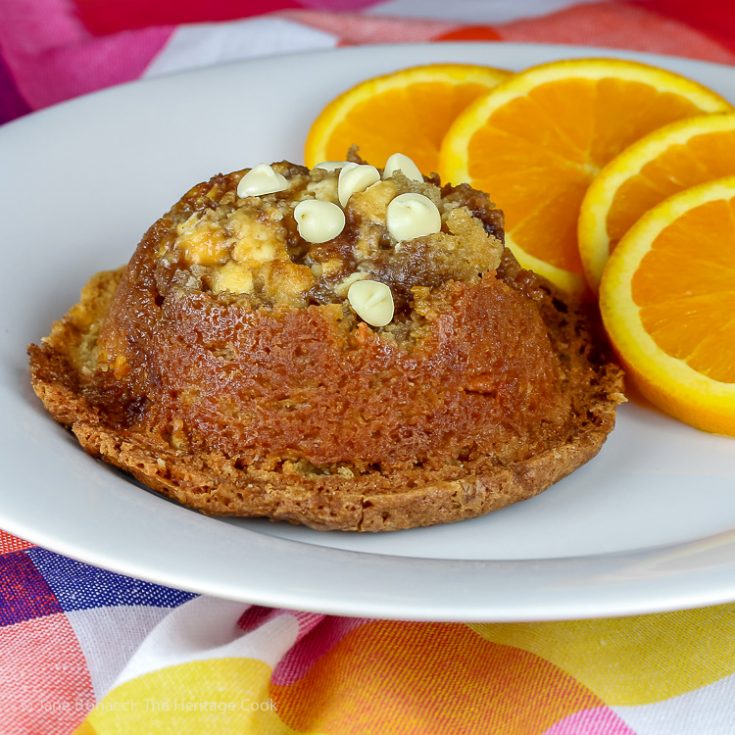
I made the mistake of trying to fit all the batter in just 6 jumbo muffin cups despite my better judgment and the voice of experience whispering in my ear. Consequently, it took them much longer to cook through and they didn’t turn out pretty like I would have liked, but they are still delicious. Be smarter than me and spread this out over 8 to 9 jumbo muffin cups.
Give these coffee cake muffins a try or bake them in a 9×13-inch pan for a cake version. I know you will love them and your family will beg you to make them again, just like The Artist does in our home. They are perfect for Easter and Mother’s Day!
Happy Chocolate Monday!
Jane’s Tips and Hints:
It is always smart to scrape the bowl and beater blade(s) several times whenever you are making doughs and batters in your stand mixer. But especially when you are adding grated zest. Even after scraping the beater and bowl four times during mixing, I still found clumps of zest when I did the final scraping before scooping the batter into the tins. Use a rubber spatula and mix any unincorporated ingredients into the batter before portioning it out.
Gluten-Free Tips:
Use your favorite gluten-free flour blend and if it doesn’t have xanthan gum in it, add 1/4 tsp xanthan or 1/2 tsp psyllium husk powder to the dry ingredients.
Coffee Cake Muffins (Gluten Free)
Ingredients
Streusel
- 3/4 cup brown sugar, firmly packed
- 1 tsp ground cinnamon
- 1/2 tsp kosher or fine sea salt
- 3 tbsp cold butter, cut into small pieces
- 3 tbsp oats (gluten-free if needed)
- 3/4 cup chopped pecans
- 1/2 cup white chocolate chips, optional
Coffee Cake Muffins
- 3/4 stick (6 tbsp) butter, softened
- 1-1/4 cups granulated sugar
- 3 large eggs
- 2 tsp finely grated orange zest (about 1 orange)
- 2-1/4 cups all-purpose flour, sifted or gluten-free flour blend, if needed
- 1/4 tsp xanthan gum - only if using gluten-free flour & blend doesn't contain it or guar gum
- 1 tsp baking powder
- 3/4 tsp baking soda
- 1/2 tsp kosher or fine sea salt
- 1/2 tsp ground cardamom
- 1 cup sour cream
- 1 cup white chocolate chips plus extra for tops if desired
Instructions
- With a rack in the center, preheat the oven to 350°F. Butter the nonstick jumbo muffin tins very well. Yes, butter them even if they are nonstick pans!
- Make the Streusel: In a bowl, stir the brown sugar, cinnamon, and salt together. Use a fork to cut the butter into the mixture until there are smallish chunks and the rest is sandy. Add the oats, chopped nuts, and white chocolate; stir until the mixture is blended and all ingredients are evenly distributed. Set aside.
- Prepare the Batter: Place the butter in the bowl of your stand mixer. Beat until smooth. Add the sugar and beat until fully incorporated. Add the eggs, one at a time, and the zest. Scrape the bowl and beater(s). Increase the speed to medium and beat another minute to be sure there are no clumps of butter left. Scrape the bowl and beater again.
- In a bowl, whisk together the flour, baking powder, baking soda, salt, and cardamom. To the butter/sugar mixture, add the flour mixture, 1/3 at a time, alternating with the sour cream and ending with the flour, mixing on low speed. Beat until fully blended between each addition. When all the ingredients have been added, increase the speed to medium to lighten the batter, beating another 30 seconds, then add the white chocolate chips and mix just until they are evenly distributed.
- Bake the Muffins: Fill each muffin cup about 1/3 full. Sprinkle some of the streusel over the top one. Add another dollop of batter to the muffin tins, filling each one no more than 2/3 full, spreading the batter to cover the center streusel layer. Sprinkle the remaining streusel over the tops.
- Bake until risen, the tops are golden brown, and a toothpick inserted in the center comes out clean, about 25 to 35 minutes. (Mine took longer because I overfilled my tins.) Remove from the oven and if the batter has spread over the top of the pan, separate each one from another to make it easier to remove them.
- Let rest in the pan 10 to 15 minutes. Slide a very thin metal offset spatula under the edges to loosen them. They should come right out of the pan, but you can give them a nudge with the spatula if needed. Place them on a wire rack. Scoop any sticky topping from the bottom of the tins onto the tops of the muffins. Sprinkle a few extra white chocolate chips on the tops if you want before serving.*
- * If you used gluten-free flour, let them cool completely before serving because they are very delicate. Regular flour muffins can be eaten warm.
Nutrition Information:
Yield:
9Serving Size:
1Amount Per Serving: Calories: 779Total Fat: 34gSaturated Fat: 16gTrans Fat: 1gUnsaturated Fat: 15gCholesterol: 113mgSodium: 830mgCarbohydrates: 109gFiber: 3gSugar: 61gProtein: 12g
Create a New Tradition Today!
Welcome! Unauthorized use, distribution, and/or duplication of proprietary material from The Heritage Cook without prior approval is prohibited. If you have any questions or would like permission, please contact me. The suggestions here are not intended as dietary advice or as a substitute for consulting a dietician, physician, or other medical professional. Please see the Disclaimers/Privacy Policy page for additional details. This page may contain affiliate links. Thanks for visiting The Heritage Cook!

