When I was young I was thrilled when my mom would occasionally buy us a big blue tin of butter cookies to enjoy. I loved the texture and flavor as well as how pretty they were. Today’s Danish Butter Cookies with White Chocolate remind me of those special treats, but are even better!
Danish Butter Cookies are similar to shortbread, but shortbread is more crumbly. Danish butter cookies have more flour and slightly less butter making them not quite as rich in flavor but just as captivating.

Cookie dough freshly piped and ready for baking
I strongly urge you to use European-style butter; my personal favorite is Kerrygold brand. European butters have a higher butter fat ratio and less water. They are much more rich in flavor and it translates so beautifully in these cookies.
When butter is a primary ingredient, it benefits you to use the best you can afford. The lower moisture content in the European-style butters does slightly change the chemistry of baking.

If possible use a scale to weigh your ingredients, especially the dry items. If you are baking gluten-free, it is even more important because the starches and flours in the GF blends tend to separate as they sit. Weighing them helps you get the correct balance and ratio.
The dough is very heavy and hard to pipe. I had my husband help me with the piping because it takes strong hands. Use a 1M tip for the crispest ridges and it will be easier to pipe with a more open tip. I used a 2D tip and they are less distinct than I would like but still absolutely delicious!

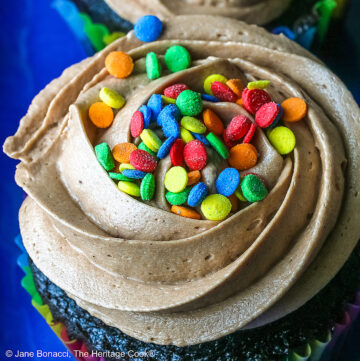
This time I used Easter colors and sprinkles on the white chocolate glaze to celebrate the spring season. Aren’t they fun and festive!
I got them from Sweetapolita** where they have something for just about any occasion you can think of. I have a bunch for holidays and love how bright and fun they make everything you put them on!

Note: The Sweetapolita products offer hundreds of gluten-free options. If you are highly reactive or have Celiac Disease and have any questions or concerns, contact the manufacturer.
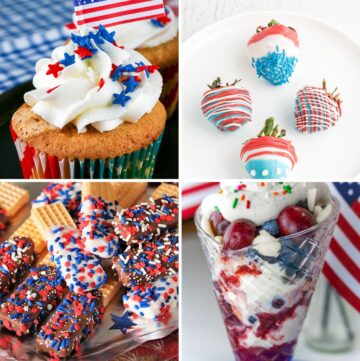
You can change these sprinkles or any of your favorites out to suit any holiday all year long! I think they would be fun with red, white, and blue for patriotic holidays, red and green for Christmas, orange and black for Halloween, etc. for example.
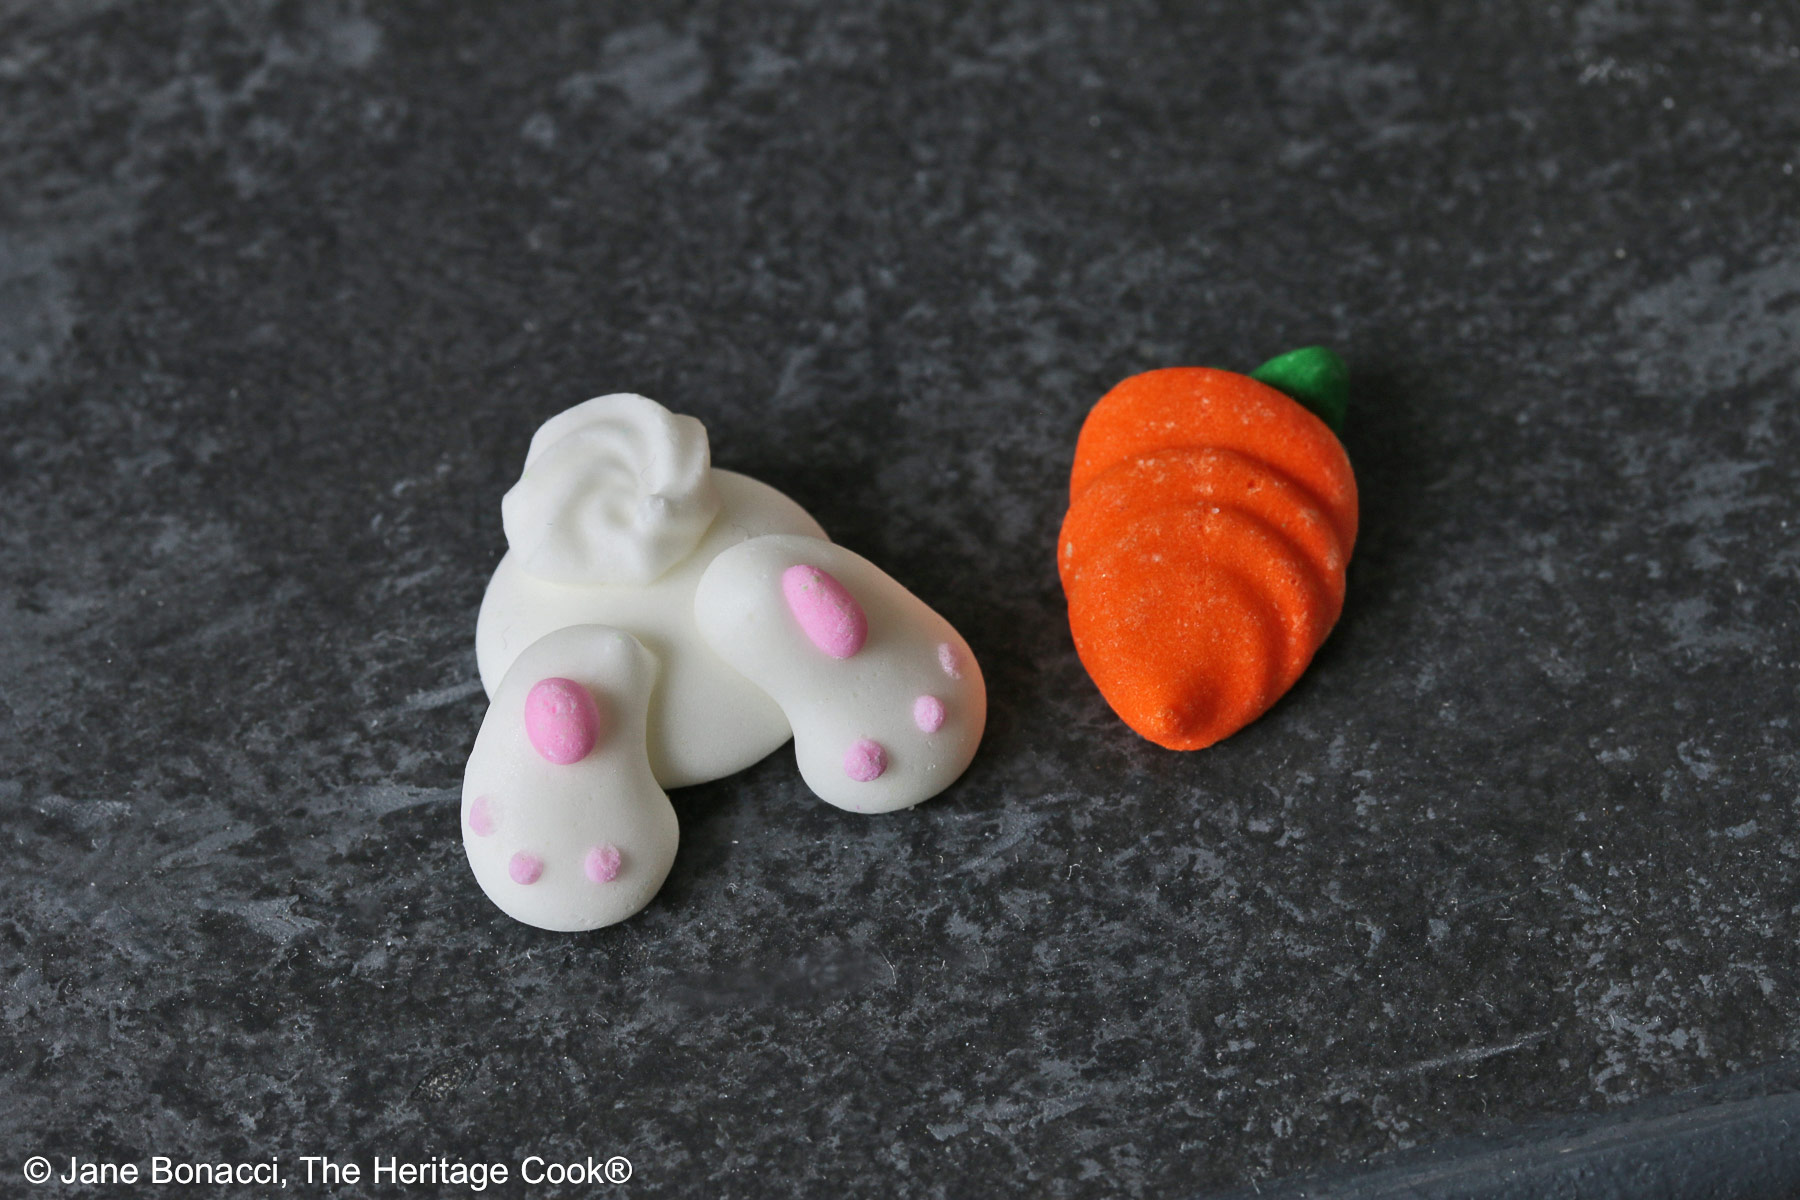
Fun candy decorations, a bunny butt and a carrot
If you prefer, you can use a dark chocolate glaze instead of the white chocolate. A simple chocolate ganache (melted chocolate and cream) would be terrific on these cookies!
I hope you give these Danish Butter Cookies with White Chocolate Glaze a try and make them for an upcoming dinner party, baby shower, or family supper … I know they will be very popular. I am really enjoying ours!

If you try this recipe, let me know! Please leave a star rating in the recipe card, comment below, and don’t forget to snap a pic and tag it @theheritagecook on Instagram! Seeing your creations makes my day and I love hearing from you!
Ingredients needed for Danish Butter Cookies with White Chocolate Glaze:
- Cookies: European-style butter, sugar, salt, vanilla, egg, GF flour blend
- Toppings: Turbinado sugar and/or white or dark chocolate, sprinkles, optional
PRO Tip:
This is one recipe where it is worth spending more money to buy European-style butter because it is so prominent. The flavor difference is remarkable and you’ll be glad you splurged for these cookies.
How to make Danish Butter Cookies with White Chocolate Glaze:
- Make the Cookies: Beat together the butter, sugar, and salt until light and fluffy. Add the vanilla and egg, mixing until combined. Scrape the bowl.
- Gradually add in the flour, mixing until just incorporated after each addition – do not over mix.
- Scoop the dough into a piping bag fitted with an open star piping tip like a 1M. Pipe the dough onto a parchment-lined baking sheet into about 2-inch diameter (3cm) flat’ish circles about an inch apart. Each one will resemble a rose.
- Alternately if you don’t want to pipe them, you can use a cookie scoop to form balls then flatten slightly with the bottom of a damp glass. Sprinkle with Turbinado sugar if desired.
- Bake 12 to 15 minutes until edges are light golden brown. Transfer to a wire rack to cool.
- To Garnish: Melt white chocolate with cream in the microwave, stirring often until smooth and fully melted. Dip half the top of each cookie and immediately sprinkle with your choice of edible decorations before the glaze hardens. Leave on a parchment-lined pan to cool. Cool completely before storing in an airtight container.
PRO Tip:
Change up the decorations to fit any holiday or celebration all year long. Anything goes!
PRO Tip:
If you prefer, you can use a dark chocolate glaze instead. A simple chocolate ganache (melted chocolate and cream) would be terrific on these cookies!
Recommended Tools (affiliate links; no extra cost to you):
- Kitchen scale
- Baking sheet pans
- Parchment paper
- Stand mixer or hand mixer
- Piping bags
- Jumbo piping tips
- Cookie scoop
Gluten-Free Tips:
* You can adjust any baking recipe to gluten-free by using 120 grams per cup of my favorite gluten-free flour blend. If you are using another brand of flour or regular flour, whisk it, spoon it lightly into a measuring cup until mounded, level off the top with a knife, and weigh the flour left in the cup. Use that weight as your standard per cup of that specific flour. Do this for each flour blend you use. Commercial gluten-free blends such as Pamela’s All-Purpose Artisan Blend, Bob’s Red Mill 1-to-1, or King Arthur Measure for Measure are all good choices.
** The Sweetapolita products offer hundreds of gluten-free options. If you are highly reactive or have Celiac Disease and have any questions or concerns, contact the manufacturer.
You will get the best and most consistent results by using a digital kitchen scale and weighing your ingredients, especially when you are baking. And use grams, they are much more accurate than pounds and ounces.
Always check to be sure the products are safe to consume.
Danish Butter Cookies with White Chocolate Glaze (GF)

Today's Danish Butter Cookies with White Chocolate remind me of those cookies in the big blue tins, but are even better! They are similar to shortbread, but Danish butter cookies have more flour and slightly less butter so they are not quite as rich in flavor but just as captivating.
Ingredients
- 1 cup (2 sticks; 227g) butter, at room temperature (use a European-style butter such as Kerrygold if possible)
- 1/2 cup (100g) granulated sugar
- Pinch kosher salt
- 1 tbsp vanilla
- 1 egg, at room temperature
- 2 cups (240g*) gluten-free flour blend* or regular all-purpose flour
- Turbinado raw sugar crystals, optional
- 3/4 cup (128g) white chocolate chips
- 1 tbsp heavy cream
- Sprinkles to garnish, if desired
Instructions
1. Preheat the oven to 350°F (180°C). Line baking sheet pans with parchment paper.
2. Make the Cookie Dough: In your stand mixer or a large bowl if using a hand mixer, beat the butter, sugar, and salt until light and fluffy, several minutes.
3. Add the vanilla extract and the egg, and mix until combined, scraping the bottom and sides of the bowl. Gradually add the flour and mix just until incorporated. Do not overmix.
4. Scoop the dough into a piping bag fitted with a large star tip such as a 1M. Pipe the dough into about 2-inch (5cm) diameter circles on the parchment paper, about an inch (2.5cm) apart. They will resemble flat roses. If you want, you can refrigerate them for about 15 minutes which will help keep the design during baking.
5. If you don't want to pipe them, you can scoop balls of dough with a cookie scoop and press them slightly flat with the bottom of a damp glass. Sprinkle the tops with turbinado sugar if desired in lieu of dipping them in the white chocolate glaze.
6. Bake for 12 to 15 minutes or until the edges are light golden brown. Transfer to a wire cooling rack and cool completely.
7. To Garnish: Line a baking sheet with parchment paper. Melt the white chocolate chips with the cream in the microwave, stirring often. When completely melted and smooth, dip half of the top of the cookie into the melted chocolate, let the excess drip off, and place on the parchment-lined baking sheet. Add sprinkles immediately before the chocolate sets. Reheat the chocolate if it gets too thick while doing the dipping. Let the decorated cookies cool completely before storing at room temperature in an airtight container.
Recipe found at www.theheritagecook.com
Notes
* You can adjust any recipe to gluten-free by using 120 grams per cup of my favorite gluten-free flour blend. If you are using another brand of gluten-free flour, whisk the mix, spoon it lightly into a measuring cup without a spout until mounded, level off the top with the back of a knife, and weigh the flour left in the cup. Use that weight as your standard per cup of that specific flour. Do this for each flour blend you use. Commercial blends such as Pamela's, Bob's Red Mill 1-to-1, or King Arthur Measure for Measure are all good choices.
** The Sweetapolita products offer hundreds of gluten-free options. If you are highly reactive or have Celiac Disease and have any questions or concerns, contact the manufacturer.
If you prefer, in place of the white chocolate, you can use a dark chocolate glaze instead. A simple chocolate ganache (melted chocolate and cream) would be terrific on these cookies!
You will get the best and most consistent results by using a digital kitchen scale and weighing your ingredients, especially when you are baking. And use grams, they are much more accurate than pounds and ounces.
Adapted from Liz of That Skinny Chick Can Bake
Nutrition Information:
Yield:
30Serving Size:
1Amount Per Serving: Calories: 75Total Fat: 2gSaturated Fat: 1gTrans Fat: 0gUnsaturated Fat: 1gCholesterol: 8mgSodium: 9mgCarbohydrates: 13gFiber: 0gSugar: 3gProtein: 2g
The nutritional information for recipes on this site is calculated by online tools and is merely an estimate. If you need nutritional calculations for medical reasons, please use a source that you trust.
If you enjoyed this recipe, be sure to follow me on social media so you never miss a post:

Create a New Tradition Today!
Welcome! The suggestions here are not intended as dietary advice or as a substitute for consulting a dietician, physician, or other medical professional. Please see the Disclaimers/Privacy Policy page for additional details. Unauthorized use, distribution, and/or duplication of proprietary material from The Heritage Cook without prior approval is prohibited. If you have any questions or would like permission, please contact me. We participate in the Amazon Services LLC Associates Program, an affiliate advertising program designed to provide a means for sites to earn advertising fees by advertising and linking to amazon.com. As an Amazon Associate, I earn a small amount from qualifying purchases without any additional cost to you. This page may contain affiliate links. The author makes no claims regarding the presence of food allergens and disclaims all liability in connection with the use of this site..