When I was a child I would beg my parents for milkshakes every time we went out to dinner. It didn’t matter what we were eating for a main course, even it was a super fancy dinner I wanted that creamy milkshake! When I was little vanilla was the only one I liked, but as I grew older I started branching out to more adventurous flavors. To be honest, I still love the purity of the three primary types, vanilla, chocolate, and strawberry. There is a good reason they continue to be best sellers!
Milkshakes have been around since the late 1800’s and began as an alcoholic beverage. By 1900 they had become the type of shake we are accustomed to in America today. In 1922 a Walgreen’s employee, Ivar “Pop” Coulson added ice cream to an old-fashioned malted milk which rapidly became the most requested drink by young people around the country. In the same year Stephen Poplawski invented the electric blender specifically so that milkshakes and malts could easily be made in the home. In 1937 Joseph Friedman invented the flexible straw after watching his daughter struggle to drink her milkshake. In the 1950’s, a salesman named Ray Kroc bought the rights to a milkshake machine from the inventor and then went on to make McDonald’s into the behemoth it is today. Who knew something as innocent as a milkshake would change the world?
Milkshakes can be as simple as tossing milk in a blender with some fresh fruit or a flavored syrup and whipping them together, with or without ice cream, or you can get fancy and use all homemade ingredients. Whichever way you choose to go, focus on quality and everyone will enjoy them. If you use store-bought ice cream, choose a dense, premium brand such as Haagen-Dazs or Ben and Jerry’s for the thickest, creamiest version.
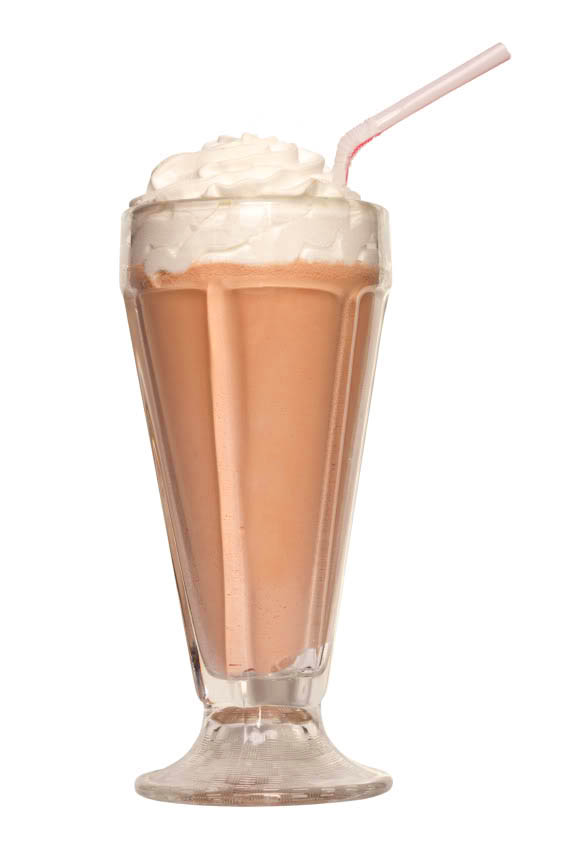
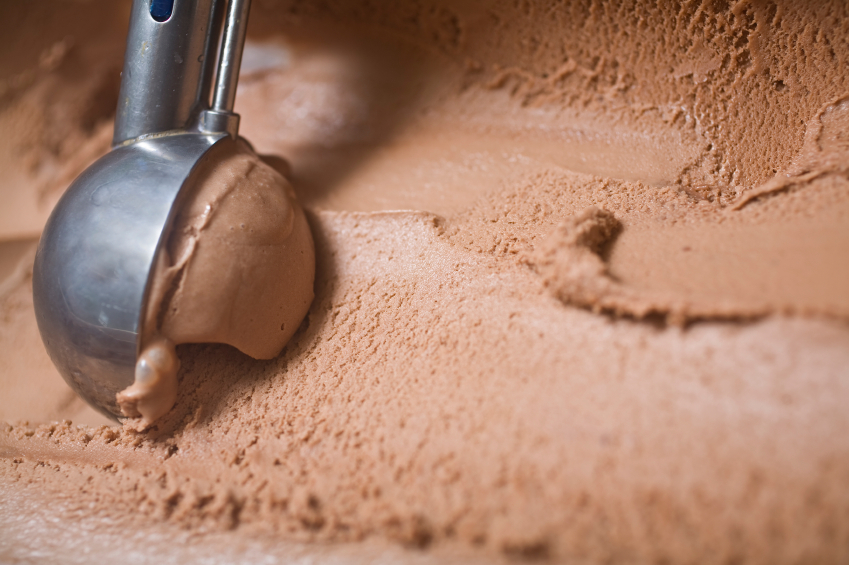
The traditional chocolate milkshake is made with vanilla ice cream, milk, and chocolate syrup. If you are a true chocoholic – and if you are reading The Heritage Cook every Chocolate Monday that may be the case – do yourself a huge favor and make these with chocolate ice cream. And if that still isn’t enough chocolate flavor for you, add a shot of chocolate syrup for good luck, LOL! If you want to explore the world of milkshakes in more depth, try Adam Ried’s cookbook, Thoroughly Modern Milkshakes. Make sure you come back and tell us all what you decided was the best in the book!
Making a simple milkshake into something worthy of a holiday event is just a matter of using a few tricks of the trade. First of all start with the perfect glasses. Tall and slender, they will hold the beautiful fruits of your labors. These glasses will also be the perfect container for ice cream sundaes, trifles, and parfaits. And don’t forget to provide equally tall spoons so your guests can get every last drop! These spoons, also called Iced Tea spoons, used to be a standard in every southern home, but are less common today. For extra special events you can even serve these in beautiful champagne flutes.
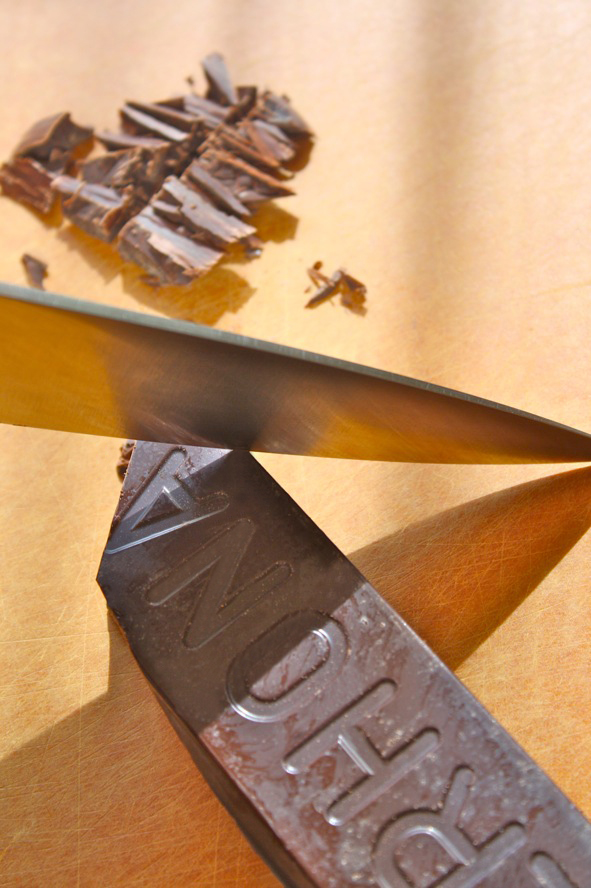
I think it is fun to assemble a dessert bar and let everyone choose what they like to garnish the shakes. Pour the shakes into the glasses, top with whipped cream (it is easier if you handle this part yourself) if you guests want it, and then they can help themselves to the rest. Some things you can offer are fresh berries, chocolate shavings, chopped nuts, chocolate jimmies, crumbled brittle, maraschino cherries, gummy bears, sprinkles, etc. And don’t forget the “bendy” straws.
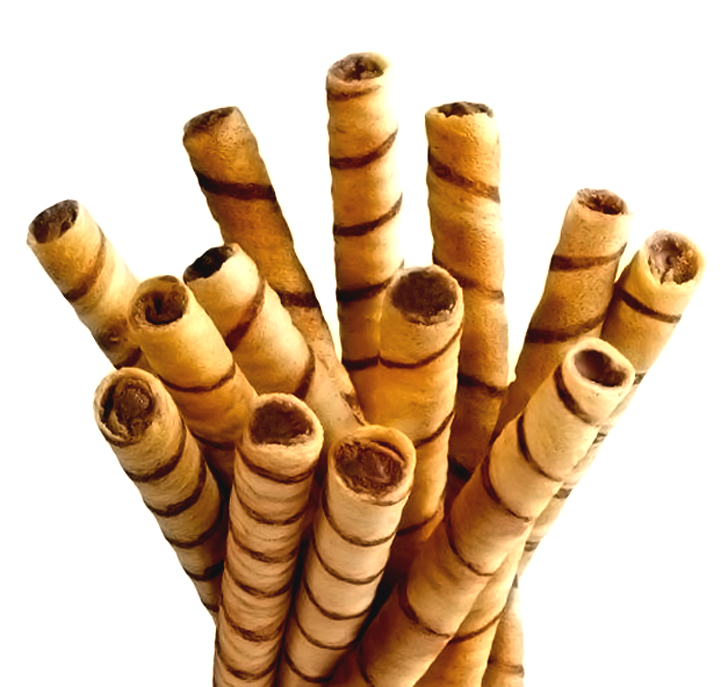
Tucking a couple of crispy tall cookies in one edge adds terrific texture and visual appeal. Piroulines are a Belgian cookie that is now being made in Mississippi. A hollow rolled European-style wafer cookie that may be stuffed with a cream filling or lined with chocolate. Their lined exterior is beautiful in any dessert.
And don’t forget to garnish each glass with a mint sprig which adds beautiful bright green and helps make the shakes look extra special. Thick or thin, vanilla, strawberry, or chocolate, if you give me a milkshake I am one happy girl. I hope you enjoy these treats at your upcoming Fourth of July celebrations!
Jane’s Tips and Hints:
If you want your whipped cream to look like a pro, after whipping it, place it into a piping bag fitted with a star tip. Squeeze it onto the top of the milkshake in a circular motion, starting at the outside and working into the middle. Raise the piping bag as you stop squeezing, lifting the cream into a final tall peak.
Kitchen Skill: How to Whip Cream
Whipping cream is simple and astronomically better tasting than anything you can buy in the refrigerated case. For best results make sure equipment is scrupulously clean and everything is chilled. While you can do this by hand with a whisk, using an electric mixer just makes sense – for ease and best use of your time. See below for specific measurements.
Pour heavy whipping cream into the bowl of a stand mixer fitted with the whisk attachment. Starting on low and gradually increasing the speed (this helps keep splattering to a minimum), whip the cream until it is foamy and beginning to thicken. Add a little vanilla if you like and powdered sugar to taste. Continue to whip on high speed until thickened and peaks for when you turn off the mixer and lift the beaters. The tips of the peaks should fall over.
Taste and add more vanilla or sugar if needed. Whip for another 20 seconds or so to combine. Cover and refrigerate for up to an hour or so. Re-whip if needed just before serving.


- 1/3 to 1/2 cup very cold whole milk, plus more if needed
- 3 scoops chocolate ice cream (about 2 oz each), slightly softened, or to taste (high quality store bought or make your own, see recipe below)
- 1 tbsp dark chocolate syrup (store bought or see recipe below)
- 1 tbsp plain malted milk powder, optional
- Pour the milk into a blender. Add the ice cream and chocolate syrup. Blend on high speed until smooth. The blending time depends on the machine and temperature of the ingredients. If necessary, add more milk or ice cream to adjust to your preferred consistency. When the shake is just about smooth, briefly blend in the malted milk powder (if using). Serve immediately in a chilled glass.
- Yield: 1 to 2 servings
- 2 cups heavy cream, divided
- 3 tbsp unsweetened Dutch-process cocoa powder
- 5 oz bittersweet or semisweet chocolate, chopped
- 1 cup whole milk
- 3/4 cup granulated sugar
- Pinch of salt
- 5 large egg yolks
- 1/2 tsp vanilla extract
- Warm 1 cup of the cream with the cocoa powder in a medium saucepan, whisking to thoroughly blend the cocoa. Bring to a boil, then reduce the heat and simmer at a very low boil for 30 seconds, whisking constantly. Remove from the heat and add the chopped chocolate, stirring until smooth. Then stir in the remaining 1 cup cream. Pour the mixture into a large bowl, scraping the saucepan as thoroughly as possible, and set a mesh strainer on top of the bowl.
- Warm the milk, sugar, and salt in the same saucepan. In a separate medium bowl, whisk together the egg yolk. Slowly pour the warm milk into the egg yolks, whisking constantly, then scrape the warmed egg yolks back into the saucepan.
- Stir the mixture constantly over the medium heat with a heatproof spatula, scraping the bottom as you stir, until the mixture thickens and coats the spatula (170°F on an instant-read thermometer). Pour the custard through the strainer and stir it into the chocolate mixture until smooth, then stir in the vanilla. Stir until cool over an ice bath.
- Chill the mixture thoroughly in the refrigerator, then freeze it in your ice cream maker according to the manufacturer’s instructions. (If the cold mixture is too thick to pour into your machine, whisk it vigorously to thin it out.)
- Yield: about 1 quart
- 1 cup water
- 1/2 cup granulated sugar
- 2/3 cup unsweetened cocoa powder, preferably Dutch-process
- 1/4 tsp salt
- 1 tsp pure vanilla extract
- Bring water and sugar to a boil, whisking until sugar is dissolved. Whisk in the cocoa and salt and simmer, whisking, until slightly thickened, about 3 minutes. Remove from the heat and add vanilla, then cool (syrup will continue to thicken as it cools).
- Yield: about 1-1/2 cups
- 1/2 cup cold heavy whipping cream
- 2 tbsp powdered sugar
- 1 tsp pure vanilla extract
- In a large mixing bowl, beat the cream until thick. Add the powdered sugar and vanilla. Continue to be until cream holds soft peaks
- Yield: about 3/4 cup
Thank You!


