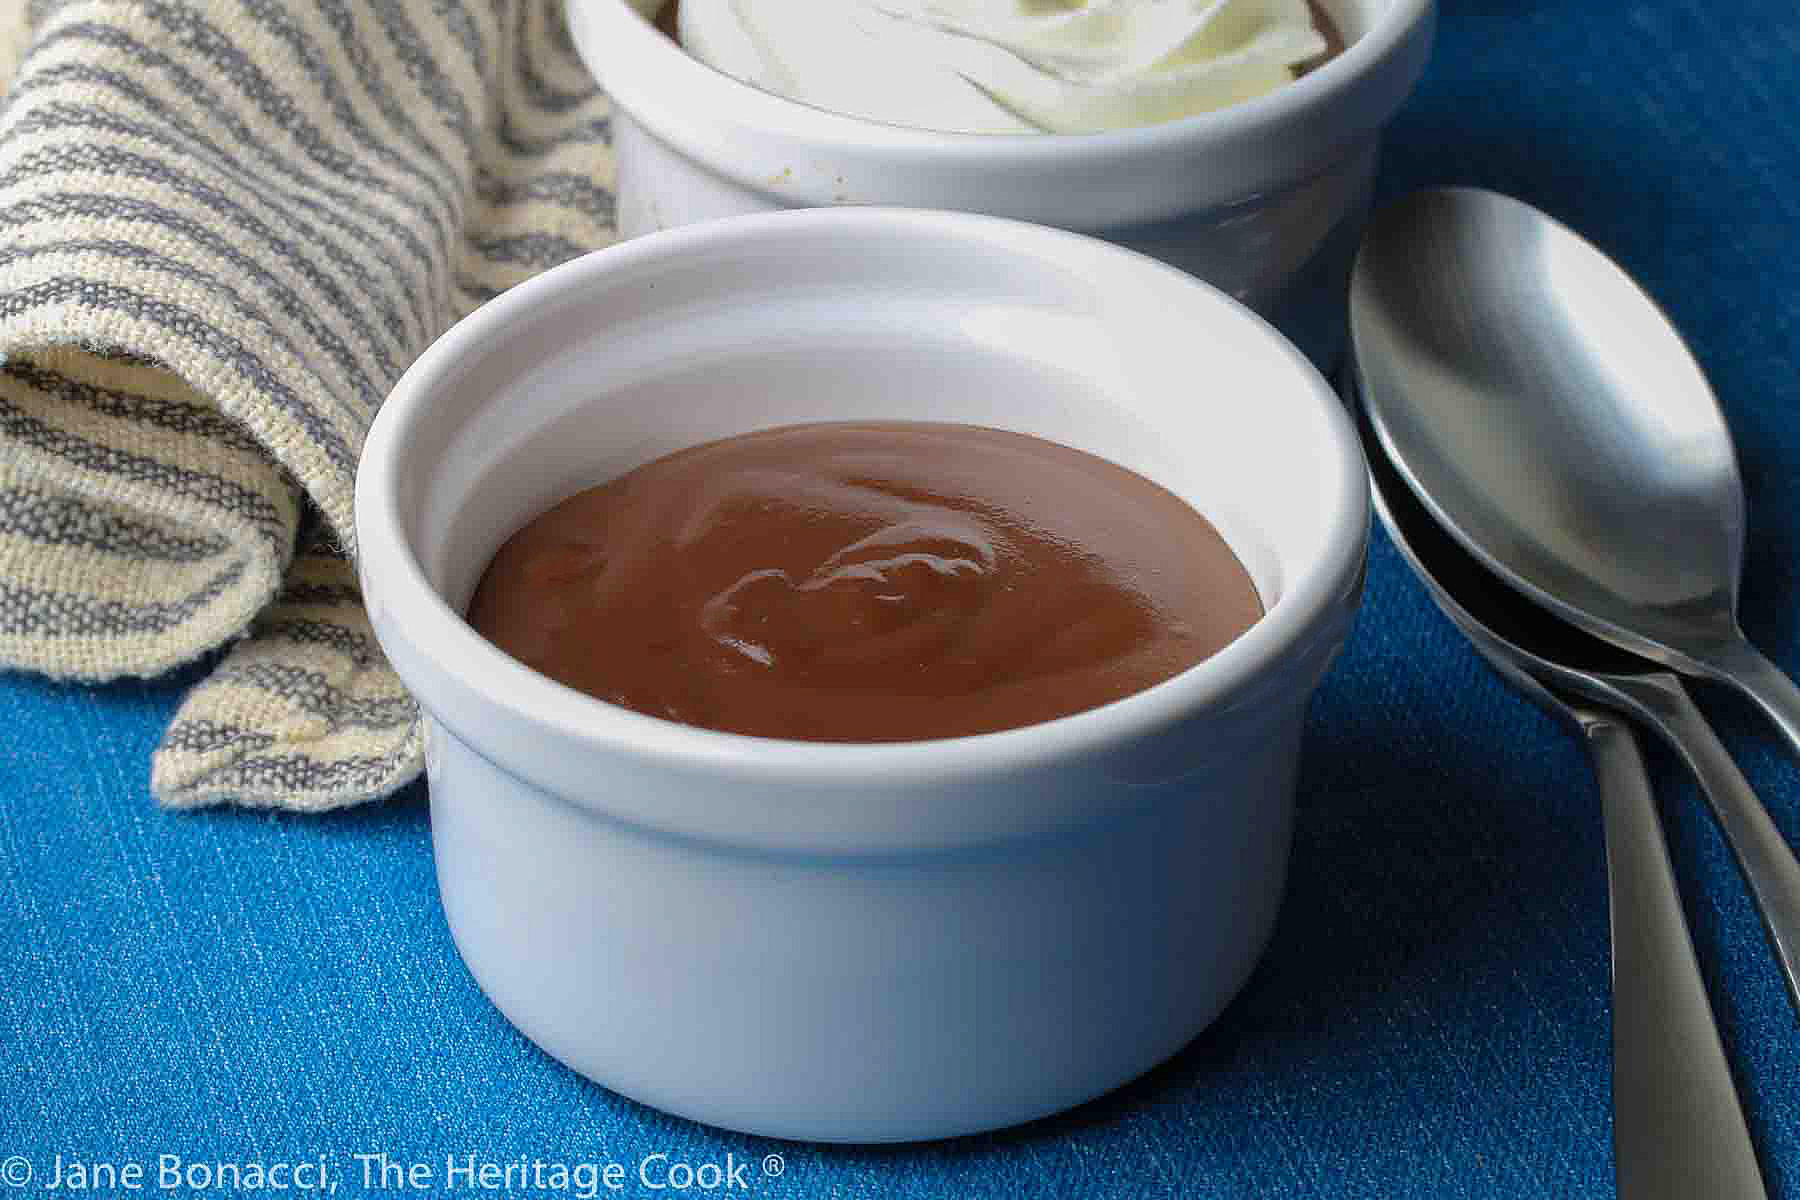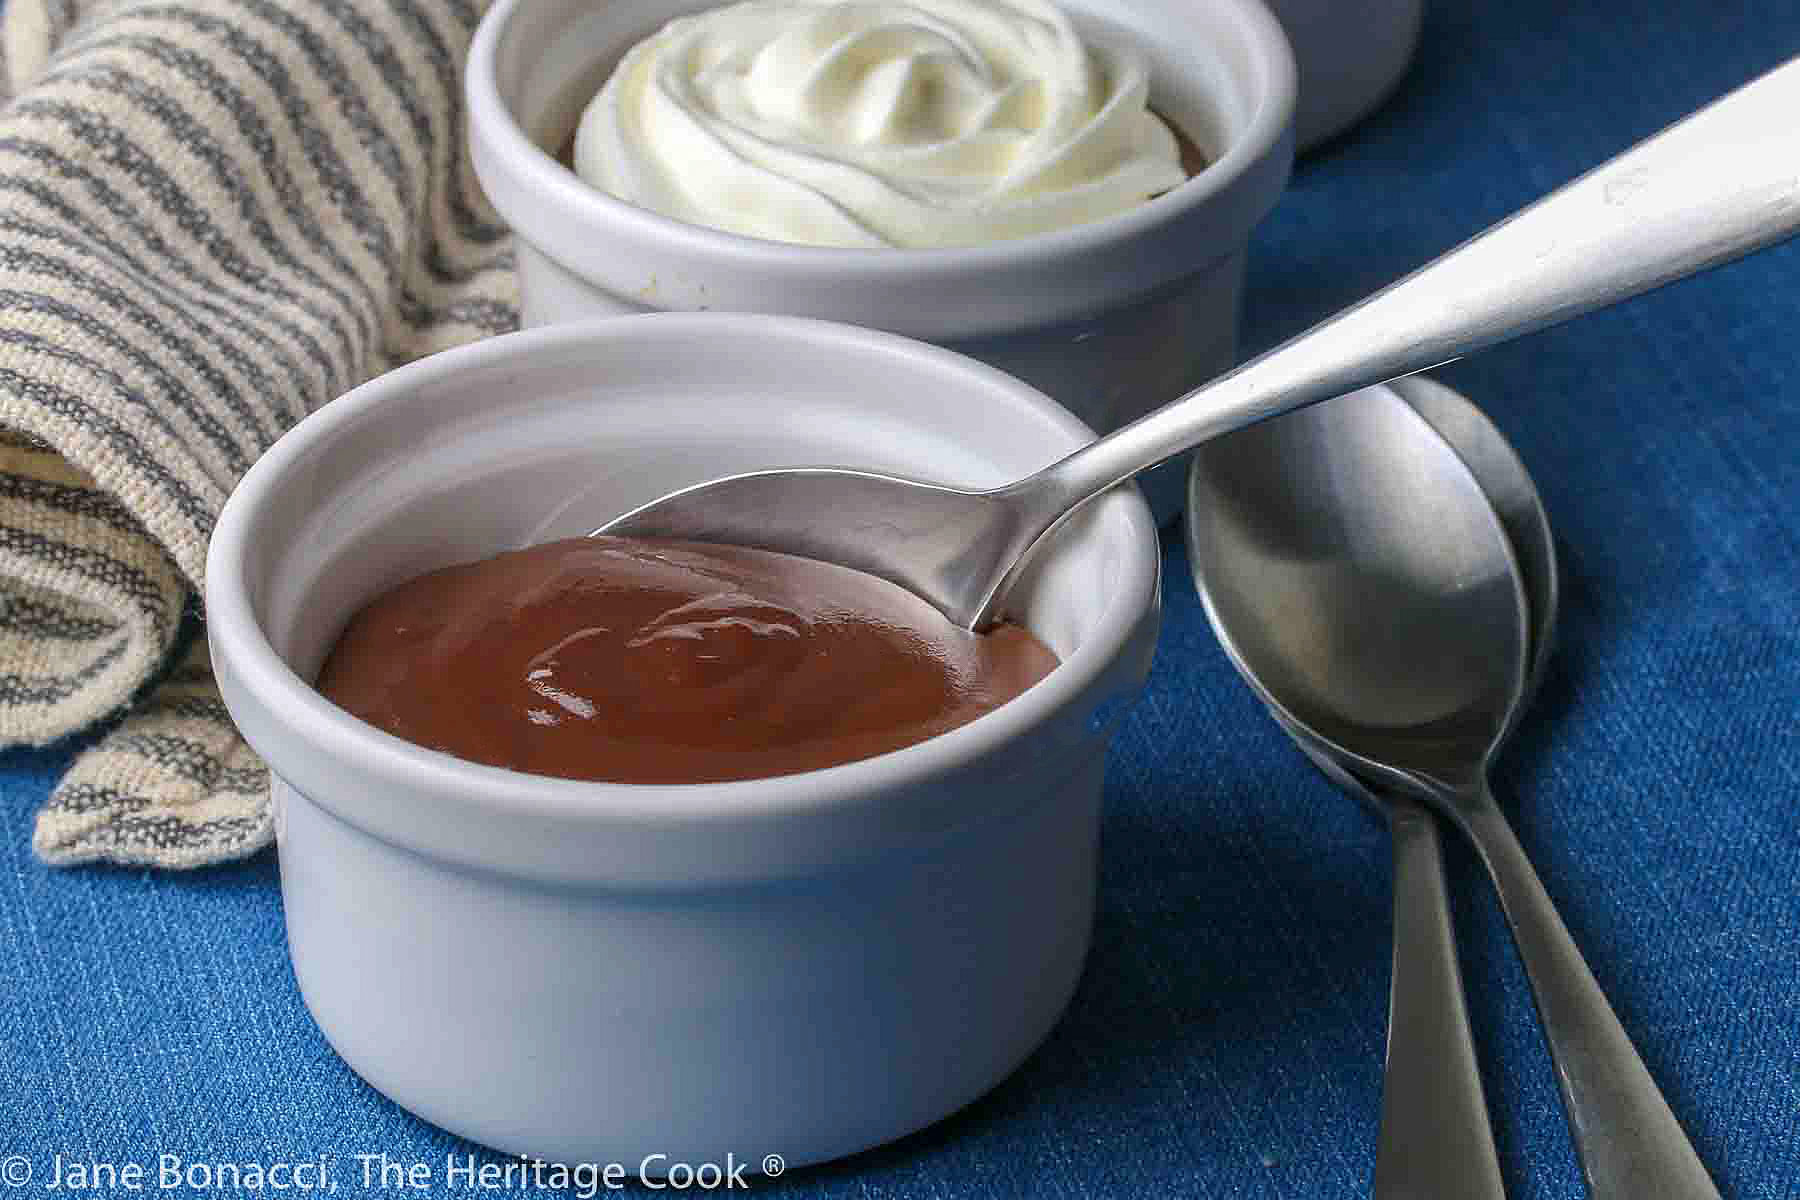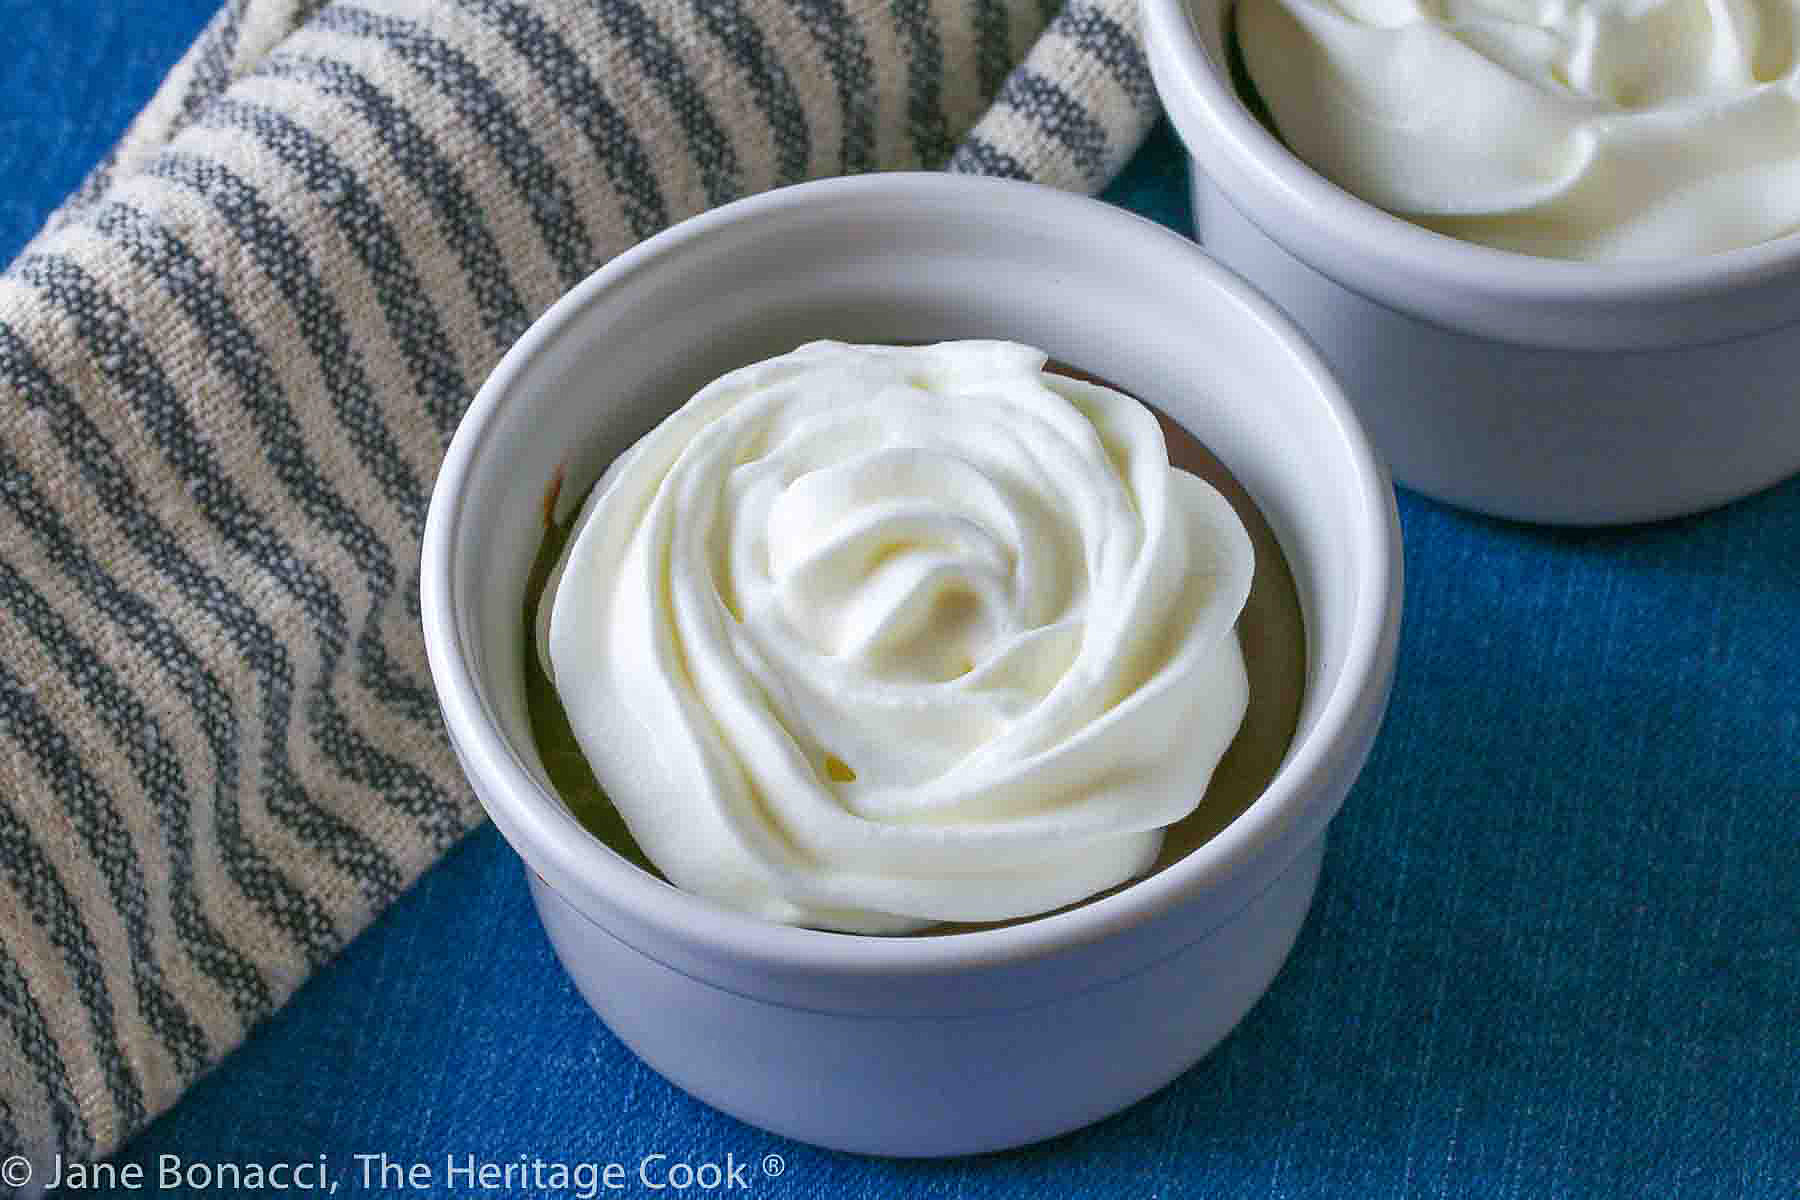
Children grow up loving pudding. It is one of the first foods we can eat, you don’t need to chew it, and it tastes great. What more can a kid ask for? When we grow up, many people think that we have to eat fancy desserts all the time. Don’t get me wrong, I love the fancy ones as much as anyone, but occasionally I like to go back to the basics and the comforting foods of childhood. Silky, satiny, luxurious Easy Creamy Chocolate Pudding is one of my favorites.
While you can always use the boxed mixes for pudding, once you make your own and see how simple it really is, I think you will forego the boxes entirely. There will always be times when the convenience factor outweighs everything else, and that is fine. But when you want a real treat, one without a lot of additives and preservatives (and possible gluten), make it from scratch.
This recipe calls for egg yolks to be separated from the whites. The safest and easiest way to separate eggs is to use your fingers as the strainer. Crack an egg open, and working over a bowl, drop the egg into your cupped hand. Open your fingers slightly to let the egg whites fall through into the bowl, leaving the yolk in your hand. Drop the yolk into a second bowl. You don’t have to worry about puncturing the yolk with the sharp edges of the shell, are less likely to get pieces of shell in the eggs, and actually get cleaner yolks this way. Repeat for the second egg.
A couple of things to watch out for and you will have a perfect pudding every time. Make sure you use a whisk. Nothing mixes dry ingredients into fluids better. If you are using a non-stick saucepan, use a silicone whisk that won’t scratch the pan. Keeping the liquid moving helps keep it from scorching on the bottom of the pan and getting lumpy. The other thing to be careful of is introducing eggs into the hot liquid. Slowly add a little of the hot liquid to the eggs at a time first to warm them slightly before adding to the remaining hot liquid. This is called tempering.
When I moved into my first apartment and couldn’t afford much, I bought inexpensive pots and pans. These worked for years until I could afford better quality ones. I wish I had invested in them earlier. They heat up and cook more evenly. You don’t have to watch your food as carefully and you can control the heat more easily. There are many good quality products on the market right now that are reasonably priced. I believe you should buy the best that you can afford, one piece at a time, and eventually you’ll have a whole kitchen of top-notch equipment!
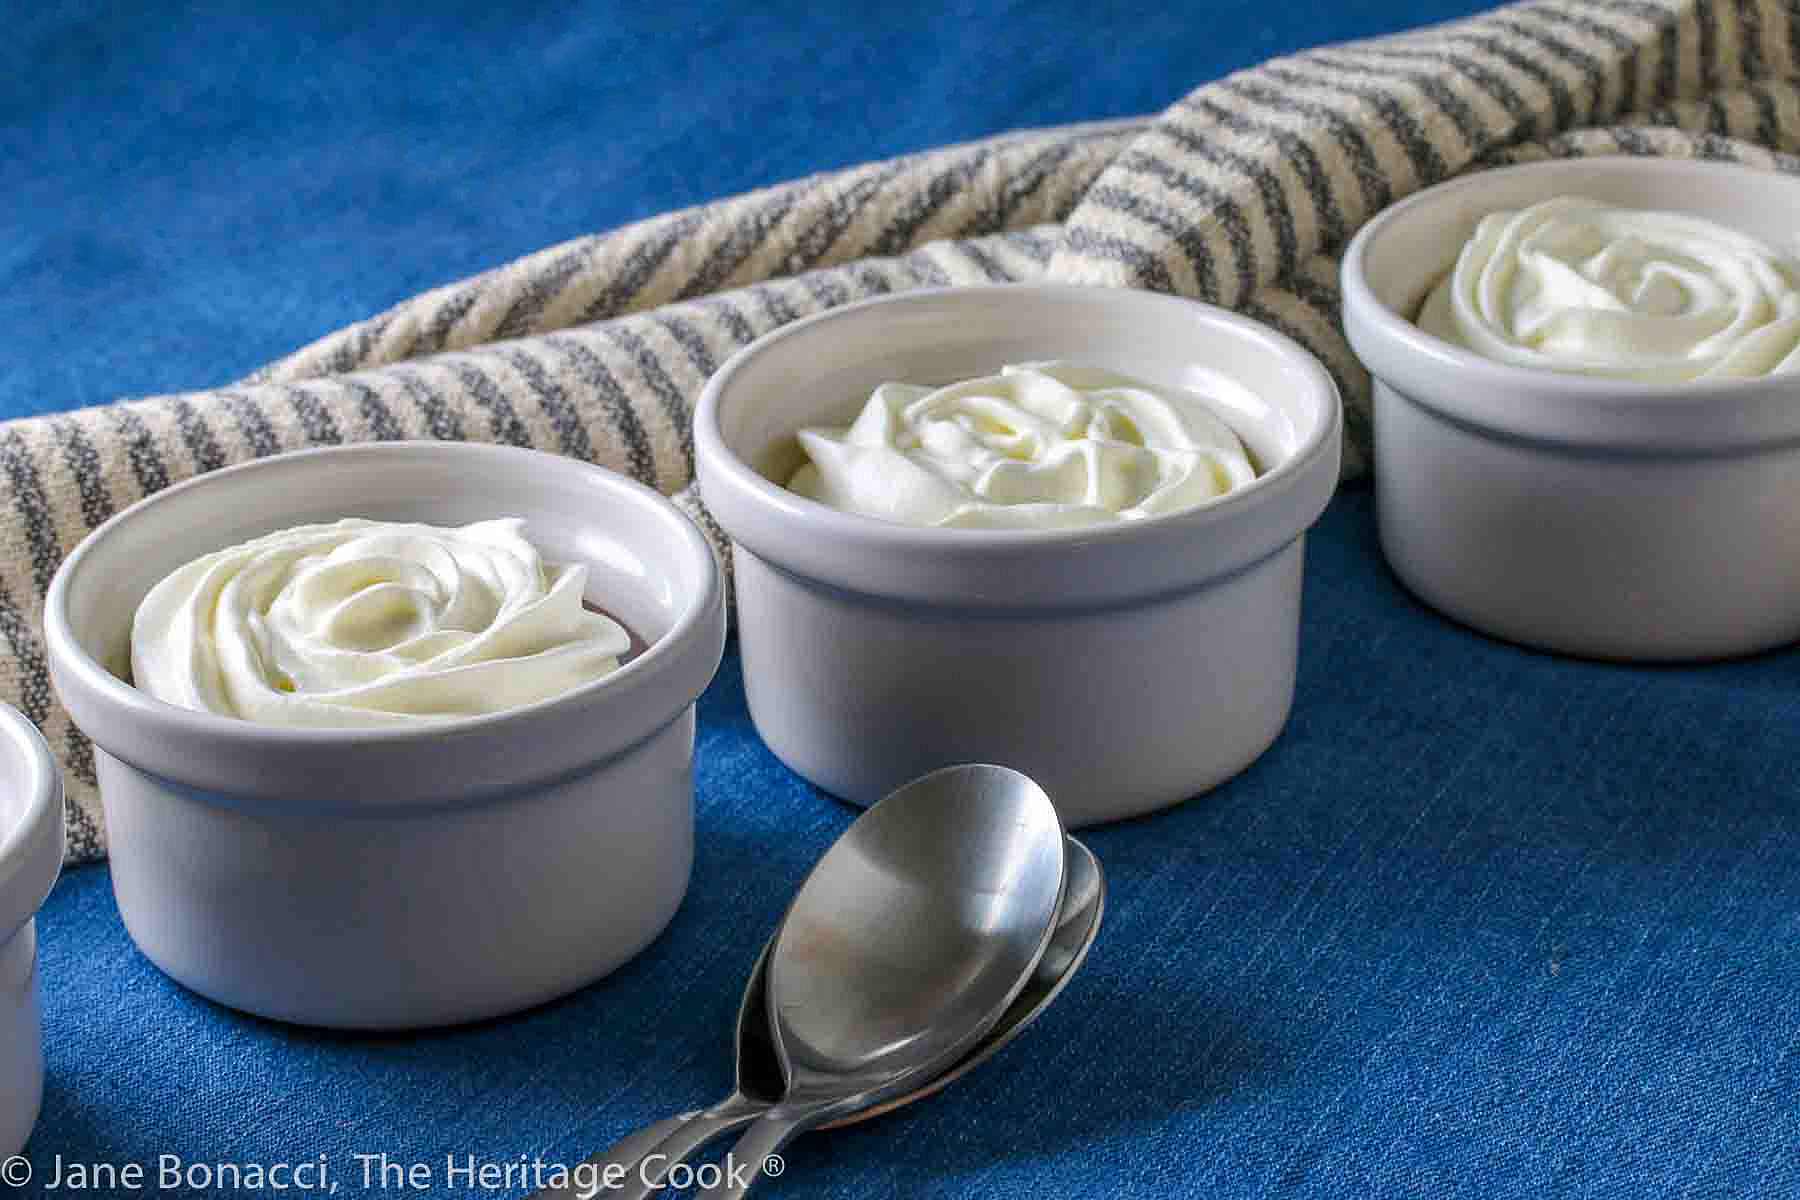
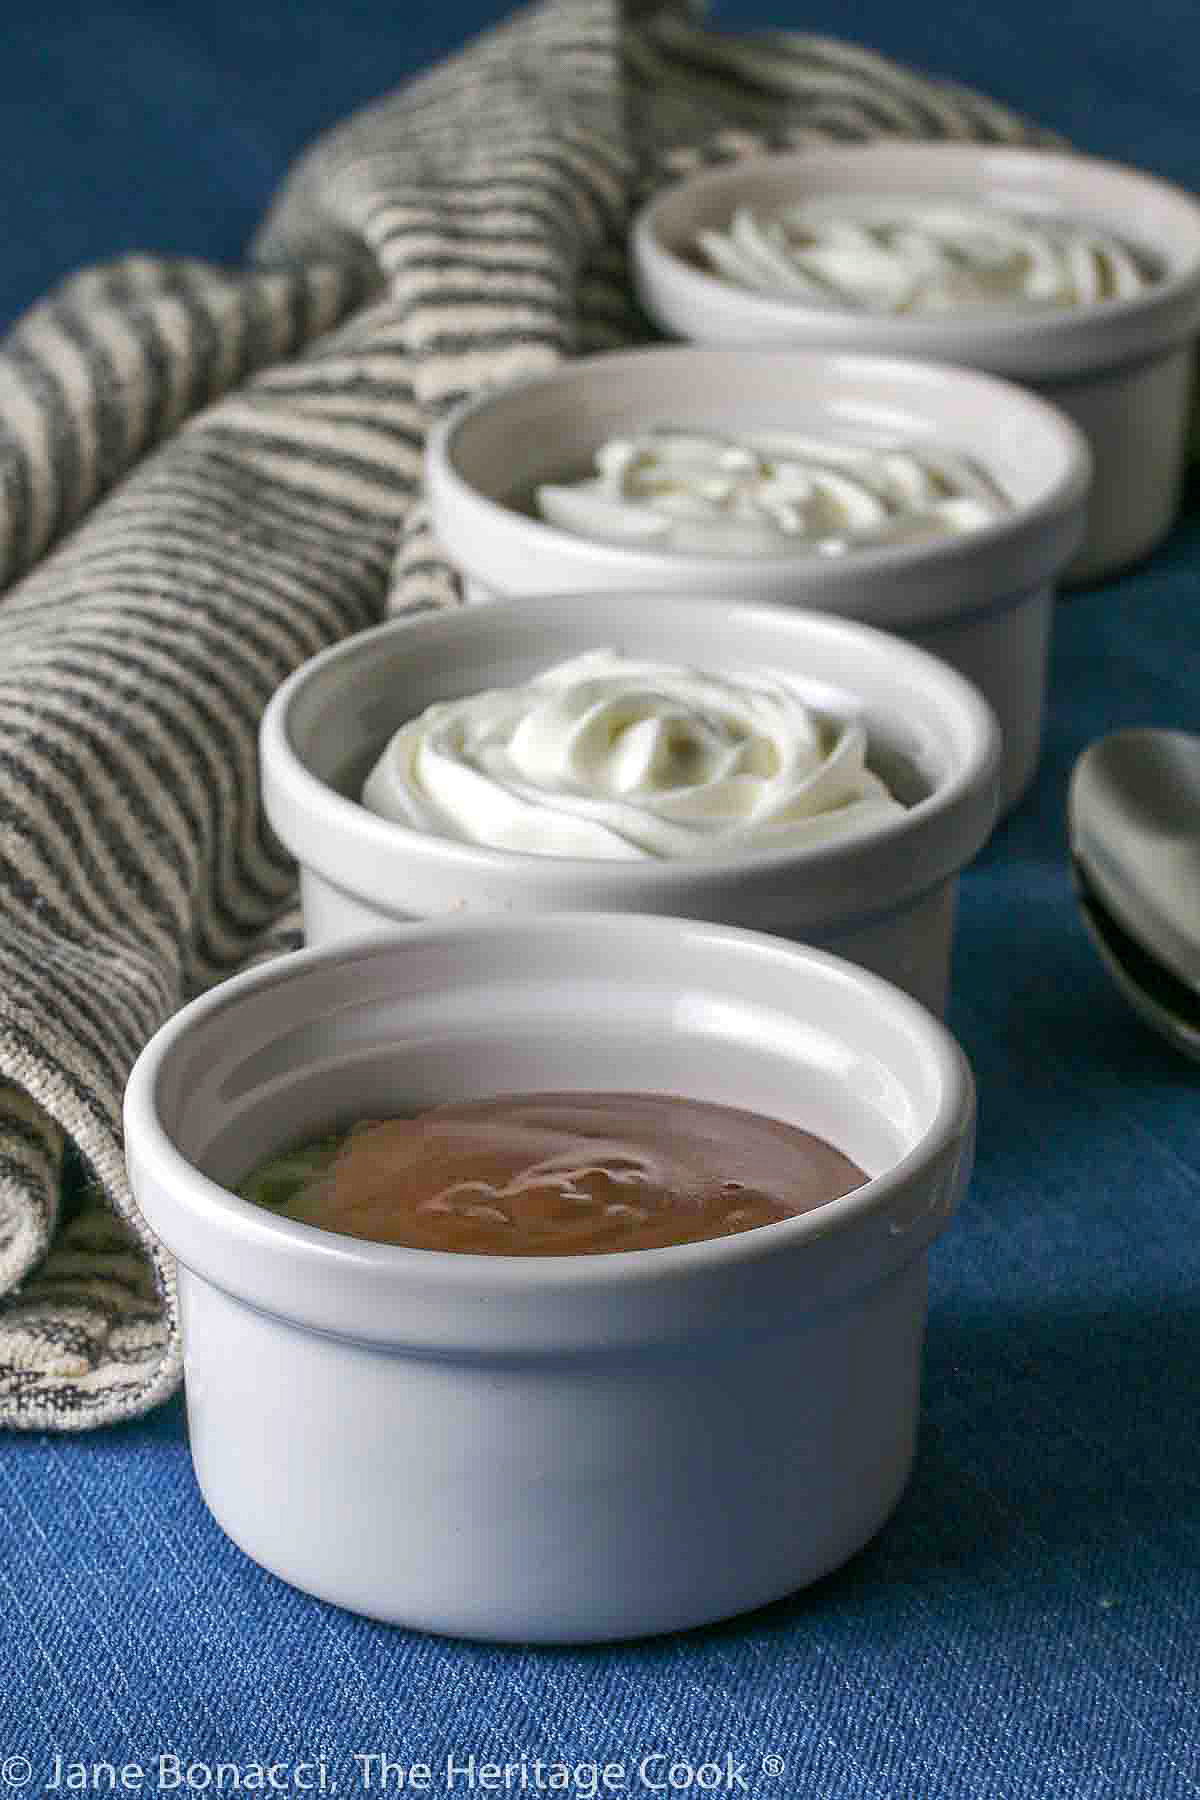
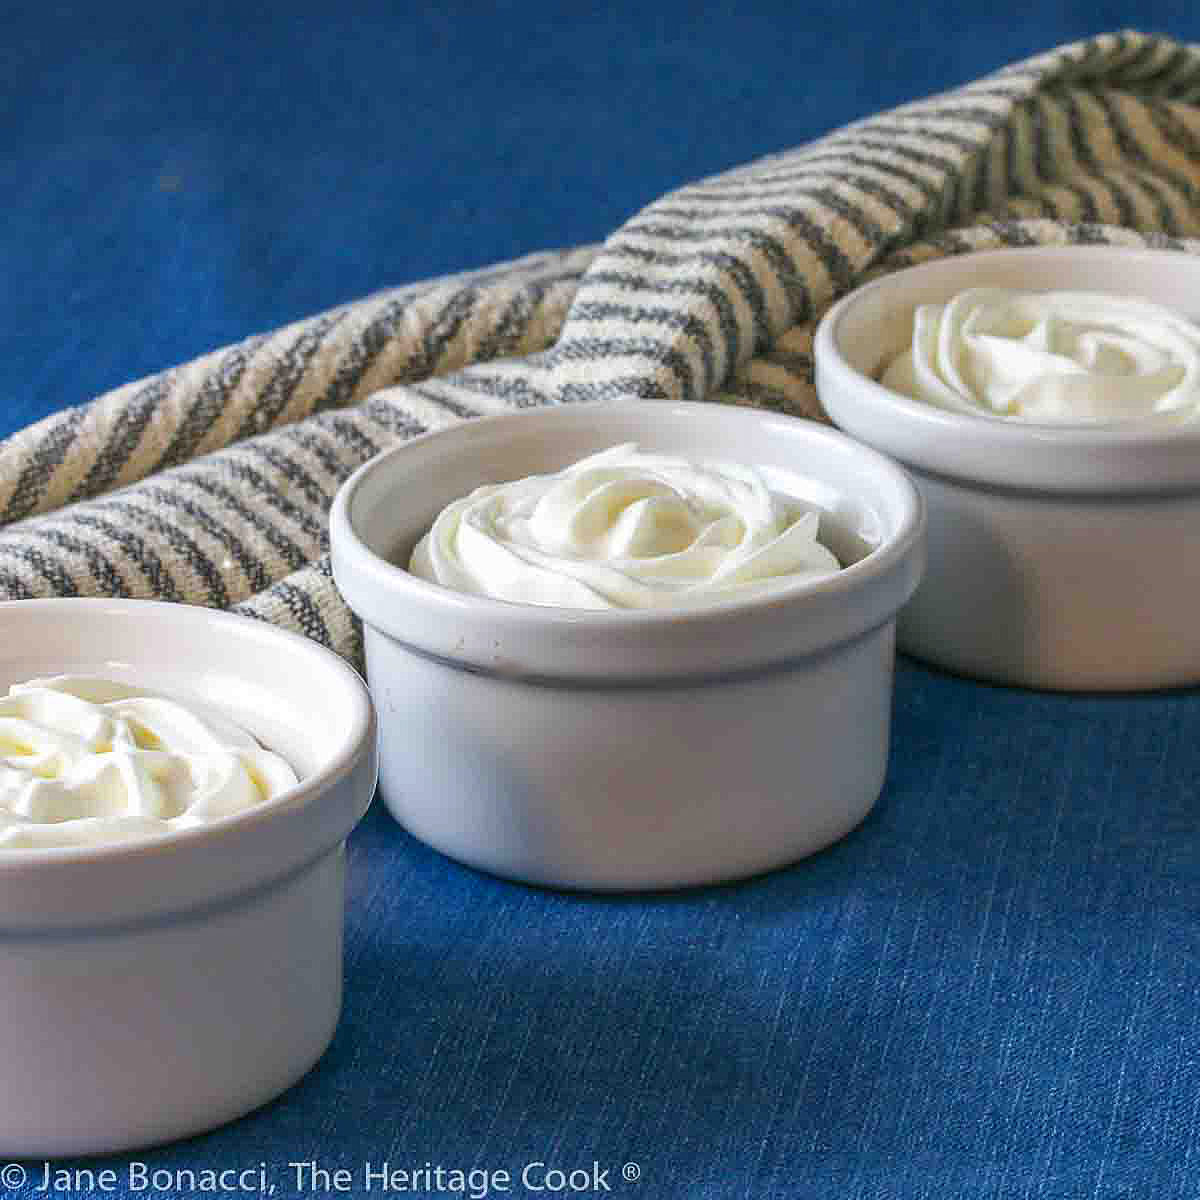
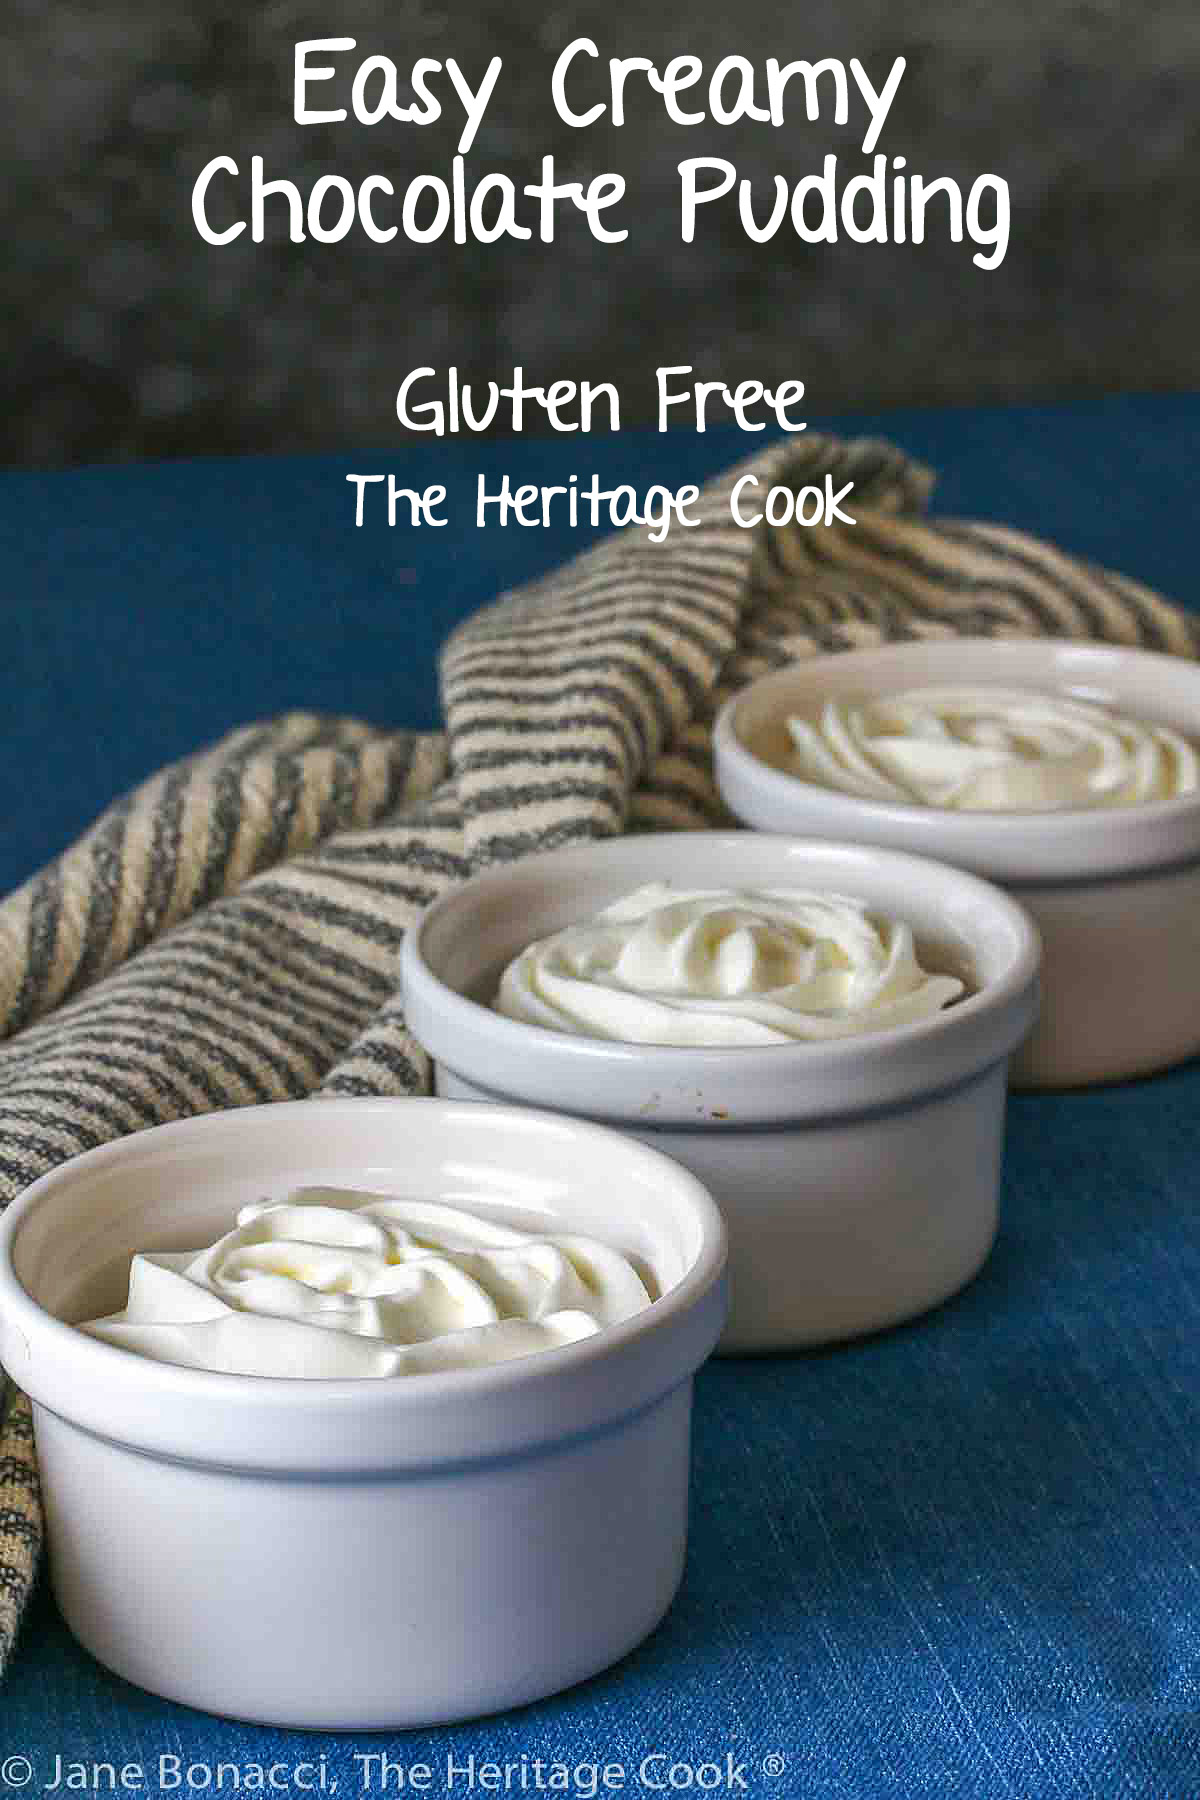
While it is optional, I love the combination of chocolate and whipped cream. They balance each other beautifully. Nothing pre-made can compare to freshly whipped cream! Without the preservatives and additives to give it a long shelf life, you taste all the nuances of the cream itself. I like to add a little confectioner’s sugar to sweeten it and depending on the dessert, sometimes a bit of vanilla extract or other flavoring.
This Easy Creamy Chocolate Pudding is a beautiful way to end any meal. Rich and oh so chocolatey, this will satisfy even the most ardent chocoholics in your crowd! I hope you give it a try soon and love every luscious bite!
If you try this recipe, let me know! Please leave a star rating in the recipe card, comment below, and don’t forget to snap a pic and tag it #theheritagecook on Instagram! Seeing your creations makes my day and I love hearing from you!
Ingredients needed for Easy Creamy Chocolate Pudding:
- Egg yolks
- Cornstarch
- Whole milk
- Sugar
- Cocoa powder
- Salt
- Vanilla extract
- Heavy cream (optional)
PRO Tip:
If your pudding has any lumps in it, pour and press it through a fine wire mesh sieve into a bowl or large measuring cup with a spout.
PRO Tip:
The recipe calls for gently simmering liquid. This means the surface will be steaming with small bubbles around the edges, breaking the surface. This is just under a low boil.
How to make Easy Creamy Chocolate Pudding:
- Whisk the yolks for about a minute until light yellow and increased in volume. The whisk in the cornstarch and 1/4 cup (57g) of the milk. Once smooth, set aside.
- Place the remaining 1-3/4 cups (397g) milk, sugar, cocoa powder, and salt, in a saucepan and bring up to just under a boil at medium-high heat, stirring constantly, when the liquid hits 180°F to 190°F (82°C to 88°C). You will see a few bubbles breaking the surface.
- Remove from the heat and while constantly whisking the egg/cornstarch mixture, add the hot mixture about 2 tbsp at a time. This gently warms the mixture so you don’t get scrambled eggs.
- Once all of the chocolate has been whipped into the egg mixture, pour the whole thing back into the saucepan and cook over medium-high heat, whisking constantly, until it comes to a full boil. Reduce the heat to medium-low, maintaining a simmer and continue whisking for a couple of minutes until the pudding is thickened and smooth.
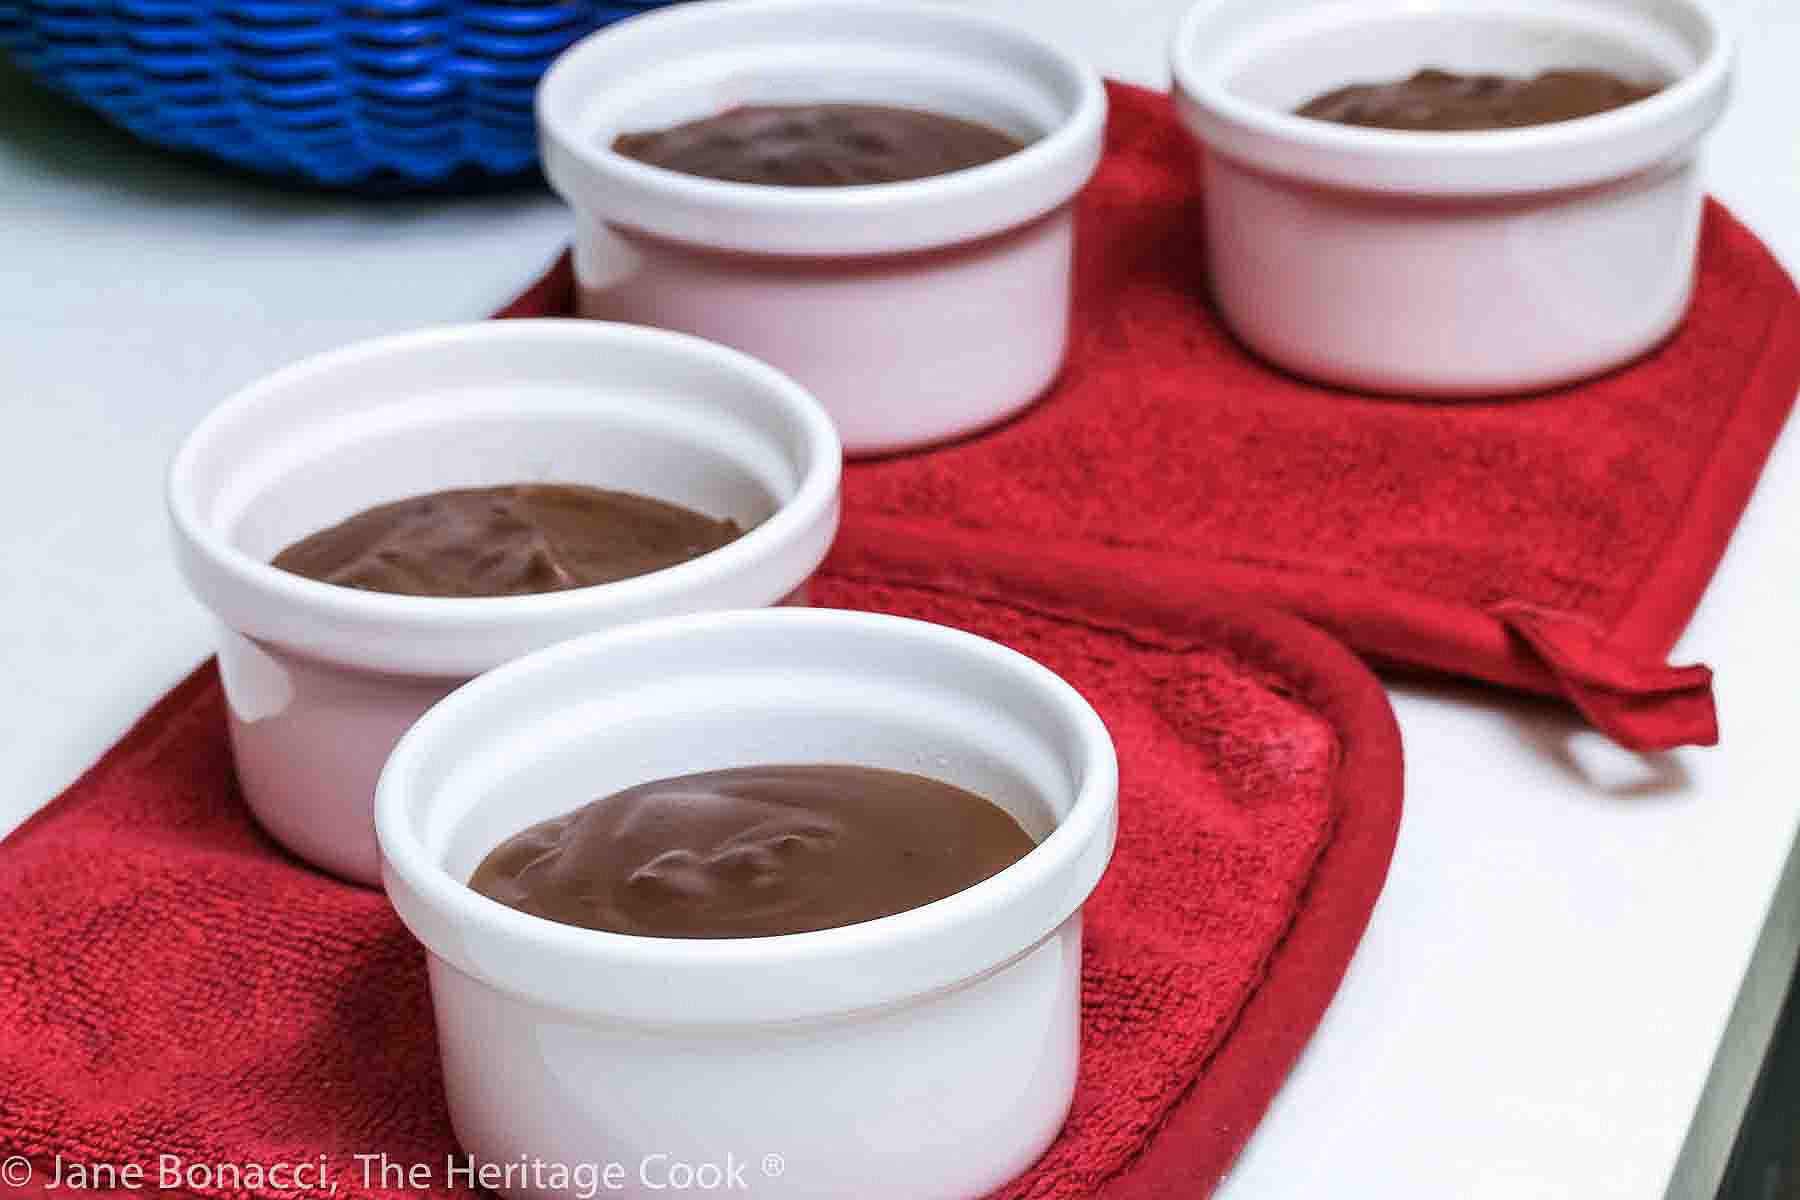
- Remove from the heat and stir in the vanilla. Transfer to a large measuring cup with a spout if possible. Pour the pudding slowly into a larger bowl or ramekins (or use a ladle) and press plastic wrap directly on the surface of the pudding while still warm to keep a skin from forming. Refrigerate for an hour or two until chilled. The pudding will continue to thicken as it cools. Top with whipped cream if desired. Enjoy!
PRO Tip:
It may seem silly to transfer the mixture into a large measuring cup, but having the spout really helps you pour the custard cleanly and smoothly. Pour slowly so you do not create a lot of air bubbles. Tapping the ramekins on the counter or running a knife through the pudding before chilling will release any trapped air bubbles, so you don’t have large pockets in the final puddings.
Recommended Tools (affiliate links; no extra cost to you):
- Kitchen scale
- Stand mixer or hand mixer
- Nonstick Saucepan
- Nylon whisk (if using a nonstick pan)
- Instant read thermometer
- Fine mesh strainer
- Ramekins
Gluten-Free Tips:
You will get the best results by using a digital kitchen scale and weighing your ingredients, especially if you are baking.
All recommended ingredients are gluten-free as of the writing of this article. Always check to be sure the products haven’t changed and are still safe to consume.
Easy Creamy Chocolate Pudding (Gluten Free)
This Easy Creamy Chocolate Pudding is a beautiful way to end any meal. Rich and oh so chocolatey, this will satisfy even the most ardent chocoholics in your crowd! I hope you give it a try soon and love every luscious bite!
Ingredients
- 2 large egg yolks
- 2 tbsp cornstarch
- 2 cups (454g) whole milk, divided
- 1/2 cup (99g) granulated sugar
- 1/4 cup (21g) unsweetened cocoa powder
- 1/4 tsp kosher salt
- 2 tsp pure vanilla extract
- Sweetened whipped cream, optional
Instructions
- Using your stand or hand mixer or a whisk, whisk the egg yolks for about 60 seconds until light yellow and increased in volume, then whisk in the cornstarch and about 1/4 cup (57g) of the milk. Once smooth, set aside.
- Place the sugar, cocoa, salt, and remaining 1-3/4 cups (397g) milk in a saucepan, stirring often, and bring to just under a boil over medium to medium-high heat. The cocoa will float on top of the liquid at first but as you whisk it will start to dissolve and become incorporated. When the liquid registers about 180°F to 190ºF (82°C to 88°C) on an instant read thermometer you will see little bubbles forming on the sides of the pan and the liquid will be steaming.
- Remove the pan from the heat and, while whisking the egg-cornstarch mixture constantly, add the hot mixture about 1 to 2 tbsp at a time. This gently warms the mixture (called tempering) so you don’t get scrambled eggs. This is very easy if you use a stand mixer.
- Once all of the chocolate has been whipped into the egg mixture, pour the whole thing back into the saucepan and cook over medium-high heat, whisking or stirring constantly, until it comes to a full boil. Reduce the heat to medium-low, maintaining a simmer and continue whisking for a couple of minutes until the pudding is thickened and completely smooth.
- Remove the pudding from the heat and stir in the vanilla. If your pudding has any lumps in it, pour and press it through a fine wire mesh sieve. Transfer to a large measuring cup with a spout if possible. Pour the pudding into a medium bowl or about 4 ramekins and press plastic wrap directly on the surface(s) of the pudding if you don’t want a skin doesn't form. Refrigerate for an hour or two until chilled. Optionally, top with sweetened whipped cream if desired. Enjoy!
Recipe found at www.theheritagecook.com
Notes
All recommended ingredients are gluten-free as of the writing of this article. Always check to be sure the products haven’t changed and are still safe to
consume.
You will get the best results by using a digital kitchen scale and weighing your ingredients.
Adapted from a recipe by Joanne Ozug for The Pioneer Woman.
Nutrition Information:
Yield:
4Serving Size:
1Amount Per Serving: Calories: 139Total Fat: 6gSaturated Fat: 3gTrans Fat: 0gUnsaturated Fat: 3gCholesterol: 150mgSodium: 174mgCarbohydrates: 11gFiber: 0gSugar: 7gProtein: 8g
The nutritional information for recipes on this site is calculated by online tools and is merely an estimate.
If you enjoyed this recipe, be sure to follow me on social media so you never miss a post:
Create a New Tradition Today!
Welcome! The suggestions here are not intended as dietary advice or as a substitute for consulting a dietician, physician, or other medical professional. Please see the Disclaimers/Privacy Policy page for additional details. Unauthorized use, distribution, and/or duplication of proprietary material from The Heritage Cook without prior approval is prohibited. If you have any questions or would like permission, please contact me. We participate in the Amazon Services LLC Associates Program, an affiliate advertising program designed to provide a means for sites to earn advertising fees by advertising and linking to amazon.com. As an Amazon Associate, I earn a small amount from qualifying purchases without any additional cost to you. This page may contain affiliate links. The author makes no claims regarding the presence of food allergens and disclaims all liability in connection with the use of this site.

