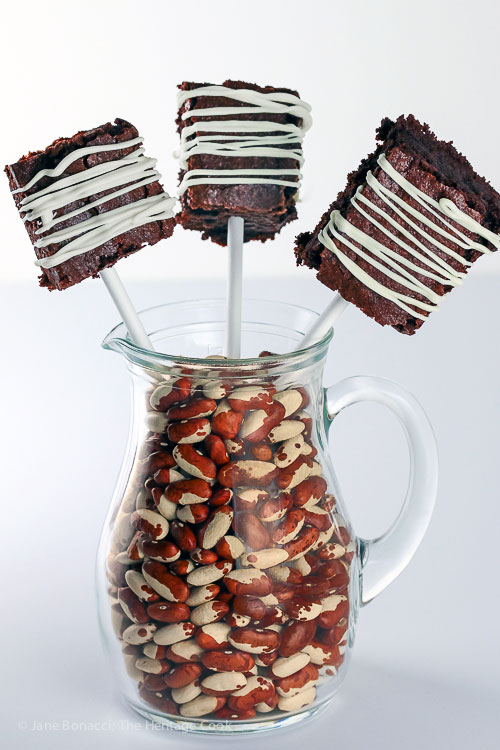
After nearly 10 years of writing #ChocolateMonday posts every week, you know I am always on the lookout for fun and different recipes to share with you. Today’s Gluten Free Brownie Pops are a perfect example of a fun new way to present an old favorite!
If you’ve got kids or grandkids, you know that everything tastes better on a stick! No question, they will be thrilled if they can pick up their food and nibble on it without using utensils. Everything on a stick is more fun!
I found the recipe by Erin McDowell on PureWow. She took the recipe a step farther than I did by dipping her brownies in melted chocolate. They are definitely more elegant looking that way, but my gluten-free version brownies were somewhat delicate and I didn’t want to risk them falling off the sticks!
The only sticks I could find at my local party store were the kind you use for lollipops but traditional popsicle sticks like Erin used would definitely hold the brownies more securely with no chance of them spinning. I may have dipped mine if I’d had that kind of stick.
I like that I can make these a day ahead, wrap them in plastic wrap, and twist the ends around the sticks. This keeps them fresh and saves you last minute baking on the day of your family reunion, birthday party, or potluck supper.
These brownies are packed with chocolate flavor from 2 cups of cocoa powder! There is no doubt that these Gluten Free Brownie Pops will satisfy even the most ardent chocolate fans. Enjoy this fun new way of serving brownies, perfect for any gathering, especially parties!
How to make Gluten-Free Brownie Pops:
- Mix together the brownie batter and pour into parchment lined pan
- Bake 30 to 45 minutes, then cool completely in the pan
- Lift the brownies out of the pan and cut into squares
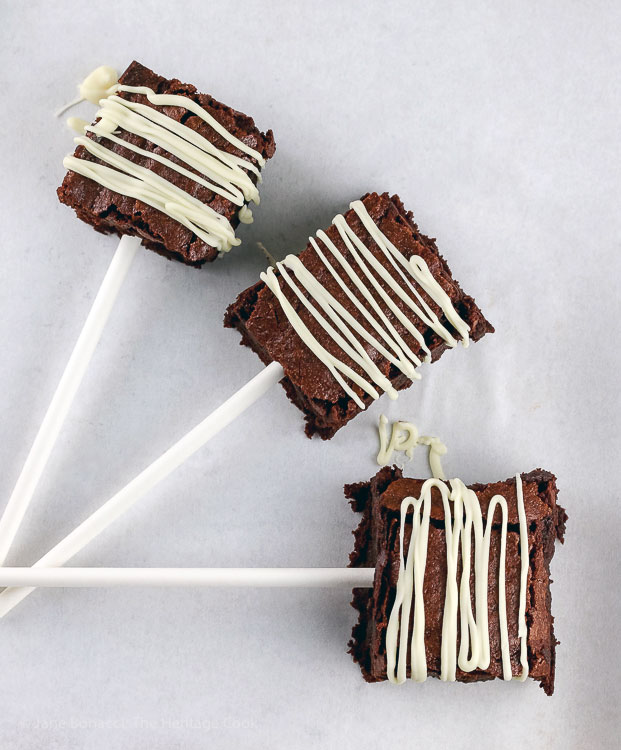
- Insert a stick into the edge of each brownie and drizzle with white chocolate for a fun treat
PRO Tip:
Use traditional popsicle sticks, the kind with flat sides, so the brownies don’t spin. I couldn’t find them for this project and used the round ones. It was a little tricky getting them to sit the way I wanted.
Key Ingredients for this Recipe
- Vegetable oil
- Unsalted butter
- Sugar and brown sugar
- Eggs
- Vanilla
- All-purpose flour or gluten-free flour blend
- Cocoa powder
- Baking powder and salt
- White chocolate
Kitchen Tools I Use to Make This Recipe (affiliate links)
Gluten-Free Tips:
Use a cup-for-cup style of gluten-free flour blend to make these brownies. They will be more delicate than regular wheat based brownies. I used round lollipop sticks and the brownies spun on them. Definitely use the flat kind of popsicle sticks and you’ll have more success than I did! Or you can leave off the sticks and serve them like regular brownies for a more elegant dessert.
Happy Chocolate Monday ~ have a wonderful week!!
Gluten-Free Brownie Pops
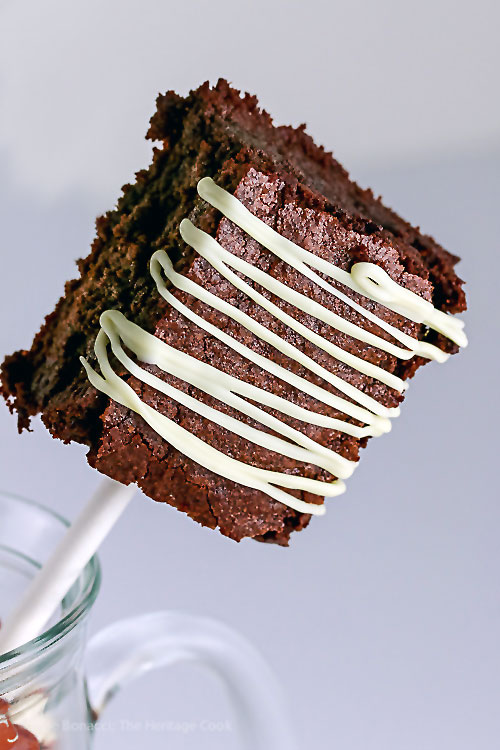
Classic chocolatey Gluten Free Brownie Pops - our favorite chocolate treats served on sticks! Rich and indulgent, your kids and guests are going to love these!
Ingredients
- 3/4 cup vegetable oil
- 1 cup (2 sticks, 226g) unsalted butter, melted
- 1-1/2 cups (288g) sugar
- 1-1/2 cups (309g) firmly packed brown sugar
- 6 large eggs
- 1 tsp pure vanilla extract
- 1-1/2 cups (180g) all-purpose flour or gluten-free flour blend
- (1/4 tsp xanthan gum, only if you are using gluten-free flour)
- 2 cups (180g) cocoa powder
- 3/4 tsp baking powder
- 1/2 tsp salt
- Popsicle or lollipop sticks
- Melted white chocolate, for decorating, optional
Instructions
- Preheat the oven to 350°F. Butter a 9-by-13-inch baking pan and line it with parchment paper, leaving an overhang on two sides to create a sling. Lightly butter the parchment.
- In the bowl of your stand mixer, combine the oil with the butter, sugar, brown sugar, and vanilla extract. Beat on low until fully blended and smooth. When cooled, add the eggs and beat in. Don't add them too soon or you risk scrambling them.
- In a bowl, whisk together the flour, cocoa powder, baking powder and salt, then slowly, about 1/3 at a time, add them to the oil/sugar mixture, stirring on low to combine. Scrape the sides and bottom of the bowl.
- Pour the batter into the prepared pan. Bake 30 to 45 minutes or until a toothpick inserted into the center comes out with just a few moist crumbs clinging to it. Watch carefully because every oven is different and yours may bake more quickly than mine did! Remove from the oven and cool completely in the pan.
- When the brownies are cool, run a spatula around the uncovered edges and use the parchment sling to lift them out of the pan. Cut the brownies into 15 pieces. Slide a stick into one side of each brownie and then place on a parchment-lined baking sheet. Drizzle with white chocolate if desired. Refrigerate for 5 to 10 minutes until the white chocolate sets. Serve cool or at room temperature.
Notes
Original recipe from Erin McDowell on PureWow
If you love this recipe, be sure to follow me on social media so you never miss a post:
| Facebook | Pinterest | Instagram | Twitter |
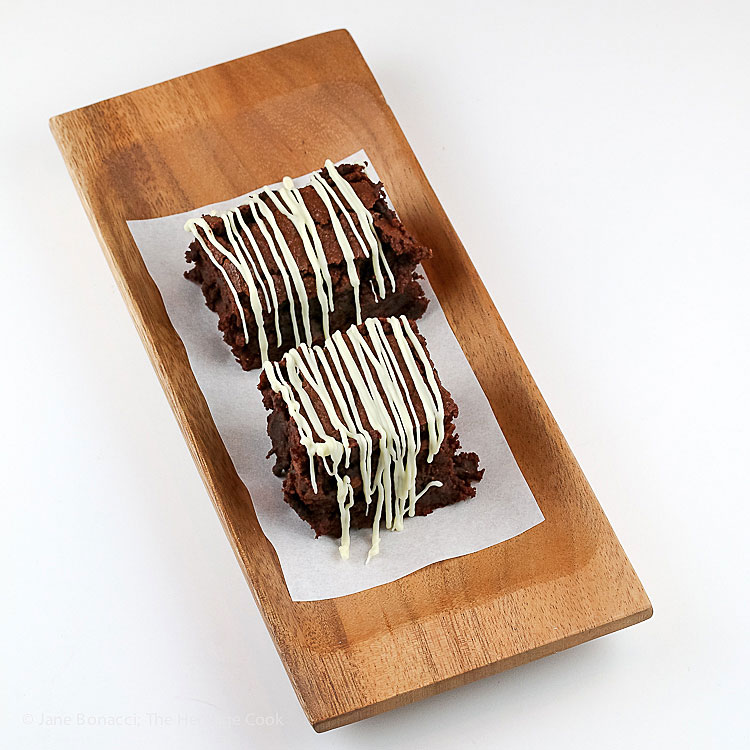
You can also serve these without the sticks for a more elegant dessert.
Create a New Tradition Today!
First Published: 5 June 2017
Last Updated: 25 Nov 2019
Welcome! The suggestions here are not intended as dietary advice or as a substitute for consulting a dietician, physician, or other medical professional. Please see the Disclaimers/Privacy Policy page for additional details. Unauthorized use, distribution, and/or duplication of proprietary material from The Heritage Cook without prior approval is prohibited. If you have any questions or would like permission, please contact me. We participate in the Amazon Services LLC Associates Program, an affiliate advertising program designed to provide a means for sites to earn advertising fees by advertising and linking to amazon.com. This page may contain affiliate links.


