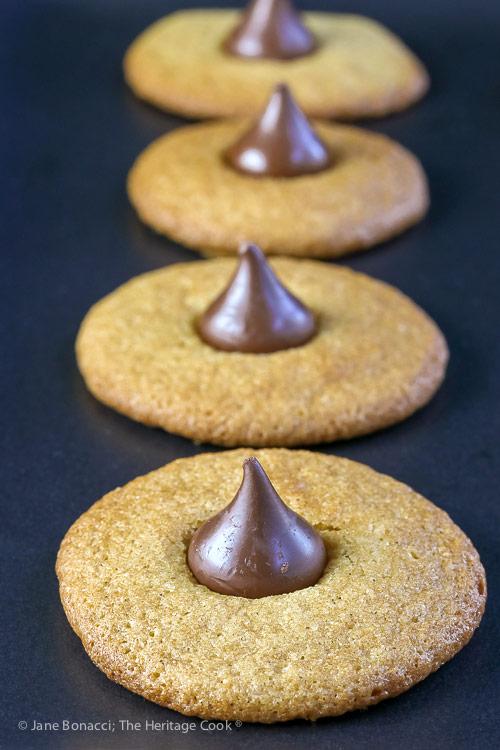
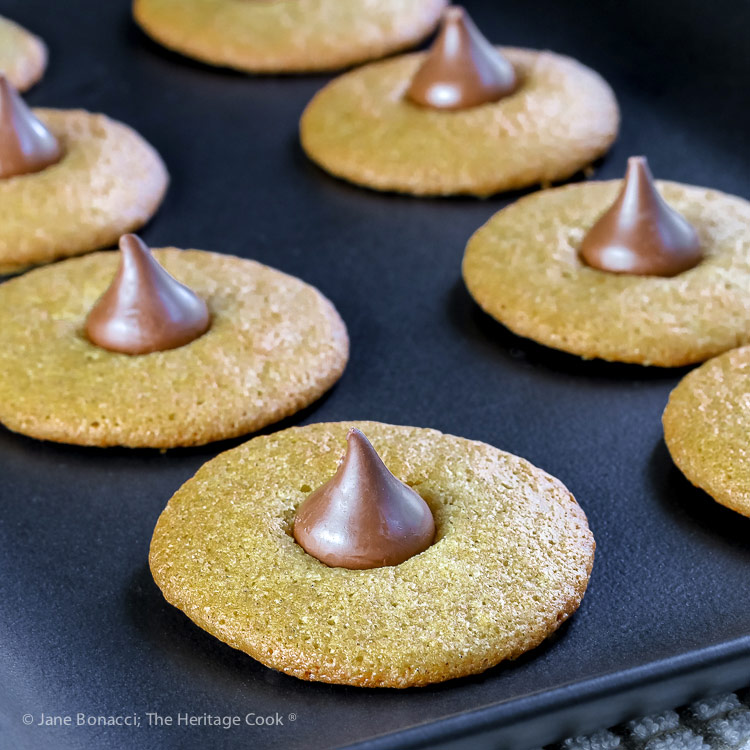
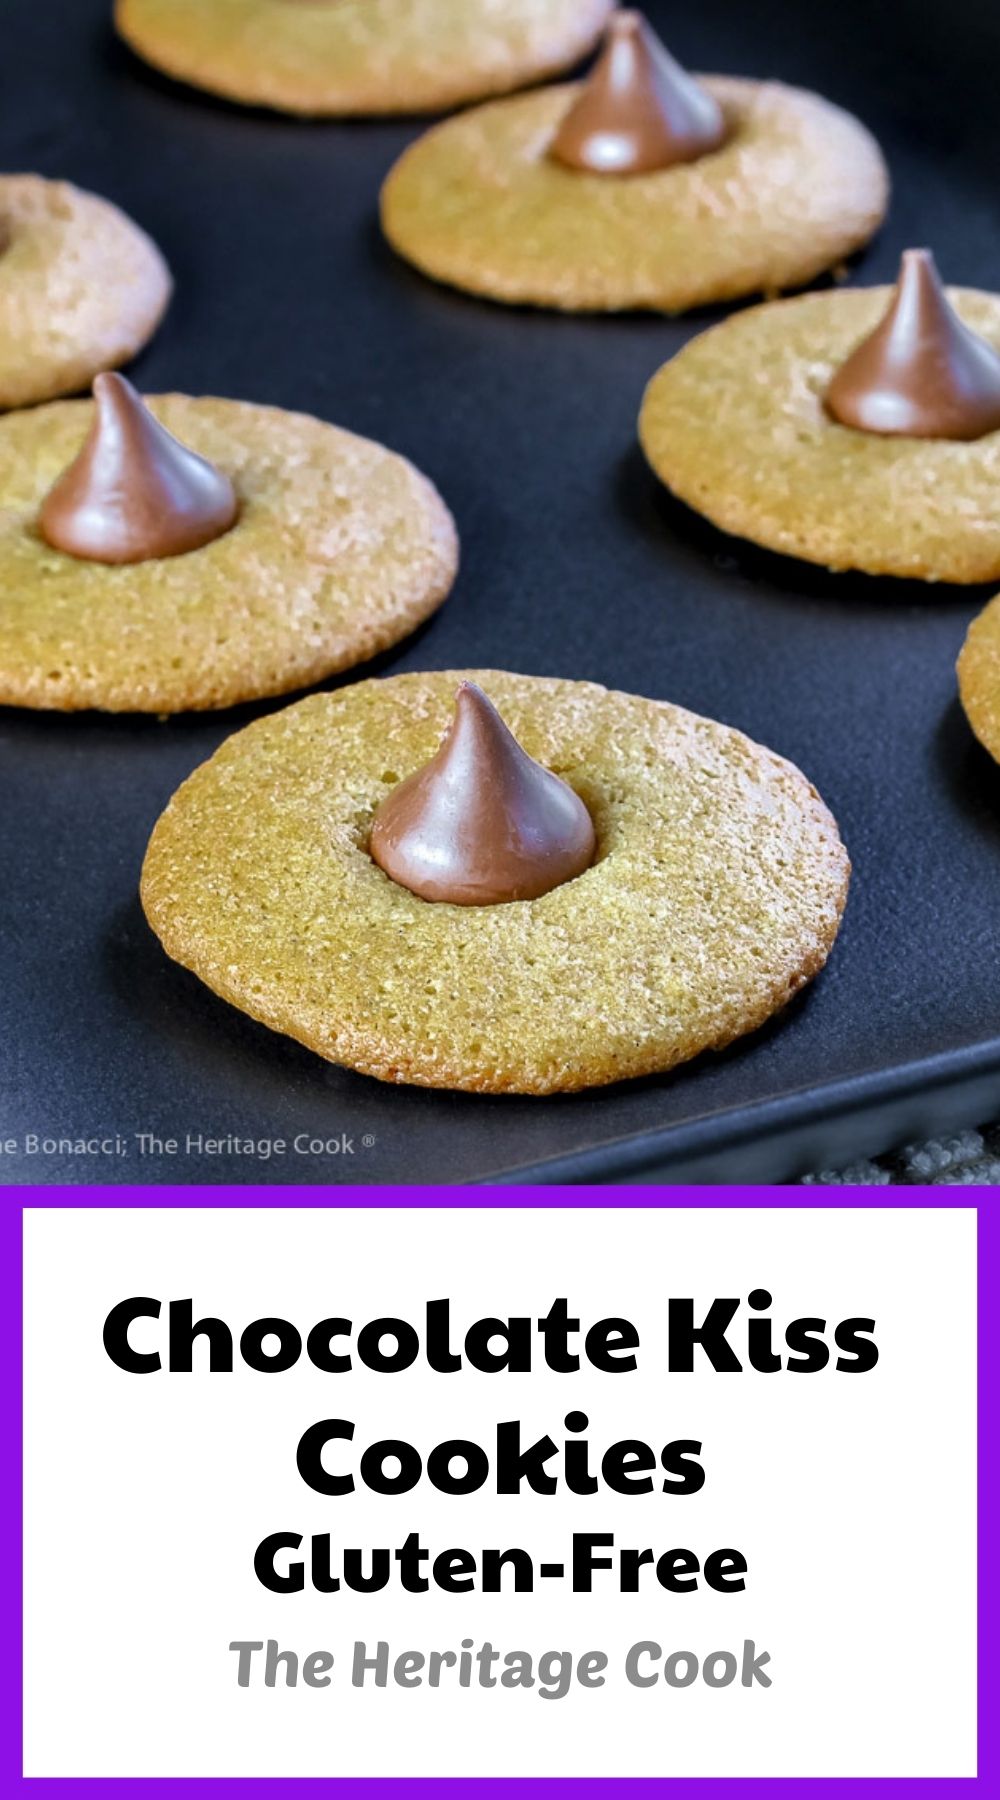
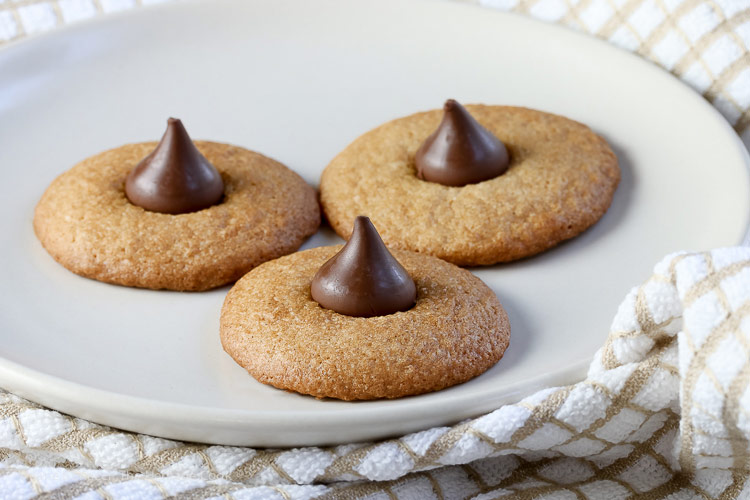
These Chocolate Kiss Cookies are a classic for a reason and are the perfect treat for Chocolate Monday! Often made with peanut butter or chocolate cookies, I chose to make a vanilla version. Rich and packed with great chocolate, the Artist and I really enjoyed them!
There is a reason these cookies are so popular, just look at them! Any chocoholic or child who sees them wants at least one (more like a dozen LOL). Beautiful and so tempting.
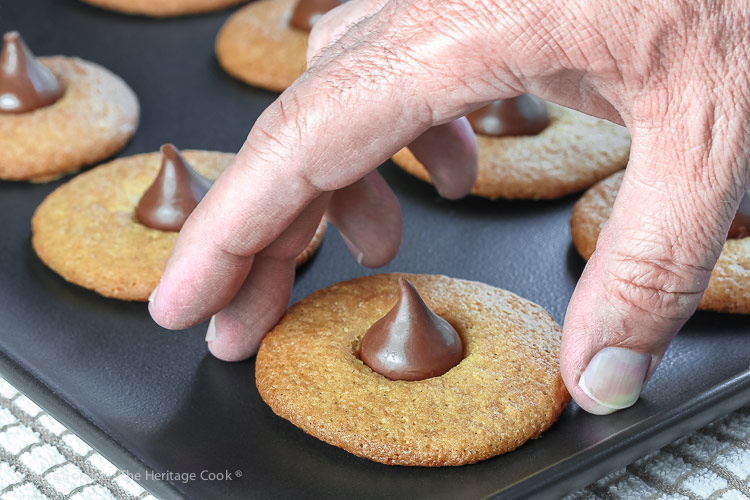
They are so good, watch out for people trying to steal one!! 😉
These cookies are perfect for your holiday parties, gifts, and any celebration. They make an excellent addition to cookie trays.
They are also incredibly easy to make, a perfect recipe to help little ones learn how to bake! I would have loved to make these when I was a little girl!
These Chocolate Kiss Cookies always remind me of mini hats. They would be so fun for Halloween! If the cookies were colorfully colored think how fun these would be. I may try that next time – make multi-colored cookies!like these Confetti Sprinkle Cookies from Dorothy of Shockingly Delicious! Just be sure that the sprinkles you use are gluten-free if needed.
I hope you enjoy these Chocolate Kiss Cookies! Have a fabulous Chocolate Monday and have a wonderful week ahead!
Did you enjoy this recipe? Let me know in the comments, I love hearing from you!
Key Ingredients for Chocolate Kiss Cookies:
- Butter, white and brown sugar, egg, vanilla
- Gluten-free flour, baking soda, salt, milk
- Hershey’s Chocolate Kisses
Can I use a different flavor of Hershey Kiss?
Yes, you can! This would be especially fun during the holidays. But if you are gluten-free, be careful as some of the specialty flavors and seasonal offerings may not be safe. Always check the packaging and if you have any questions, contact the manufacturer for clarification.
PRO Tip:
A spring-loaded scoop helps you quickly form evenly sized balls of dough for cookies that are all the same size and bake more evenly. Scoop up some dough, over-filling the scoop and drag it against the side of the bowl to remove excess dough. Keep repeating until all the dough is gone and the cookies baked.
How to make Chocolate Kiss Cookies:
- Cream together the butter with both sugars, the egg and vanilla; mix until thoroughly blended
- In a bowl, whisk together the flour blend, baking soda, and salt; add to the butter mixture alternating with the milk, beginning and ending with the dry ingredients
- Mix until smooth and creamy then cover and chill for at least 1 hour; when ready to bake, preheat the oven to 375°F and line two baking sheets with parchment or Silpats
- Use a scoop and form the dough into 1-inch diameter balls; place the dough balls on the prepared baking sheets
- Bake for 8 to 10 minutes or until golden brown; cool 1 minute on the baking sheet before transferring to a wire rack
- Immediately gently press a chocolate kiss in the center of each cookie; cool thoroughly before serving
PRO Tip:
Chilling the dough and letting it rest for at least 20 minutes really helps with gluten-free doughs and batters. The alternative flours need more time to fully absorb the liquids and this also helps reduce the chance that your cookies are gritty. And if you use Authentic Foods’ Superfine flours you get cookies with little to no grittiness, even without resting.
Recommended Tools (affiliate links; no extra cost to you):
- Kitchen scale
- Stand mixer or hand mixer
- Mixing bowls
- Baking sheets
- Parchment paper or Silpats
- Spring-loaded scoop
- Wire cooling racks
PRO Tip:
If you are trying to figure out the best way to store your parchment paper sheets to keep them flat and avoid rolling, I place mine in the bottom baking sheet and cover with the remaining baking sheets. It keeps them handy plus nice and flat and clean until I need one for baking.
Gluten-Free Tips:
You can adjust any recipe to gluten-free by using 120 grams per cup of my favorite gluten-free flour blend. If you are using another brand of gluten-free flour, whisk the mix, spoon it lightly into a measuring cup until mounded, level off the top with a straight edge, and weigh the flour left in the cup. Use that weight as your standard per cup of that specific flour. Commercial blends such as Pamela’s, Bob’s Red Mill 1-to-1, or King Arthur Measure for Measure are all good choices.
Gluten Free Chocolate Kiss Cookies
These Chocolate Kiss Cookies are a classic for a reason and are the perfect treat for Chocolate Monday! Often made with peanut butter or chocolate cookies, I chose to make a vanilla version. Rich and packed with great chocolate, the Artist and I really enjoyed them!
Ingredients
- 1/2 cup (113g; 1 stick) butter, at room temperature
- 1/2 cup (100g) granulated sugar
- 1/2 cup (100g) firmly packed brown sugar
- 1 large egg
- 2 tsp vanilla paste or pure extract
- 1-3/4 cups + 1 tbsp (220g) gluten-free flour blend or all-purpose flour
- 1/2 tsp baking soda
- 1/4 tsp salt
- 3 to 4 tbsp milk
- 30 to 36 Hershey's Chocolate Kisses, unwrapped
Instructions
- In the bowl of your stand mixer or using a hand mixer, combine the butter, both sugars, the egg, and vanilla, beating until thoroughly blended.
- In a separate bowl, whisk together the flour, baking soda, and salt. Add the dry ingredients to the butter mixture alternately with the milk, mixing until smooth and creamy. Cover the bowl and refrigerate at least 1 hour to firm up the dough.
- Preheat the oven to 375°F. Line two baking sheets with parchment paper.
- Use a spring-loaded ice cream scoop to portion the dough into 1-inch diameter balls and place them on the prepared baking sheet.
- Bake for 8 to 10 minutes or until set. Cool for 1 minute on the baking sheet; transfer to a wire rack and gently press an unwrapped chocolate kiss in the center of each cookie immediately. Cool completely before serving.
Recipe can be found at www.theheritagecook
Notes
Adapted from a Hershey's Cocoa recipe
Nutrition Information:
Yield:
36Serving Size:
1Amount Per Serving: Calories: 59Total Fat: 2gSaturated Fat: 1gTrans Fat: 0gUnsaturated Fat: 0gCholesterol: 7mgSodium: 42mgCarbohydrates: 10gFiber: 0gSugar: 4gProtein: 1g
If you enjoyed this recipe, be sure to follow me on social media so you never miss a post:
Create a New Tradition Today!
Welcome! The suggestions here are not intended as dietary advice or as a substitute for consulting a dietician, physician, or other medical professional. Please see the Disclaimers/Privacy Policy page for additional details. Unauthorized use, distribution, and/or duplication of proprietary material from The Heritage Cook without prior approval is prohibited. If you have any questions or would like permission, please contact me. We participate in the Amazon Services LLC Associates Program, an affiliate advertising program designed to provide a means for sites to earn advertising fees by advertising and linking to amazon.com. As an Amazon Associate, I earn a small amount from qualifying purchases. This page may contain affiliate links. This post was first shared in Aug 2018. The article was updated in 2022.

