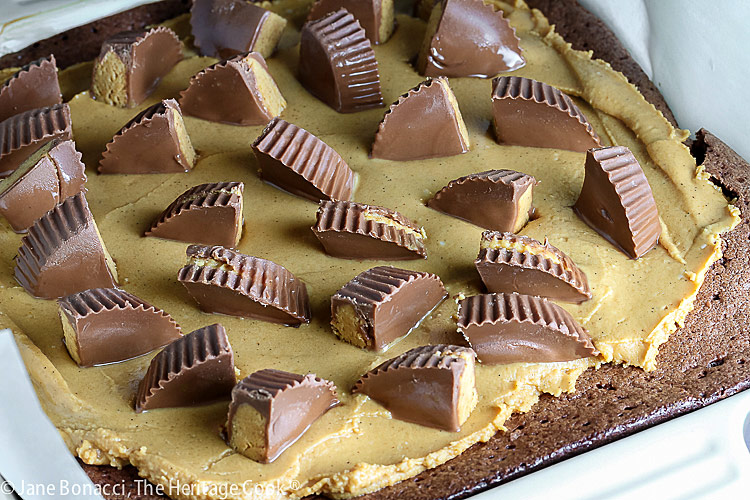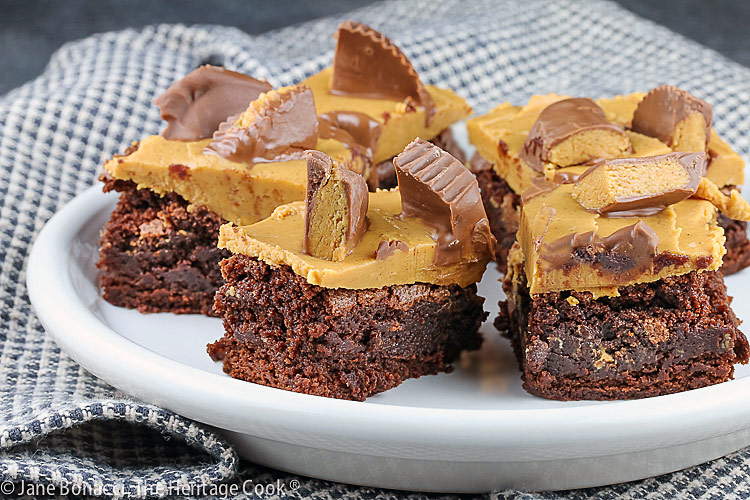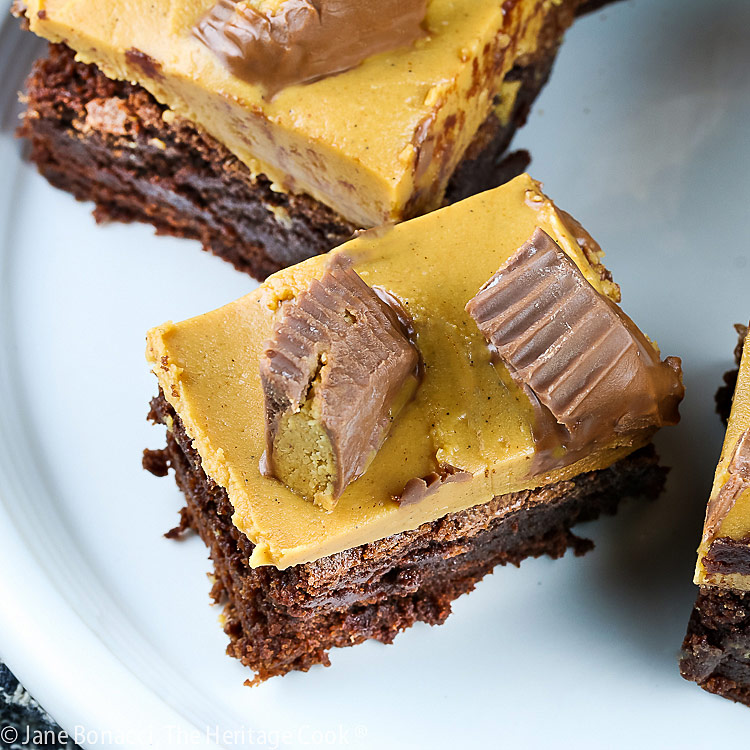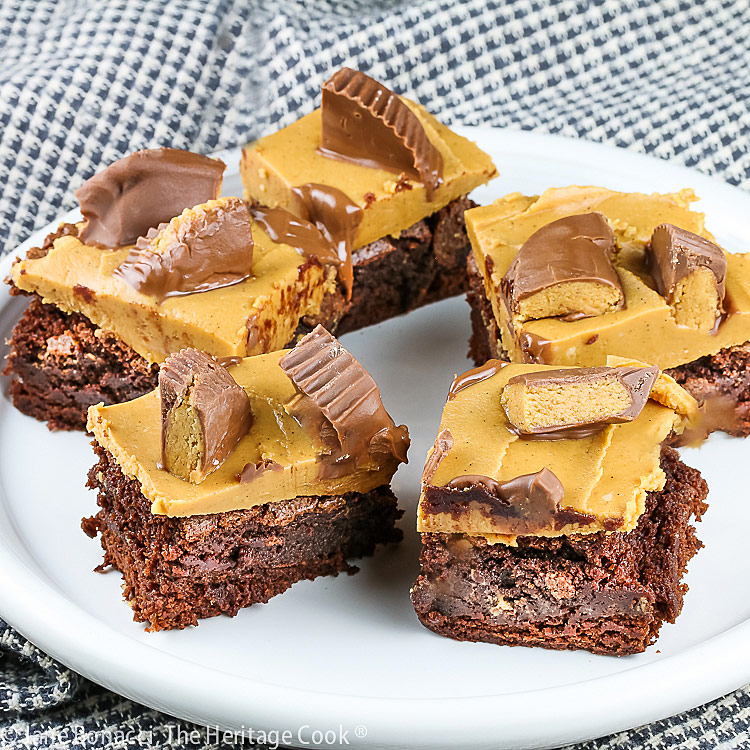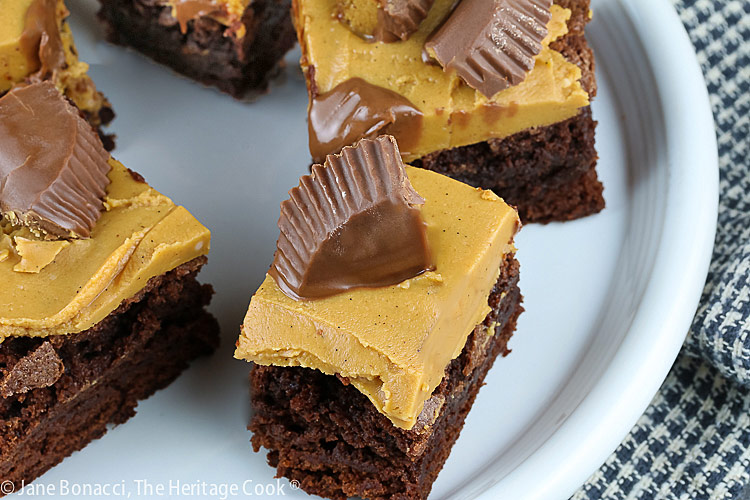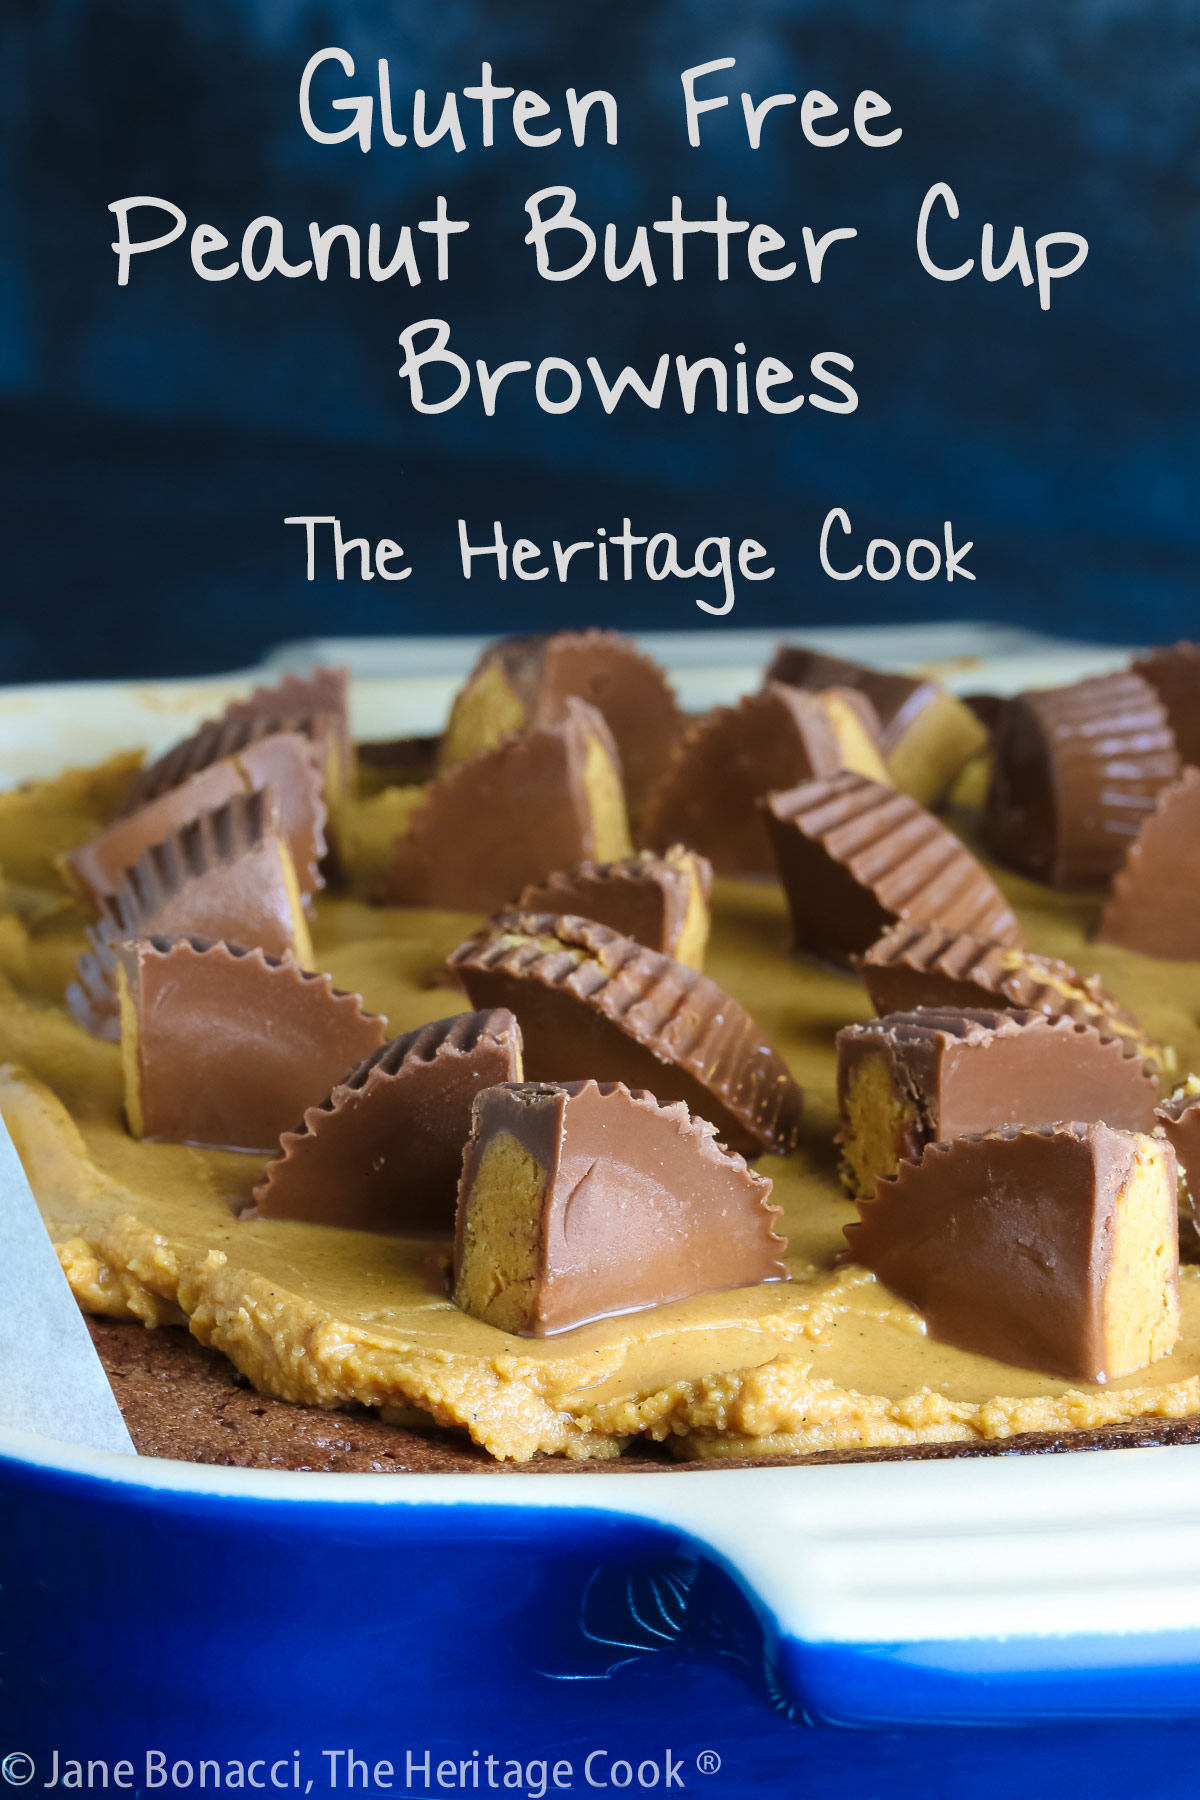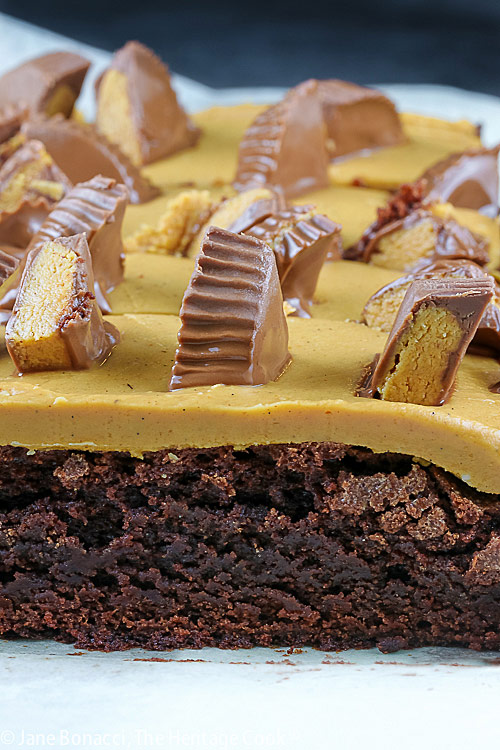
As soon as I saw the Halloween candies show up in the grocery stores, I knew I wanted to make something with the Reese’s cups. The miniature size is perfect for this recipe, just quarter them and they are ready for the top of the brownies.
I knew I wanted a layered dessert but did consider making a peanut butter cup version of my Snicker’s Fudge. It is so good! I also thought of cupcakes but then I saw an image on Pinterest for a layered dessert and that sounded fun.
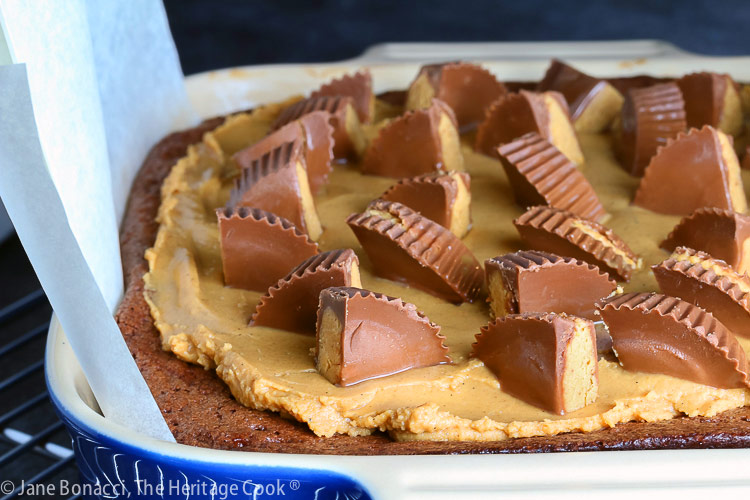
This is the parchment sling I use to lift the brownies out of the pan
The only drawback with this recipe is the time it takes for each layer to cool down or firm up. Be sure to plan ahead and leave yourself enough time to get each one ready before adding the next!
These brownies are incredibly rich so cut the squares fairly small. People can always come back for seconds! Using a long knife will make this much easier – use the biggest one you own.
Have fun with these Peanut Butter Cup Brownies. They are soul satisfying and delectable! Have a great time making and enjoying them!
Did you enjoy this recipe? Let me know in the comments, I love hearing from you!
Key Ingredients for Peanut Butter Cup Brownies:
- Brownies: unsalted butter, unsweetened chocolate, sugar, eggs, GF all-purpose flour (or regular AP flour), salt, vanilla
- Peanut Butter Layer: creamy peanut butter, powdered sugar, butter
- Toppings: semisweet chocolate chips, butter, peanut butter cups
What is Vanilla Bean Paste?
Vanilla paste is a mixture of pure vanilla, vanilla bean specs (from inside the beans), sugar, water, and gum tragacanth (a natural thickener). I get mine from Nielsen-Massey in a huge bottle that lasts me forever. It is expensive these days, but I love the look of the specs in my baked goods and the little bursts of extra vanilla flavor in every bite.
PRO Tip:
Pay attention to the amount of time each layer takes – they will have to cool or firm up before you add the next one. You can make these over two days if you want, make the brownies on day one and the other two layers on day two.
How to make Peanut Butter Cup Brownies:
- Brownies: Melt the butter and chocolate, stir in the sugar, eggs, and vanilla to make a batter; pour into a parchment-lined pan
- Bake 45 to 50 minutes until a toothpick comes out clean; cool about 30 minutes on a wire rack
- Peanut Butter Layer: Melt the peanut butter and stir in the sugar and butter, mixing until smooth; pour over the brownies, spreading it to cover the whole top then set aside to cool for 20 minutes
- Cover with the chopped peanut butter cups, pressing gently into the peanut butter layer; refrigerate for 20 minutes to firm the layers
- Use the parchment to lift the brownies out of the pan and set on a cutting board; use a sharp, long knife to cut into squares and serve
PRO Tip:
If you are trying to lift the brownies out of the pan and the parchment is stuck to the bottom, you can set the pan on a warmed dish towel or heating pad for a few minutes to soften the butter and get it to release. You can also leave the pan at room temperature for about 15 minutes or so.
PRO Tip:
If you are using a heavy-duty stand mixer, pulsing the mixer will help minimize a cloud of the dry ingredients when you mix them in. Do this slowly and you’ll have a smooth batter in just a few minutes.
Recommended Tools (affiliate links; no extra cost to you):
- Chef’s knife
- Cutting board
- 8×8-inch square baking pan
- Small saucepan
- Wire cooling rack
- Sharp, long knife
PRO Tip:
Be sure you’ve got the peanut butter cups chopped before you start making the ganache. You’ll want to place them on top of the brownies shortly after pouring the ganache over the peanut butter layer.
Gluten-Free Tips:
You can adjust any recipe to gluten-free by using 120 grams of my favorite gluten-free flour blend per cup. This recipe was written using this flour blend. If you are using another brand of gluten-free flour, whisk the mix, spoon it lightly into a measuring cup until mounded, level off the top with a straight edge, and weigh the flour. Use that weight as your standard per cup of that specific flour. Commercial blends such as Pamela’s, Bob’s Red Mill 1-to-1, or King Arthur Measure for Measure are all good choices.
Gluten Free Peanut Butter Cup Brownies
The perfect blending of two of my favorite flavors, chocolate and peanut butter, these brownies are perfect for the chocoholics in your life. I'm planning on making another batch for Halloween!
Ingredients
Brownies
- 3 ounces (2/3 cup; 80 g) gluten-free all-purpose flour blend (see Note)
- 2-1/2 ounces (3/4 cup; 63 g) unsweetened natural cocoa powder
- 1/2 teaspoon baking powder
- 1/4 teaspoon xanthan gum
- 8 ounces (1 cup; 2 sticks; 227 g) butter; plus more for the pan
- 2 cups (396 g) granulated sugar
- 4 large eggs, at room temperature
- 1 teaspoon pure vanilla extract or vanilla paste
Peanut Butter Layer
- 1 cup (270 g) creamy peanut butter
- 1 tablespoon butter
- 1/4 cup (29 g) powdered sugar
- 1 teaspoon pure vanilla extract or vanilla paste
Topping
- 1 1/2 cups chopped peanut butter cups (about 8 snack size cups, quartered)
Instructions
- Preheat the oven to 350°F with the top rack in the lower third of the oven. Butter a 9x9-inch square baking dish and line with parchment paper, leaving two ends hanging over the edges to create a sling.
- Make the Brownies: In a bowl, whisk together the flour blend, cocoa, baking powder, and xanthan gum. Set aside.
- Melt the butter in a medium saucepan over medium heat. Pour the butter into the bowl of your stand mixer. Beat in the sugar, mixing until you can hold the bowl comfortably in your hand. Then mix in the eggs and the vanilla. When blended, stir in the dry ingredients.
- Start on very low speed; when the dry ingredients are incorporated, beat until the batter is smooth and creamy, about 1 minute.
- Pour the batter into the prepared baking pan, smoothing with a spatula into an even layer. Bake until a toothpick inserted into the center comes out with just a few moist crumbs on it, about 40 to 45 minutes. Let the brownies cool in the pan on a rack for about 30 minutes.
- Make the Peanut Butter Layer: In a small saucepan over medium heat, melt the peanut butter. Stir in the butter, powdered sugar, and vanilla until melted and smooth. Spread the peanut butter layer into the center of the brownies, using an off-set spatula to smooth the top and create an even layer. Let cool about 10 minutes.
- Then cover with the chopped peanut butter cups, gently pressing them into the ganache. Set the brownies aside and let cool completely and chill them 15 minutes in the refrigerator. Use the parchment to lift the brownies out of the pan and set them on a cutting board.
- Using a sharp, long knife, cut into squares and serve.
- The brownies will stay fresh for 2 to 3 days at room temperature if kept in an airtight container. If you refrigerate them (covered), they will last a few days longer.
- Recipe Source: The Heritage Cook
Notes
Adapted from a recipe on Fine Cooking
Note: You can adjust any recipe to gluten-free by using 120 grams of my favorite gluten-free flour blend per cup. This
recipe was written using this flour blend. If you are using another brand of gluten-free flour, whisk the mix, spoon it lightly into a measuring cup until mounded, level off the top with a straight edge, and weigh the flour. Use that weight as your standard per cup of that specific flour. Commercial
blends such as Pamela's, Bob's Red Mill 1-to-1, or King Arthur Measure for Measure are all good choices.
Nutrition Information:
Yield:
16Serving Size:
1Amount Per Serving: Calories: 239Total Fat: 10gSaturated Fat: 3gTrans Fat: 0gUnsaturated Fat: 6gCholesterol: 50mgSodium: 125mgCarbohydrates: 31gFiber: 2gSugar: 11gProtein: 7g
If you enjoyed this recipe, be sure to follow me on social media so you never miss a post:
| Facebook | Pinterest | Instagram | Twitter |
Create a New Tradition Today!
Welcome! The suggestions here are not intended as dietary advice or as a substitute for consulting a dietician, physician, or other medical professional. Please see the Disclaimers/Privacy Policy page for additional details. Unauthorized use, distribution, and/or duplication of proprietary material from The Heritage Cook without prior approval is prohibited. If you have any questions or would like permission, please contact me. We participate in the Amazon Services LLC Associates Program, an affiliate advertising program designed to provide a means for sites to earn advertising fees by advertising and linking to amazon.com. As an Amazon Associate I earn from qualifying purchases. This page may contain affiliate links.

