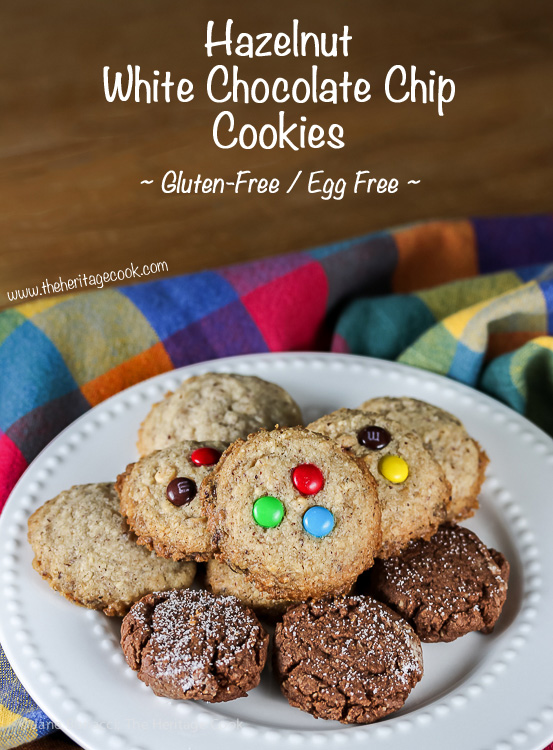
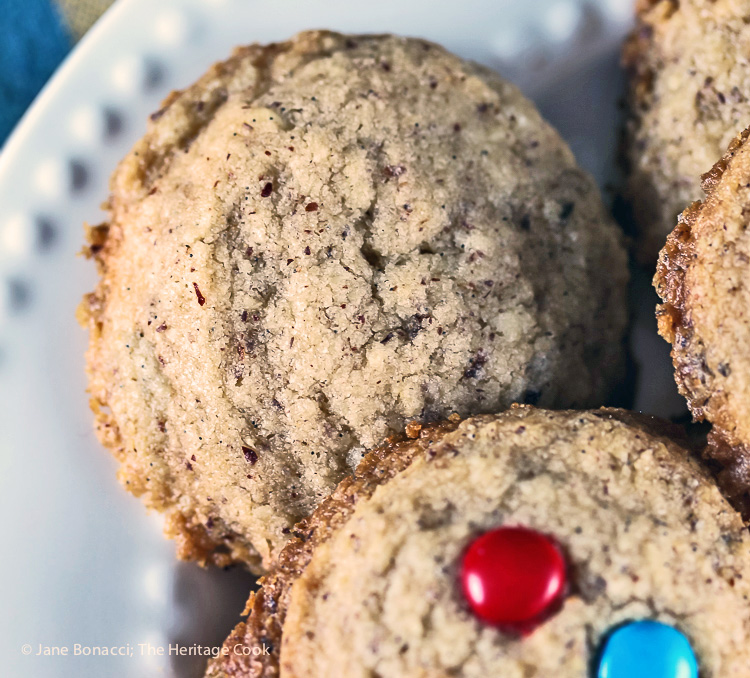
The Artist LOVES cookies! I have been making lots of other kinds of treats for recent Chocolate Mondays and it was time to appease his craving for cookies. These Hazelnut cookies are based on a basic butter cookie recipe, but they are lighter and more delicate. I know you will love them!
I added mini white chocolate chips I found at Whole Foods and they were the perfect size. Just enough to give a little creamy sweetness, perfectly balancing the tender, mild cookie. Right after baking they are almost like a shortbread cookie, but once the flours have been fully hydrated, they become more chewy.
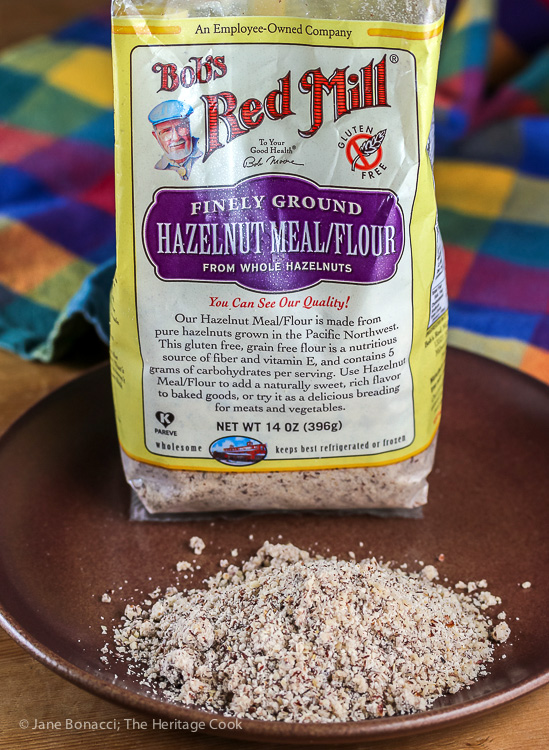
Bob’s Red Mill’s Hazelnut Meal is a lifesaver!
Have you discovered Bob’s Red Mill’s Hazelnut Flour/Meal? What a time saver! They’ve done all the work for us and all we need to do is pour the very finely chopped nuts into our baked goods for extra protein, moisture, and health benefits. Many people know of Bob’s almond meal, but not everyone has found the hazelnuts. I keep both in the freezer ready in a moment for any fun creation I come up with!
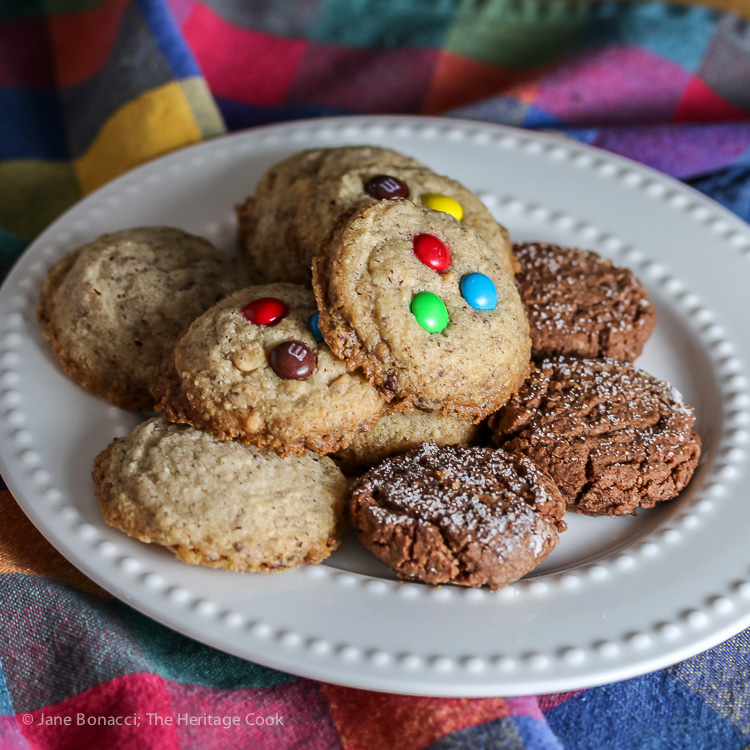
I think these would be great with some grated orange or lemon zest in them to brighten and enhance the flavors just a bit. You could also add a touch of rum or your favorite liqueur. You could easily make a simple sugar glaze and drizzle it over the cookies. And don’t you love the bright pops of color from the mini M&Ms! So many options, so little time, LOL.
I actually made 3 versions today – plain vanilla, vanilla with white chocolate chips, and cocoa. The flavor of the chocolate cookies was good but they were a little denser than I liked, so I made a second batch of the vanilla version, made a couple of small adjustments and added the white chocolate chips. These are beautiful cookies that would be perfect with a cup of hot tea curled up by the fire on a cold day, or served alongside a cup of coffee while chatting with friends.
You can make this dough in advance, roll it into logs, wrap it tightly in plastic, and keep it in the freezer. Then when you are having a party, someone drops by for coffee, or you are having friends over for a girl’s-night in, bring out the cookie dough, slice and bake them. Fresh, hot cookies any time you want!!

Mini M&Ms add a delightful crunch and pop of color to these cookies
Have you bought yourself spring-loaded ice cream scoops yet? They are indispensable when portioning cookies, batter for cupcakes, making pancakes, or any project that requires scooping equal portions. Not only are you guaranteed that each cookie is exactly the same size, but it also speeds up the process like you can’t believe. I can pan a sheet of cookies in about a minute, with each one absolutely perfect! I recommend getting at least 2 different sizes, a 1-tbsp mini scoop and a 2 or 3 tbsp medium scoop. After all the years of baking, I have several different sizes and I use them all! 🙂
I hope you have the chance to make these cookies – I know you will find them absolutely delightful!
Happy Chocolate Monday everyone!
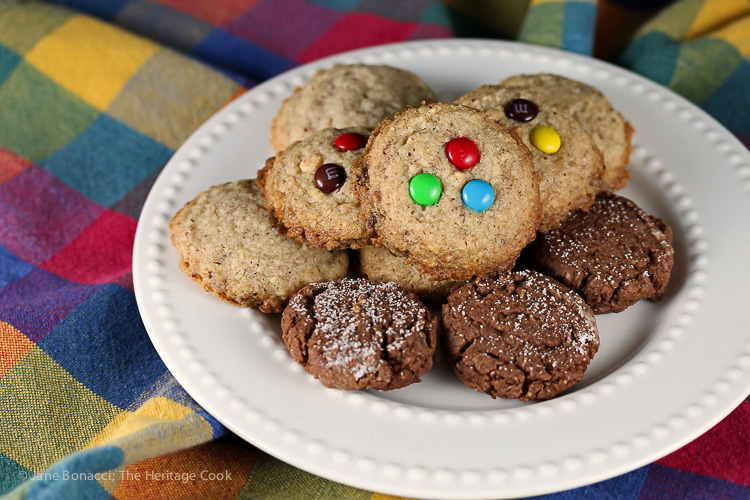
Who wants a cookie?
Gluten-Free Tips:
If you use a gluten-free flour blend the rest of the ingredients are naturally gluten-free. If you include any add-ins, make sure they are gluten-free too. If you are making these for someone who cannot have hazelnuts, you can also use almond meal in its place.
Kitchen Skill: Softening Butter
If you are like me and always forgetting to pull the butter out before you start baking to soften it, there is a simple fix. Your microwave oven. Yep, you can nuke the butter without melting it! The trick is to do it in small increments.
Place the butter (still in its wrapper) on a plate – if you have more than one stick, set them perpendicular to each other for most even exposure. Heat the butter in 5 second increments, turning the stick(s) over between each heating. It will usually take only a few rounds, but if the butter is frozen, add as many as needed. Gently press on the stick between each round and stop when it is softened and before it starts to melt.
If you don’t have a microwave, you can also grate the hard butter and it will soften almost instantly!

- Cookies
- 1 cup hazelnut meal (Bob's Red Mill's produce it gluten-free
- 1 cup + 2 tbsp unbleached, all-purpose flour or gluten-free flour blend
- 1/2 teaspoon salt
- 1/8 tsp xanthan gum - only if baking with gluten-free flour
- 1-1/2 sticks (12 tbsp) butter, at room temperature
- 3/4 cup powdered sugar
- 1 tablespoon pure vanilla extract
- 1 cup mini white chocolate chips
- Optional Add-Ins
- Mini M&Ms (see comment)
- Toasted coconut
- Finely chopped dried fruits, such as cranberries or cherries
- In the bowl of a food processor, combine the hazelnut meal, flour, salt, (and xanthan if using). Pulse a few times to blend them together and grind the nuts a little finer. Set aside.
- In the bowl of your standing mixer, beat the butter on medium for about 1 minute to soften it. Add the powdered sugar in 3 increments, beating on low between each addition, until all the sugar has been incorporated. Scrape the sides and bottom of the bowl. Add the vanilla; increase the speed to medium and beat until smooth and creamy. Scrape the sides and bottom of the bowl.
- Add the flour/hazelnut mixture and beat on low just until combined. Add the white chocolate chips and beat until all the flour has been incorporated. If you are adding any additional ingredients, beat them in now (except for the M&Ms which look prettier if you just put them on top before baking).
- Press a sheet of plastic wrap on the surface of the dough and chill in the refrigerator for about 15 minutes to firm up the butter.
- Preheat the oven to 350°F. Line two baking sheets with parchment paper.
- Scoop the dough into 1 tbsp balls (using an ice cream scooper makes this really fast and easy) and place them on the parchment-lined baking sheets, 2-inches apart to allow for spreading. If using mini M&Ms, gently press each ball of dough with the bottom of a dampened glass dipped in sugar to flatten slightly. Press candies onto the top of each cookie.
- Refrigerate the remaining dough, covered, between bakings to keep the butter firm.
- Bake for 12 to 14 minutes until the edges are just golden brown. Leave on the baking sheet for 2 minutes to firm up (they are very delicate cookies), then transfer to a wire rack to cool completely. Once cool you can sift a little powdered sugar or cocoa powder over the tops of the cookies if you like.
- Store cookies in an airtight container, with sheets of waxed or parchment paper between each layer, at room temperature up to 3 days. Then hold in the refrigerator for 2 to 3 more days. You can also freeze the dough (formed into logs and tightly wrapped in plastic) up to 3 months. When ready to bake, partially thaw, and slice into disks for homemade slice-and-bake cookies.
- Yield: about 3 dozen 2-inch cookies
Create a New Tradition Today!
Let’s connect! If you ever need any entertaining or cooking advice, need to alter a recipe for gluten-free, or want recipe suggestions, don’t hesitate to email me. Thanks for joining the Heritage Cook Family!
Unauthorized use, distribution, and/or duplication of proprietary material from The Heritage Cook without prior approval is prohibited. This includes copying and reprinting content and photographs. If you have any questions or would like permission, I can be contacted here. Feel free to quote me, just give credit where credit is due, link to the recipe, and send people to my website. The suggestions here are not intended as dietary advice or as a substitute for consulting a dietician, physician, or other medical professional. It is the reader’s sole responsibility to determine which foods are appropriate and safe for their family to consume. The author makes no claims regarding the presence of food allergens and disclaims all liability in connection with the use of this site. Please see the Disclaimers page for additional details.
Thank You!

