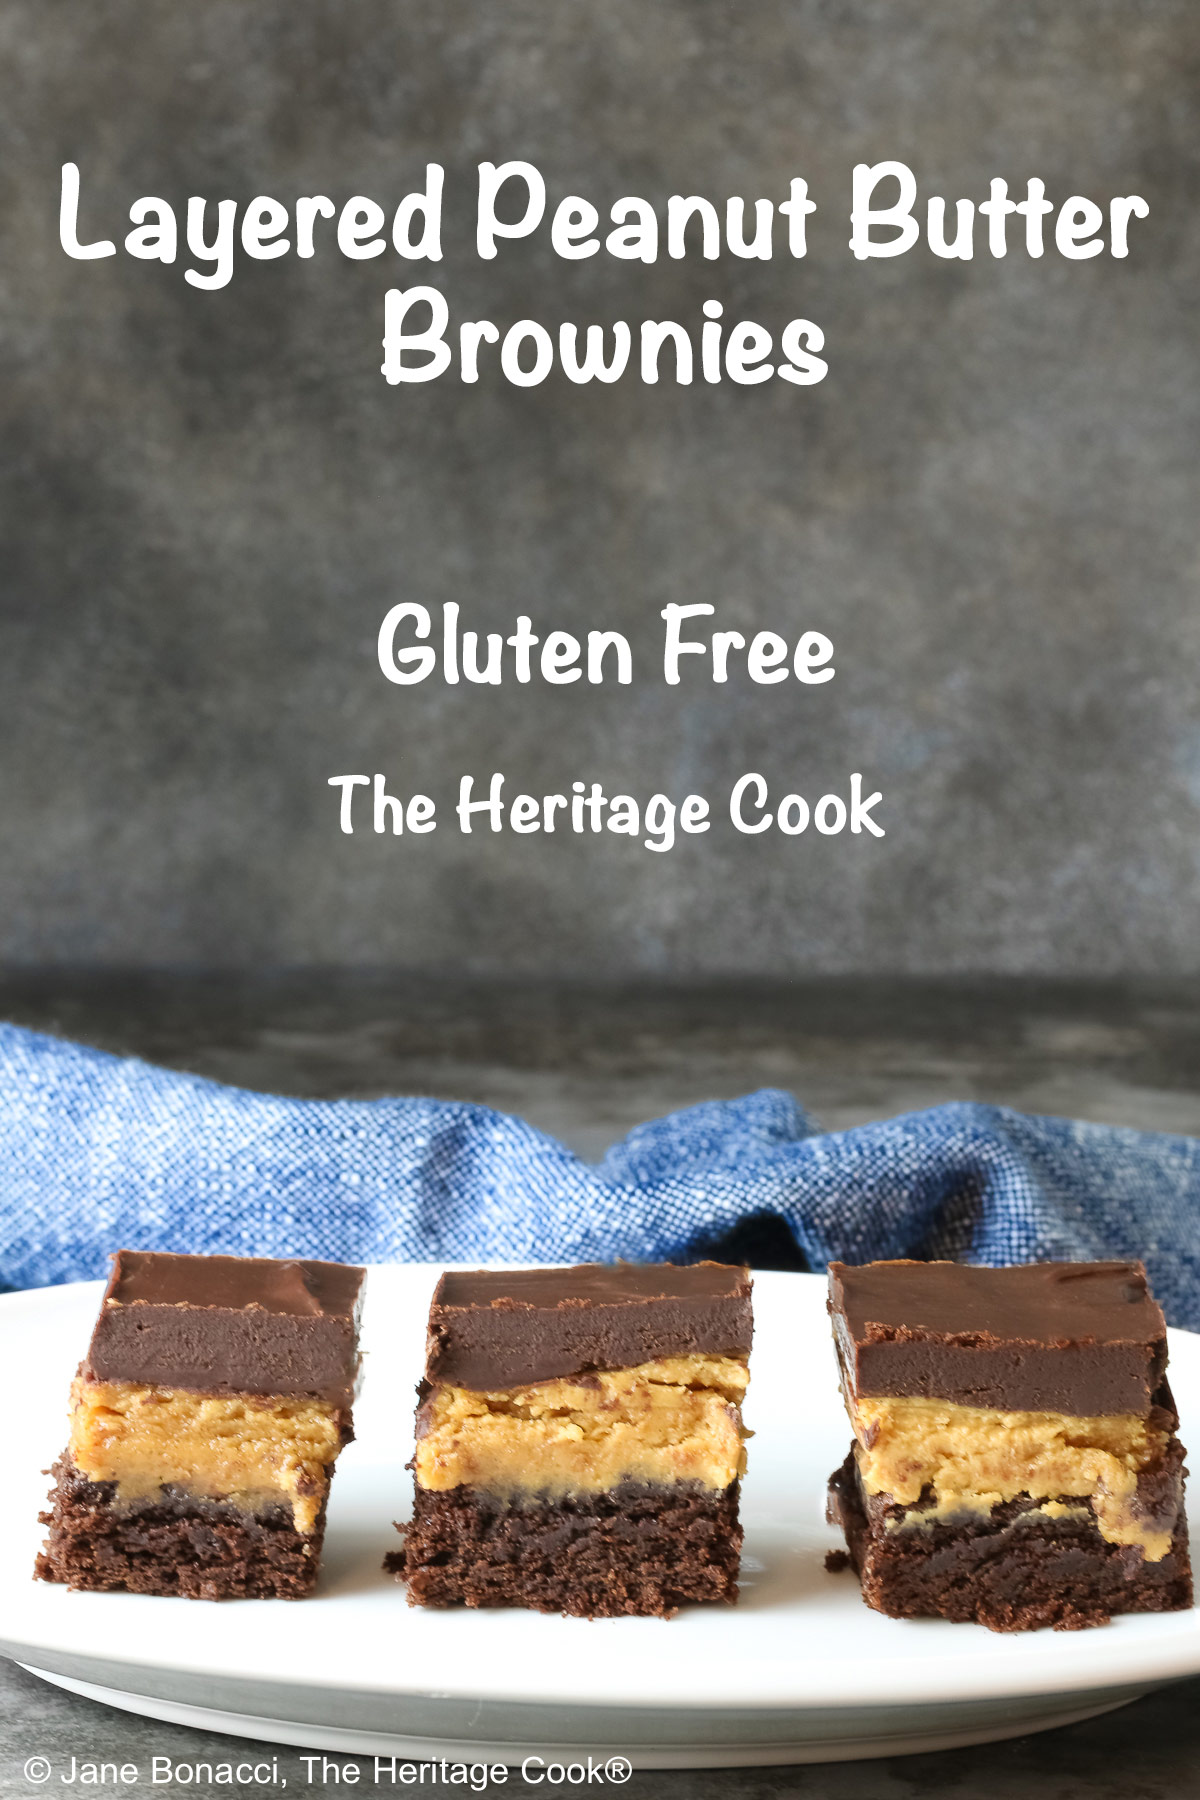
 Is there anything better or more delicious than the combination of chocolate and peanut butter? I don’t think so and based on your responses, you feel the same! These Layered Peanut Butter Brownies are heaven in every bite. So creamy, sweet, luscious, and indulgent – they are the perfect treat for any occasion or holiday.
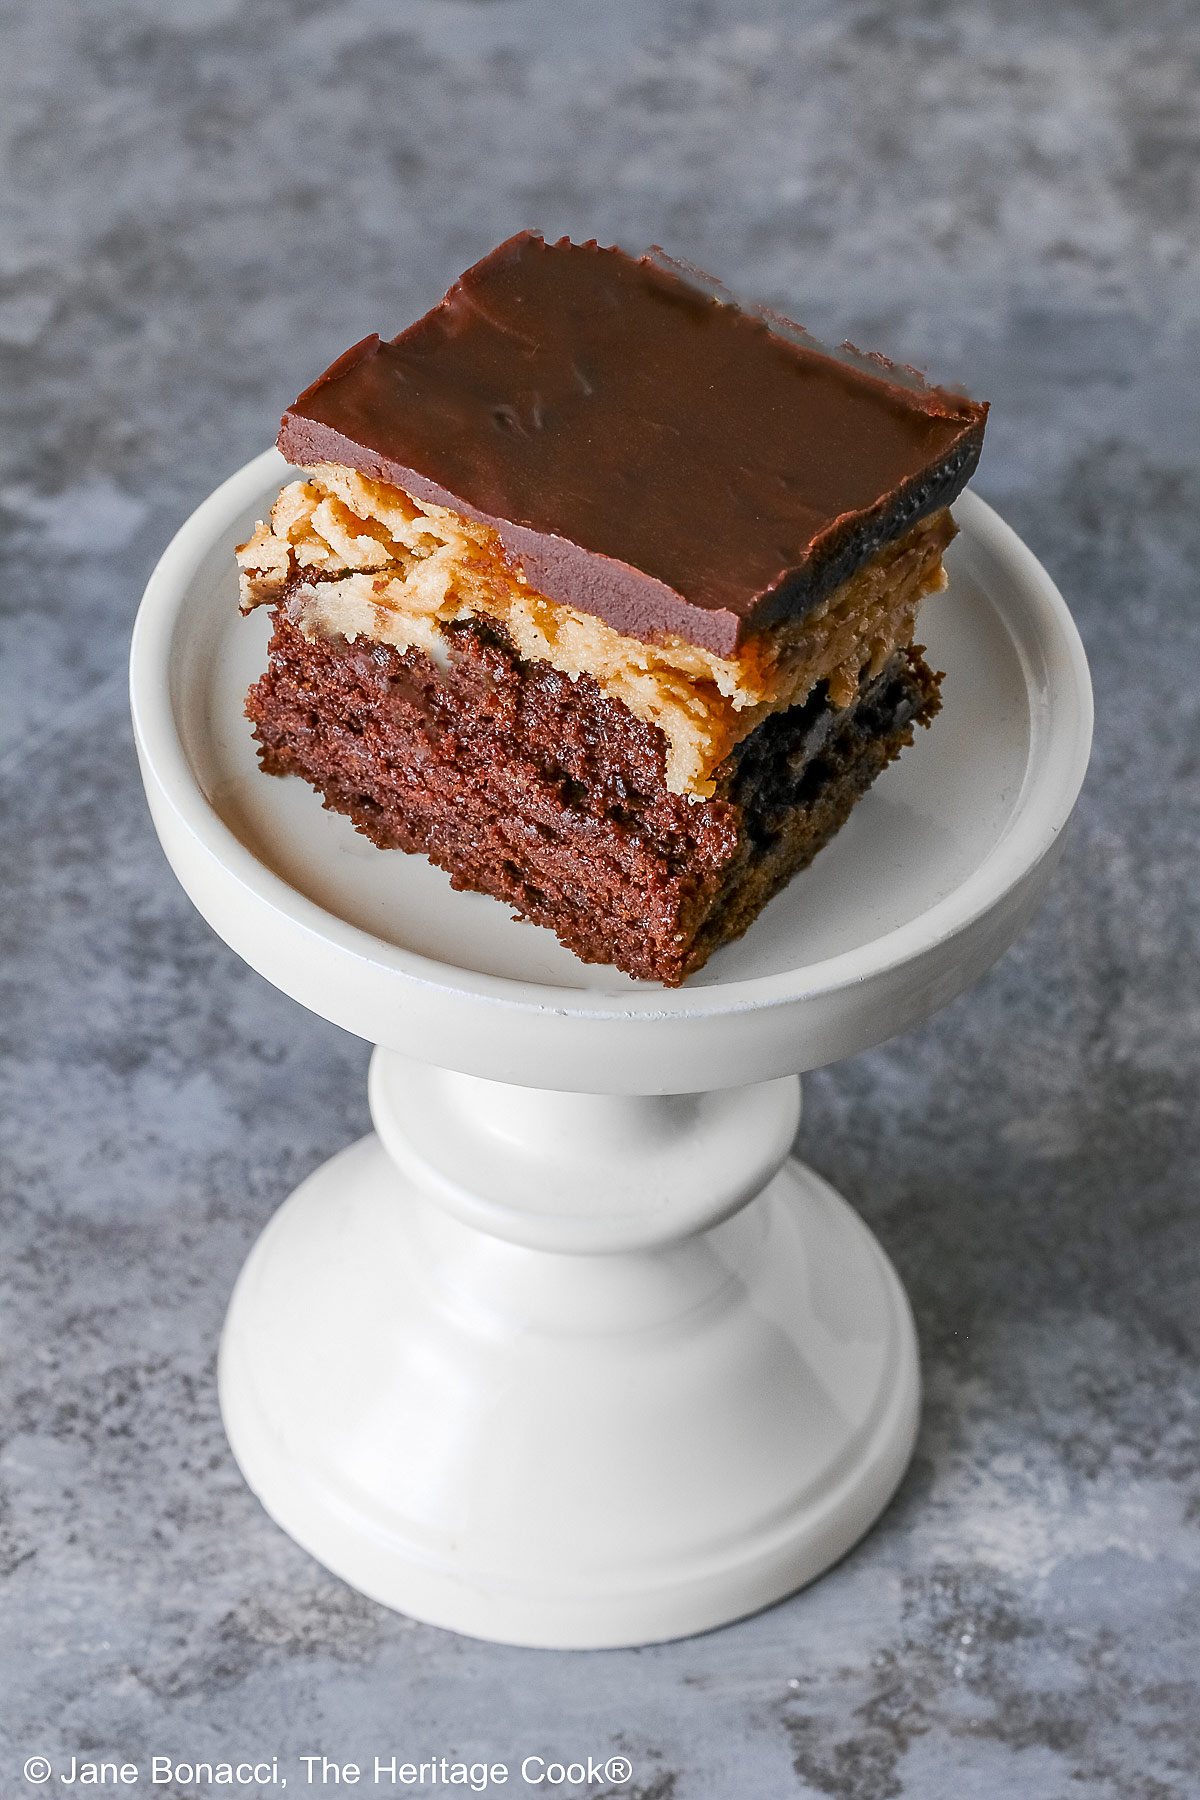
I love chocolate on chocolate brownies and could eat them every day, but sometimes I want something a little different. Today’s pairing of chocolate and peanut butter really satisfies. These brownies are rich and so chocolatey and balanced with the nutty filling, you will be more than happy with these beauties!

Parchment sling held with metal binder clips
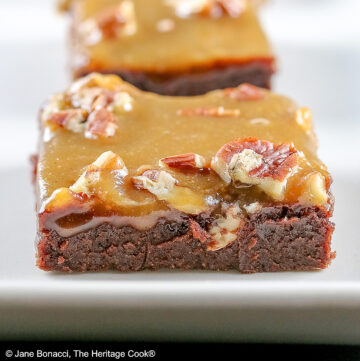
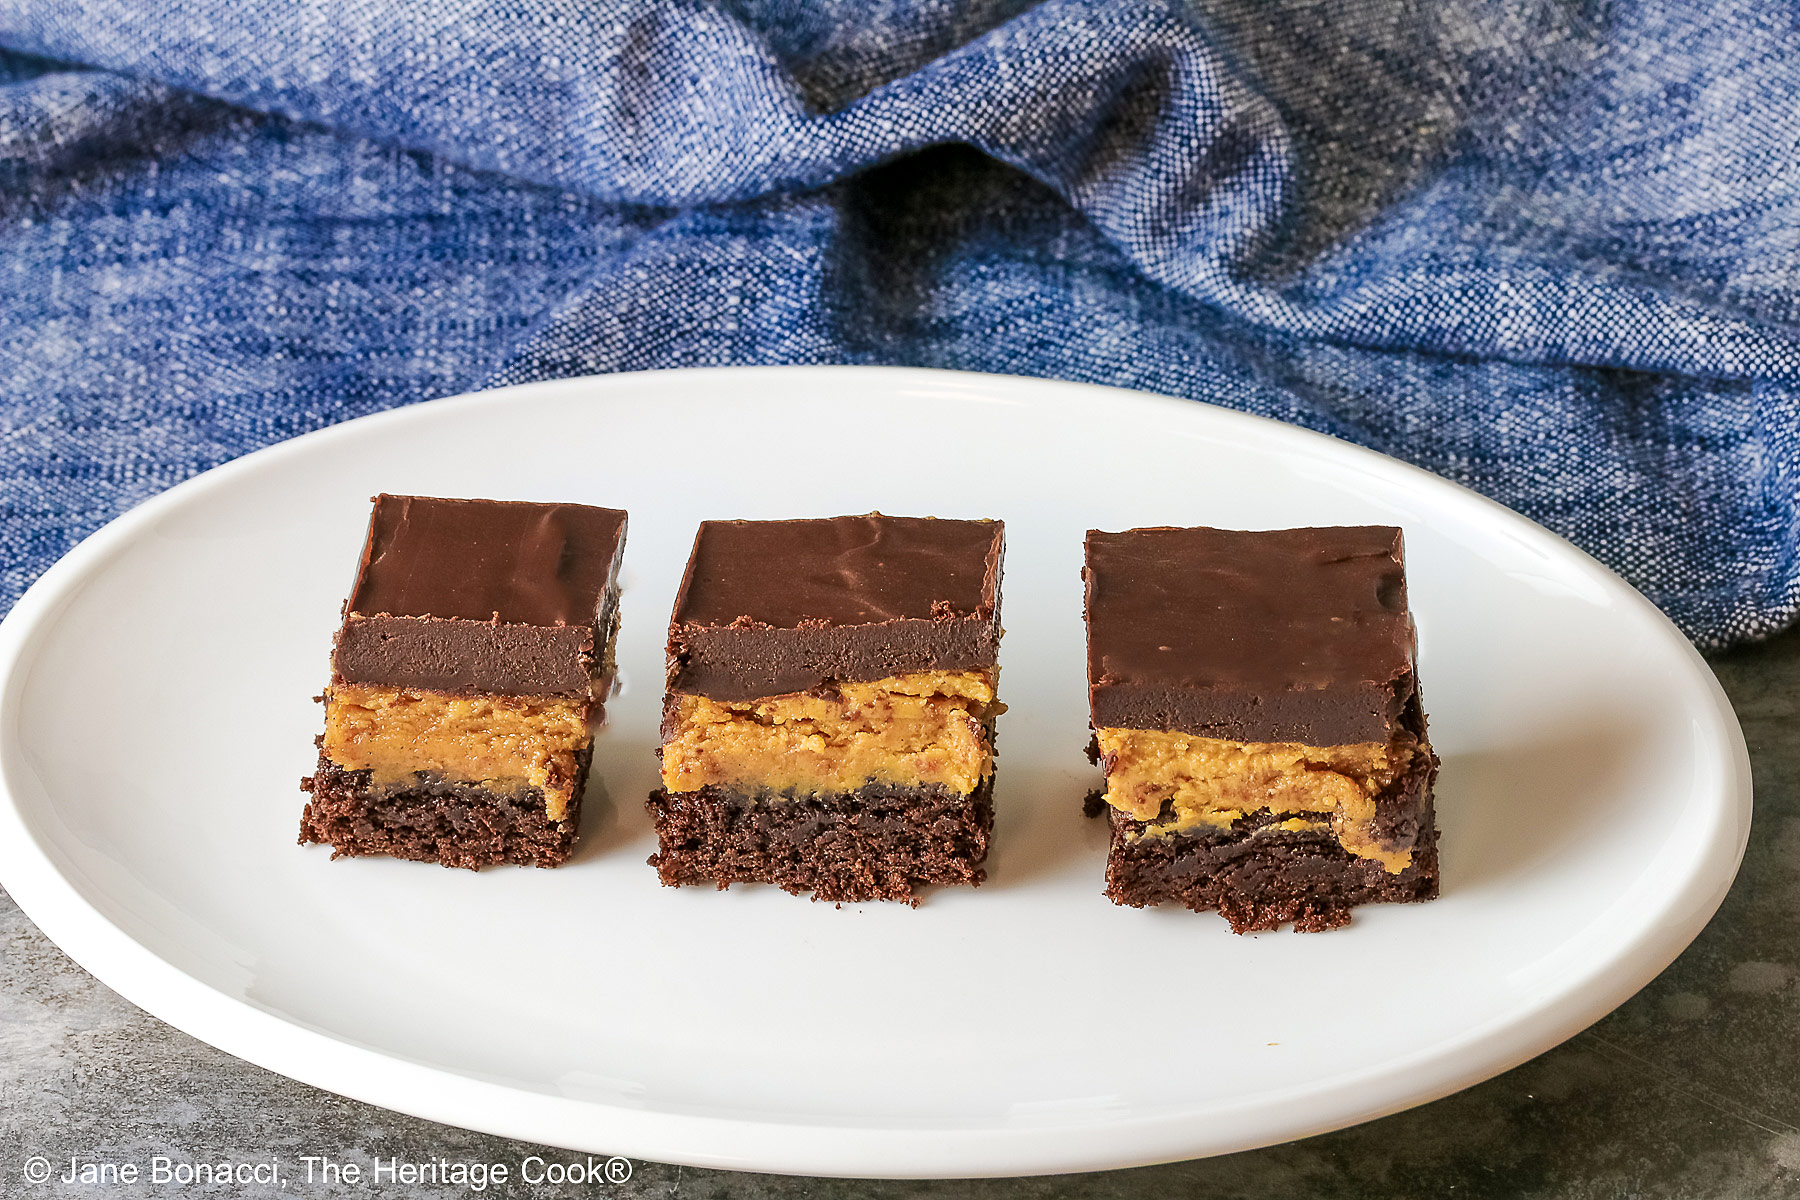
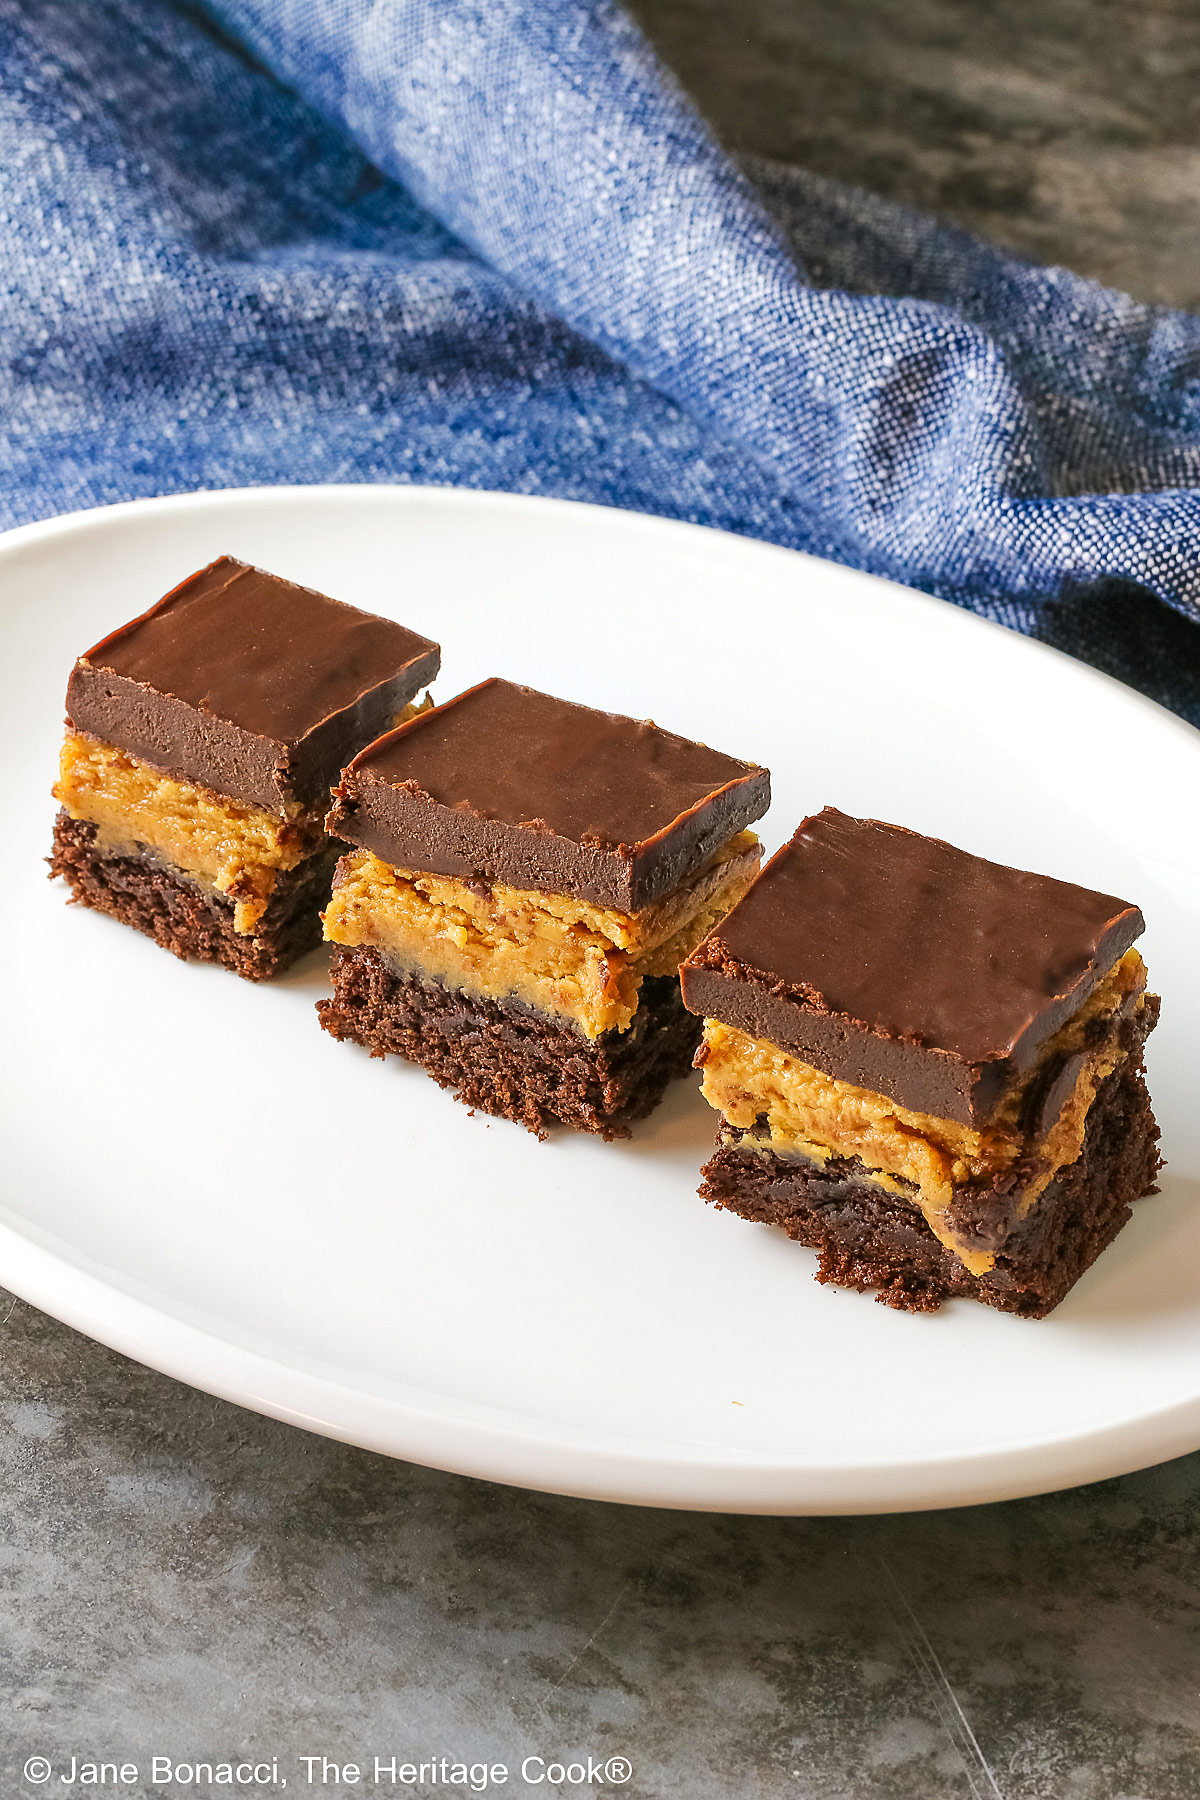
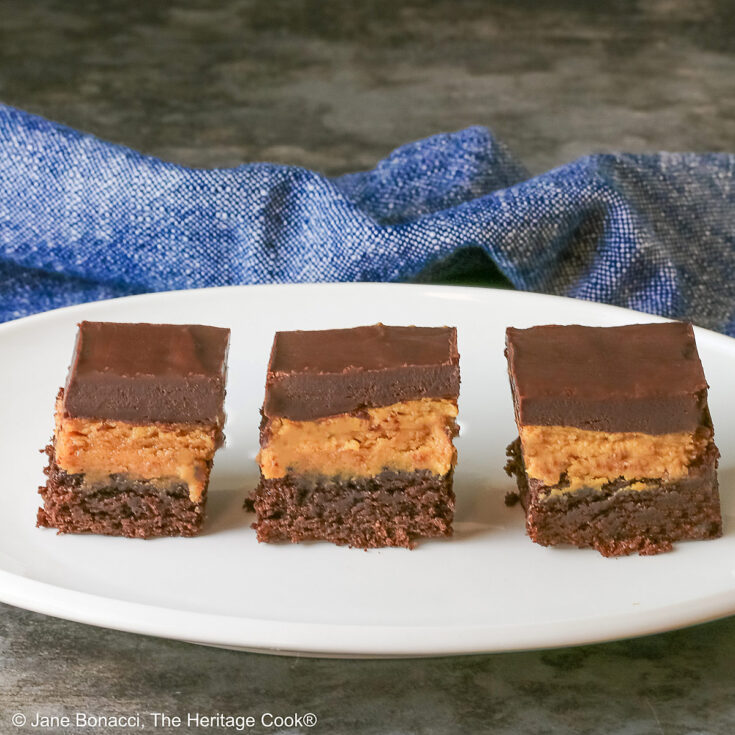
There are three layers in these bars – the bottom is a brownie, the middle is peanut butter filling, and finally a dark chocolate glaze is poured over the top. Pure decadence!
The peanut butter layer comes from one of my favorite cookie recipes. It was so good in the cookies that I couldn’t resist using it in these brownies. And boy was I right, it is just as good as I remember, maybe even better!
If you want a thicker peanut butter layer you can make 1.5 times the recipe if you like. And be sure you add enough cream for a smooth and creamy mixture so it is easy to spread on the cooled brownies!
Have you ever made ganache (gah-nahsh) before? It is so easy but it sounds really complicated. All you do is heat some cream and pour it over chopped chocolate (or chocolate chips), wait a few minutes and whisk until it is smooth, silky, and completely melted. There is nothing better in my opinion and you may agree with me, LOL.
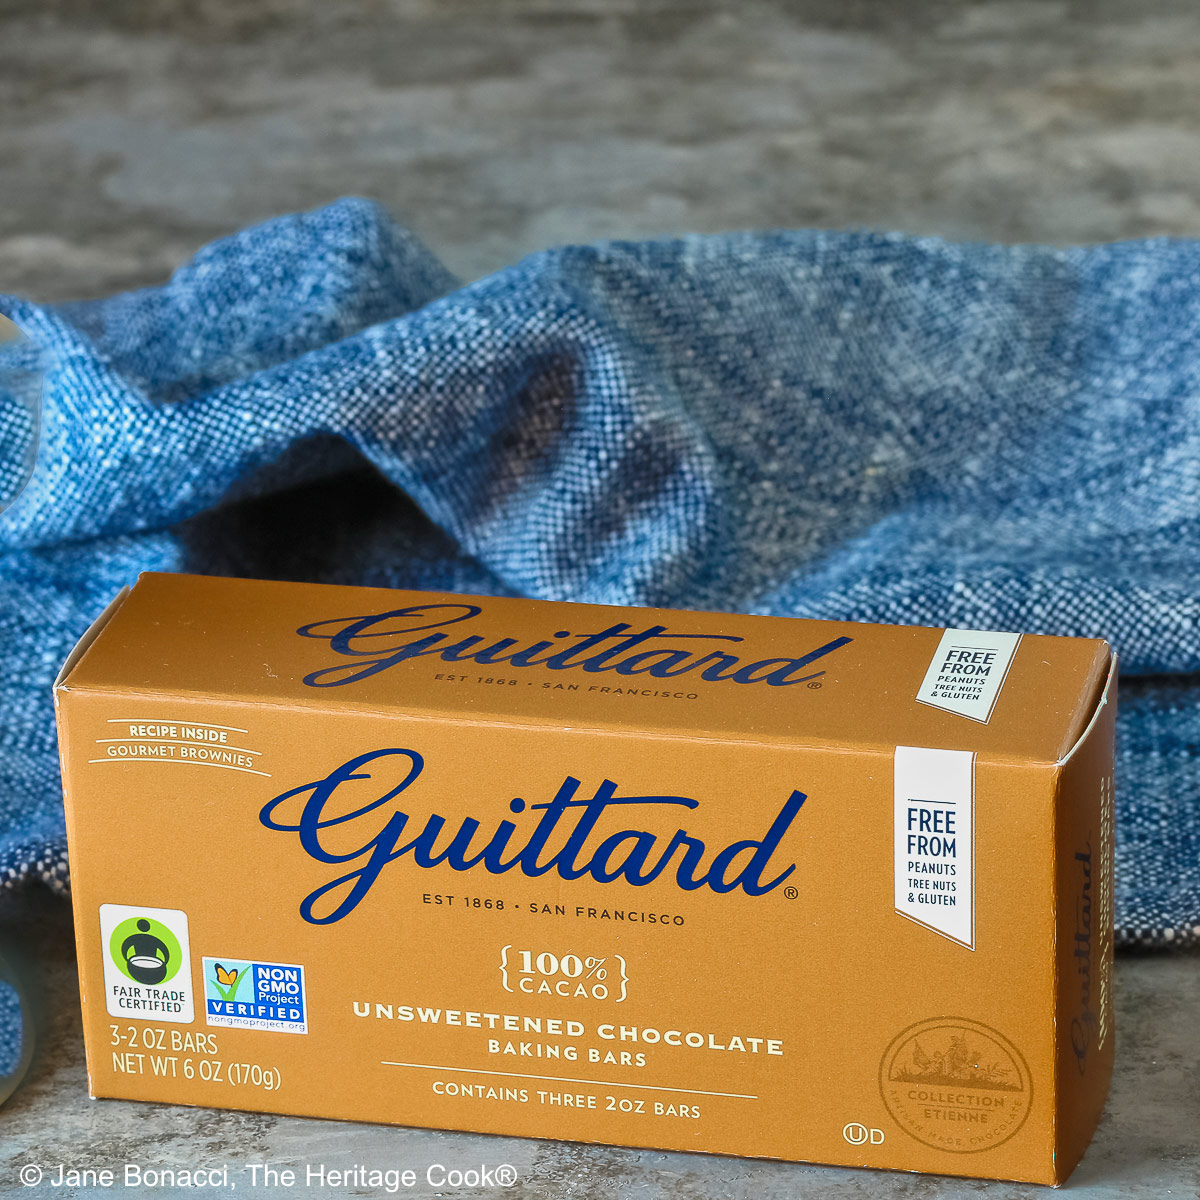
My favorite baking chocolate from Guittard
Ganache is also very flexible and can be used in a number of ways. You can pour it over and glaze a cake (or brownies like we do in this recipe), you can whip it into a frosting, you can let it harden and turn it into chocolate truffles – then dip those truffles in more ganache! So many options and ways to enjoy it.
If you are in the market for a new baking pan, I recommend you use a high quality metal pan. It conducts heat more efficiently than ceramics or glass. Plus it has straight sides and square corners, which give you a much more beautiful final product. I love USA pans but any heavy-duty metal pan will work wonders for your baking projects.
One trick to lining a pan with parchment is to turn the pan upside down, top it with the parchment and press a crease around each side. Flip the pan upright and press the paper down inside. Fit into the pan and use metal binder clips to hold the edges down. This makes it so much easier to fill the pan with the batter!
You can also use foil instead of parchment – just be sure to butter or spray the interior to avoid sticking!
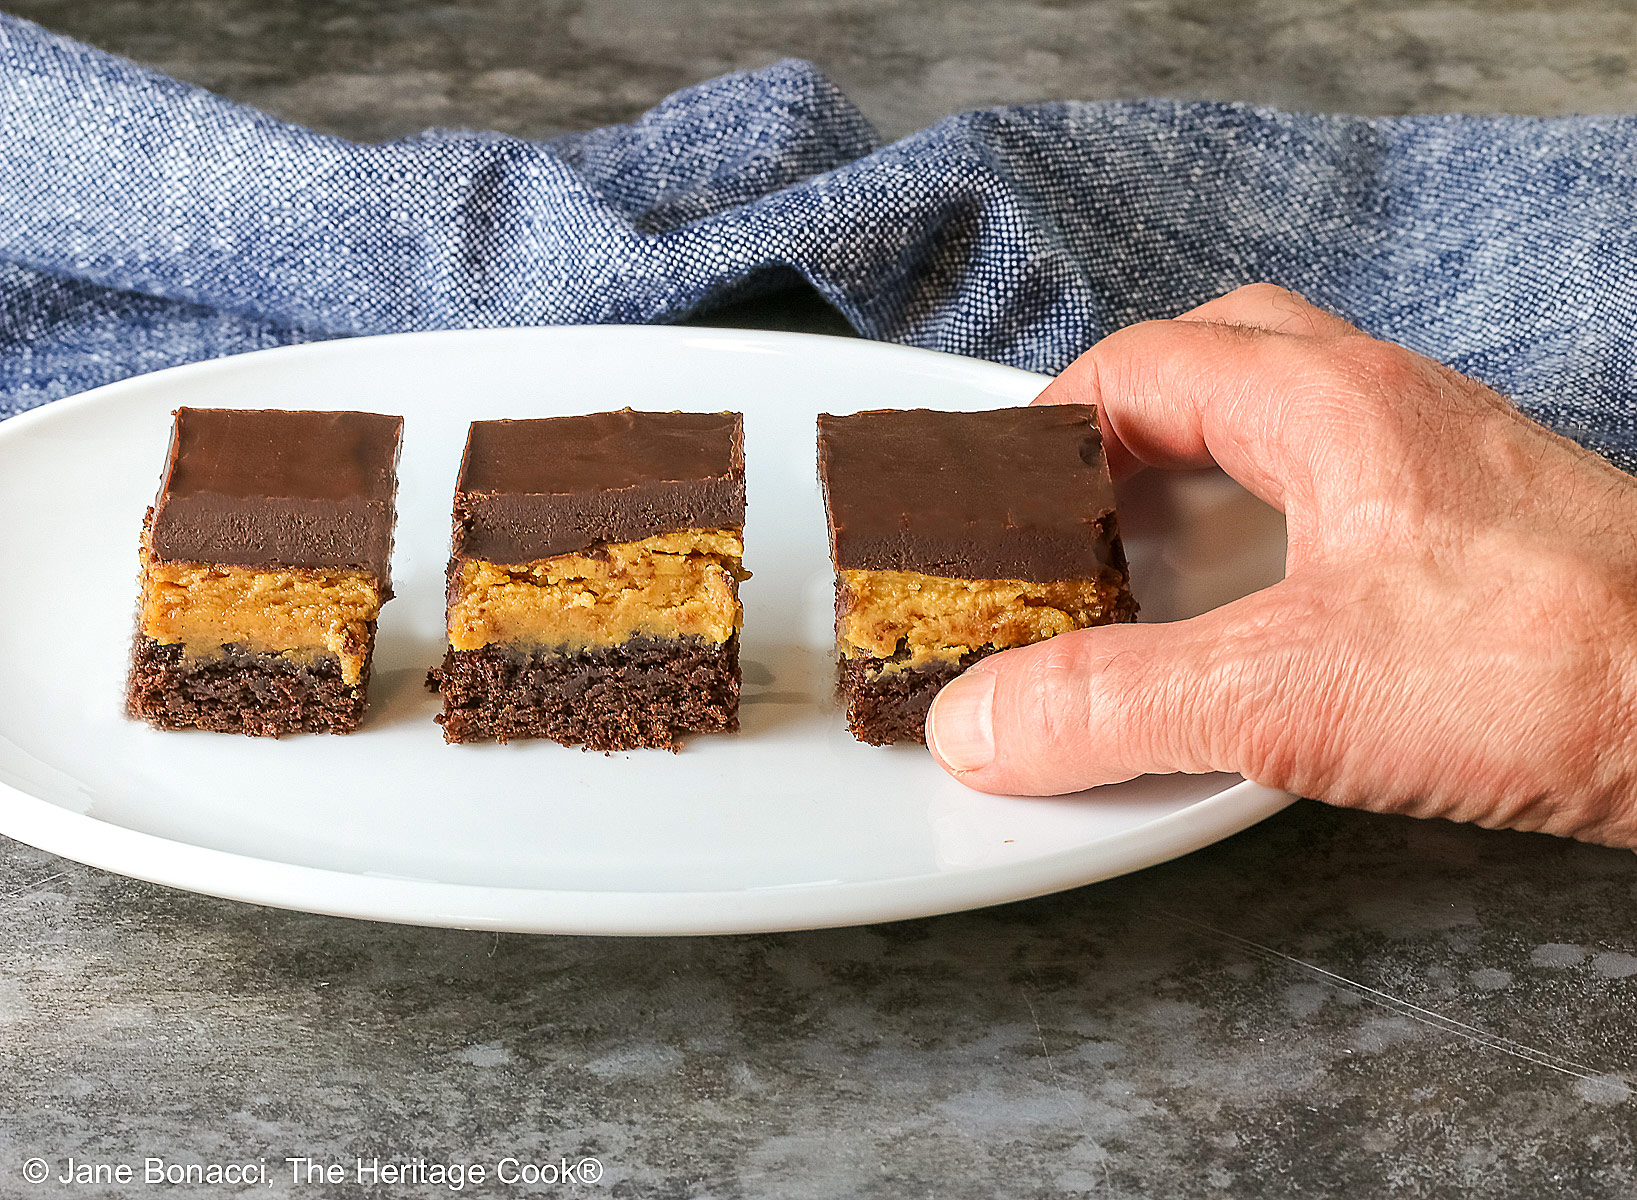
Watch out for people sneaking a bite here and there!
When you are baking the brownie layer, don’t over bake them. There should be moist crumbs on a toothpick inserted into the center when it is done. Do not wait until it comes out clean or they will be on the dry side. Remember that they will finish baking from residual heat as they cool on the counter.
Use an offset spatula when you are spreading each layer in the pan. They are bent so the handle is higher than the flat spatula portion. It keeps your knuckles out of the batter and chocolate and gives you a lovely smooth surface to work with.
Make these Layered Peanut Butter Brownies the next time you are having an event or have invited guests over. They are a real crowd-pleaser and everyone will be begging you for the recipe!
Happy Chocolate Monday! See you back here on Friday for another savory recipe from The Heritage Cook!

If you try this recipe, let me know! Please leave a star rating in the recipe card, comment below, and don’t forget to snap a pic and tag it @theheritagecook on Instagram! Seeing your creations makes my day and I love hearing from you!
Ingredients needed for Layered Peanut Butter Brownies:
- Brownies: butter, unsweetened chocolate, eggs, sugar, vanilla, GF flour, baking soda, salt
- Peanut Butter Layer: creamy peanut butter, powdered sugar, vanilla, heavy cream or milk
- Chocolate Ganache (Glaze): semisweet chocolate chips, heavy cream, vanilla (optional)
PRO Tip:
Whenever you are baking something that needs to be lifted out of the pan, make a sling from foil or parchment paper and leave two ends hanging over the sides. This will give you two “handles” to use to lift the whole cake. Set it on a cutting board, peel back the paper and slice as directed. You’ll get the best results and evenly cut pieces!
PRO Tip:
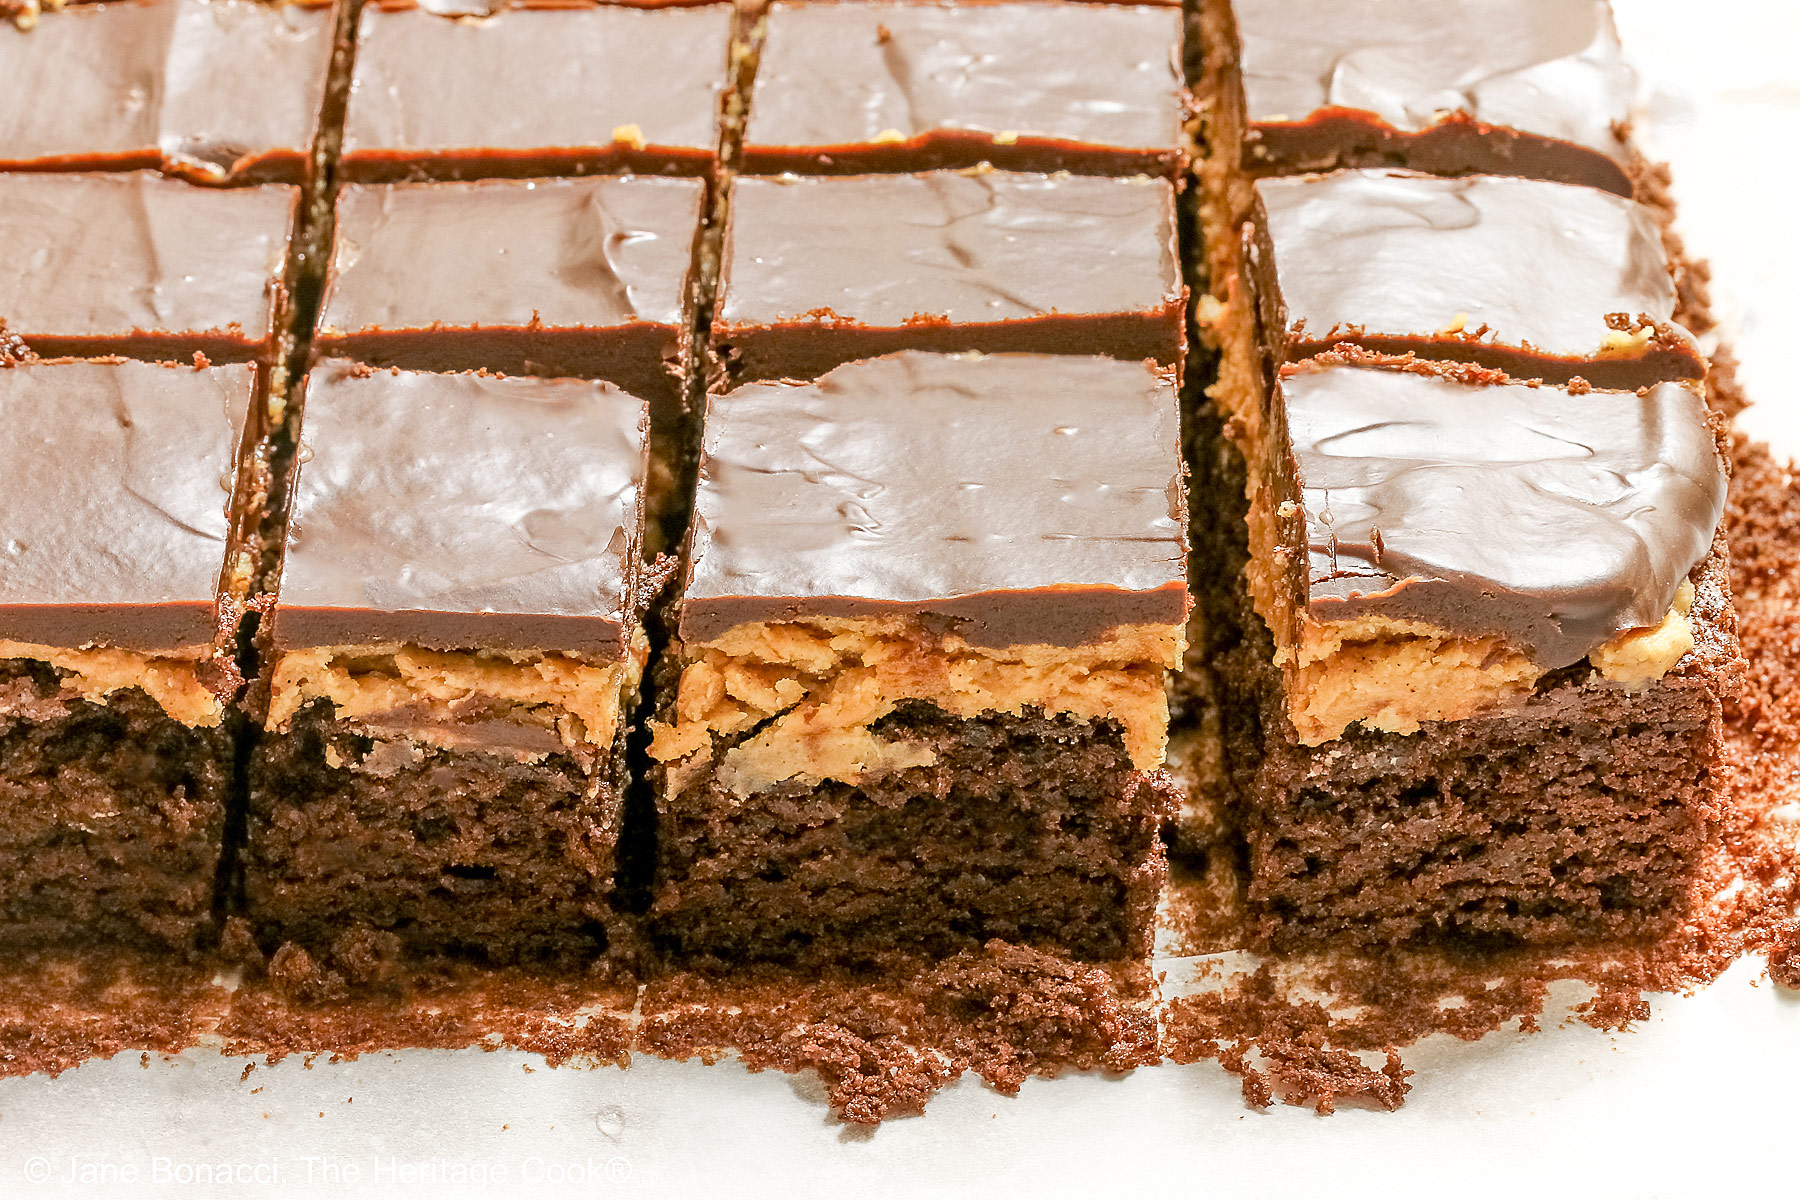
For the best looking brownies, trim a thin slice off each side before cutting into 14 pieces. This gives you clean edges on every piece!
How to make Layered Peanut Butter Brownies:
- Brownies: Melt the butter and chocolate together in the microwave, in 30-second intervals, stirring after each heat until smooth and completely melted. Set aside to cool.
- Beat together the eggs, sugar, and vanilla for 2 minutes. Slowly mix in the cooled chocolate mixture.
- Whisk the dry ingredients together and gradually mix them into the chocolate mixture, whisking after each addition until smooth. Pour batter into a buttered and parchment-lined 8×8-inch (20x20cm) square baking dish and bake at 350°F (180°C) for 20 to 25 minutes until a toothpick comes out with moist crumbs on it. Cool on a wire rack completely.
- Peanut Butter Layer: Combine the peanut butter and sugar with a mixer. Beat 2 minutes until thoroughly combined. Add 2 tbsp of the cream and beat until smooth. Add more cream if needed for a good spreading consistency.
- Spread carefully over the cooled brownies into an even layer using an offset spatula. Cover and place in the refrigerator to firm up for about 15 to 20 minutes.
- Chocolate Glaze (Ganache): Heat the cream to a simmer in a saucepan and pour over the chocolate in a heatproof bowl. Let sit a few minutes to soften and start to melt. Stir from the center out to the edges until smooth, silky, and fully melted. Cool a few minutes on a wire rack and stir in the vanilla if using.
- Spread the ganache over the peanut butter layer until evenly covered. Allow everything to set completely, either at room temperature or in the refrigerator. Use the parchment sling to lift the brownies out of the pan and onto a cutting board.
- Drizzle the top with extra chocolate if desired. Cut into 16 pieces using a sharp, long knife.
PRO Tip:
To get the cleanest slices, run your knife under hot water, wipe dry, and make your first cut. Repeat the heating and drying after each cut, making sure the knife is clean each time. The heat helps the knife slice cleanly through all the layers.
PRO Tip:
You can leave off the final layer of chocolate ganache. If you do this, I would recommend making 1.5 times the peanut butter mixture so you have a substantial layer that goes all the way to the edges of the pan.
Recommended Tools (affiliate links; no extra cost to you):
- Kitchen scale
- Chef’s knife
- Mixing bowls
- 8×8-inch square baking pan
- Parchment paper or aluminum foil
- Stand mixer or hand mixer
- Offset spatula
- Long, sharp knife
Gluten-Free Tips:
* You can adjust any baking recipe to gluten-free by using 120 grams per cup of my favorite gluten-free flour blend. If you are using another brand of flour or regular flour, whisk it, spoon it lightly into a measuring cup until mounded, level off the top with a knife, and weigh the flour left in the cup. Use that weight as your standard per cup of that specific flour. Do this for each flour blend you use. Commercial gluten-free blends such as Pamela’s All-Purpose Artisan Blend, Bob’s Red Mill 1-to-1, or King Arthur Measure for Measure are all good gluten-free choices.
You will get the best and most consistent results by using a digital kitchen scale and weighing your ingredients, especially when you are baking. And use grams, they are much more accurate than pounds and ounces.
All recommended ingredients are gluten-free as of the writing of this article. Always check to be sure the products haven’t changed and are still safe to consume.
Layered Peanut Butter Brownies (GF)
Is there anything better or more delicious than the combination of chocolate and peanut butter? I don’t think so and based on your responses, you feel the same! These Layered Peanut Butter Brownies are heaven in every bite. So creamy, sweet, luscious, and indulgent – they are the perfect treat for any occasion or holiday.
Ingredients
Brownie Layer
- 1/2 cup (1 stick; 113g) butter, plus more for the pan
- 4 oz (113g) unsweetened chocolate
- 2 large eggs
- 3/4 cup (149g) white sugar
- 1 tsp vanilla extract
- 2/3 cup (80g*) gluten-free all-purpose flour* or regular all-purpose flour such as Gold Medal
- 1/2 tsp baking soda
- 1/2 tsp kosher salt
Peanut Butter Layer
- 2/3 cup (180g) creamy peanut butter, at room temperature
- 1/2 to 3/4 cup (57g to 85g) powdered sugar, to taste
- 1 tsp vanilla paste or pure vanilla extract
- About 1 to 3 tbsp heavy cream or milk, as needed
Chocolate Glaze (Ganache)
- 1 cup (170g) semisweet chocolate chips
- 1/3 cup (76g) heavy whipping cream
- 1 tsp pure vanilla extract, optional
Instructions
1. Prepare the Brownies: Butter an 8x8-inch (20x20cm) square baking dish. Line the pan with parchment or foil leaving two ends hanging over opposite edges and butter the liner.
2. In a microwave-safe bowl, melt the butter and chocolate together in about three 30-second bursts, stirring after each heating, until smooth and fully melted with no streaks. Set aside to cool so it won’t scramble the eggs in the next step.
3. In the bowl of your stand mixer or a large bowl if you are using a hand mixer, beat together the eggs, sugar, and vanilla until well combined, about 2 minutes. With the mixer on low speed, slowly mix in the cooled chocolate mixture until fully incorporated.
4. In another bowl, whisk together the flour, baking soda, and salt, then add this mixture to the chocolate mixture. Mix until everything is fully combined and smooth.
5. Pour the batter into your prepared baking dish and bake for 20 to 25 minutes, or until a toothpick inserted into the center comes out with a few moist crumbs. Place the pan on a wire rack and let the brownies cool completely.
6. Preheat your oven to 350°F (180°C).
7. Make the Peanut Butter Layer: While the brownies are cooling, combine the peanut butter and 1/2 cup (57g) powdered sugar in the bowl of your stand mixer. Beat about 2 minutes until thoroughly combined. Add 2 tbsp of the cream and beat until smooth. Taste and add more sugar if desired. The filling should be creamy and smooth enough to spread easily. Add 1 or 2 more tablespoons cream if needed for a good spreading consistency. If it gets too thin, add more powdered sugar.
8. Spread carefully over the cooled brownies into an even layer using an offset spatula. Cover and place in the refrigerator to firm up a bit, about 15 minutes. I made mine a day ahead and kept them in the refrigerator until I could finish with the ganache layer.
9. Make the Chocolate Ganache Layer: In a small saucepan, heat the cream to a simmer (just below a boil). Place the chocolate in a heat-proof bowl, spread into a flattned circle, and pour the hot cream over the top. Make sure all the chocolate pieces are under the cream. Let sit for a few minutes to start the melting. Stir from the center out to the edges until the mixture is smooth, fully melted, and no streaks remain. You can use a spatula or a whisk.
10. Let the glaze cool for a couple of minutes, then stir in the vanilla, if using, until fully incorporated and spread it gently over the chilled peanut butter layer with an offset spatula.
11. Allow everything to set completely, either at room temperature or in the refrigerator. When cool, use the parchment sling you made to lift the brownies out of the pan and set them on a cutting board. Optionally, you can drizzle melted chocolate over the top of the whole block of brownies in a zig-zag pattern if desired or drizzle some over each individual brownie if you prefer. Milk or white chocolate work best for contrast. Use a long, sharp knife to cut into 14 squares.
NOTE: To get the cleanest slices, run your knife under hot water, wipe dry, and make your first cut. Repeat the heating and drying after each cut, making sure the knife is clean each time. The heat helps the knife slice cleanly through all the layers.
Storage: These brownies store well at room temperature in an airtight container for up to a week.
Recipe found at www.theheritagecook.com
Notes
* You can adjust any recipe to gluten-free by using 120 grams per cup of my favorite gluten-free flour blend. If you are using another brand of gluten-free flour, whisk the mix, spoon it lightly into a measuring cup without a spout until mounded, level off the top with the back of a knife, and weigh the flour left in the cup. Use that weight as your standard per cup of that specific flour. Do this for each flour blend you use. Commercial blends such as Pamela's, Bob's Red Mill 1-to-1, or King Arthur Measure for Measure are all good gluten-free choices.
You will get the best results by using a digital kitchen scale and weighing your ingredients, especially when you are baking. And use grams, they are much more accurate than pounds and ounces.
All recommended ingredients are gluten-free as of the writing of this article. Always check to be sure the products haven’t changed and are still safe to consume.
Brownies adapted from Recipes of Holly
Filling modified recipe from Barefeet in the Kitchen
Nutrition Information:
Yield:
14Serving Size:
1Amount Per Serving: Calories: 126Total Fat: 5gSaturated Fat: 2gTrans Fat: 0gUnsaturated Fat: 2gCholesterol: 33mgSodium: 119mgCarbohydrates: 16gFiber: 1gSugar: 4gProtein: 4g
The nutritional information for recipes on this site is calculated by online tools and is merely an estimate. If you need nutritional calculations for medical reasons, please use a source that you trust.
If you enjoyed this recipe, be sure to follow me on social media so you never miss a post:
Create a New Tradition Today!
Welcome! The suggestions here are not intended as dietary advice or as a substitute for consulting a dietician, physician, or other medical professional. Please see the Disclaimers/Privacy Policy page for additional details. Unauthorized use, distribution, and/or duplication of proprietary material from The Heritage Cook without prior approval is prohibited. If you have any questions or would like permission, please contact me. We participate in the Amazon Services LLC Associates Program, an affiliate advertising program designed to provide a means for sites to earn advertising fees by advertising and linking to amazon.com. As an Amazon Associate, I earn a small amount from qualifying purchases without any additional cost to you. This page may contain affiliate links. The author makes no claims regarding the presence of food allergens and disclaims all liability in connection with the use of this site.