Today is a dual posting day – Lana of Never Enough Thyme is busy recuperating and needed a little help from her friends. So I volunteered to share today’s Chocolate Monday post with her readers too. For even more fun, head over and take a look at all of Lana’s gorgeous and delicious recipes. You will be blown away!
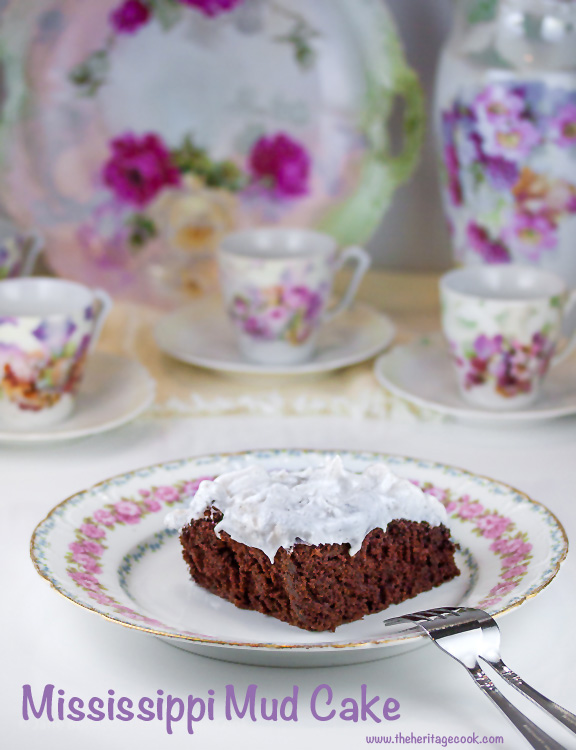
Lana is a lovely southern gal and I thought it would be perfect to do an updated version of the classic Mississippi Mud Cake in her honor and include a gluten-free option. I have made this cake for many years and it is always a hit at office parties, birthday celebrations, and potluck suppers.
There are as many versions of this recipe as there are cooks in the South and the origin of the cake is as muddy as its title. It began popping up in cookbooks and newspapers around the 1960s or 1970s. Some believe that it was designed to look like the muddy banks of the Mississippi River, others think any brownie or chocolate cake could technically be called a mud cake. There is no single quintessential recipe and each baker has their own version, which often morph over time. Some are simply chocolate cake with chocolate frosting, some include marshmallows, and others have nuts, caramel, fruits and bourbon. And then there is the mud pie, a totally different animal all together, so I won’t go there. 😉
In the original recipe that I got from a friend with southern roots, marshmallow crème was smeared over the cake as soon as it came out of the oven and then topped with a fudgy frosting. The problem was that it never spread smoothly and I ended up with a delicious but ugly cake. So I wondered, how can I make it better with a beautiful presentation?
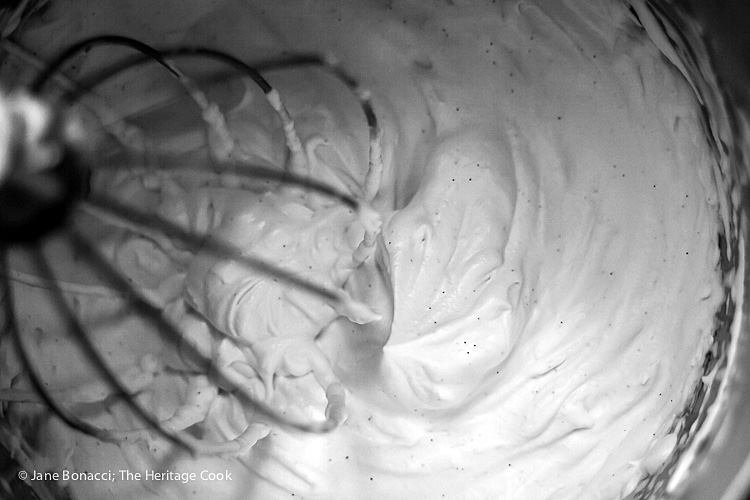
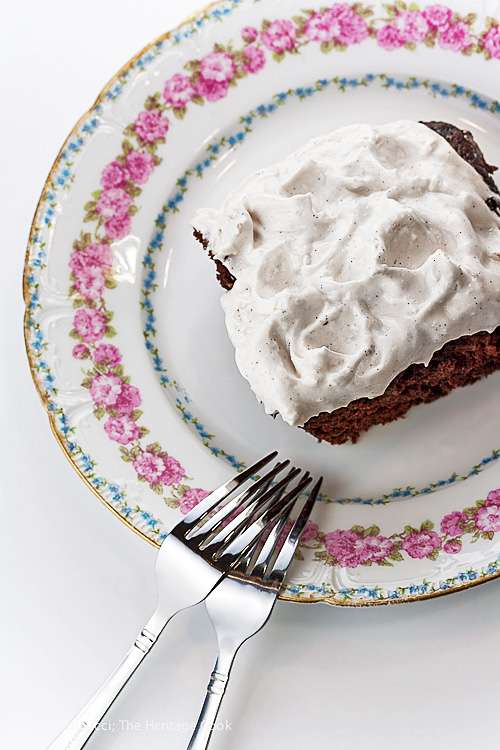
What if I replace the marshmallow crème layer with an old-fashioned 7-Minute Icing? I don’t have to put it on the hot cake, hoping it will melt enough to spread easily, and I can create beautiful swirls and peaks. This is the frosting of my childhood – sweet and sticky with a flavor reminiscent of marshmallows. Oh yeah, that would work! And it is so good on its own and certainly plenty sweet, so the top fudge layer isn’t really needed. Leaving it off makes this a much simpler cake to assemble.
And while we’re at it, why not pump up the cake too. A little bourbon makes everything taste better, LOL. I am so lucky that my gluten intolerance is fairly low on the scale and bourbon doesn’t bother me, but if you are making this for someone who has Celiac disease or is strongly reactive, you can use a potato vodka mixed with 2 tsp of brown sugar in place of the bourbon.
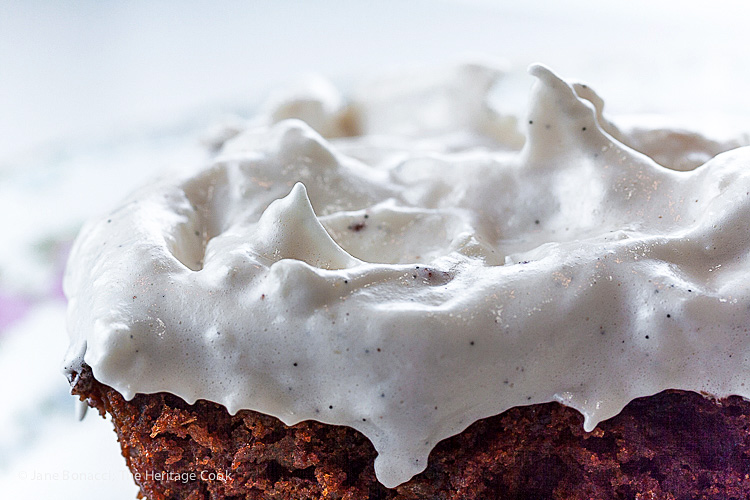
Did you notice all the little black dots in the frosting? Those are vanilla seeds and I got those by using vanilla paste instead of extract. I use it exclusively now in lieu of extract because the flavor and appearance is so beautiful. No harsh alcohol flavor, just the pure burst of vanilla in every bite!
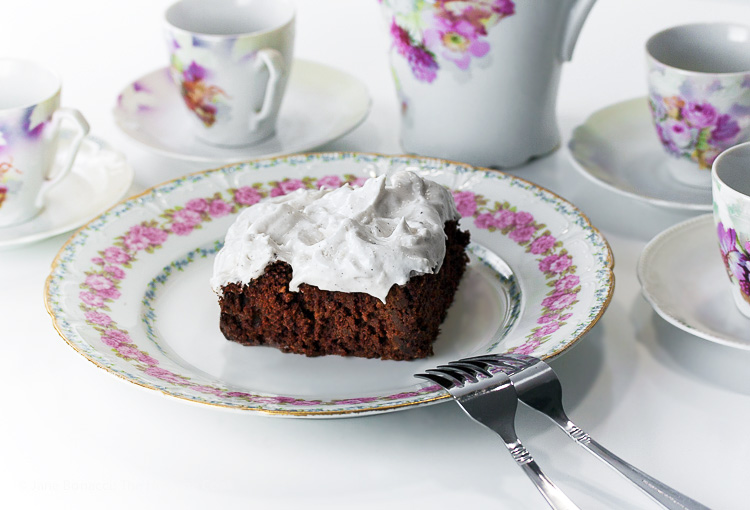
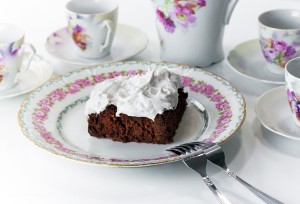
I wanted to create the feeling of tea time in the South and was able to use my great-grandmother’s cocoa set and one of my mother’s beautiful china plates. I swear, everything tastes better on a Limoges plate! 🙂
So here is my California version of a southern classic, utilizing some of the skills I learned from my Hoosier grandmother and a touch of good old Kentucky bourbon. I think both Lana and my Mimi would approve.
Make sure you pop over to Lana’s blog for a ton of wonderful southern favorites that will have you imagining you are sitting on the porch, listening to the chorus of frogs and crickets, enjoying the lovely balmy evenings with the sweet scent of magnolia blossoms in the air!
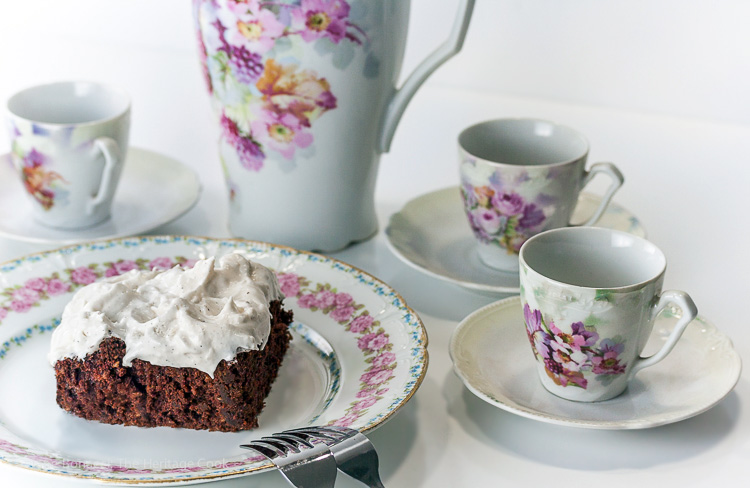
Who’s ready for tea time?
Jane’s Tips and Hints:
For those who say they hate the flavor of coconut, have them try this cake. They’ll become converts. The trick is to chop the coconut very finely, reducing the chewiness, the most disliked part of coconut for many people. If you are concerned about consuming raw egg whites, use pasteurized eggs.
Gluten-Free Tips:
Use a gluten-free flour blend to make the cake (here is the one that I use all the time) and as I mentioned above, if anyone is super reactive to gluten, you can use potato vodka and 2 tsp brown sugar to replace the bourbon. As always, keep an eye on the labels of all your ingredients and be careful with potential cross-contamination. Sometimes just a tiny amount can send someone to the hospital.
- Cake:
- 1 cup unsweetened (desiccated/dried) coconut, finely chopped
- 2-1/2 cups all-purpose flour or gluten-free flour blend with xanthan gum
- 2 cups granulated sugar
- 6 tbsp unsweetened cocoa powder
- 2 tsp baking soda
- 1 tsp salt
- 1/2 cup organic vegetable oil
- 1 large egg + 1 yolk
- 2 tbsp apple cider vinegar
- 2-1/2 tsp vanilla paste or pure vanilla extract
- 1-3/4 cups water
- 1/4 cup bourbon (or more water)
- 7-Minute Frosting:
- 1/3 cup water
- 1 cup granulated sugar
- 3 large egg whites
- Pinch of kosher or fine sea salt
- 1/4 teaspoon cream of tartar
- 3/4 teaspoon vanilla extract or paste
- Prepare the Cake: Preheat oven to 350°F. Butter 2 (9-inch) round cake pans or a 9x13-inch baking pan and dust lightly with a little extra flour (use gluten-free if needed).
- In the bowl of your standing mixer, combine the dry ingredients (flour, sugar, cocoa, baking soda and salt) and beat on low just until blended.
- In a measuring cup combine the oil, egg, yolk, vinegar, vanilla, water, and bourbon (if using). Pour the wet ingredients into the dry ingredients and beat on low until smooth. Stop the motor and scrape the sides and bottom of the bowl as well as the beater(s). It is a very thin batter, but the coconut will absorb the excess liquid. Add the chopped coconut and mix just until fully incorporated. Scrape the bowl and beater(s) again.
- Bake the Cake: Divide the batter equally between the two prepared pans or all into the 9x13-inch pan. Bake in the hot oven for about 25 to 30 minutes for the round pans or 30 to 35 for the rectangular pan. Spin the pans halfway through the baking time for even baking. The cake is done when fine crumbs cling to a wooden toothpick inserted in the center.
- Cool in round pans for 10 to 15 minutes, remove from the pans and place upright on wire cooling racks and cool completely. If using a 9x13-inch pan, leave the cake in the pan.
- The cake layers can be baked a day or two in advance, and once cooled, wrapped tightly in plastic and refrigerated. If you are using gluten-free flours, cakes are often better a day after baking.
- Make the Frosting: Very carefully separate the eggs making sure non of the yolks get into the whites. Again, any fat (from the yolks) will cause havoc with the egg whites. Cover the yolks and refrigerate to use later with another recipe.
- Place the egg whites, along with the water, sugar, cream of tartar, and salt in a large, deep metal or glass bowl that fits securely in a saucepan without touching the bottom of the pan. Pour about 1-inch of water in the saucepan Bring the water to a simmer over medium heat, then reduce the heat to medium-low. You want the water barely simmering. Set the bowl with the egg whites on top of the saucepan.
- Using a handheld mixer, holding and stabilizing the bowl with a hot pad, beat the egg white/sugar mixture on Low to combine and then gradually increase the speed to High. Beat the egg whites to stiff peaks, moving the beaters around the bowl to incorporate all of the whites evenly, about 5 to 7 minutes. If using a glass bowl, it will take longer than a metal one, but both work well.
- Remove the bowl from the saucepan and set on a towel on the counter (the towel helps the bowl stay put). Continue beating with the mixer until the frosting has cooled, increased in volume, and is glossy. Add the vanilla and beat until evenly distributed.
- Assemble the Cake: If you used 2 round cake pans, place one of the cooled cake layers, rounded side down, on a serving plate or cake stand. Scoop some of the frosting in the center of the cake, spreading it out to just inside the edge. Add more frosting if needed to get a layer about 1/2-inch thick. Place the second cooled cake layer, rounded side up, on the filling, pressing gently until the filling is at the edges of the cake. This helps the two layers hold together and lets you see the beautiful filling at the edges.
- Scoop most of remaining frosting on top of the cake, spreading it to the edges with a small off-set spatula. Add the rest of the frosting (if you want a really thick topping) gently spread it out and use the tip of the offset spatula or the back of a spoon to make big swirls, lifting it as you finish to make peaks. Think about what a lemon meringue pie looks like and make a tall, spiky top.
- If you baked the cake in a 9x13-inch pan, scoop the frosting on the top of the cake, spread it out, and make big swirls as described above.
- Cut the cake and enjoy!
Create a New Tradition Today!
Let’s connect! If you ever need any entertaining or cooking advice, need to alter a recipe for gluten-free, or want recipe suggestions, don’t hesitate to contact me. Thanks for joining the Heritage Cook Family!
Unauthorized use, distribution, and/or duplication of proprietary material from The Heritage Cook without prior approval is prohibited. This includes copying and reprinting content and photographs. If you have any questions or would like permission, I can be contacted via email. Feel free to quote me, just give credit where credit is due, link to the recipe, and please send people to my website, www.theheritagecook.com.The suggestions here are not intended as dietary advice or as a substitute for consulting a dietician, physician, or other medical professional. It is the reader’s sole responsibility to determine which foods are appropriate and safe for their family to consume. Please see the Disclaimers page for additional details.
Thank You!


MeinCupcake
Wow, the cake that you have created really looks awesome. I am always looking for new gluten-free baking recipes and I love Mud Cakes. So, this seems to be a perfect recipe for me which I must try. Thank you so much for sharing it!
Warm wishes,
Amelie
Jane Bonacci
Thank you Amelie. This is a delicious chocolate cake that stays moist and tender for days. In my opinion, the real difference maker for gluten-free baked goods is how finely ground the rice flour is. My favorite brand is from Authentic Foods. No one can tell that my cakes and other baked goods are made with gluten-free flours and there is never any grittiness!
Jennifer Essad
pretty cool helping out a friend, especially since it’s National best friends day – thanks for sharing this amazing recipes
Jane Bonacci
That’s what makes the world go ’round Jennifer. I didn’t know it was national best friends day – how funny. I’m glad you like the recipe, it is a keeper! 🙂