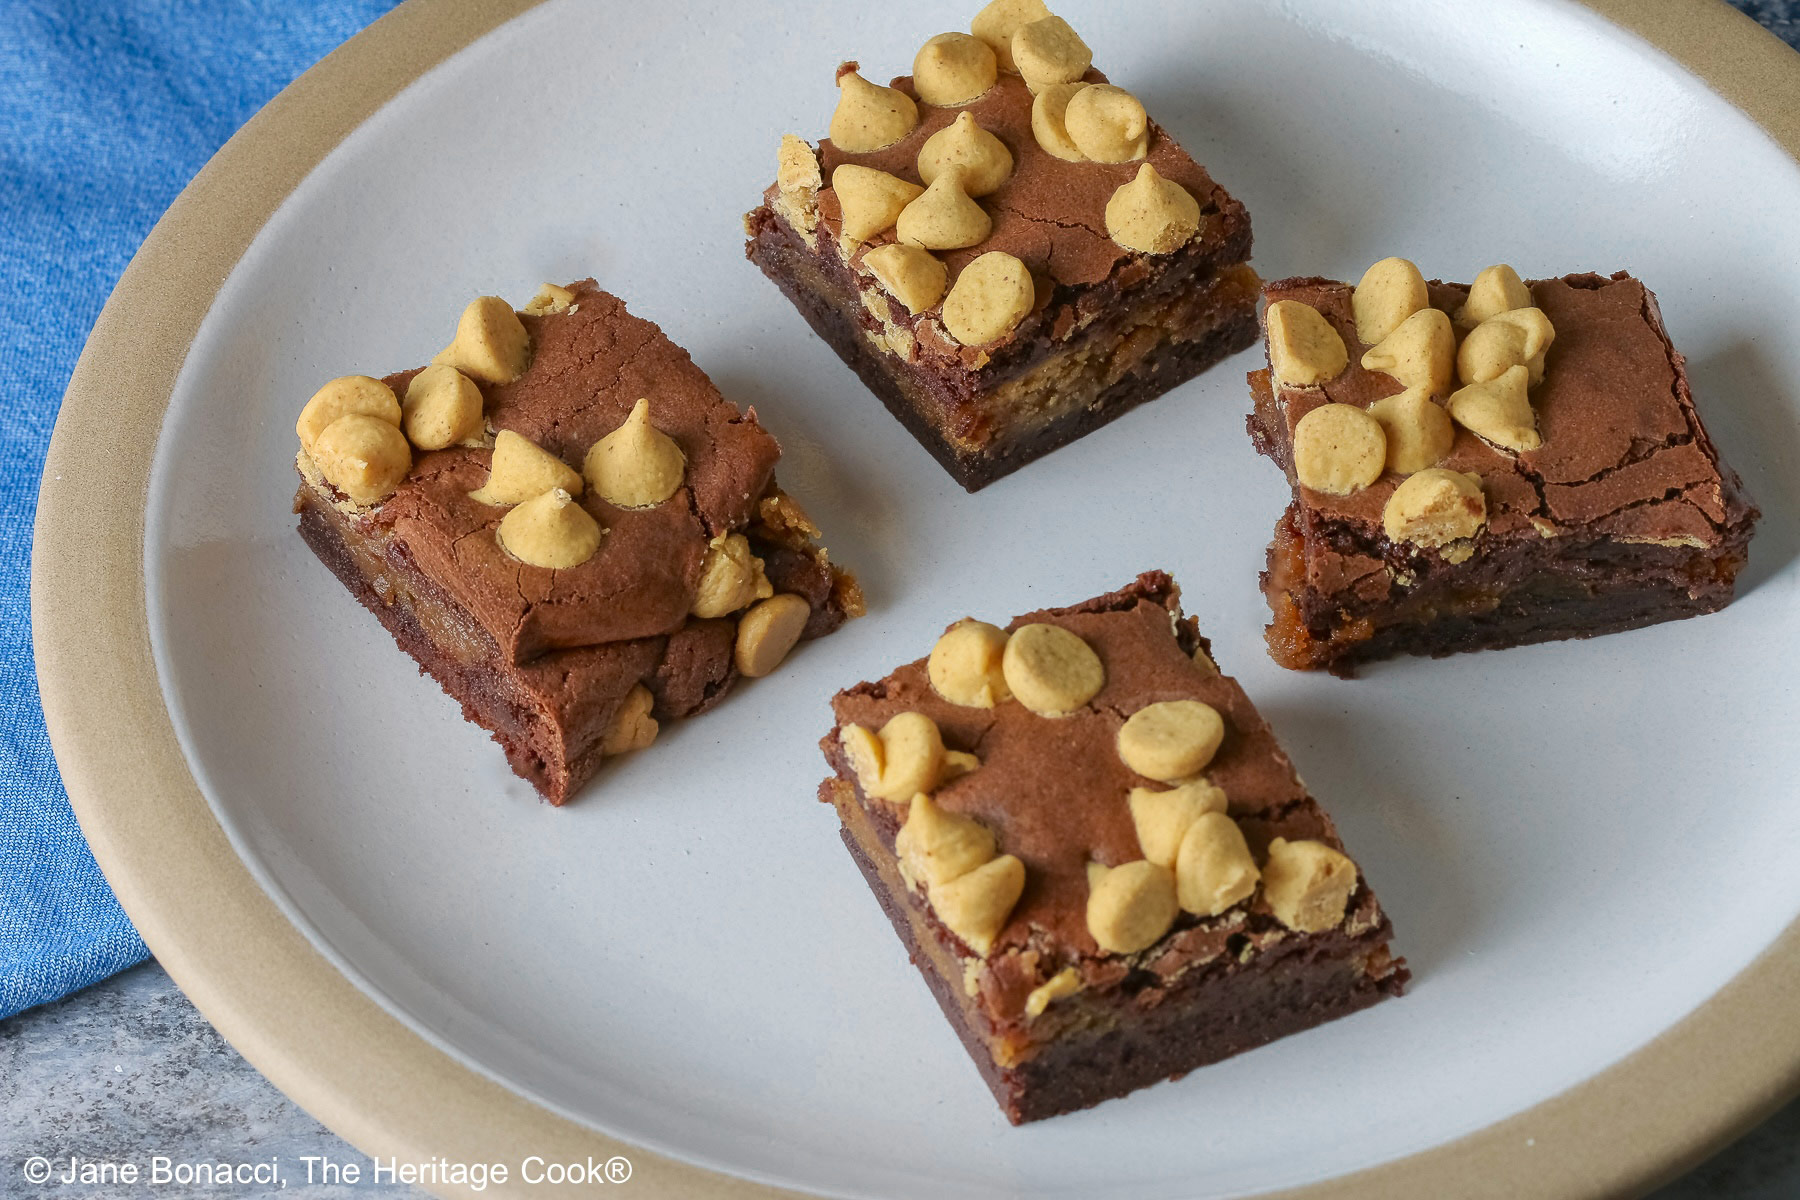
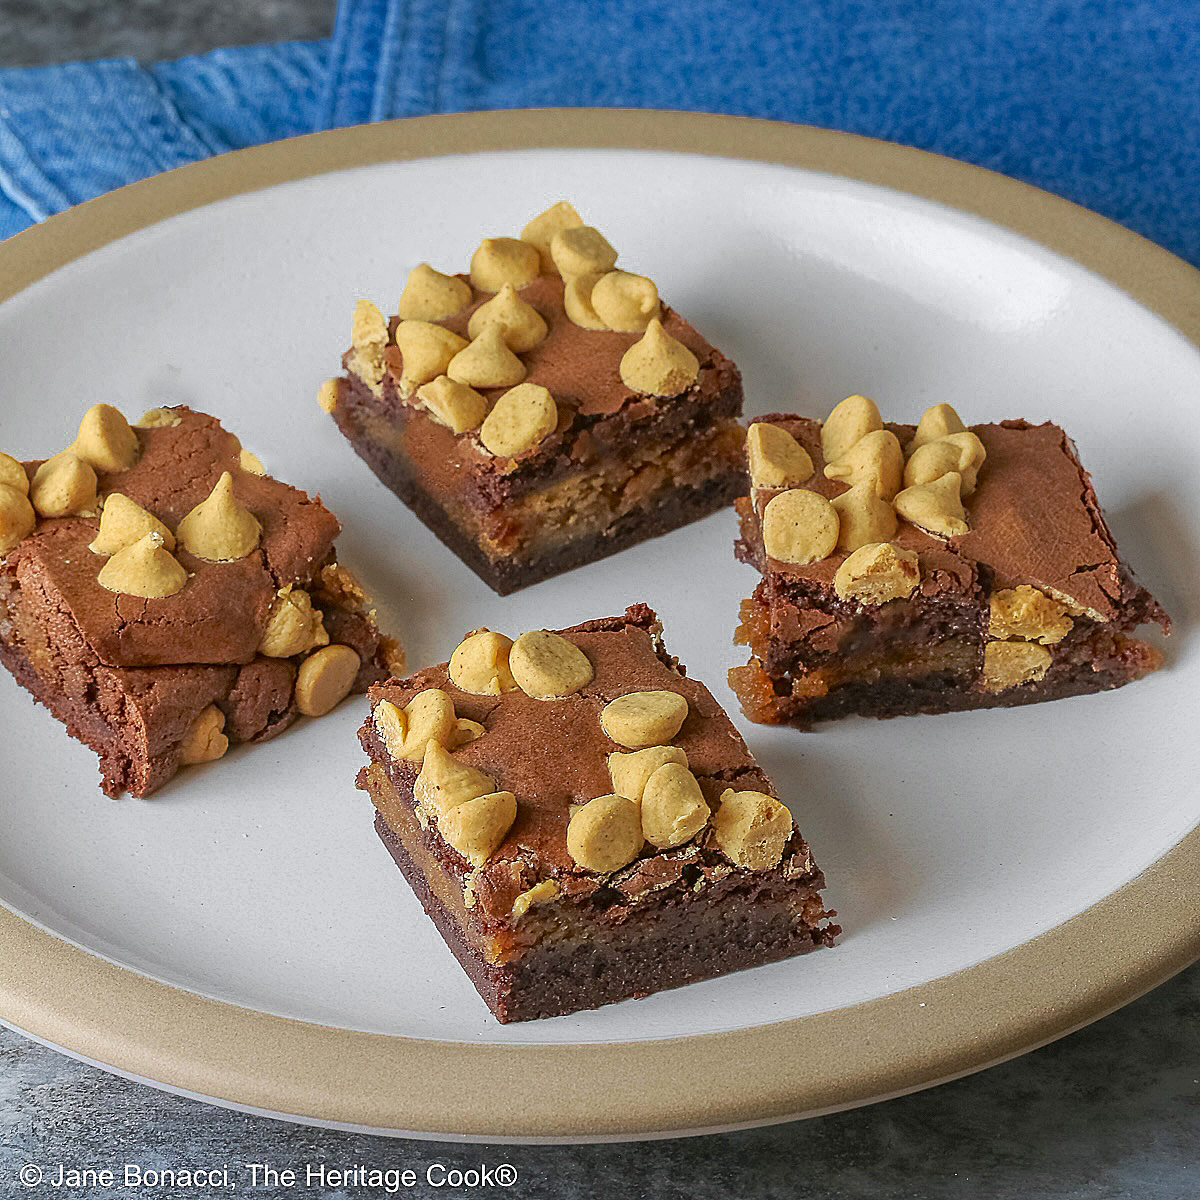
 Every time I make a recipe with peanut butter and chocolate, it is always very popular! Today’s Peanut Butter Brownies will become a favorite in your home too. They are chock full of luscious chocolate in every bite complemented by a peanut butter layer in the middle and peanut butter chips on the top. A true crowd pleaser!
These are really easy to make from scratch, just combine a few ingredients and you’ll have a batter you’ll dream about. Then there is a creamy peanut butter layer in the middle that thrills everyone. Finish with brownie batter on top and sprinkle with peanut butter chips for pure satisfaction in every bite!

Large sharp knife cutting the peanut butter brownies
If you have someone who cannot have peanut butter, feel free to substitute an alternate type of nut butter that is safe. If the nut butter is really runny, you can add more powdered sugar until you have a spreadable mixture.
You will notice that I’ve given you a wide baking time, because every oven is different. The peanut butter filling layer makes it a little tricky to tell when the brownies are done. When you insert the toothpick, only go down through the top layer of the brownies for a more accurate reading. It is better to go by the visual cues in this case.
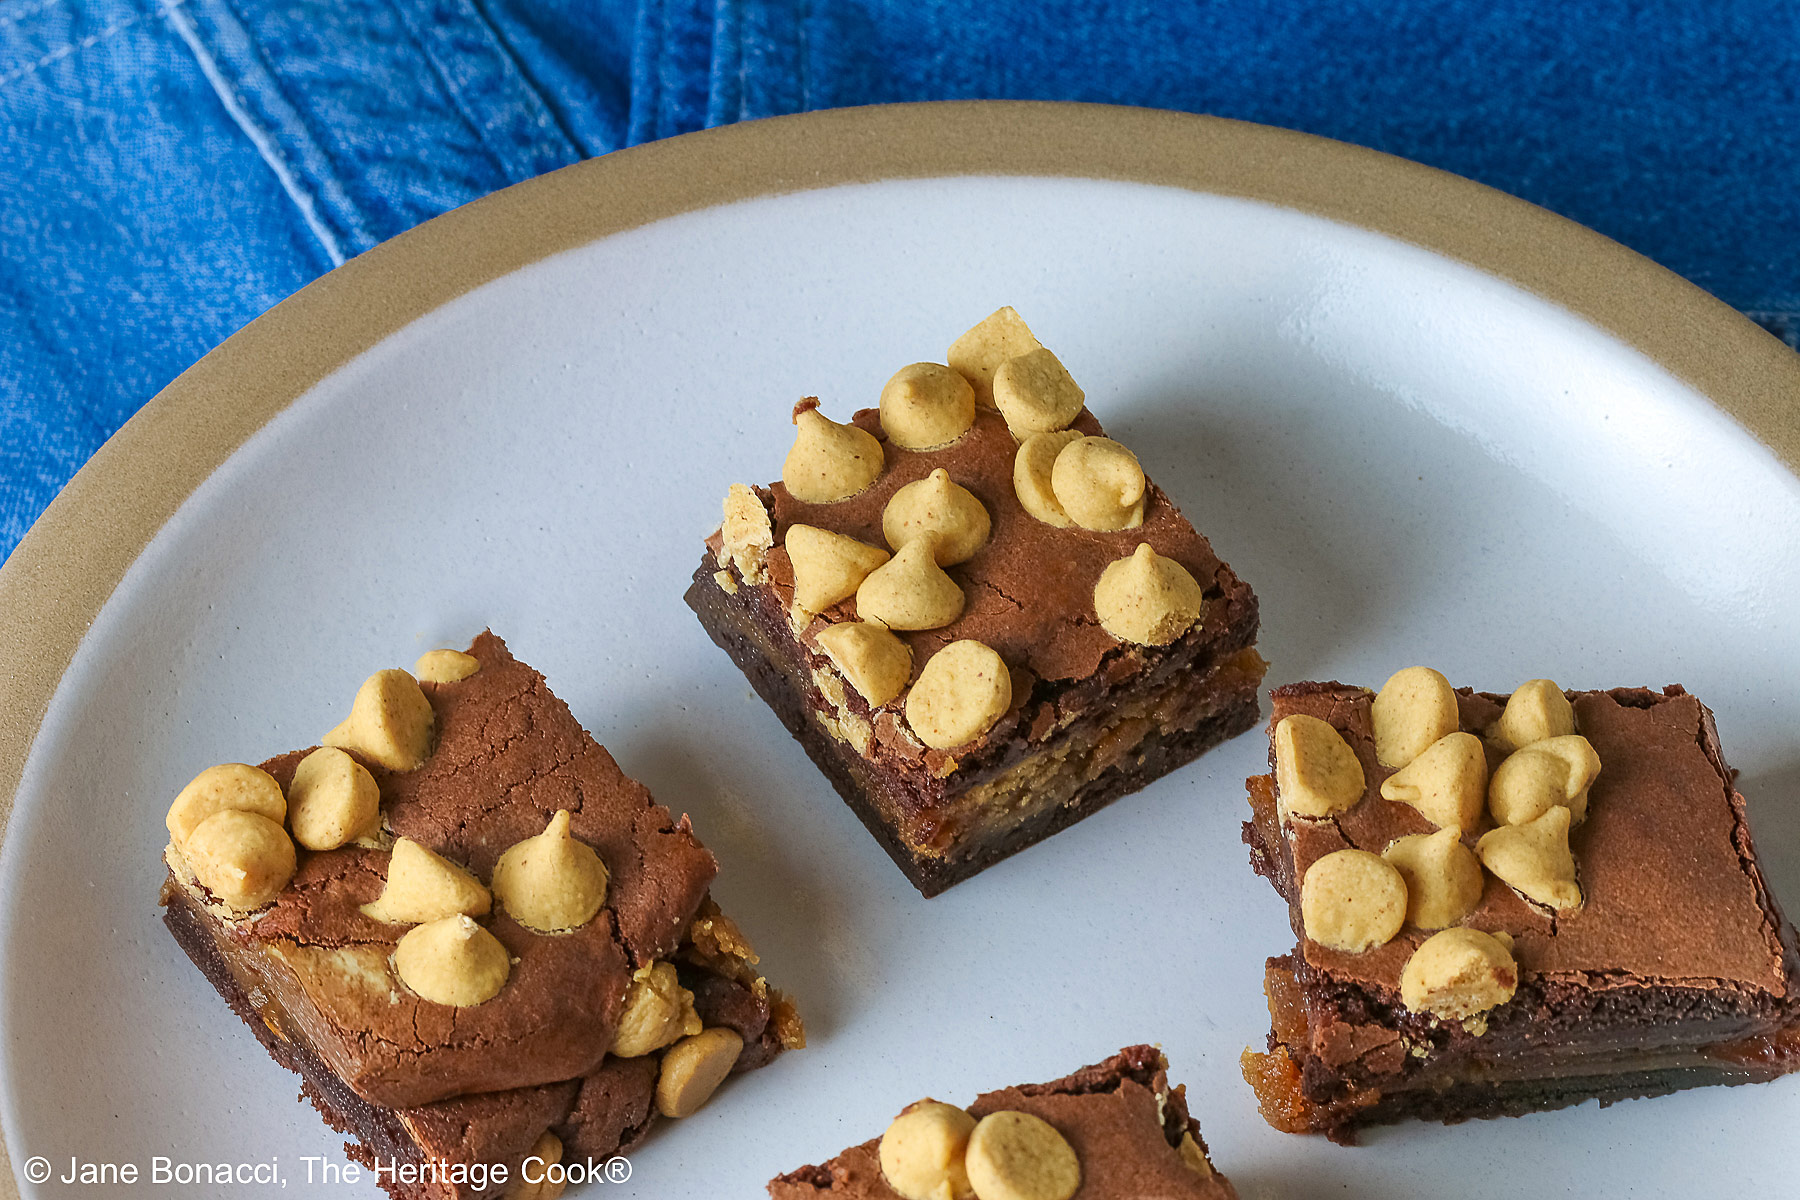
These are quite sticky brownies, so buttering or spraying the parchment or foil before adding the batter will make them release much more easily when you are ready to cut them.
If they do stick, turn the block of brownies upside down and gently peel the parchment paper off. Then place it back over the block and gently invert it again so the top is sitting up. I was able to stand the block on one end vertically and peel the paper that way which worked as well.
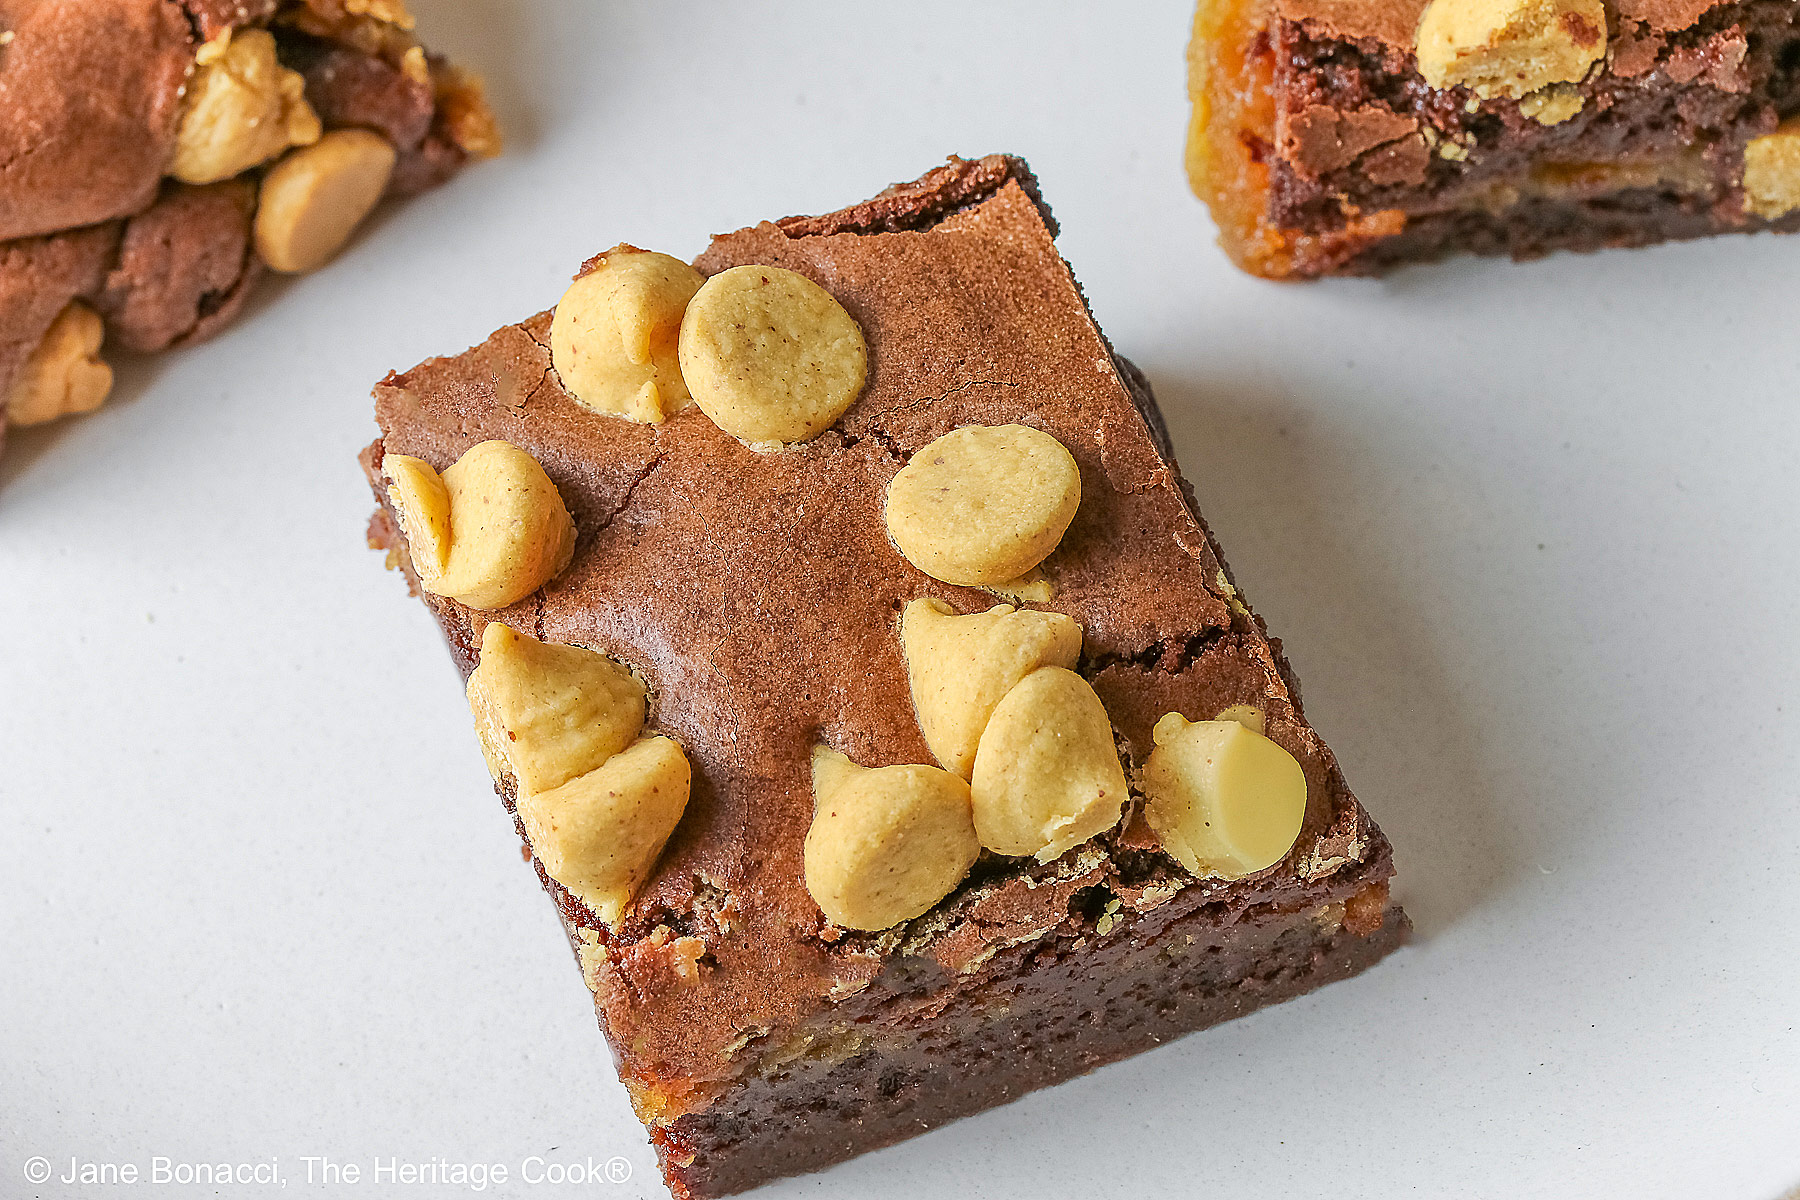
If you want an easier and slightly quicker way to make these, use a brownie mix (gluten-free if needed such as King Arthur’s). Just follow the directions on the package, pour half the batter in the prepared pan, top with the peanut butter mixture, then the rest of the brownie batter. Bake as directed or until a toothpick comes out clean and the top is cracked.
You still want to make the peanut butter layer by hand to get the right consistency. If you want a much thicker layer, you can double the ingredients.
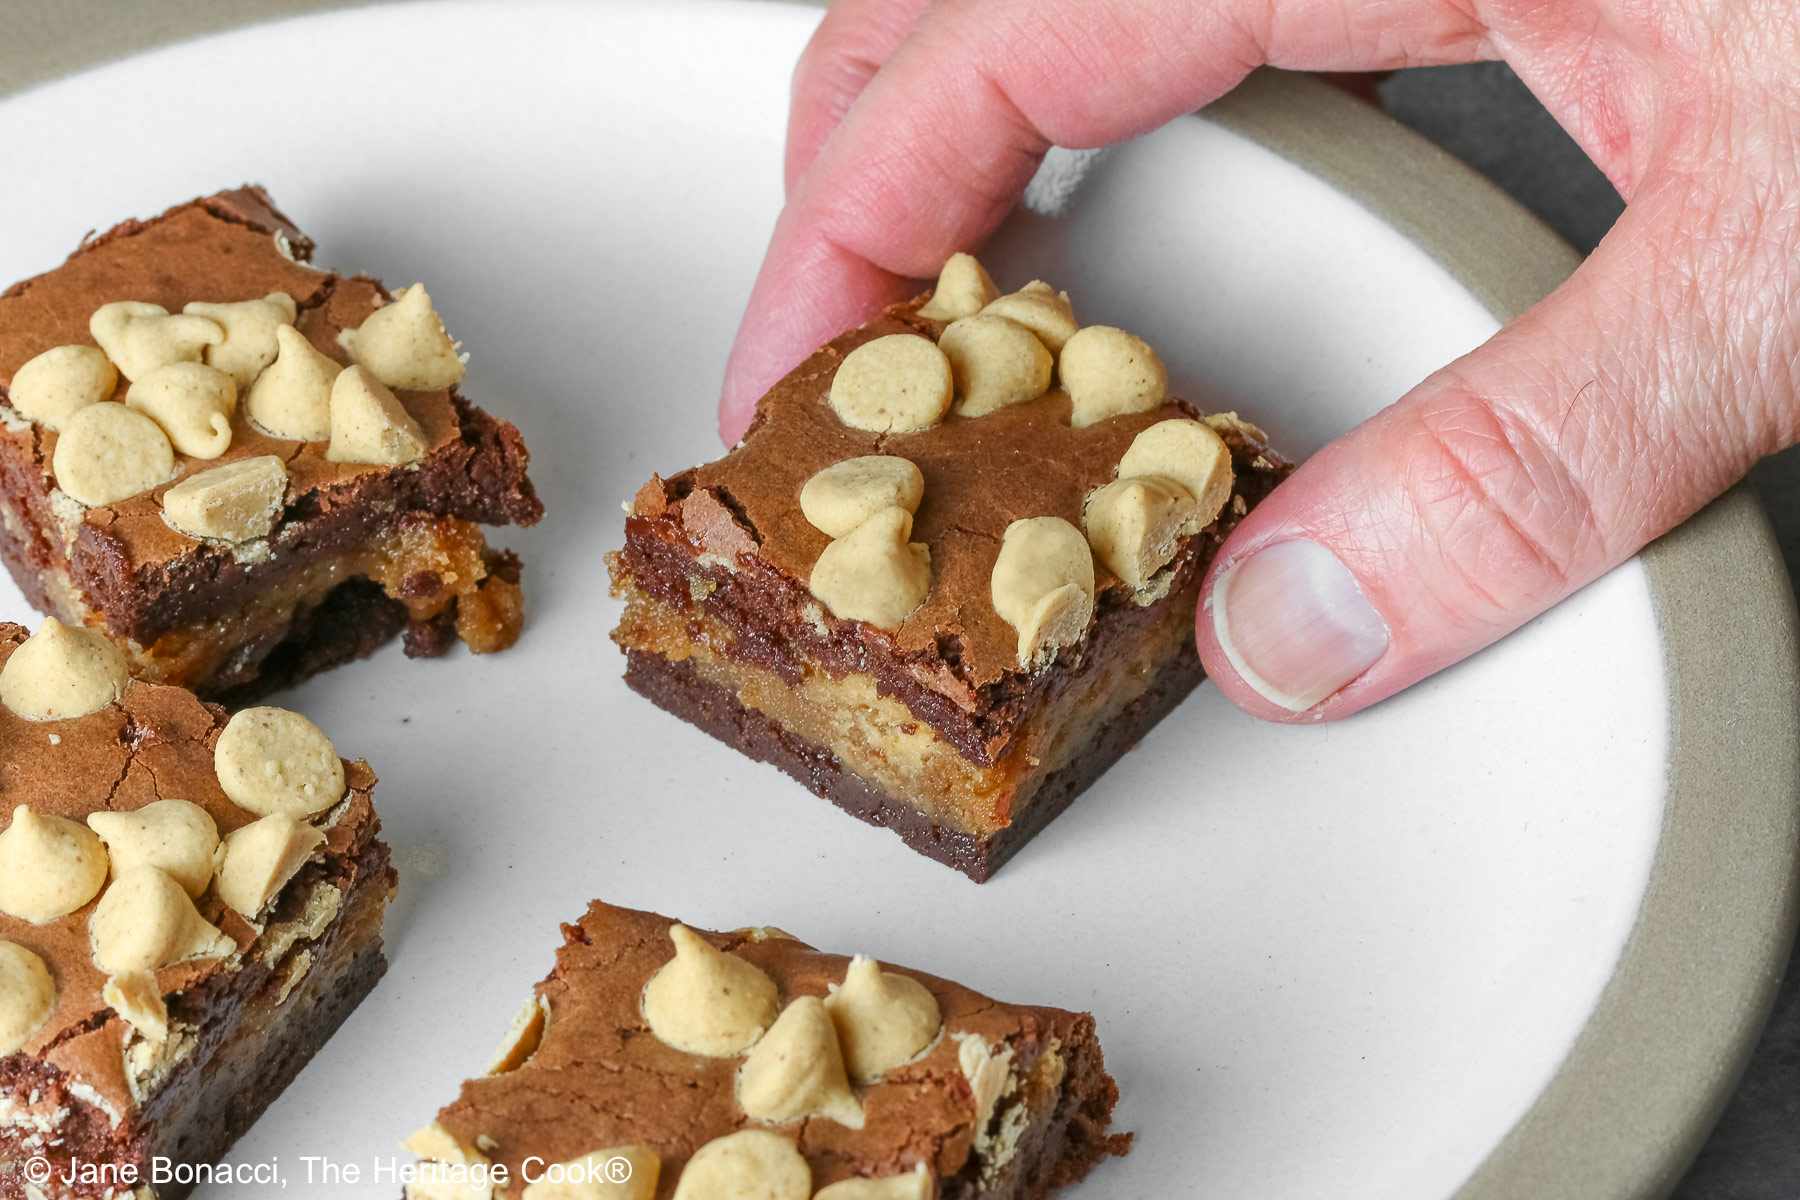
The peanut butter aroma and flavor are quite prominent even with a slightly thinner layer. You can smell the combination of peanut butter and chocolate while you are assembling and during baking. And then again when you are cutting them into squares.
These are fairly intense brownies so you can cut them a little smaller. I got 16 pieces out of mine and each one is very satisfying even for ardent chocoholics. I like to serve them straight from the refrigerator making them perfect for summer sweet treats!
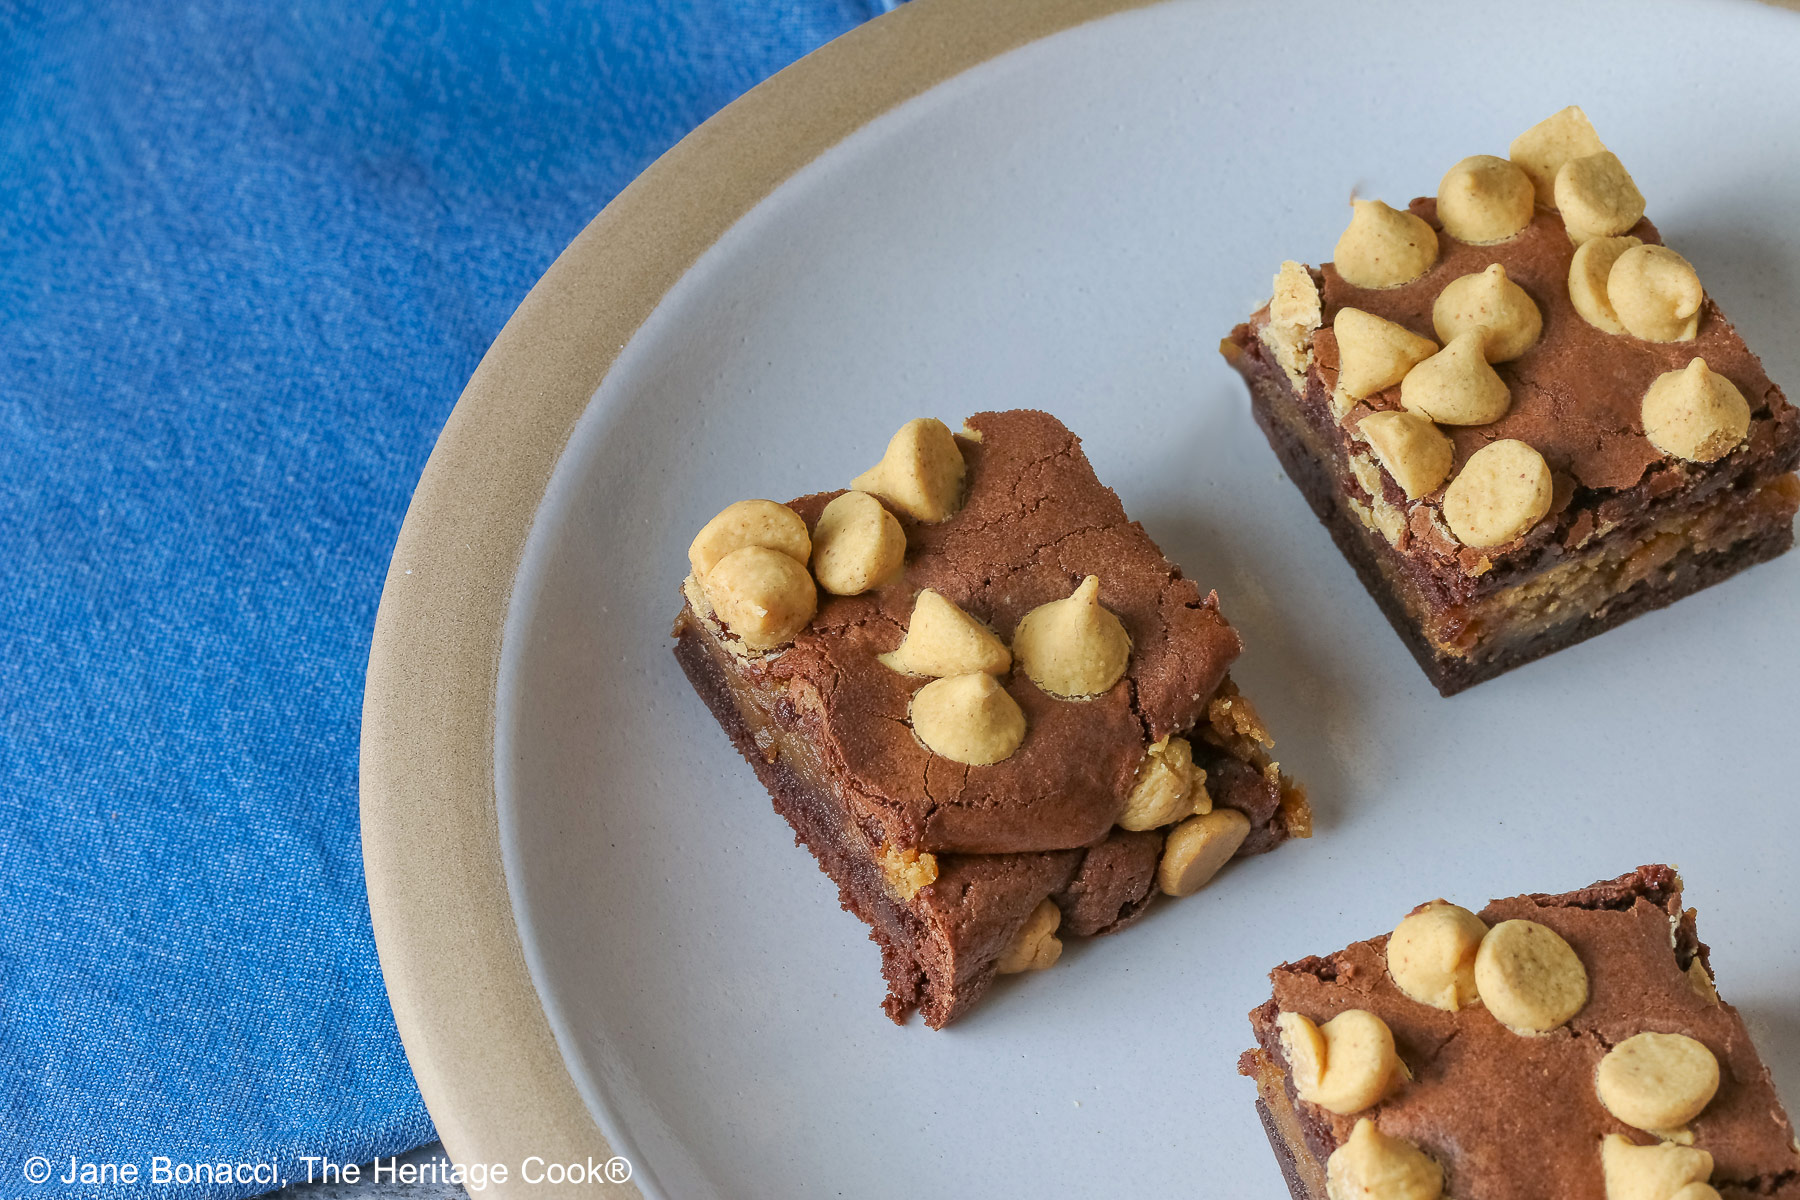
Give these Peanut Butter Brownies a try and you will be the most popular person at your event and get requests to make them over and over!
Happy Chocolate Monday – see you back here on Friday for another special savory recipe! Have a terrific week!
If you try this recipe, let me know! Please leave a star rating in the recipe card, comment below, and don’t forget to snap a pic and tag it @theheritagecook on Instagram! Seeing your creations makes my day and I love hearing from you!
Ingredients needed for Peanut Butter Brownies:
- Peanut Butter Layer: peanut butter, powdered sugar, kosher salt, vanilla, cream or milk
- Brownies: butter, sugar, unsweetened cocoa powder, salt, vanilla, eggs, flour, xanthan gum (if needed)
- Toppings: peanut butter chips
PRO Tip:
Set out all your ingredients in advance next to the mixer. Then as you add them, return the container to the cupboard or a different counter so you know you’ve added it. As you work your way through the ingredients you will have fewer items on the counter. This will help you remember to add everything!
How to make Peanut Butter Brownies:
- Make the Peanut Butter Layer: Mix together the peanut butter, sugar, salt, and vanilla until fully combined. Add the cream mixing until creamy and smooth and spreadable; add more cream if needed. Transfer to another bowl and set aside.
- Prepare the Brownie Batter: In a bowl set over a saucepan with an inch or two of simmering water in the bottom, add the butter, sugar, cocoa, and salt. Stir as it heats, mixing until everything is evenly blended. Remove from the heat and set on a wire rack to cool until you can hold the bowl in your hand. Transfer the mixture to the bowl of your stand mixer or a large bowl if using a hand mixer.
- Using your stand mixer or a hand mixer, beat the mixture for 30 seconds, then add the eggs one at a time, stirring after each addition. When thick, shiny, and well blended, stir in the flour just until you can’t see it anymore. Then beat on medium for about 30 seconds. It will be a very thick, heavy batter.
- Assemble the Brownies: Line an 8-inch (20 cm) baking pan with parchment paper extending over two opposite sides to create a sling. Spread half the brownie mixture in the pan. Top with dollops of the peanut butter mixture and use an offset spatula to spread it nearly to the edges, covering the brownie layer. Pour the remaining brownie batter over the top, smoothing it into an even layer. Sprinkle the top with the peanut butter chips.
- Bake the Brownies: Bake at 325°F (163°C) for 20 to 35 minutes until a toothpick inserted in the center comes out with a few moist crumbs and the top has a few cracks. Let the pan cool completely on a wire rack. Use the parchment to lift the brownies out of the pan and set on a cutting board. Use a heated sharp, long knife to make your cuts for the cleanest slices.
PRO Tip:
If you want even more chocolate flavor, you can add chocolate chips to the brownie batter, stirring them in at the end, just before you put it in the baking pan. You’ll have a boost of chocolate in every bite!
Recommended Tools (affiliate links; no extra cost to you):
- Kitchen scale
- Measuring spoons
- 8-inch (20 cm) square baking pan
- Parchment paper
- Stand mixer or hand mixer
- Saucepan
- Offset spatula
- Sharp long knife
Gluten-Free Tips:
* You can adjust any baking recipe to gluten-free by using 120 grams per cup of my favorite gluten-free flour blend. If you are using another brand of flour or regular flour, whisk it, spoon it lightly into a measuring cup until mounded, level off the top with a knife, and weigh the flour left in the cup. Use that weight as your standard per cup of that specific flour. Do this for each flour blend you use. Commercial gluten-free blends such as Pamela’s All-Purpose Artisan Blend, Bob’s Red Mill 1-to-1, or King Arthur Measure for Measure are all good gluten-free choices.
** My preferred brand of kosher salt is from Diamond Crystal. If you use Morton’s, another brand, or table salt, you will not need as much because they are saltier.
You will get the best and most consistent results by using a digital kitchen scale and weighing your ingredients, especially when you are baking. Use grams, they are much more accurate than pounds and ounces.
All recommended ingredients are gluten-free as of the writing of this article. Always check to be sure the products haven’t changed and are still safe to consume.
Peanut Butter Brownies (GF)

Today’s Peanut Butter Brownies will become a favorite in your home just like in mine. They are chock full of luscious chocolate in every bite complemented by a peanut butter layer in the middle and peanut butter chips on the top. A true crowd pleaser!
Ingredients
Peanut Butter Layer
- 2/3 cup (180g) creamy or chunky peanut butter, or alternate nut butter, at room temperature
- 3/4 cup (85g) powdered sugar
- Pinch kosher salt *
- 2 tsp vanilla paste or pure vanilla extract
- 2 to 4 tbsp heavy cream or milk, or as needed
Brownies
- 10 tbsp (1 stick+2 tbsp; 141g) unsalted butter, cut into slices
- 1-1/4 cups (248g) granulated sugar
- 3/4 cup + 2 tbsp (74g) unsweetened cocoa powder **
- 1/4 tsp kosher salt *
- 1/2 tsp pure vanilla extract
- 2 cold large eggs
- 1/2 cup (60g***) gluten-free all-purpose flour blend*** or regular all-purpose flour like Gold Medal
- 1/4 tsp xanthan gum (only for gluten-free; leave out if your blend already contains xanthan)
Topping
- About 1/4 to 1/3 cup peanut butter chips
Instructions
1. Position a rack in the lower third of the oven and preheat the oven to 325°F (163°C). Line the bottom and sides of an 8-inch (20 cm) square baking pan with parchment paper or foil, leaving an overhang on two opposite sides for handles when you remove the brownies from the pan. Butter or spray the parchment paper for easier release later.
2. Make the Peanut Butter Layer: Combine the peanut butter, powdered sugar, salt, and vanilla in the bowl of your stand mixer or a large bowl if using a hand mixer. Beat about 2 minutes until it cleans the sides and bottom of the bowl. Taste and beat in more sugar if desired. Add 2 tbsp of the cream and beat until creamy and luscious. The filling should be smooth enough to spread easily. Add more cream if needed for a good a spreading consistency. If it gets too thin, add more powdered sugar. Transfer to another bowl and set aside; stir the mixture again before using. Clean the mixer bowl.
3. Prepare the Brownie Batter: Combine the butter, sugar, cocoa, and salt in a medium heatproof bowl and set the bowl on top of a saucepan with 2-inches of simmering water in the bottom. Stir the ingredients from time to time until the butter is melted and the mixture is smooth. Scrape the bowl thoroughly.
4. Remove the bowl from the heat and set on a wire cooling rack until the mixture is just warm, not hot. You will be able to comfortably hold the bottom of the bowl in the palm of your hand. If the mixture is too hot, you could scramble the eggs. Transfer the butter/cocoa mixture to the clean bowl of your stand mixer or a large bowl if using a hand mixer.
5. Beat the mixture for 30 seconds. Add the eggs, one at a time, stirring after each one. When the batter looks thick, shiny, and well blended, scrape the sides and bottom of the bowl. Add the flour (and xanthan if using) and stir until you cannot see any remaining white, then beat on medium speed for about 30 seconds. It will be a very thick, heavy batter.
6. Assemble the Brownies: Spread half of the batter evenly in the lined pan. Top with dollops of the peanut butter mixture all over the surface, spreading carefully with an offset spatula until it covers the brownie batter almost to the edges. Scoop and spread the remaining brownie batter over the top until smooth. Scatter the top with the peanut butter chips.
7. Bake the Brownies: Bake until the brownies begin to pull away from the edges of the pan and a toothpick inserted into the center comes out with a few moist crumbs, 20 to 35 minutes. Remove from the oven and place on a wire rack Let the brownies cool completely on the rack.
8. When cooled, use the parchment or foil to lift the brownies out of the pan and place on a cutting board. For the cleanest cuts, heat a sharp knife under running hot water, wipe dry, and make your first cut. Repeat heating/wiping after each cut for perfect slices! Serve the brownies cool or at room temperature and enjoy!
Notes
* My preferred brand of kosher salt is from Diamond Crystal. If you use Morton’s, another brand, or table salt you will not need as much because they are saltier.
** You can use natural cocoa powder (like Hershey’s brand) or Dutch processed for a darker look. The natural cocoa has a stronger chocolate flavor.
*** You can adjust any recipe to gluten-free by using 120 grams per cup of my favorite gluten-free flour blend. If you are using another brand of gluten-free flour, whisk the mix, spoon it lightly into a measuring cup without a spout until mounded, level off the top with the back of a knife, and weigh the flour left in the cup. Use that weight as your standard per cup of that specific flour. Do this for each flour blend you use. Commercial blends such as Pamela's, Bob's Red Mill 1-to-1, or King Arthur Measure for Measure are all good gluten-free choices.
You will get the best and most consistent results by using a digital kitchen scale and weighing your ingredients, especially when you are baking. Use grams, they are much more accurate than pounds and ounces.
All recommended ingredients are gluten-free as of the writing of this article. Always check to be sure the products haven’t changed and are still safe to consume.
Inspired by Sally’s Baking Addiction
Brownies adapted from Alice Medrich’s “Bittersweet” cookbook
Nutrition Information:
Yield:
16Serving Size:
1Amount Per Serving: Calories: 275Total Fat: 16gSaturated Fat: 6gUnsaturated Fat: 9gCholesterol: 47mgSodium: 96mgCarbohydrates: 27gFiber: 3gSugar: 13gProtein: 7g
The nutritional information for recipes on this site is calculated by online tools and is merely an estimate. If you need nutritional calculations for medical reasons, please use a source that you trust.
If you enjoyed this recipe, be sure to follow me on social media so you never miss a post:
| Facebook | Pinterest | Instagram | Threads | Bluesky |

Create a New Tradition Today!
Welcome! The suggestions here are not intended as dietary advice or as a substitute for consulting a dietician, physician, or other medical professional. Please see the Disclaimers/Privacy Policy page for additional details. Unauthorized use, distribution, and/or duplication of proprietary material from The Heritage Cook without prior approval is prohibited. If you have any questions or would like permission, please contact me. We participate in the Amazon Services LLC Associates Program, an affiliate advertising program designed to provide a means for sites to earn advertising fees by advertising and linking to amazon.com. As an Amazon Associate, I earn a small amount from qualifying purchases without any additional cost to you. This page may contain affiliate links. The author makes no claims regarding the presence of food allergens and disclaims all liability in connection with the use of this site.