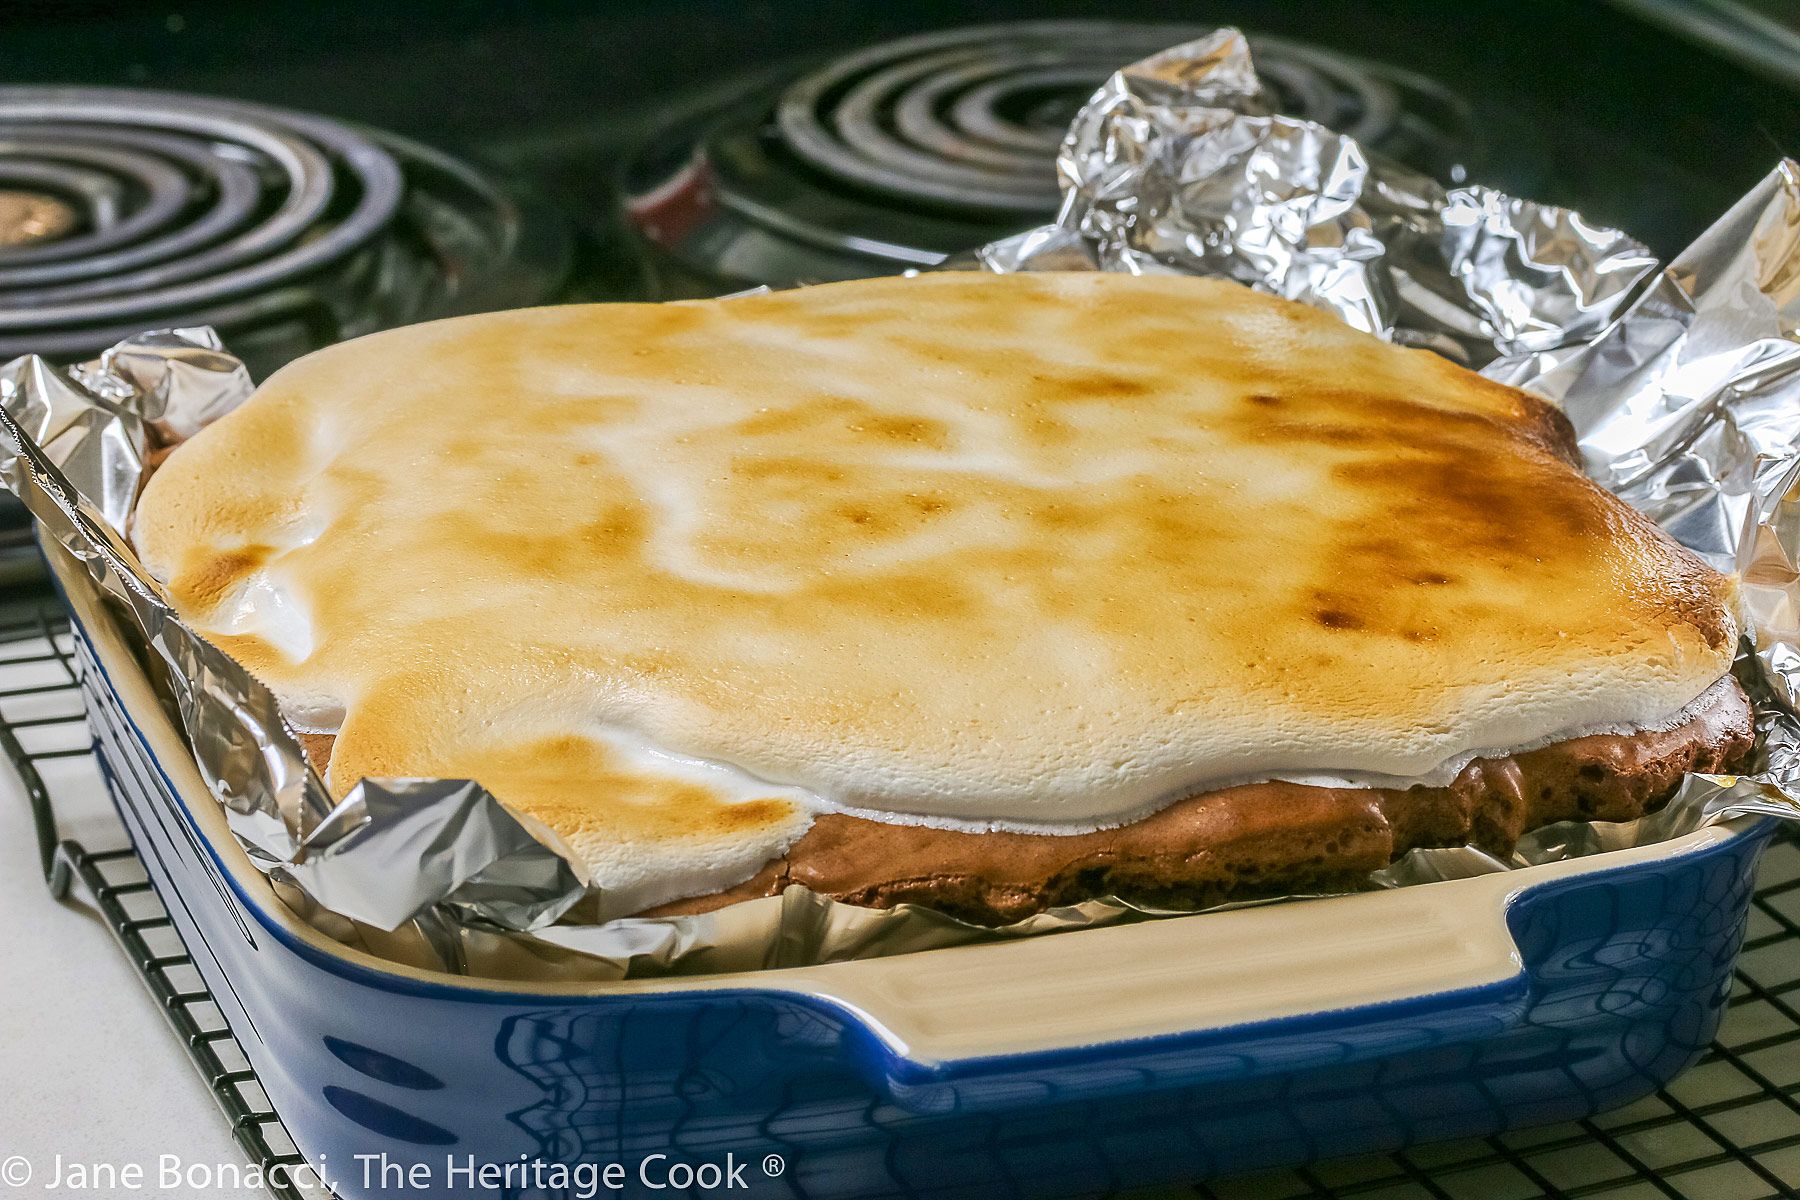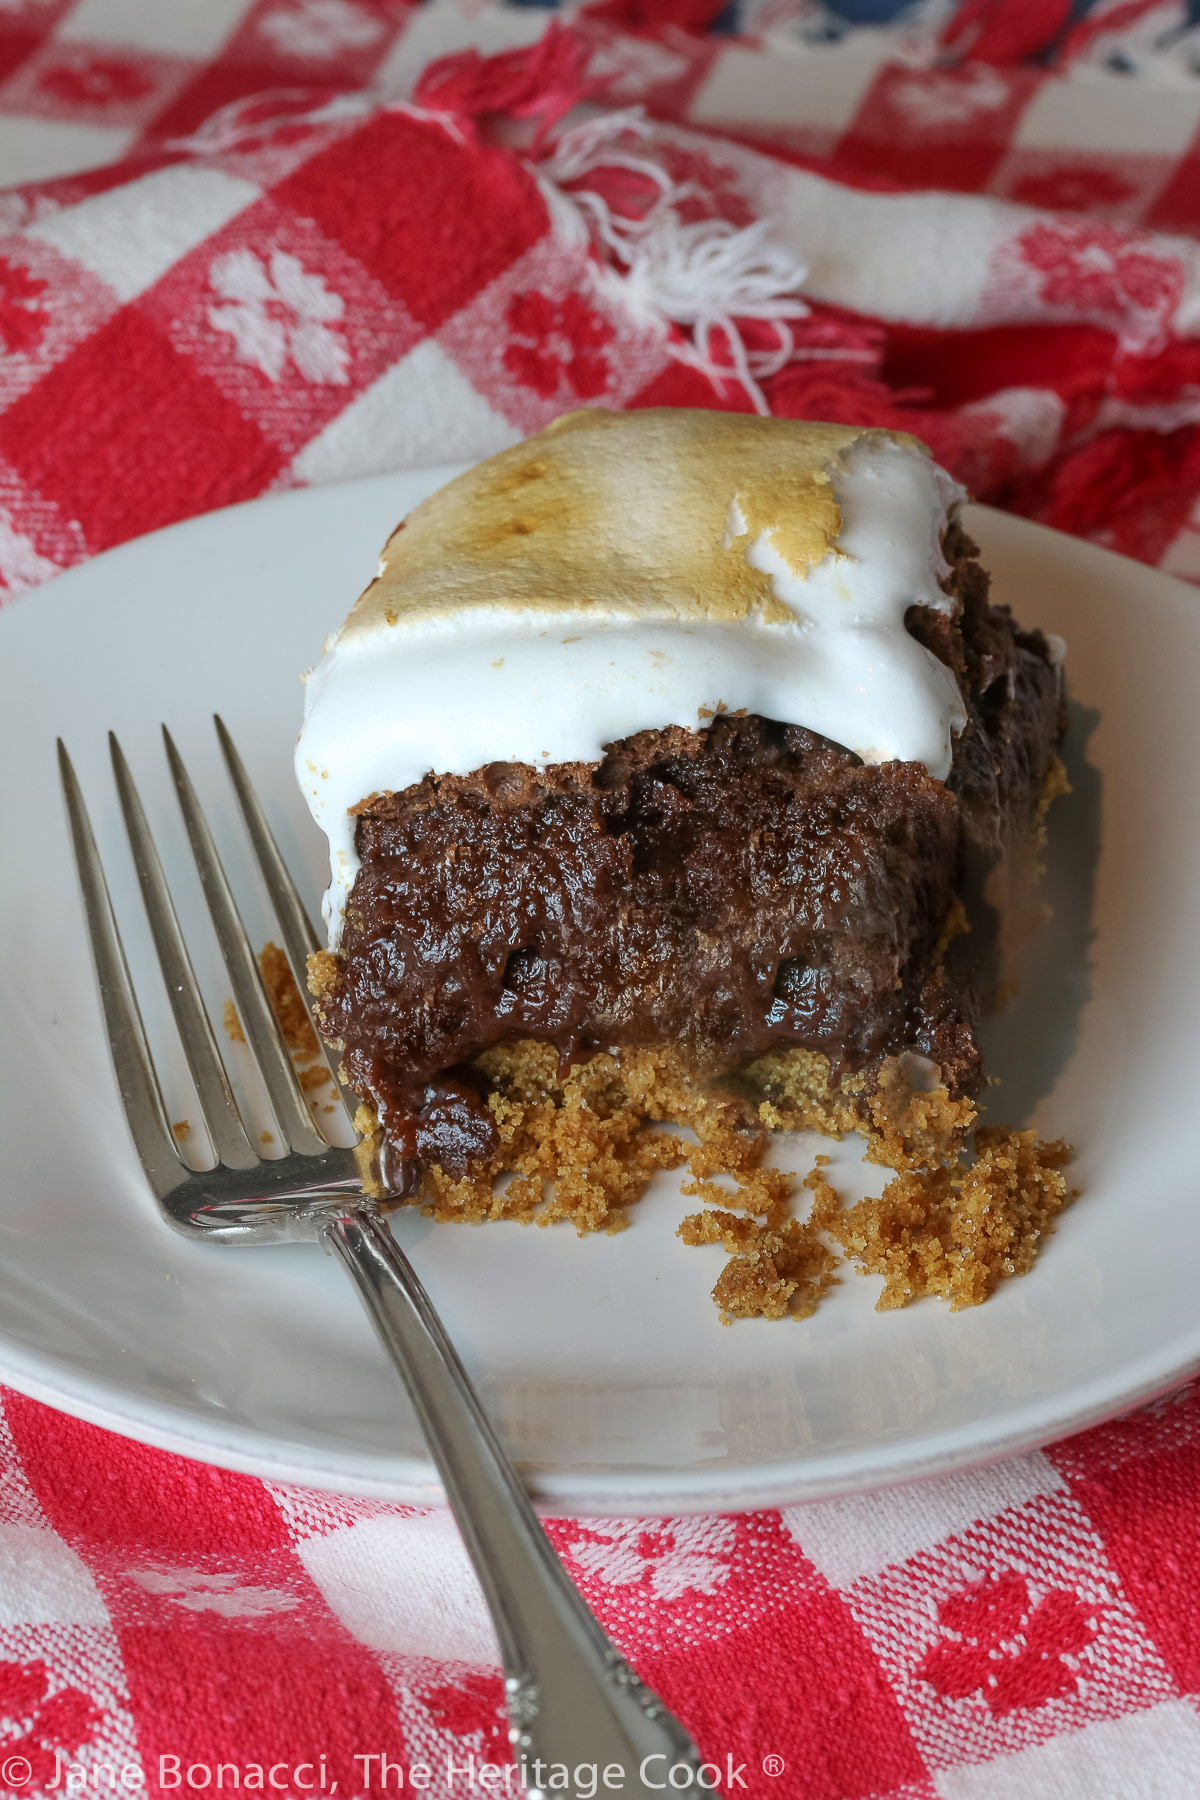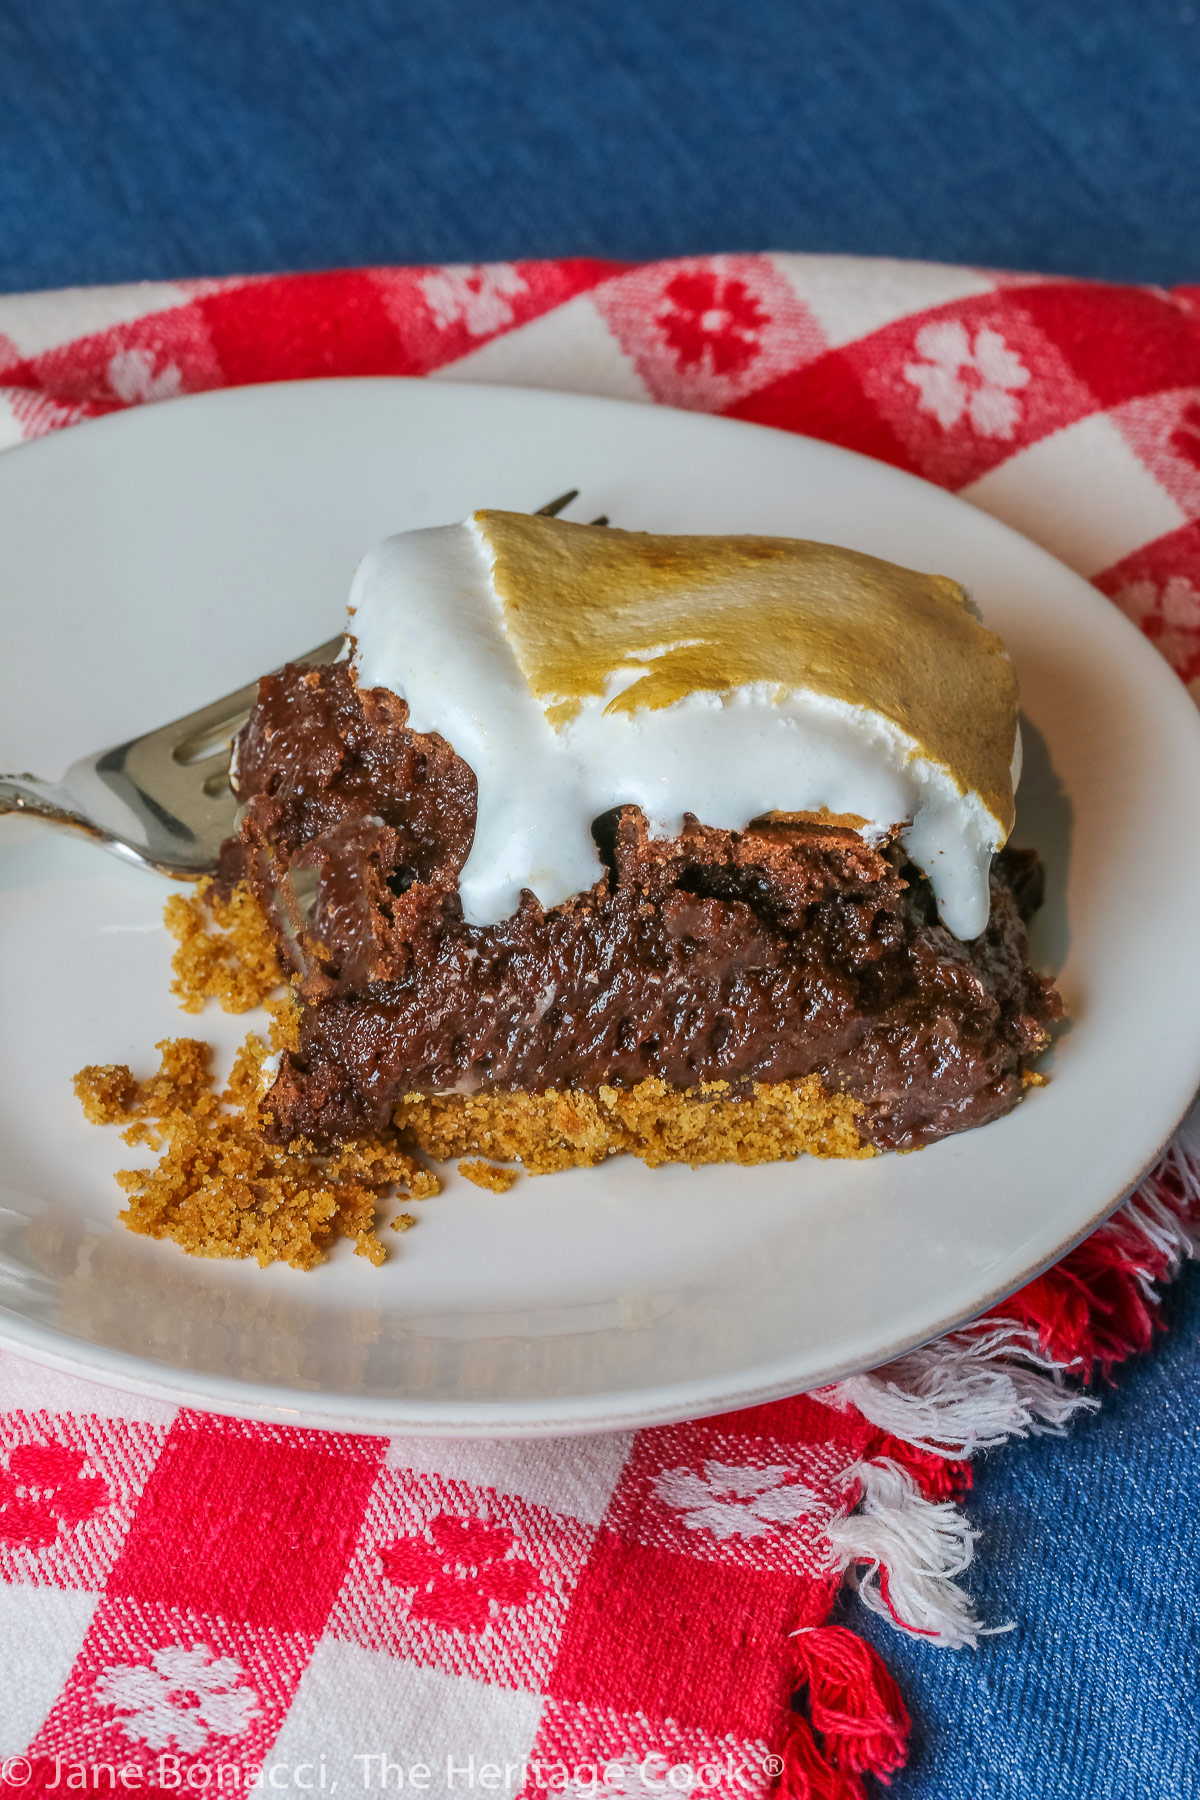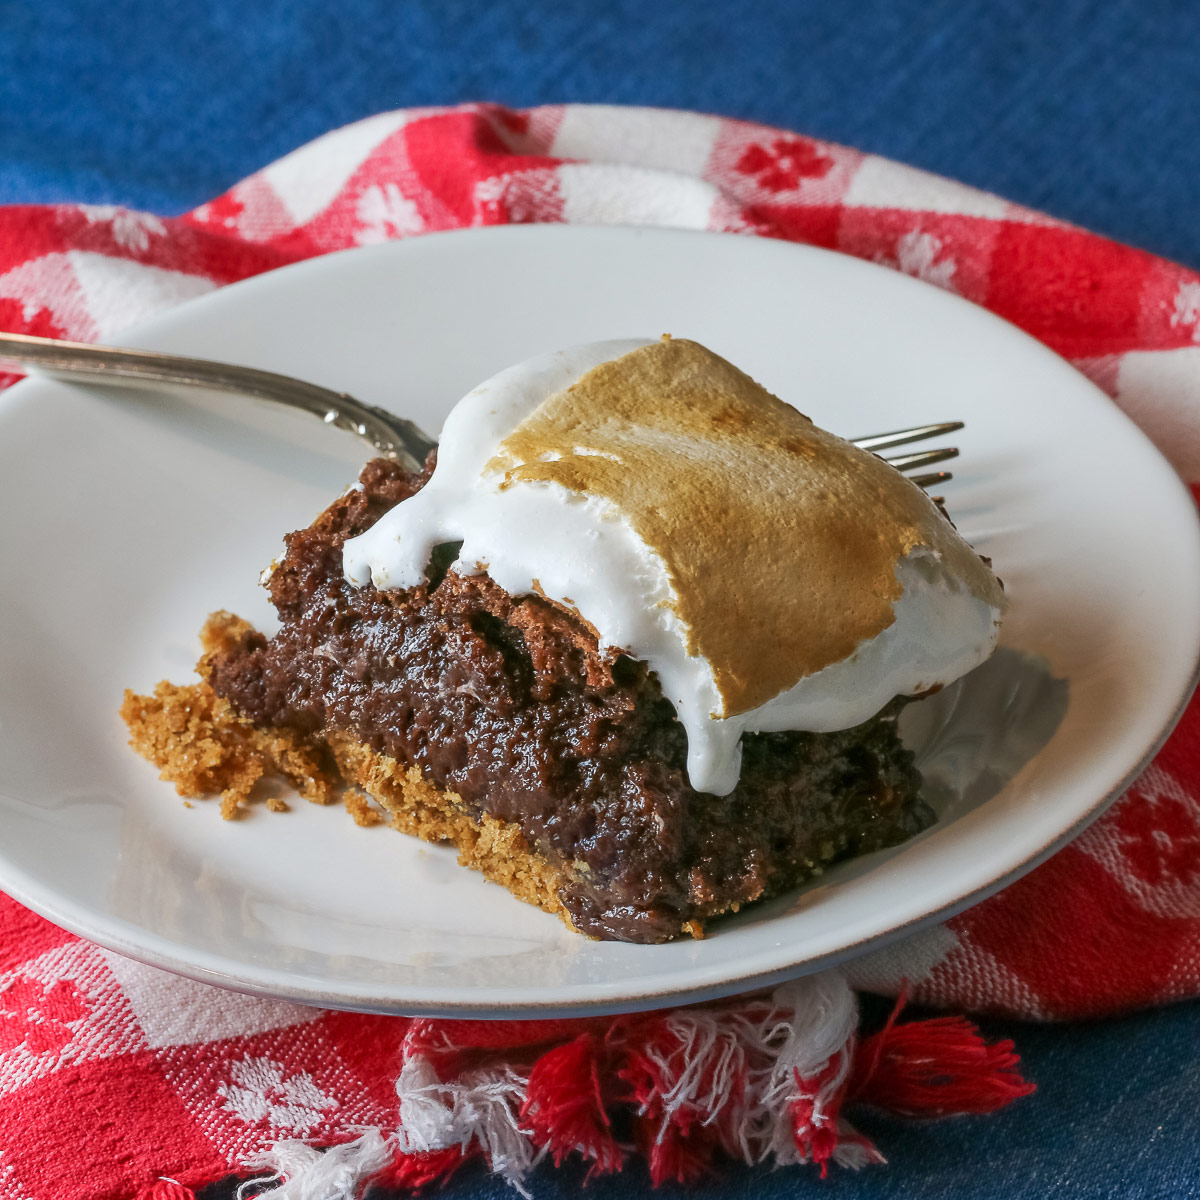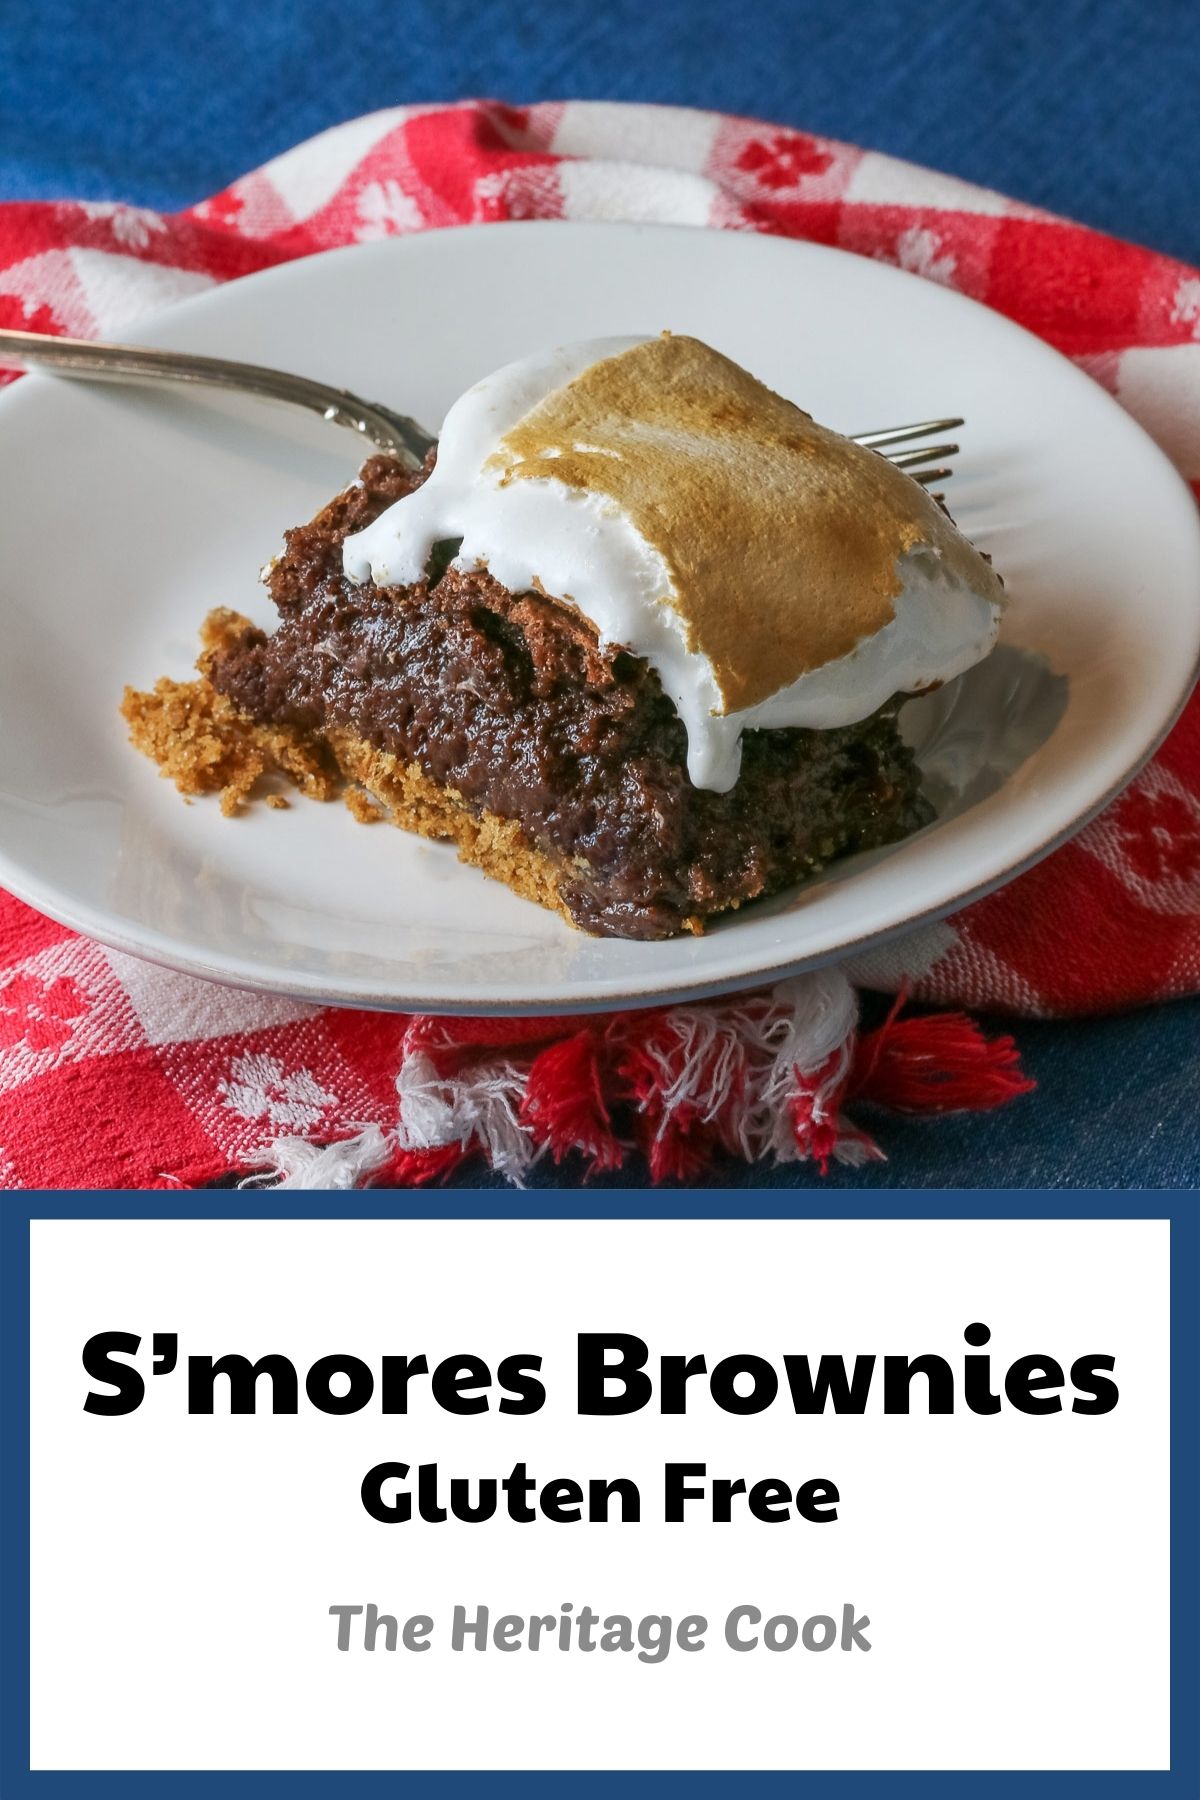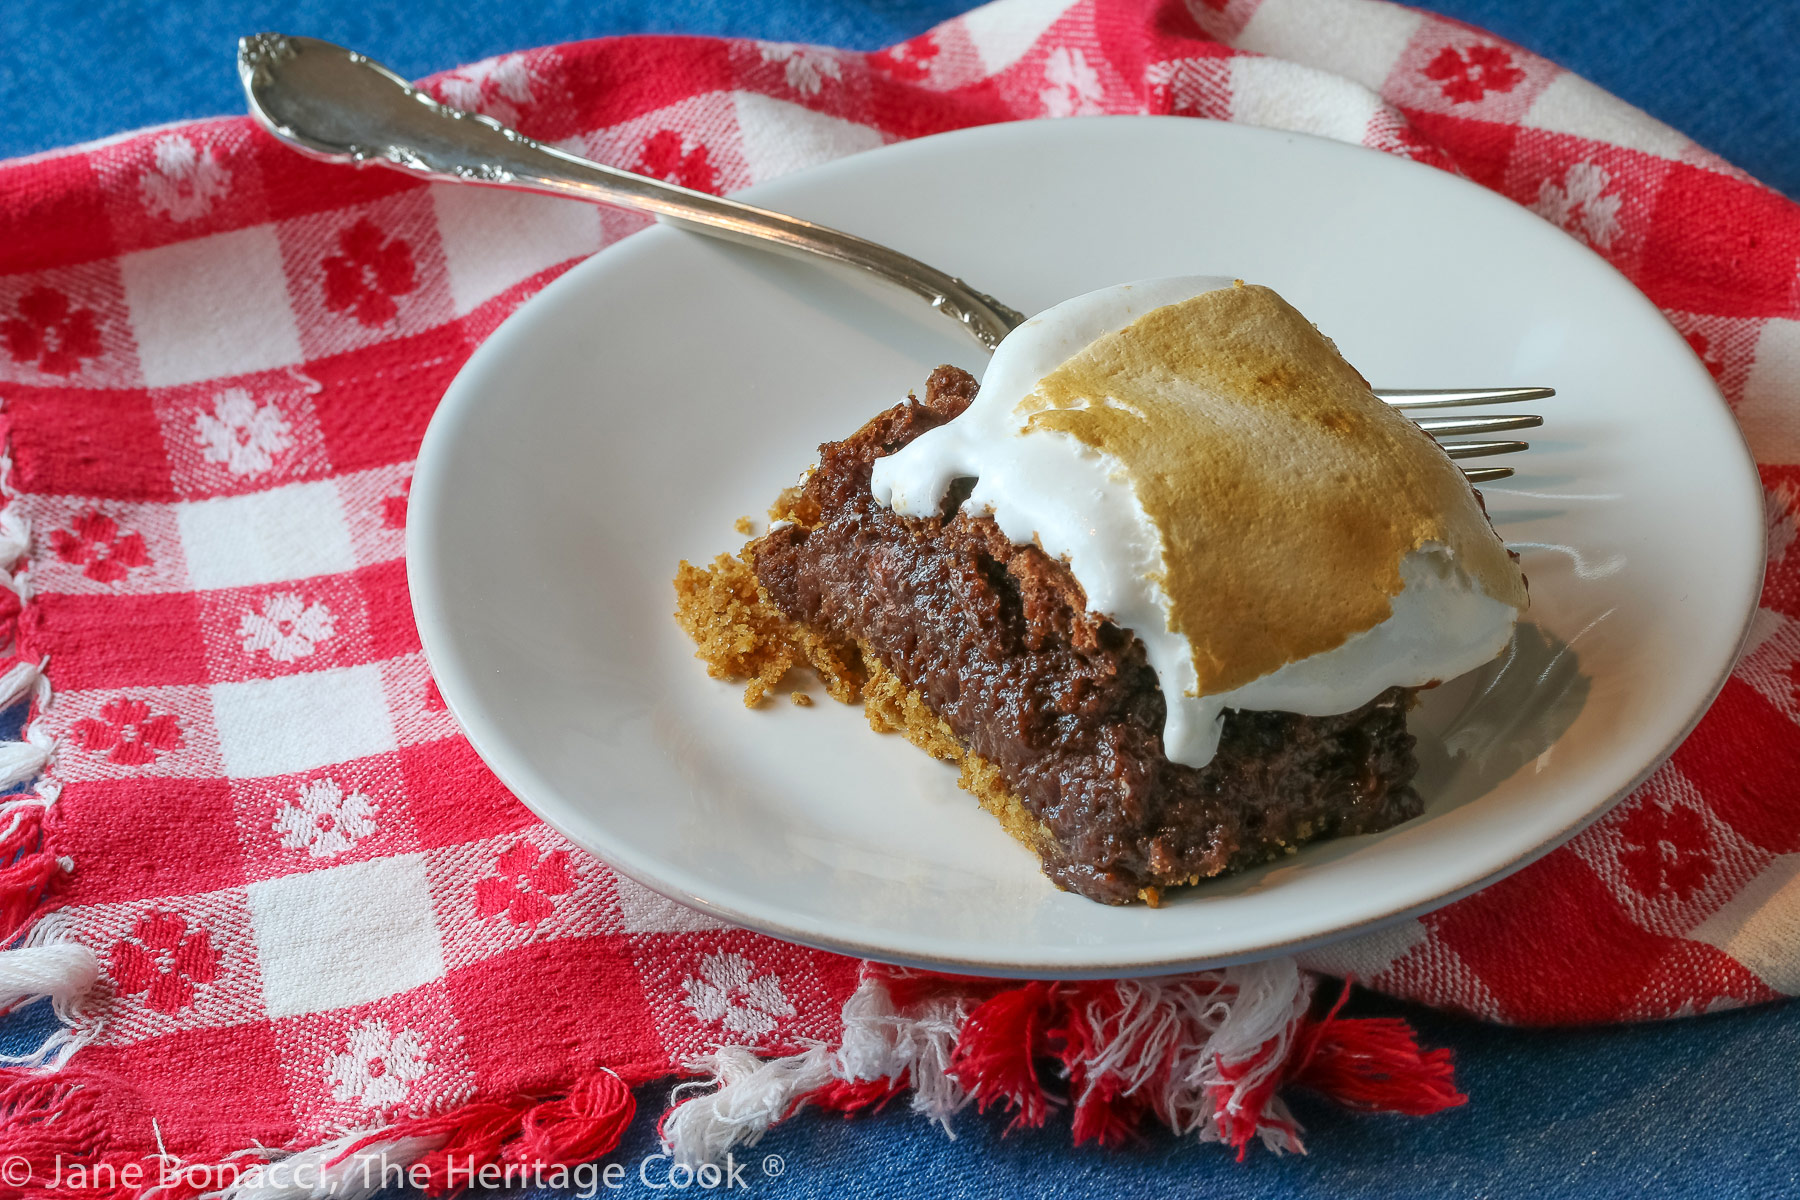
These S’mores brownies are first baked in the oven and then broiled until the marshmallow topping is lightly browned. The sweetness of the marshmallow topping is balanced by the rich depth of chocolate in the brownies.
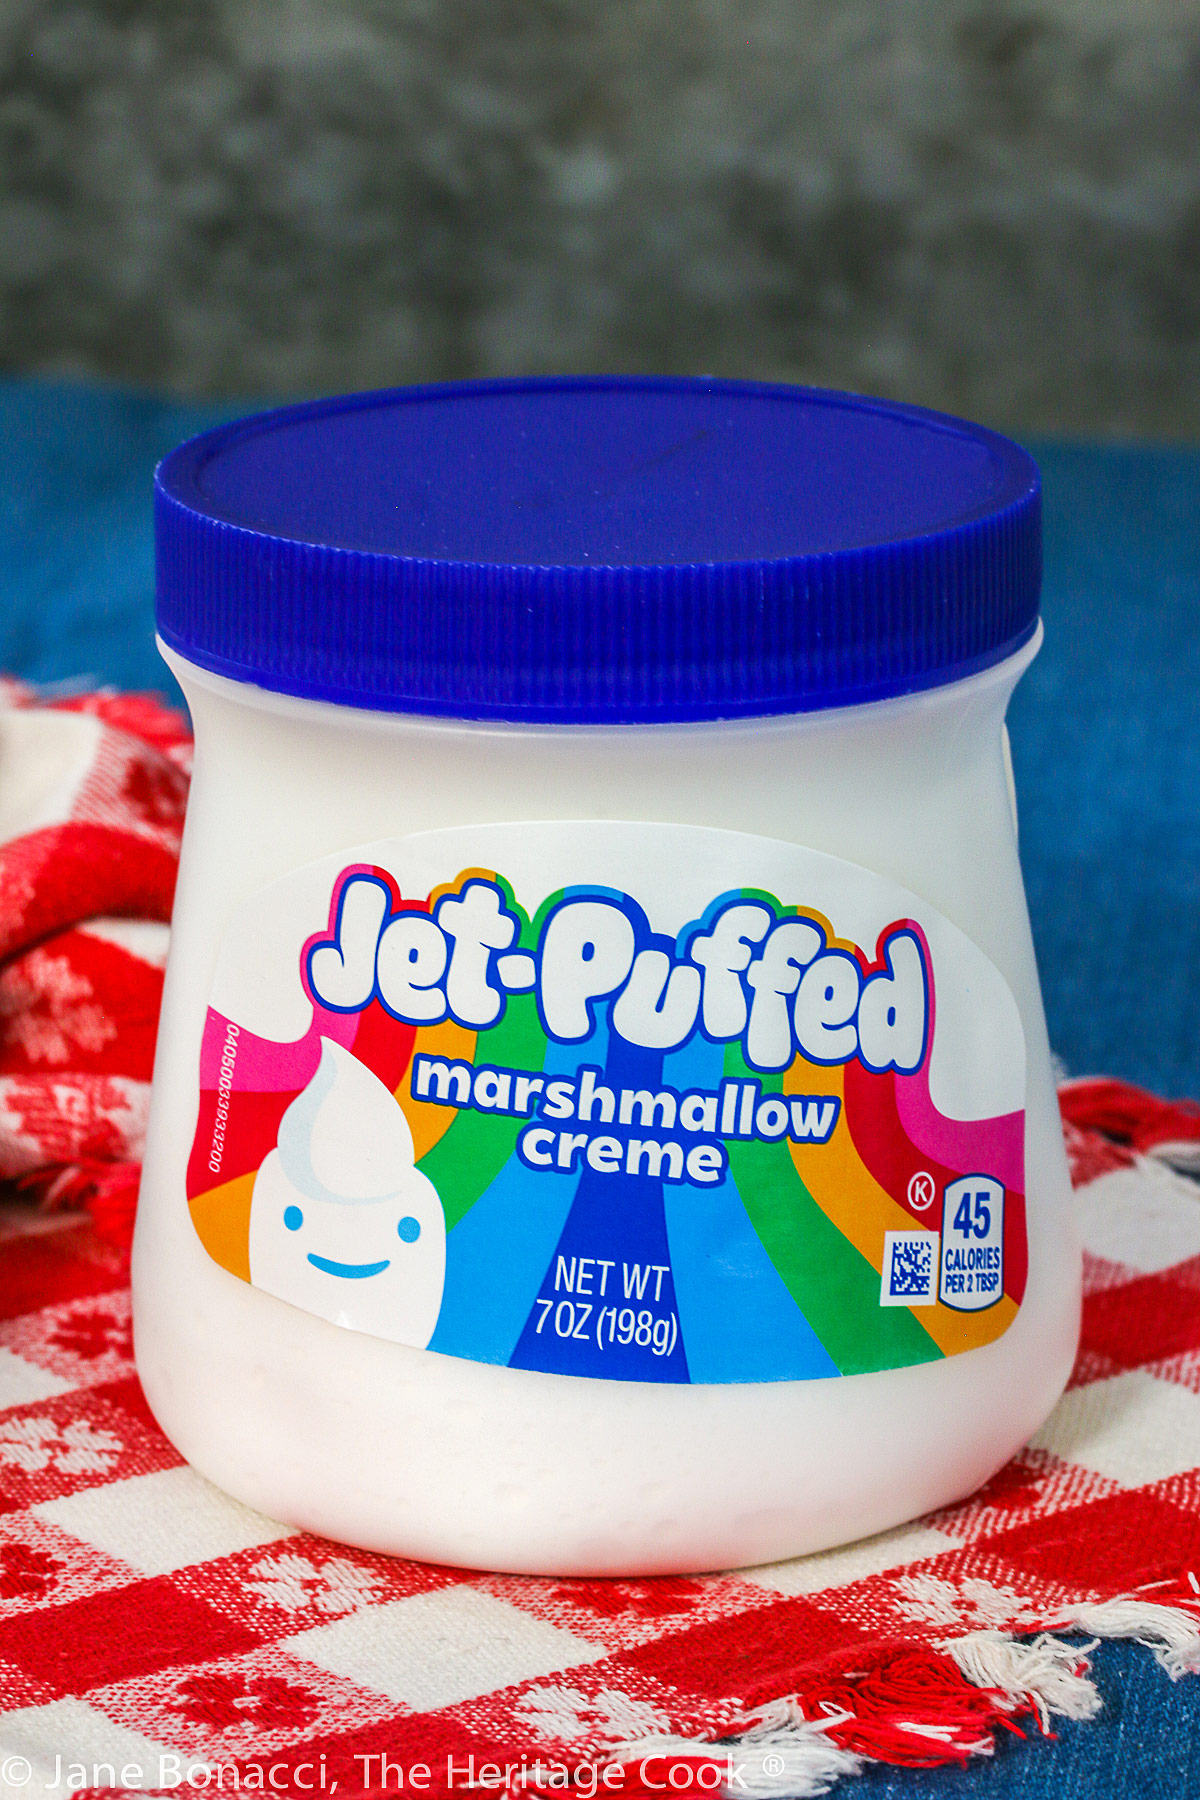
This is the marshmallow creme available where I live – yours may look different.
The best part is that you can make them all year long and are not limited to just the summer months! They are a wonderful treat on cold and snowy winter days. A taste of summer all winter long!
The recipe calls for graham cracker crumbs. You can find them in the grocery store next to the whole crackers. If you want to make them from scratch, break up the graham crackers into smaller pieces. Use either a food processor or place them in a zip-top plastic bag and roll over with a rolling pin. Try to make sure there are no large pieces left whole.
If you are like me and often forget to set the eggs out ahead of time to warm up, there is a good shortcut you can take. Run hot water into a large bowl and place the eggs (still in their shells) in the water. Let them soak 5 to 10 minutes and they will be warm enough to easily mix into the batter.
One direction in the recipe is to fold the flour into the chocolate/egg mixture. This helps keep the batter from deflating. If you don’t know what this means, you use a spatula to cut down through the center of the bowl, turn your wrist and as you draw the spatula up, drag the mixture from the bottom to the top partially covering the flour on top. Turn the bowl slightly and repeat the same motion. Continue folding until there are no white streaks left in the batter.
One of the tricks for these S’Mores brownies is to microwave the marshmallow creme slightly to soften it, making it easier to spread over the top of the warm brownies. Use an offset spatula so you don’t touch the pan edges or the hot brownies.
These are designed to be fudgy brownies, if you want a cakier texture, you can bake them longer until a toothpick comes out with moist crumbs clinging to it.
Some recipes make beautiful photos easy to take, others are more challenging. These brownies are in the latter category. While not the most beautiful dessert, this is one that everyone will love to eat!
I hope you enjoy these S’Mores Brownies as much as we did and have fun with your kids as everyone gets messy eating them, just like the ones you make at a campfire. The sweetness of the marshmallow, the dense chocolate flavor of the brownies and the crunch of the graham crackers makes one amazing dessert.
Happy Chocolate Monday! Have a wonderful week!
Did you enjoy this recipe? Let me know in the comments and leave a star rating, I love hearing from you!
Ingredients needed for S’Mores Brownies:
- Graham cracker crumbs (gluten free if needed), sugar, butter
- Dark chocolate chips, brown sugar, eggs, vanilla
- Gluten-Free all-purpose flour blend, marshmallow creme
PRO Tip:
Always read a recipe all the way through before starting to be sure you have all the ingredients ready and don’t miss any steps while making the dish. I usually read it through two times so I’m sure I know what I’m going to have to do. And I set out all the ingredients I am going to need so I’m not hunting through a cabinet to find something.
PRO Tip:
Be sure to use aluminum foil and not parchment to line the pan. Because you are putting it under the broiler, you don’t want to risk the parchment catching on fire.
How to make S’Mores Brownies:
- Crust: Line a 9×9-inch (23×23 cm) with foil, leaving the ends hanging over the sides. Butter the foil. Crush the graham crackers (use gluten free if needed) and combine with the sugar, butter, and cinnamon until everything is evenly moistened. Press into the prepared pan in an even layer.
- Bake the crust in a 350°F (177°C) oven for 10 minutes. Remove from the oven and place on a wire rack to cool.
- Brownies: Melt the chocolate chips and butter in a bowl set over a saucepan with 1-inch of water in the bottom. Use medium heat and stir until completely melted and smooth. Cool chocolate for 5 to 7 minutes, then beat together with the brown sugar, sugar, eggs, and vanilla until smooth and lightened in color.
- Carefully fold the flour into the chocolate mixture all at once. Fold it gently so you don’t deflate the eggs any more than you have to, until there are no more white streaks left. Scrape the bowl.
- Pour into the pan with the crust and bake at 350°F (177°C) for 40 to 45 minutes. Place the pan on a wire rack and cool slightly. When still warm, spread the top with the marshmallow creme (see below for details) and switch the oven to the broil setting.
- Marshmallow Topping: Just before the brownies are done, microwave the marshmallow creme for a few seconds to soften it. Use an offset spatula to gently spread it over the still warm brownies in an even layer.
- Place the marshmallow-covered pan under the broiler for 1 minute or until lightly browned. Watch carefully because it can quickly burn. Remove from the oven and cool at least 1 hour.
- Use the foil sling to lift the cooled brownies out of the pan. Set on a cutting board and slice into squares to serve.
PRO Tip:
When melting butter and chocolate together, always put the butter in the bowl first and top with the chocolate. This will help avoid scorching the chocolate.
PRO Tip:
Use an offset spatula to carefully spread the marshmallow creme over the brownies. The bend in the handle lifts your fingers above the surface so you don’t touch the hot pan edges or the hot brownies.
Recommended Tools (affiliate links; no extra cost to you):
- Food processor or rolling pin
- 9×9-inch square baking pan (23x23cm)
- Dry measuring cups
- Stand mixer or hand mixer
- Spatula (for folding the batter)
- Offset spatula (for spreading the marshmallow creme)
- Long, sharp knife
- Cutting board
Gluten-Free Tips:
*You can adjust any baking recipe to gluten-free by using 120 grams per cup of my favorite gluten-free flour blend. If you are using another brand of gluten-free flour, whisk the mix, spoon it lightly into a measuring cup until mounded, level off the top with the back of a knife, and weigh the flour left in the cup. Use that weight as your standard per cup of that specific flour. Do this for each flour blend you use. Commercial blends such as Pamela’s All-Purpose Artisan Blend, Bob’s Red Mill 1-to-1, or King Arthur Measure for Measure are all good choices.
All recommended ingredients are gluten-free as of the writing of this article. Always check to be sure the products haven’t changed and are still safe to consume.
S'mores Brownies Gluten Free
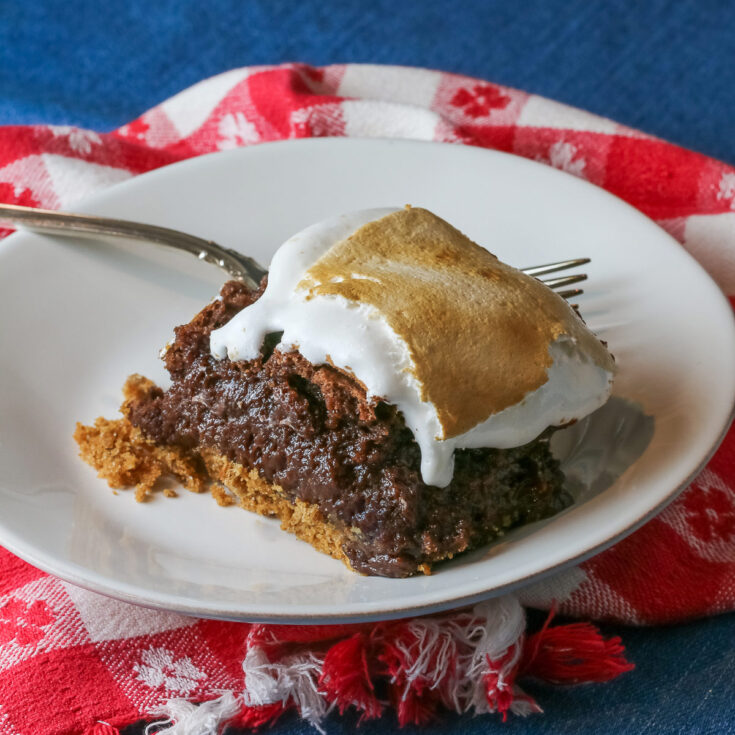
As summer winds down and fall peeks over the horizon, let’s enjoy the flavor of warm summer nights with these S’mores Brownies. All the flavor of the classic treat without the roaring fire or pit of embers. These brownies are first baked in the oven and then broiled until the marshmallow topping is lightly browned. The sweetness of the topping is balanced by the rich depth of chocolate in the brownies.
Ingredients
Graham Cracker Crust
- 2 cups (200g) graham cracker crumbs or gluten-free graham cracker crumbs
- 1/4 cup (50g) granulated sugar
- 6 tbsp (85g) butter, melted
Brownies
- 1 cup (227g; 2 sticks) butter, cubed
- 2 cups (340g; 12 oz) semisweet chocolate chips
- 1/2 cup (107g) firmly packed light brown sugar
- 1-1/2 cups (297g) granulated sugar
- 4 large eggs (200g), at room temperature, lightly beaten
- 2 tsp vanilla
- 2-1/2 cups (300g) gluten-free all-purpose flour* or regular all-purpose flour
Marshmallow Topping
- About 7 oz (199g) Marshmallow Creme
Instructions
- Preheat the oven to 350°F (177°C). Line a 9x9-inch (23x23cm) baking pan with aluminum foil to cover the whole surface of the pan, making sure the long edges of the foil hang over the sides of the pan to create a sling. This sling will make it easy to lift the brownies out of the pan when they are done cooling. Use butter to coat the foil or spray with vegetable spray.
- Graham Cracker Crust: Combine the graham cracker crust ingredients in a medium bowl and mix with a fork until well combined and all crumbs are moistened. Press the mixture into the bottom of the buttered foil-lined pan, compressing the crumbs into an even layer with the flat bottom of a measuring cup. Bake for 10 minutes and place on a wire rack to cool.
- Brownies: Place the butter in the bowl then cover with the chocolate. Melt the chocolate chips and butter in the bowl of your stand mixer set over a saucepan with 1-inch of simmering water in the bottom. Stir until smooth and fully melted. Let the mixture cool for about 10 minutes, and then beat in the brown sugar, granulated sugar, eggs, and vanilla, mixing until expanded and lightened in color, about 1 minute.
- Pour the flour on top of the egg mixture and carefully fold the flour into the chocolate mixture (see Note below** for directions on folding). Try not to deflate the batter. Fold the flour in gently, making sure not to over mix it. Stop as soon as the flour is fully incorporated and you can’t see any white streaks. Scrape the bottom and sides of the bowl, mixing in any loose flour.
- Pour the brownie mixture on the graham cracker crust, place the pan on a baking sheet, and bake at 350°F (177°C) for 45 to 55 minutes. (Note: I did not use all of the batter.) For fudgy brownies, bake less time, for cakey consistency, bake longer. Remove from the oven and place on a wire rack.
- Let the brownies cool a few minutes and while still warm, spread the top with the marshmallow creme (see below for details). Switch the oven to the broil setting.
- Marshmallow Topping: Just before the brownies are done, microwave the marshmallow creme (not in the jar!) for about 30 seconds to soften it. Spoon dollops over the top of the brownies and using an offset spatula, gently and carefully spread the marshmallow creme in an even layer. Be careful to avoid touching the sides of the pan and the hot brownies.
- Make sure the oven rack is about 10 inches away from the heating element. When the broiler is hot place the marshmallow-covered pan under the broiler for 1 minute or until lightly browned. Watch the pan the entire time with the oven door ajar because the marshmallow topping can quickly burn. Don’t get distracted!
- When lightly browned, remove from the oven. Let the brownies cool for 1 to 2 hours before lifting them from the pan using the foil sling. Place on a cutting board, peel back the foil, cut into squares with a long, sharp knife. Run the knife under hot water and wipe dry after each cut for the cleanest presentation. Serve immediately.
Recipe found at www.theheritagecook.com
Notes
*You can adjust any recipe to gluten-free by using 120 grams per cup of my favorite gluten-free flour blend. If you
are using another brand of gluten-free flour, whisk the mix, spoon it lightly into a measuring cup without a spout until mounded, level off the top with the back of a knife, and weigh the flour left in the cup. Use that weight as your
standard per cup of that specific flour. Do this for each flour blend you use. Commercial blends such as Pamela's, Bob's Red Mill 1-to-1, or King Arthur Measure for Measure are all good choices.
**How to Fold Ingredients: Using a spatula, cut down through the center of the bowl, turn your wrist and as you draw the spatula up, following the outer edge of the bowl, drag the mixture from the bottom to the top and over the flour. Turn the bowl slightly and repeat the same motion. Continue until all the flour has been incorporated and there are no white streaks left in the batter.
All recommended ingredients are gluten-free as of the writing of this article. Always check to be sure the products haven’t changed and are still safe to consume.
Recipe adapted from The Beach House Kitchen
Nutrition Information:
Yield:
10Serving Size:
1Amount Per Serving: Calories: 243Total Fat: 5gSaturated Fat: 2gTrans Fat: 0gUnsaturated Fat: 3gCholesterol: 74mgSodium: 44mgCarbohydrates: 42gFiber: 2gSugar: 12gProtein: 7g
The nutritional information for recipes on this site is calculated by online tools and is merely an estimate.
If you enjoyed this recipe, be sure to follow me on social media so you never miss a post:
Create a New Tradition Today!
Welcome! The suggestions here are not intended as dietary advice or as a substitute for consulting a dietician, physician, or other medical professional. Please see the Disclaimers/Privacy Policy page for additional details. Unauthorized use, distribution, and/or duplication of proprietary material from The Heritage Cook without prior approval is prohibited. If you have any questions or would like permission, please contact me. We participate in the Amazon Services LLC Associates Program, an affiliate advertising program designed to provide a means for sites to earn advertising fees by advertising and linking to amazon.com. As an Amazon Associate, I earn a small amount from qualifying purchases without any additional cost to you. This page may contain affiliate links.

