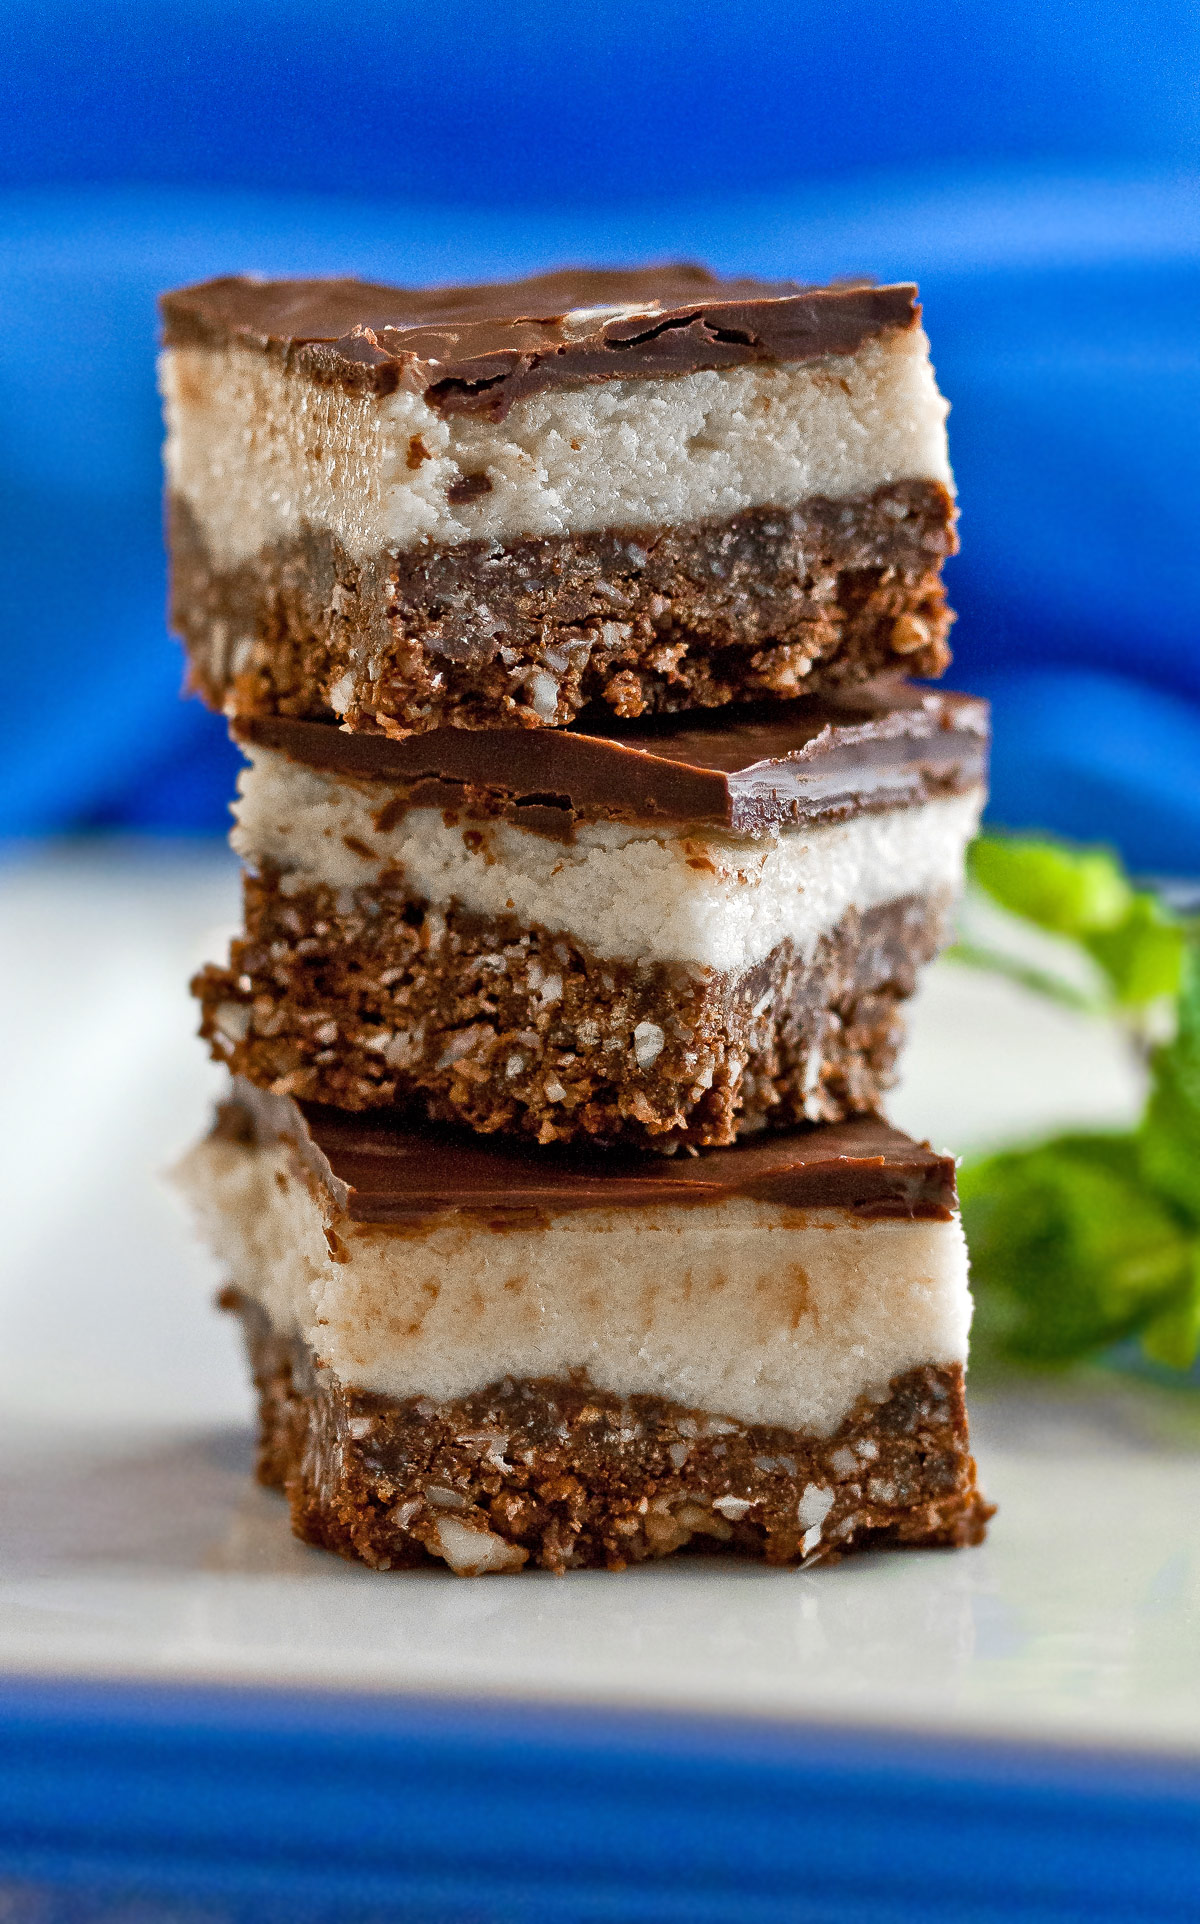
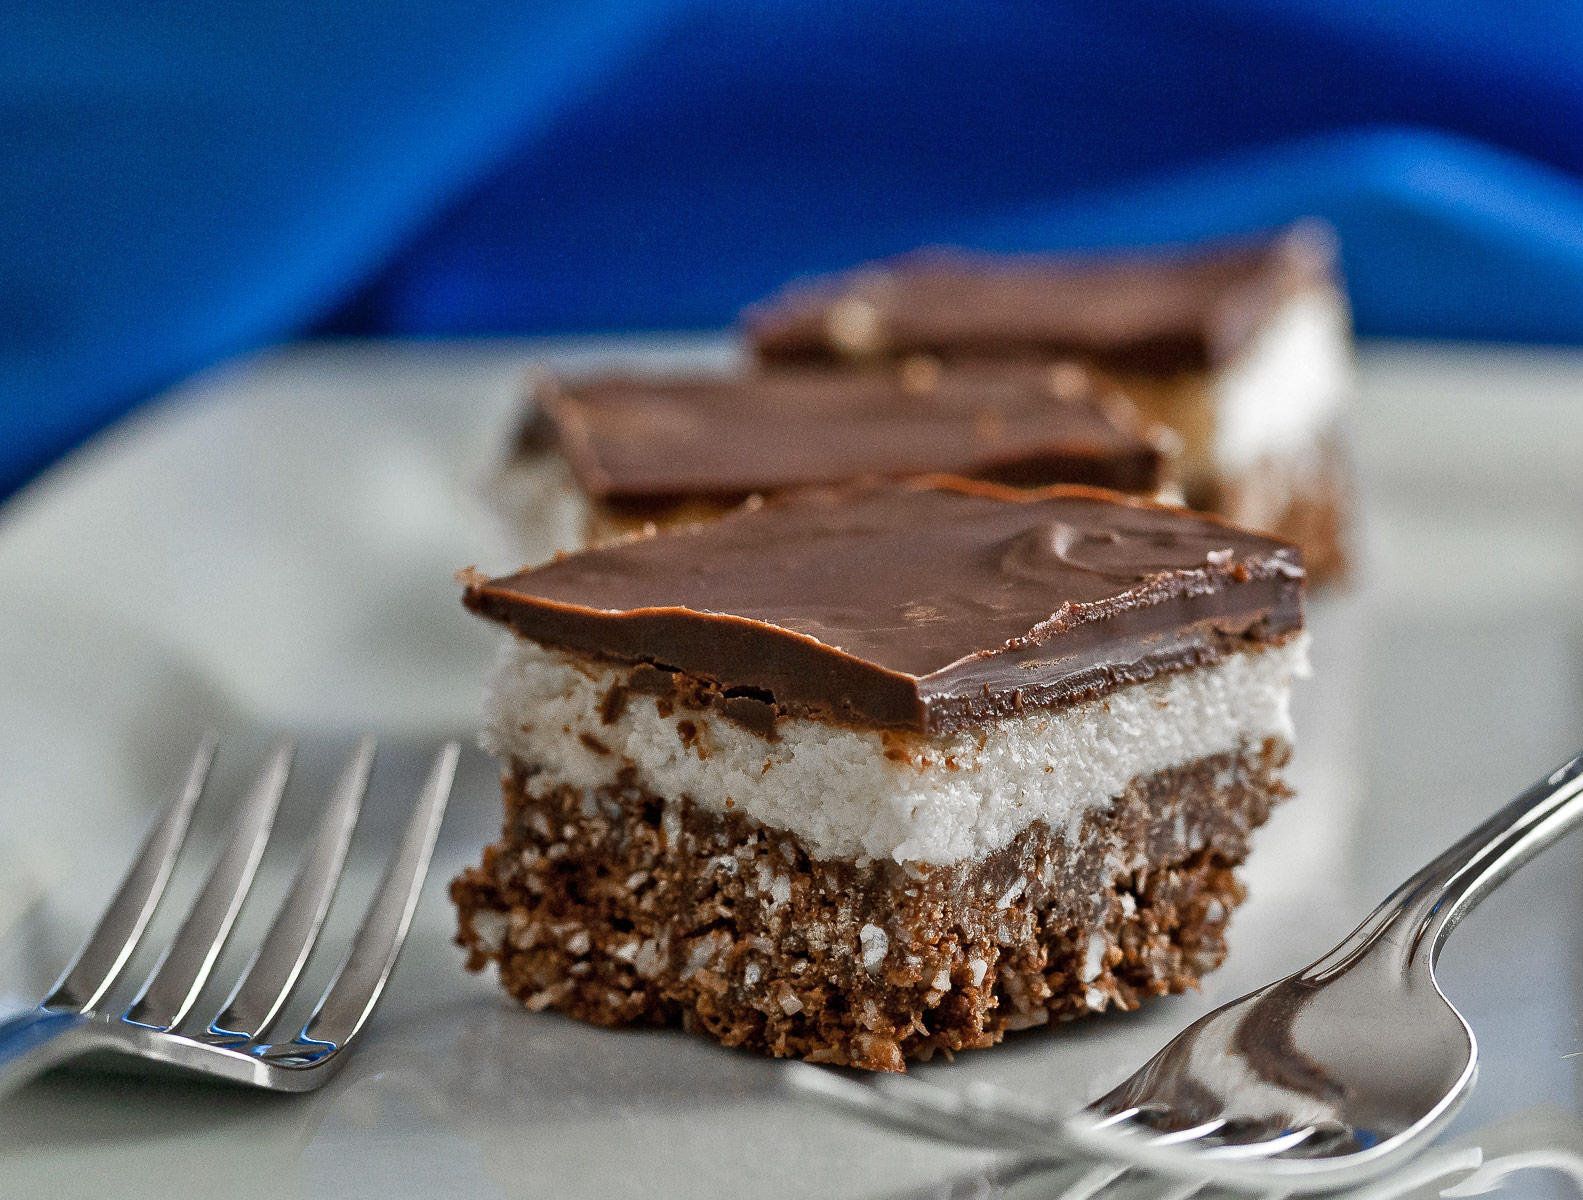
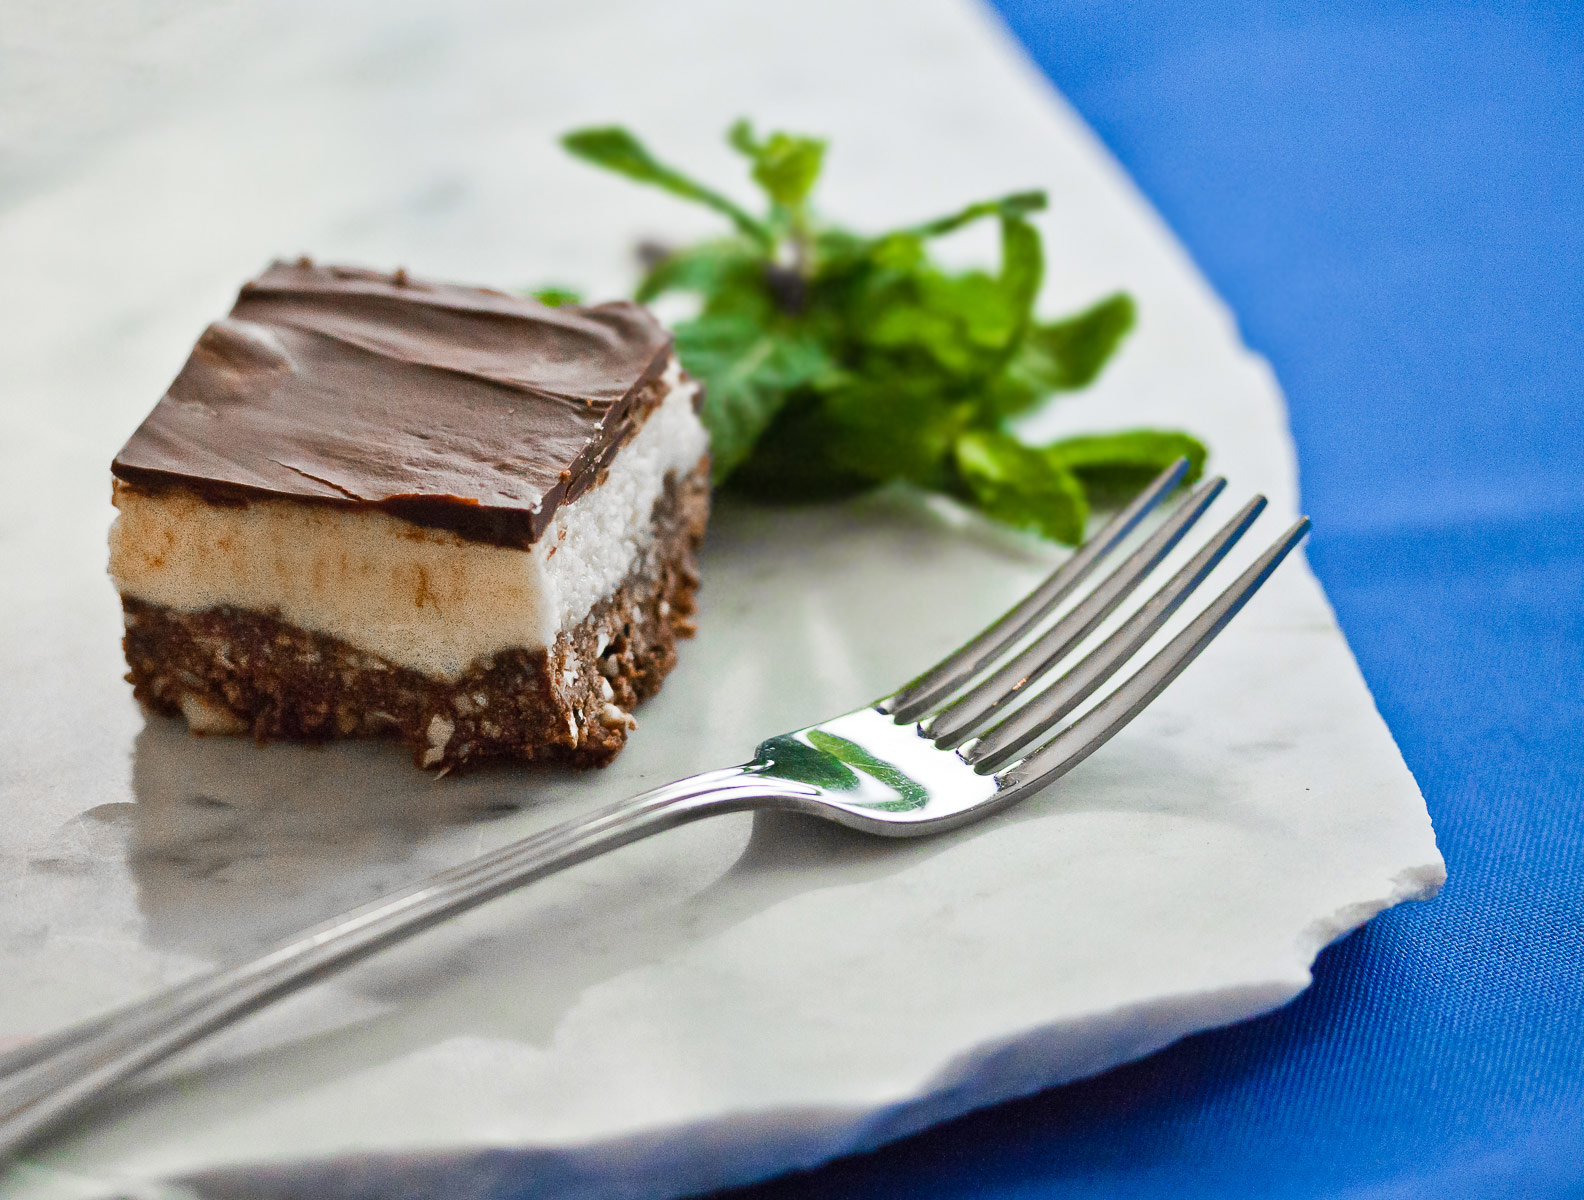
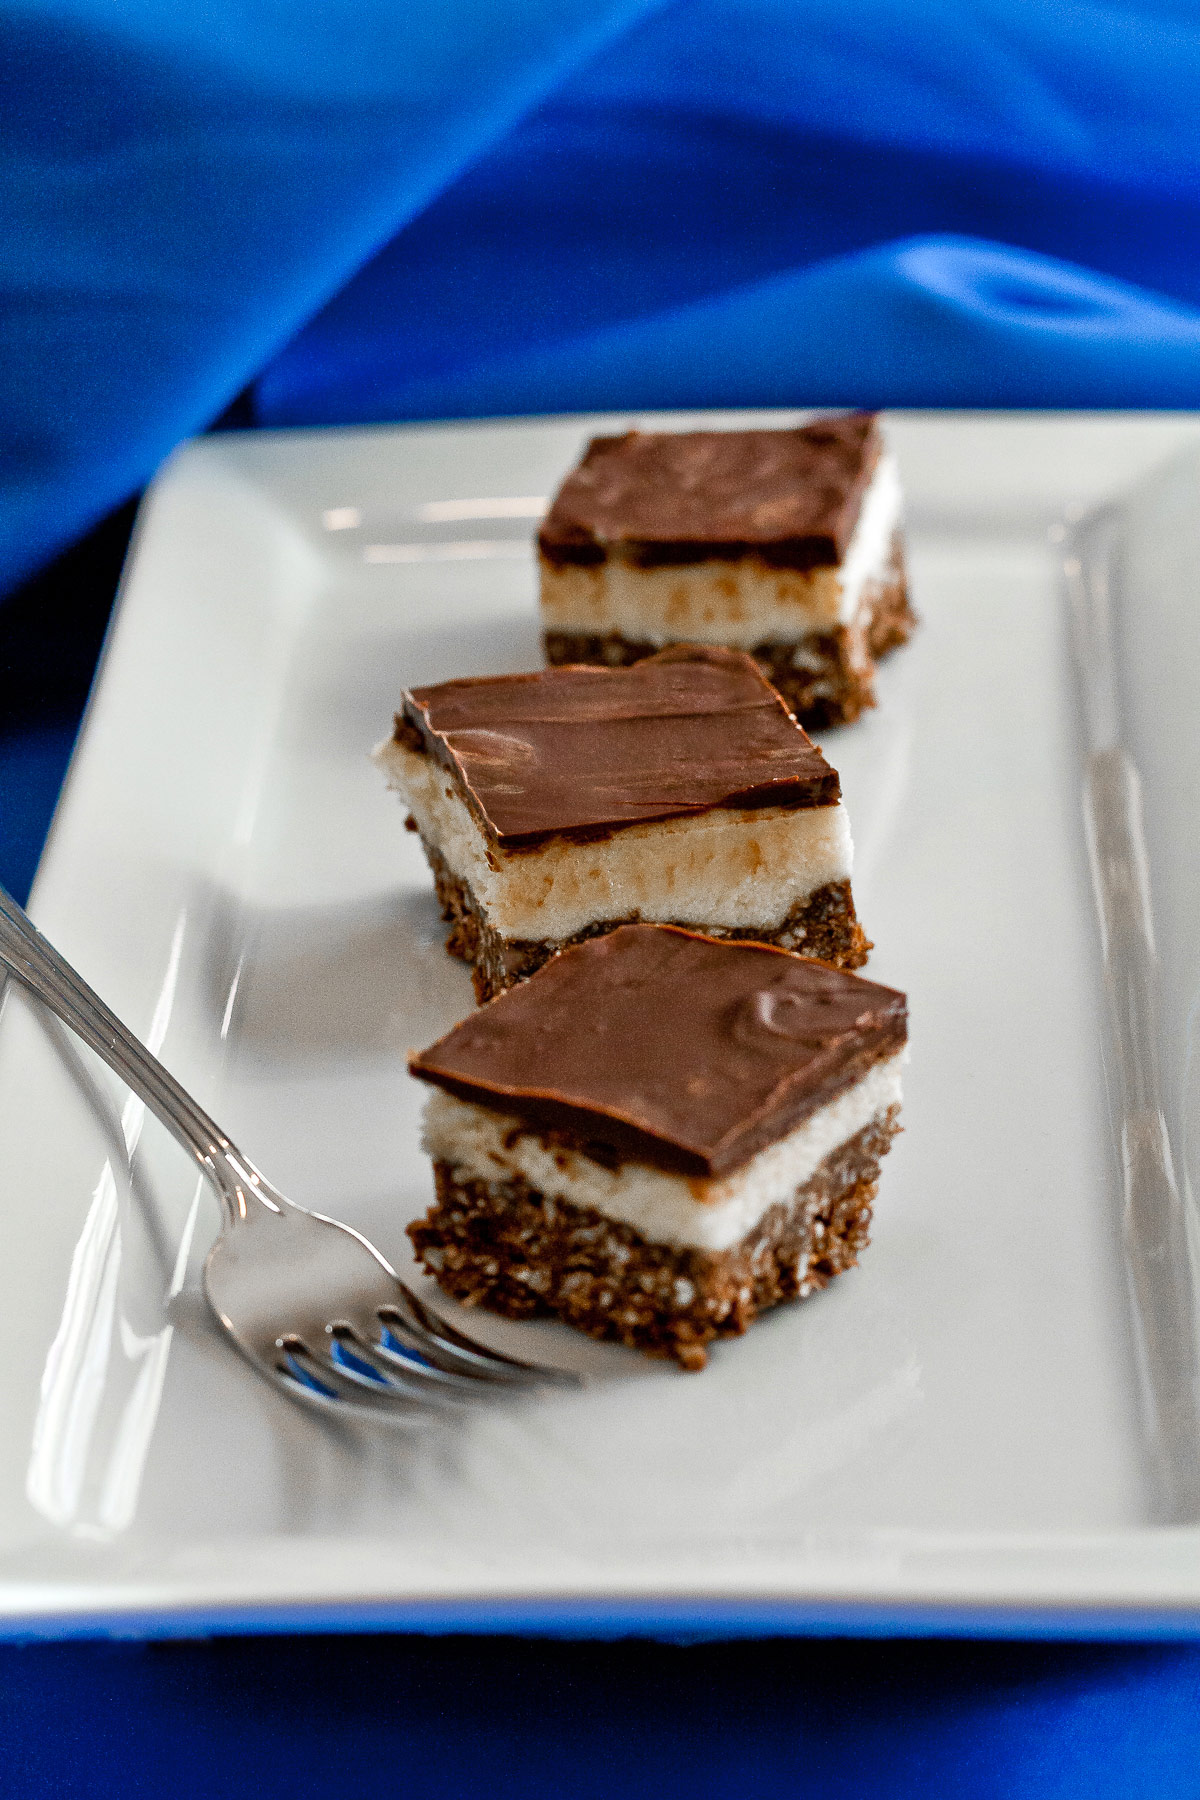
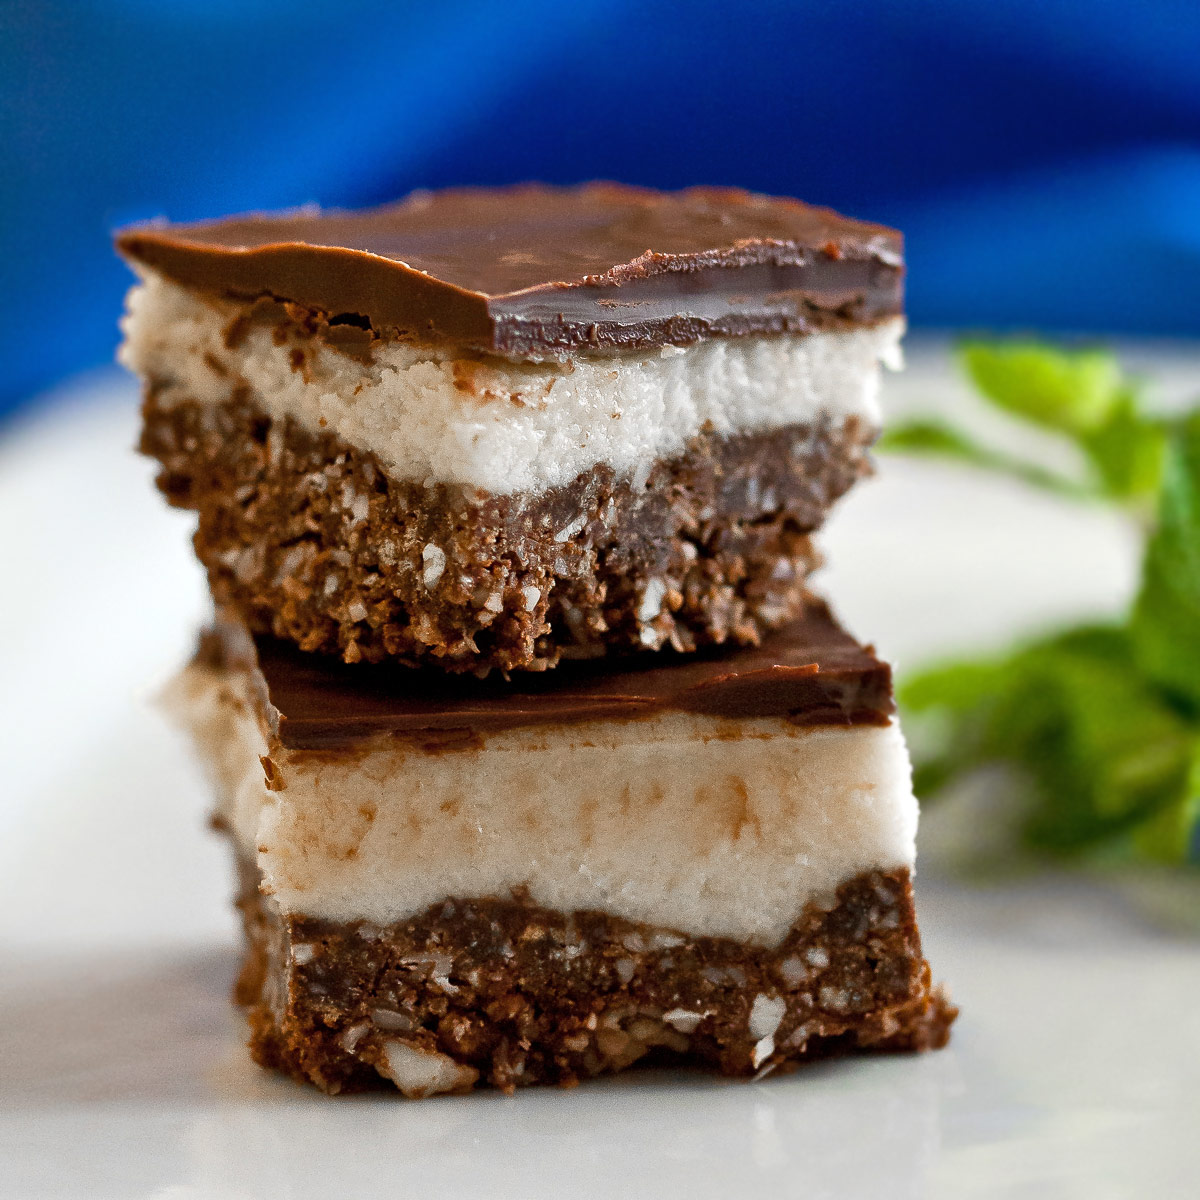
Happy Chocolate Monday everyone! Chocolate Nanaimo Bars are made of three distinct layers; the bottom is a blend of graham cracker crumbs, butter, cocoa and coconut for a crunchy texture. The middle layer is a whipped pudding/buttercream that is luxuriously creamy. And the top is a decadent covering of chocolate ganache. You wind up with a crunchy, creamy, fudgy dessert sure to please the child in all of us, especially chocoholics.
In a tribute to Canada, today’s recipe is a favorite of people around the world but was created in the town of Nanaimo on Vancouver Island in British Columbia. Located just north of Victoria, Nanaimo is a lovely city surrounded by some of the most spectacular wilderness in the world.
Nanaimo Bars have been around a long time, but in 1986 a contest was held to find the ultimate version. The winner is today’s recipe! If you want more information about Nanaimo or want to plan a visit, see this website: http://www.tourismnanaimo.com/
I made a few changes to the recipe, but it is fairly close to the original, found here. The bottom layer calls for an egg to be beaten into the butter/cocoa mixture. I needed this to be safer at room temperature, so I substituted molasses, which acts as a binder.
Nanaimo Bars are made of three distinct layers; the bottom is a blend of graham cracker crumbs, butter, cocoa and coconut for a crunchy texture. The middle layer is a whipped pudding/buttercream that is luxuriously creamy. And the top is a decadent covering of chocolate ganache. You wind up with a crunchy, creamy, fudgy dessert sure to please the child in all of us, especially chocoholics.
The middle layer uses a Canadian product called Bird’s Custard Powder to impart a delightful, very specific flavor. The American equivalent is instant vanilla pudding mix (get a gluten-free version if needed). I also added a bit of vanilla to boost the flavor because I am addicted to vanilla, LOL. If it is a particularly dry day (like it was when I made mine) you may need additional cream. I added an extra 1-1/2 tbsp until it was smooth and easy to spread.
The original recipe called for unsalted butter, but because The Artist doesn’t care for desserts that are too sweet, I used regular salted butter instead and added a small pinch of salt to the bottom and middle layers. I also used unsweetened coconut, again to help cut back a touch on the sweetness. I used almonds, chopped fairly finely in a food processor, but you could use walnuts or pecans too.
This is an easy recipe, just a bit time consuming. You have to wait for each layer to chill before adding the next. If you use a metal baking pan, it will speed up the process because it conducts temperature better than most materials.
Children would love to help pat the bottom layer into the pan. When you pour on the top layer, work quickly before the buttercream/pudding melts beneath it. If you have someone who can pour the chocolate while you spread it, it would be perfect.
There is lots of room for interpretation too. I think adding dried cherries or cranberries to the bottom layer would be delicious. You could make the middle layer chocolate as well for the insatiable chocoholics in your life. If you want to get a bit fancier than I did, you can melt some white chocolate and use it to drizzle over the top of the ganache, either before or after cutting them. These are extremely rich so I recommend that you cut these into small squares.
I hope you give the Chocolate Nanaimo Bars a try – you will love them! I know The Artist and I thoroughly enjoyed indulging in a few squares each!
Have a wonderful week!
Did you enjoy this recipe? Let me know in the comments and leave a star rating, I love hearing from you.
Ingredients needed for Chocolate Nanaimo Bars:
- Bottom Layer: gluten-free graham cracker crumbs, sliced almonds, unsweetened coconut, butter, sugar, molasses, cocoa powder, vanilla
- Middle Layer: softened butter, heavy cream, vanilla, vanilla custard powder or instant pudding mix, confectioners’ sugar
- Top Layer: semisweet or bittersweet chocolate, butter
- Optional Topping: melted white chocolate
PRO Tip:
People who dislike coconut may find the texture off-putting. To help with this, run the coconut through a food processor to chop it into fine pieces to reduce the chewiness. The other alternative is to increase the amount of the nuts to 1-1/2 cups to take the place of the coconut.
PRO Tip:
When working with sugary or sticky ingredients with a saucepan, when you’re done with the pan, immediately fill it with water and bring to a boil on the stove. This will melt the sugars and dissolve them making cleaning much easier.
How to make Chocolate Nanaimo Bars:
- Bottom Layer: Line a square baking pan with parchment, leaving it longer at two ends to create a sling; set aside. Use a food processor if needed to make the graham cracker crumbs, chop the almonds, and possibly cut up the coconut for better texture.
- Melt the butter in a saucepan and stir in the sugar, molasses, salt, and cocoa. Return to the heat and cook, whisking constantly 1 to 2 minutes until smooth, then remove from the heat and stir in the vanilla. Pour into the crumb/nut mixture, stirring with a spatula until evenly mixed.
- Pour into the lined baking pan and smooth into an even layer, pressing into the corners and compressing slightly to make a firm layer. Cover and refrigerate 30 to 60 minutes until firm.
- Middle Layer: Cream the butter until smooth, then mix in the cream, vanilla pudding mix, salt, and sugar. Beat on low until blended then increase speed and beat until smooth and creamy, about 3 minutes until sugar is dissolved. Rub a little between your fingers to feel when the sugar is completely dissolved, add a touch more cream if needed for a spreadable consistency.
- Spread smoothly over the bottom layer using an offset spatula to get into the corners and an even layer. Cover and refrigerate until firm, about 30 minutes to 45 minutes.
- Top Layer: Melt chocolate and butter together in a bowl set over a pan of simmering water, stirring until smooth. Remove from the heat and set aside to cool a bit before pouring over the middle layer, smoothing with an offset spatula to fully cover. Cover and refrigerate until set, about 15 minutes.
- To Serve: Using the sling, lift the cooled bars out of the pan and set on a cutting board. Cut a thin slice off each edge for the prettiest presentation, then cut remaining bars into squares using a long, sharp knife. You can drizzle some melted white chocolate over the tops of the squares if you want a fancier presentation.
PRO Tip:
Creating a sling with parchment or foil is key to being able to remove the bars from the pan in one piece. Then you can easily cut into squares with a sharp knife. Otherwise you’re struggling to get them cut, your lines will be uneven, and you’ll likely ruin at least one or more of the squares trying to get them out of the pan. The sling makes this simple.
PRO Tip:
Use a knife long enough to span the square of bars so you can press down on both ends with the palm of your hand to give you leverage when cutting.
Recommended Tools (affiliate links; no extra cost to you):
Gluten-Free Tips:
All recommended ingredients are gluten-free as of the writing of this article. Always check to be sure the products haven’t changed and are still safe to consume.
Chocolate Nanaimo Bars (Gluten Free)
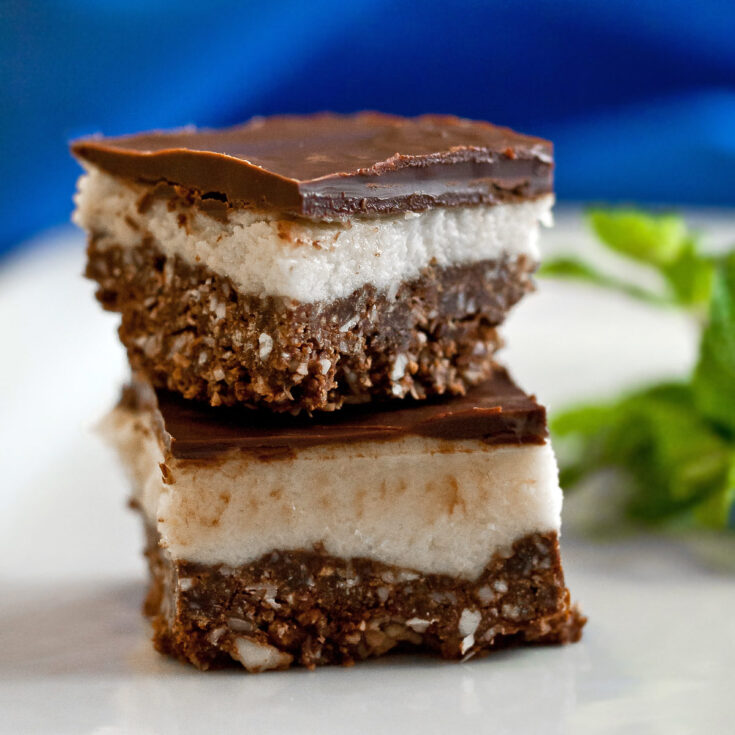
Chocolate Nanaimo Bars are made of three distinct layers giving you a rich, crunchy, creamy, and fudgy dessert sure to please the child in all of us, especially chocoholics.
Ingredients
Bottom Layer
- 1-1/4 cups (160g) gluten-free graham cracker crumbs
- 1/2 cup (55g) almonds, very finely chopped
- 1 cup (130g) unsweetened coconut or extra nuts if you don’t like coconut
- 1/2 cup (1 stick; 113g) butter
- 1/4 cup (50g) granulated sugar
- 1 tbsp molasses
- Pinch salt
- 5 tbsp (26g) unsweetened cocoa powder
- 1 tsp pure vanilla extract
Middle Layer
- 1/2 cup (1 stick/113g) butter, at room temperature
- 2 to 3 tbsp (28g to 43g) heavy cream (plus more if needed, see note)
- 1/2 tsp pure vanilla extract
- 2 tbsp Bird’s Vanilla Custard Powder (available at Whole Foods stores or at Amazon) or instant vanilla pudding mix
- Pinch salt
- 2 cups (254g) confectioners’ or icing sugar, sifted
Top Layer
- 6 oz (170g) semisweet or bittersweet chocolate, chopped
- 2 tbsp (28g) butter
Optional Garnish
- Melted white chocolate, for drizzling on top
Instructions
- Line an 8x8-inch (20x20cm) square pan with parchment or foil, making the pieces long enough to drape over two edges, creating a sling. A 9x9-inch (23x23cm) pan will also work, the bars will just be thinner.
- For the Bottom Layer: Use a food processor to
create the crumbs and chopped nuts. Feel free to chop the coconut too for smoother texture in the bars. Combine the crumbs, almonds, and coconut in a large mixing bowl; set aside. - Melt the butter in a saucepan over medium heat. Remove from the heat and stir in the sugar, molasses, salt, and cocoa. Return to the heat (medium-low) and cook, whisking constantly until smooth, 1 to 2 minutes. Remove from the heat. Stir in the vanilla. Pour into the crumb and nut mixture, and using a spatula, stir until evenly mixed.
- Pour into the prepared baking pan and smooth into an even layer, making sure you press it into the corners. Cover pan with plastic wrap and refrigerate until firm, 30 to 60 minutes.
- For the Middle Layer: Cream the butter until smooth, then add the cream, vanilla pudding mix, salt, and sugar. Beat on low until smooth and blended, scraping the bowl as needed. Increase speed to medium-high and beat until smooth and creamy, about 3 minutes, or until sugar is dissolved. If you do not beat this long enough it will be grainy. You want it to be the consistency of a thick buttercream frosting. Add a touch more of cream if needed for a spreadable consistency.
- Spread smoothly over bottom layer using an offset spatula or the back of a spoon. Cover and refrigerate until firm, about 30 minutes.
- For the Top Layer: Melt the chocolate and butter together in a heatproof bowl set over a saucepan with barely simmering water, stirring often. Remove from the heat and set aside to cool slightly. (See Note below.)
- Pour over middle layer, smooth top with an offset spatula making sure the entire surface is covered, cover and chill until chocolate has set, about 15 minutes. If desired, you can drizzle some melted white chocolate in a decorative pattern over the top or on the plate before serving.
- To Serve: Lift the cooled bars out of the pan (using the parchment to assist) and set on a cutting surface. If you want perfect edges, cut a thin slice off of each side. You can nibble on these pieces while saving the squares for your guests. Use a very sharp hot knife and slice into equal small squares. Heat the knife under hot running water and wipe dry with a cloth. The hot knife will cut right through the bars. Reheat and wipe dry after each cut.
- If the chocolate top is cracking, let it warm up about 5 minutes before continuing. Use a small offset spatula or knife to ease the squares out. Store, covered, in the refrigerator. Serve cool or at room temperature.
- These bars freeze very well, so make some extra and pop them into the freezer, tightly covered.
- NOTE: It is very important that the chocolate be cool but still liquid. If not, the custard layer will melt and mix with the chocolate, becoming difficult to spread. Allow the chocolate mixture to cool to room temperature but not solidify before spreading the top layer on. Chilling the layers will also help with this step.
Recipe found at www.theheritagecook.com
Notes
Adapted from a recipe on the Nanaimo Tourism website
All recommended ingredients are gluten-free as of the writing of this article. Always check to be sure the products haven’t changed and are still safe to consume.
Nutrition Information:
Yield:
16Serving Size:
1Amount Per Serving: Calories: 317Total Fat: 15gSaturated Fat: 9gTrans Fat: 0gUnsaturated Fat: 5gCholesterol: 12mgSodium: 194mgCarbohydrates: 43gFiber: 4gSugar: 31gProtein: 4g
The nutritional information for recipes on this site is calculated by online tools and is merely an estimate.
If you enjoyed this recipe, be sure to follow me on social media so you never miss a post:
Create a New Tradition Today!
Welcome! The suggestions here are not intended as dietary advice or as a substitute for consulting a dietician, physician, or other medical professional. Please see the Disclaimers/Privacy Policy page for additional details. Unauthorized use, distribution, and/or duplication of proprietary material from The Heritage Cook without prior approval is prohibited. If you have any questions or would like permission, please contact me. We participate in the Amazon Services LLC Associates Program, an affiliate advertising program designed to provide a means for sites to earn advertising fees by advertising and linking to amazon.com. As an Amazon Associate, I earn a small amount from qualifying purchases without any additional cost to you. This page may contain affiliate links. This post was first shared in Feb 2012. The article was updated in 2023.



Margaret
I used to see these all the time on the food blogs and then they disappeared. I am glad you picked this one cause I had forgotten about them. Really need to make. Look GREAT!!
Kim Bee
Oh Jane this is a recipe near and dear to my heart. My Dad loved these things. Oddly I still have his last 2 bars in my freezer and cannot bring myself to get rid of them. He passed a long time ago so I really should but it’s just too hard. I hold on to them for nostalgia. We grew up eating them and I think us Canucks have such a weakness for them. I’ve actually been to Nanaimo many times. My sis lives on Mayne Island B.C. so it’s the place we go to catch the ferry when we visit. Gorgeous place too. Thanks for sharing this. I think I’ll attempt making my own for the first time ever this weekend. xx
Jennifer @ Peanut Butter and Peppers
I have never seen these bars and I don’t know how I could of lived without them? Going to bookmark this and make over the weekend!!!
Katherine Martinelli
Oh man I have been wanting to make these for a while now – I’m bookmarking yours to make soon! Sounds amazing. Great SRC pick!
Erin @ Making Memories
Oh my heck, Jane! Amazing!!! These are my absolute favorite cookies. I used to get them up in Canada when we would go skiing years ago. I miss them!!!
Hezzi-D
I’ve been seeing these everywhere lately! They look so delicious I’m going to have to give them a try soon!
Carolyn
Being Canadian, Nanaimo bars have always been one of my favourites. Nice work for the SRC!
Jane Bonacci, The Heritage Cook
Thank you all – this was such a fun recipe to play with. It was my first time making Nanaimo Bars and it is fantastic to have a new chocolate treat in my repertoire. Thank you Evelyne for a terrific recipe!!
Tessa
I had these for the first time last year and have been meaning to make them since. Yours look great! Saving this so I can finally get on that task of making my own.
Isabelle @ Crumb
Great choice! I love Nanaimo bars, though I’ve yet to try making some at home. I do have a jar of Bird’s custard powder in my cupboard though, so it’s clearly a sign that I’m long overdue to try my hand at it.
PS – I find it hilarious that both of us had to make ingredient substitutions to deal with cross-border ingredient issues. My problem was cinnamon chips, which aren’t sold outside the US. 🙂
Allison @ Alli n Son
Chocolate Monday, I love it! These sound wonderful, total chocolate overload. Great choice for SRC.
Katrina
Love these bars, I’ve made some similar once years ago, but these look better. I’ve seen many version. Great pick for SRC and chocolate Monday!
Monica @ The Yummy Life
I’ve never heard of Nanaimo Bars. They look fantastic. Thanks for all of the background info. Your post is both educational and YUMMY! Great photos, too. 🙂
sara
Oh, I love Nanaimo bars…so tasty! These look wonderful. 🙂
Bizzy
Those layers are each calling my name. You did a beautiful job with this, Jane.
Melissa@IWasBornToCook
These look delicious…nice choice!
susie
I love these, and as a prolific baker I had never encountered them until last year when a catering client asked for the. I love them, and your changes look great!
Lisa~~
I love nanaimo bars but have never made them. I need to change that and make some soon.
If you haven’t already, I’d love for you to check out my SRC entry: Crunchy Fudgy Heart Bites
Lisa~~
Cook Lisa Cook
Veronica
Lovely! I’ve always wanted to make these and never have, but now I know which is the BEST recipe, I’m one step closer. Great write up and photos!
Noelle (@singerinkitchen)
These look soooooo good!
Katie
Those bars look like a truly delicious treat! Thank you so much for being our hostess, Jane!
Evelyne@cheapethniceatz
Oh what a great recipe you picked, so sweet and decadent. Thanks for the lovely words too and great research on Montreal! Your squares look way better then mine did lol.
Ginny
Oh, hold the PHONE! These look amazing. The bottom layer reminds me of a Nestle Crunch bar, which I haven’t had in forever and now have an overwhelming urge to drive to the nearest gas station and purchase. I can’t wait to make this. SOON.
Lisa @ Sweet as Sugar Cookies
What a lovely layered look.