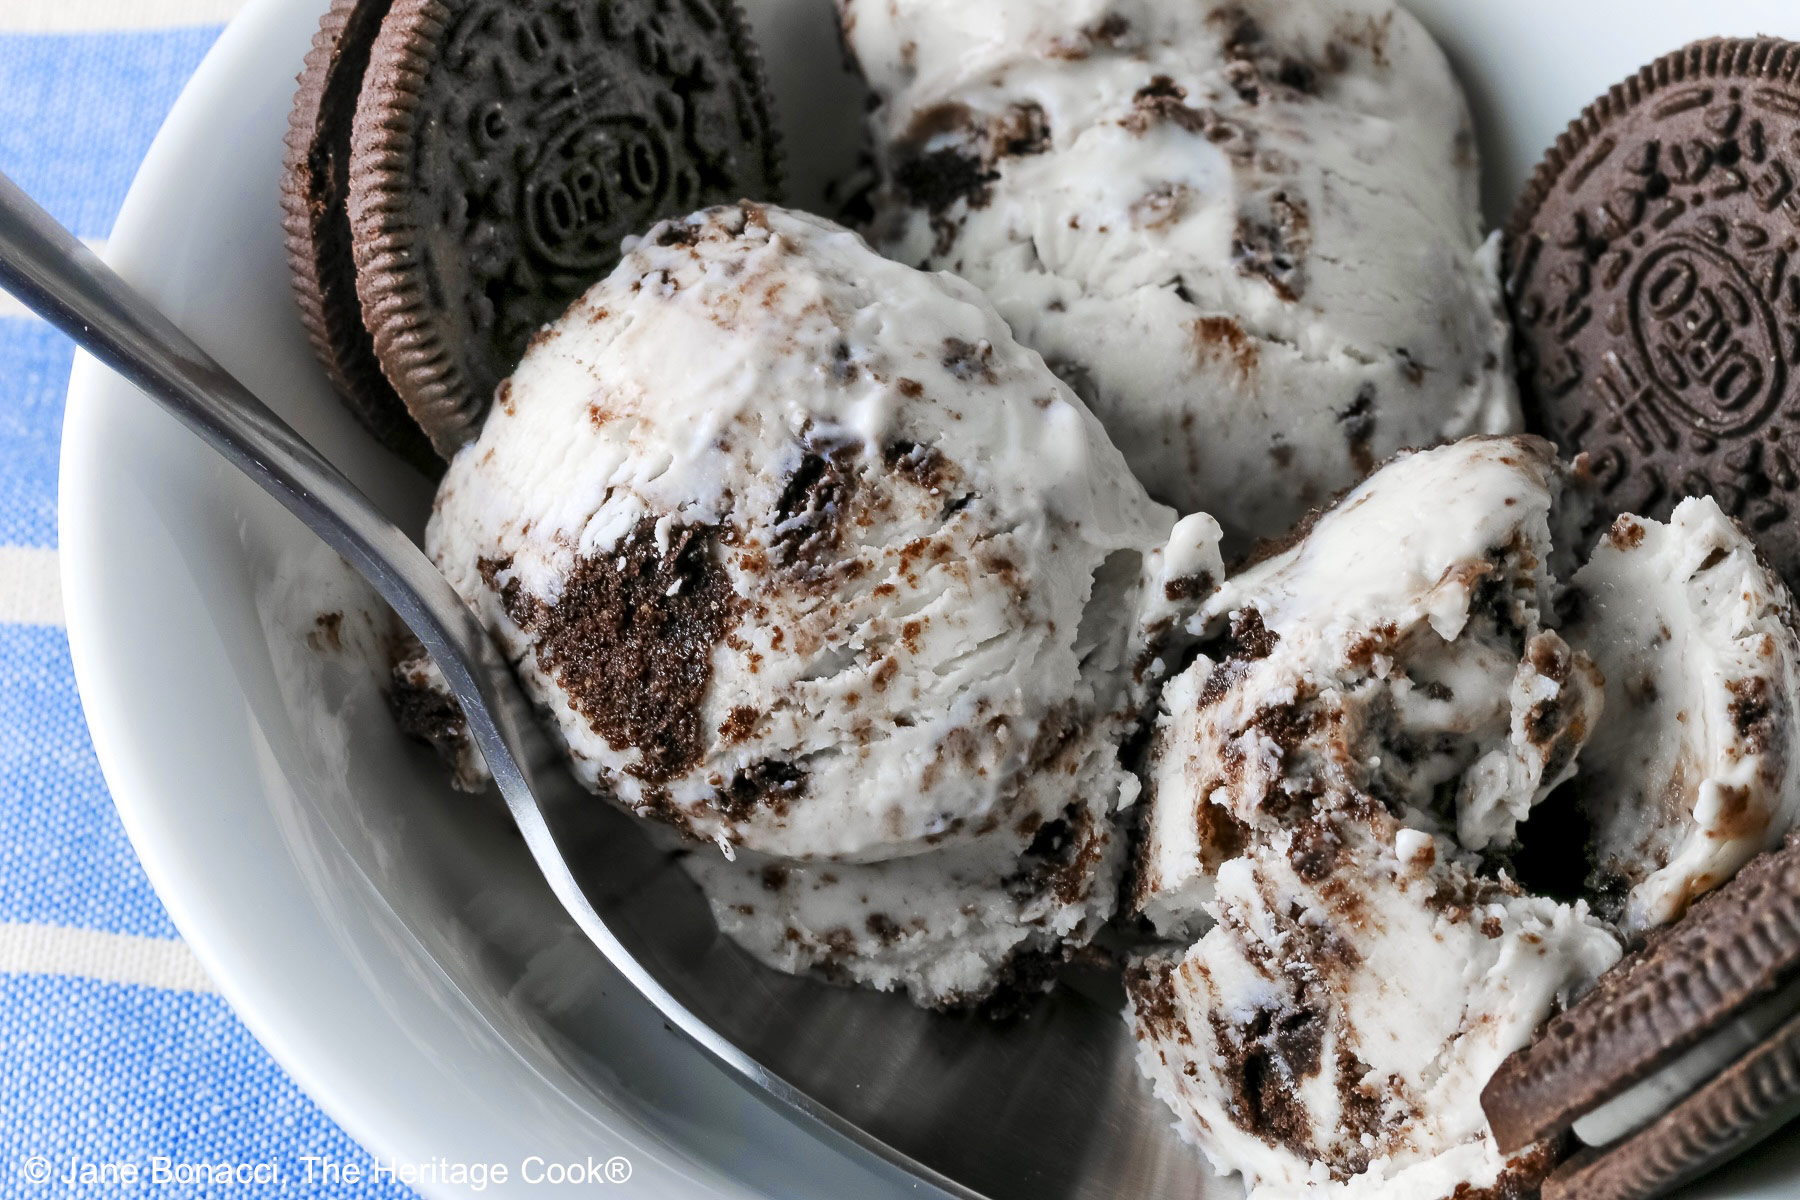
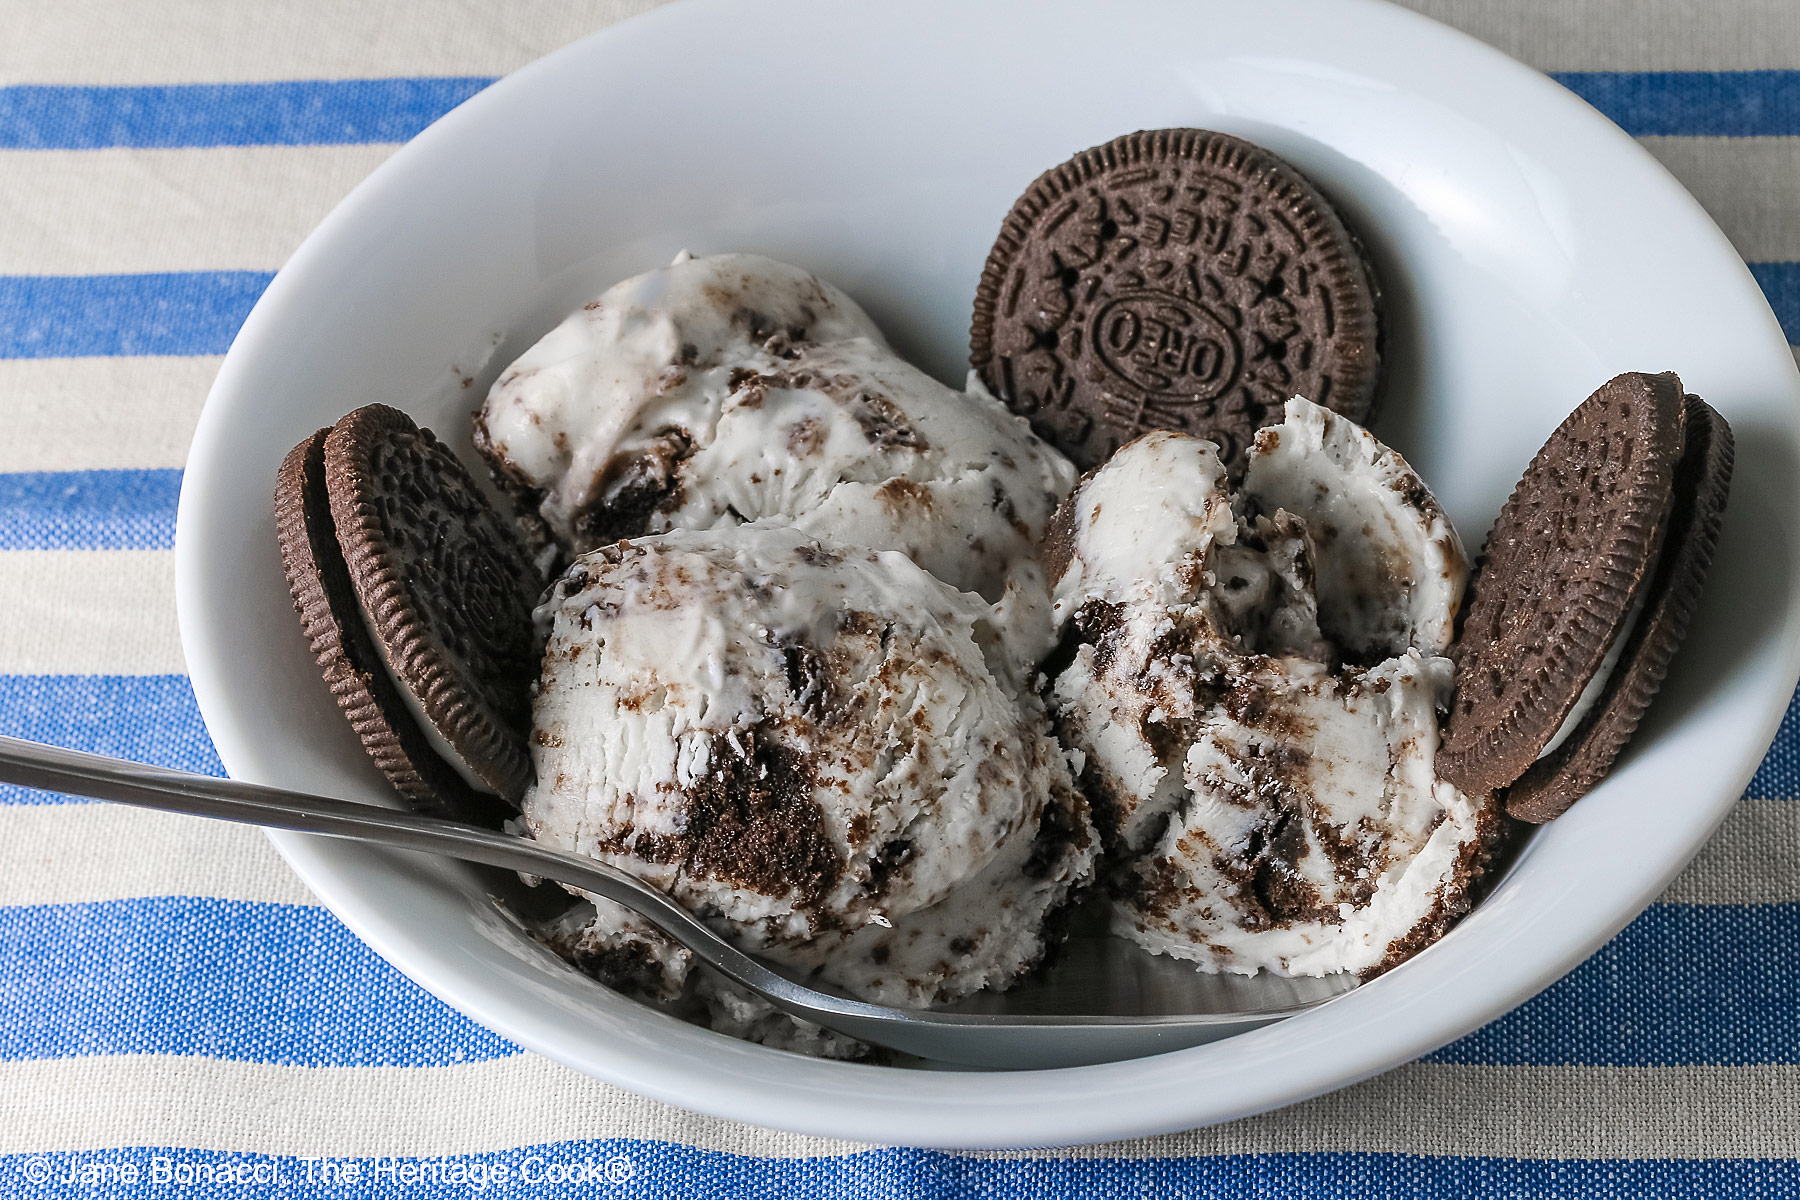
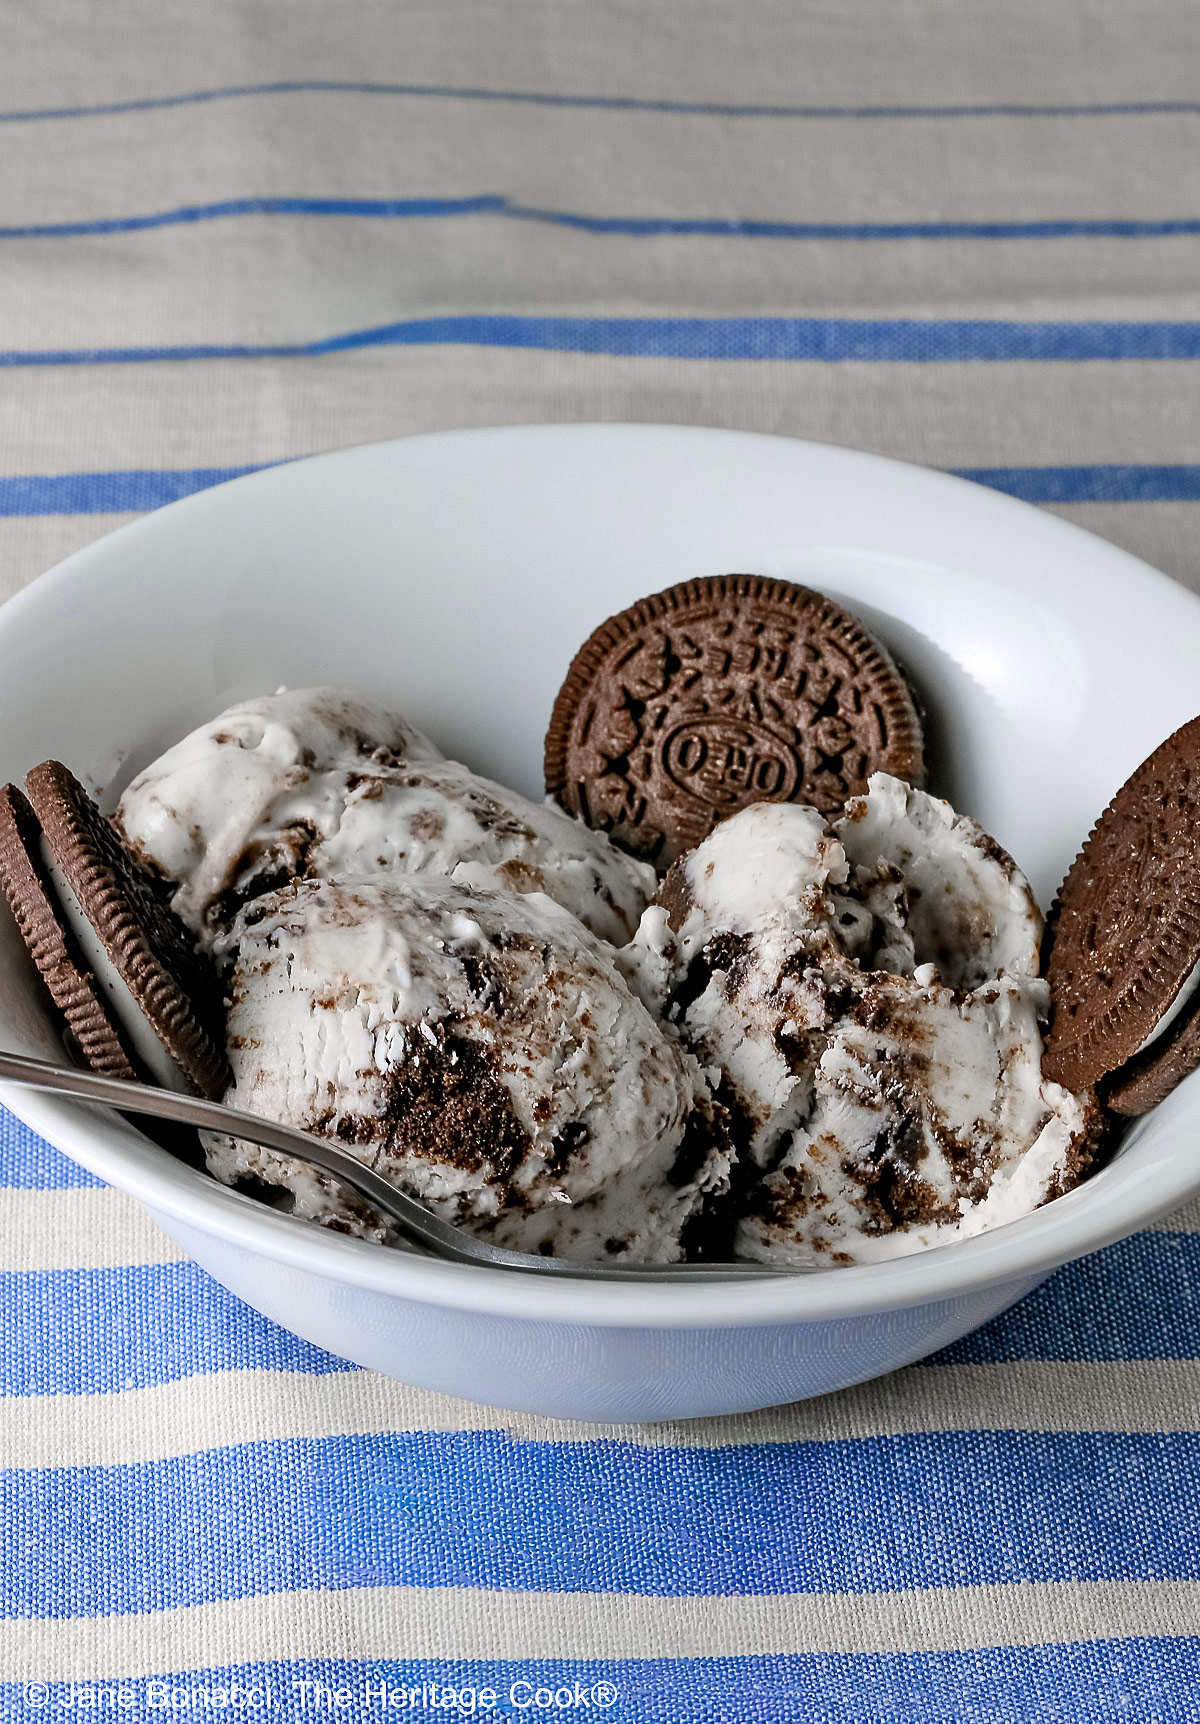
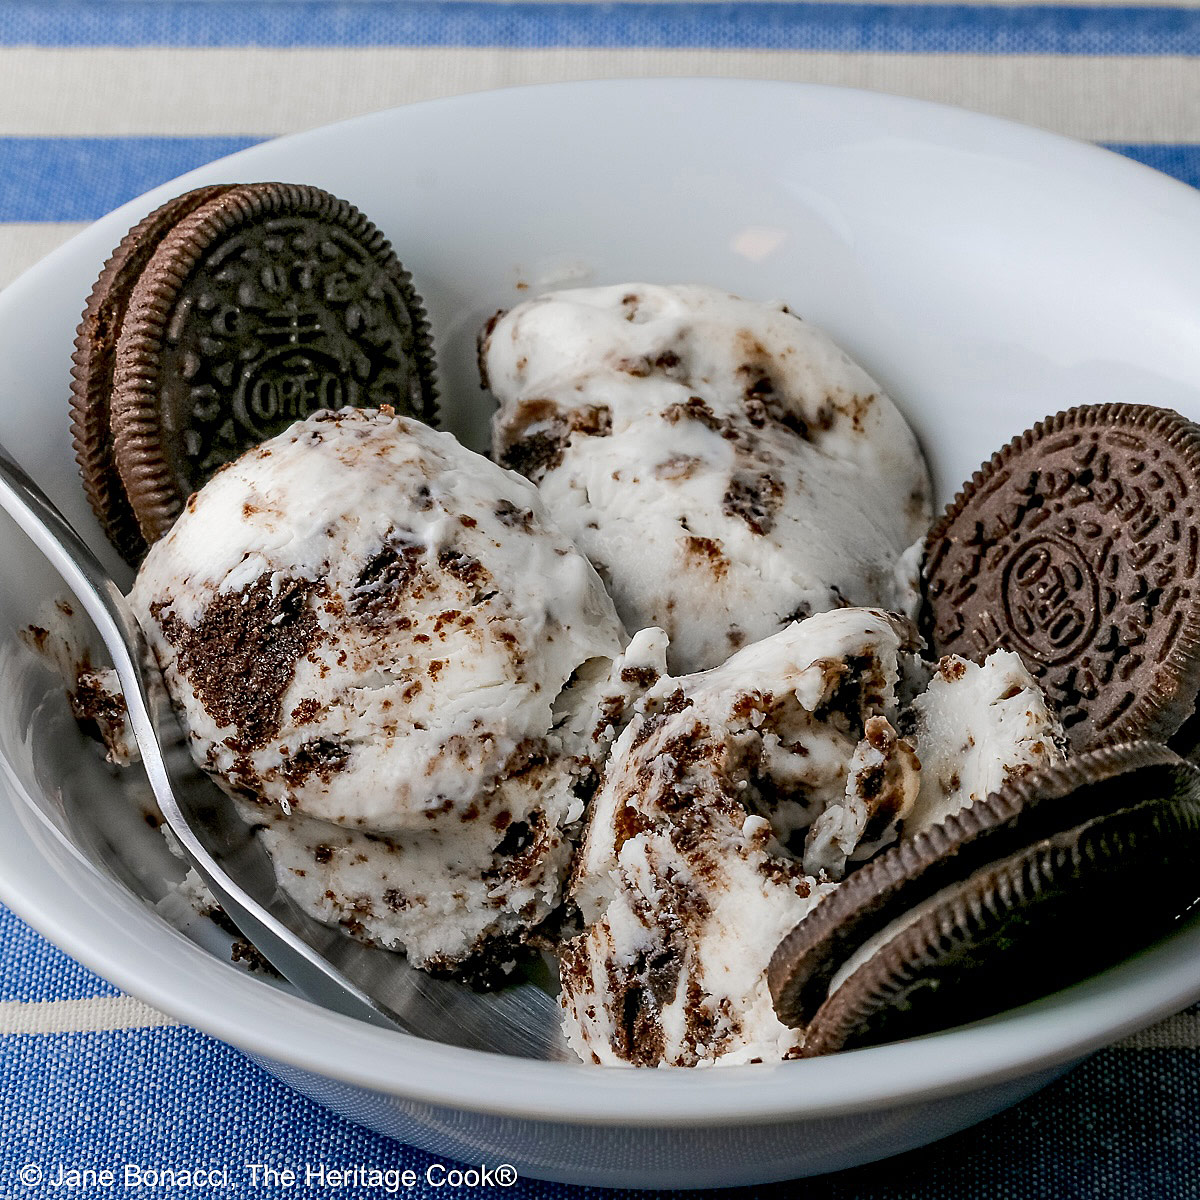
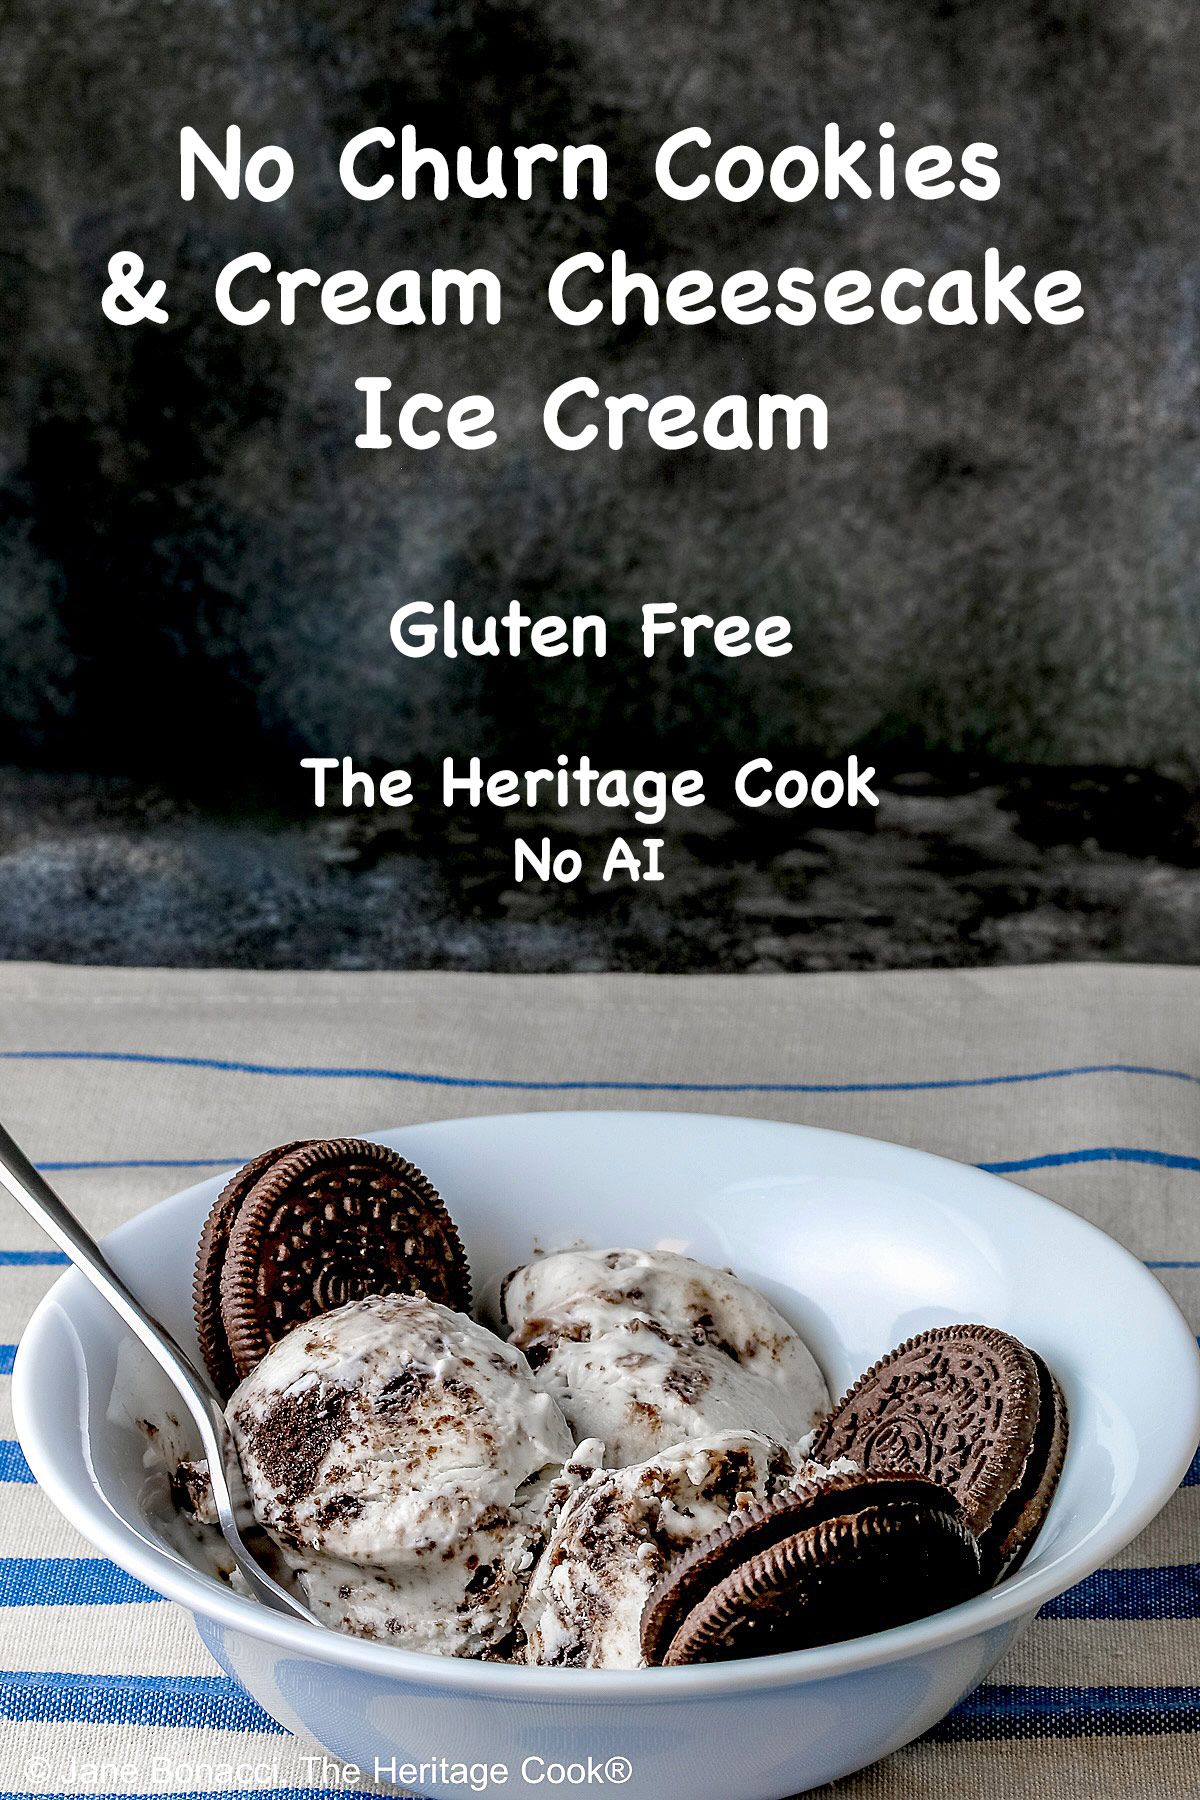
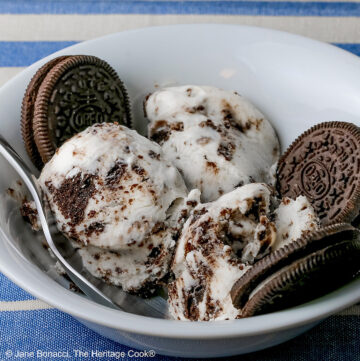
 If you dream of Oreo cheesecake, you are going to go crazy for this No Churn Cookies and Cream Cheesecake Ice Cream. It is truly unforgettable, with all the creaminess you love combined with chunks of Oreo cookies for a crave-able dessert. Enjoy it all summer and year-long!
For those of us who don’t have an ice cream machine, the no-churn ice creams are a wonderful thing. We can have the frozen treat we love any time and for those of us with food sensitivities we get to control the ingredients and keep our family safe!
If you’re like me and love both cheesecake and ice cream, this is a dream come true. Then you add in Oreo cookies (I used gluten-free cookies) and it gets even better! I would be happy to serve this ice cream to anyone!
Because it can be made ahead, this is wonderful for dinner parties and barbecues all summer long. Keep the recipe handy, you’re going to want this one on repeat.
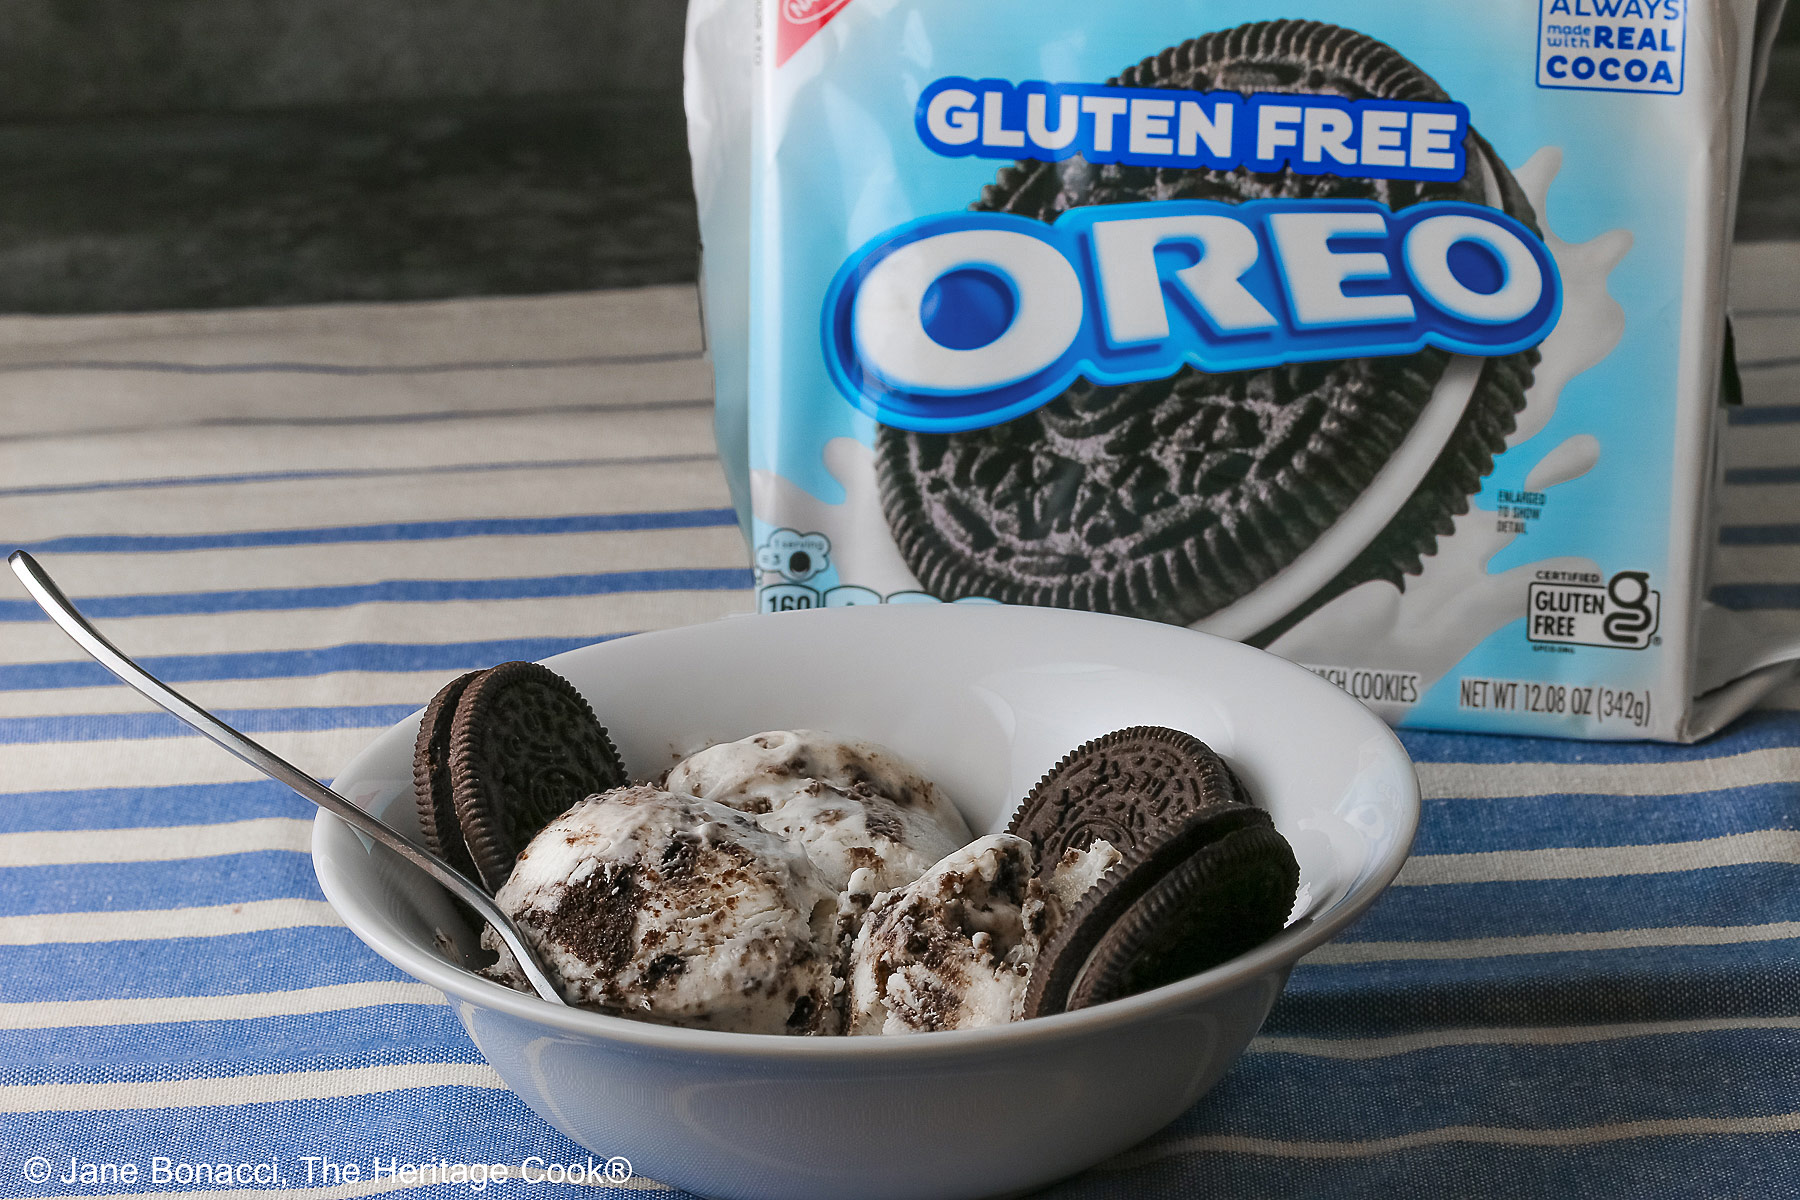
I love that Nabisco is now making gluten-free Oreos. They are so close to the original and behave the same in recipes. They are also satisfying to eat on their own – I can polish off a whole row of them in no time, LOL.
One thing I love about the recipe is that you use the food processor for everything, crushing the cookies and making the ice cream base. Much less equipment to wash!
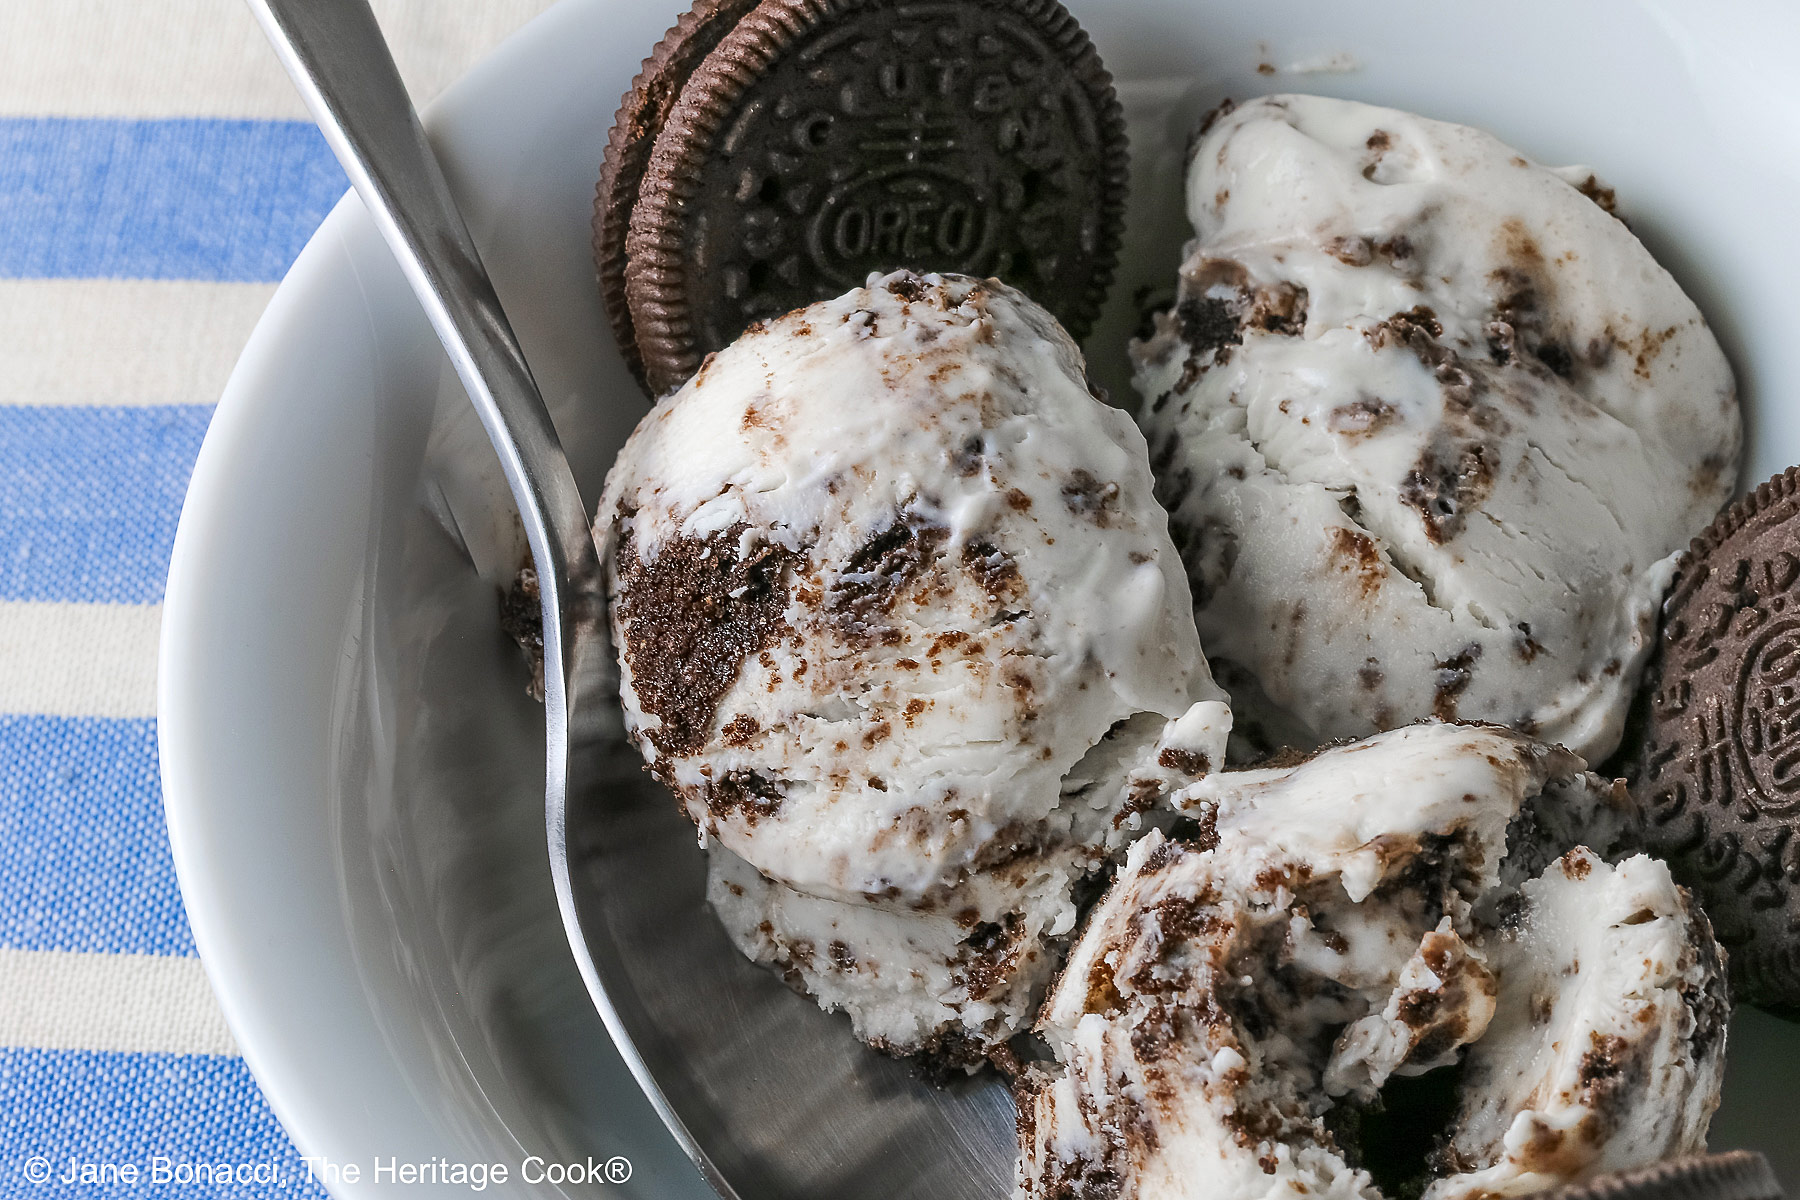
When crushing the cookies, be sure to leave some larger chunks for texture in the ice cream. That makes it so special! Also, if you have a lot of crumbs, the ice cream looks gray. Chunks helps eliminate that!
Many no-churn recipes use sweetened condensed milk but this one uses sugar and cream and I love it. Be sure to check the texture of the base as you mix it (with the processor off of course). You don’t want to feel any granules of sugar between your fingers.
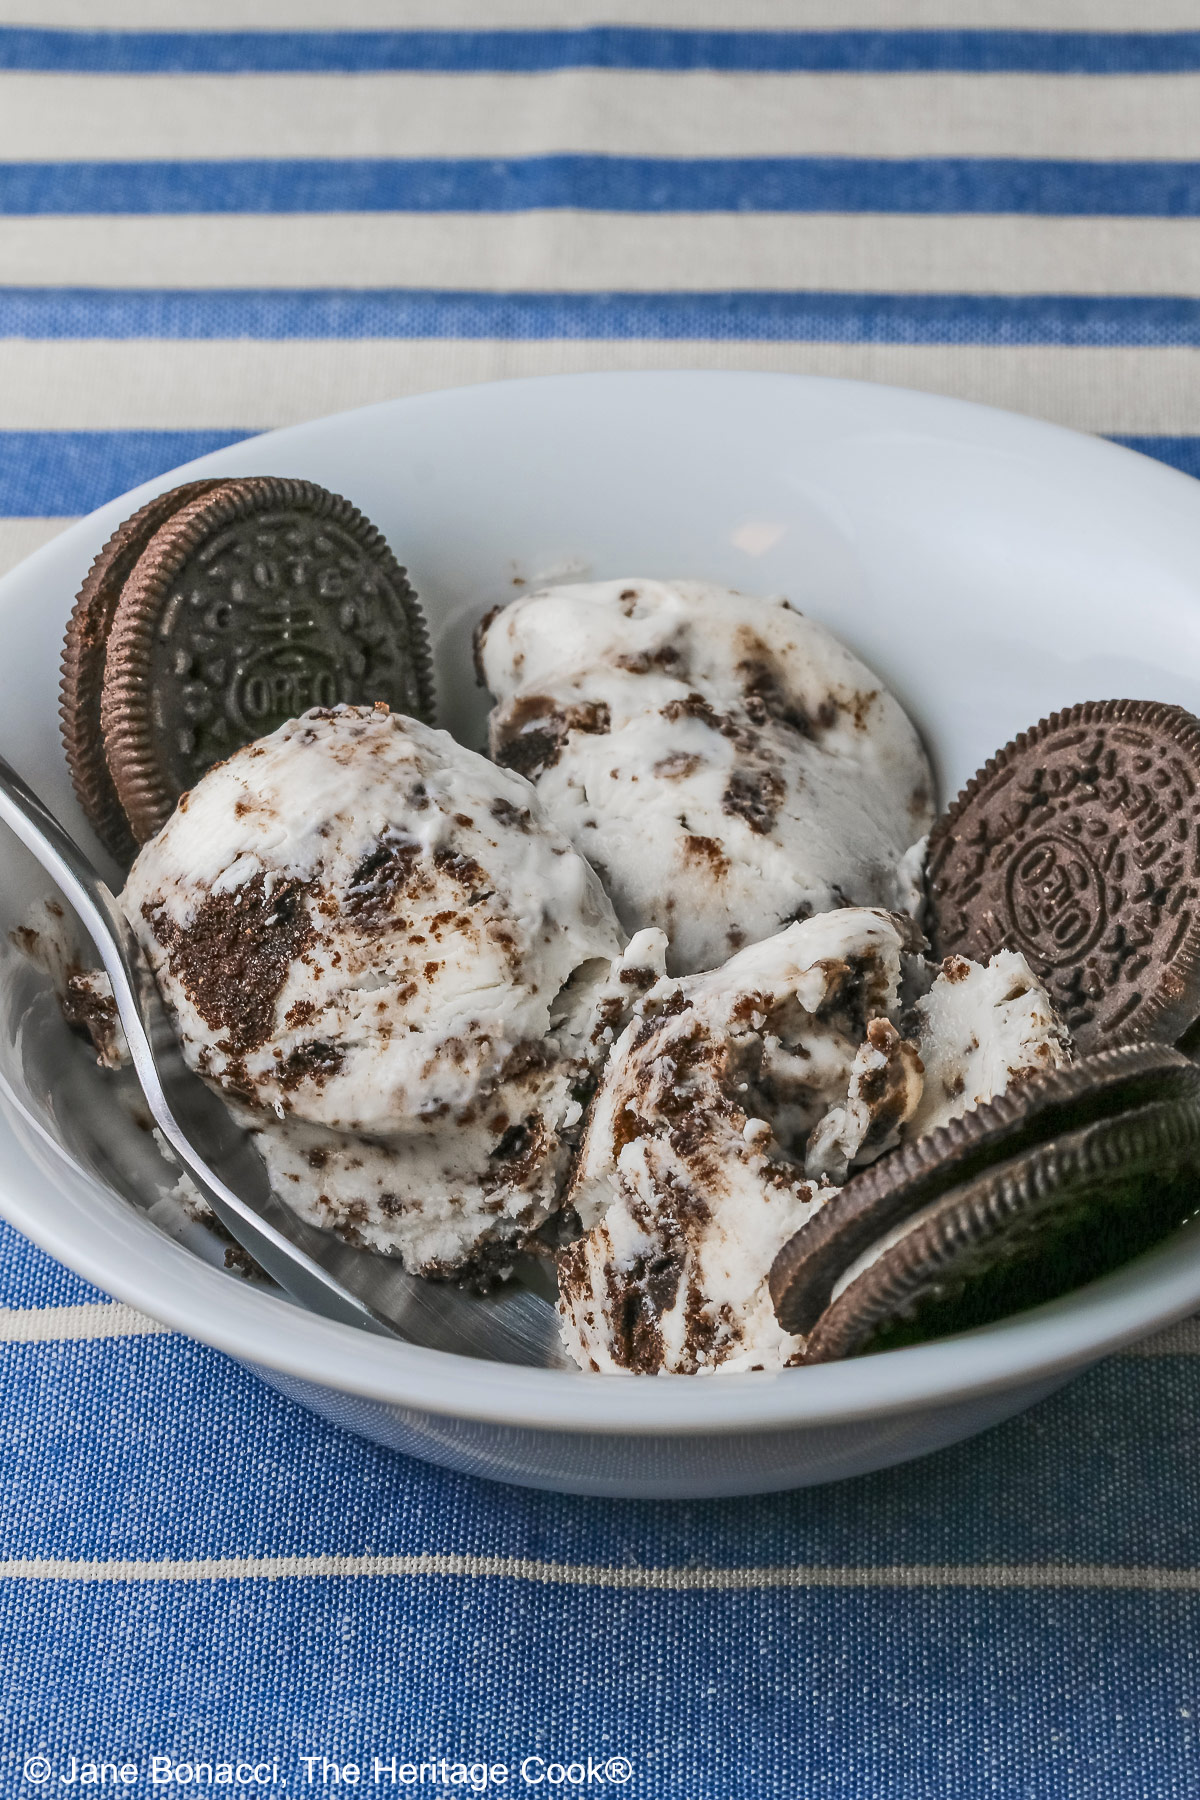
This is so tasty that I had trouble not eating it by the spoonful. So delicious and creamy, I kept sneaking little bits and loved every single sneak peek.
The hardest part of this dessert is waiting 8 hours for it to harden in the freezer. I’m glad I have a friend in town this week who can help me eat this so I don’t inhale it all!!
If you are hosting friends and guests this summer, this No Churn Cookies & Cream Cheesecake Ice Cream is a wonderful way to finish your evening. You might want to double the recipe so you have plenty!
If you do double the recipe, process enough Oreo cookies for both batches at one time and hold them to the side. Then make one batch of the cream cheese portion and place it in a bowl, folding in half the cookies and crumbs. Then make a second batch of the cream, place it in a second bowl, and repeat with remaining cookie chunks. Pour each batch into its own 8×4-inch loaf pan, cover with plastic wrap pressed onto the surfaces, and refrigerate at least 8 hours or overnight.
Give this quick and simple recipe a try and you will fall in love with it! No Churn Cookies & Cream Cheesecake Ice Cream is a true winner!
If you try this recipe, let me know! Please leave a star rating in the recipe card, comment below, and don’t forget to snap a pic and tag it @theheritagecook on Instagram! Seeing your creations makes my day and I love hearing from you!
Ingredients needed for No Churn Cookies and Cream Cheesecake Ice Cream:
- Gluten-free or regular Oreo-style sandwich cookies, cream cheese, heavy cream, sour cream, sugar, vanilla, salt
PRO Tip:
Throw all the cheesecake ingredients into your food processor and be sure to mix it long enough to fully dissolve the sugar, 1-1/2 to 2 minutes. You shouldn’t be able to feel any granules of sugar between your fingers.
PRO Tip:
If you don’t have access to a food processor, you can use a blender instead. It may not take quite as long to get the sugar to dissolve in the cream cheese and cream. Watch carefully and check by rubbing a little of the mixture between your fingers to feel for sugar granules.
How to make No Churn Cookies and Cream Cheesecake Ice Cream:
- Pulse the cookies in your food processor and pour into a large bowl. Separate most of the larger chunks from the crumbs and use mostly chunks to fold into the ice cream base.
- In the same food processor bowl with the “S” blade, add the cream cheese cubes, cream, sour cream, sugar, vanilla, and salt. Process until completely smooth with no remaining sugar crystals. Scoop the ice cream base into a large bowl.
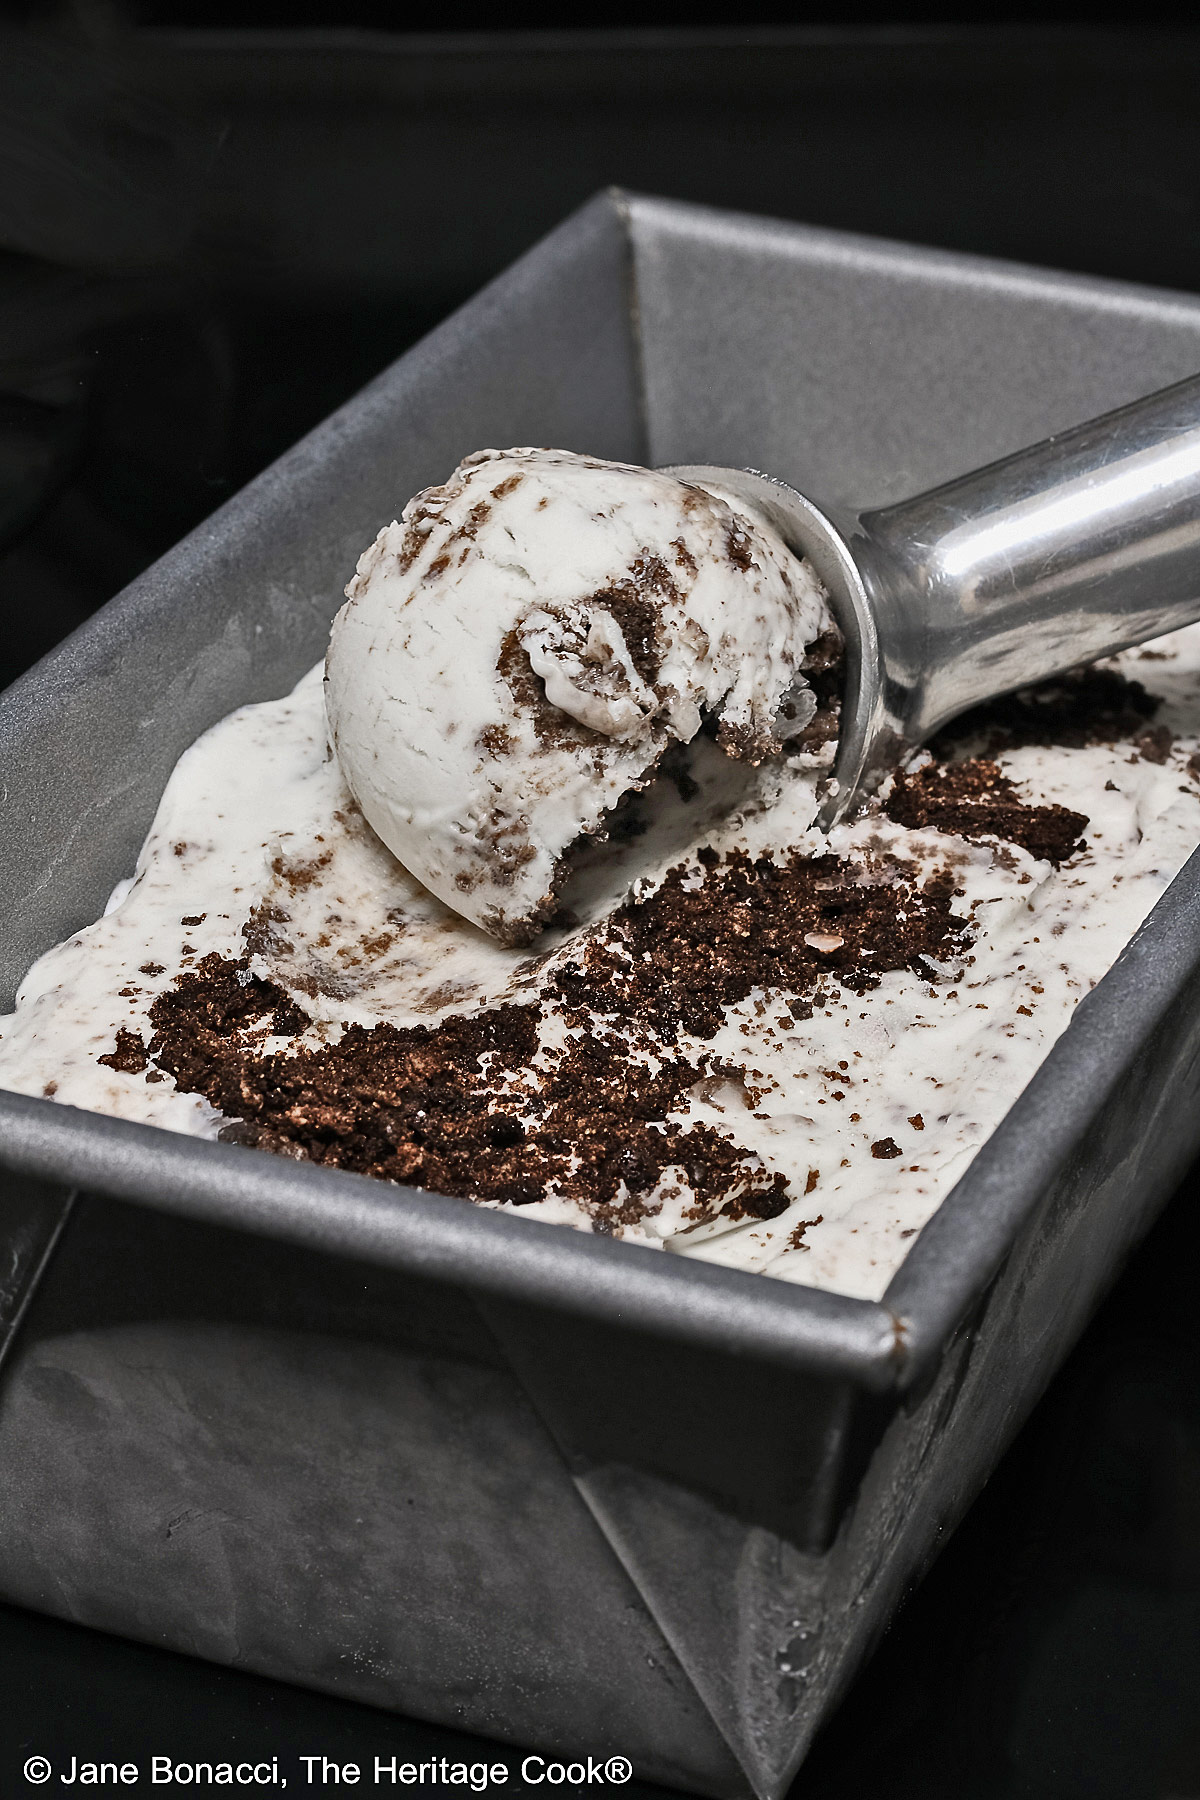
- Fold the cookie chunks into the base without mixing too much. Place the ice cream into an ungreased 8×4-inch (20×10 cm) loaf pan and smooth the top. Cover with a sheet of plastic wrap, pressed onto the surface and freeze until solid, at least 8 hours or up to overnight. Can be made ahead.
PRO Tip:
If you don’t have a food processor you can crush the cookies by hand. Place them in a resealable plastic bag and use a rolling pin to run over them until they are crushed to your desired texture. Be sure to leave some medium chunks to fold into the cheesecake ice cream base!
PRO Tip:
Once you chopped the cookies and transferred them to a bowl, use your hands to separate the chunks from the crumbs. Use mostly chunks to stir into the ice cream base and save the crumbs for decorating. You may also want some extra whole cookies for garnishing.
Recommended Tools (affiliate links; no extra cost to you):
Gluten-Free Tips:
* My preferred brand of kosher salt is from Diamond Crystal. If you use Morton’s, another brand, or table salt, you will not need as much because they are saltier.
You will get the best and most consistent results by using a digital kitchen scale and weighing your ingredients, especially when you are baking. Use grams, they are much more accurate than pounds and ounces.
All recommended ingredients are gluten-free as of the writing of this article. Always check to be sure the products haven’t changed and are still safe to consume.
No Churn Cookies and Cream Cheesecake Ice Cream (GF)

If you dream of Oreo cheesecake, you are going to go crazy for this No Churn Cookies and Cream Cheesecake Ice Cream. It is truly craveable, with all the creaminess you love combined with small chunks of Oreo cookies for an unforgettable dessert. Enjoy it all summer and year-long!
Ingredients
- 15 gluten-free Oreo-like sandwich cookies (about 1 to 1-1/2 cups [237 ml to 355 ml] chunks and crumbs); use regular cookies if you are not gluten free
- 1 block (8 oz; 227g) cream cheese, preferably Philadelphia brand, cubed and slightly softened
- 1 cup (227g) heavy cream
- 1/2 cup (113g) sour cream
- 1 cup (198g) granulated sugar
- 1 tsp vanilla paste or pure extract
- 1/4 tsp kosher salt *
Instructions
1. Place the gluten-free cookies into a food processor using the “S” blade. Use quick pulses until the cookies are chopped into small pieces - be careful not to over-process. You want small chunks and some crumbs. Transfer the cookies to a separate bowl and return the processor bowl to the machine with the same blade. It doesn’t need to be cleaned, everything winds up in the same bowl in the end!
2. Sift the cookie crumbs, separating the chunks. Place them in a second bowl.
3. Place the cream cheese cubes, heavy cream, sour cream, sugar, vanilla, and salt * into the food processor. Blend until smooth and creamy, and the sugar is completely dissolved, about 1-1/2 to 2 minutes total. Stop the machine after 1 minute and scrape the sides and bottom of the bowl to be sure all the cream cheese and sugar have been incorporated. Rub a bit of the mixture between your fingers to feel if the sugar is dissolved. If it is still gritty feeling, continue processing another 45 seconds or so then test again.
4. Transfer the ice cream mixture to a large bowl and stir in the cookie chunks and a little of the crumbs just enough to mix in. Don’t over mix. Scoop the ice cream into an ungreased 8x4-inch (20x10 cm) loaf pan and smooth the top. Sprinkle the top with a little of the extra cookie crumbs if desired. Cover with a sheet of plastic wrap pressed directly on the surface and freeze until solid, about 8 hours or overnight.
5. Scoop out servings, re-cover the ice cream in the pan, and store the ice cream in the freezer for up to 1 week.
Recipe found at www.theheritagecook.com
Notes
* My preferred brand of kosher salt is from Diamond Crystal. If you use Morton’s, another brand, or table salt you will not need as much because they are saltier.
You will get the best and most consistent results by using a digital kitchen scale and weighing your ingredients, especially when you are baking. Use grams, they are much more accurate than pounds and ounces.
All recommended ingredients are gluten-free as of the writing of this article. Always check to be sure the products haven’t changed and are still safe to consume.
Adapted from a recipe on Once Upon a Chef
Nutrition Information:
Yield:
6Serving Size:
1Amount Per Serving: Calories: 509Total Fat: 27gSaturated Fat: 14gUnsaturated Fat: 12gCholesterol: 64mgSodium: 241mgCarbohydrates: 65gFiber: 1gSugar: 56gProtein: 4g
The nutritional information for recipes on this site is calculated by online tools and is merely an estimate. If you need nutritional calculations for medical reasons, please use a source that you trust.
If you enjoyed this recipe, be sure to follow me on social media so you never miss a post:
Create a New Tradition Today!
Welcome! The suggestions here are not intended as dietary advice or as a substitute for consulting a dietician, physician, or other medical professional. Please see the Disclaimers/Privacy Policy page for additional details. Unauthorized use, distribution, and/or duplication of proprietary material from The Heritage Cook without prior approval is prohibited. If you have any questions or would like permission, please contact me. We participate in the Amazon Services LLC Associates Program, an affiliate advertising program designed to provide a means for sites to earn advertising fees by advertising and linking to amazon.com. As an Amazon Associate, I earn a small amount from qualifying purchases without any additional cost to you. This page may contain affiliate links. The author makes no claims regarding the presence of food allergens and disclaims all liability in connection with the use of this site.


Leave a Reply