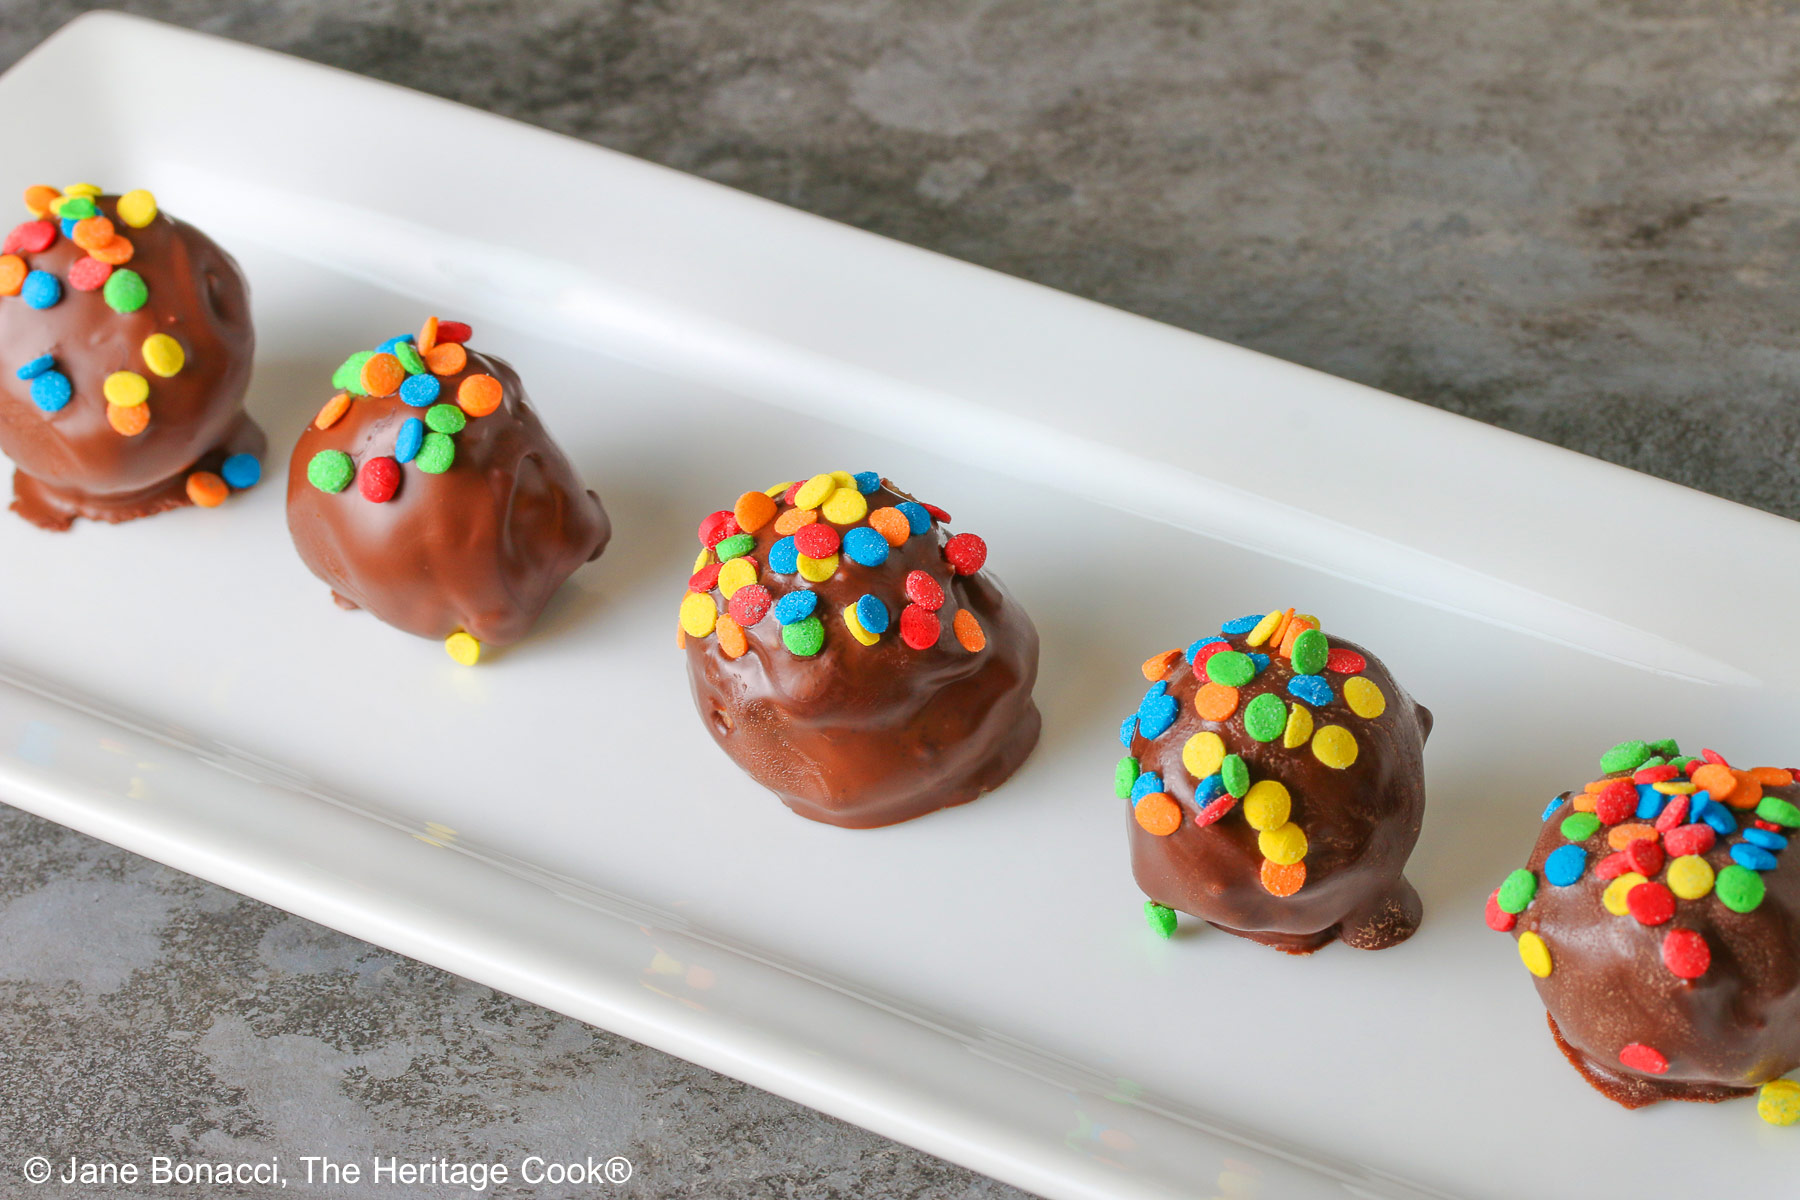
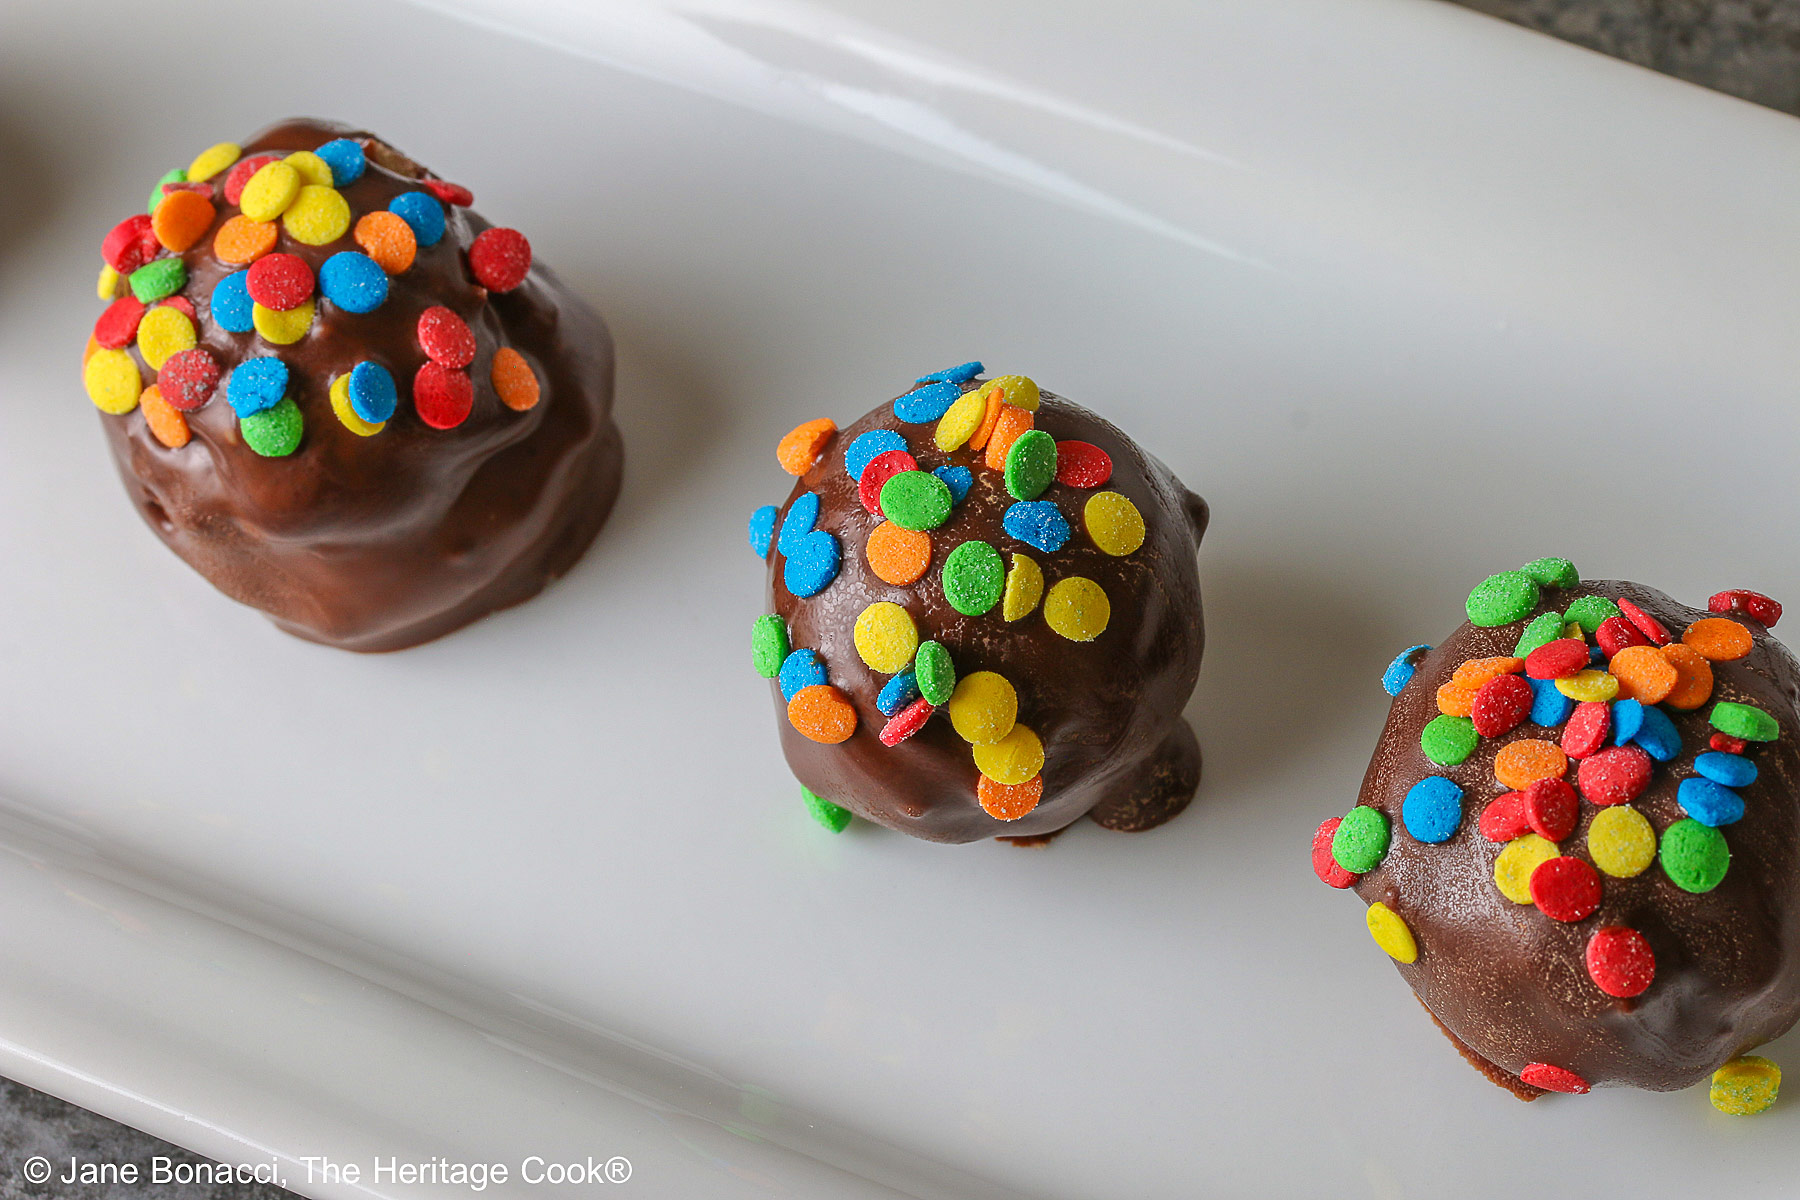
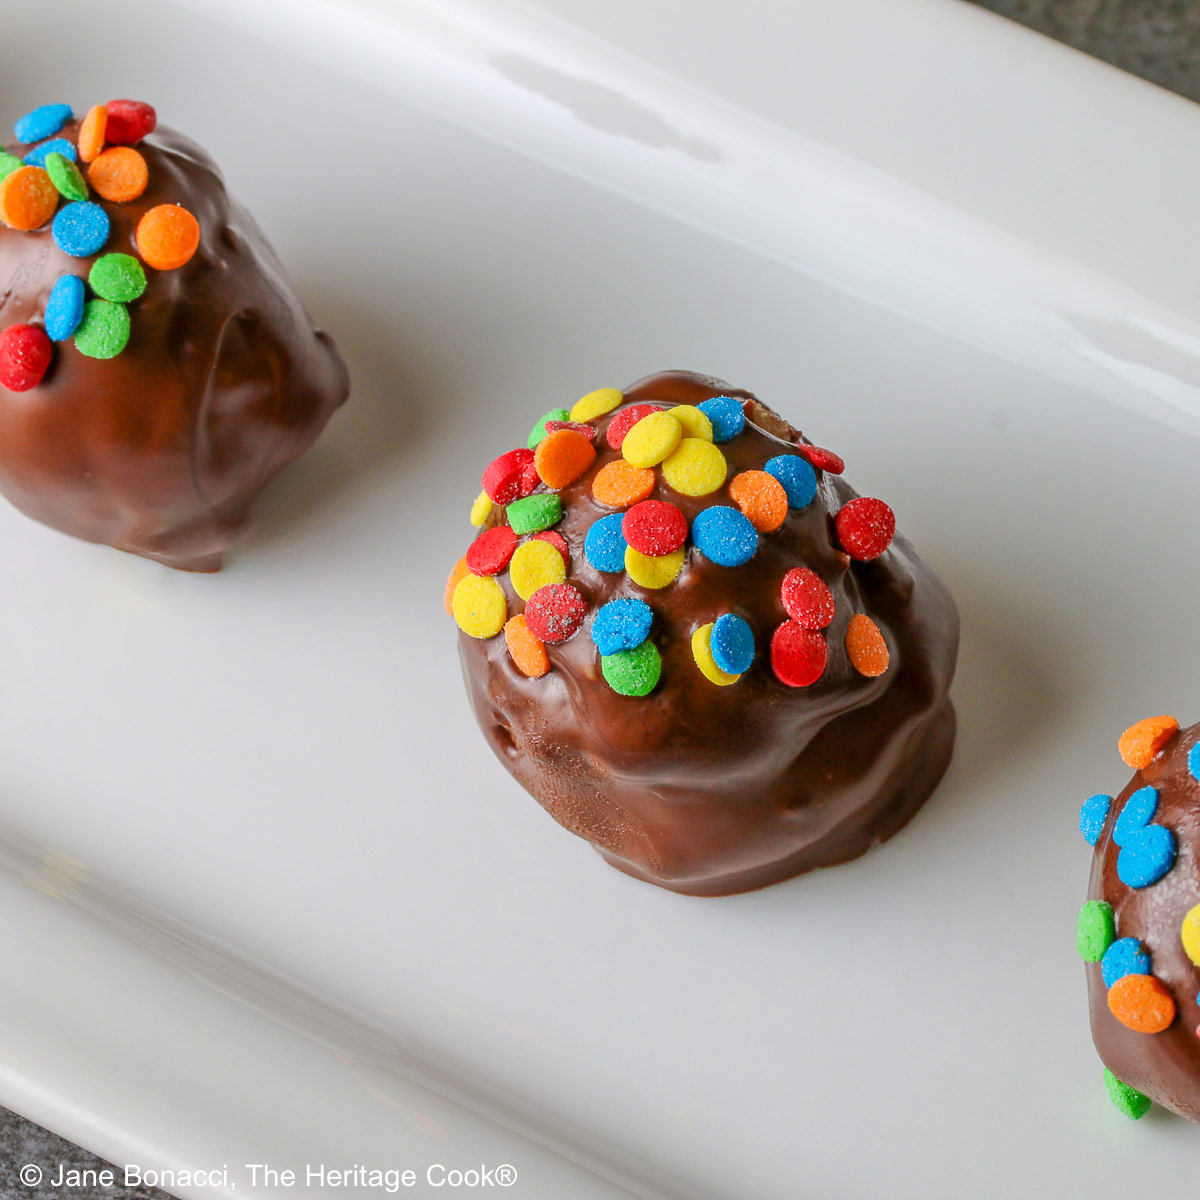
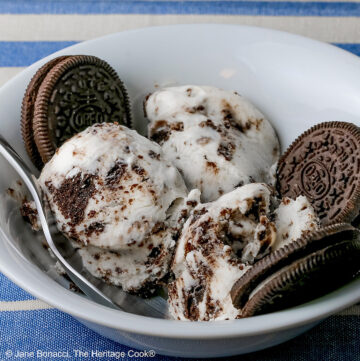
 Truffles are one of the most decadent treats – chocolate coated bites of pure heaven. Today’s Chocolate Chip Cookie Dough Truffles are so good they may become your favorite version! The filling is egg-free chocolate chip cookie dough, safe for eating without baking, coated in melted chocolate and they disappear before you know it!
Truffles are a perfect small one or two bite sweet treat. I love serving them at parties and everyone goes back for seconds! They are so popular you might want to consider doubling the batch.
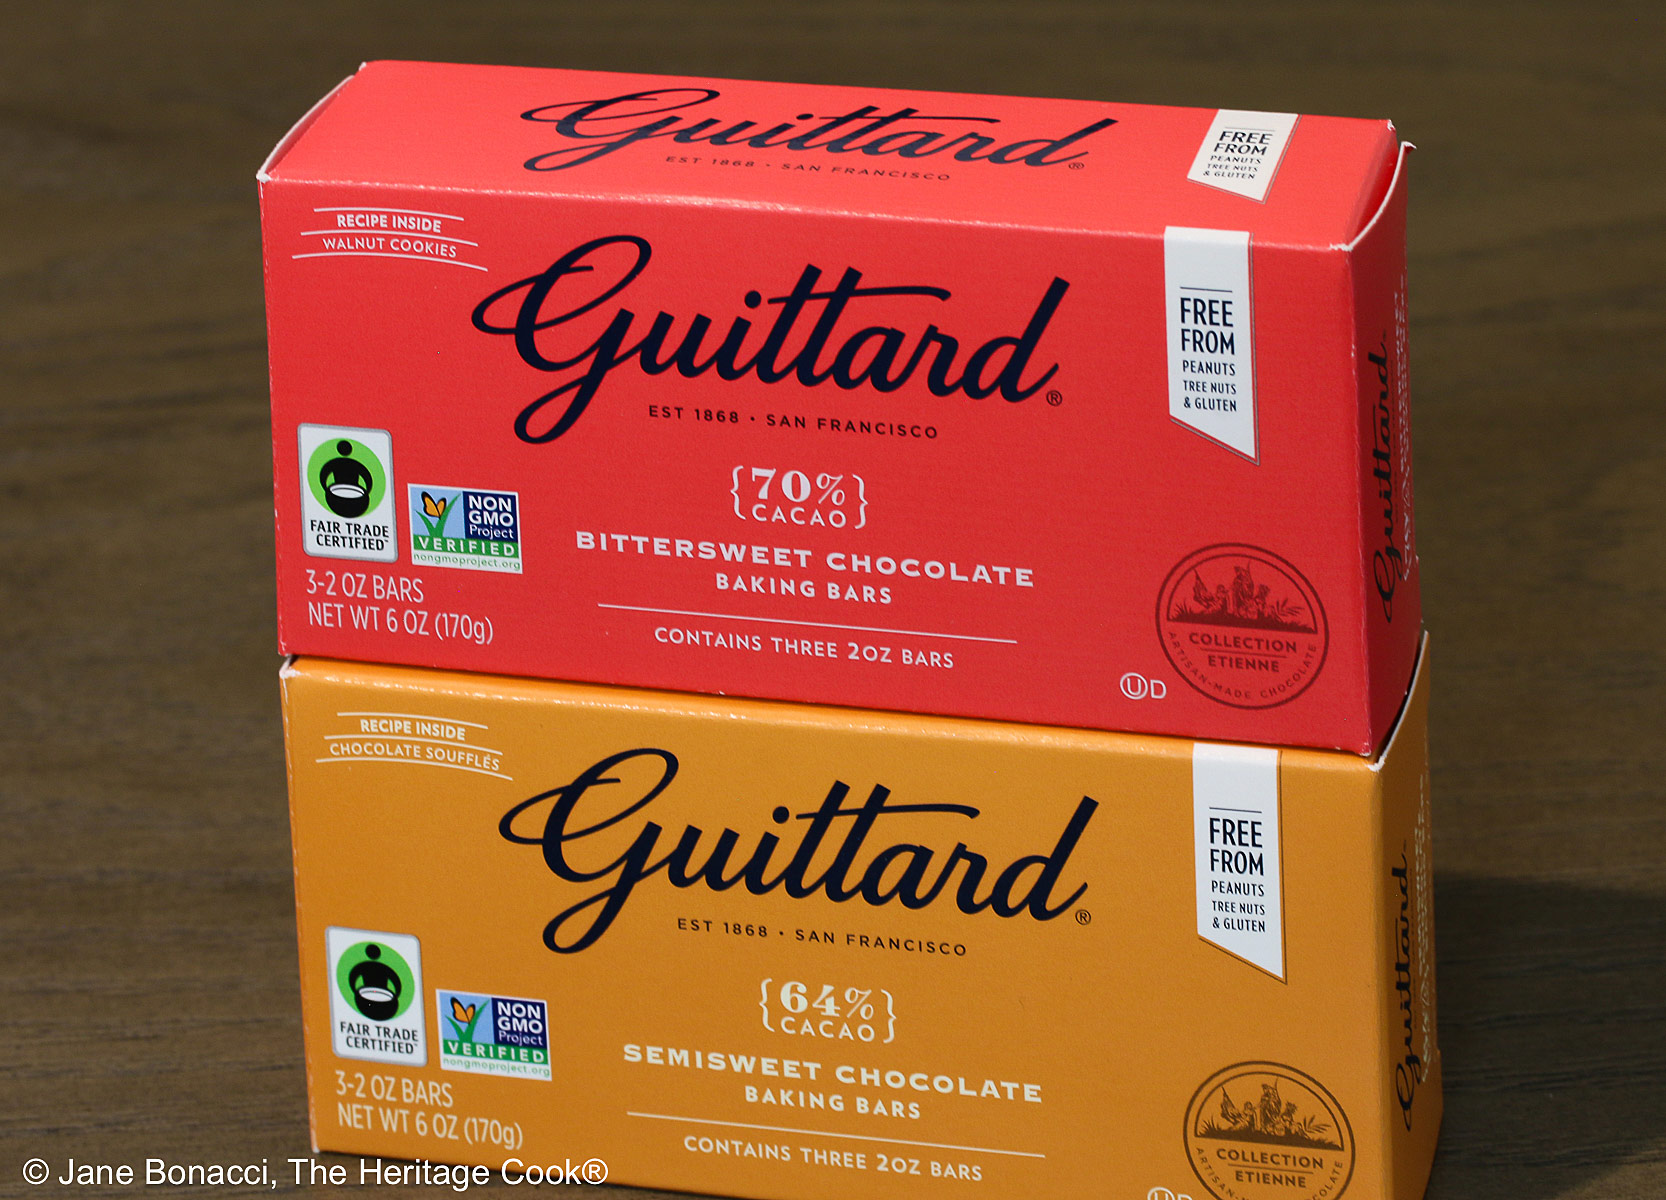
My favorite bar chocolate!
The ping pong ball-sized truffles that we see across America are an exaggeration of what truffles in Europe started out as. Small, intense, and beautifully imperfect, they are little drops of chocolate ganache that are left as is or rolled in cocoa powder. When made this way they resemble the rare and precious black truffle mushroom they were named after.
Nothing makes forming truffles easier than a cookie scoop. I use mine all the time for cookies, cupcakes, and candies. I never knew how much I was missing until I used one and now I can’t imagine my kitchen without them. I have them in graduated sizes, from 1 tsp up to 1/4 cup. I can load a baking sheet with cookies in seconds and the portions are all evenly sized.
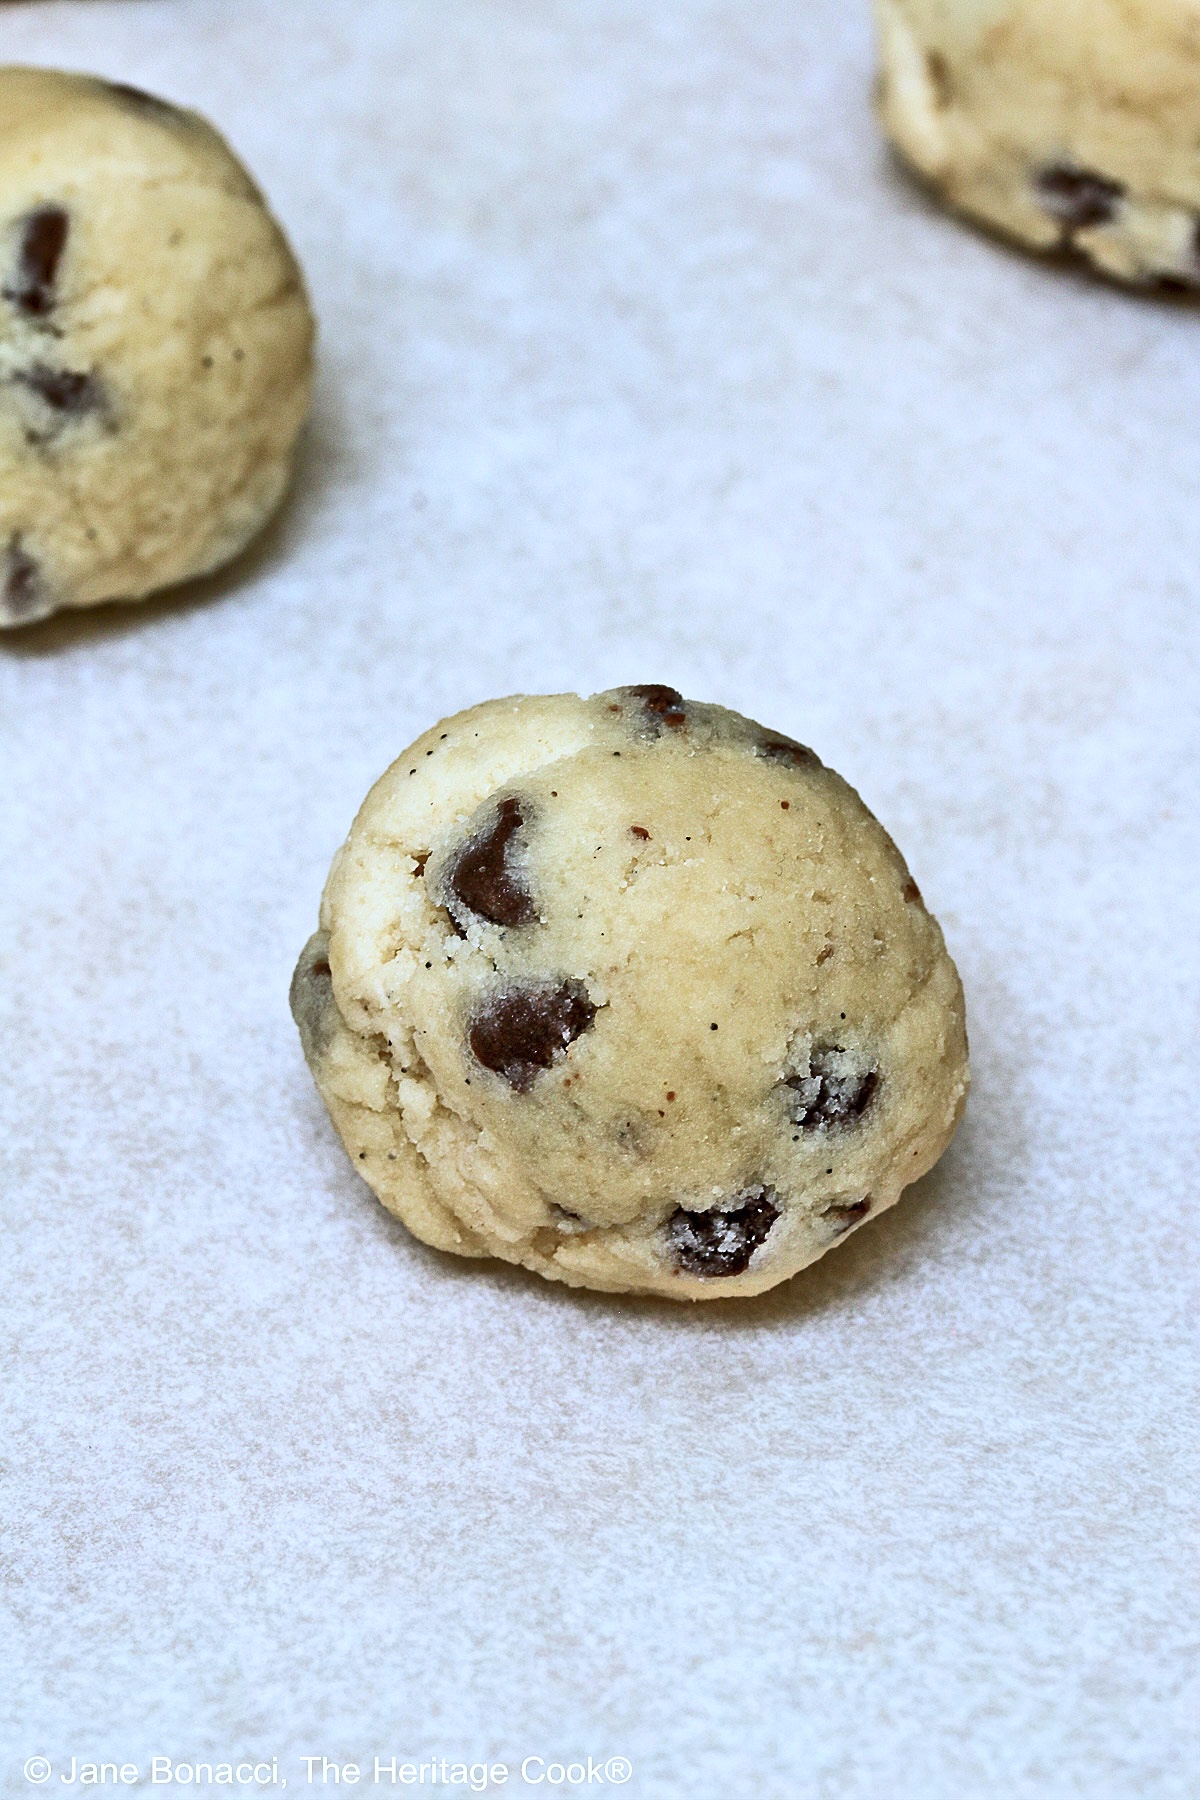
Use mini chocolate chips if you can find them. They distribute much more evenly, giving you chocolate in every bite. They also help the truffles hold together more easily because they are smaller. If you can’t find them (I get mine at Whole Foods) finely chop bar chocolate. Any larger and the truffles won’t hold together well. Regular chocolate chips are too big to work.
These truffles are incredibly easy to make and your kids will love helping you form the balls. Little hands are perfect at rolling balls of dough and it always makes them happy to be part of the action!
I learned a trick when working with Pam Anderson. I dipped a couple flats of strawberries in chocolate for a dinner party. Adding a little coconut oil to the chocolate as it melts helps keep it liquid longer and makes it easier to coat the fruits evenly. Even when dipping icy cold fruits or candies in the melted chocolate, it remained loose and smooth.
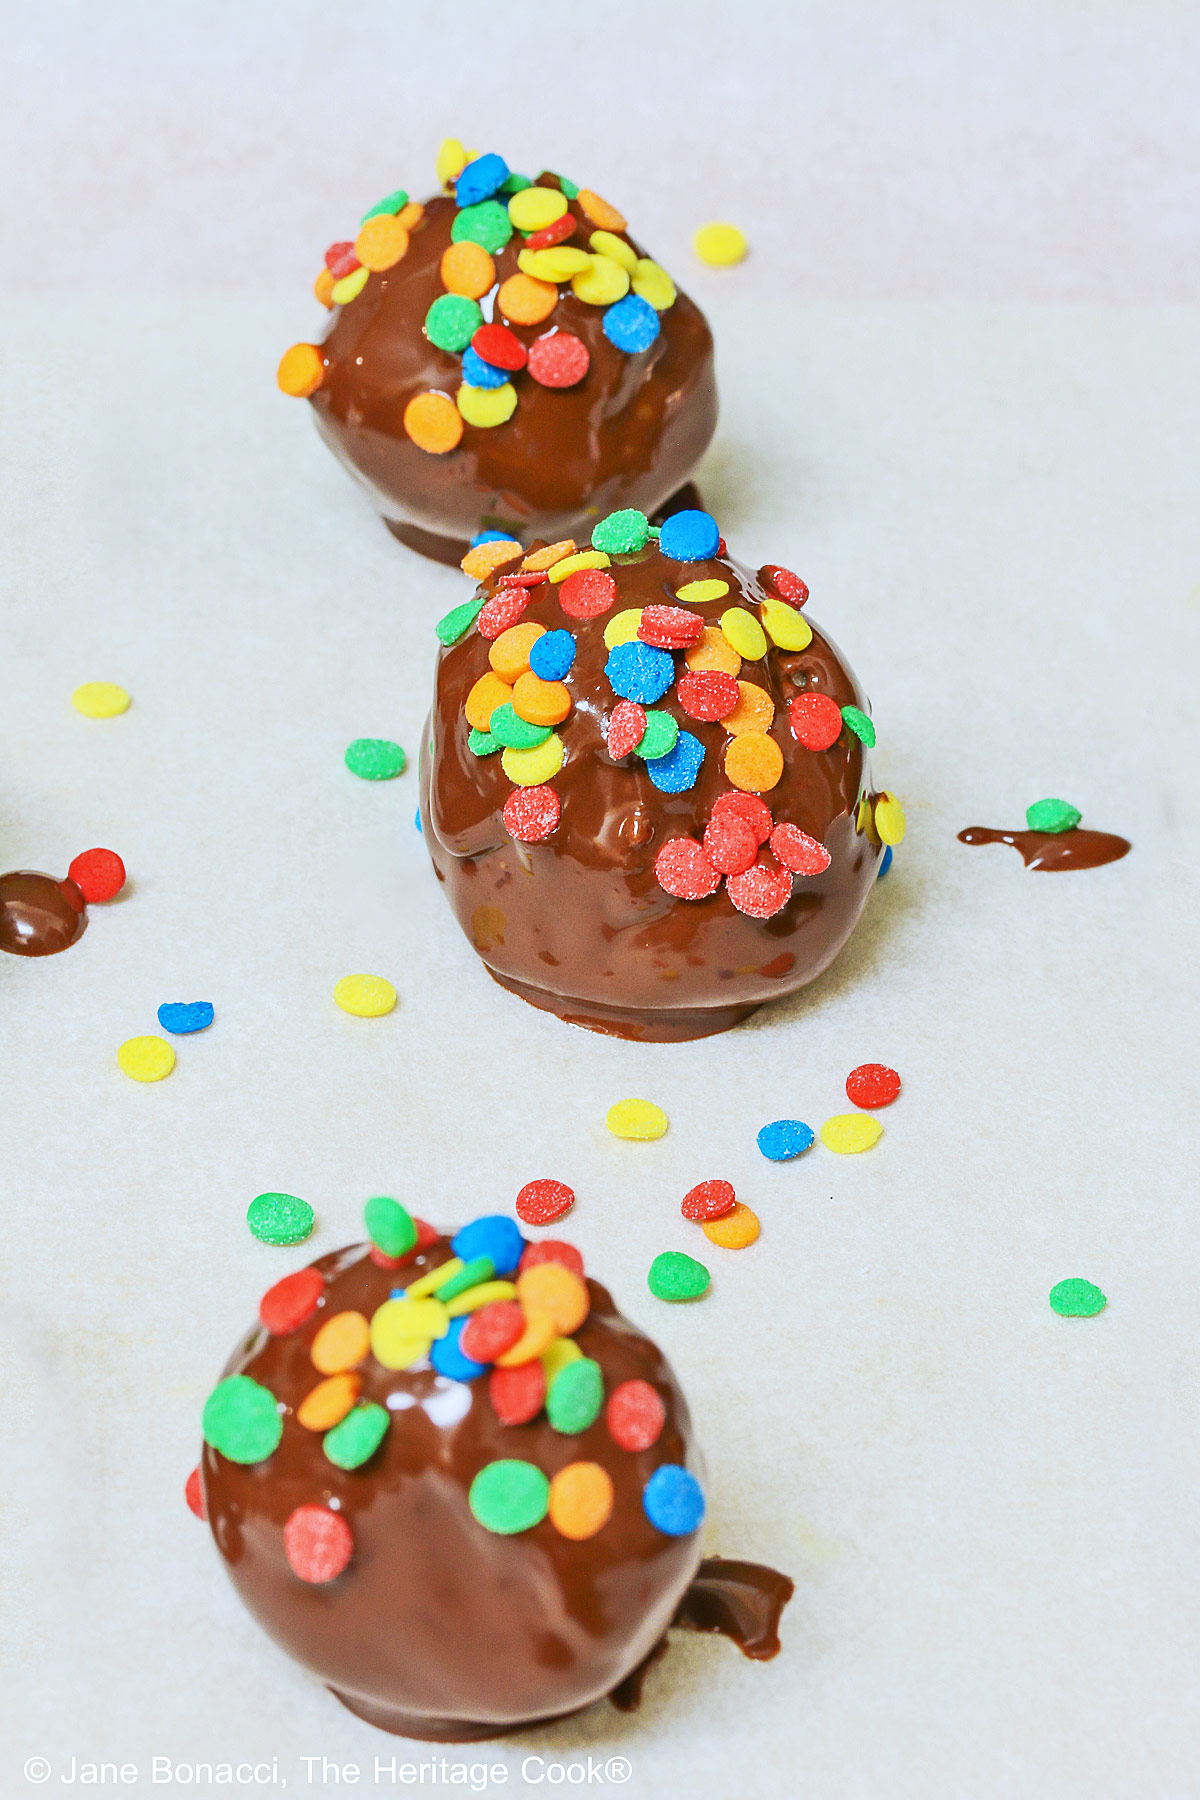
If you are making a lot of these (because you doubled or tripled the recipe) you will probably want to reheat the melted chocolate at least once during the dipping. This will make sure the chocolate flows around the candies evenly, giving you beautifully coated truffles.

Because I have made many chocolate desserts over the years, I own a set of chocolate dipping tools. but you can use a regular dinner fork just as easily. Just be sure to tap and then drag the fork tongs against the edge of the pan to remove excess chocolate before transferring to the parchment paper. When you are making smaller truffles like these, the round dipping tool works very well too.
These truffles are perfect any time of the year. In the summer months, you may want to serve them slightly frozen for a cooling sweet dessert.
One trick to having the truffles easy to work with is to chill the filling thoroughly before you try to roll them into balls. I like to wear latex gloves so I don’t get the dough and butter all over my hands. Then freeze the filling balls to make them easier to coat in the melted chocolate and again, wear gloves when moving them, so you don’t leave fingerprints behind!
The second secret to success is to keep them chilled throughout the process of dipping. Work with fewer at a time and reheat your dipping chocolate if needed over simmering water. It is fun to bite through a hard shell and discover a luscious center! They are best served cool or cold.
Because of the resting/cooling time between the steps, plan on making these over two days unless you start very early in the day. It is much easier to get the filling done and rolled on day one and then dip them on day two.

I hope you love these Chocolate Chip Cookie Dough Truffles as much as The Artist and I do. I kept sneaking “just one more” LOL. Have a wonderful week and I am wishing you a very happy Chocolate Monday! See you on Friday for another savory recipe. Enjoy!
If you try this recipe, let me know! Please leave a star rating in the recipe card, comment below, and don’t forget to snap a pic and tag it @theheritagecook on Instagram! Seeing your creations makes my day and I love hearing from you!
Ingredients needed for Chocolate Chip Cookie Dough Truffles:
- Truffle Filling: butter, sugar, brown sugar, milk, vanilla paste, flour, salt, mini chocolate chips
- Chocolate Coating: chopped bittersweet and semisweet bar chocolate, coconut oil
PRO Tip:
I used a #60 cookie scoop/disher to portion the dough into small 1-inch balls (2.5 cm). Use the palms of your hands to roll them into evenly round balls. You can use latex gloves to minimize having to wash your hands often.
PRO Tip:
If you have stored your chocolate for a while and it has a grayish coating on it, don’t worry. That is just some of the butterfat that has risen to the surface. It may not be as attractive, but it tastes the same and you can use it interchangeably with other chocolates.
PRO Tip:
If you’ve frozen your dough balls until solid and still need to roll them, leave them on the counter until softened again, roll them into round balls, and return to the freezer for 30 minutes. Dip and decorate as you like.
How to make Chocolate Chip Cookie Dough Truffles:
- Make the Truffles: Beat together the butter and both sugars until light and fluffy, then mix in the milk and vanilla. Add the flour and salt and mix until combined. Stir in the mini chocolate chips. Cover the bowl with plastic wrap pressed against the dough and refrigerate for 30 minutes.
- Form the dough balls using a cookie scoop so they are all the same size. Roll them into round balls by hand. Place on a parchment-covered baking sheet and freeze for at least 30 minutes until firm.
- Dip the Truffles: Place the chopped chocolates and coconut oil in a bowl over a pan of simmering water and heat, stirring occasionally, until mostly melted. Remove from the heat and stir until everything is fully melted and the mixture is smooth.
- Working with half at a time, dip them into the melted chocolate and coconut oil and fully coat each one. Use a dipping tool or a fork to move the truffles around, tap off the excess chocolate, and place them on a parchment-covered baking sheet pan. If you want, decorate the tops while the chocolate is still wet.
- Repeat with remaining truffles and chocolate until everything is coated and set. If you want you can drizzle some of them with a little melted white chocolate once they are set if desired. Store in an airtight container in the refrigerator for up to 7 days.
PRO Tip:
Heat the chocolate and coconut oil for dipping and only work with about half the truffles at a time to keep the chocolate at the right temperature. Reheat the chocolate if needed. Keep the rest of the truffles in the refrigerator until ready to dip them.
PRO Tip:
If you want to, you can pre-bake the flour to kill any possible bacteria. Place it on a baking sheet and bake in a preheated oven at 350°F (180°C) for 8 to 10 minutes, stirring halfway through, until it reaches 160°F (71°C) on an instant read thermometer. Then let it cool to room temperature before using. There are also heat-treated flours available in stores if you are not gluten-free.
PRO Tip:
If you want to turn these into chilled pops, just insert a stick in each truffle, dip them in chocolate, and then refrigerate. Kids always love food on sticks!
Recommended Tools (affiliate links; no extra cost to you):
- Kitchen scale
- Chef’s knife
- Stand mixer or hand mixer
- Small cookie scoop (preferably #60)
- Parchment paper
- Baking sheet pan
- Mixing bowls
- Saucepan
- Chocolate dipping tools
Gluten-Free Tips:
* You can adjust any baking recipe to gluten-free by using 120 grams per cup of my favorite gluten-free flour blend. If you are using another brand of flour or regular flour, whisk it, spoon it lightly into a measuring cup until mounded, level off the top with a knife, and weigh the flour left in the cup. Use that weight as your standard per cup of that specific flour. Do this for each flour blend you use. Commercial gluten-free blends such as Pamela’s All-Purpose Artisan Blend, Bob’s Red Mill 1-to-1, or King Arthur Measure for Measure, are all good gluten-free choices.
Because these are cookie dough truffles, you want to use the smoothest, least grainy gluten-free flour blend you can. My own blend* is made with Authentic Foods super fine ground flours and no one can tell my baked goods are GF. If you make these a day ahead, the truffle centers will have more time to fully hydrate and get less gritty.
** My preferred brand of kosher salt is from Diamond Crystal. If you use Morton’s, another brand, or table salt, you will not need as much because they are saltier.
You will get the best and most consistent results by using a digital kitchen scale and weighing your ingredients, especially when you are baking. Use grams, they are much more accurate than pounds and ounces.
Always check to be sure the products haven’t changed and are still safe to consume.
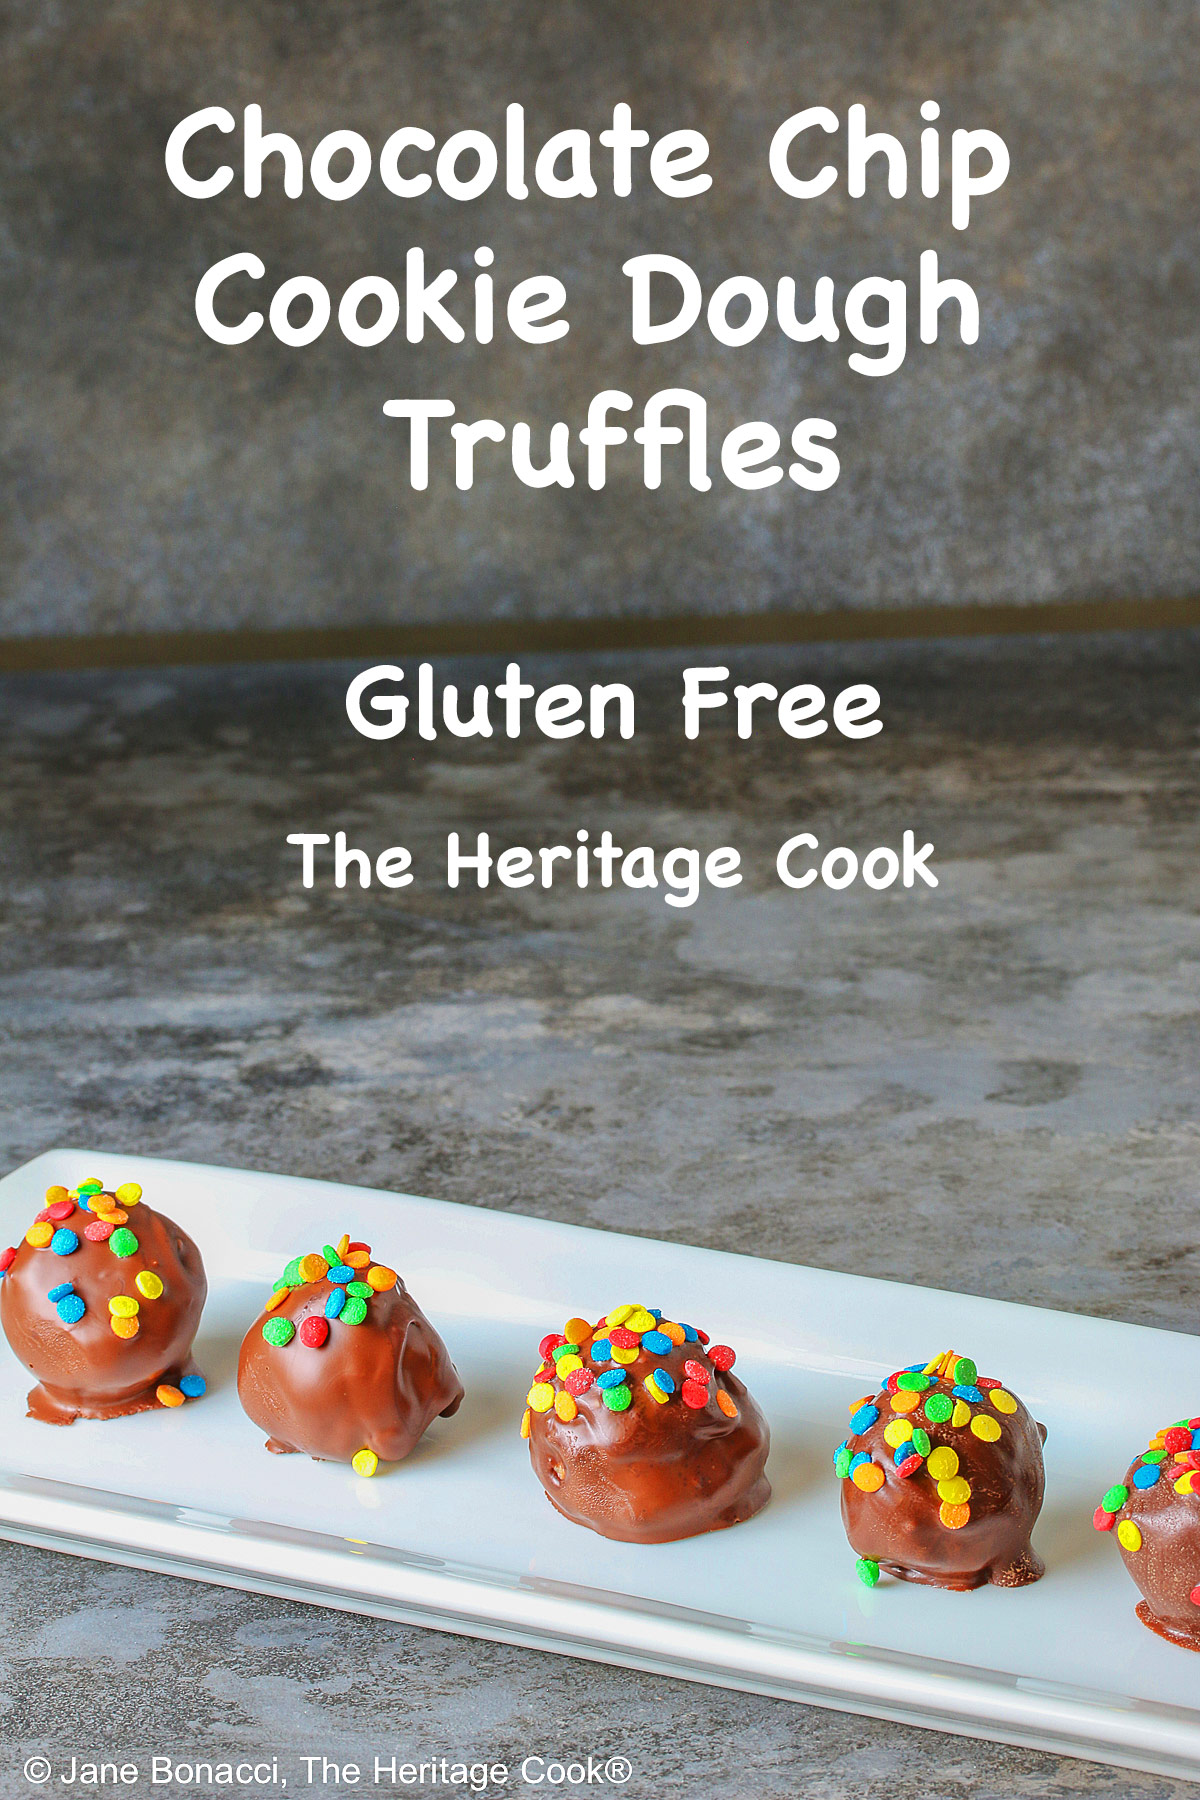
Chocolate Chip Cookie Dough Truffles (GF)

Truffles are the most decadent treats – chocolate coated bites of pure heaven. Today’s Chocolate Chip Cookie Dough Truffles are so good they may become your new favorite version! The filling is egg-free chocolate chip cookie dough, safe for eating without baking, coated in melted chocolate and they disappear before you know it!
Ingredients
Truffles
- 1 stick (1/2 cup; 113g) butter, at room temperature
- 1/4 cup (50g) granulated sugar
- 1/2 cup (107g) firmly packed brown sugar
- 2 tbsp milk
- 2 tsp vanilla paste or pure extract
- 1-1/4 cups (150g *) gluten-free all-purpose flour * or regular all-purpose flour such as Gold Medal
- 1/2 tsp kosher salt **
- 1/2 cup (89g) mini chocolate chips ***
Chocolate Coating
- 4 oz (113g) semisweet bar chocolate, chopped into small pieces
- 2 oz (57g) bittersweet bar chocolate, chopped into small pieces
- 1/2 tsp coconut oil
Instructions
1. Make the Truffles: In the bowl of your stand mixer or a large bowl if using a hand mixer, beat the butter and sugars until light and fluffy. Mix in the milk and vanilla. Add the flour and salt and mix on low until combined. Stir in the mini chocolate chips. Cover with plastic wrap, pressed against the surface, and chill the dough in the refrigerator for about 30 minutes until firm enough to roll into balls.
2. Use a cookie scoop/disher (preferably a #60) to form the balls that are all the same size, approximately 1-inch (2.5cm) diameter. Roll each one between your palms to make them evenly round. If they are too soft to easily roll, chill them in the freezer for about 15 minutes.
3. Place rolled balls on a baking sheet lined with parchment paper and place in the freezer for at least 30 minutes to firm up.
4. Coat the Truffles: Place a heatproof bowl over a saucepan with two inches of water in the bottom. Bring the water to a simmer and add all the chopped chocolates to the bowl with the coconut oil. Stir fairly often as the chocolate begins to melt so it doesn’t scorch. When most of the chocolate has melted, take the bowl off the saucepan and place on a kitchen towel. Stir until the chocolate and coconut oil are fully melted and the mixture is smooth. Allow the chocolate to cool slightly.
5. Remove half of the truffles from the freezer at a time (leaving the rest in the freezer) and using a dipping tool or a fork, dip one in the chocolate, rolling it until fully covered. Lift the truffle, drag the bottom across the edge of the bowl and tap off the excess coating, then place it back on the parchment to set. Add your choice of decorations while the coating is still wet if desired. Alternately, you can also drizzle with melted white chocolate after the coating has set. Repeat with remaining truffles. Reheat chocolate if needed.
6. Store in an airtight container in the refrigerator for up to a week. The dough can be made, rolled into balls, covered, and frozen before dipping for up to three months. Move to the refrigerator overnight to thaw before dipping.
Recipe found at www.theheritagecook.com
Notes
* You can adjust any recipe to gluten-free by using 120 grams per cup of my favorite gluten-free flour blend. If you are using another brand of gluten-free flour, whisk the mix, spoon it lightly into a measuring cup without a spout until mounded, level off the top with the back of a knife, and weigh the flour left in the cup. Use that weight as your standard per cup of that specific flour. Do this for each flour blend you use. Commercial blends such as Pamela's, Bob's Red Mill 1-to-1, or King Arthur Measure for Measure are all good gluten-free choices.
** My preferred brand of kosher salt is from Diamond Crystal. If you use Morton’s or another brand you will likely not need as much because they are saltier.
*** If you can’t find mini chocolate chips, I buy mine at Whole Foods. If you want to make your own, very finely chop bar chocolate as small as you can so they will disperse evenly giving you bites of chocolate throughout.
You will get the best and most consistent results by using a digital kitchen scale and weighing your ingredients, especially when you are baking. Use grams, they are much more accurate than pounds and ounces.
All recommended ingredients are gluten-free as of the writing of this article. Always check to be sure the products haven’t changed and are still safe to consume.
Adapted from a recipe on Garnish With Lemon
Nutrition Information:
Yield:
30Serving Size:
1Amount Per Serving: Calories: 81Total Fat: 3gSaturated Fat: 2gUnsaturated Fat: 1gCholesterol: 2mgSodium: 47mgCarbohydrates: 12gFiber: 0gSugar: 11gProtein: 1g
The nutritional information for recipes on this site is calculated by online tools and is merely an estimate. If you need nutritional calculations for medical reasons, please use a source that you trust.
If you enjoyed this recipe, be sure to follow me on social media so you never miss a post:
Create a New Tradition Today!
Welcome! The suggestions here are not intended as dietary advice or as a substitute for consulting a dietician, physician, or other medical professional. Please see the Disclaimers/Privacy Policy page for additional details. Unauthorized use, distribution, and/or duplication of proprietary material from The Heritage Cook without prior approval is prohibited. If you have any questions or would like permission, please contact me. We participate in the Amazon Services LLC Associates Program, an affiliate advertising program designed to provide a means for sites to earn advertising fees by advertising and linking to amazon.com. As an Amazon Associate, I earn a small amount from qualifying purchases without any additional cost to you. This page may contain affiliate links. The author makes no claims regarding the presence of food allergens and disclaims all liability in connection with the use of this site.


Leave a Reply