
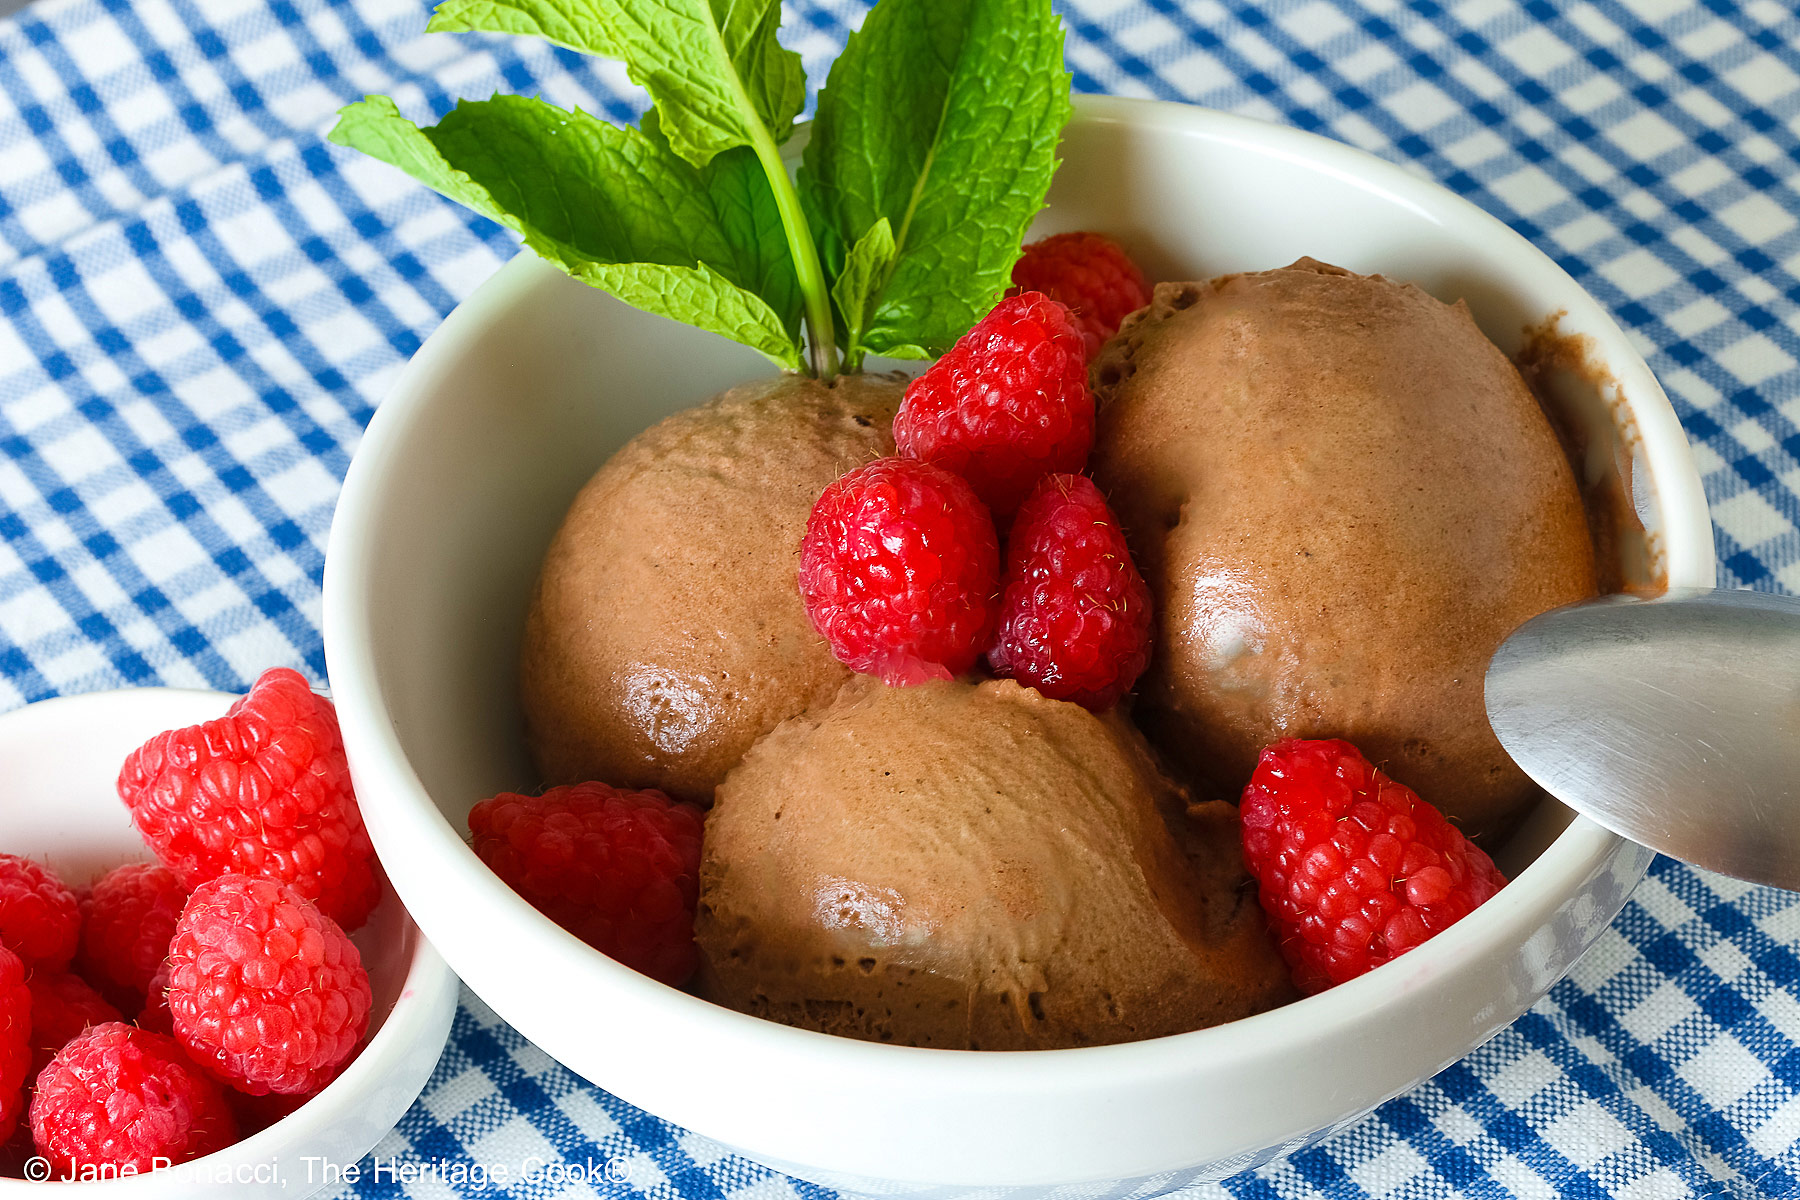
 Today’s Double Dark Chocolate No-Churn Ice Cream is rich with the creamiest texture that will have you delighted. It is deeply chocolatey, satisfying every craving! Use it in sundaes, ice cream cones, parfaits, or simply a dish – anything goes!
During the heat of summer, there is nothing better than ice cream to cool down. And none is easier to make than no-churn ice cream! No eggs, no cooking, and no churning required. Easy peasy! Perfect for those with gluten or egg allergies, and everyone loves it – that’s a winner in my book!
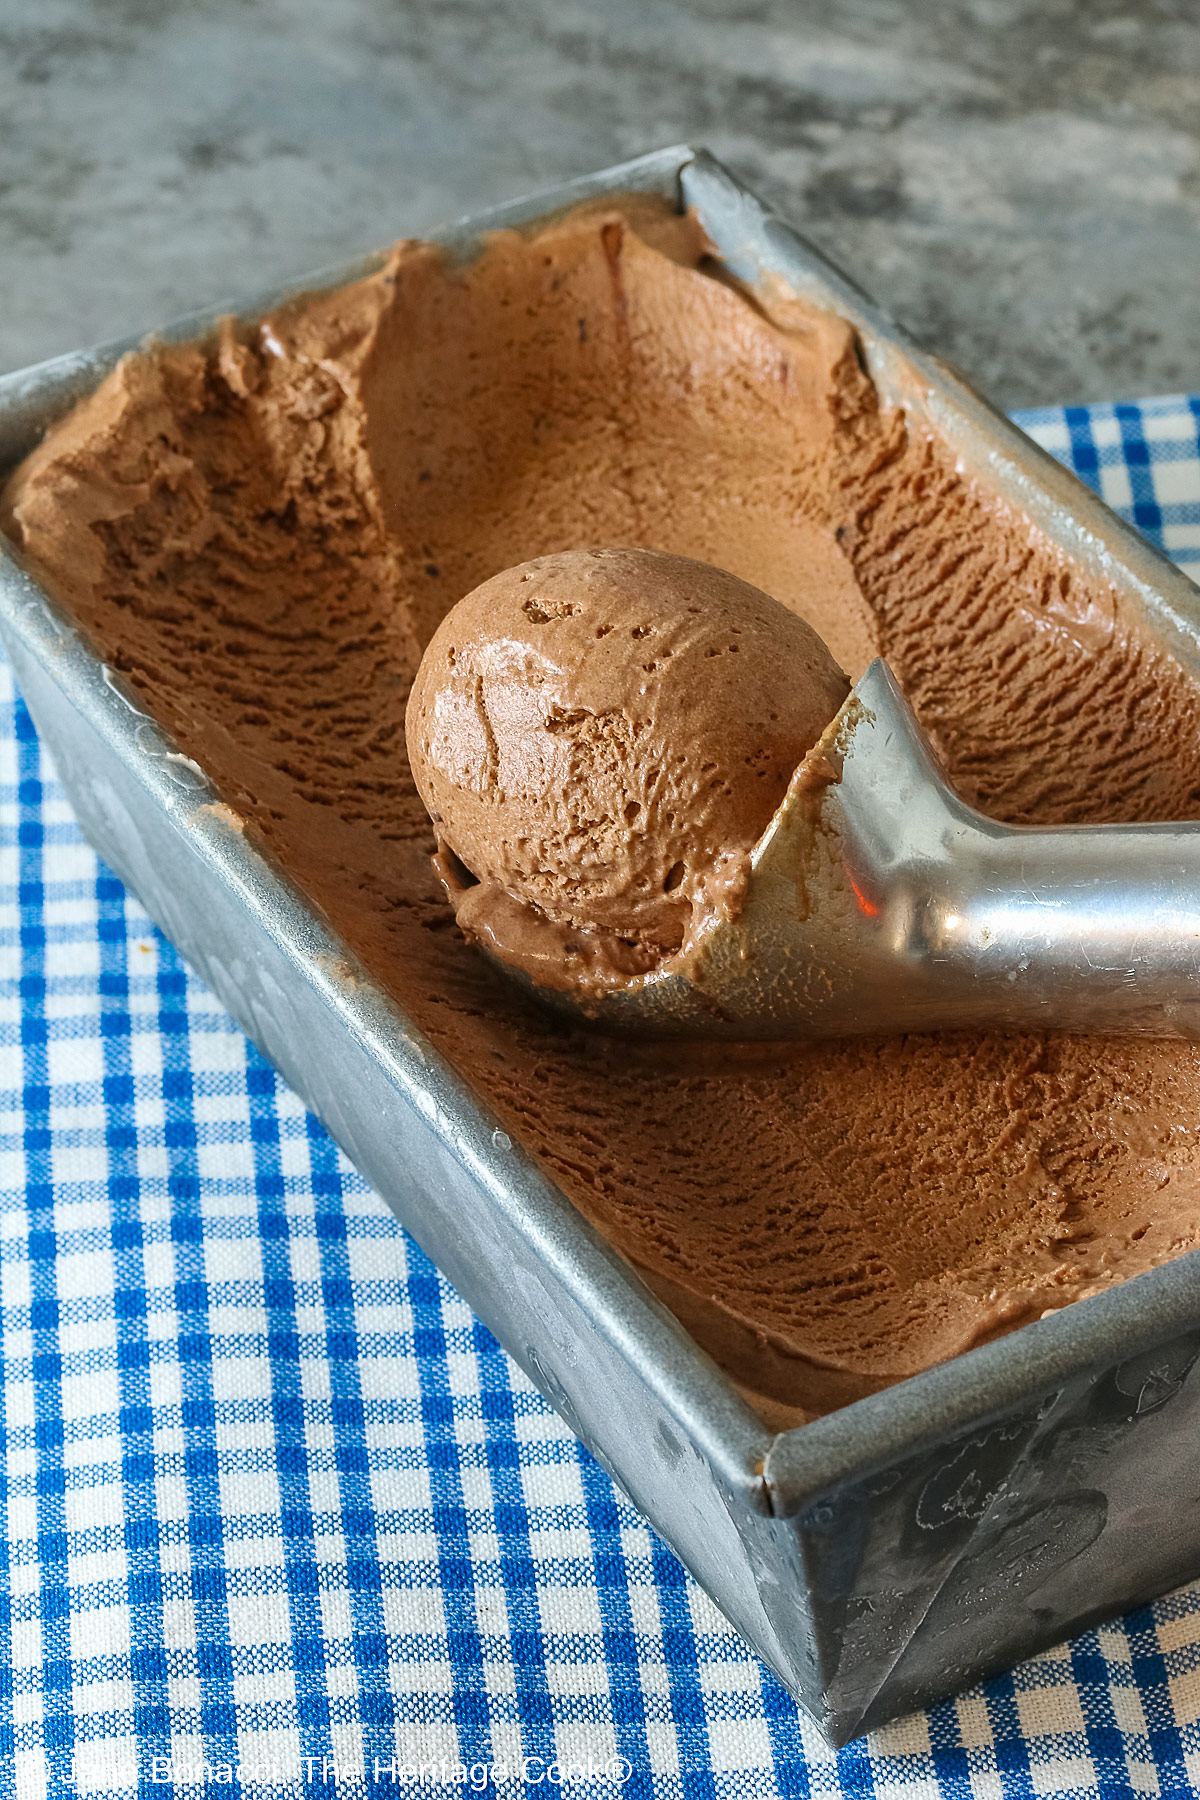
I’ve found the problem with most chocolate ice creams is there isn’t enough chocolate flavor in them. They are too bland for me. What could I do to easily boost the intensity I was looking for?
Combining melted dark chocolate with a little cocoa powder is a game changer. You get bold chocolate flavor without any hassle. Use Dutch processed cocoa for the smoothest results and deeper taste.
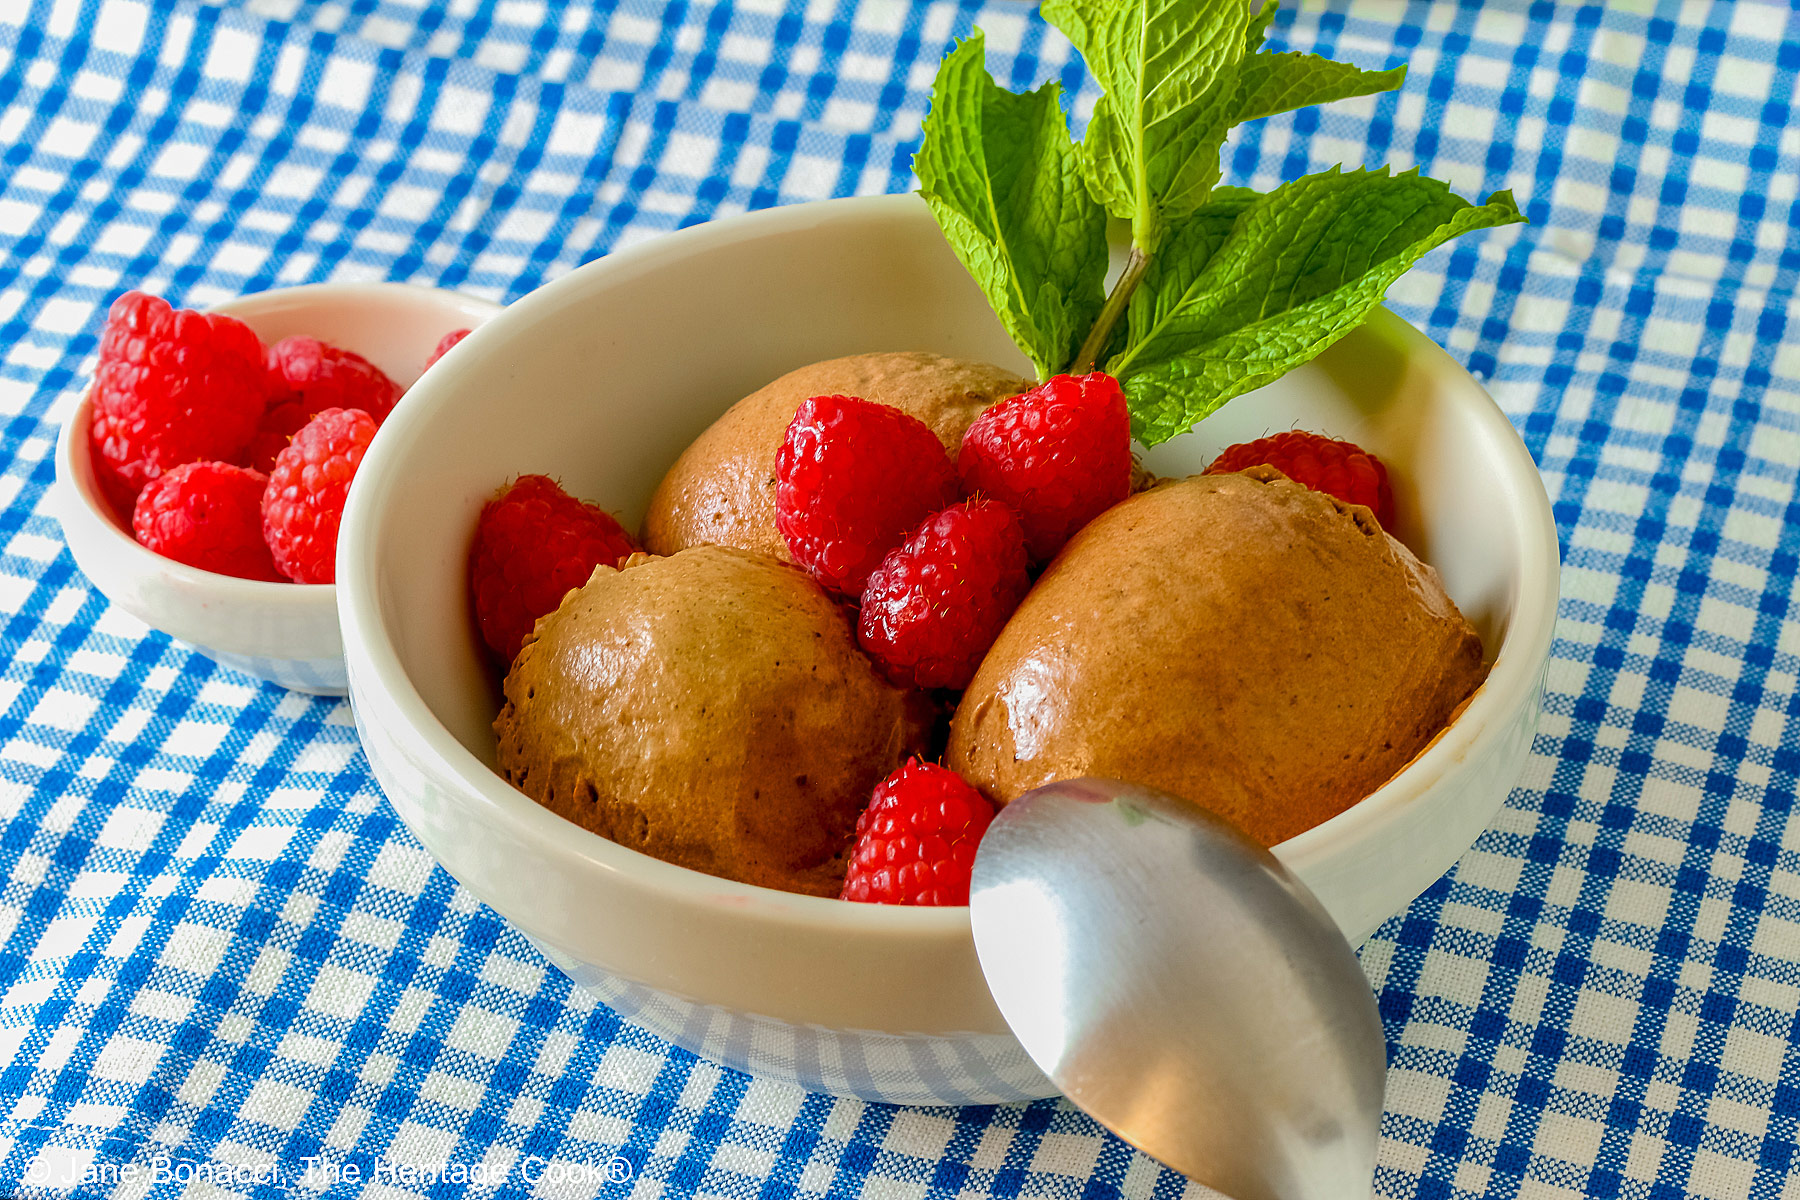
Be sure to use bittersweet chocolate (about 70%) for melting to get the most intense flavor. A little espresso powder enhances the chocolate without leaving any coffee taste behind. It is surprising how such a small amount makes such a big difference!
Using the corn syrup greatly reduces the possibility of crystallization, giving you a smoother, creamier texture!
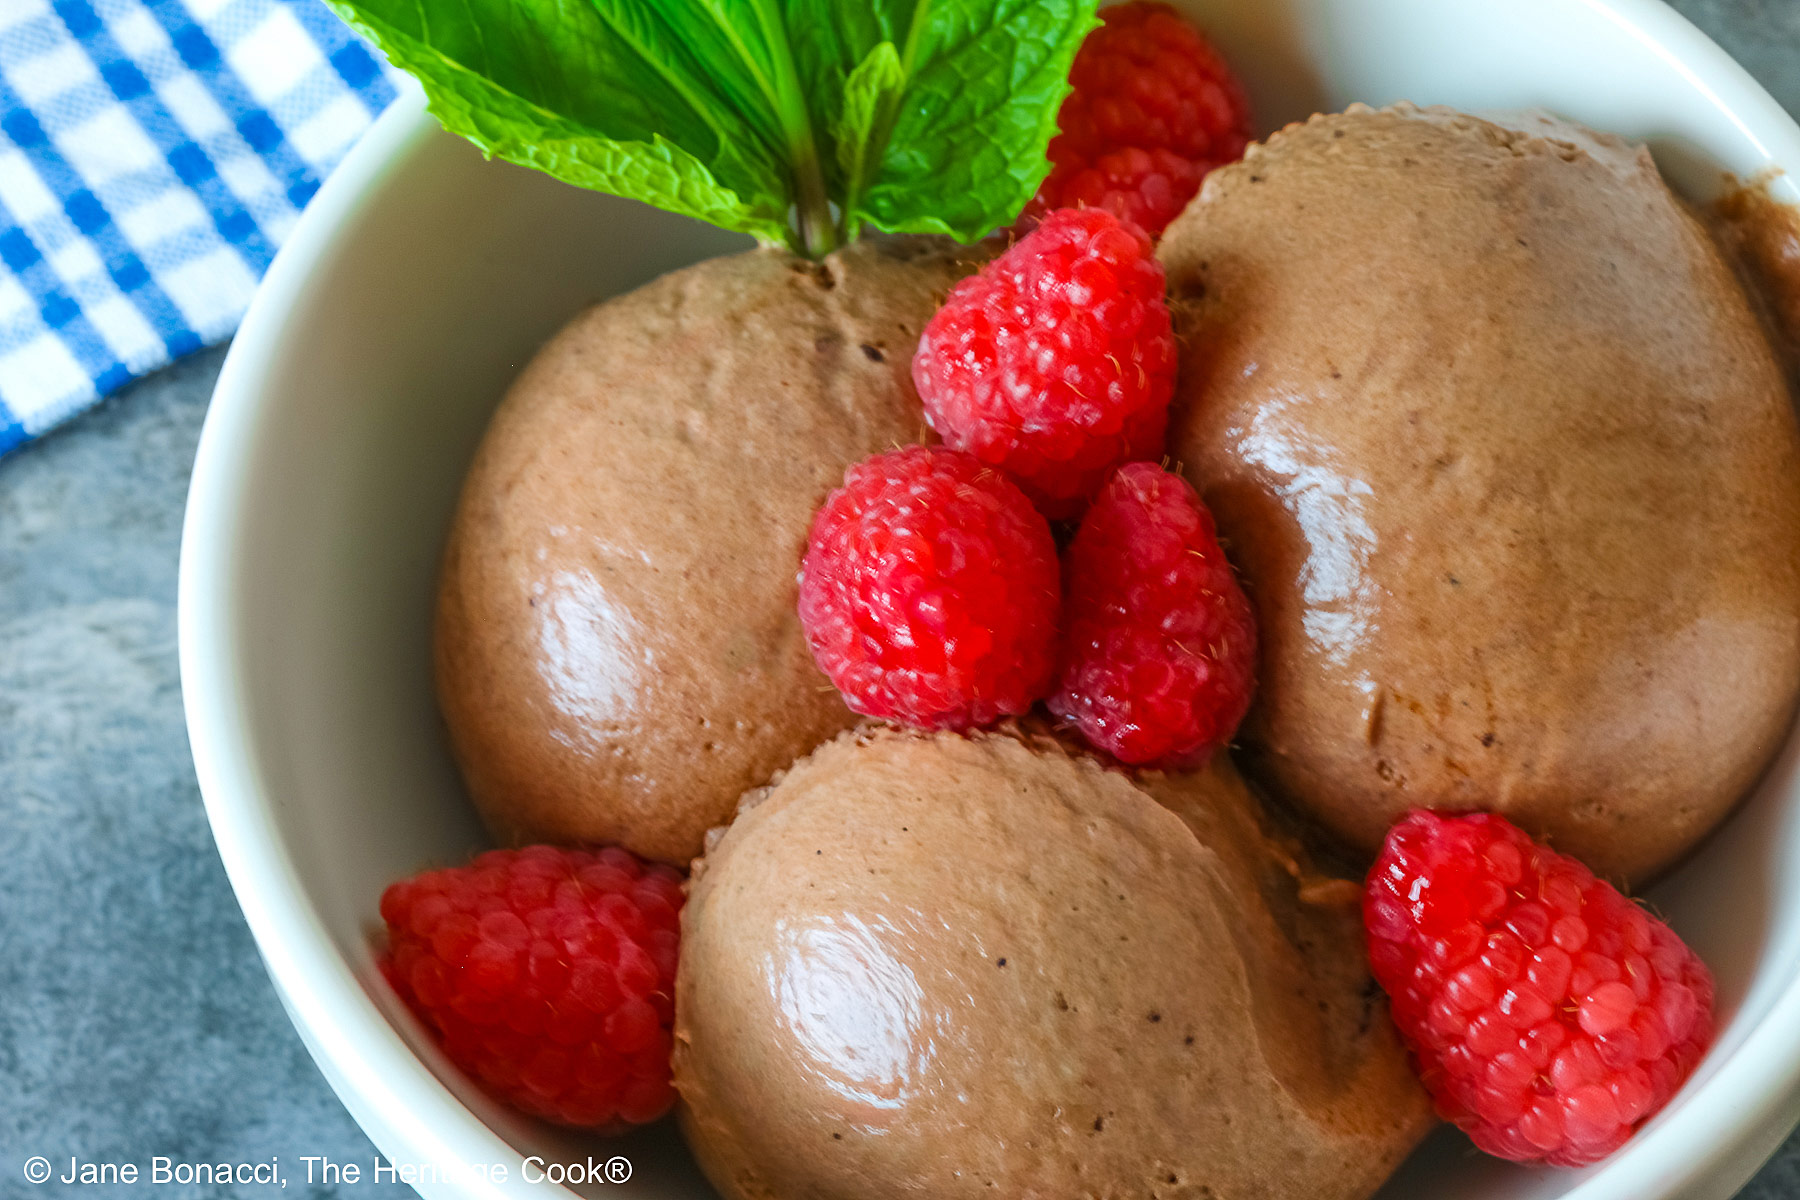
Some people think this ice cream is too sweet, but I love it just the way it is. If you want a less sweet dessert, you can cut the brown sugar down to 1 tablespoon. You can also increase the espresso powder for more bitterness. And be sure to use a high percentage chocolate for the darkest flavor.
One of my favorite ways to use dark chocolate ice cream is in milkshakes. You can make them in blenders. A little extra milk smooths out the ice cream and makes it liquid enough to drink. Mixing in a little extra chocolate syrup just enhances the enjoyment.
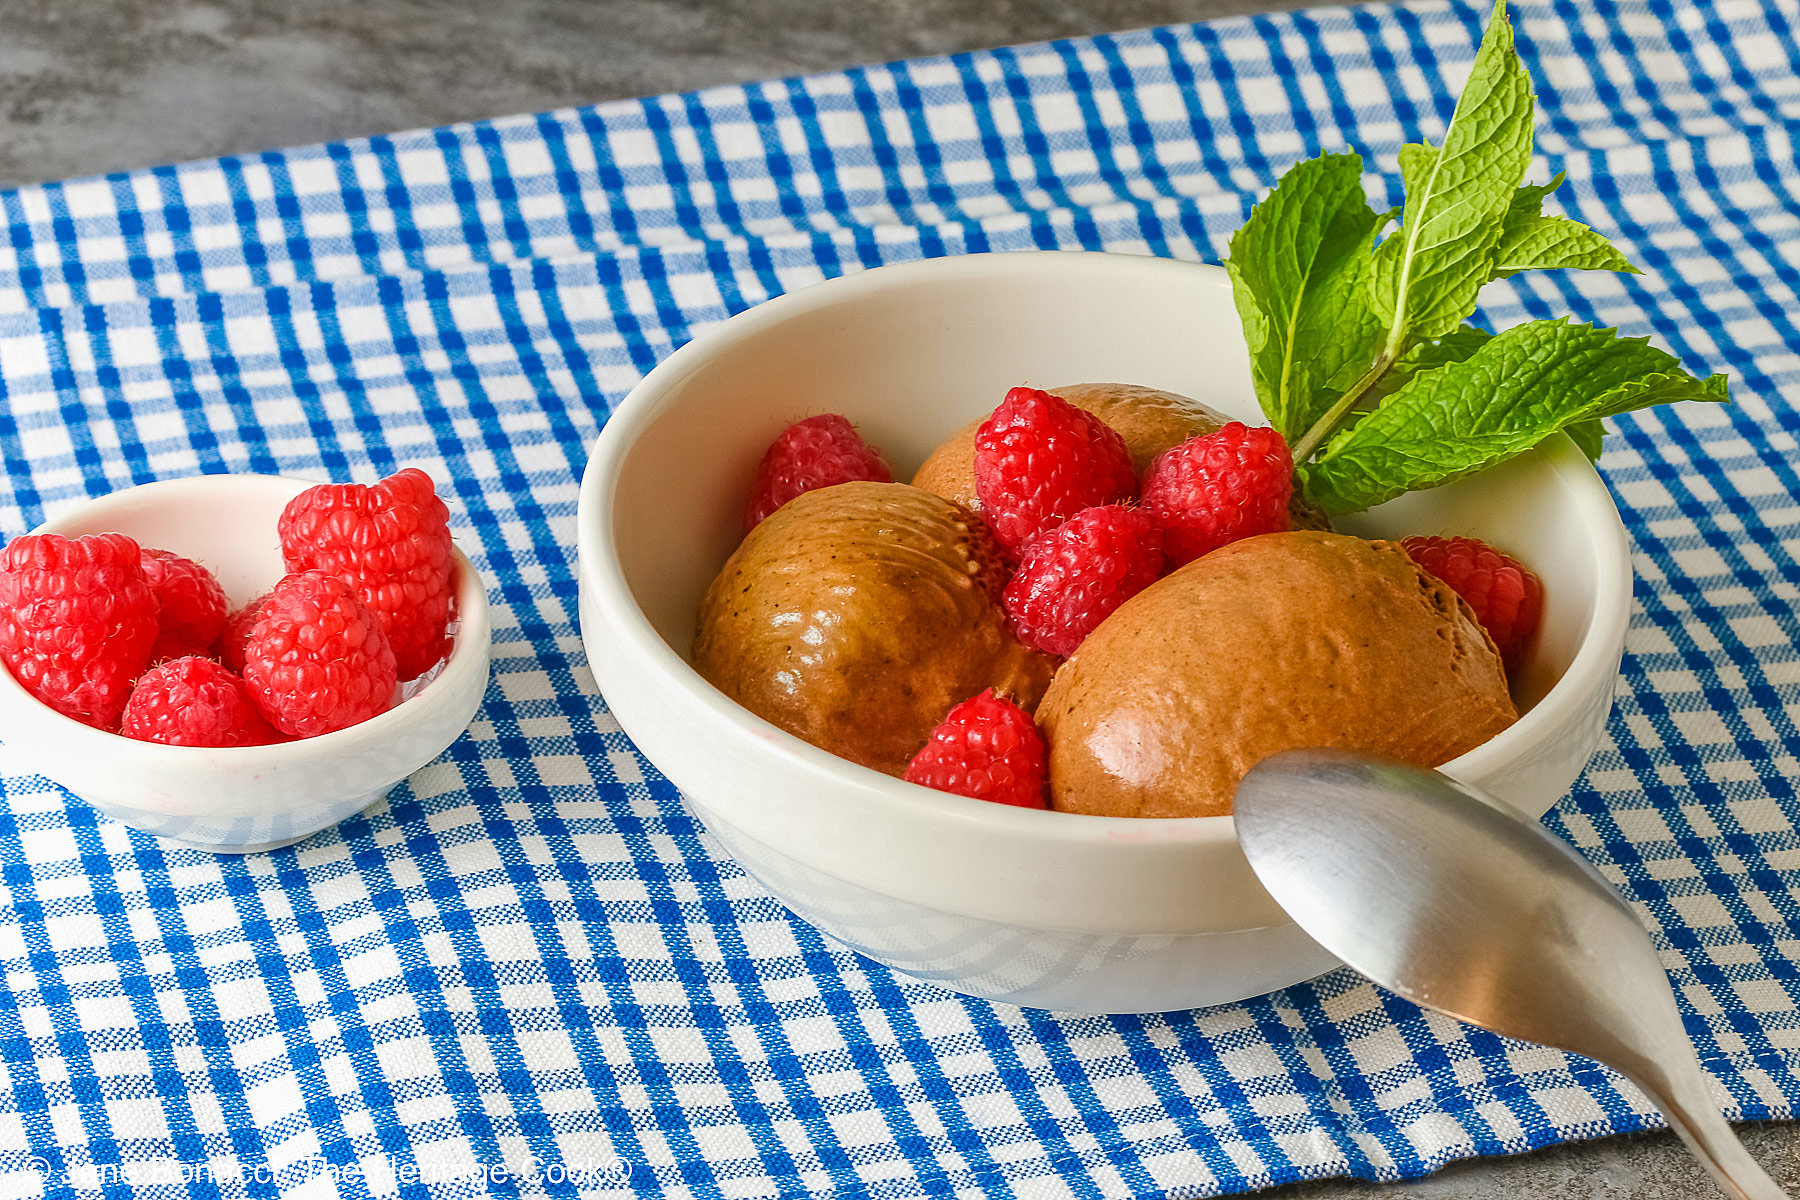
If you are looking for an adult version of a dessert, scoop the double dark chocolate ice cream into a bowl and add 1 ounce bourbon or other liqueur of your choice. I think the bourbon with the chocolate is a perfect pairing!
If you’re a real chocoholic, you can pour some hot fudge over the top and create a chocolate lovers dream sundae! And speaking of sundaes, if you put one scoop of the dark chocolate ice cream in a dish along with a scoop of vanilla and one of strawberry, all you have to do is add a banana, cut in half lengthwise, and you’ll have a banana split!
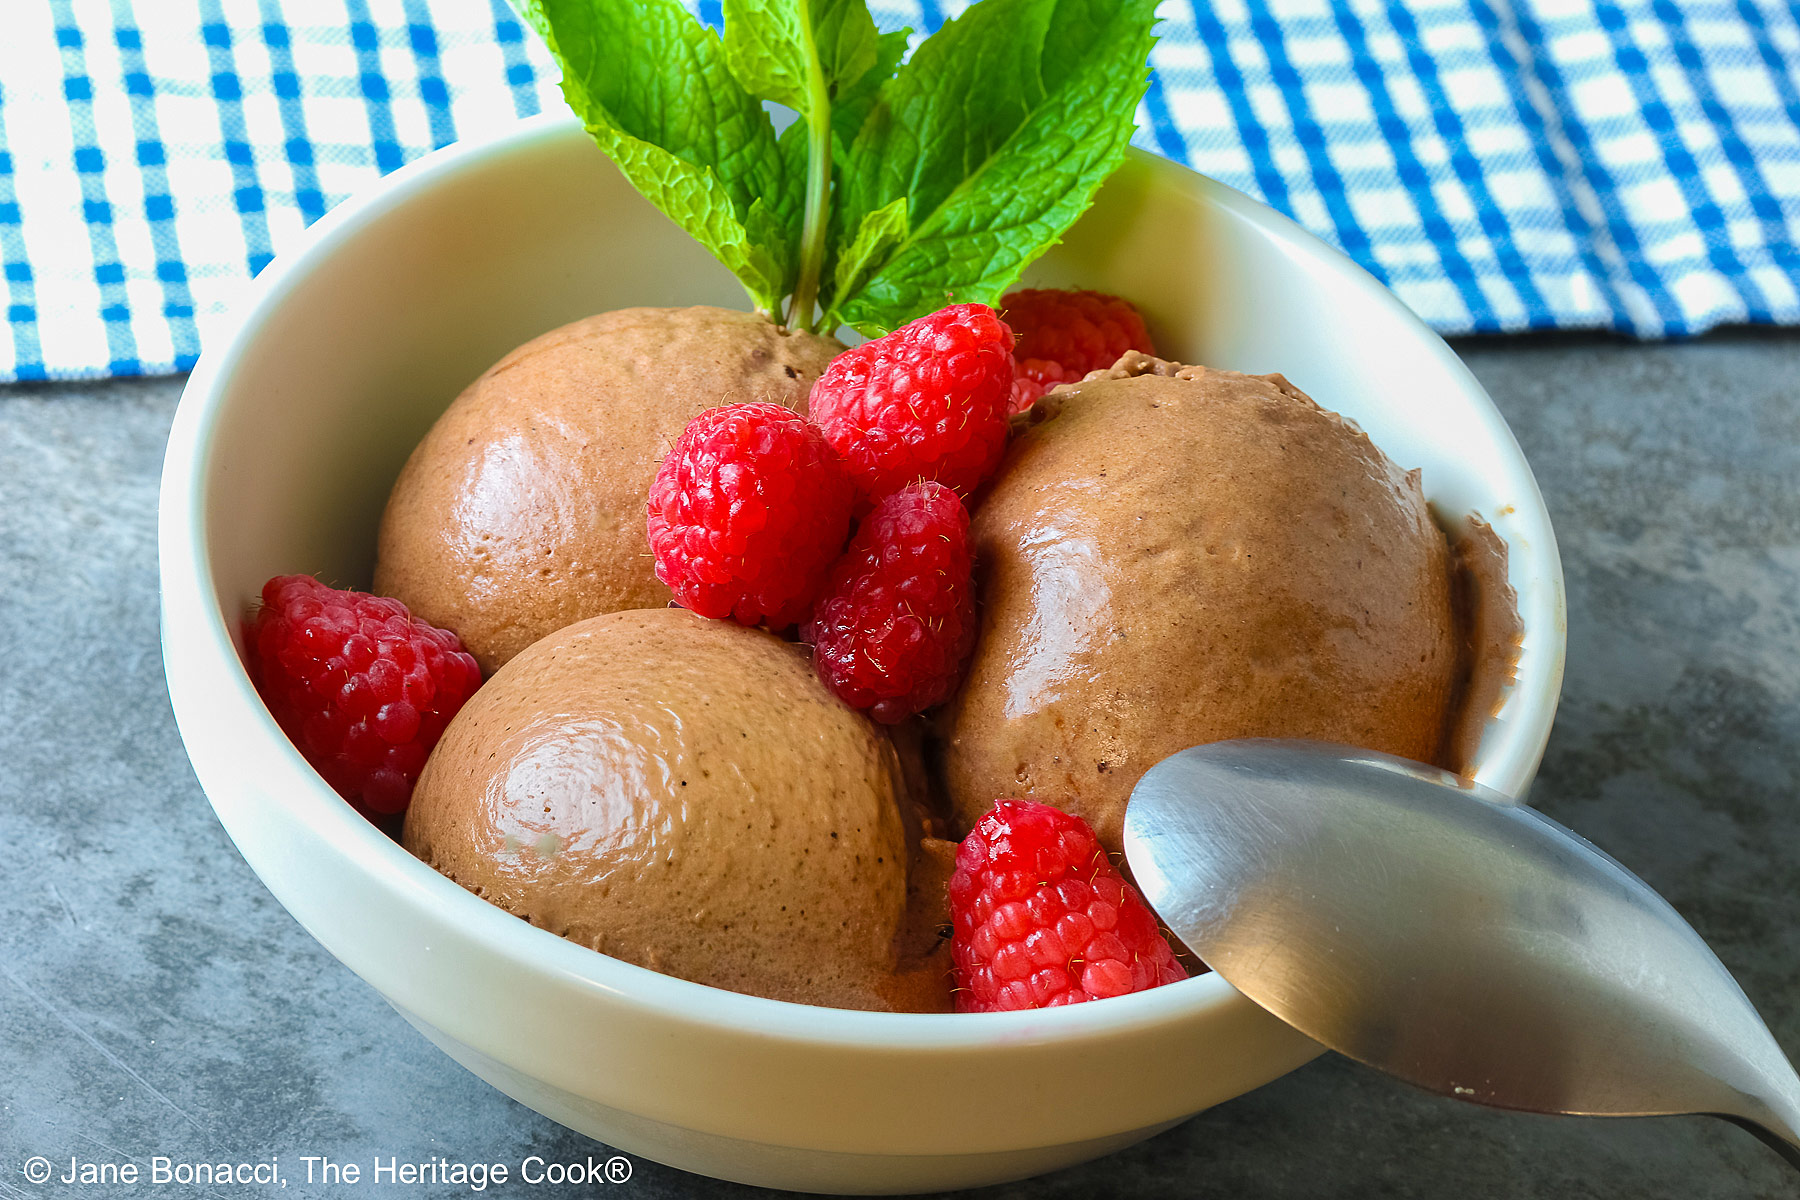
All you need to enjoy this Double Dark Chocolate No-Churn Ice Cream is a spoon. You’ll be happy and cooler with every bite. I hope you love this ice cream as much as we do and enjoy it all summer long and even into the fall and winter. There is never a wrong time for ice cream!
Happy Chocolate Monday! Have a great week and I’ll see you back here on Friday for another savory treat!
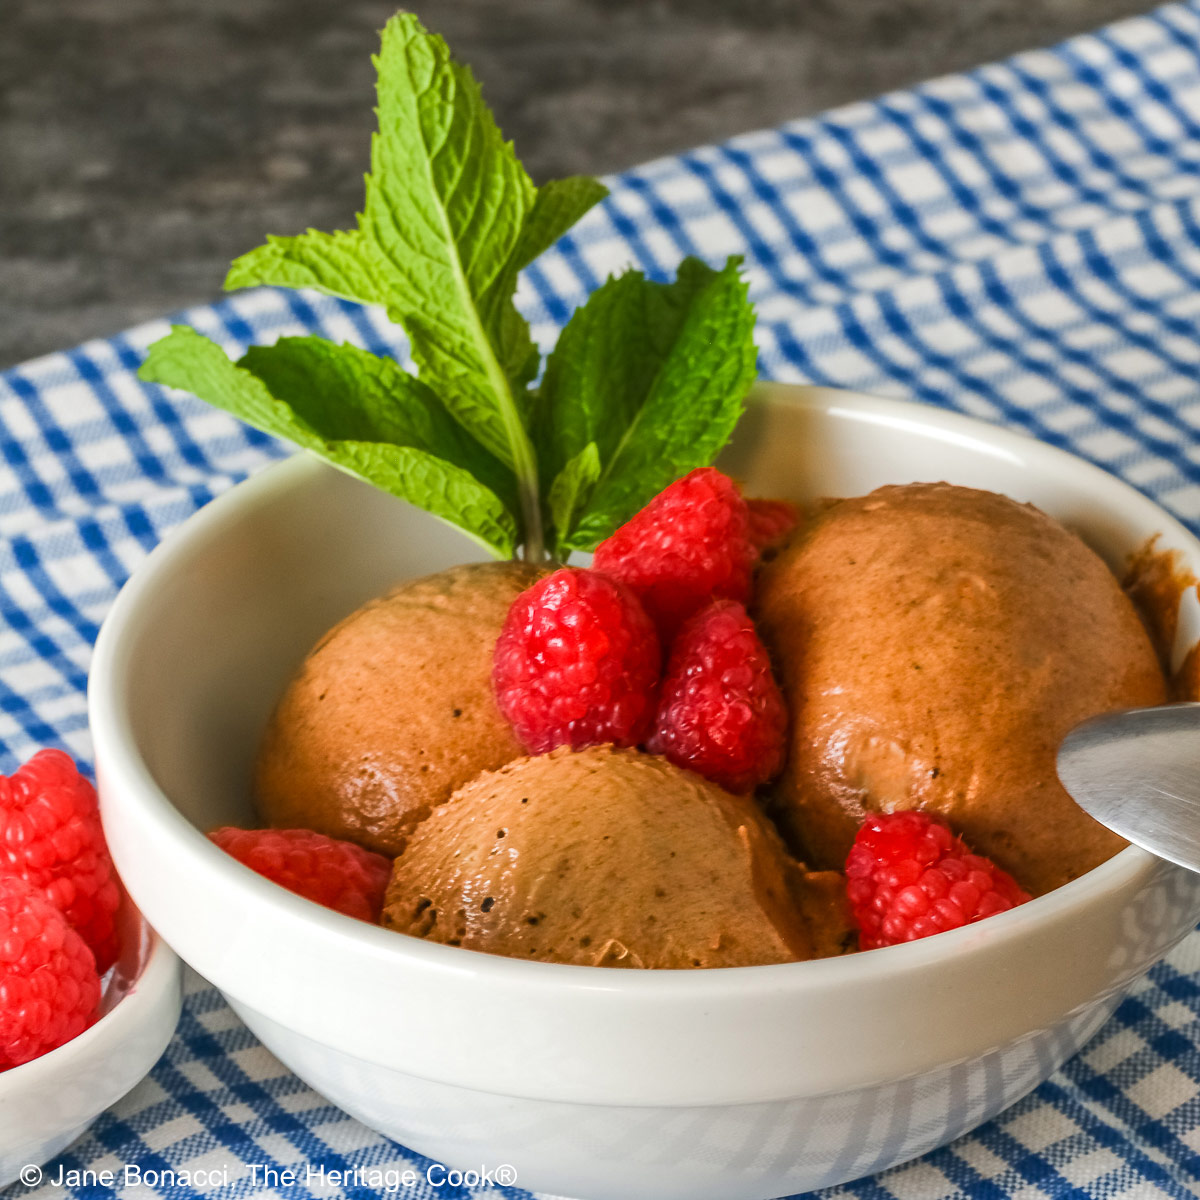
If you try this recipe, let me know! Please leave a star rating in the recipe card, comment below, and don’t forget to snap a pic and tag it @theheritagecook on Instagram! Seeing your creations makes my day and I love hearing from you!
Ingredients needed for Double Dark Chocolate No Churn Ice Cream:
- Bittersweet chocolate, cream, sweetened condensed milk, whole milk, light corn syrup, Dutch cocoa powder, brown sugar, vanilla, espresso powder (optional), kosher salt
PRO Tip: What is a stiff peak of whipped cream?
Beating the cream to stiff peaks means that when you lift the whisk out of the cream and turn it upside down, you should have a point on the top that stands firmly with just the tip bending over. This is considered a stiff peak.
PRO Tip: Learn how to fold in the whipped cream:
Folding is gently combining two mixtures by dragging a rubber spatula straight down through the center to the bottom of the bowl, and turning your wrist bring it back up one side, dragging what was on the bottom to the top. Turn the bowl 1/4 turn and repeat until completely incorporated and no streaks remain. This is typically done to mix beaten egg whites or cream into another substance while not deflating the egg whites or cream any more than necessary. Usually you will mix in 1/3 of the whipped mixture to lighten the heavier mixture and then fold in the remaining. The mixture will lighten in color and consistency.
How to make Double Dark Chocolate No Churn Ice Cream:
- Chop the bittersweet chocolate and melt in a bowl set over steaming water. Stir until completely melted and smooth. Set aside while you get the rest ready.
- Whisk together the condensed milk, milk, corn syrup, cocoa powder, brown sugar, vanilla, espresso powder, and salt until completely combined with no lumps of cocoa powder. Add in the melted chocolate and whisk until smooth and creamy with no streaks.
- Whip the cream to soft peaks. Scrape down the sides of the bowl and continue whipping to stiff peaks. Stir and fold in the chocolate mixture until fully combined, scraping down the sides of the bowl as needed.
- Pour into a loaf pan and smooth the top. Press a piece of plastic wrap directly onto the surface and freeze at least 6 hours until firm. Scoop and enjoy!
PRO Tip:
You can also use a microwave to melt the chocolate. Using a microwave-safe bowl, heat the chopped chocolate for 15 to 30 seconds and stir. Repeat until most of the chocolate has melted and the mixture is smooth and creamy. Beware, chocolate can hold its original shape and be completely melted in the center. Definitely stir regularly to avoid scorching!
Recommended Tools (affiliate links; no extra cost to you):
- Kitchen scale
- Chef’s knife
- Measuring cups and measuring spoons
- Mixing bowls
- Saucepan
- Stand mixer or hand mixer
- Loaf pan
Gluten-Free Tips:
* My preferred brand of kosher salt is from Diamond Crystal. If you use Morton’s, another brand, or table salt, you will not need as much because they are saltier.
You will get the best and most consistent results by using a digital kitchen scale and weighing your ingredients, especially when you are baking. Use grams, they are much more accurate than pounds and ounces.
All recommended ingredients are gluten-free as of the writing of this article. Always check to be sure the products haven’t changed and are still safe to consume.
Double Dark Chocolate No-Churn Ice Cream (GF)

Double Dark Chocolate No-Churn Ice Cream is rich with the creamiest texture that will have you delighted. During the heat of summer, there is nothing better than ice cream to cool down. And none is easier to make than no-churn ice cream! No eggs, no cooking, and no churning required. Easy peasy! Perfect for those with gluten or egg allergies, and everyone loves it!
Ingredients
- 6 oz (170g) bittersweet bar chocolate (70%), chopped (about 1 cup)
- 1 cup (1 can; 14 oz; 396g) sweetened condensed milk
- 1/4 cup (57g) whole milk, at room temperature
- 1/4 cup (78g) light corn syrup or golden syrup
- 2 tbsp unsweetened cocoa powder, preferably dark Dutch processed
- 1 tbsp firmly packed brown sugar
- 2 tsp vanilla extract or vanilla paste
- 1/2 tsp instant espresso powder, optional
- 1/4 tsp kosher salt *
- 2 cups (1 pint; 16 oz; 454g) chilled heavy cream, whipped
Instructions
1. To melt the chocolate, place a heatproof bowl over a saucepan with an inch or two of simmering water in the bottom. Add the chopped chocolate to the bowl. Stir occasionally as it melts so it doesn’t scorch. When there are just a few pieces left of partially melted chocolate, remove from the heat. Stir until completely melted and smooth. Set aside.
2. In a separate large bowl and using a whisk, mix together the condensed milk, regular milk, corn syrup, cocoa powder, brown sugar, vanilla, espresso powder, and salt. Whisk until completely combined with no small clumps of cocoa powder remaining and the mixture is smooth and silky. Add the melted chocolate to this mixture and whisk until completely incorporated and creamy with no streaks. Be sure to scrape the sides and bottom of the bowl so you don’t leave anything unincorporated.
3. Using the whisk attachment and your stand mixer or hand mixer, whip the cream until soft peaks form. Scrape down the sides of the bowl and continue to whip to the stiff peak stage (see note below).
4. Whisk 1/3 of the whipped cream into the chocolate mixture until completely incorporated with no streaks. Add half the remaining cream, folding in with a spatula until thoroughly combined, scraping down the sides and bottom of the bowl as needed. Add the remaining whipped cream and fold in, being sure everything is mixed in and there are no streaks. Scrape the sides and bottom of the bowl thoroughly and incorporate any unmixed ingredients.
5. Pour or scoop the cream mixture into an 8-1/2 by 4-1/2 inch (22x11cm) loaf pan (do NOT butter the pan!). Smooth the top. Press a sheet of plastic wrap against the surface of the ice cream, covering the entire pan. Freeze until firm, at least 6 hours. Scoop and enjoy.
Recipe found at www.theheritagecook.com
Notes
Beating the cream to stiff peaks means that when you lift the whisk out of the cream and turn it upside down, you should have a point on the top that stands firmly in place with just the tip bending over. This is considered a stiff peak.
The cream mixture freezes more quickly in a loaf pan than in other taller containers. If you don’t have a loaf pan, use an 8-inch square baking pan.
* My preferred brand of kosher salt is from Diamond Crystal. If you use Morton’s or another brand you will likely not need as much because they are saltier.
You will get the best and most consistent results by using a digital kitchen scale and weighing your ingredients, especially when you are baking. Use grams, they are much more accurate than pounds and ounces.
All recommended ingredients are gluten-free as of the writing of this article. Always check to be sure the products haven’t changed and are still safe to consume.
Adapted from a recipe by America’s Test Kitchen
Nutrition Information:
Yield:
10Serving Size:
1Amount Per Serving: Calories: 387Total Fat: 26gSaturated Fat: 16gUnsaturated Fat: 10gCholesterol: 69mgSodium: 122mgCarbohydrates: 33gFiber: 1gSugar: 30gProtein: 5g
The nutritional information for recipes on this site is calculated by online tools and is merely an estimate. If you need nutritional calculations for medical reasons, please use a source that you trust.
If you enjoyed this recipe, be sure to follow me on social media so you never miss a post:

Create a New Tradition Today!
Welcome! The suggestions here are not intended as dietary advice or as a substitute for consulting a dietician, physician, or other medical professional. Please see the Disclaimers/Privacy Policy page for additional details. Unauthorized use, distribution, and/or duplication of proprietary material from The Heritage Cook without prior approval is prohibited. If you have any questions or would like permission, please contact me. We participate in the Amazon Services LLC Associates Program, an affiliate advertising program designed to provide a means for sites to earn advertising fees by advertising and linking to amazon.com. As an Amazon Associate, I earn a small amount from qualifying purchases without any additional cost to you. This page may contain affiliate links. The author makes no claims regarding the presence of food allergens and disclaims all liability in connection with the use of this site.



Leave a Reply