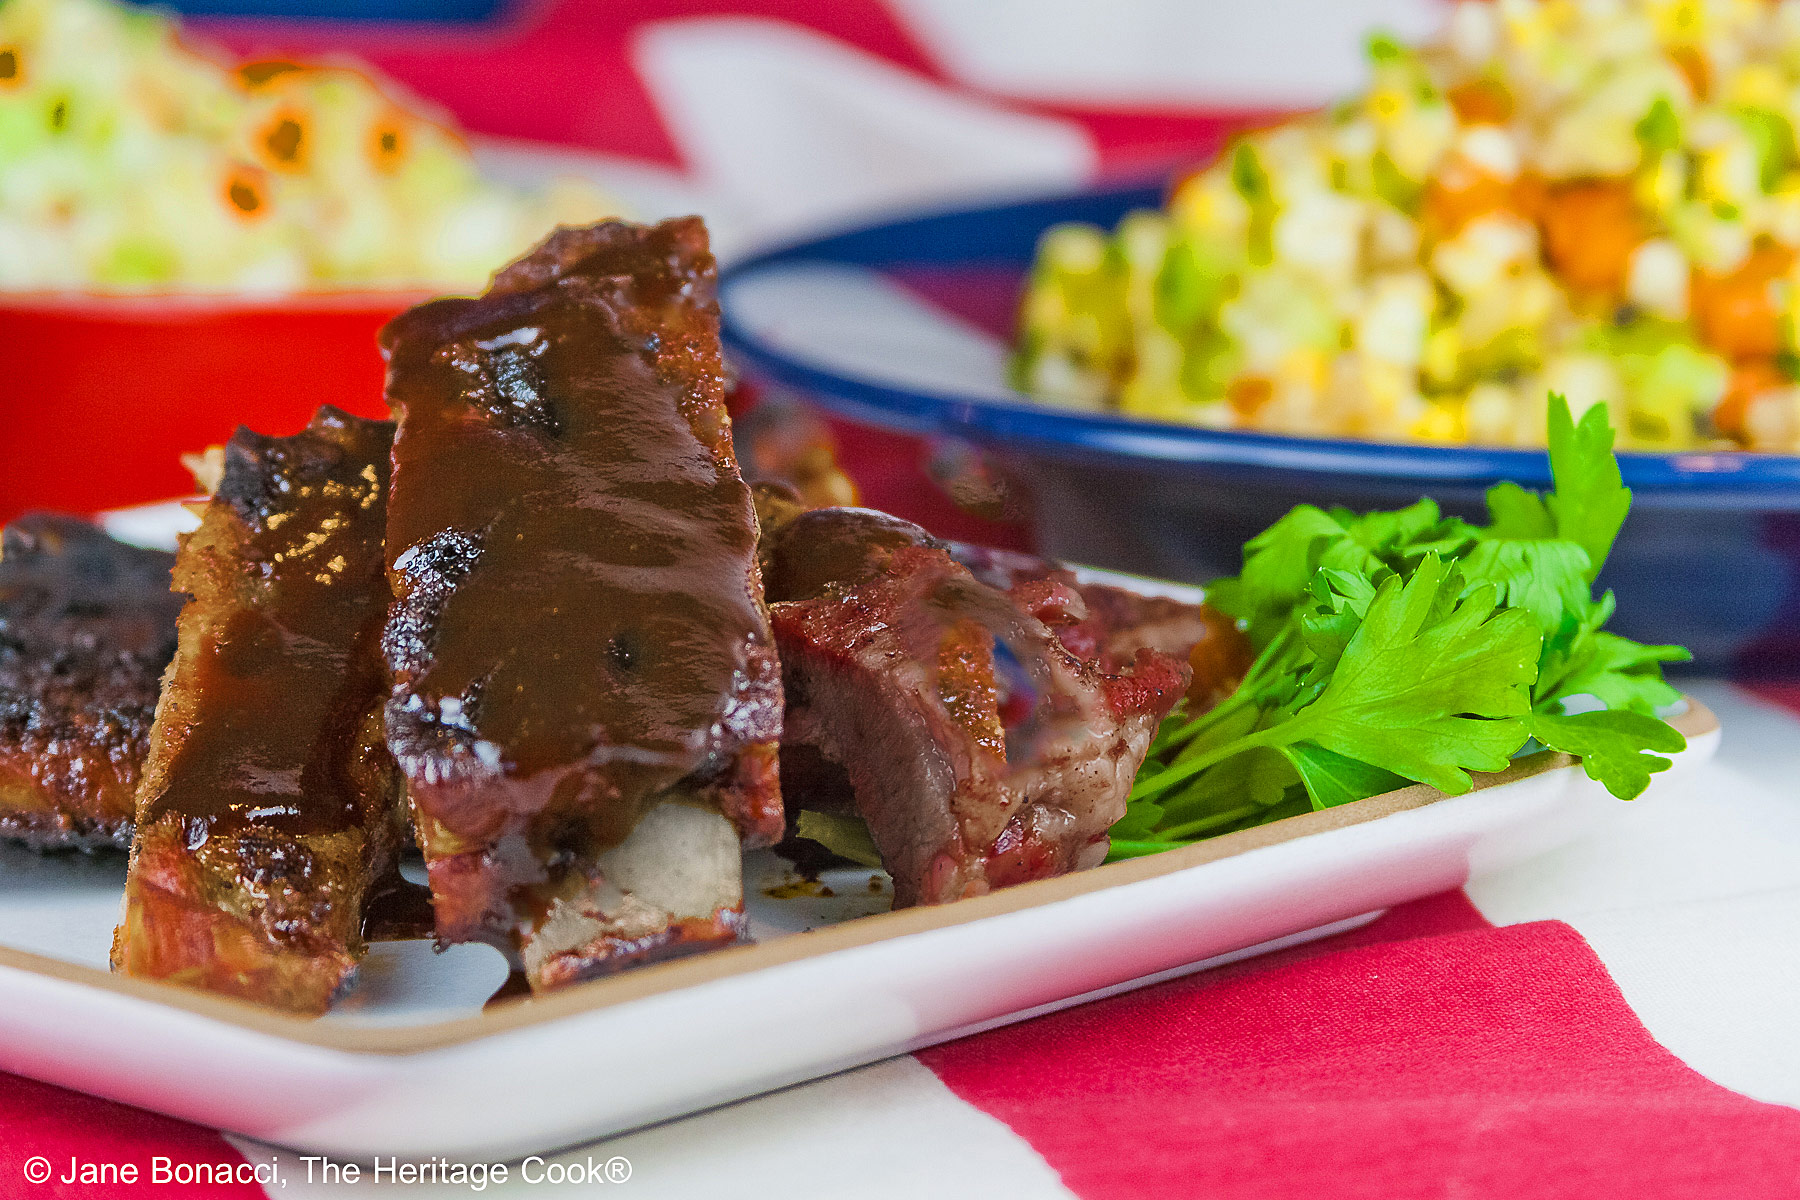
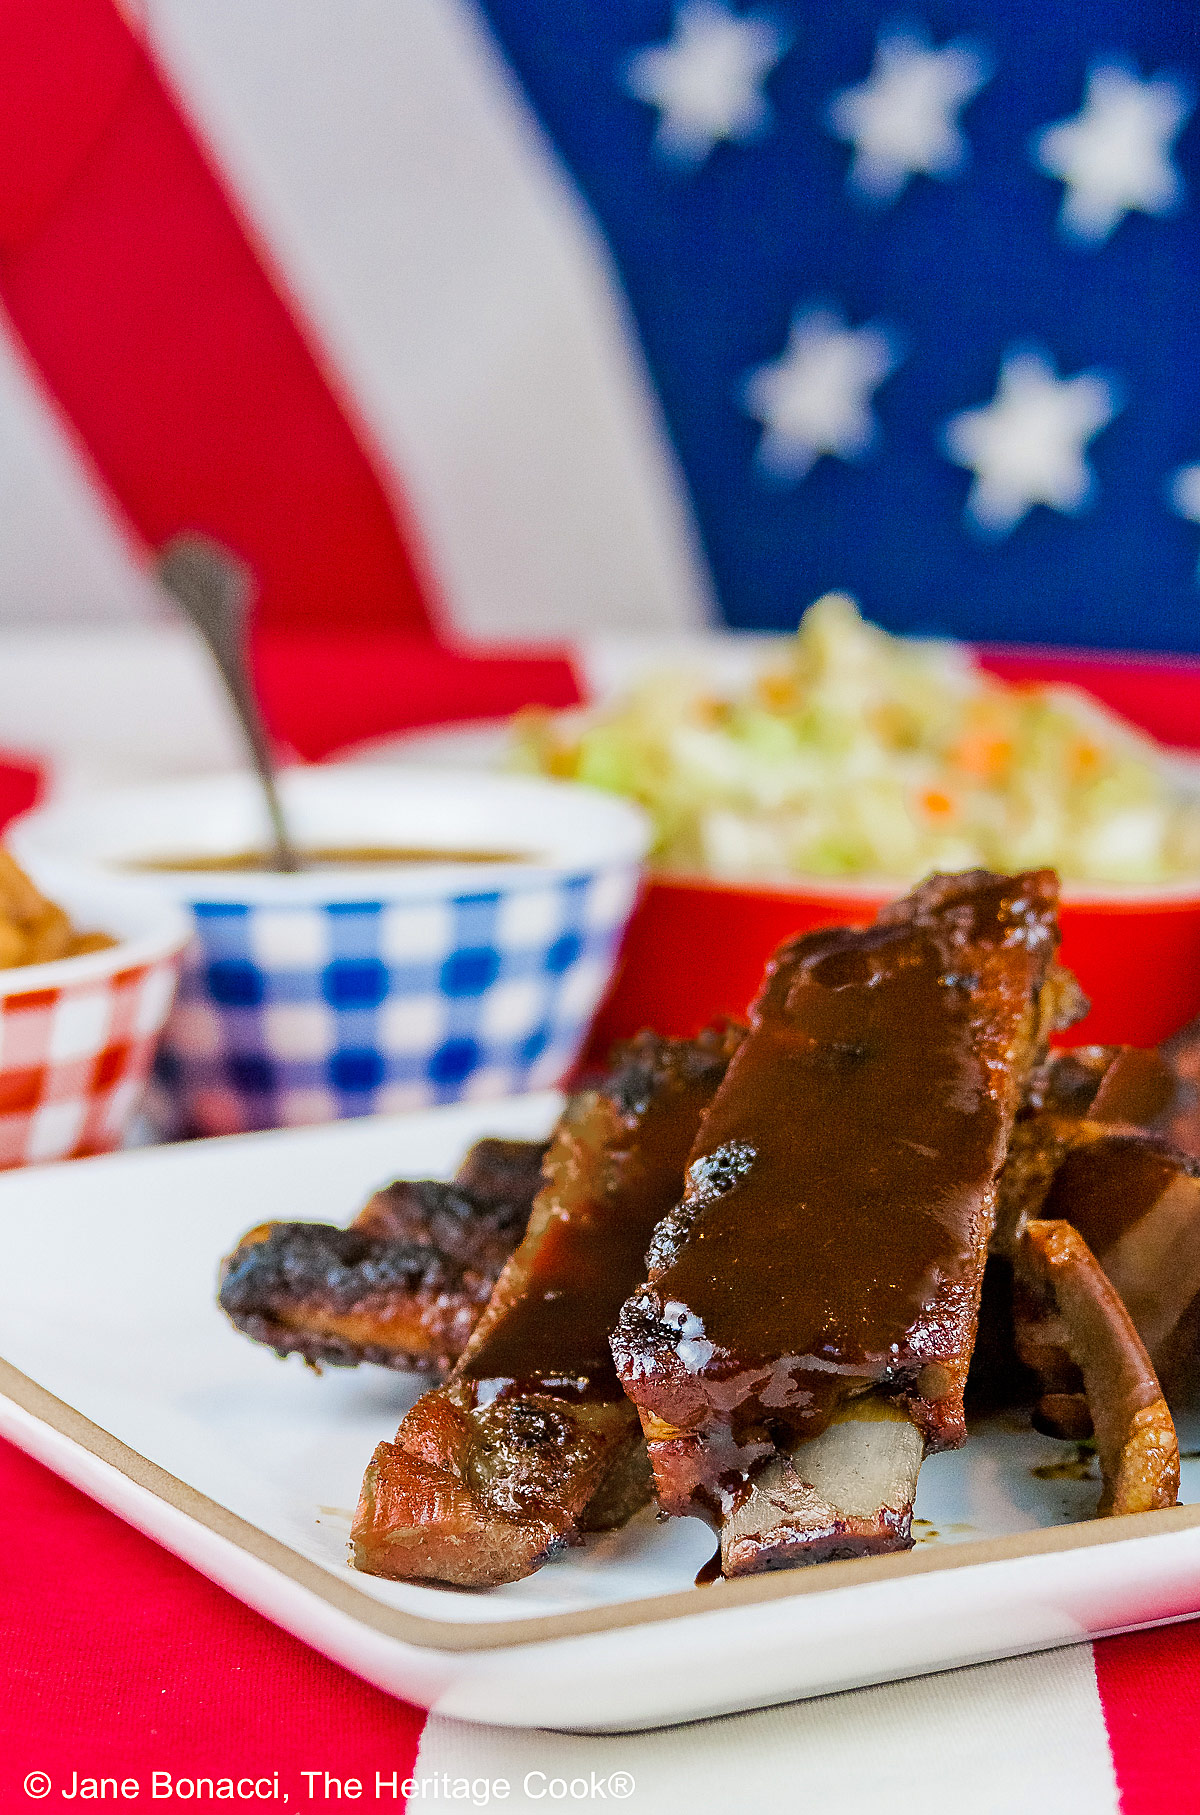
These Melt in Your Mouth BBQ Ribs are meaty and satisfying with all the barbecue flavors you dream of but made mostly in your oven. No hours of tending a grill required! You can make these on your grill if you can maintain a constant heat.
I have cooked racks of ribs for many years and I’ve tried all different kinds of methods. From boiling the ribs and finishing them on the grill to starting them on the grill and finishing them in the oven. None of them gave me quite the texture I was looking for. I wanted the same texture and flavor of slow-cooked ribs over fire, but without the hours of monitoring a grill.
I have cooked racks of ribs for many years and I’ve tried all different kinds of methods. From boiling the ribs and finishing them on the grill to starting them on the grill and finishing them in the oven. None of them gave me quite the texture I was looking for. I wanted the same texture and flavor of slow-cooked ribs over fire, but without the hours of monitoring a grill.
I thought I was making decent ribs. They tasted good but were kind of dry and a little tough. It turns out I was doing it wrong.
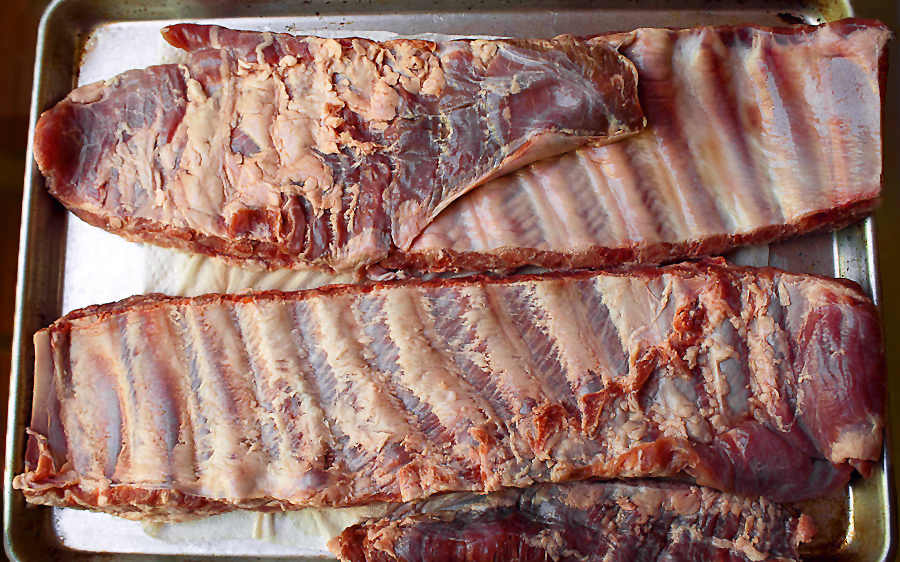
Top Rack: untrimmed, silverskin in place; Bottom Rack: Trimmed (extra piece below) and ready for seasoning
It wasn’t until I read about a different technique that I realized what needed to be changed. Suddenly it made total sense to me. With a little modification in my cooking technique, now I am making ribs that my friends and family beg for!
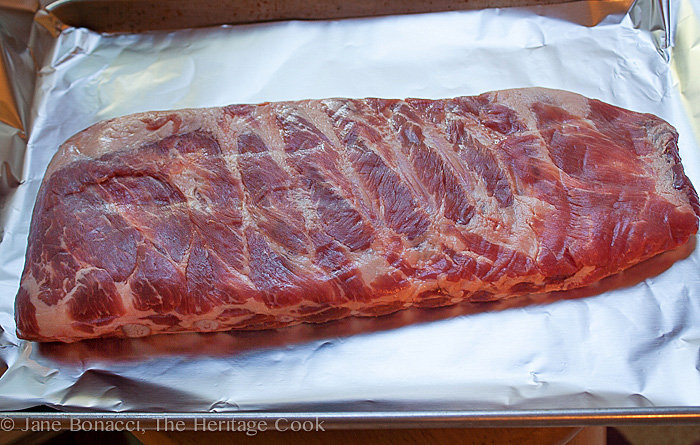
A gorgeous rack of ribs from Snake River Farms!
This technique combines the use of the oven (or indirect heat on the grill), ribs wrapped in foil to contain heat and moisture (a trick pro grillers use in competition after starting them on the grill), and finishing them with a cooked-on glaze. Man, oh man, these are some amazing ribs that any home cook can make – all year round!
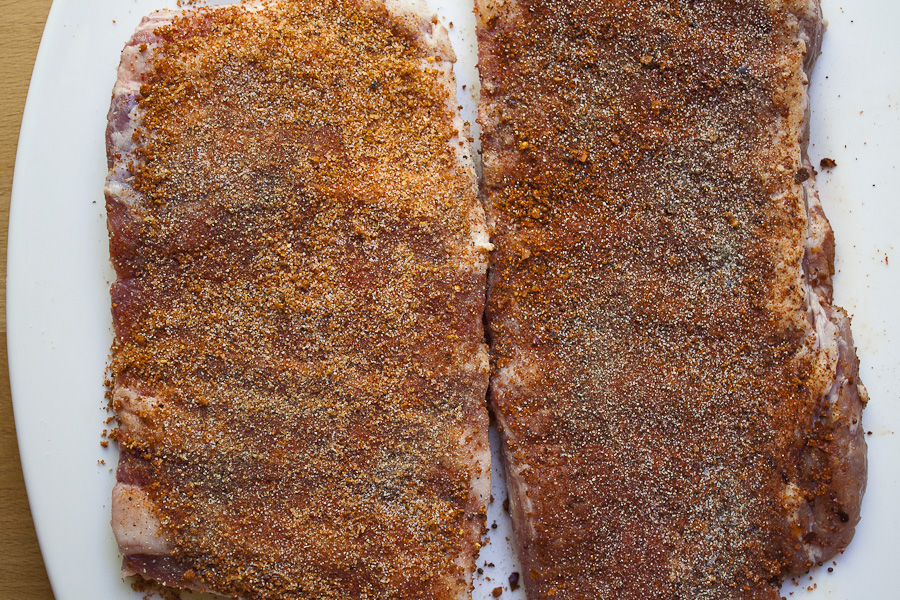
Racks with the dry rub
So I used my regular dry rub, some Stubb’s BBQ sauce (gluten-free), used the new technique and invited some friends over for dinner. Everyone was mesmerized. I know, that sounds like an exaggeration, but it isn’t. We picked up the ribs, took a bite and there was total silence at the table. A couple of bites in and the murmurs of pleasure started, and then we were all talking at once!
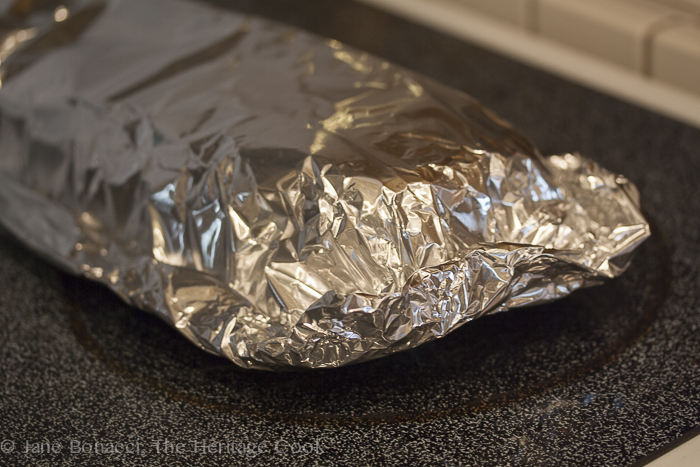
Foil-wrapped racks ready for the oven or grill
The meat came off the bone with the barest pull, giving a delightful “bite” as our teeth sank in. The meat cleanly pulled away from the bone just as I had hoped it would. The flavor of the dry rub, cooking juices, and the sauce was delectable. And most importantly, the ribs were moist and tender. It was a complete success!
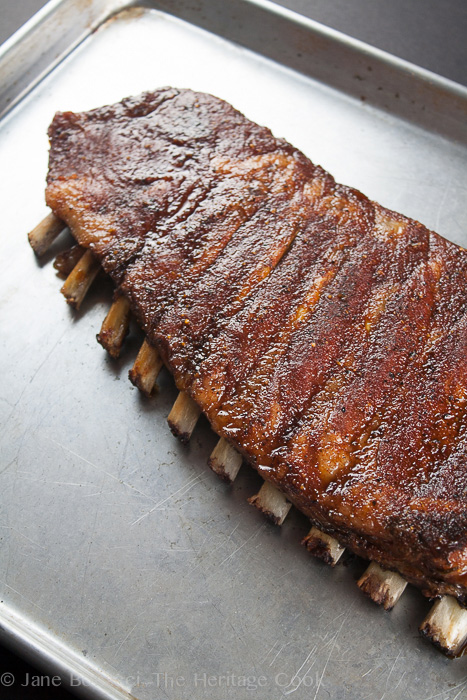
The exposed rib ends is one sign the ribs are done
These can be finished either on the grill or in the oven. This round I glazed them on the grill, but you can also use your broiler. It is wonderful to know that we can enjoy “barbecued” ribs all year long, even when the weather is miserable, without having to fight the elements. My friends who live in snow country will be thrilled, LOL.
These ribs have even traveled across the Pacific Ocean, on a sailboat headed for Hawaii. The crew said that this was their favorite meal of the entire trip – a real treat when surrounded by nothing but water and no grill in sight!
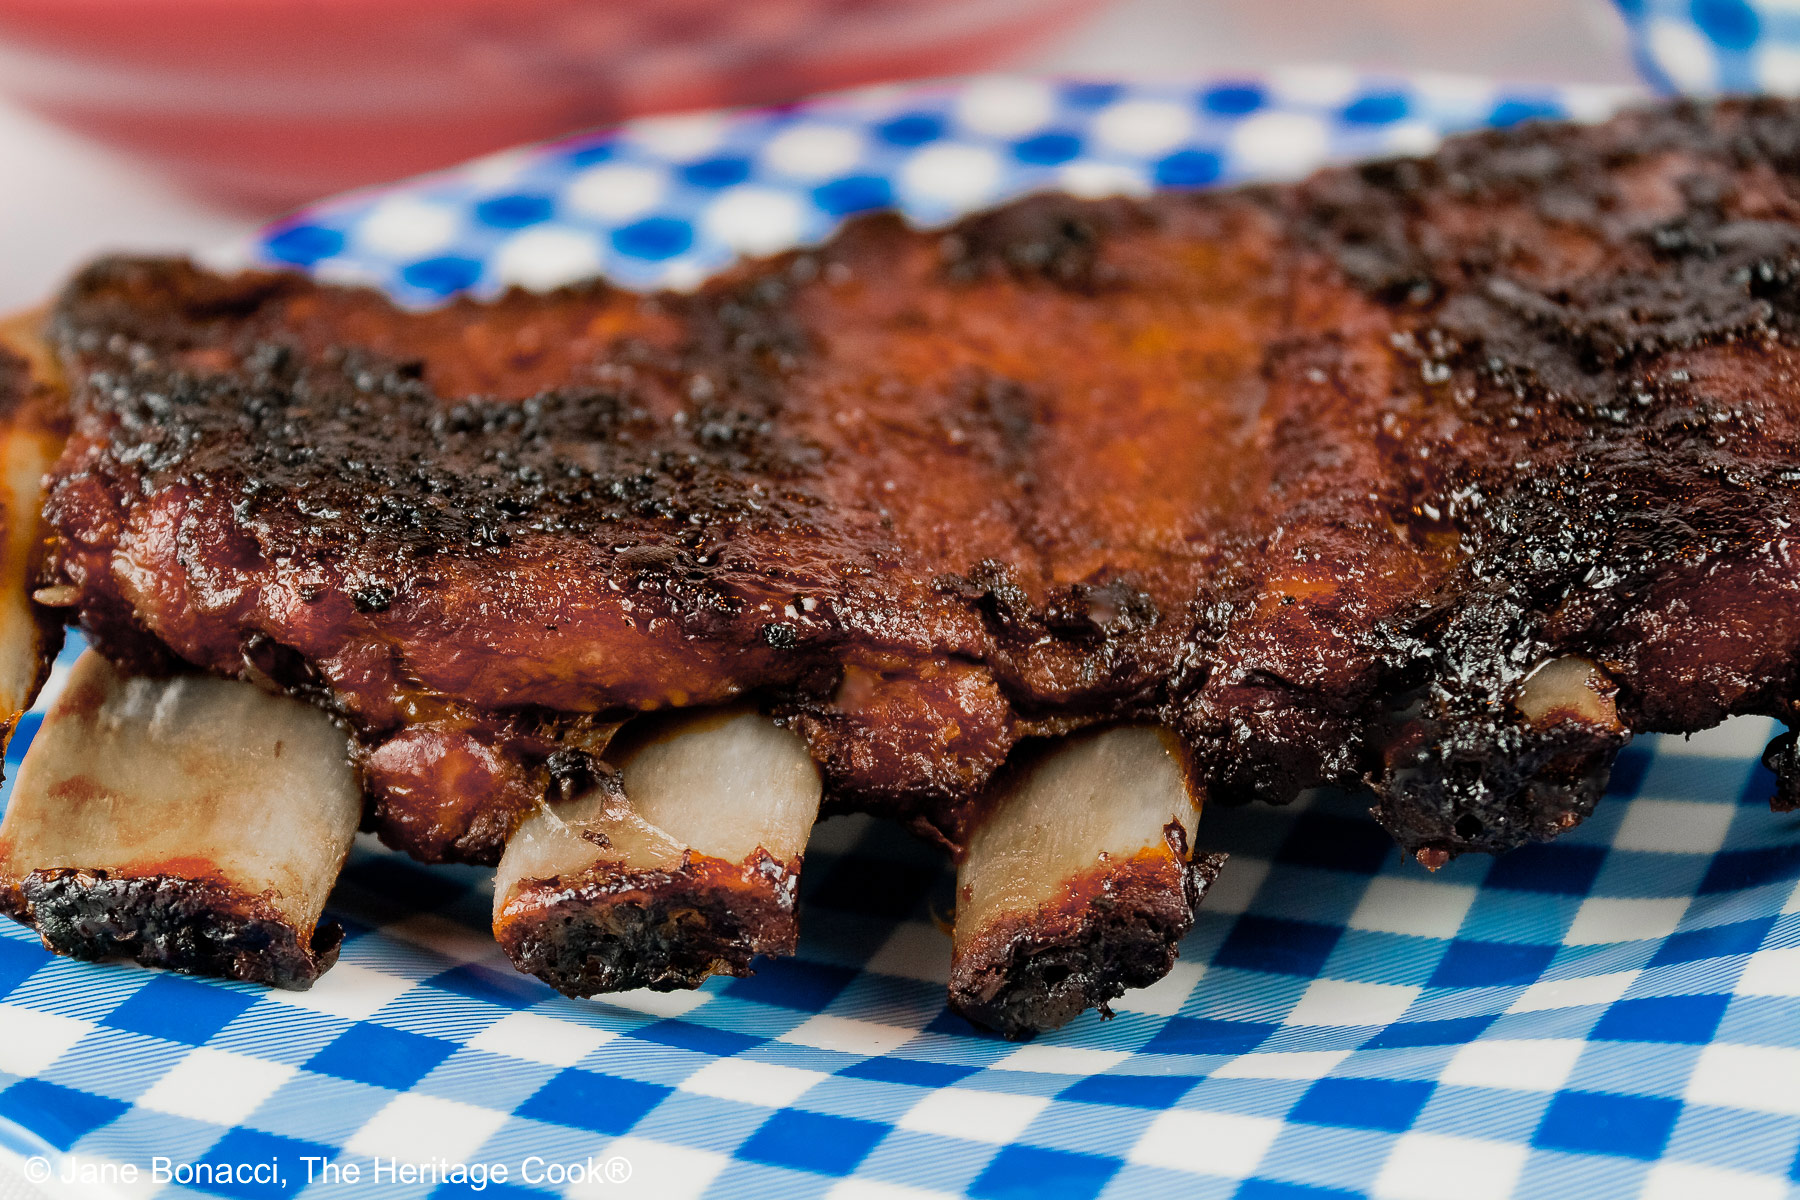
I hope you give these ribs a try soon. Using smoked paprika gives you a lovely subtle smoky flavor that makes them seem like you spent hours cooking them on the barbecue! Your family and friends will be begging you to make them over and over!
The Artist, our friends, and I thoroughly enjoyed our dinner and I know you will too! These Melt in Your Mouth Ribs are perfect for your 4th of July barbecue parties and you can enjoy the flavors of summer all year long!
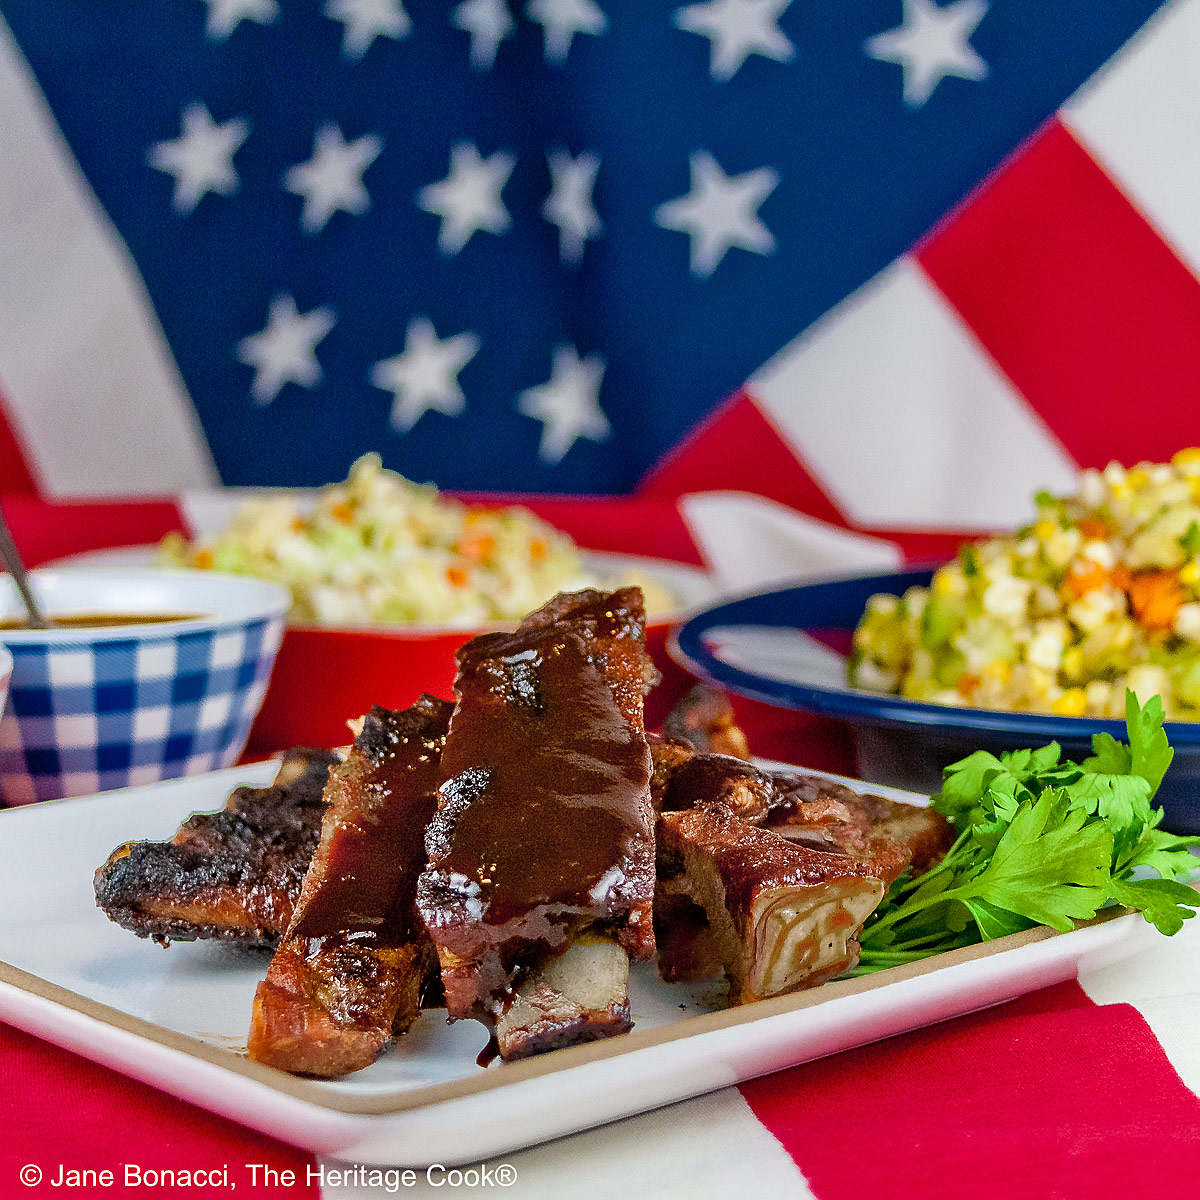
If you try this recipe, let me know! Please leave a star rating in the recipe card, comment below, and don’t forget to snap a pic and tag it @theheritagecook on Instagram! Seeing your creations makes my day and I love hearing from you!
Ingredients needed for Melt in Your Mouth Ribs:
- Baby back ribs, brown sugar, garlic powder, onion powder, salt, smoked paprika, ancho chile powder (or chili powder), cumin, cayenne (optional), BBQ sauce (gluten-free if needed)
PRO Tip:
Be really careful as you open the foil packet with the ribs in it. They create a lot of liquid from the steam and juices while they cook. I set a second baking sheet next to the original one the ribs are on and used tongs to carefully open the tightly sealed pack (to avoid the steam!). Then transferred the ribs to the clean tray and poured the liquid into a saucepan to reduce.
How to make Melt in Your Mouth Ribs:
- Remove the silverskin from the ribs and make the dry rub.
- Rub the ribs on both sides with the dry rub and wrap in a double layer of foil.
- Bake about 2 hours until tender, either on the grill or in the oven; carefully open foil packet.
- Reduce the cooking liquid from the foil wrap and mix with the BBQ sauce; brush over the ribs and broil or grill for a few minutes.
PRO Tip:
The ribs can be made entirely on the grill or in your oven. Both methods give you wonderful results! No need to be out in cold weather if you don’t want to be.
Recommended Tools (affiliate links; no extra cost to you):
Gluten-Free Tips:
Products from Penzey’s and McCormick are clearly labeled with all their ingredients making them easy to work with if you are gluten free. Most of Stubb’s products are gluten-free. Always read the labels and if in doubt, contact the manufacturer.
* My preferred brand of kosher salt is from Diamond Crystal. If you use Morton’s, another brand, or table salt, you will not need as much because they are saltier.
You will get the best and most consistent results by using a digital kitchen scale and weighing your ingredients, especially when you are baking. Use grams, they are much more accurate than pounds and ounces.
All recommended ingredients are gluten-free as of the writing of this article. Always check to be sure the products haven’t changed and are still safe to consume.
Melt In Your Mouth Ribs (GF)
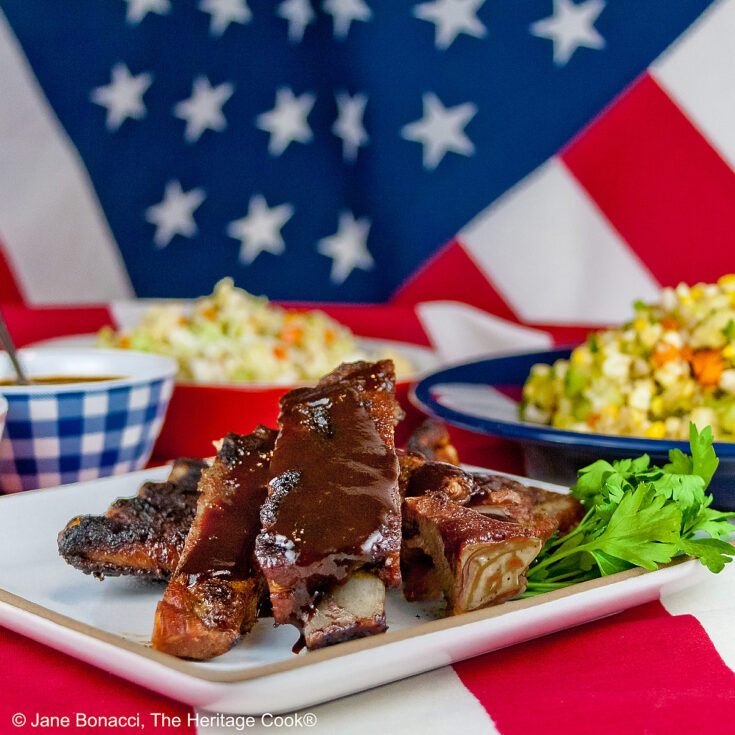
Start these in the oven and finish them on the grill for a touch of smokiness if you want or do them all in the oven. If you have a grill where you can maintain the temperature effectively, you can do the whole recipe on the grill and keep your kitchen cool.
Ingredients
- 4 lb baby back pork ribs (about 2 racks)
- 3/4 cup firmly packed brown sugar
- 2 tsp garlic powder
- 2 tsp onion powder
- 2 tsp kosher salt *
- 1 tbsp smoked paprika
- 1 tsp ancho chile powder
- 1/2 tsp ground cumin
- 1/2 tsp ground Cayenne (optional, add if you want spicy heat)
- 2 cups of your favorite barbecue sauce (most of Stubb’s sauces and rubs are gluten-free) or my homemade Root Beer BBQ Sauce (http://theheritagecook.com/root-beer-bbq-sauce/)
- NOTE: This recipe makes enough rub for 2 racks of ribs - cut in half for a single rack
Instructions
1. Set a rack in the center of the oven and preheat to 300°F (150°C) [325°F (163°C) if you are stacking two racks on top of each other]. Set out two sheets of aluminum foil longer than the racks of ribs, one on top of each other. Set another two sheets of foil the same length to the side.
2. Prep the Ribs: On the underside of the ribs, look for a whitish membrane called the silverskin. If your butcher hasn’t removed it, you should because it is very tough. Cut a slit in the center of the ribs just through the membrane. Open the slit and work your fingers or a dull knife underneath, loosening it from the meat. Work from the center out to the edges until you can grasp one half of the silverskin. Use a paper towel to give you more traction and pull it off the ribs. Repeat with the other half of the silverskin.
3. Make the Dry Rub: In a small bowl, combine the brown sugar, paprika, chile powder, garlic and onion powders, salt, paprika, and cumin. Add the cayenne if using. Mix together with a fork until well blended. Set aside.)
4. Set up the Ribs: Rub the dry rub mixture on both sides of the racks of ribs. Lay the seasoned ribs, meaty side down, on the double layer of foil. if you have two racks to cook, you can stack them one on top of the other. Set the second two sheets of foil on top of the ribs. Pinch the edges of the bottom and top layers of foil together and roll toward the ribs, sealing them tightly.
5. Cook the Ribs: Place the rib packet on a baking sheet. Bake for 1-1/2 to 2 hours (2-1/2 to 3 hours for full-sized, St. Louis-style ribs) or until the meat shrinks, exposing more of the ends of the bones. When opening the packet to check on the ribs, be very careful not to get burned by the trapped steam. Remove ribs from the oven. Preheat the broiler or heat up your outdoor grill. Note: You can cook the ribs entirely on the grill if you can maintain a steady temperature.
6. Very carefully open the foil packet, being careful to avoid the steam and all the hot liquid. Using tongs, remove the ribs from the foil packet and cut into 2 or 3 ribs per section. Carefully pour the cooking liquid from the foil packet into a saucepan, reducing by half and slightly thickening over medium-high heat, stirring often. Add some of the liquid in the pan to the BBQ sauce and whisk together.
7. Glaze Ribs-in the Oven: To glaze ribs in the oven using the broiler, place ribs on the baking sheet, meat side down. Brush with the BBQ glaze and broil for 1 to 2 minutes or until glazed and bubbly. Remove from the oven, turn the rib pieces over, brush with the glaze and return to the broiler. Cook for another 1 to 2 minutes.
8. Glaze Ribs-on the Grill: To finish the ribs on the grill, brush the hot grates lightly with a paper towel with oil on it. Brush the bony side of the ribs with the glaze and place on the grill, meaty side up. Brush the sauce on the ribs, close the lid and cook on medium-high until the glaze is cooked on, about 2 minutes. Flip the ribs over and finish cooking another minute or two.
9. Serve the ribs hot with extra glaze passed at the table.
Notes
Seasonings from Penzey’s and McCormick are clearly labeled with all their ingredients. Most of Stubb’s products are gluten-free, look for a gluten-free certification on the label. This link will give you additional information. Always read the labels and if in doubt, contact the manufacturer.
* My preferred brand of kosher salt is from Diamond Crystal. If you use Morton’s, another brand, or table salt you will not need as much because they are saltier.
You will get the best and most consistent results by using a digital kitchen scale and weighing your ingredients, especially when you are baking. Use grams, they are much more accurate than pounds and ounces.
All recommended ingredients are gluten-free as of the writing of this article. Always check to be sure the products haven’t changed and are still safe to consume.
Nutrition Information:
Yield:
6Serving Size:
1Amount Per Serving: Calories: 1239Total Fat: 75gSaturated Fat: 22gUnsaturated Fat: 53gCholesterol: 246mgSodium: 2526mgCarbohydrates: 99gFiber: 3gSugar: 82gProtein: 51g
The nutritional information for recipes on this site is calculated by online tools and is merely an estimate. If you need nutritional calculations for medical reasons, please use a source that you trust.
If you enjoyed these recipes, be sure to follow me on social media so you never miss a post:
Create a New Tradition Today!
Welcome! The suggestions here are not intended as dietary advice or as a substitute for consulting a dietician, physician, or other medical professional. Please see the Disclaimers/Privacy Policy page for additional details. Unauthorized use, distribution, and/or duplication of proprietary material from The Heritage Cook without prior approval is prohibited. If you have any questions or would like permission, please contact me. We participate in the Amazon Services LLC Associates Program, an affiliate advertising program designed to provide a means for sites to earn advertising fees by advertising and linking to amazon.com. As an Amazon Associate, I earn a small amount from qualifying purchases without any additional cost to you. This page may contain affiliate links. The author makes no claims regarding the presence of food allergens and disclaims all liability in connection with the use of this site. This post was first shared in Sept 2014. The article was updated in 2026.

Rita
I’d like to make these camping. Could I put them in foil in a crock pot for 4-8 hours? Since I don’t have an oven.
Jane Bonacci
That should work perfectly Rita. Cook on High. Timing will depend on the size of the ribs. You can probably get away with a single layer of foil to wrap them. Enjoy your trip!
Chris
Great shots of the ribs, I really like the one on a sheet pan.
Jane Bonacci
Aren’t they gorgeous Chris! I love that shot too. Those are the ones from Snake River – truly amazing products!
julie Reinhardt
Nice post, Jane. You can also do the same foil method in a smoker or indirect grill after an hour or so with wood smoke. I know you know this, but had to put a little smoke into the discussion. Beautiful photos as usual!
Jane Bonacci
Thanks Julie – of course you had to add smoke talk, you’re She Smoke! I love that we can do this on the grill or in the oven, giving everyone an easy solution to the best ribs! 🙂
Robin O
This is a great method! I can’t wait to try it — Thanks Jane for another fantastic grilled or oven made perfect rack of bones!
Jane Bonacci
Thanks Robin!! I won’t make them any other way until I get a low heat smoker, LOL!