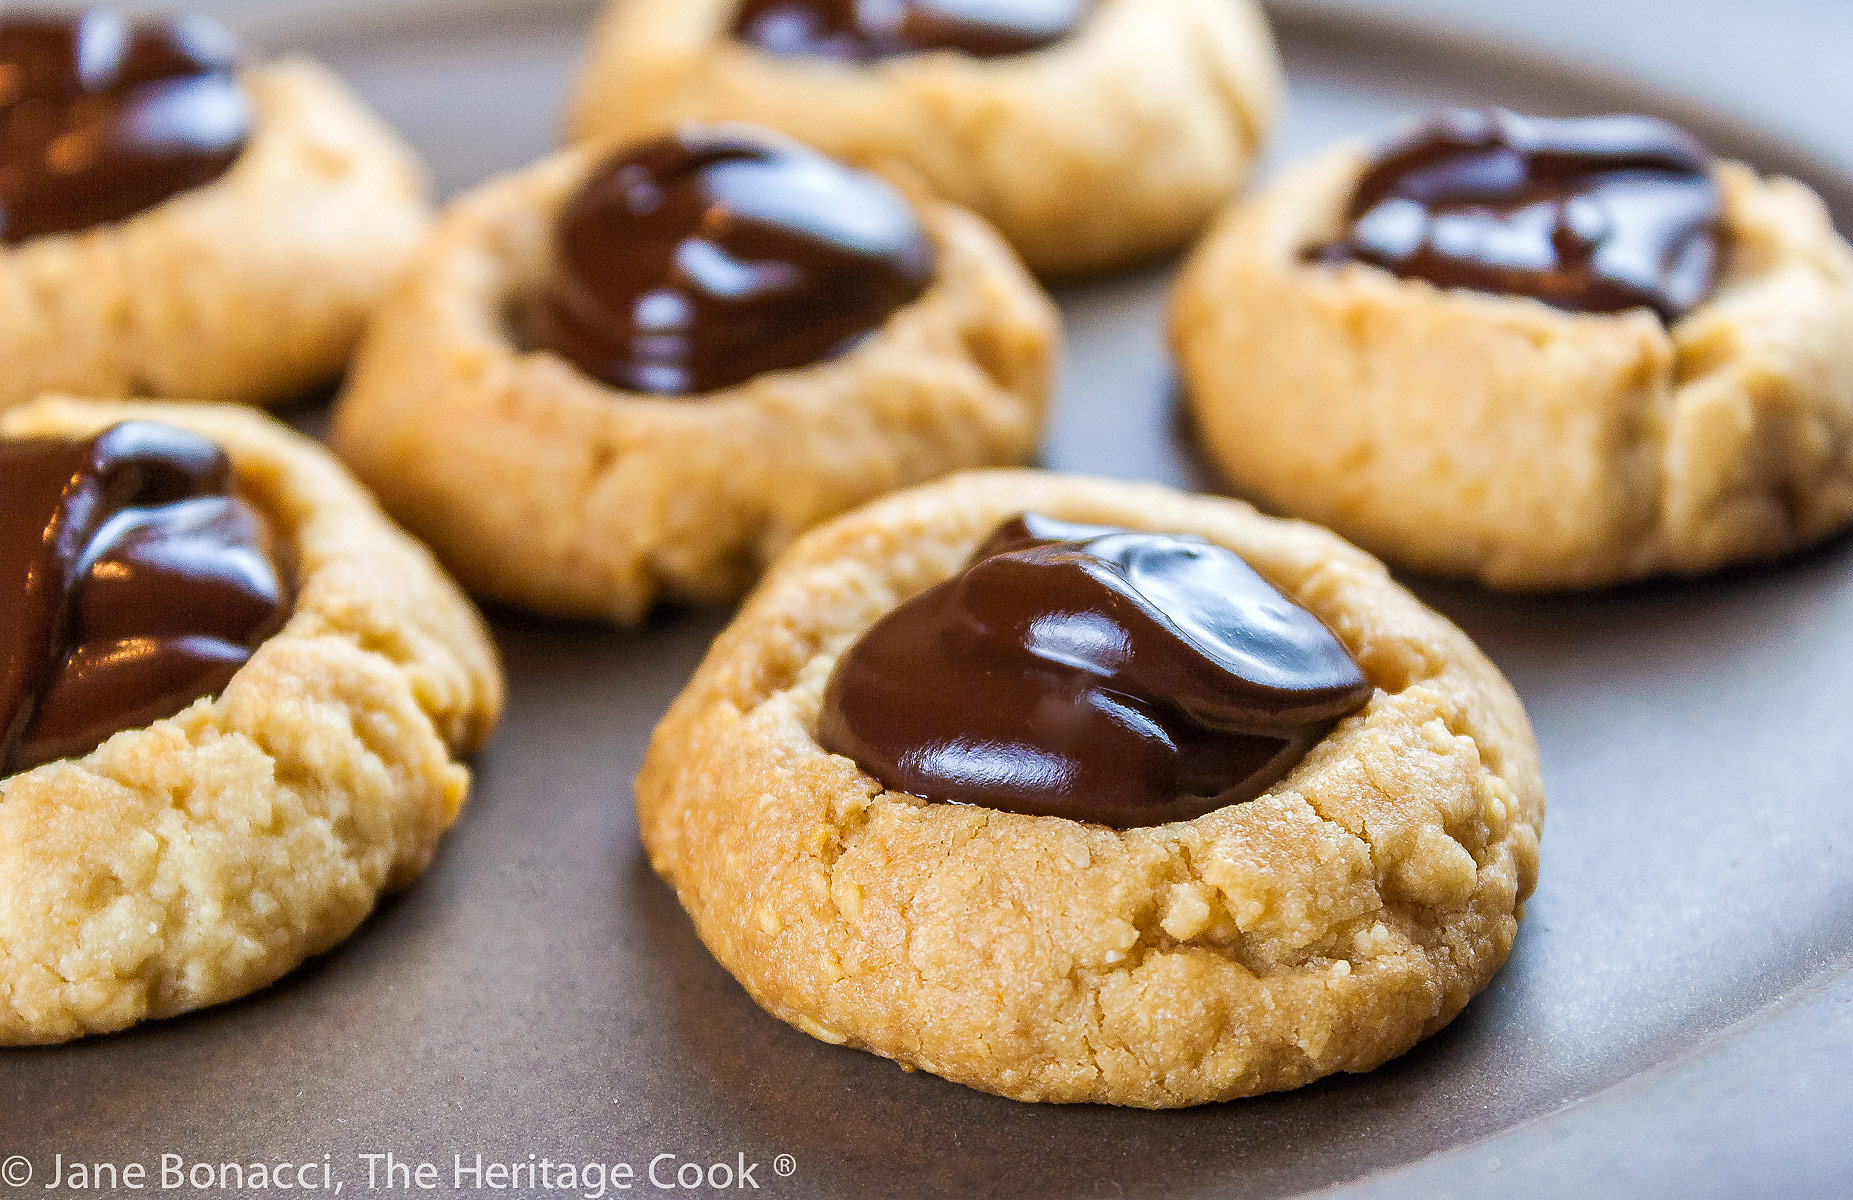
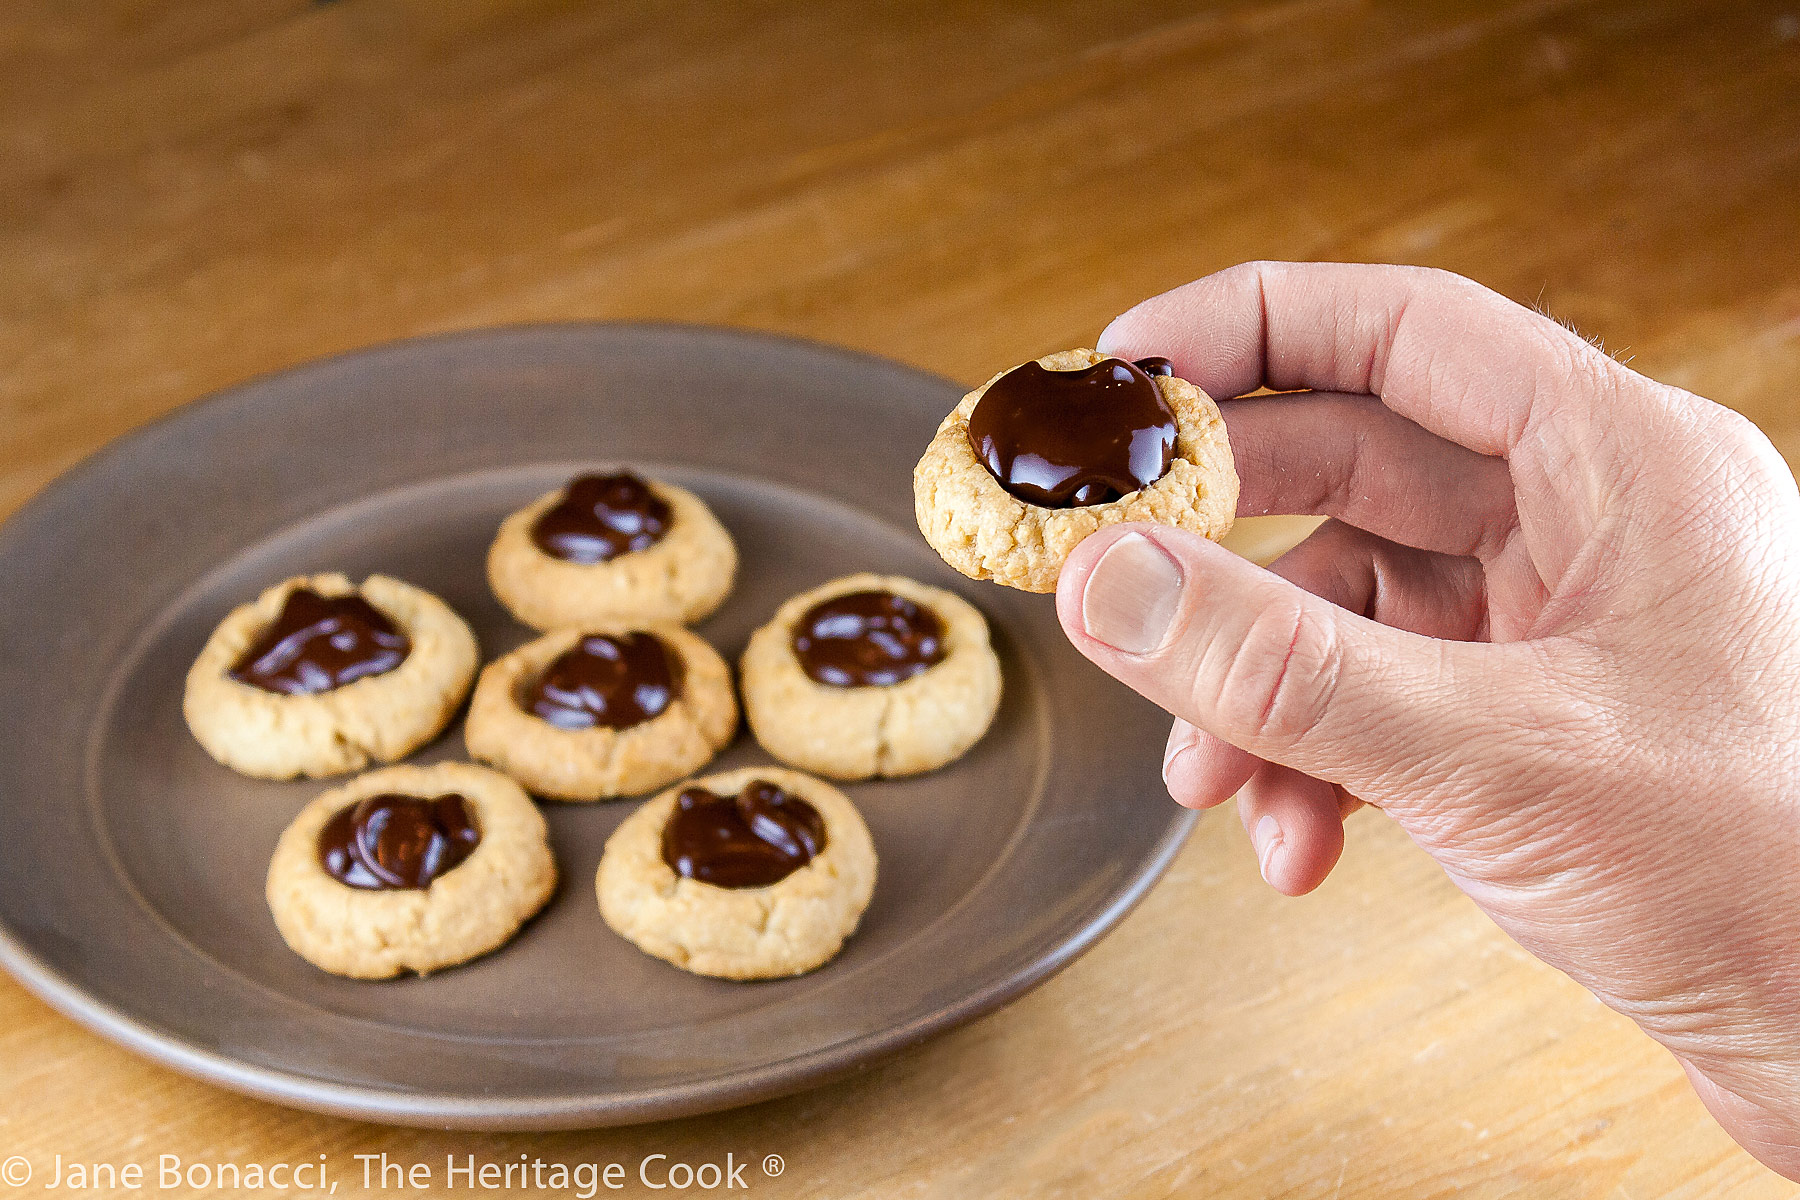
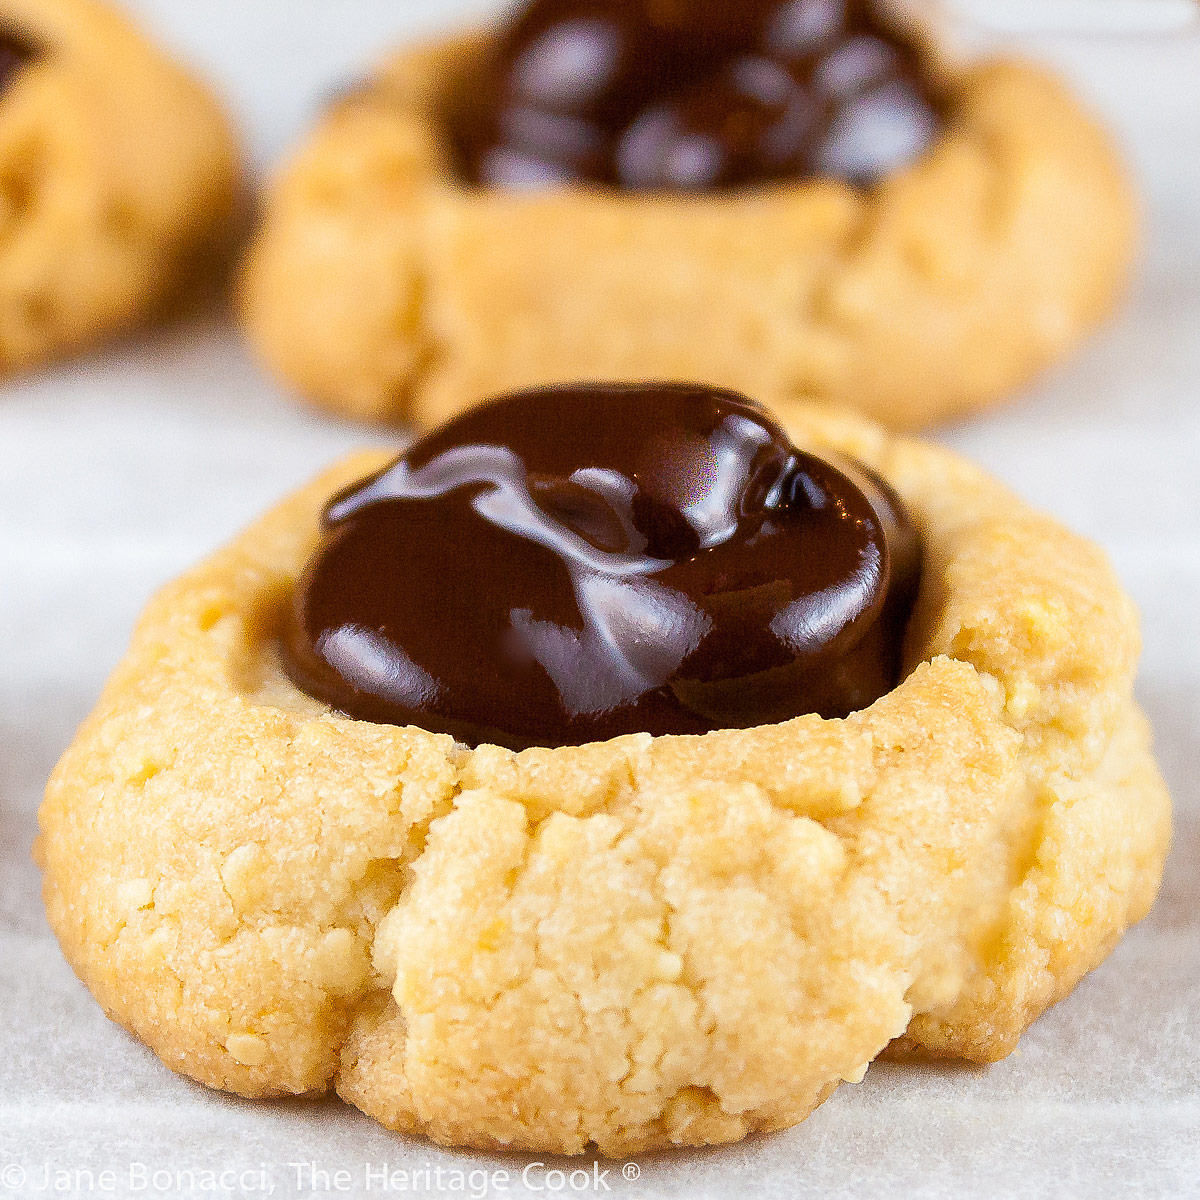
These Almond Chocolate Thumbprint Cookies are a real delight. They are delicate, crunchy cookies filled with decadent chocolate ganache, something everyone will love. They make a beautiful addition to your holiday baking projects.
Yes, some would say that these cookies are the best thing in the world. I don’t know if I would go quite that far, but they are certainly amazing treats. A beautiful combination of citrus-scented crunchy cookies with a smooth, glistening chocolate ganache filling that lingers in your senses long after it is gone.
I made mine with gluten-free flour and they were wonderful. One trick to great gluten-free baked goods is to use a super finely ground rice flour in your blend. This greatly lessens the grittiness so common in many GF baked goods. My favorite brand is Authentic Foods and you can easily recognize their varieties in gold bags. You can probably find it in gourmet grocery stores, gluten-free shops and of course online.
Another positive thing about these cookies is that they do not contain any eggs. For those of you with children with multiple allergies, this will be a great option for birthday parties and other events where children are gathered. If you want to make them dairy-free, you can use Earth Balance Buttery Sticks in place of the butter.
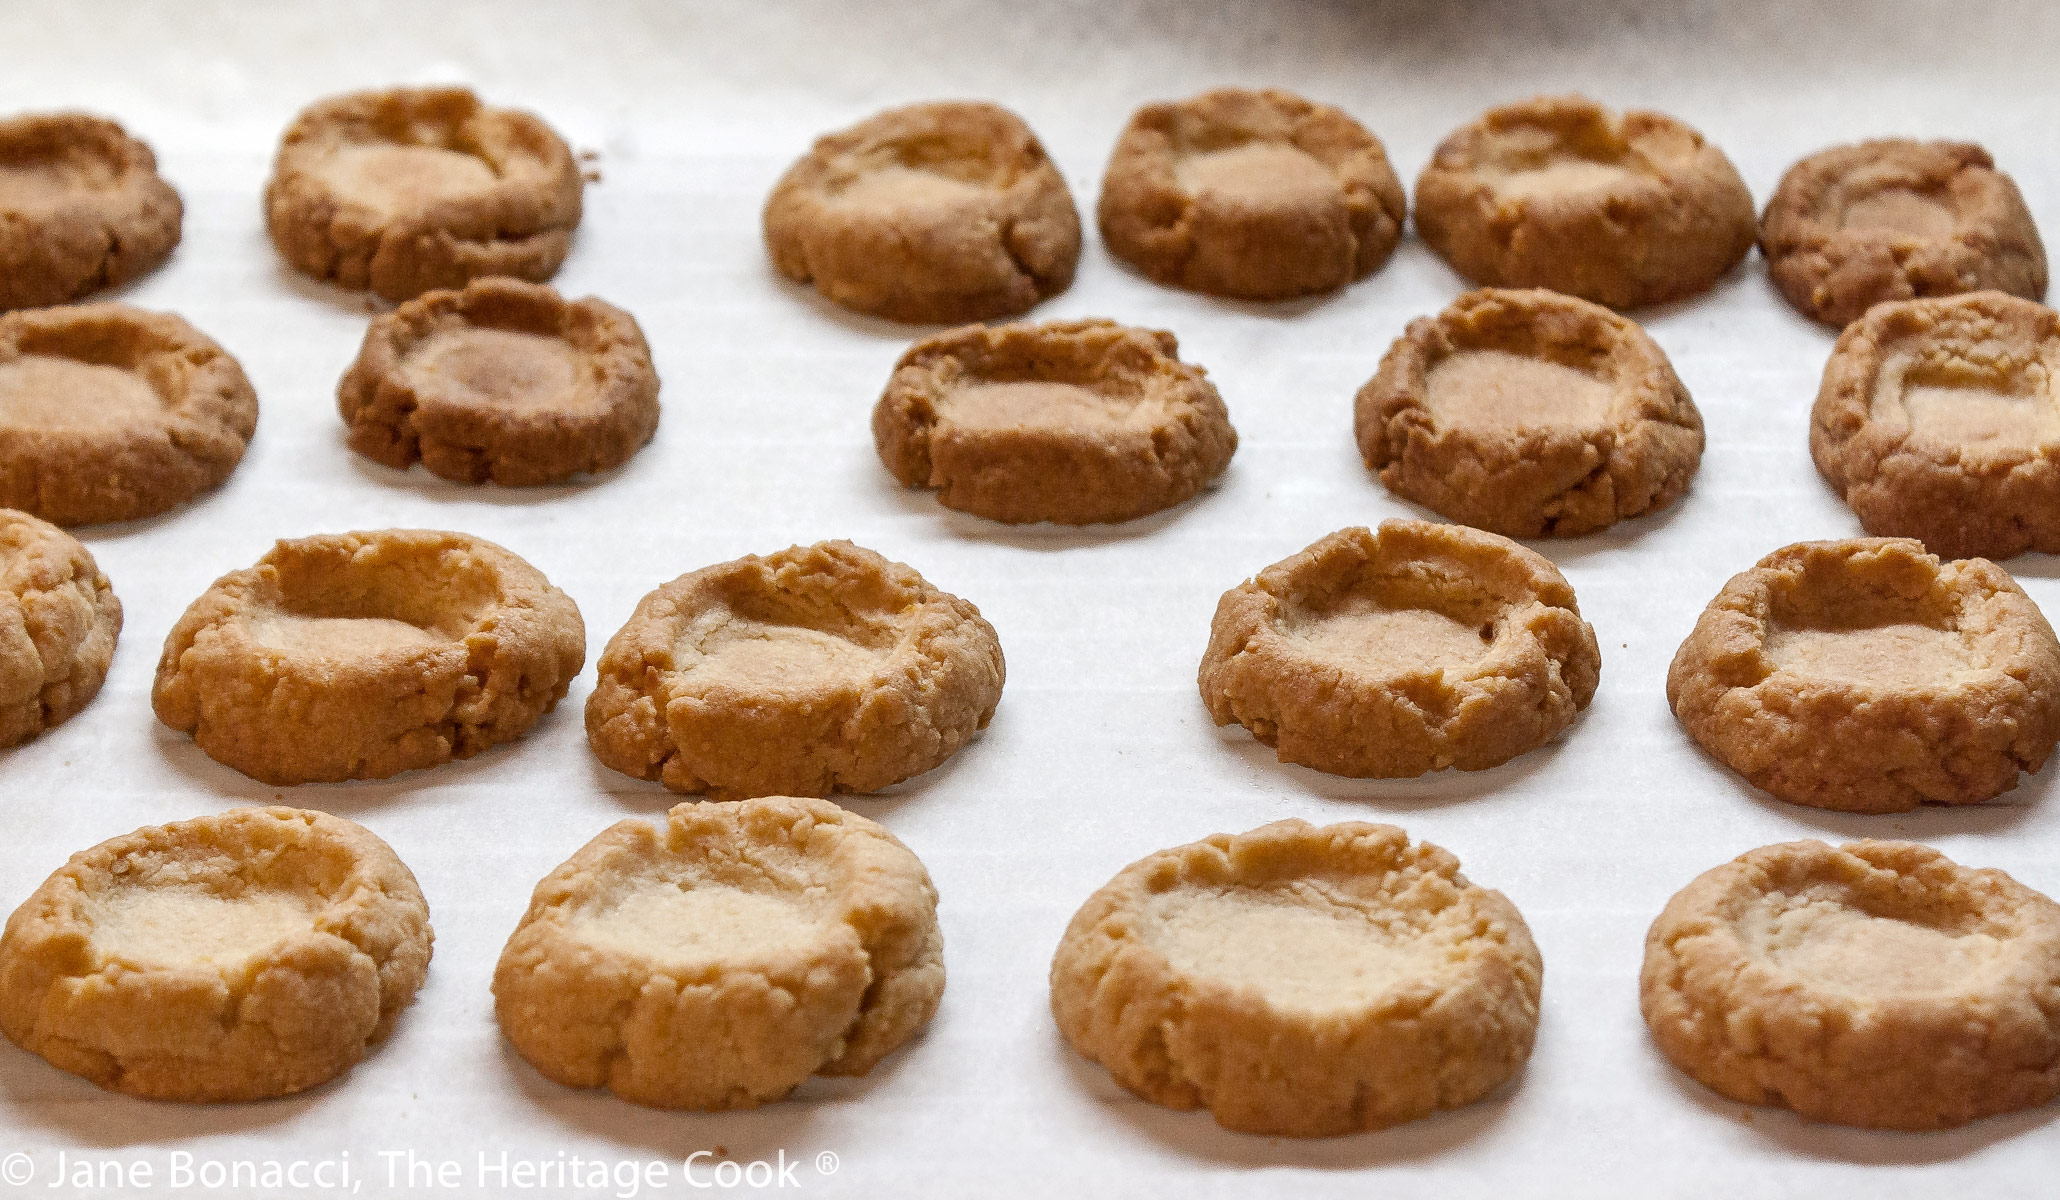
You may notice if you compare my photos to the recipe, that my cookies are far darker than they should be. That is what happens when I am making dinner at the same time as I am baking. I forgot to reset the timer after taking them out of the oven the first time. They are still delicious, but follow the recipe instead of the photos and bake yours for a shorter time than I did!
These are really lovely little almond chocolate thumbprint cookies, the perfect bite-sized treat with a glass of milk or cup of coffee or tea. And while I chose to fill them with chocolate, you can use anything you like. A white chocolate ganache would be wonderful and more traditional fillings are raspberry and apricot jam. Blueberry, peach, mint, or even pepper jelly would be fun and different options to try.
The next time I make these I will double the ingredients. The recipe only makes about 24 cookies and you could easily eat three or four at a time. These are so good that it would be nice to have enough to make some chocolate and some with another filling. Oooh, maybe some lemon curd, tiny bites of heaven – now, that’s what I’m talking about!
I hope you enjoy these Almond Chocolate Thumbprint Cookies as much as The Artist and I do. Have a fabulous week and Happy Chocolate Monday!!
Ingredients needed for Almond Chocolate Thumbprint Cookies:
- Cookies: GF flour blend or all-purpose flour, almond meal
- Butter, sugar, lemon zest, vanilla
- Chocolate filling: bittersweet chocolate, butter, golden syrup or
- Light corn syrup (Karo), sea salt
PRO Tip:
The golden syrup or corn syrup will help keep the chocolate mixture smooth and shiny. You can find Lyle’s Golden Syrup in most gourmet grocery stores as well as many of the larger chains. And of course if you can’t find it locally, you can order it online. An alternative option is light Karo corn syrup.
PRO Tip:
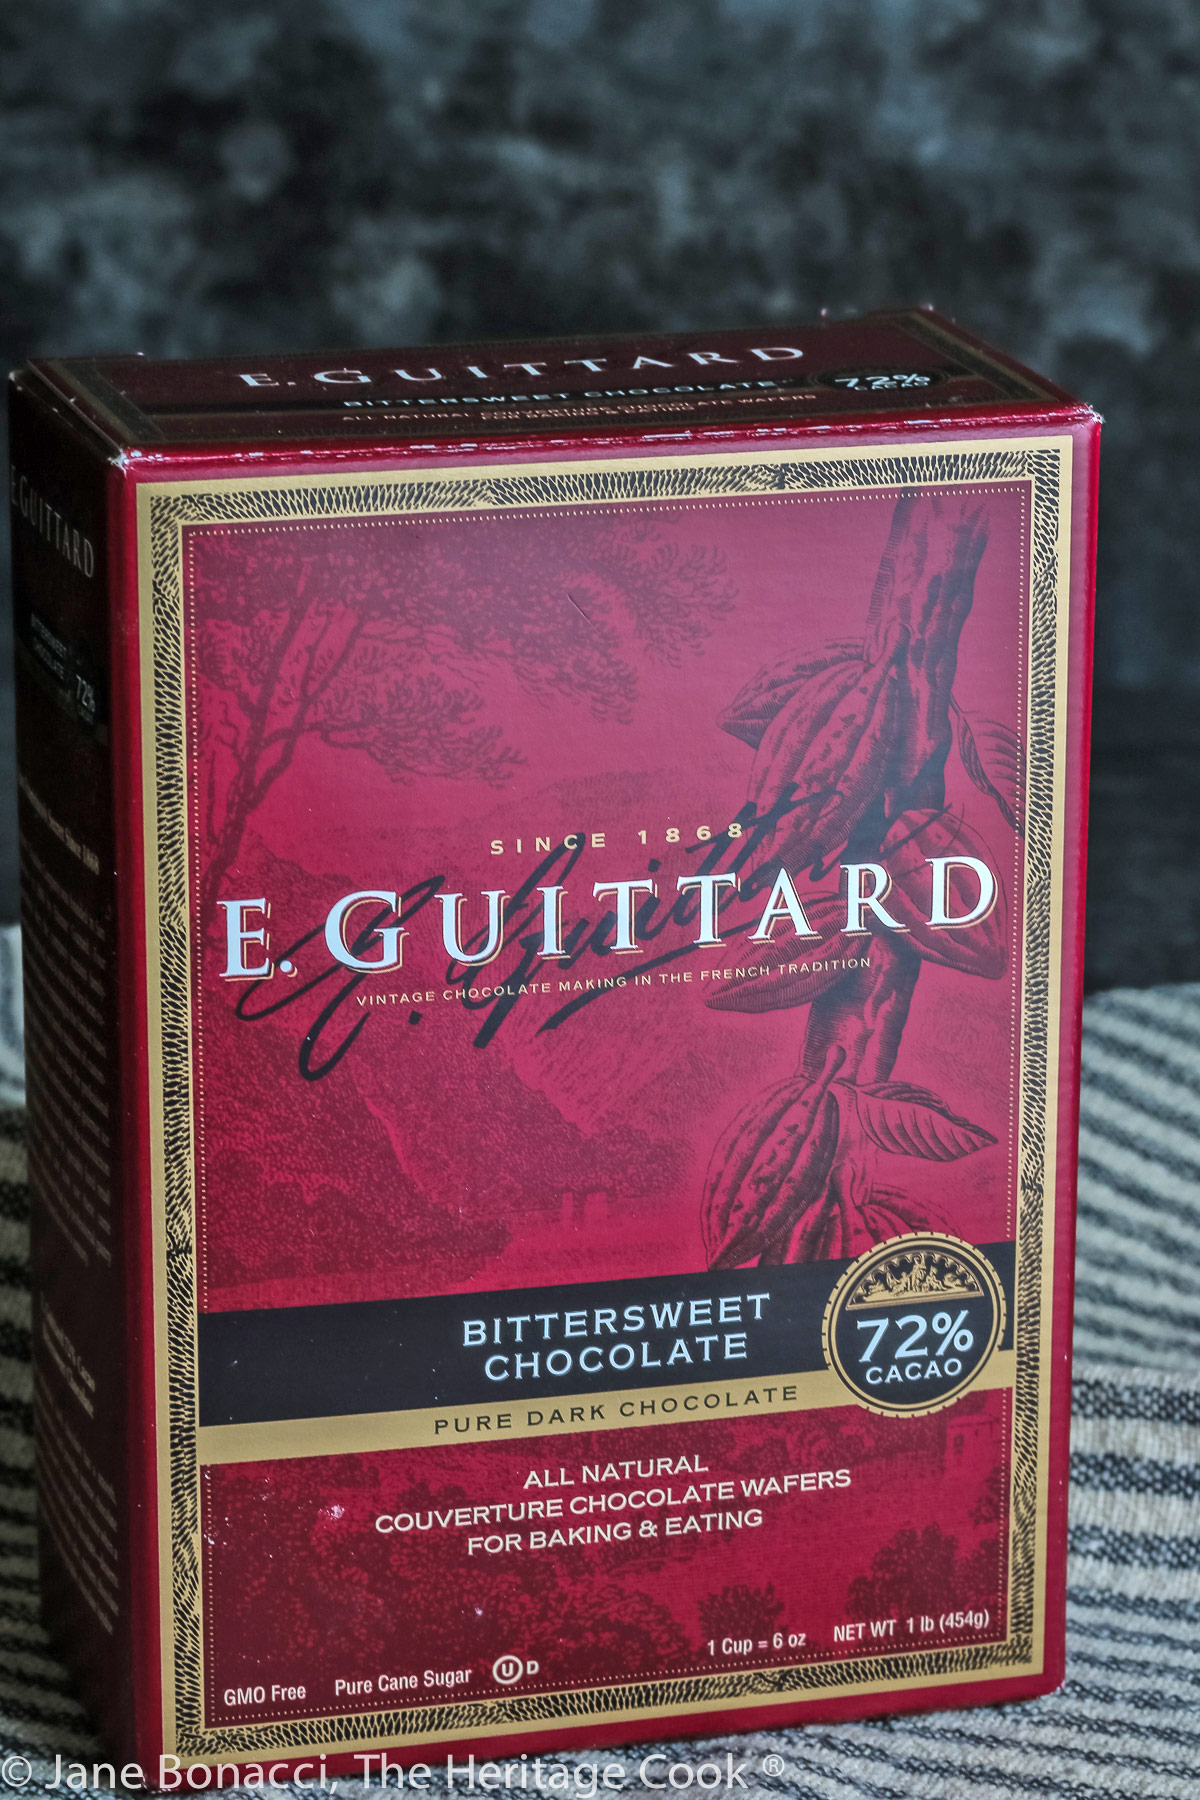
Use a higher percentage of chocolate if you can for a more intense flavor and deeper color. A 70% to 72% chocolate like the one I used from Guittard will give you beautiful results, perfectly sweetened with a creamy texture.
How to make Almond Chocolate Thumbprint Cookies:
- Make the Cookies: whisk together the flour and almond meal, then in a food processor, combine the zest and sugar, pulsing until blended and the sugar is lightly colored; cream the butter and sugar mixture, beating until light and fluffy, scraping the bowl a few times, then add the vanilla and beat until incorporated
- Reduce speed to low and slowly add the flour/almond mixture beating until it is just incorporated; stop the mixer and using a spatula, scrape the bowl and beater, mixing until all the dry ingredients are blended in
- Scoop teaspoon-sizes balls of dough and roll to form small balls, placing them about 1-inch apart on parchment-lined baking sheets; press your thumb or the handle of a wooden spoon in the center of each, making an indented area in each cookie
- Bake about 8 minutes, pull the sheet(s) out of the oven and use the wooden spoon handle to re-press the center that have risen during baking; return to the baking sheet to the oven and continue baking another 8 minutes, tapping down the centers as needed and cook another 2 minutes or until there is slight coloring around the edges
- Remove from the oven and slide the parchment with the cookies onto a wire cooling rack, leaving until fully cooled
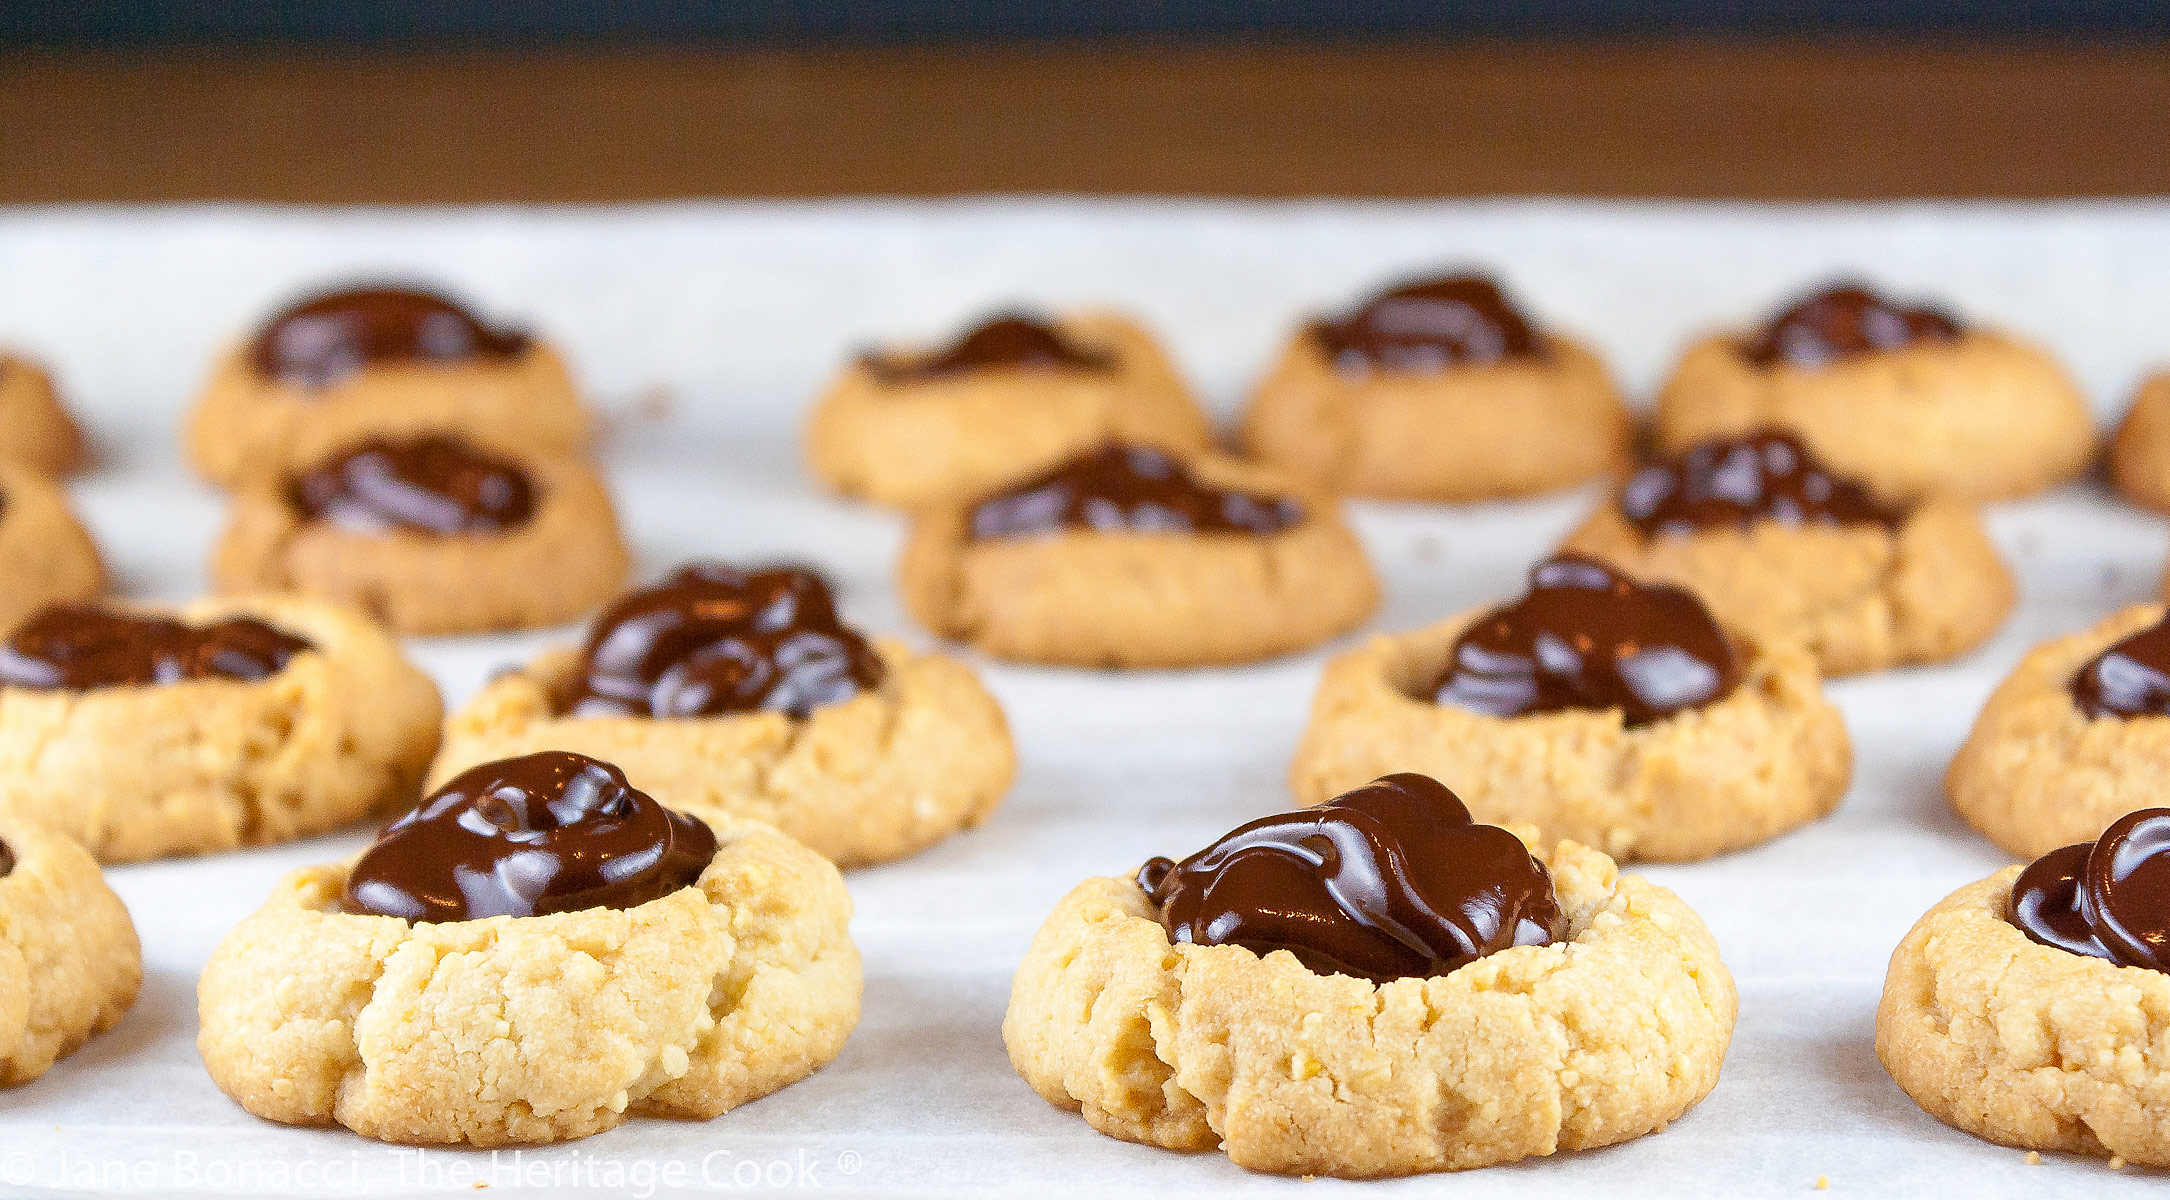
- Make the Chocolate Filling: Melt the chocolate, butter, golden syrup, and salt in a bowl set over a saucepan with about an inch of simmering water in the bottom, stirring occasionally until fully melted and smooth; pour into a measuring cup with a spout and pour the filling into each cookie, and leave the cookies for about an hour to let the chocolate set up before serving
PRO Tip:
I like using a heatproof glass bowl to melt the chocolate because you can keep an eye on the level of the water as it melts the butter and chocolate with the other ingredients. Once the butter is melted, leave it to stand a few minutes to begin melting the chocolate, then stir until smooth and silky.
Recommended Tools (affiliate links; no extra cost to you):
- Kitchen scale
- Grater
- Chef’s knife
- Cutting board
- Baking sheets
- Parchment paper sheets
- Food processor
- Stand mixer or hand mixer
- Cookie scoop
- Wire cooling rack
- Saucepan
Gluten-Free Tips:
If you use a gluten-free flour blend and certified gluten-free almond meal, such as that from Bob’s Red Mill, these cookies are naturally gluten-free. They are also egg-free for anyone with dual allergies.
You can adjust any baking recipe to gluten-free by using 120 grams per cup of my favorite gluten-free flour blend. If you are using another brand of gluten-free flour, whisk the mix, spoon it lightly into a measuring cup until mounded, level off the top with the back of a knife, and weigh the flour left in the cup. Use that weight as your standard per cup of that specific flour. Do this for each flour blend you use. Commercial blends such as Pamela’s All-Purpose Artisan Blend, Bob’s Red Mill 1-to-1, or King Arthur Measure for Measure are all good choices.
All recommended ingredients are gluten-free as of the writing of this article. Always check to be sure the products haven’t changed and are still safe to consume.
Almond Chocolate Thumbprint Cookies Recipe (Gluten Free)
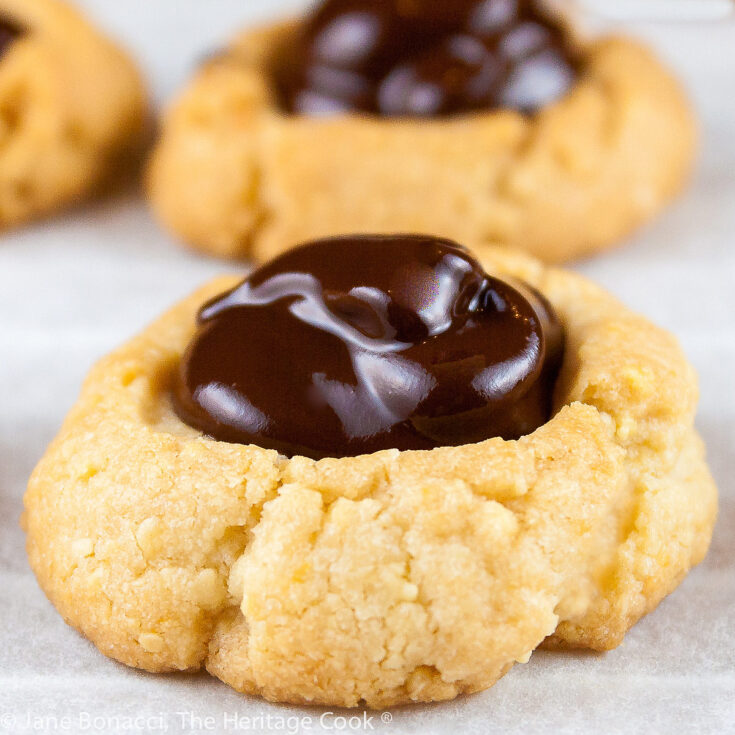
These Almond Chocolate Thumbprint Cookies are a real delight. They are delicate, crunchy cookies filled with decadent chocolate ganache, something everyone will love. They make a beautiful addition to your holiday baking projects.
Ingredients
Cookies
- 1 cup (120g) all-purpose flour or gluten-free flour blend
- 3/4 cup (63g) finely ground almond meal (or more AP flour if you can’t eat nuts)
- 1 stick (4 oz; 113g) butter, at room temperature
- 1/4 cup (50g) granulated sugar
- Finely grated zest from 1 small tangerine or lemon
- 1/2 tsp vanilla extract
Chocolate Filling
- 4 oz (113g) bittersweet chocolate (about 70%), chopped coarsely
- 2 tbsp butter
- 2 tsp golden syrup or light corn syrup (Karo)
- Pinch sea salt
Instructions
- Preheat oven to 350°F (177°C). Line two baking sheets with parchment paper.
- Make the Cookies: In a small bowl, whisk together flour and almond meal. Set aside. In a food processor, combine the zest with the sugar. Pulse about 20 seconds until they’re blended and the sugar is lightly colored.
- In the bowl of a standing mixer, combine the butter and citrus-sugar mixture. Beat on medium speed until light and fluffy, about 4 minutes, stopping once or twice to scrape down the sides and bottom of your bowl with a rubber spatula. Add the vanilla extract and beat for a few more seconds.
- Reduce the mixer speed to low, and then add the almond meal-flour mixture a little at a time. Beat just until just incorporated into the dough -- don’t overmix. Stop the mixer, remove the beater and use a rubber spatula to incorporate any remaining dry ingredients in the bottom of the bowl.
- Scoop teaspoon-sized balls of dough (a melon scoop or mini ice cream scoop work well) and roll them to form small balls. Place the balls about 1-inch apart on the parchment-lined baking sheet(s). You can place them fairly close together because they will not spread much as they bake.
- Make Thumbprints in Dough: Using your thumb, the handle of a wooden spoon, or the back of watermelon baller gently press an indentation into the center of each cookie. Use the fingers of your other hand to hold the dough balls, gently pressing the sides together if they start to split a little. Make the centers plenty deep and wide to hold the chocolate filling but be careful not to press all the way through the dough. You are just making a divot to hold the chocolate after baking.
- Bake cookies about 8 minutes, and pull the baking sheet out of the oven and set it on the stove. The cookies tend to puff up as they bake. Using the same wooden spoon handle or other implement, very gently press the centers down a bit, flattening them again. Return the sheet to the oven, this time with the opposite side facing the back of the oven and continue baking another 5 minutes. Check again, tapping the centers down if needed and cook another 2 minutes or until the cookies are only slightly colored around the edges. Be careful to not over bake.
- When done, remove from the oven and transfer the cookies to cooling racks. If you have baked the cookies on parchment, carefully lift one end and slide the paper and cookies straight onto the cooling rack. Leave until fully cooled.
- Make the Chocolate Filling: In a medium heatproof bowl set over a pot of simmering water, combine the chocolate, butter, golden syrup, and sea salt. The golden syrup will help keep the mixture smooth and shiny. Leave the mixture alone until the chocolate and butter start to melt. Then stir occasionally and move the chocolate pieces around so they are
submerged in the melted chocolate, which will speed up the melting. Using a hot pad, remove the bowl from the heat, set the bowl on a kitchen towel and stir until melted and smooth. Pour into a heatproof measuring cup with a spout. - Fill the Cookies: When cookies are cool, fill the thumbprints with the melted chocolate. Pour the chocolate slowly, gently shaking the measuring cup to help the chocolate flow. Fill each cookie, going back to add more to those that don’t have as much chocolate as the others. There will be plenty of chocolate to go around.
- Leave the cookies undisturbed for about an hour or until the chocolate centers are set before serving or packing away.
Recipe found at www.theheritagecook.com
Notes
Adapted slightly from recipe on Food52.com
You can adjust any recipe to gluten-free by using 120 grams per cup of my favorite gluten-free flour blend. If you are using another brand of gluten-free flour, whisk the mix, spoon it lightly into a measuring cup without a spout until mounded, level off the top with the back of a knife, and weigh the flour left in the cup. Use that weight as your standard per cup of that specific flour. Do this for each flour blend you use. Commercial blends such as Pamela's, Bob's Red Mill 1-to-1, or King Arthur Measure for Measure are all good choices.
All recommended ingredients are gluten-free as of the writing of this article. Always check to be sure the products haven’t changed and are still safe to
consume.
Nutrition Information:
Yield:
24Serving Size:
1Amount Per Serving: Calories: 80Total Fat: 3gSaturated Fat: 1gTrans Fat: 0gUnsaturated Fat: 2gCholesterol: 3mgSodium: 15mgCarbohydrates: 11gFiber: 1gSugar: 2gProtein: 2g
The nutritional information for recipes on this site is calculated by online tools and is merely an estimate.
If you enjoyed this recipe, be sure to follow me on social media so you never miss a post:
Create a New Tradition Today!
Welcome! The suggestions here are not intended as dietary advice or as a substitute for consulting a dietician, physician, or other medical professional. Please see the Disclaimers/Privacy Policy page for additional details. Unauthorized use, distribution, and/or duplication of proprietary material from The Heritage Cook without prior approval is prohibited. If you have any questions or would like permission, please contact me. We participate in the Amazon Services LLC Associates Program, an affiliate advertising program designed to provide a means for sites to earn advertising fees by advertising and linking to amazon.com. As an Amazon Associate, I earn a small amount from qualifying purchases without any additional cost to you. This page may contain affiliate links. This post was first shared in Jan 2014. The article was updated in 2023.




Maurine Killough
thanks for this recipe, Jane, can’t wait to try it!
Jane Bonacci
Thank you Maurine! I hope you enjoy them as much as we did!!
Jeanette | Jeanette's Healthy Living
These look irresistible Jane – love all the different filling ideas!
Jane Bonacci
Thanks Jeanette – I can’t wait to try them with other fillings too. Nice and crunchy, these cookies are a perfect way to indulge in a little sweet treat!
Veronica
These chocolate thumbprint cookies look great Jane. I’d love to taste test for you some time. Nice job.
Jane Bonacci
Thank you Veronica – they are wonderful little bite-sized cookies with lots of crunch!