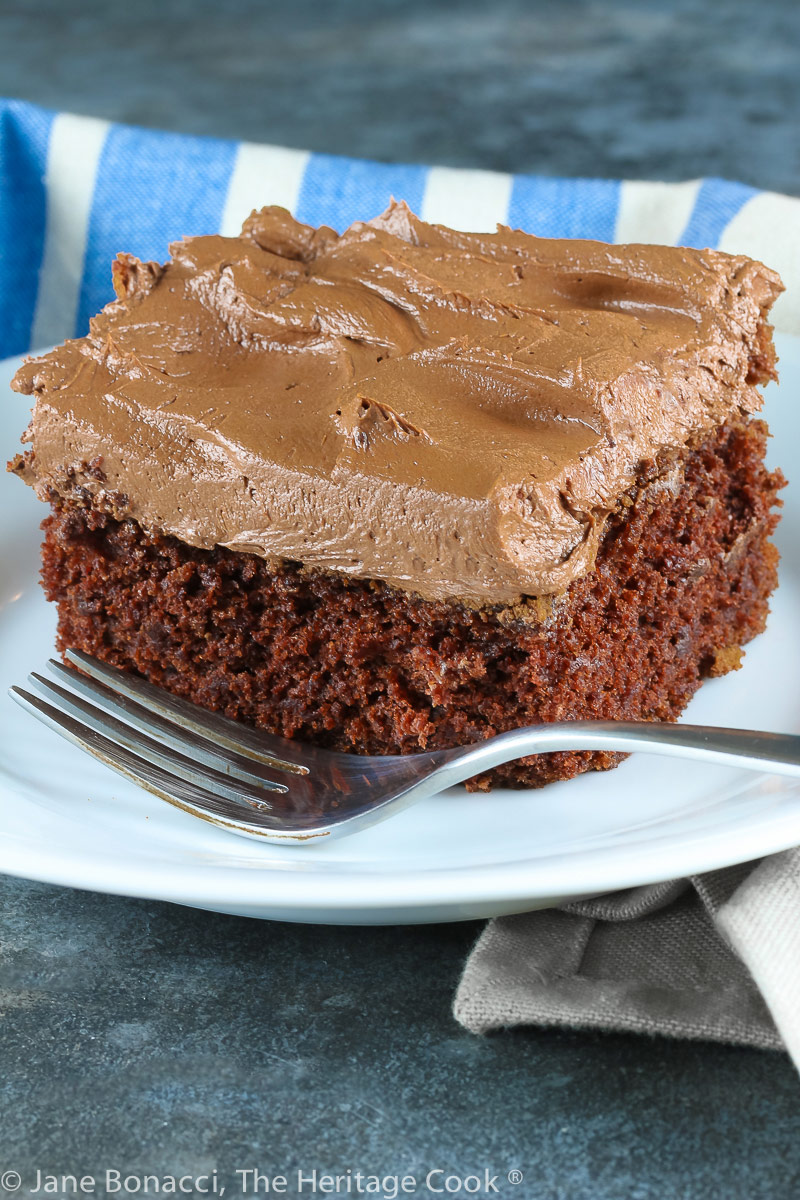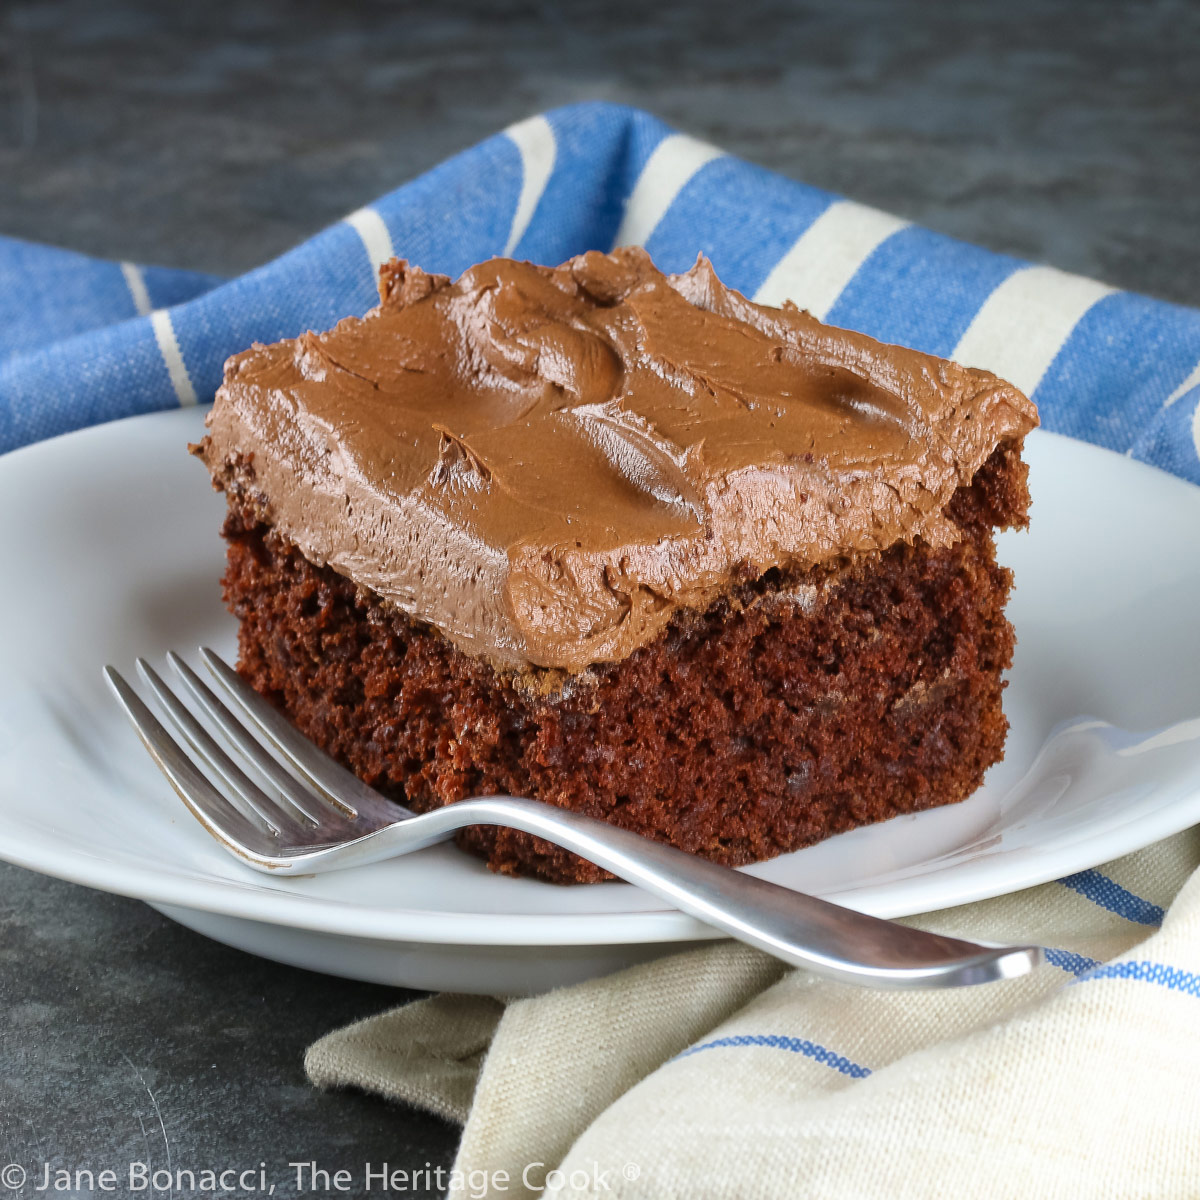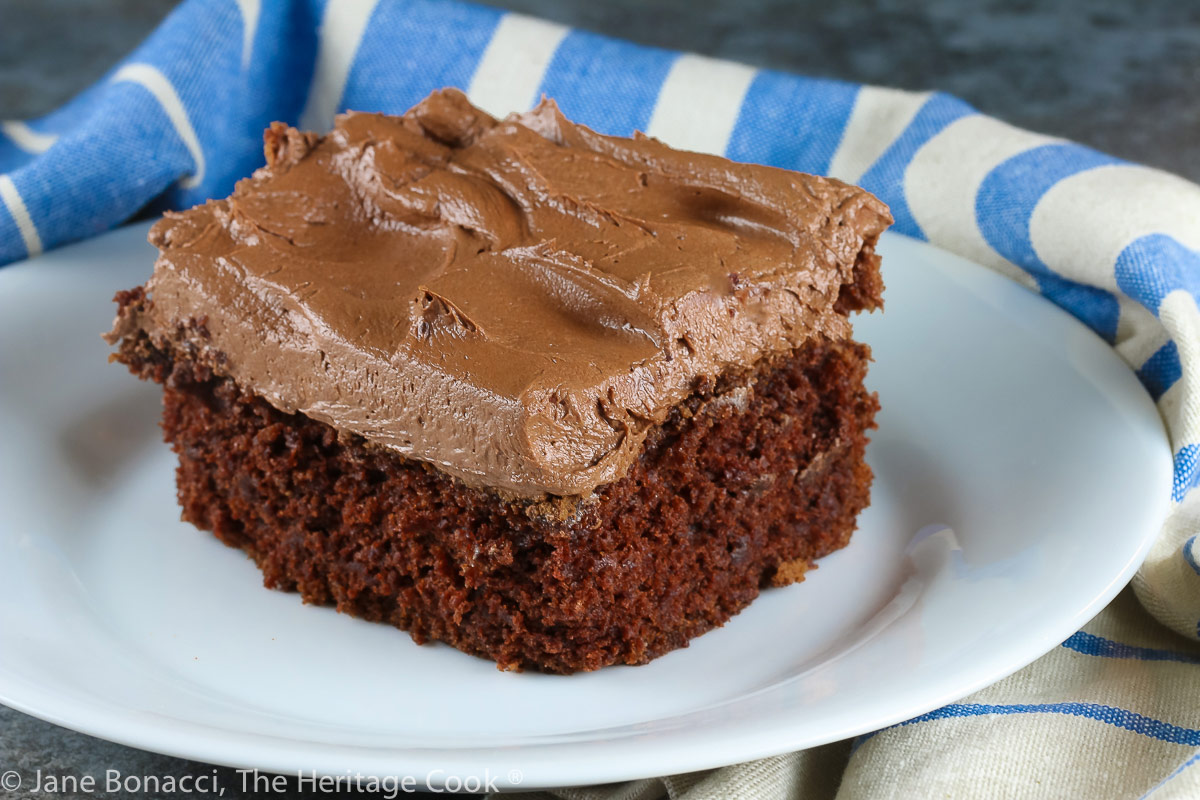
This recipe originated with Molly O’Neill, one of the shining stars of the food world. She was bigger than life, a true force of nature, and someone I am so glad I got to know. We lost Molly too soon, but thanks to her cookbooks and food articles, her legacy of delicious food lives on.
The original recipe is a triple-layer cake with a chocolate pudding filling and absolutely gorgeous. You must split the cake layers and it takes several time consuming steps. It is an over-the-top chocolate dessert that is perfect for special occasions.
I wanted something simpler to make and converted it to a 9×13-inch cake. This makes it much easier to transport and share, making it perfect for potlucks, church suppers, picnics, and other gatherings. I bet you’ll have lots of requests for the recipe and will be asked to bring it to every event!
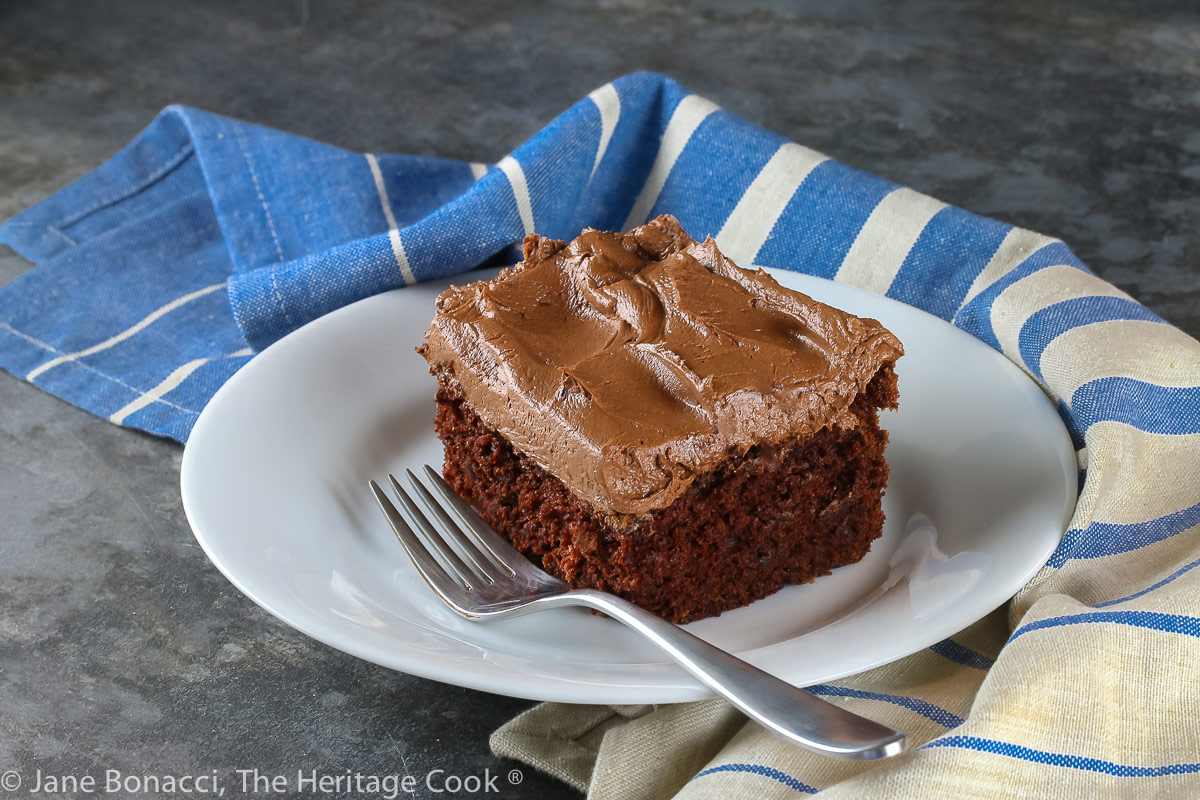
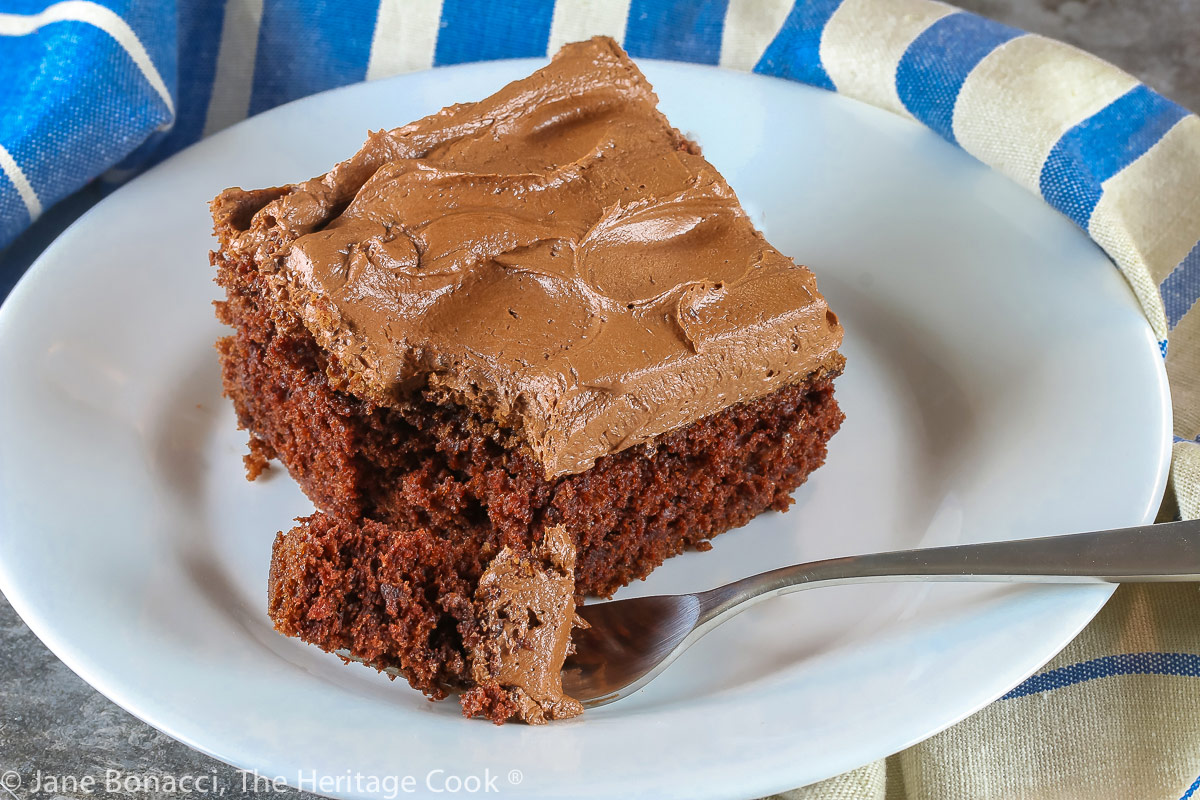
There is a double hit of chocolate in this cake, cocoa powder and chopped bittersweet chocolate blend together to create pure heaven. This intense chocolate flavor is incredibly gratifying.
One thing that separates this Brooklyn Blackout Chocolate Cake from other cakes is whipped egg whites which work with the other leaveners to lift the cake giving it a lighter texture. Whipping and folding in the egg whites is an extra step, but one worth the effort. (Here is more information on whipping egg whites and a video to help you see what you are going for.)
If you don’t know much about natural vs. Dutch cocoa powder, check out all the information on this page. This recipe calls for Dutch cocoa giving you a darker, richer final result. If all you have is natural cocoa, it will work in this recipe.
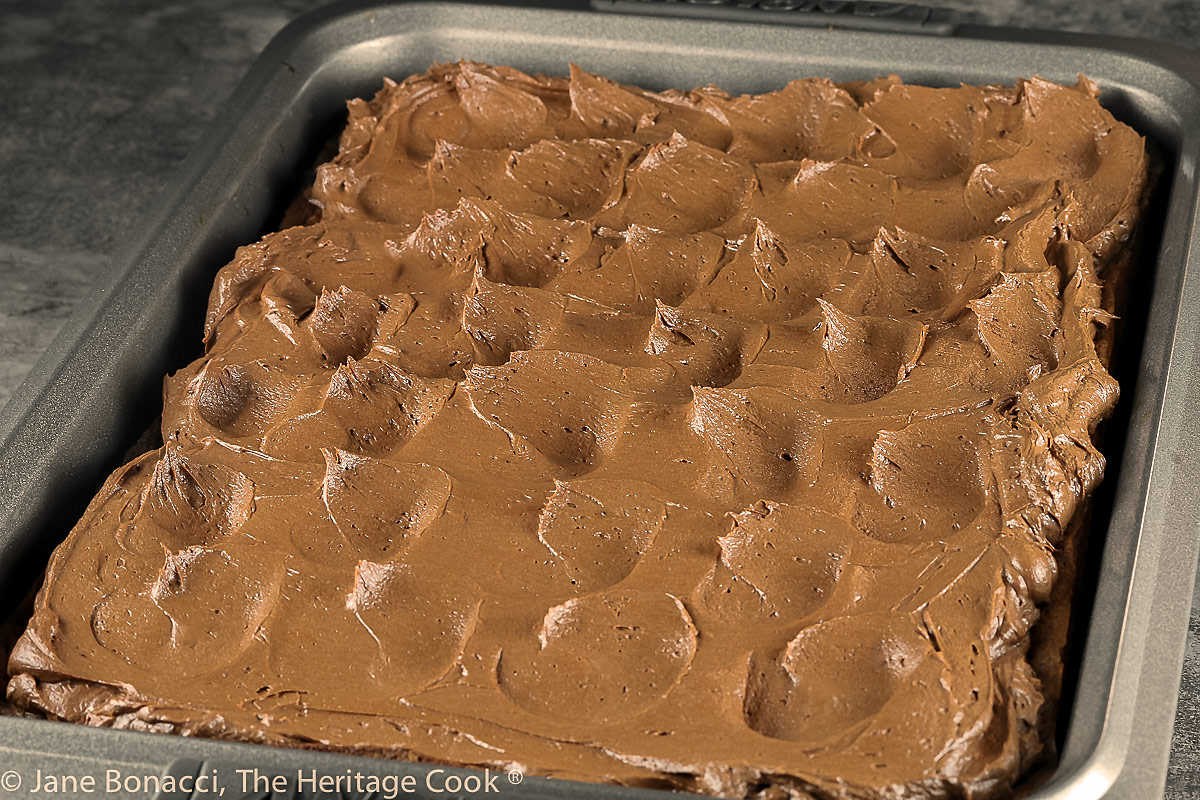
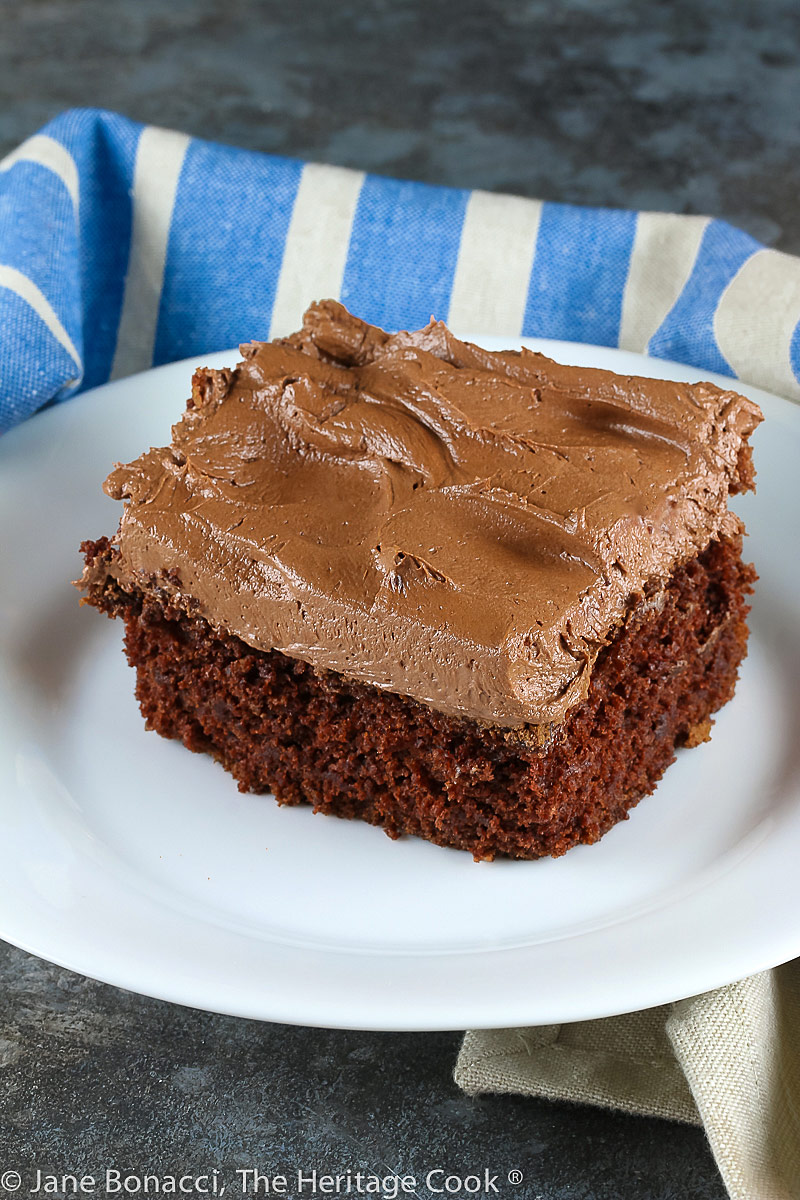
I decided to top the cake with a simple chocolate frosting and boy is it delicious! Not too sweet and perfectly balanced. Easy to make and delectable, this is one recipe you want to keep handy!
I hope you make this Brooklyn Blackout Chocolate Cake soon and love every single bite, just like The Artist and I do!! Have a wonderful week!
Did you enjoy this recipe? Let me know in the comments, I love hearing from you!
Ingredients needed for Brooklyn Blackout Chocolate Cake:
- Cake: cocoa, bittersweet chocolate, milk, sugar, butter, eggs
- Vanilla, gluten free 1-for-1 flour, baking powder, baking soda, salt
- Frosting: cocoa, confectioners’ sugar, salt, vanilla, butter
PRO Tip: How to Separate Eggs
Separating eggs means to separate the whites from the yolks. To do this crack one egg and holding it over a bowl with the pointed end of the egg at the top, carefully remove half of the shell. Some of the white will fall into the bowl. To get the rest of the white into the bowl you can pour the egg into your cupped fingers and then slightly spread your fingers apart just enough to let the whites fall through. If you have a lot of eggs to separate (like the four in this recipe) this is much faster and safer way. Be very careful not to get ANY yolk in the whites! Carefully drop the yolks into a second bowl or a measuring cup with a spout.
PRO Tip: Why put the yolks in a measuring cup?
This makes it much easier to add the yolks one at a time to the cake batter. Just slowly pour one in and beat until incorporated before adding the next one. If one or more of them breaks, just add about 1/4 of the total in the cup at a time. Be sure to use a spatula to get every bit out of the cup or bowl!
PRO Tip:
If you want to hasten the cooling of the chocolate/milk mixture, pour it into another bowl so it can cool more quickly. The wider the bowl, the faster it cools – more surface area!
How to make Brooklyn Blackout Chocolate Cake:
- Make the Cake: Whisk together the cocoa powder and boiling water to make a paste and in a saucepan combine the chopped chocolate and milk, warming and stirring until the chocolate melts; whisk a little of the hot milk into the cocoa paste then pour that into the remaining milk mixture and whisk well, then return to the heat for a minute until smooth, and set aside to cool until tepid
- Cream the sugar and butter together then beat in the egg yolks, one at a time, along with the vanilla; slowly add in the chocolate mixture and mix to combine
- Whisk together the flour, baking powder, baking soda, and salt, then using a spatula, slowly mix together the flour and chocolate mixtures
- In a clean bowl, using the whisk attachment, whip the egg whites until they form soft peaks, then gently fold the egg whites into the chocolate batter; pour the batter into a buttered and floured 9×13-inch baking pan and bake at 350°F for 30 to 35 minutes or until the top springs back when pressed gently and cool on a rack in the pan until completely cooled
- Prepare the Frosting: When the cake is cooled, in a bowl combine the cocoa, 1 cup of the sugar, and the salt; stir in the water and vanilla, scraping the bowl as needed
- Add the butter and remaining sugar, stirring to combine, then beat with a mixer at medium-high speed for a couple of minutes until lightened in color and fluffy; scraped the bowl’s sides and bottom as needed
- When ready, spread over the cooled cake and make beautiful swirls or pipe decorations on the top; store, covered, at room temperature or in the refrigerator if your kitchen is warm
PRO Tip:
When you are whipping egg whites, there cannot be even a speck of yolk or grease in the bowl or they won’t expand the way you need them to. Be very careful when separating the eggs! Here is more information on whipping egg whites.
PRO Tip:
Using a stand mixer will save you a lot of arm work because of the extended beating times called for in this recipe. Either stand or hand mixers will work, especially if your hand mixer has a whisk attachment, but a stand mixer gives you the freedom to move around the kitchen while it does the work for you.
PRO Tip:
If you can afford it, buy a second bowl for your stand mixer. When you get recipes like this one, it saves you from having to move the batter to another bowl and washing the bowl well before whipping the egg whites. My second bowl has more than paid for itself in reduced stress and craziness in the middle of recipes!
Recommended Tools (affiliate links; no extra cost to you):
- Kitchen scale
- Mixing bowls
- Dry measuring cups and measuring spoons
- Measuring cup with a spout
- 9×13-inch baking dish
- 1 Quart Saucepan
- Stand mixer or hand mixer
Gluten-Free Tips:
You can adjust any recipe to gluten-free by using 120 grams per cup of my favorite gluten-free flour blend. If you are using another brand of gluten-free flour, whisk the mix, spoon it lightly into a measuring cup until mounded, level off the top with a straight edge, and weigh the flour left in the cup. Use that weight as your standard per cup of that specific flour. Do this for each flour blend you use. Commercial blends such as Pamela’s All-Purpose Artisan Blend, Bob’s Red Mill 1-to-1, or King Arthur Measure for Measure are all good choices.
All recommended ingredients are gluten-free as of the writing of this article. Always check to be sure the recipe hasn’t changed and is no longer safe.
Brooklyn Blackout Chocolate Cake (Gluten Free)
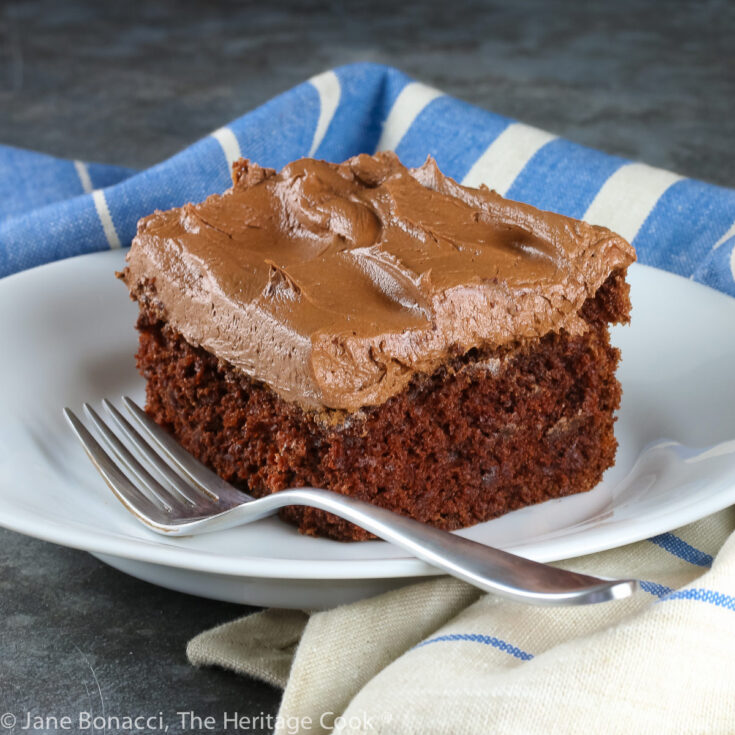
This cake is rich and decadent and oh so chocolatey. I have simplified it by changing it from a layer cake with a pudding filling to a 9x13-inch pan cake topped with a luscious chocolate frosting. No slicing of layers necessary! Note that some steps take extra time, so be sure to plan ahead.
Ingredients
Chocolate Cake
- 1/2 cup (42g) unsweetened Dutch-process cocoa
- 1/4 cup boiling water
- 2 oz (57g) bittersweet chocolate, chopped
- 3/4 cup (170g) milk
- 2 cups (400g) granulated sugar
- 2 sticks (1 cup; 227g) butter, at cool room temperature
- 4 large eggs, separated (yolks in one bowl, whites in another)
- 2 tsp vanilla extract or paste
- 2 cups (240g*) gluten-free 1-for-1 flour or regular all-purpose flour
- 1 tsp baking powder
- 1 tsp baking soda
- 1 tsp kosher salt
Chocolate Buttercream Frosting
- 1-1/4 cups (106g) unsweetened cocoa powder
- 4 cup (454g) confectioners’ sugar, divided
- 1/4 tsp kosher salt
- 1/3 cup (74g) hot water
- 1 tbsp (14g) pure vanilla extract
- 2-1/2 sticks (20 tbsp; 284g) butter, at room temperature
Instructions
- Make the Cake: Preheat the oven to 350°F. Butter a 9x13-inch baking pan and lightly dust with gluten-free flour, and set aside.
- Place the cocoa in a small bowl and whisk in the boiling water to form a crumbly paste.
- In a small saucepan, combine the chocolate and milk and set over medium heat. Stir frequently as the mixture warms and the chocolate melts, about 4 minutes. Remove from the heat. Whisk some of the heated chocolate milk into the cocoa paste to thin it (stir it well so there are no lumps) and then whisk the cocoa paste into the milk mixture. Return to the heat, stir for one minute until smooth, set aside and cool until tepid. Stir again before using.
- Meanwhile, using a stand mixer or hand mixer, cream the sugar and butter together in a large bowl. Beat in the egg yolks, one at a time, then add the vanilla. Slowly add the cooled chocolate mixture and beat to combine.
- In a separate bowl, whisk together the flour, baking powder, baking soda, and salt. Adding a little at a time, mix the flour mixture into the chocolate batter.
- Take the bowl off your stand mixer and attach the clean whisk attachment. In another very clean bowl (or transfer the batter to another bowl, wash and dry the bowl of your mixer), whip the egg whites on medium-high until they form soft peaks (see notes and links above).
- Using a rubber spatula, stir in about 1/3 of the whites until smooth and the batter is lightened a bit. Then gently fold the remaining egg whites into the chocolate batter until there are no white streaks left. Here is a video to help you with folding technique.
- Pour the batter into the prepared cake pan. Bake for 30 to 35 minutes, until the top just springs back when pressed and a toothpick comes out clean (don’t over bake, or the cake will be dry). Move the pan to a rack and cool until there is no heat left in the center when you hold the pan on your hand.
- Prepare the Frosting: In the bowl of your stand mixer, whisk together the cocoa, 1 cup (113g) of the sugar, and the salt. Mix in the water and vanilla, scraping the bowl a couple of times, to form a paste.
- Add the butter, mix to combine, then add remaining sugar (341g), stirring to combine. Using the paddle attachment, beat the frosting at medium-high speed for 1 to 2 minutes, until lightened in color and fluffy, scraping the bottom and sides of the bowl as needed.
- When the frosting is ready, if it is too stiff, beat in more water (1 tsp at a time) until it is the consistency you want. (I didn’t need to add any additional water.)
- Spread the frosting over the top of the cooled cake with an offset spatula. There will be enough to make beautiful swirls on top. Store, covered, at room temperature or in the refrigerator if your kitchen is warm.
Recipe found at www.theheritagecook.com
Notes
*You can adjust any regular recipe to gluten-free by using 120 grams per cup of my favorite gluten-free flour blend. If you are using another brand of gluten-free flour, whisk the mix, spoon it lightly into a measuring cup without a spout until mounded, level off the top with a straight edge, and weigh the flour left in the cup. Use that weight as your standard per cup of that specific flour. Do this for each flour blend you use. Commercial blends such as Pamela's, Bob's Red Mill 1-to-1, or King Arthur Measure for Measure are all good choices.
Nutrition Information:
Yield:
10Serving Size:
1Amount Per Serving: Calories: 151Total Fat: 3gSaturated Fat: 1gTrans Fat: 0gUnsaturated Fat: 1gCholesterol: 75mgSodium: 363mgCarbohydrates: 24gFiber: 1gSugar: 4gProtein: 6g
The nutritional information for recipes on this site is calculated by online tools and is merely an estimate.
If you enjoyed this recipe, be sure to follow me on social media so you never miss a post:
Create a New Tradition Today!
Welcome! The suggestions here are not intended as dietary advice or as a substitute for consulting a dietician, physician, or other medical professional. Please see the Disclaimers/Privacy Policy page for additional details. Unauthorized use, distribution, and/or duplication of proprietary material from The Heritage Cook without prior approval is prohibited. If you have any questions or would like permission, please contact me. We participate in the Amazon Services LLC Associates Program, an affiliate advertising program designed to provide a means for sites to earn advertising fees by advertising and linking to amazon.com. As an Amazon Associate, I earn a small amount from qualifying purchases without any additional cost to you. This page may contain affiliate links.

