Here in California, it still feels like summer. I am looking forward to cooler days and chilly nights when I can pull on my cozy sweaters and cuddle in front of a fire. And with Halloween and the holidays right around the corner, this is the perfect recipe to share with you guys.
You know how much I love a perfect chocolate cake, especially when there is a creative spin to it. Today’s recipe has a secret ingredient that adds moisture and tenderness, while cutting the calories. It is also extremely appropriate for this time of the year thanks to the secret ingredient … pumpkin!
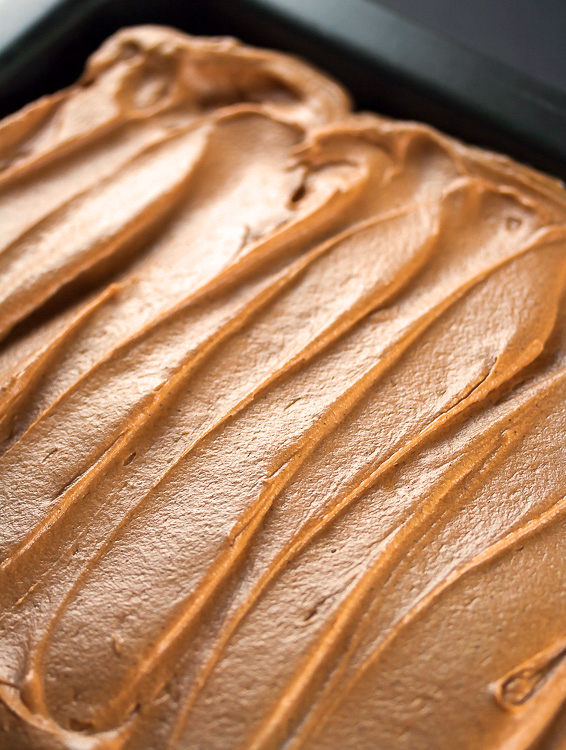
The best frosting I’ve ever made!
I love the idea of using pumpkin (or applesauce) in cakes to replace a portion of the butter and add a healthy element that no one can taste. Especially in chocolate cakes – you can’t taste it at all and kids will never know they are eating vegetables, LOL! This recipe also uses buttermilk for a slight tanginess that balances the sweetness of the frosting.
Do you know there is a difference between canned pumpkin pie filling and canned pure pumpkin puree? The titles seem almost identical which can make it more confusing. Each year when it is time for people to bake Halloween and Thanksgiving desserts, there is inevitably some who pick up the wrong kind of pumpkin. There’s a wrong kind? Yep, the number one seller in the U.S. is Libby’s and they sell both a “Pure Pumpkin Puree” and “Pumpkin Pie Filling”. The pure puree is unsweetened, pure squash pulp. The pie filling is already seasoned and sweetened. They are not interchangeable! If another family member is doing the grocery shopping for you, make sure you are clear about which one you want!
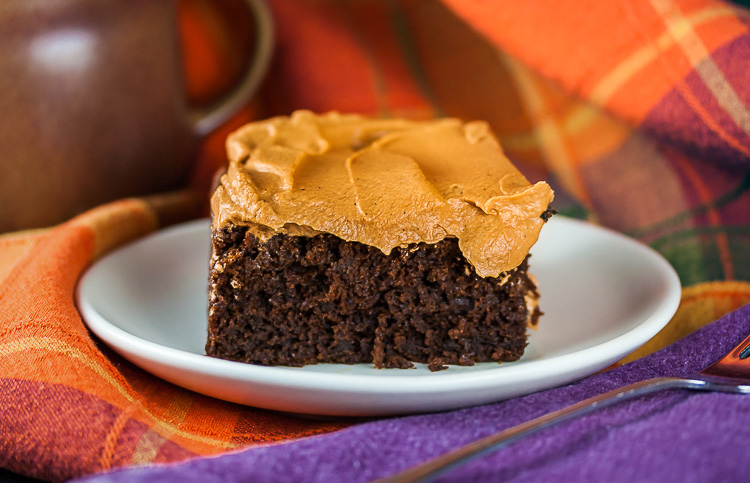
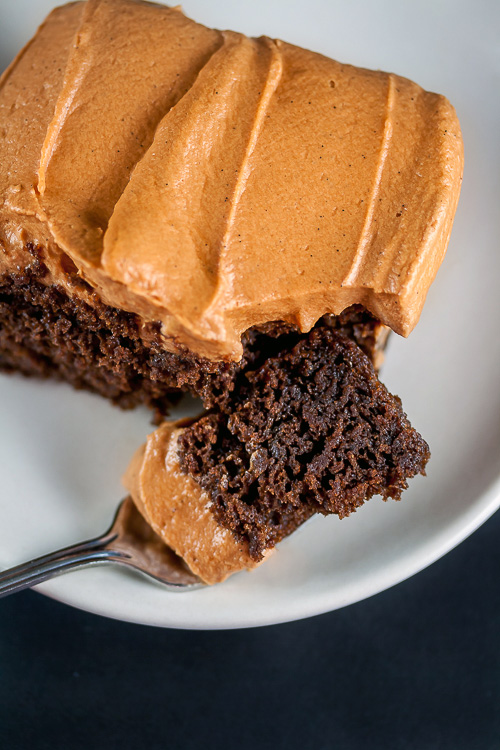
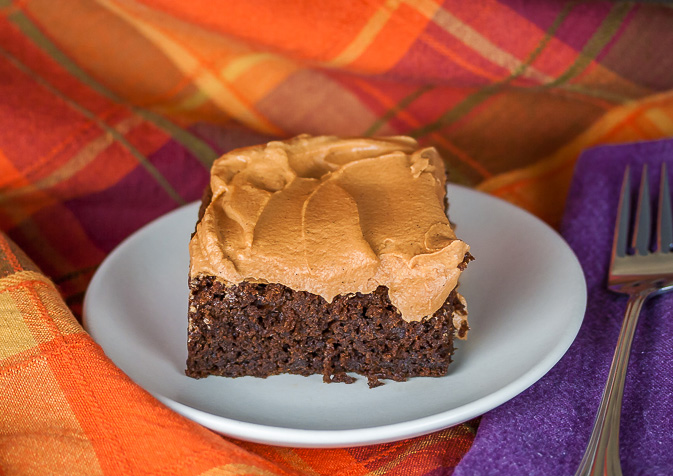
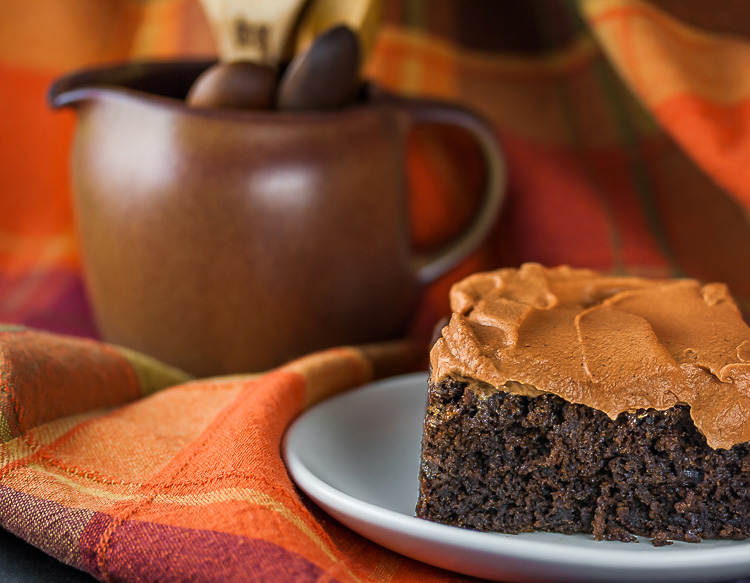
This is a decadently rich, moist, tender cake, but still fairly light. You can enjoy a piece of this cake even after a huge, heavy meal. I could have eaten half this cake all on my own, but it was better to let The Artist help me with it, LOL!
I have a secret for you … are you ready? The Artist does not like cream cheese or cream cheese frosting. Can you imagine? Yep, I know, he is probably the only person on the planet that doesn’t dive for this frosting. BUT, when I blended it with some mascarpone, added a touch of cocoa powder, and lightened it with whipped cream, it suddenly became something he enjoyed. Eureka! We have a winner!
This frosting is really lovely. Light and fluffy, it complements without overpowering the cake. You get the flavor of the cream cheese in a much easier to work with frosting. You can do swirls, swoops, or anything you want to make your cake beautiful. If you want it firmer for more detailed work, just refrigerate after beating. This may well be my new favorite frosting!
If you want, you can use two pumpkin-shaped foil cake pans to bake the cakes! You can decorate each one to look like a Jack O’Lantern, dying portions of the frosting orange and green and then using melted chocolate to make the eyes and mouth. If you are making this for a children’s birthday or Halloween party, definitely get these pans. The kids will love them!
You can enjoy this cake all year long, but it is especially fun for this time of the year!
Jane’s Tips and Hints:
Use gel food coloring instead of liquid because you will need a lot to overcome the color of the added cocoa. Gels are more intense without adding liquid which can change the texture of your baked goods and frostings. If the only coloring you have is liquid, then leave out the cocoa powder.
Gluten-Free Tips:
Make sure you use gluten-free versions of all your ingredients and double check the labels. If you have any questions, contact the manufacturer for more details.
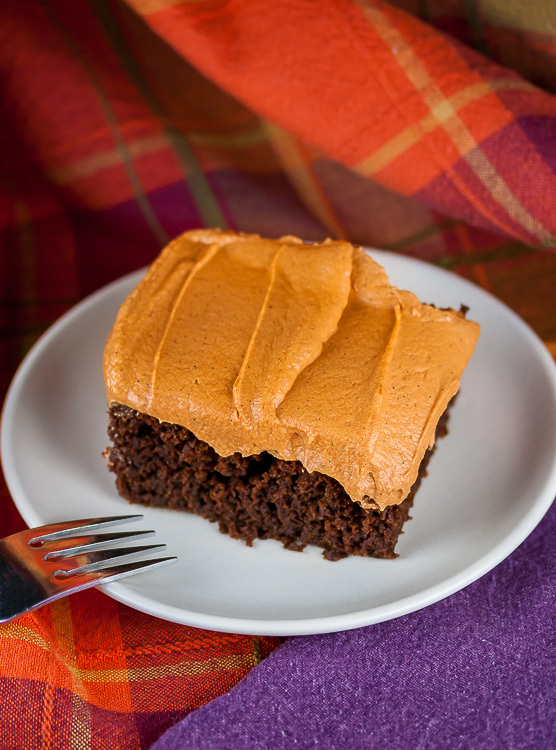

- Chocolate Surprise Cake
- 1-1/2 cups (180g) all-purpose flour or gluten-free flour blend
- (If your GF blend does not have xanthan gum in it, add 1/4 tsp to the dry ingredients)
- 2/3 cup unsweetened cocoa powder, preferably Dutch processed
- 2 tsp baking powder, gluten-free if needed
- 1 tsp baking soda
- 1 tsp espresso powder or instant coffee (not ground coffee)
- 1/2 tsp kosher or fine sea salt
- 1/2 cup buttermilk (low-fat is fine)
- 1 cup pure pumpkin puree (NOT pumpkin pie filling!)
- 1 tsp vanilla bean paste or extract
- 3 large eggs
- 1 egg yolk
- 3/4 cup butter (1-1/2 sticks), softened to room temperature
- 1 cup light or dark brown sugar
- 1 cup granulated sugar
- Chocolate Cream Cheese Frosting
- 3 oz softened cream cheese
- 3 oz mascarpone
- 1-1/2 + 3/4 cups powdered sugar, divided
- 2 tbsp unsweetened cocoa powder
- 1/4 tsp cinnamon (I did not use)
- 1/2 tsp vanilla bean paste or extract
- 1-1/2 cups heavy cream
- 1 tsp vanilla bean paste or extract
- Orange and green food coloring gels (see hint above), optional
- Melted semisweet chocolate for decorating, optional
- Butter two round cake pans, two pumpkin shaped pans, or a 9x13inch baking pan. If you are using foil pans, set them on a baking sheet for support and to make it easier to get them in and out of the oven. Set aside.
- Preheat the oven to 350°F.
- Prepare the Cake: In a medium bowl, combine the flour, cocoa, baking powder, baking soda, espresso powder and salt. Add xanthan gum if needed for gluten-free version (see note above). Whisk until thoroughly and evenly combined.
- In a small bowl, whisk together the pumpkin puree, buttermilk and vanilla until smooth. Set beside your mixer.
- In a measuring cup with a pouring spout, place the eggs and extra yolk. (This kind of cup makes adding the eggs one at a time a lot easier.)
- In your stand mixer, beat together the butter with both sugars until it comes together and cleans the sides of the bowl. Add one egg at a time, beating until completely incorporated before adding the next one. Then alternate adding the flour mixture and the pumpkin mixture, beginning and ending with the dry ingredients and beating until fully incorporated between each addition.
- Turn off the mixer and scrape down the bowl and beater. Be sure there are no hidden pockets of dry ingredients, especially in the center of the bowl. If you find any, beat the batter until incorporated.
- Divide the batter equally between the two pans or pour all of it into the 9-x13-inch pan. Gluten-free batters don’t flow as smoothly as regular batters, they are thicker and a bit gluey; use a spatula to push it into the corners.
- Place in the oven and bake for 35 to 40 minutes, or until a toothpick inserted in the center comes out clean. Remove pan(s) from the oven and set on a wire cooling rack. Let the cake(s) cool completely before frosting.
- Make the Frosting: Beat the cream cheese, mascarpone, 1-1/2 cup of the powdered sugar, cocoa, cinnamon and vanilla bean paste till fluffy.
- In a separate bowl, in a mixer fitted with the whisk attachment, beat the heavy cream until frothy. Add remaining 3/4 cup powdered sugar and the second vanilla. Starting on low, mix until sugar is moistened, then slowly increase the speed to high and beat to firm peaks.
- Gently fold half the whipped cream mixture into the cream cheese mixture until there are no streaks. Add remaining whipped cream and fold in until thoroughly blended with no streaks remaining. If decorating to look like pumpkins, transfer a small amount of frosting to a small bowl and color with green gel. Color the rest with orange gel.
- Decorate Cake(s): For a simple presentation, spread the frosting over the cake and make swoops or swirls to decorate. For cute pumpkin cakes, frost them with the orange frosting and chill for at least 30 minutes before adding any details. The frosting needs to be firm to hold the decorations. With the green frosting, use a Wilton tip #4 for the tendrils and #352 for the leaves. Melt some semisweet chocolate and pipe onto the pumpkin-shaped cakes to create accent lines and make the jack-o-lantern eyes and mouth.
- Refrigerate the cake until serving. Store, covered in the refrigerator.
- Yield: about 12 servings
Create a New Tradition Today!
Let’s connect! If you ever need any entertaining or cooking advice, need to alter a recipe for gluten-free, or want recipe suggestions, don’t hesitate to email me. I can also be found at the social media site links on this page. This post may contain Amazon affiliate links. If you purchase a product via my link, it doesn’t cost you anything and I earn a tiny commission, which helps defray the costs of producing The Heritage Cook blog. Thank you for supporting me.
Welcome to The Heritage Cook Family!
Unauthorized use, distribution, and/or duplication of proprietary material from The Heritage Cook without prior approval is prohibited. This includes copying and reprinting content and photographs. If you have any questions or would like permission, I can be contacted here. Feel free to quote me, just give credit where credit is due, link to the recipe, and send people to my website. The suggestions here are not intended as dietary advice or as a substitute for consulting a dietician, physician, or other medical professional. It is the reader’s sole responsibility to determine which foods are appropriate and safe for their family to consume. The author makes no claims regarding the presence of food allergens and disclaims all liability in connection with the use of this site. Please see the Disclaimers page (https://theheritagecook.com/about/disclaimers/) for additional details.
Thank You!


