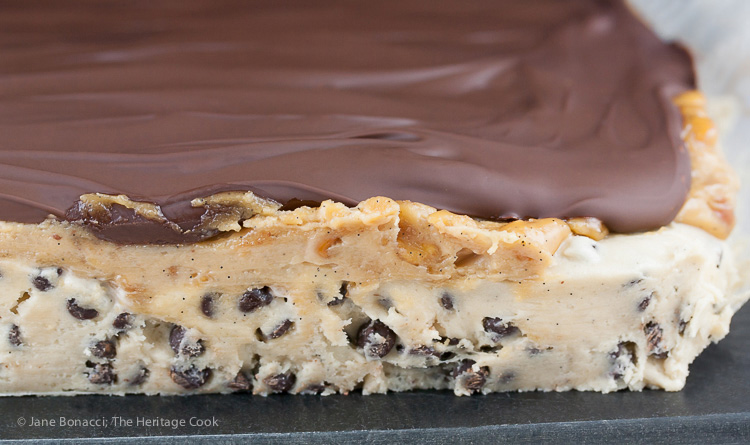
I am the person who always nibbles on the cookie dough before baking. I can’t resist it and sometimes I discover that it needs a little tweaking. I don’t have a fear of raw eggs but a lot of people do, including The Artist. He won’t touch anything until it is done baking. Today’s recipe is the perfect compromise. There are no eggs in the fudge/dough so it is safe to eat unbaked!
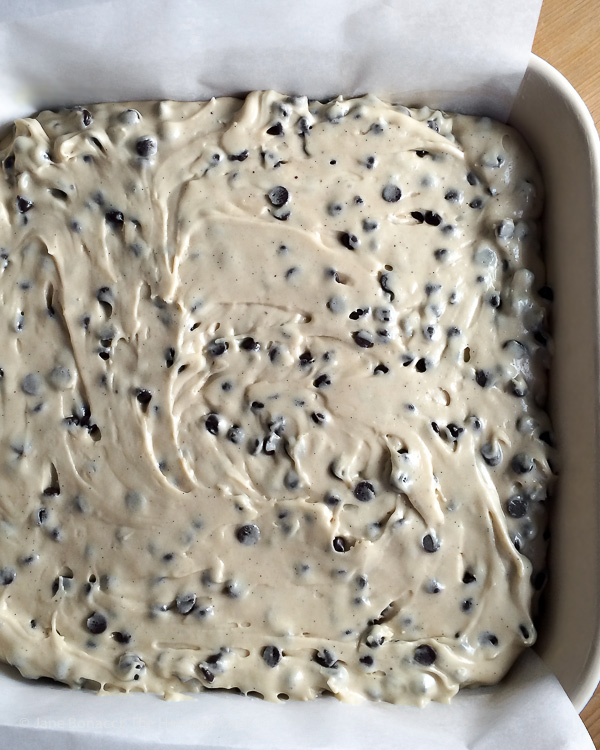
No-bake chocolate chip cookie dough layer
When I saw this recipe I immediately knew I wanted to make it – the only question was how long I would wait. The answer turned out (not surprisingly) I didn’t hold out very long, LOL. These are perfect for hot summer days and I know I will be making them often until the cool breezes of autumn arrive.
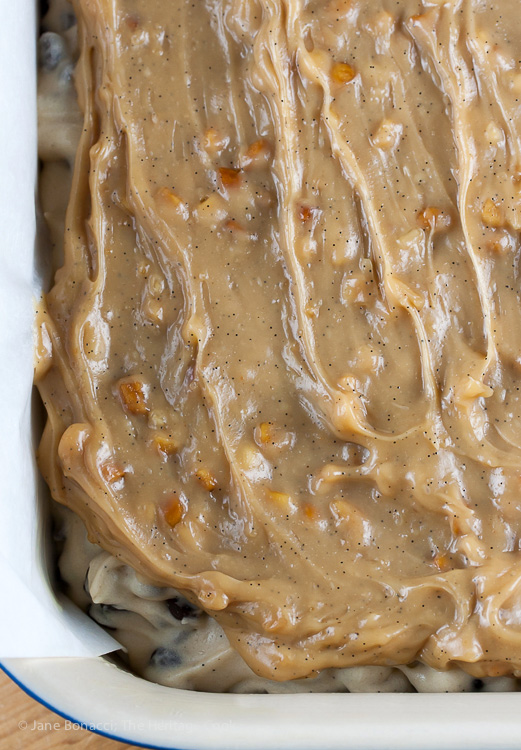
Chunky peanut butter layer
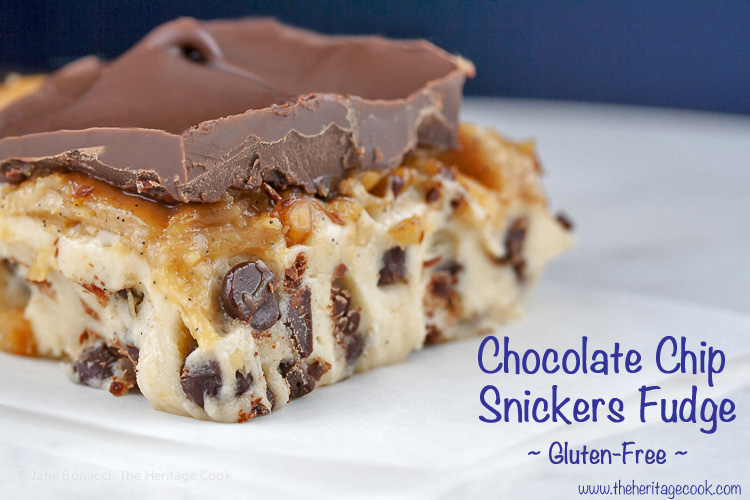
The original recipe by Sue of The View from Great Island is gorgeous! But I wanted to change it up a little in addition to making it gluten-free. I love the combination of chocolate and peanut butter and thought it would be delicious to add a layer under the chocolate frosting. I took one bite and immediately thought of Snickers bars – fantastic fun! It is totally optional and you can leave it out if you prefer. What do you think? Add the peanut butter layer or not?
For the summer these bars have two advantages. First of all, they can be mostly made ahead, giving you more time to focus on other foods on party day. Or make them entirely ahead for an even easier dessert. Secondly, they are best served cool or cold. When the weather is scorching hot, these are the perfect way to cool down at the end of a meal.
I think another fun way to serve these would be to cut the fudge layer into small squares, insert a popsicle stick in one side, dip in melted chocolate and turn them into lollipops. What a fun way to eat treats for the kid in all of us. Oooh, I think I know what I’m making for my next BBQ party!
So get in the kitchen, whip up a batch of this chocolate chip “fudge” and sit back while your family devours them!
Jane’s Tips and Hints:
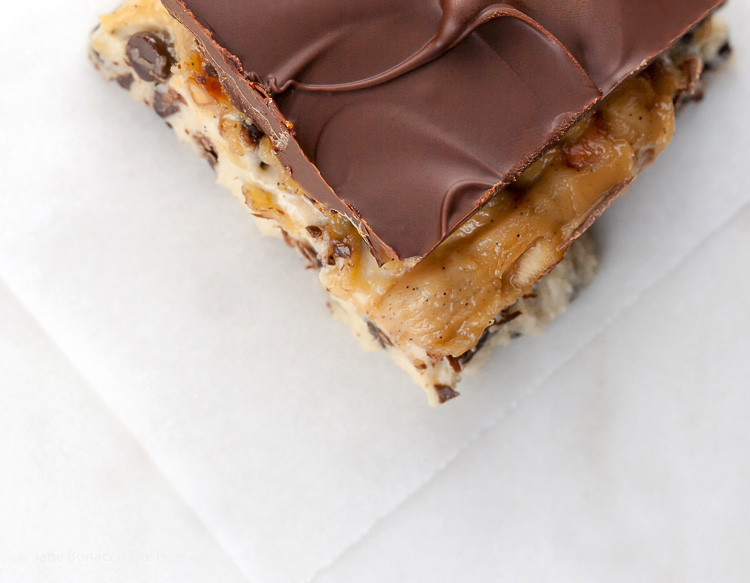
Do as say, not as I do. How many times did I hear that growing up? I got distracted when I was waiting for the chocolate to firm up and it got too hard. I should have paid more attention to the caution I mention in the recipe, LOL. So my chocolate layer snapped when I tried to cut the block into squares. It is still delicious, but not that attractive. I would have loved perfectly cut edges, but it doesn’t always turn out the way you want, sigh.
The only peanut butter I had on hand was chunky which was a little more challenging to get smooth, but it still tastes great. Don’t run out and buy a new jar just for this recipe!
Gluten-Free Tips:
Use a gluten-free flour blend to thicken the fudge layer and make sure the chocolate you use is gluten-free.
- Chocolate Chip Fudge Layer
- 1/2 cup (1 stick) butter, at room temperature
- 3/4 cup firmly packed light brown sugar
- 1 tsp vanilla extract
- 1 (14 oz) can sweetened condensed milk (NOT evaporated milk!)
- 2-1/2 cups all-purpose flour or Gluten-Free flour blend (270g)
- 1 (12 oz) bag (about 2 cups) mini chocolate chips
- Peanut Butter Layer
- 1/2 cup creamy peanut butter, or alternative nut butter if needed, at room temperature
- 1 to 2 tbsp powdered sugar, to taste
- 1 tsp organic vanilla paste or extract
- 2 to 3 tsp heavy cream or milk, if needed
- Chocolate Layer
- 1 (12 oz) bag regular size semisweet chocolate chips
- Butter an 8x8 or 9x9-inch square baking pan and line it with parchment paper, leaving two longer “handles” to help you lift out the bars for easy cutting. Lightly butter the parchment.
- Make the Cookie Dough Layer: Using your standing mixer fitted with the paddle attachment, cream the butter and sugar together until light and fluffy, about 3 minutes. Turn off the motor and scrape down the sides and bottom of the bowl as well as the paddle. Add the vanilla and beat another minute on medium speed. Add a little of the sweetened milk, then a little of the flour, mixing after each addition, and alternating the two until all of the milk and flour have been incorporated. Turn up the mixer to medium speed for 30 seconds to lighten the mixture a little. Mix in the chocolate chips.
- Turn the dough out into the prepared pan and pat down evenly with your hands. The dough is very sticky, so lightly flour your hands to help. (Use gluten-free flour if needed.) Smooth the top with an offset spatula to remove any indentations. Cover and refrigerate until firm, (about 4 hours) or even overnight if you like. I like to make this a day ahead, making them seem less time consuming. Once fully chilled the texture will be similar to fudge, thus the recipe name.
- Make the Peanut Butter Layer: Combine the peanut butter and powdered sugar in the bowl of your standing mixer. Beat about 2 minutes until thoroughly combined. Add the vanilla and 2 tsp of the cream and beat until smooth. Taste and add more sugar if desired. The mixture should be creamy and smooth. Add more cream as needed for a good spreading consistency. If it gets too thin, add more powdered sugar.
- Spread over the top of the cold fudge, smoothing it nearly to the edges with an off-set spatula. Set aside while you melt the chocolate.
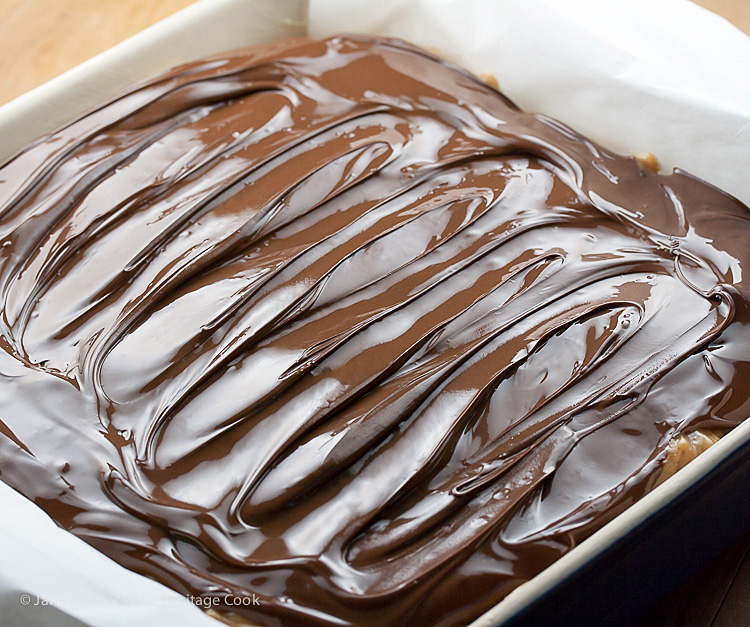
- Make the Chocolate Layer: Place the chocolate chips in a microwave-safe bowl (preferably heavy glass) and heat for 1 minute. Continue heating in short 15 second bursts, stirring after each one until the chocolate is nearly all melted. Remove from the microwave oven and stir until the last of the chips are fully melted and the mixture is smooth and glossy.
- Let the chocolate cool for about 5 minutes, and then pour onto the peanut butter layer. Spread out evenly with an off-set spatula.
- Cut into Squares and Serve: Return the frosted pan to the refrigerator to firm up the topping - about 15 minutes. Don’t wait too long or the chocolate topping may crack when you try to cut the squares. It is easiest to remove the frosted dough from the pan using the parchment handles; use a knife to release the fudge from the sides not covered by the parchment. Set on a cutting board and cut into 16 small squares. This is a very rich dessert, so smaller pieces are a perfect single serving.
- Once cut, you can carefully lift the fudge back into the pan and refrigerate until firm. Keep the fudge chilled until about 15 minutes before serving. The chocolate will melt quickly in the heat.
- Yield: 16 pieces
Create a New Tradition Today!
Let’s connect! If you ever need any entertaining or cooking advice, need to alter a recipe for gluten-free, or want recipe suggestions, don’t hesitate to contact me. Thanks for joining the Heritage Cook Family!
Unauthorized use, distribution, and/or duplication of proprietary material from The Heritage Cook without prior approval is prohibited. This includes copying and reprinting content and photographs. If you have any questions or would like permission, I can be contacted via email. Feel free to quote me, just give credit where credit is due, link to the recipe, and please send people to my website, www.theheritagecook.com.The suggestions here are not intended as dietary advice or as a substitute for consulting a dietician, physician, or other medical professional. It is the reader’s sole responsibility to determine which foods are appropriate and safe for their family to consume. Please see the Disclaimers page for additional details.
Thank You!



Lori R.
This sounds so good, Jane! I love the overhead shot down on the fudge. I bet it is such a treat!
Jane Bonacci
Thanks Lori! I sent some home with my father-in-law so I wouldn’t be tempted to eat the whole thing, LOL!