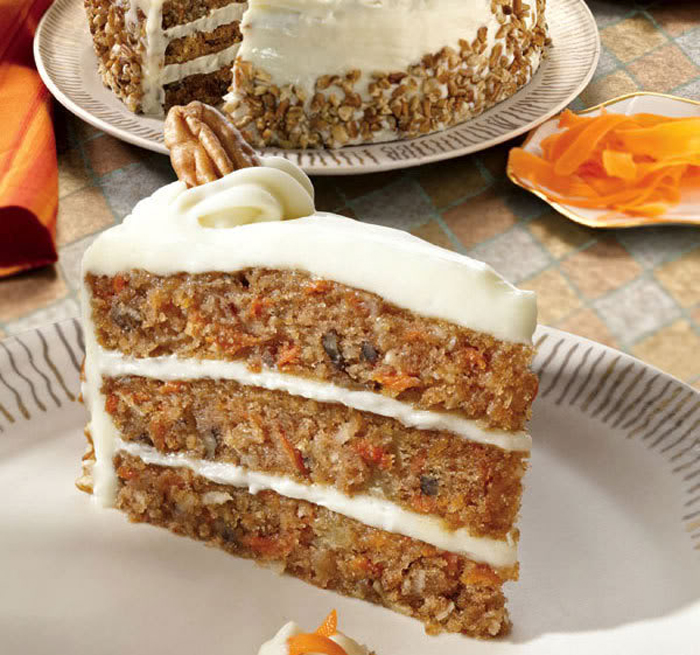
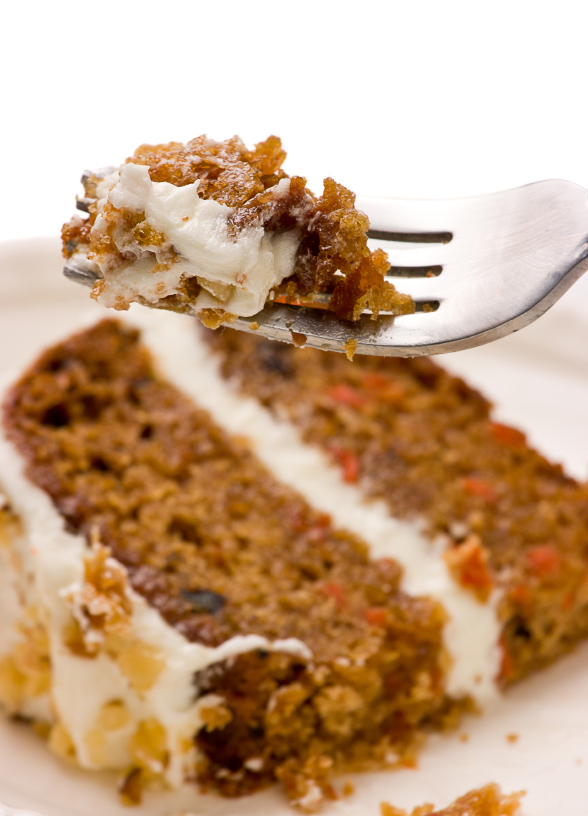
One of this country’s all-time favorite cakes is a sweet concoction made with shredded carrots, raisins and spices. Talk about the perfect way to get kids to eat their vegetables! If only it didn’t take 2 to 3 slices to equal one serving, LOL.
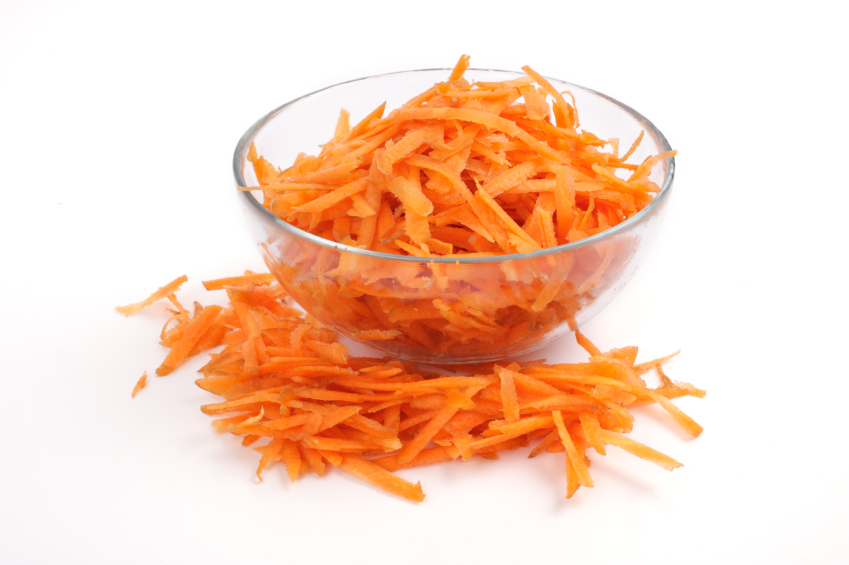
Years ago a friend of mine had just upgraded to a new food processor and gave me his old Robot Coupe (the first commercially sold food processor). I brought it home and all excited to try it out, I bought a ton of carrots to play with. My friend Karen was over that night and we decided to make one of her favorite desserts, Carrot Cake. I was out of a couple of ingredients and went to a neighbor to borrow them. In the 15 minutes I was gone Karen had shredded ALL 5 POUNDS of the carrots!
Not only did I not get to do the shredding myself, but now I had to figure out what to do with all those blasted carrots! So, in addition to the carrot cake, we made carrot salad, carrot muffins, carrot bread, carrot cookies and anything else we could think of. We had a lot of fun making everything but I think the real winners were our co-workers who got to eat everything.
The lesson of that day? Never leave your friend alone with a food processor and a ton of carrots, and if you do, it is OK to throw out some of the shredded carrots!
In addition to baked goods, shredded carrots are often used to stretch meat dishes such as spaghetti meat sauce and meatloaf. This is a wonderful way to feed more people with less meat. If you have ever added sugar to a tomato sauce to help balance the acid levels, try adding shredded carrots. Their natural sugars will offset the acids, leaving you with a sauce that is well-balanced and flavorful.
Making layer cakes is really fun unless you have to transport them. I just played with xanthan gum this weekend and discovered what everyone has been talking about. It has virtually no flavor but it is amazing. It made a frosting stay fluffy and solid no matter what I tried to do to it. It made me think that if you are making this cake for an event you have to travel to, a pinch of xanthan gum or any other stabilizer you have would be very helpful. You certainly don’t have to run out and buy it, but if you have it on hand, give it a try!
If you buy carrot cake from a bakery you know how beautiful the decorations can be. The surprising thing is they are not hard to make on your own! You can make a royal icing, tint it and pipe out “carrots” and their green tops onto parchment paper. Once dried, you can carefully place them on top of the cake. You can also make beautiful molded objects with tinted marzipan. I have included the directions on how to do that if you want to have some real fun!
When you are tinting any food ingredient, you will most likely reach for the normal liquid food coloring that you buy in grocery stores. But I urge you to buy gel colorings. They have a much more intense color so you use less which affects the flavor less and because they are gel and not a liquid, they do not alter the consistency of your products. The food colors that I use are made by Americolor. You can find them at UltimateBaker.com.
If you’re not comfortable using a piping bag to make the decorations and don’t want to bother with marzipan, just use chopped nuts and press them over the sides and in the center of the top. This is where using a cardboard circle is really helpful. Hold the cake on the palm of your less dominant hand over a baking sheet. Without tipping it, very gently press the chopped nuts against the side of the cake with your other hand, letting the excess fall back onto the baking sheet. Working slowly and spinning the cake on your palm, keep repeating until you have the amount of coverage you want.
If you are looking for a festive, seasonal dessert that all of your guests and family will love, look no further. This cake, from one of the premiere bakers and cookbook authors of our time, is guaranteed to make everyone happy and sated!
Jane’s Tips and Hints:
While the recipe calls for regular raisins, I recommend you try using golden raisins instead. They are much moister and sweeter and don’t absorb liquid from the cake. If you decide you want to include raisins in the cake, make them golden raisins.
Kitchen Skill: Using Xanthan Gum or other Stabilizers
While you will typically see this ingredient in gluten-free recipes, stabilizers such as xanthan gum can be used to stabilize any emulsion. Like you would add pectin to thicken jams, stablizers can be used as a gelling agent to increase the thickness of mixtures and keep them from melting or falling. This is important in substances like meringues and frostings. They are also often used to keep food ingredients which do not mix well, like oil and vinegar, remain emulsified after blending.
The most common stabilizers are alginic acid, agar agar, carrageenan, gelatin, pectin, xanthan gum and lecithin. Used in many products, they are most often seen in ice cream, low-fat spreads, dairy products, salad dressings and mayonnaise.


- Cake
- 2-2/3 cups (10.5 oz) unbleached all-purpose flour
- 1-1/2 tsp baking powder
- 1 tsp baking soda
- 1 tsp salt
- 1 tbsp unsweetened (alkalized) cocoa powder
- 2 tsp cinnamon
- 1-1/2 cups (10.5 oz) granulated sugar
- 1/2 cup minus 2 tsp, firmly packed light brown sugar, preferably Muscovado
- 1-1/4 cups (10 fl oz) canola or safflower oil, at room temperature
- 4 large eggs (3/4 cup or 6 fl oz), at room temperature
- 2 tsp pure vanilla extract
- 3 cups (1 lb) firmly packed coarsely shredded carrots
- 1 cup (5 oz) raisins, tossed with 2 tsp flour (optional)
- 1 cup chopped walnuts, pecans, or almonds (optional)
- Frosting
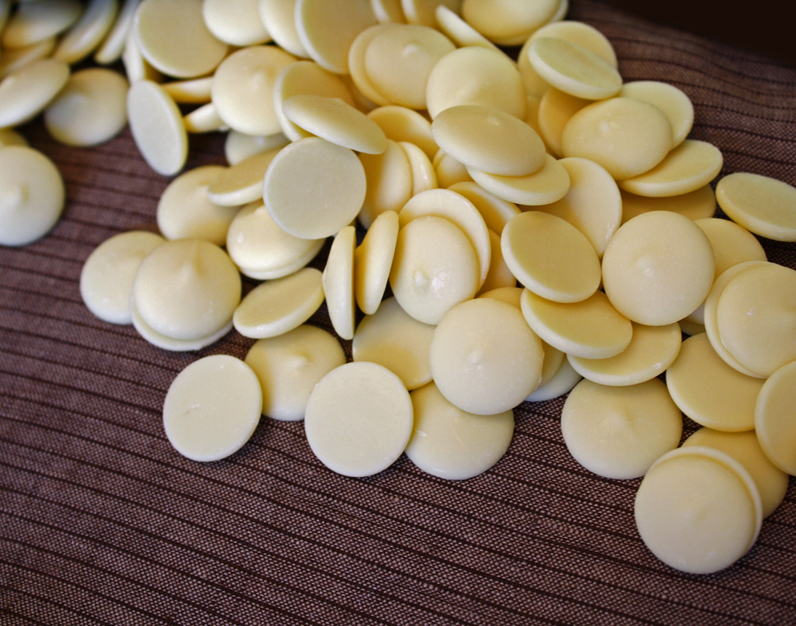
- 9 oz white chocolate containing cocoa butter, chopped
- 12 oz cream cheese, softened but still cool (about 65°F/19°C)
- 6 tbsp (3/4 stick) unsalted butter, softened but still cool (about 65°F/19°C)
- 1-1/2 tbsp (4-1/2 tsp) crème fraiche or sour cream
- A pinch of xanthan gum (optional)
- Chopped walnuts, pecans or sliced almonds, for garnish (optional) - match them to whatever you used in the cake
- Special Equipment
- 2 (9x2-inch) round cake pans or 3 (7 or 8-inch pans)
- Butter the cake pans, line the bottoms with parchment circles and then buttered. Set aside.
- Set an oven rack in the lower third of the oven and preheat to 350°F at least twenty minutes before baking.
- Make the Cakes: In a medium bowl, whisk together the flour, baking powder, baking soda, salt, cocoa, and cinnamon. Sift the flour mixture onto a large piece of parchment.
- In the bowl of a stand mixer fitted with the flat beater, beat the granulated sugar, brown sugar, oil, eggs, and vanilla on medium speed for 1 minute, or until well blended. Add the flour mixture and beat on low speed for about 20 seconds, just until incorporated. Add the carrots, half the raisins, and all of the nuts, if using, and beat for another 12 seconds.
- Using a silicone spatula, scrape the batter evenly into the prepared pans and smooth the surface with a small offset spatula. Each will be just under half full. If using them, scatter the remaining raisins evenly on top of the batter in each pan. Use the back of a fork to push them gently into the batter.
- Bake for 45 to 55 minutes, or until a cake tester inserted in the centers comes out clean and the cakes spring back when pressed lightly in the centers. The cakes should just start to shrink from the sides of the pans.
- Let the cakes cool in the pans on a wire rack for 10 minutes. Run a small metal spatula between the sides of the pans and the cakes, pressing firmly against the pans, and invert the cakes onto wire racks that have been coated lightly with nonstick cooking spray. To prevent splitting, reinvert the cakes so that the tops are up. Cool completely.
- Make the Frosting: Heat the chocolate until almost completely melted. Use a small microwavable bowl, stirring with a silicone spatula every 15 seconds (or use the top of a double boiler set over hot, not simmering, water, stirring often - do not let the bottom of the container touch the water.)
- Remove the white chocolate from the and using the silicone spatula, stir until fully melted. Allow to cool until it is no longer warm to the touch but is still fluid.
- In the bowl of a food processor, process the cream cheese, butter, and crème fraiche for a few seconds until smooth and creamy. Scrape down the sides. Add the cooled melted white chocolate and pulse it in a few times until it is smoothly incorporated.
- If the frosting seems too soft to spread on the cake, you can put it in the refrigerator for a few minutes to firm up.
- Assemble the Cake: Spread a little of the frosting on a 9-inch cardboard round or serving plate. Set one cake layer on the frosting smear. This will help keep the cake from sliding around. To keep the edges clean, slip a few strips of waxed paper or parchment under the edges of the cake (you will remove them later). Spread about 3/4 cup of the frosting over the top of the cake layer, stopping just before the edges. The weight of the upper layer will push the frosting out a little. Set the second layer on top. Frost the top and sides with the remaining frosting. Remove the paper slips from beneath the cake and discard.
- If you have made a 3-layer cake, just use less frosting between the first and second layers, so you have plenty to put between the second and third. Finish as described above.
- This cake is delicious served cold or at room temperature. Store, covered, in the refrigerator for up to 4 days.
- Additional Decorations, optional: If you want you can pipe additional frosting around the bottom and top edges, using a decorative tip. You can tint some of the frosting to make mini carrots and leaves on the top. If you are a little more ambitious you can also decorate the cake with tinted marzipan carrots and leaves.
- Yield: 16 to 20 servings
- 1 to 2 packages of ready-made marzipan (look for it in a candy store or the baking aisle of your local grocer)
- Food coloring (liquid or gel)
- 2 to 8 small stainless steel, glass or stain-safe ceramic bowls (one per color you need for your creations)
- Paper towels
- Toothpicks
- Dish of soap and water
- The first thing to do is figure out what sort of creature or object you and the kids would like to make. Then you'll need to figure out what colors you will need to make it.
- Rather than painting the figure once you've made it, you will be coloring little batches or marzipan beforehand using different food colorings.
- To color your marzipan, break off an amount and place it in a stainless steel bowl. The dye may stain some plastic and ceramic bowls.
- Now add 2 to 3 drops of the food coloring you plan to use. Blend in the coloring by rolling the marzipan gently between your fingers. (If you don’t want to stain your hands, put on non-powdered latex gloves before starting tinting.)
- If you are making orange out of yellow and red, start out with equal drops of each color and blend before you add more of one or the other to reach the shade of orange you are after. If you have mixed the color in thoroughly, there won't be any streaks in the marzipan.
- Keep blending different colors into different pieces of marzipan until you have little bowls for all the colors you need.
- They should be stored in a plastic container or covered in plastic wrap at room temperature. Candy will stay soft, if covered, for a couple weeks. Otherwise they could deteriorate.
- Shape them as desired. You can use the back of a knife to make indentations to replicate the ridges on carrots or the veins in leaves. Let them firm up before carefully placing on the cake.
Thank You!


foodie @ Tasting Spot
i really like your food pictures and want to invite you to try out tastingspot.com. it’s for anyone that just wants another place to submit photos and share it will other foodies. It’s still in beta version, but would love for you to start adding some photos and help get it going.