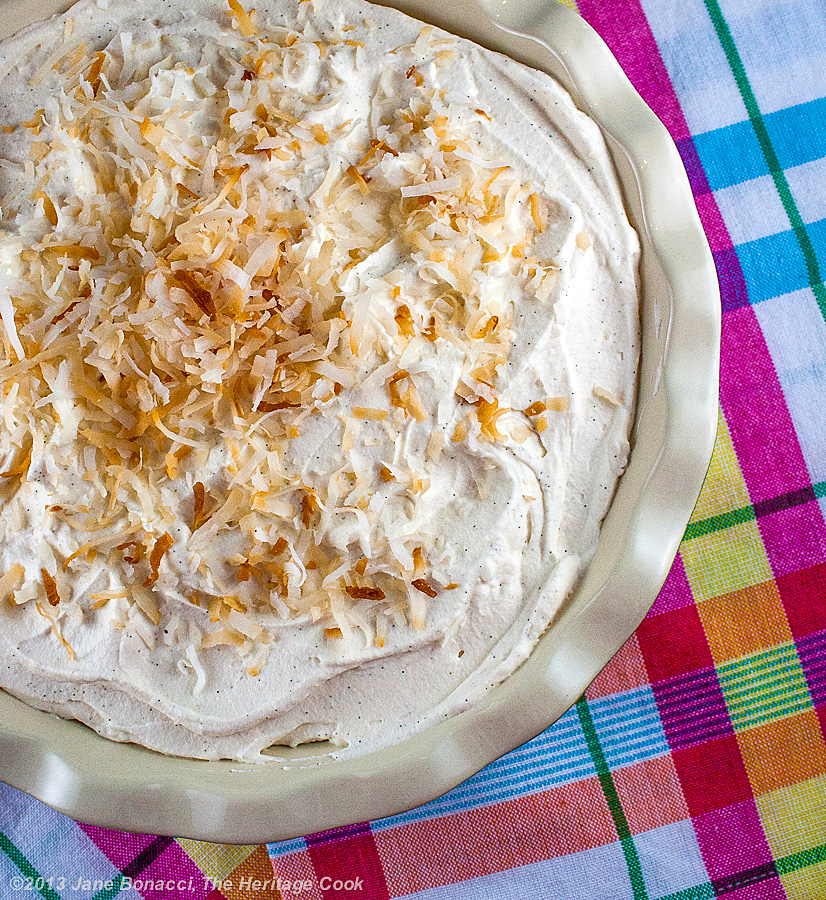
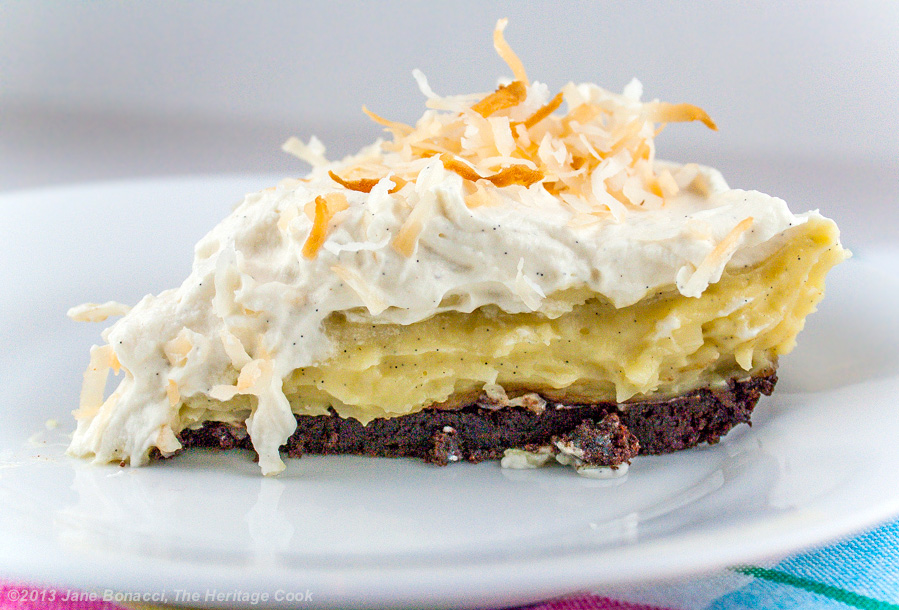
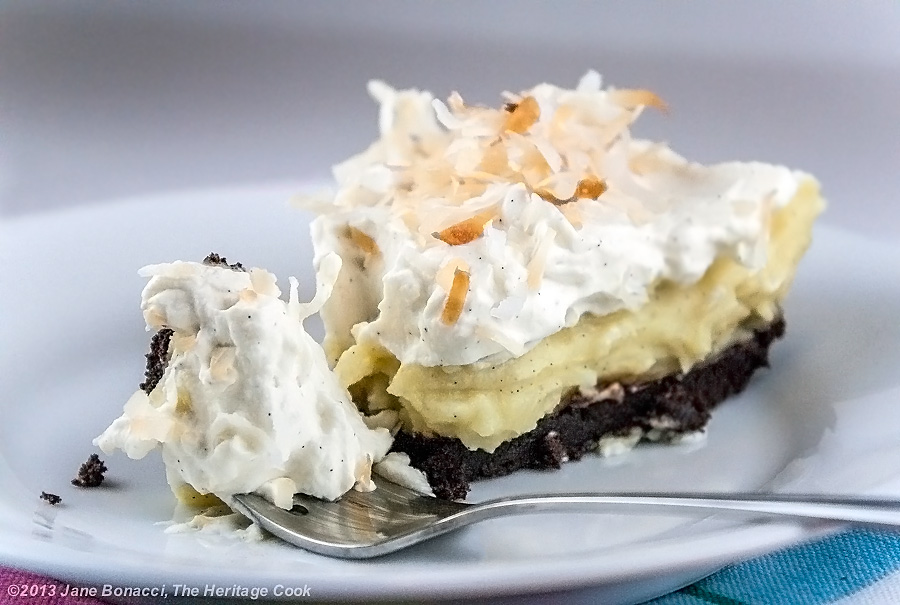
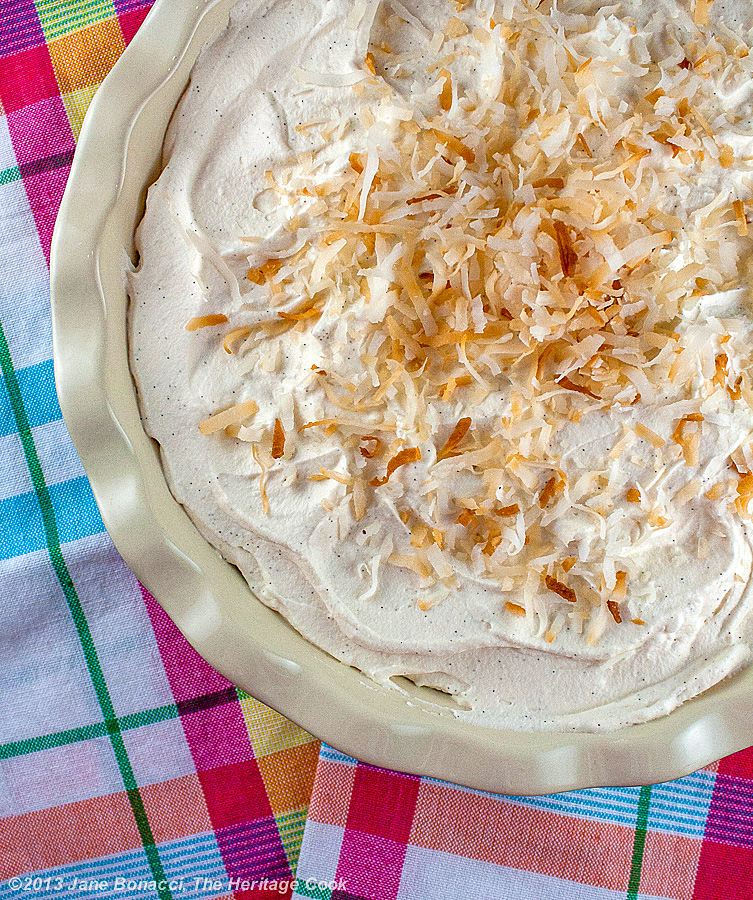
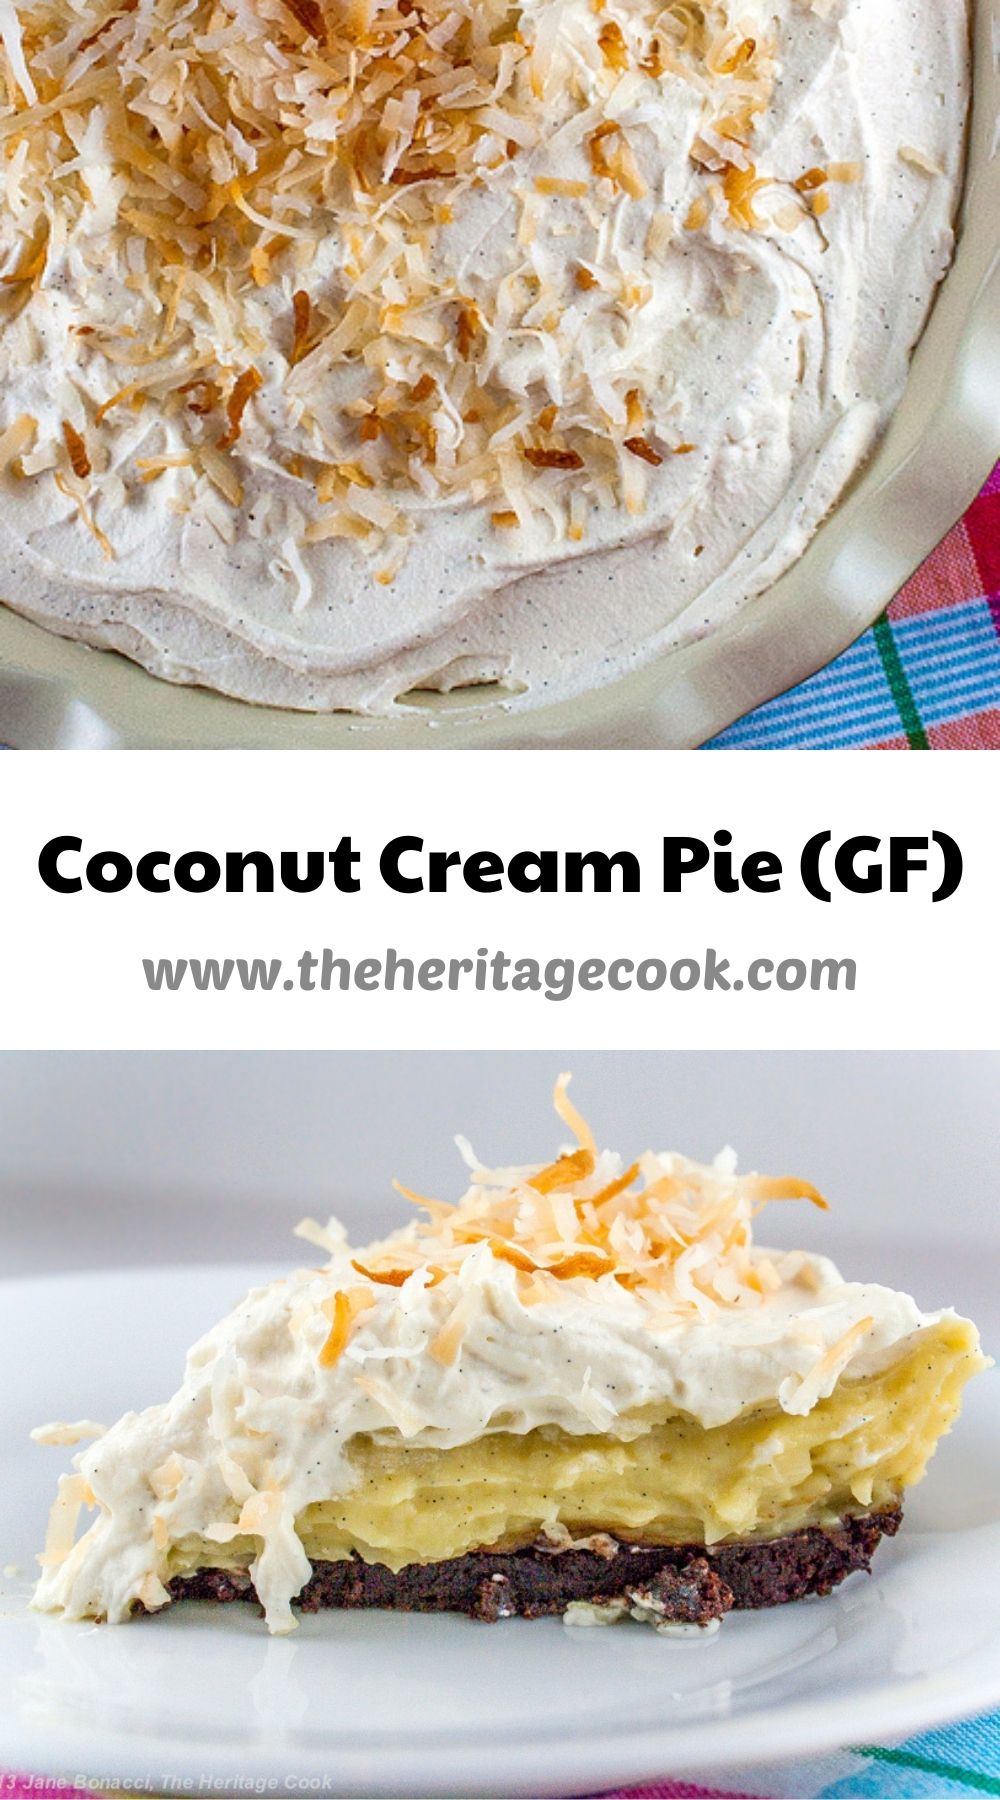
Cream pies are a beautiful thing, with towering billows of whipped cream perched on top of the sumptuously flavored fillings, all encased in a rich crust. There are many different kinds, but my favorite is this Coconut Cream Pie.
Today’s recipe is adapted from Lisa Schroeder, the owner of Mother’s Bistro & Bar in Portland, Oregon. At the restaurant, they serve traditional homemade favorites that have been refined by classically trained chefs. This means you get to relive your childhood memories, but the meal surpasses anything you’ve ever had!
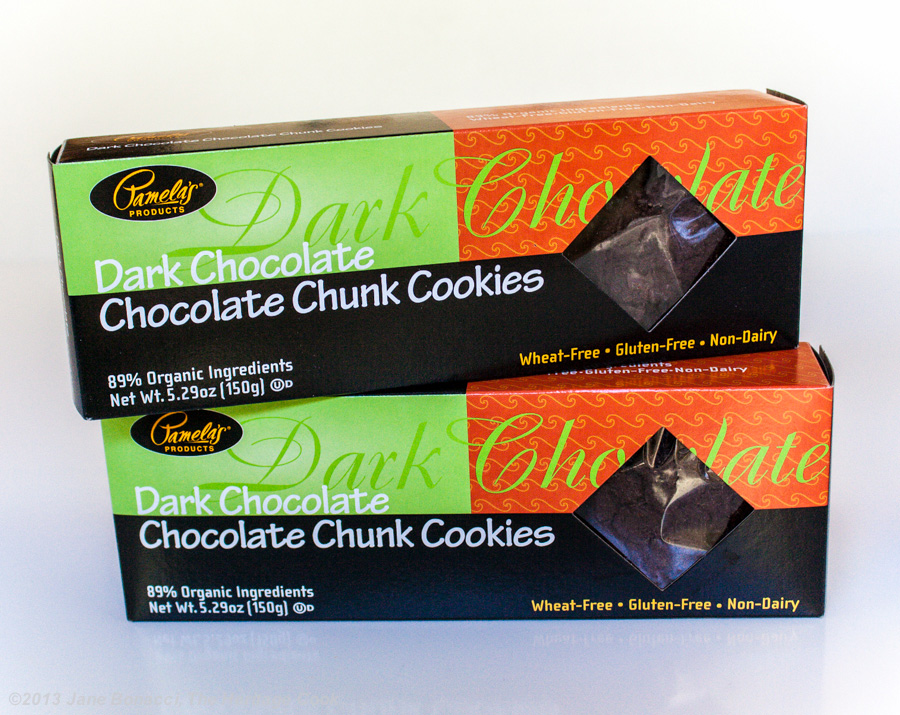
The gluten-free cookies I used to make the crust
Lisa realized that there was no place to get the kind of homemade foods she wanted to make but didn’t have the time for. She attended the Culinary Institute of America, graduated with honors, worked at Lespinasse and Le Cirque in New York City, apprenticed at restaurants in France learning about regional cuisines and products.
In 2000, Lisa’s dream of opening the restaurant she had long imagined became a reality. Mother’s Bistro & Bar opened to rave reviews and continues to be one of Portland’s favorite places to dine. The Artist and I had the opportunity to eat there and are delighted it has survived the recent restaurant closures, and is due to reopen this week.
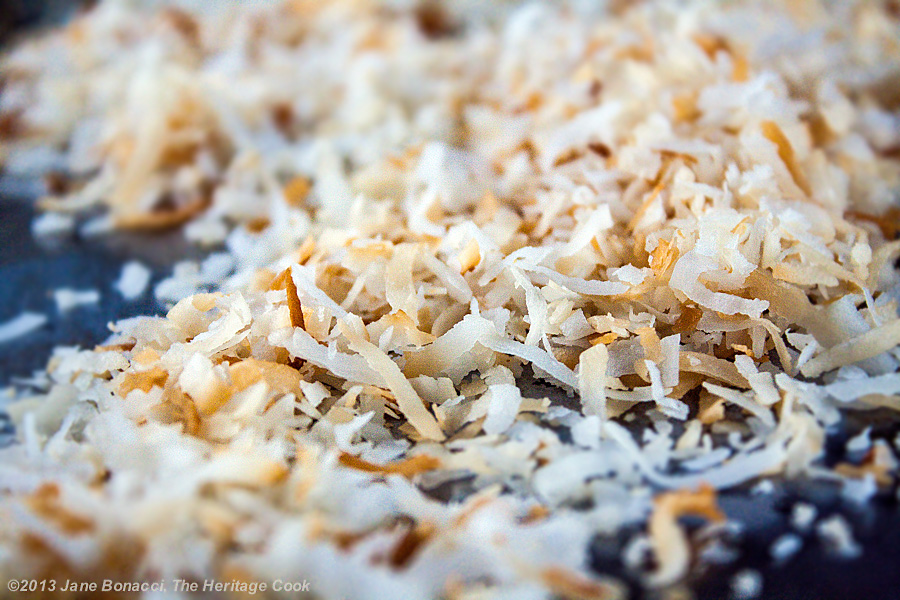
Toasted Coconut
I have always loved coconut cream pie but the rest of my family had other favorites. Over the years I made dozens of pecan, pumpkin, cherry, sugar, and lemon meringue pies. I was an adult and living on my own before I ever made my own coconut cream from scratch. The first one wasn’t the best and I realized that it wasn’t as simple as it seemed.
When I wanted to improve on the results, I turned to Lisa’s cookbook – Mother’s Best: Comfort Food That Takes You Home Again – and I am so glad that I did!!
Most cream pies are made with a flaky pastry crust, but Lisa’s utilizes a chocolate cookie crust that perfectly complements the coconut flavor and of course makes this dessert perfect for Chocolate Monday! It is also easier to adapt to gluten-free if you need to. If you want to experiment, I think ginger cookies, vanilla wafers, or spice cookies would also make wonderful bases for the crust.
Getting the perfect filling texture is an experiment in chemistry. Creamy fillings are a balance of liquid and thickening agents. You want it creamy and thick, but not so thick that a fork can stand up in it. When you are making this, if you feel you need to add a little more milk or cream, go ahead. Use your best judgment because there are many variables that can alter your results.
I hope you enjoy today’s pie as much as I have. I’m eating more slices for lunch and will need to give the rest of the pie away to friends or I will eat the entire thing myself, LOL!
Happy Chocolate Monday my friends!
Did you enjoy this recipe? Let me know in the comments, I love hearing from you!
Key Ingredients for Coconut Cream Pie:
- Chocolate wafer cookies, gluten free if needed, crushed
- Unsalted butter, whole milk, heavy cream, vanilla paste
- Eggs, sugar, salt, cornstarch, sweetened coconut
- Coconut rum or coconut extract plus milk
- Confectioners’ sugar, extra toasted coconut for garnishing
PRO Tip:
Be prepared that this pie needs to chill in the refrigerator at least 4 hours so plan ahead. You can make the crust and filling a day ahead and hold in the refrigerator. Then whip the cream and top the pie just before serving.
How to Toast Coconut:
Spread sweetened coconut out on a baking sheet and place in a preheated 350°F oven. Cook for a 2 to 3 minutes, toss with a spatula or fork, spread it back into a single layer, and continue baking until some of the pieces are turning golden brown. Remove from the oven and toss a few more times as it is cooling. This will help it finish toasting without burning.
PRO Tip:
Have you discovered vanilla paste yet? It is packed full of the seeds from vanilla beans but is a lot less expensive. I keep a bottle of it in my cupboard and use it whenever I want an extra boost of vanilla flavor or the speckles of vanilla in my baked goods.
How to make Coconut Cream Pie:
- Make the Crust: Crush the cookies and mix with melted butter; press into a pie plate and up the sides then bake until crust is firm to the touch
- Prepare the Filling: Scald the milk, cream and vanilla paste and set aside to steep
- Mix together the egg yolks, sugar, salt, and cornstarch, whisking well; meanwhile add the toasted coconut to the cream mixture and return to a simmer
- Temper the egg mixture with about 1/2 cup of the hot cream, drizzling it slowly in while whisking constantly; then pour the warmed eggs back into the cream, whisking constantly
- Bring to a boil, stirring constantly so you don’t scramble the eggs; reduce heat to low and cook until very thick stirring constantly
- Remove from the heat, stir in the butter and flavoring; cool to lukewarm the pour into cooled pie shell
- Place a piece of plastic wrap directly on the surface to keep a skin from forming; refrigerate at least 4 hours before topping and serving
- Make the Topping: Whip the cream and vanilla with a mixer until frothy then sprinkle in the sugar and beat on medium-high speed to stiff peaks
- Spread the whipped cream over the top of the pie (remove the plastic wrap first!), sprinkle with reserved toasted coconut if desired and serve
Recommended Tools (affiliate links; no extra cost to you):
- Food processor
- Hand mixer or Stand mixer
- Baking sheet
- Silpat or parchment paper
- Pie plate
- Pie server
PRO Tip:
If you use vanilla beans in your coconut cream pie, after you’ve steeped them in the milk and cream, scrape the seeds into the mixture and remove the pods. Rinse, pat dry, and set out to dry overnight. Then tuck them into your sugar bowl for infused vanilla sugar!
Gluten-Free Tips:
Use gluten-free chocolate cookies to make the crust. If they are really crunchy cookies, bake as directed with the butter. If they are softly baked, you may want to toast them lightly in the oven after you’ve ground them in the food processor but before adding in the butter. This will take a little of the moisture out of them and make them a little easier to work with.
Coconut Cream Pie with Chocolate Cookie Crust (GF)
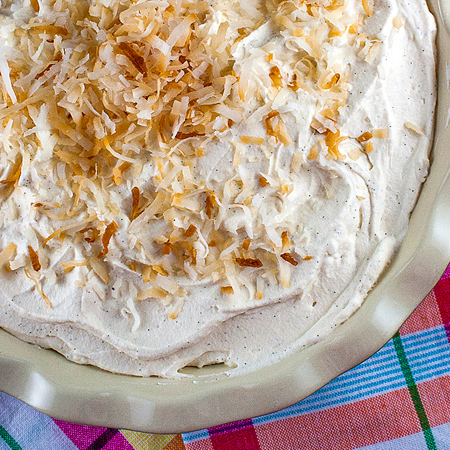
Coconut Cream pies are a beautiful thing, with towering billows of whipped cream perched on top of the sumptuously flavored filling, all encased in a rich crust. With toasted coconut and coconut flavoring in the filling, you will enjoy bold coconut flavor in every spoonful.
Ingredients
Crust
- 1-1/2 cups chocolate wafer cookie crumbs or gluten-free chocolate cookie crumbs from about 30 wafers or 6 oz cookies
- 3 to 5 tbsp unsalted butter, melted
Filling
- 1-1/2 cups sweetened, shredded coconut, toasted, plus more for garnish, if desired
- 1-1/2 cups whole milk
- 1/2 cup heavy cream
- 1 tbsp vanilla paste or 1 vanilla bean, split in half lengthwise
- 6 large egg yolks
- 1/2 cup granulated sugar
- 1/8 tsp kosher salt
- 2 tbsp cornstarch
- 4 tbsp (1/2 stick) sliced unsalted butter
- 2 tbsp coconut rum, such as Malibu brand, or a few drops of coconut extract plus 2 tbsp milk
Topping
- 1-1/2 cups cold heavy cream
- 1 tsp pure vanilla extract or vanilla paste
- 1/4 cup confectioners’ sugar
- Extra toasted coconut for garnishing
Instructions
- Make the Crust: Heat the oven to 350°F and place a rack in the middle of the oven.
- Pulse the chocolate cookies into crumbs in a food processor fitted with the metal blade. Drizzle the melted butter through the feed tube while pulsing until you get a wet sand texture. Some cookies will need more butter, others less. Note: If you are working with softly baked gluten-free cookies, used the reduced amount of butter.
- If doing this by hand, place cookies in zip-top bag and pulverize them with a rolling pin or meat mallet until finely crushed. Transfer crumbs to a bowl. Drizzle in the melted butter and mix with a fork until the crumbs are evenly moistened
- Transfer the buttered crumbs to a 9-inch pie plate, and use the back of a spoon to press the mixture evenly into the bottom and spreading it up the sides but not over the rim.
- Bake for 7 to 10 minutes, or until the sides of the crust feel firm to the touch. Transfer to a wire rack to cool completely before filling. Note: If you are using gluten-free cookies, this may take longer. Watch carefully to make sure it doesn’t burn.
- Toast the Coconut: Spread coconut out on a baking sheet lined with parchment and place in a preheated 350°F oven. Cook for a 2 to 3 minutes, toss with a spatula or fork, spread it back into a single layer, and continue baking and tossing until some of the pieces are turning golden brown. Remove from the oven and toss a few more times as it is cooling. This will help it finish toasting without burning.
- Prepare the filling: Place the milk, cream, and vanilla paste in a large (4-quart) saucepan. Heat over medium-high heat, stirring occasionally, until just below a simmer to scald the milk. Do not let it boil. Remove from the heat and let the milk steep, infusing the flavors for 15 minutes.
- If using a vanilla bean, remove the bean from the cream and use a knife to scrape out as many seeds as possible and add them to the milk. Swirl the pod in the milk to remove any remaining seeds. Discard the pod or save for another use.
- While the cream is steeping, place the egg yolks, sugar, salt, and cornstarch in a medium mixing bowl and whisk together until very well blended, about 1 minute.
- Place the cream mixture over medium-high heat and add the 1-1/2 cups of toasted coconut. Return to a simmer and then remove from the heat.
- While whisking constantly, drizzle about 1/2 cup of the warm cream slowly into the egg mixture. This tempers the eggs, warming them gently so they won’t scramble when you add them to the hot liquid. Slowly pour the warmed egg yolk mixture into the remaining cream, whisking steadily to keep the eggs from curdling.
- Place the pot over medium-high heat and bring the mixture to a boil, stirring constantly so eggs don’t scramble. Reduce the heat to low and continue to cook while whisking constantly until the mixture is very thick, about 2 to 3 minutes. Make sure you scrape the sides of the pan as well as the bottom while stirring.
- Remove from the heat, add the butter and stir until melted, and then stir in the coconut rum or flavoring. Let the filling cool to lukewarm (about 15 minutes), and then pour into the cooled pie shell. Place a piece of plastic wrap directly on the surface (to keep a skin from forming).
- Refrigerate the pie for at least 4 hours before topping and serving.
- Make the topping: Just before serving, place the cream and vanilla in the bowl of a stand mixer fitted with the whisk attachment. Beat on medium speed until frothy. Sprinkle in the confectioners’ sugar and beat on medium-high until stiff peaks form. To tell if it is ready, stop the mixer and lift the beater. The cream should lift into peaks that hold their shape and just the tip will bend over. If they aren’t holding firm, continue whipping.
- Mound the whipped cream in the center of the chilled pie. Use the back of an offset metal spatula to spread it out to the edge and give it a few decorative swirls. Sprinkle with reserved toasted coconut and serve.
- Make Ahead: The crust can be made up to 1 day ahead; wrap in plastic and store at room temperature.
Notes
Adapted from a recipe in “Mother's Best” by Lisa Schroeder
Nutrition Information:
Yield:
8Serving Size:
1Amount Per Serving: Calories: 1240Total Fat: 87gSaturated Fat: 53gTrans Fat: 1gUnsaturated Fat: 30gCholesterol: 326mgSodium: 602mgCarbohydrates: 102gFiber: 6gSugar: 66gProtein: 15g
If you enjoyed this recipe, be sure to follow me on social media so you never miss a post:
| Facebook | Pinterest | Instagram | Twitter |
Create a New Tradition Today!
Unauthorized use, distribution, and/or duplication of proprietary material from The Heritage Cook without prior approval is prohibited. This includes copying and reprinting content and photographs. If you have any questions or would like permission, I can be contacted via email at theheritagecook (at) comcast (dot) net. Feel free to quote me, just give credit where credit is due, link to the recipe, and please send people to my website, www.theheritagecook.com. Please see the Disclaimers page for additional details.

