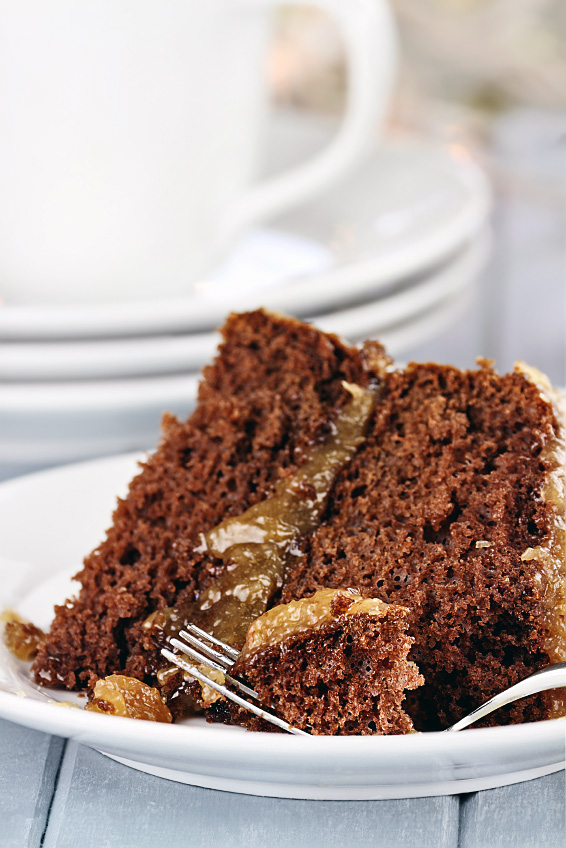
One of The Artist’s and my childhood favorites, German layer cake traditionally was a cloyingly sweet concoction of pale chocolate cake, sugar, nuts, and coconut. Executive Pastry Chef Gale Gand, one of my culinary heroes, developed an adult version that has a much deeper chocolate flavor that helps balance the sweet topping. Even if you think you don’t like German chocolate cake, try this recipe – you may become a convert!
Contrary to popular belief, German chocolate cake has nothing to do with the country of Germany or Germanic people. In 1892 Sam German created a mild baking chocolate bar for Baker’s Chocolate Company. It was named in Sam’s honor and thus Baker’s German Chocolate was born. It took another hundred years for a Texas homemaker to create a recipe utilizing it and combining that cake with the pecan/caramel/coconut topping we know today. Her recipe was printed in a Dallas newspaper in 1957 and America fell in love with her cake.
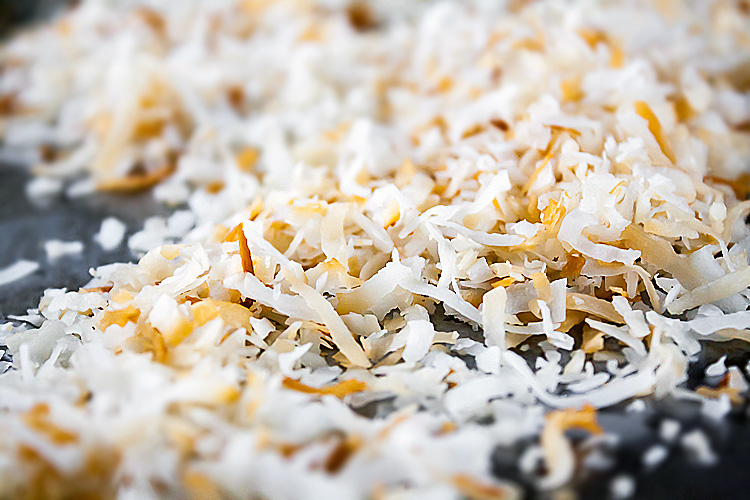
Toasted coconut adds flavor and color
General Foods who owned Baker’s Chocolate at the time, sent copies of the recipe and photos of the cake to newspapers across the nation. Everywhere it was published, food editors were swamped with requests for information on where to find the special chocolate. In the first year, sales jumped 73%! German chocolate cake is still one of this country’s favorite desserts and is always a hit when it shows up on a buffet.
When Chef Gand and her assistant Martha set about to redesign a more intense, nuttier and less sweet version of the classic cake, they switched to unsweetened cocoa powder for the deep chocolate flavor it provides to baked goods. Toasting the coconut and using macadamias bump up the flavor and raise the luxury quotient.
Using cocoa in recipes allows you to combine it with butter which gives you a luscious mouth-feel. Dutch-processed cocoa has been treated with an alkali compound, like baking soda, to raise its pH level, round out and balance its flavor, and which also darkens its color. If taken too far it will dull the flavor, as is the case with “black cocoa” which creates beautiful deep colored foods, but you have to use it in conjunction with regular cocoa powder for flavor. If you want to learn more about the difference between Dutch-process and natural cocoa powders, take a look at this article from baking master David Lebovitz.
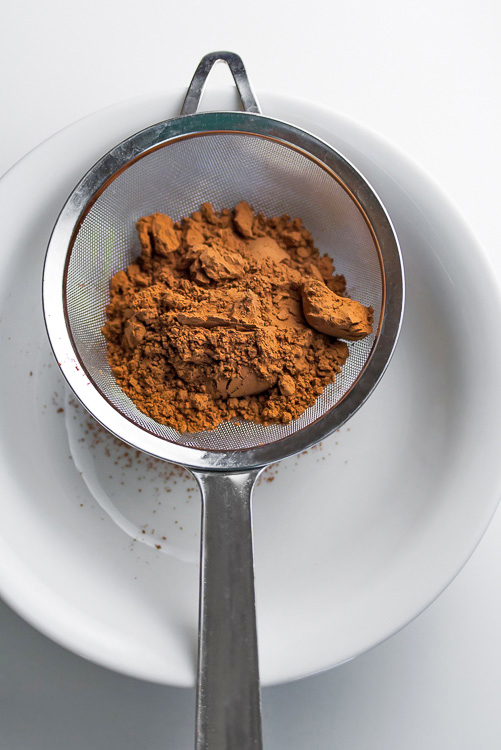
Unsweetened cocoa powder packs a wallop of chocolate flavor
Though we automatically think of Hawaii in relation to macadamia nuts, they actually originated in Australia and were named for a member of parliament and noted lecturer in practical and theoretical chemistry at the University of Melbourne. The first macadamia tree was planted on the Big Island of Hawaii in 1882. It wasn’t until 1921 that the first macadamia plantation was established near Honolulu. In the 1950s, when larger corporations became interested, production for the commercial use of the nuts became substantial. In 1976 the nuts started being marketed under the Mauna Loa brand which is what we see today at airports and in tourist areas across the islands.
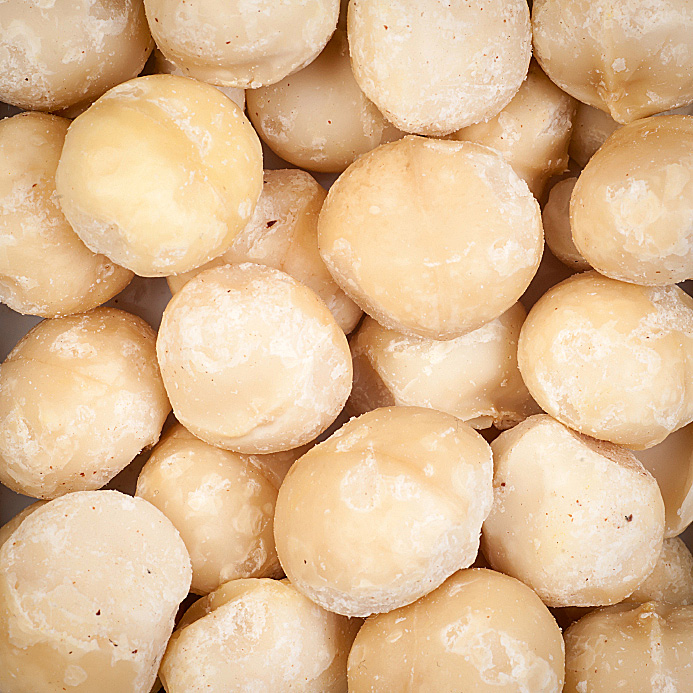
Macadamia nuts add luxury to any dessert
Many people shy away from any recipe that contains more than five ingredients or is longer than three paragraphs. In fact, long, detailed recipes are exactly the kind of recipes you should be looking for. That means that the author has taken great pains to give you all the details you need to successfully recreate the dish. Remember, it is easy to brush over excessive commentary, but impossible to create detail where none exists! I am always grateful for the extra time and effort put into long recipes.
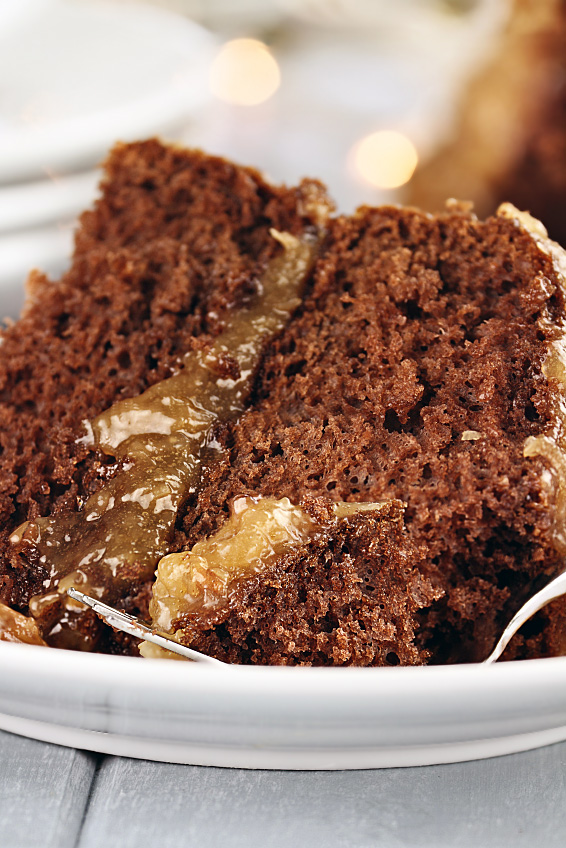
There is no doubt that this is a chocolate cake – full of intense chocolate character – that stands up to the strongly flavored topping. Usually the frosting easily beats the cake in dominance, but with this darker rendition, in my opinion, it is a fairly equal battle. I’m not sure which I like better – and that is the best way for this kind of competition to end!
Jane’s Tips and Hints:
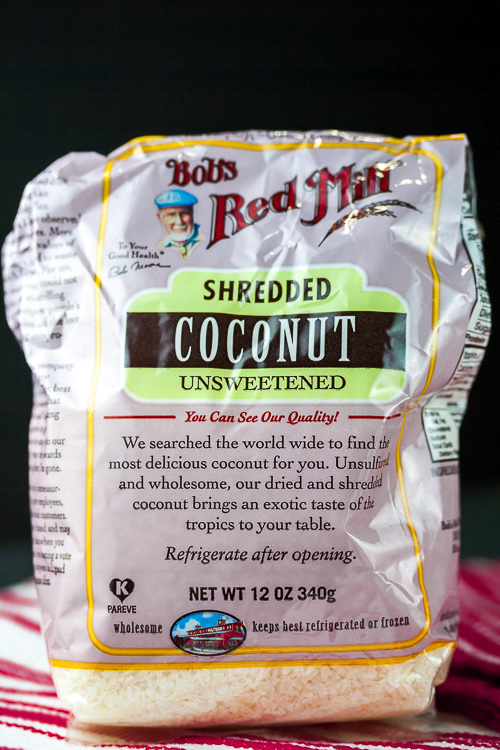
You can buy both sweetened and unsweetened flaked coconut. I find that using unsweetened adds all the coconut flavor I am looking for without winding up with an ultra sugary dessert. If you haven’t tried unsweetened coconut before, I urge you to make any recipe that uses coconut twice, once with regular sweetened coconut, and again with unsweetened. See how much difference there is between the two and decide which you like better.
Gluten-Free Tips:
Using a gluten-free flour blend with xanthan gum or psyllium husk powder helps keep your cake from being crumbly and falling apart. When substituting psyllium powder for xanthan or guar gum, double the original amount. So if a recipe calls for 1/4 tsp xanthan, you will use 1/2 tsp psyllium.
Kitchen Skill: Toasting Nuts
Toasting nuts gives them much greater depth of flavor and brings out their natural nuances. Most cooks automatically put nuts in a pan on the stove. I prefer to bake them in a 325°F oven because you get more even heating and have less chance of burning them. Keep a close eye on them and don’t leave the kitchen or get too distracted. I always set a timer to make sure I don’t forget to check on them. And be sure to shake the baking pan occasionally to get more even toasting!

- Chocolate Cake
- 3 cups granulated sugar
- 2-3/4 cups all-purpose flour or gluten-free flour blend with xanthan gum
- If your GF blend doesn't have xanthan, add 1/2 tsp to the dry ingredients (if you don't tolerate gums, use 1 tsp psyllium husk powder instead)
- 1-1/8 cups cocoa powder, preferably Dutch-process
- 2-1/4 tsp baking powder (gluten-free if needed)
- 2-1/4 tsp baking soda
- 1-1/2 tsp kosher or fine sea salt
- 3 large eggs
- 1-1/2 cups milk
- 3/4 cup vegetable oil
- 1 tbsp pure vanilla extract
- 1-1/2 cups very hot water
- Coconut Macadamia Filling
- 1-1/4 cups sugar
- 1/3 cup water
- 2/3 cup heavy cream
- 1/2 cup macadamia nuts, toasted and roughly chopped (see Kitchen Skill above)
- 1/2 cup flaked unsweetened coconut, lightly toasted
- For the cake: Preheat the oven to 350°F. Butter 2 (8- or 9-inch) round cake pans.
- Sift together the 3 cups sugar, flour, cocoa, baking powder, baking soda, and salt. Transfer to the bowl of your standing mixer fitted with a whisk attachment (or use a hand mixer) and blend briefly.
- Whisk together the eggs, milk, oil, and vanilla extract in a medium bowl. Add to the dry ingredients and mix at low speed for 5 minutes. Gradually add the hot water, mixing at low speed just until combined. The batter will be quite thin.
- Divide the batter equally between the two pans. Bake until a tester inserted in the center comes out clean (a few crumbs are okay) and the center feels firm to the touch, 25 to 35 minutes. Transfer to a wire rack to cool.
- Let cool in the pans. Cake layers can be made up to 1 day ahead. Cover tightly with plastic wrap and refrigerate.
- Meanwhile, make the caramel: Pour the 1-1/4 cups sugar into the center of a deep light-colored saucepan. Carefully pour the water around the edge of the pan, trying not to splash any sugar onto the walls. Very carefully, gently stir to moisten the sugar, being sure not to splash any sugar crystals onto the sides of the pan.
- Over high heat, bring to a full boil and cook without stirring, swirling the pan occasionally to even out the color, until it reaches a medium caramel color, 5 to 15 minutes. (Note: If you are not using a heavy duty, high quality pan it may take more or less time to caramelize the sugar.) Immediately turn off the heat and use a spoon to slowly and carefully stir in the cream - it will bubble up and may splatter so be cautious. Wearing long sleeves will help reduce the chance of getting burned. Stir in the nuts and coconut. Keep warm until ready to use or re-warm when ready to use.
- To serve: Loosen the cakes from the pans and turn them out onto a rack. Place one layer, rounded side down, on your serving platter. Top with about half of the coconut/macadamia mixture, spreading it to an even layer that just barely reaches the edges of the cake. Set the second cake layer, rounded side up, on top of the filling and gently press down, helping to spread the filling to the edges so it shows between the layers. Scoop the remaining coconut/macadamia nut mixture on top and spread it out, leaving it slightly thicker in the center. The edges of the cake will not be covered.
- Yield: about 8 to 10 servings
- Or you can double the recipe and make a 4-layer cake!
Create a New Tradition Today!
Let’s connect! If you ever need any entertaining or cooking advice, need to alter a recipe for gluten-free, or want recipe suggestions, don’t hesitate to email me. Thanks for joining the Heritage Cook Family!
Unauthorized use, distribution, and/or duplication of proprietary material from The Heritage Cook without prior approval is prohibited. This includes copying and reprinting content and photographs. If you have any questions or would like permission, I can be contacted here. Feel free to quote me, just give credit where credit is due, link to the recipe, and send people to my website. The suggestions here are not intended as dietary advice or as a substitute for consulting a dietician, physician, or other medical professional. It is the reader’s sole responsibility to determine which foods are appropriate and safe for their family to consume. The author makes no claims regarding the presence of food allergens and disclaims all liability in connection with the use of this site. Please see the Disclaimers page for additional details.
Thank You!


Zomick's
This is my first time making this cake and I have to give you kudos. That filling is delicious! I think I could just eat that all day straight out of the pan. The cake is also soft and moist – just perfect. Thanks for sharing!
Jane Bonacci
I am so glad you love it. I could eat the frosting with a spoon too!