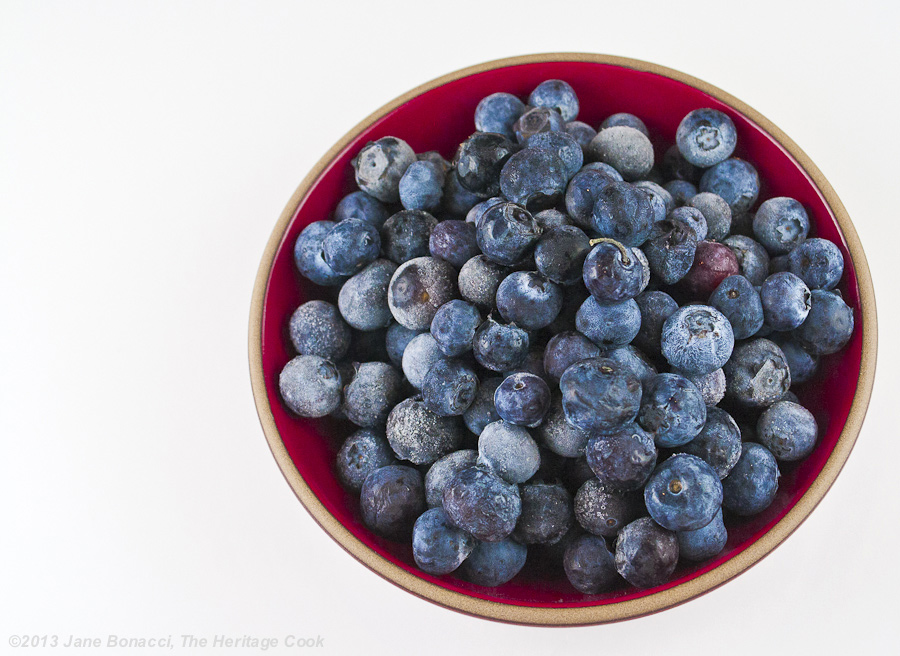
This week when I went to the market for some groceries, I couldn’t resist the gorgeous fresh blueberries. My first thought was to make a blueberry tart and then The Artist suggested we make a batch of homemade blueberry jam. I’m so glad he said that because blueberry jam is one of my favorites and I couldn’t be happier to have this beautiful taste of summer that will last well into the winter months!
Making jam is a simple process, but it does take some set up and a lot of clean up. Make sure you have all your tools set up and arranged next to the stove. If possible, have two people working together, one on one side of the counter and the other on the opposite side. We could do that in our tiny kitchen, so we were bumping into each other a bit, but it worked out.
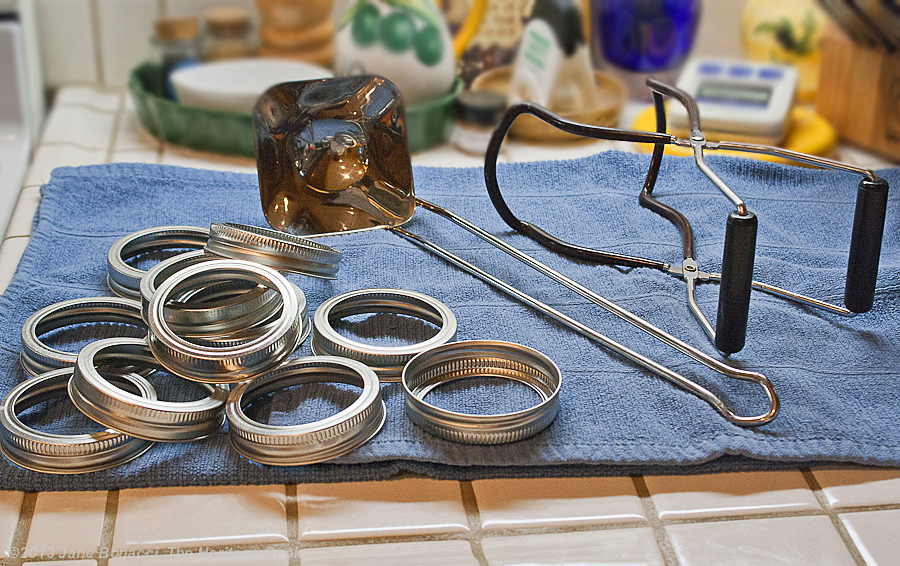
You can buy a canning kit that includes all the tools you will need in the process. But the one thing that I bought independently was a special ladle. It has spouts for both right- and left-handed use, making it easier to cleanly pour the hot mixture into the jars. I don’t waste as much this way and it makes cleaning the outside of the jars much easier.
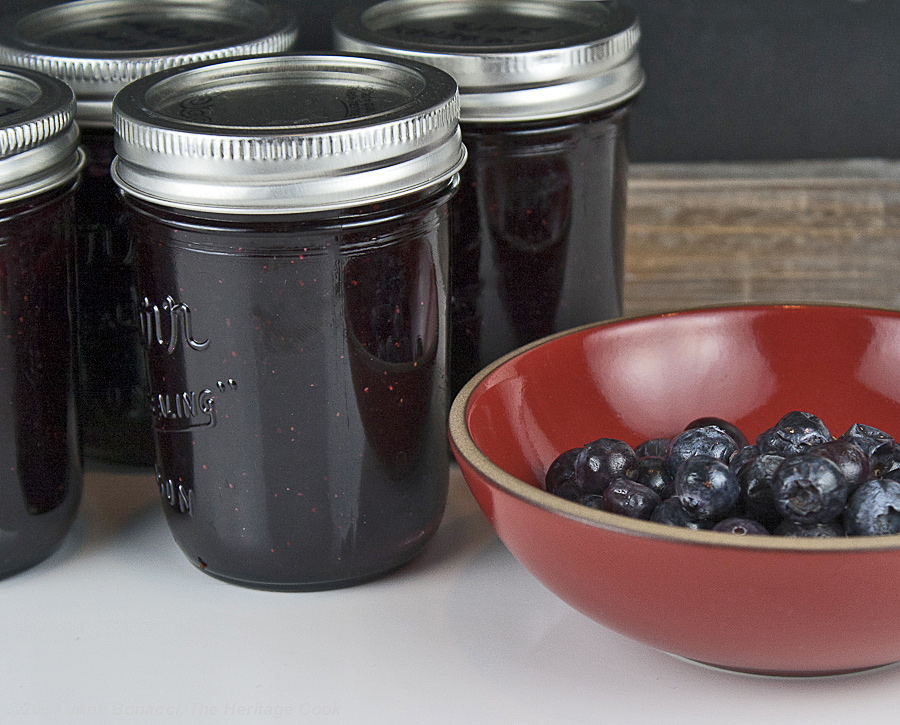
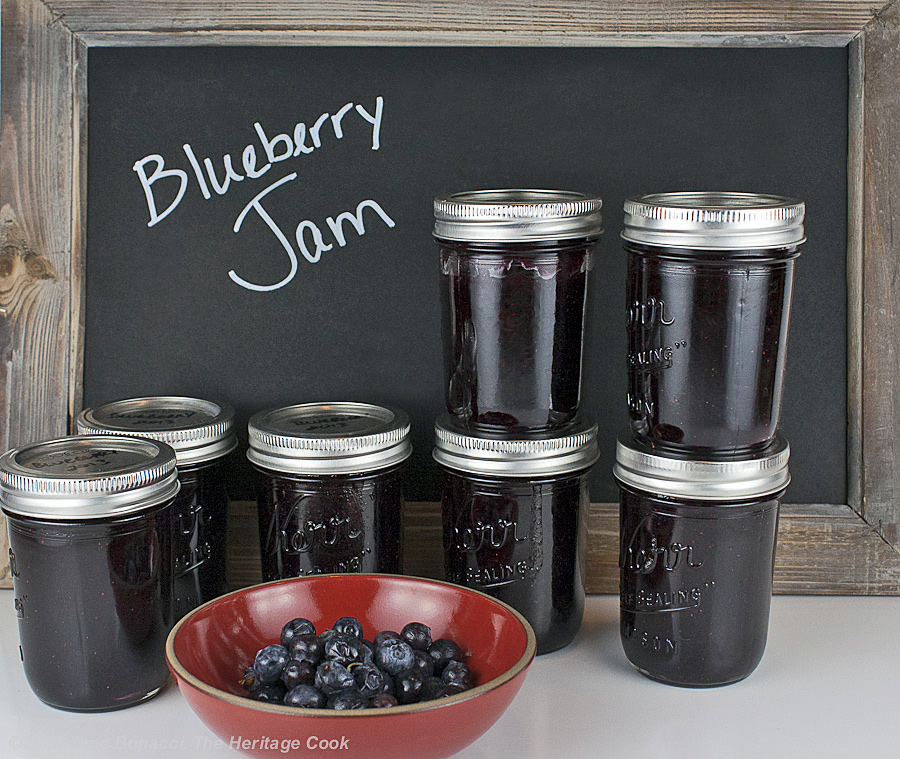
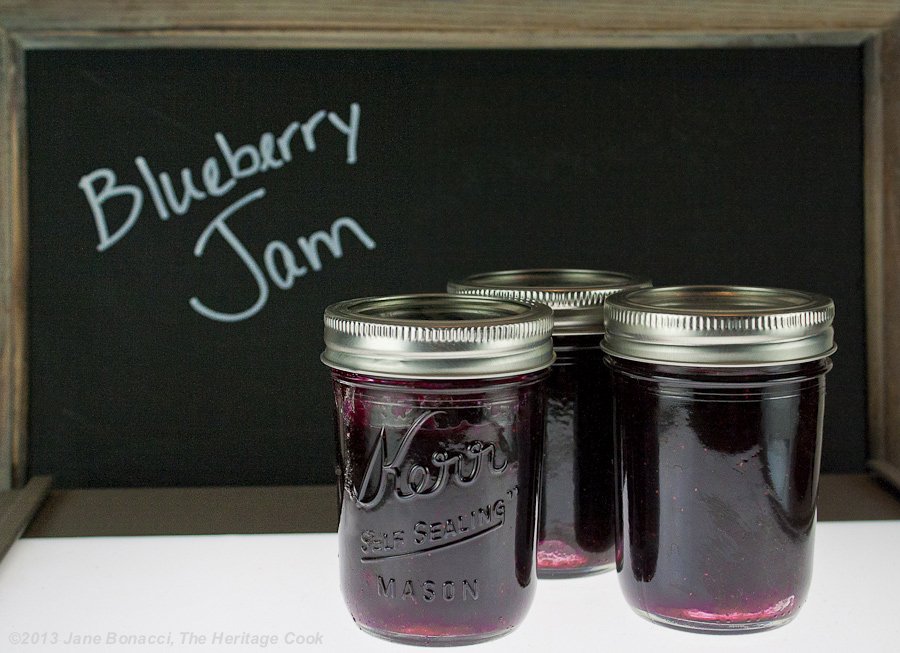
Because everyone loves homemade jam, I prefer to use the small 1/2-pint (1 cup) canning jars. This way you can give several away as gifts and still home some left to keep for your own use. If you want to get industrious and make a huge quantity of jam at one time, get a few friends to come over and help you. You can share the jam and the work to make it, having a lot more fun!
Have you ever wondered what a blackberry-apricot-cherry jam would taste like? Do you like to include herbs in your sweets? What about making a rosemary-plum jam specifically to use for your duck recipes? That’s the beauty of making your own. You can create unique flavor combinations! If you want some ideas for fun combinations and measurements, take a look at the recipe page at Sure-Jell.com. They have some wonderful options for you.
When I am in the kitchen I often fudge with measurements because most of the time there is plenty of room for interpretation. However, making jam is one place where I am absolutely exact. The interaction between liquid, pectin and heat must be just right in order to get the coagulation we want. I trust the copious testing that companies such as Sure-Jell and Certo have done to perfect their products. Their scientists have made sure that we will have successful results as long as we follow their directions exactly.
You may not know this, but sugar is an integral component in the jelling process. I always use Sure-Jell Premium Fruit Pectin in the yellow box. But if you want to reduce the amount of sugar in your jellies and jams, make sure you buy the Sure-Jell For Less or No Sugar Needed Recipes in the pink box. This is helpful if you are cooking for someone with diabetes or anyone who want to reduce their sugar intake. The two products have been engineered to work specifically with different amounts of sweeteners.
This may sound like a sponsored post for Sure-Jell, but it isn’t. When I made my first batch of jam, I asked my father-in-law what he recommended. He has always used Sure-Jell and who am I to mess with tradition! There are other brands of pectin available on the market, but I have not used them and cannot speak to their efficacy. If you go to the Sure-Jell website, they have lots of information on how to make a variety of products with their pectin and how to avoid problems.
When fresh fruit is plentiful and prices are low (or even better if you can pick your own) buy a bunch and plan on making your own homemade blueberry jam. There is nothing more rewarding or delicious!
Have a wonderful weekend!!!
Key Ingredients for Homemade Blueberry Jam:
- Fresh blueberries
- Granulated sugar
- Sure-Jell pectin
PRO Tip:
Make sure you have everything completely ready to go before you start cooking the berries. Once they are ready you have to move fast!
PRO Tip:
I borrowed a trick I learned from Jamie Schler, the owner/resident jam maker of Hotel Diderot in Chinon, France. We had the opportunity to visit her lovely hotel and watch as she made a batch of one of her famous jams.
Instead of ladling the boiling jam straight into the jars (which usually results in my making a huge mess), she puts it into a large liquid measuring cup and then uses that to cleanly pour the jam into the jars. What an improvement!! We were so tidy that there were only a few drops to clean up when we were done! Thank you Jamie, for the inspiration and a great new way to get the jam cleanly into jars!
How to make Homemade Blueberry Jam:
- Clean and remove any stems from the berries
- Prep and warm the clean jars and lids; set up all your equipment
- Puree the fruit and pour through a sieve into a large bowl, pressing on the solids to remove all the liquids
- Place 4 cups of the blueberry liquid in a large stock pot, sprinkle the pectin over the top and whisk it in; bring to a boil
- Stir in the sugar and cook exactly 1 minute; remove from heat and skim off any foam
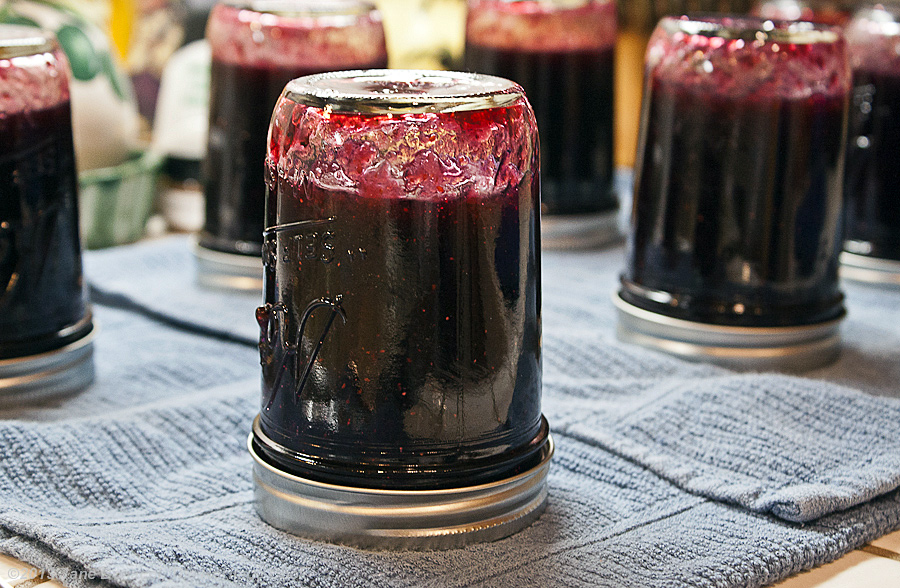
- Fill the jars, wipe the rims, add flat lid rubber side down and screw on the tops; turn the jars upside down for 15 minutes then turn them upright and listen for the lids to pop indicating the jars have sealed
- Refrigerate any jars that don’t seal and enjoy the jam!
Kitchen Tools I Use to Make This Recipe (affiliate links):
- Food processor
- Small saucepan
- Silpat
- Large stockpot or Dutch oven
- Ladle
- 4-cup measuring cup, preferably angled with sharp spout
Gluten-Free Tips:
Jams and jellies are naturally gluten-free!
Homemade Blueberry Jam
When fresh fruit is plentiful and prices are low (or even better if you can pick your own) buy a bunch and plan on making your own homemade blueberry jam. There is nothing more rewarding or delicious. It has the taste of summer in every bite!
Ingredients
- 4-3/4 cups granulated sugar
- 4 cups crushed blueberries, from about 3 pints of fresh blueberries
- 1 box Sure-Jell pectin
Instructions
- Prepare your work area: Clean and prep the berries, making sure you’ve removed any stems. Rinse well and then drain thoroughly. Set aside.
- Place your clean jars on a Silpat-lined baking sheet in the oven to warm on low heat, about 200°F. They need to be hot before you fill them with the hot jam mixture. The Silpat will help keep them from sliding around.
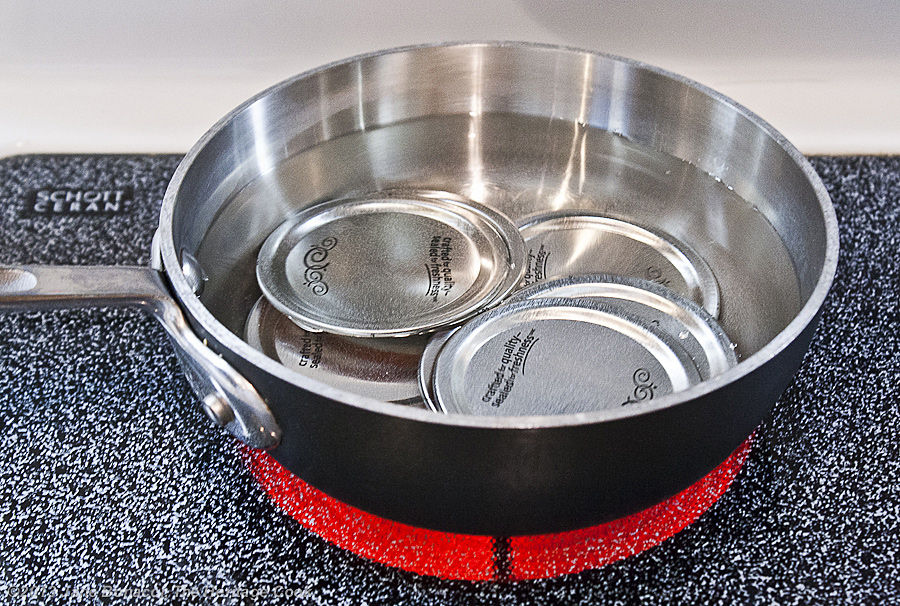
- Place the rubber edged lids in a saucepan on the stove and cover with water. Bring to a simmer and keep warm until just before you start cooking the berries. Drain and place on a dry towel. Set next to the stove.
- Have a jar grabber, ladle and wet washcloth by the stove. Set up a double layer of kitchen towels next to the stove. This is where you will set the hot jelly-filled jars.
- Make the Jam: Measure the sugar into a bowl and place it next to the stove.
- Place the berries into a food processor in batches of about 2 cups at a time and pulse until pureed. Transfer to a wire sieve set over a large bowl. Use a rubber spatula to press the mixture through the sieve, extracting as much liquid as possible and leaving the solids behind. Discard the solids and rinse the sieve between batches. Repeat with remaining berries. Once you’ve strained all the berry puree, repeat the process removing even more of the solids. If you want the purest jam (nearly a jelly) do your final straining through a layer of cheesecloth.
- Measure out 4 cups of the berry puree into a large stockpot and sprinkle the pectin over the top. Use a whisk to make sure there are no lumps. Bring to a full rolling boil over high heat, stirring constantly.
- As soon as it is at a full boil (doesn’t stop boiling when you stir it), add the sugar and whisk it in. Return it to a full boil and once boiling cook it exactly 1 minute, stirring constantly.
- Fill the Jars: Remove from the heat and skim off any foam. Ladle the jam into an angled 4-cup measuring cup (it has the sharpest pouring spout), then carefully pour from there into the prepared jars to within 1/4-inch of the top. Place the jar on the towels next to the stove and wipe off the top edge and threads with the damp towel, removing any drips or spills. Immediately top with one of the flat lids, rubber side down, and screw on the top until tight. Place jars upside down on towel-covered counter for 15 minutes, and then turn them upright. This will help set the seal of the lids.
- Wipe off any sticky jam on the sides of the jars, and let them sit until the lids pop, which indicates they are completely sealed. Alternately you can process them in a water bath (the industry approved process) for 15 minutes. See www.surejell.com for full directions and tips for success.
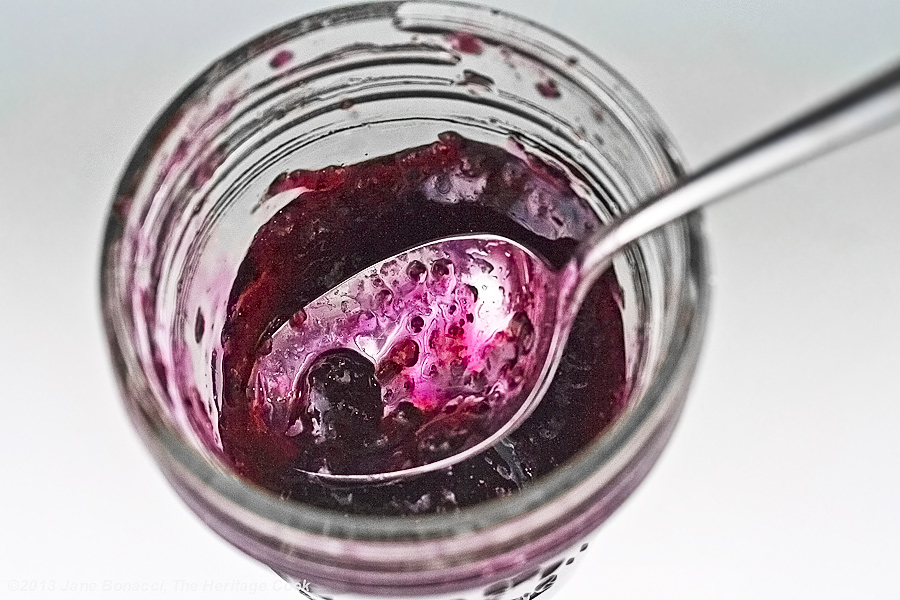
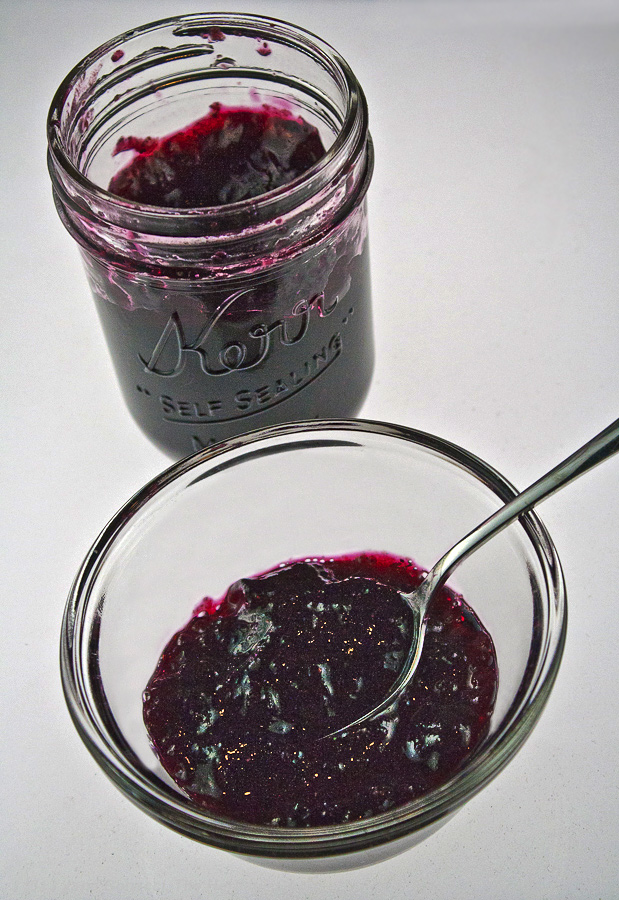
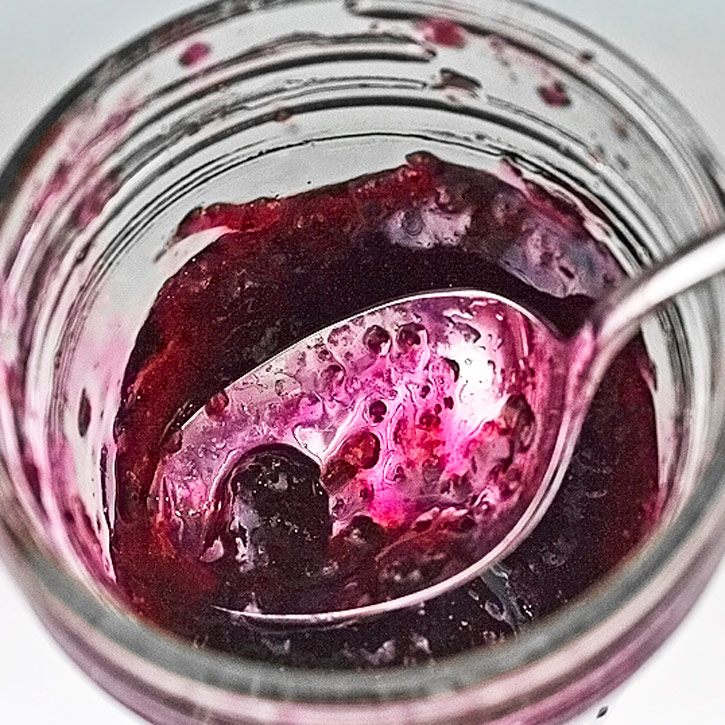
- If any of the jars don’t pop (the center of the lid remains raised), place it in the refrigerator and use within a couple of weeks. One of our jars didn’t seal properly so I used that one as a tester and for photography. I was happy to have an excuse to dive into the jar and sample the jam!!
- Store your jam in a cool, dark place and enjoy the flavors of summer all year long!
Notes
Adapted slightly from Sure-Jell.com
If you love this recipe, be sure to follow me on social media so you never miss a post:
| Facebook | Pinterest | Instagram | Twitter |
Create a New Tradition Today!
This post was first shared in June 2013. The article was updated in 2020.
Welcome! The suggestions here are not intended as dietary advice or as a substitute for consulting a dietician, physician, or other medical professional. Please see the Disclaimers/Privacy Policy page for additional details. Unauthorized use, distribution, and/or duplication of proprietary material from The Heritage Cook without prior approval is prohibited. If you have any questions or would like permission, please contact me. We participate in the Amazon Services LLC Associates Program, an affiliate advertising program designed to provide a means for sites to earn advertising fees by advertising and linking to amazon.com. This page may contain affiliate links.


Patsy
I can’t wait to get started and then do a taste test. Hmmmmmmmm
Jane Bonacci
It is so good Patsy and I hope you enjoy it as much as The Artist and I do!
Louise
I smiled to myself when you described the blueberries as gorgeous, Jane. Sometimes I think to myself how can blueberries be gorgeous. Fact is they are and your blueberry jam is simply irresistible! I’ll be sending this recipe to Michele. She can add it to her Strawberry Jam tradition and hopefully I will get some blueberry jam too:)
Thank you so much for sharing…
Jane Bonacci, The Heritage Cook
I hope she does make some for you Louise. And who knows, maybe she will make a strawberry/blueberry blend! That would be amazing!!! I am thrilled you like this and hope you get to enjoy the wonderful flavors of summer all year long too!