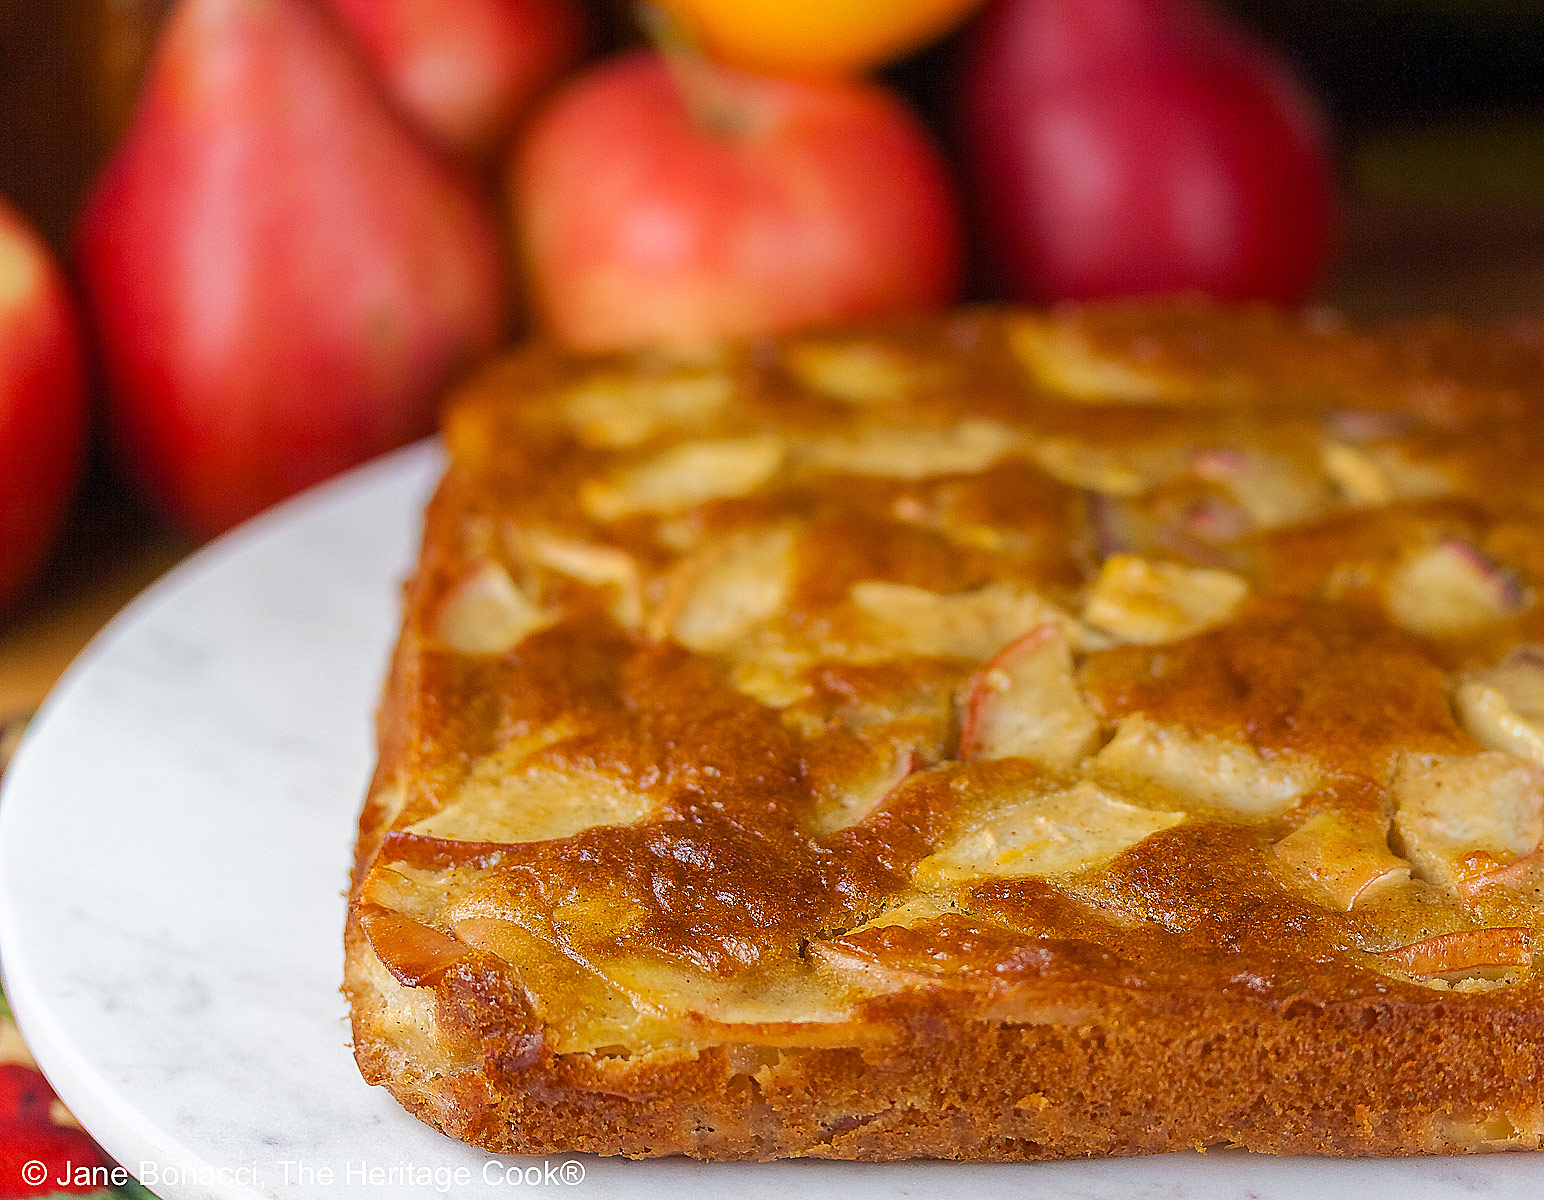
Today’s Autumn Apple and Pear Cake is a lovely addition to any gathering. Brunches, lunches, birthdays, baby and bridal showers, they all would be the perfect time to pull this cake out and share it with your family and friends.
When the weather turns cool, I look forward to the colors and aromas of autumn, my favorite time of the year! I love the cozy evenings by the fireplace and pulling on sweaters to hold off the chill. I crave the smells of cinnamon and ginger and hearty filling meals that warm up the coldest days.
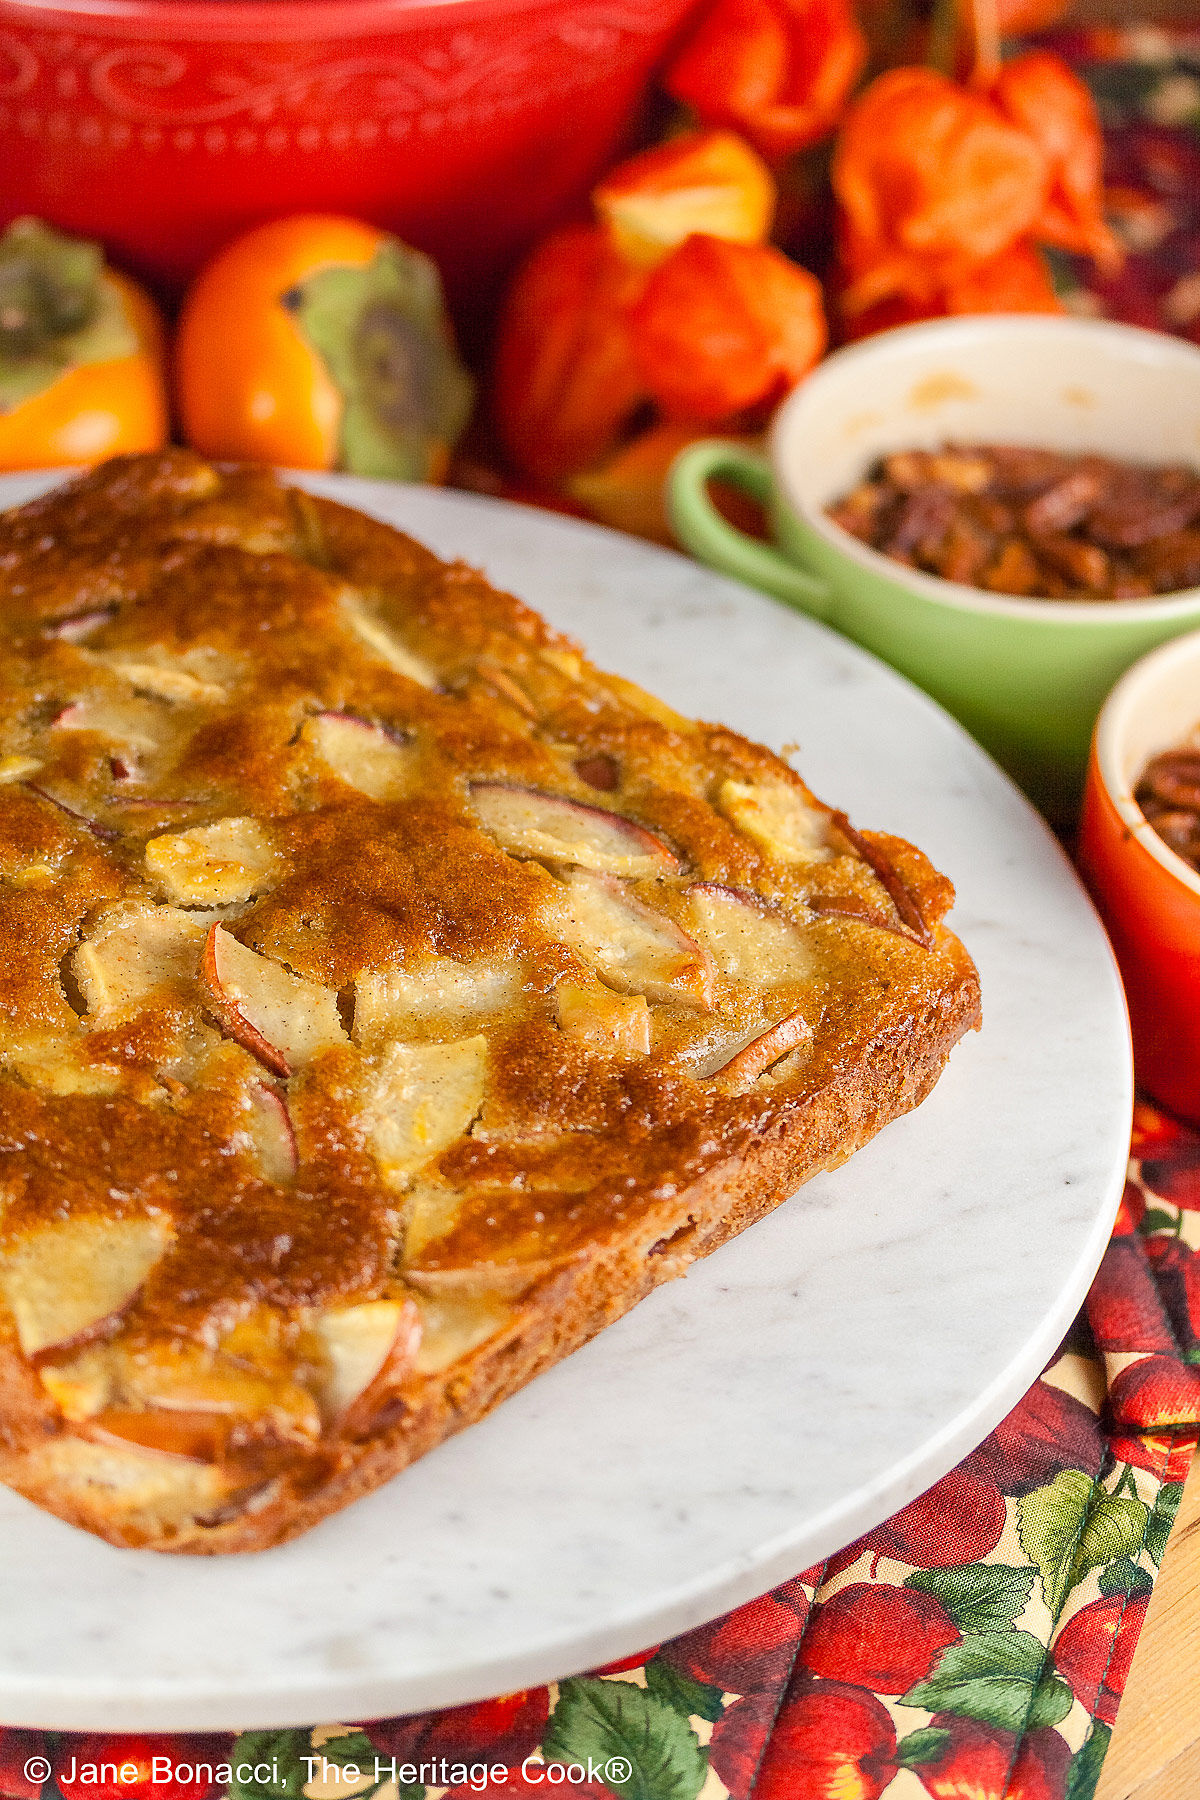
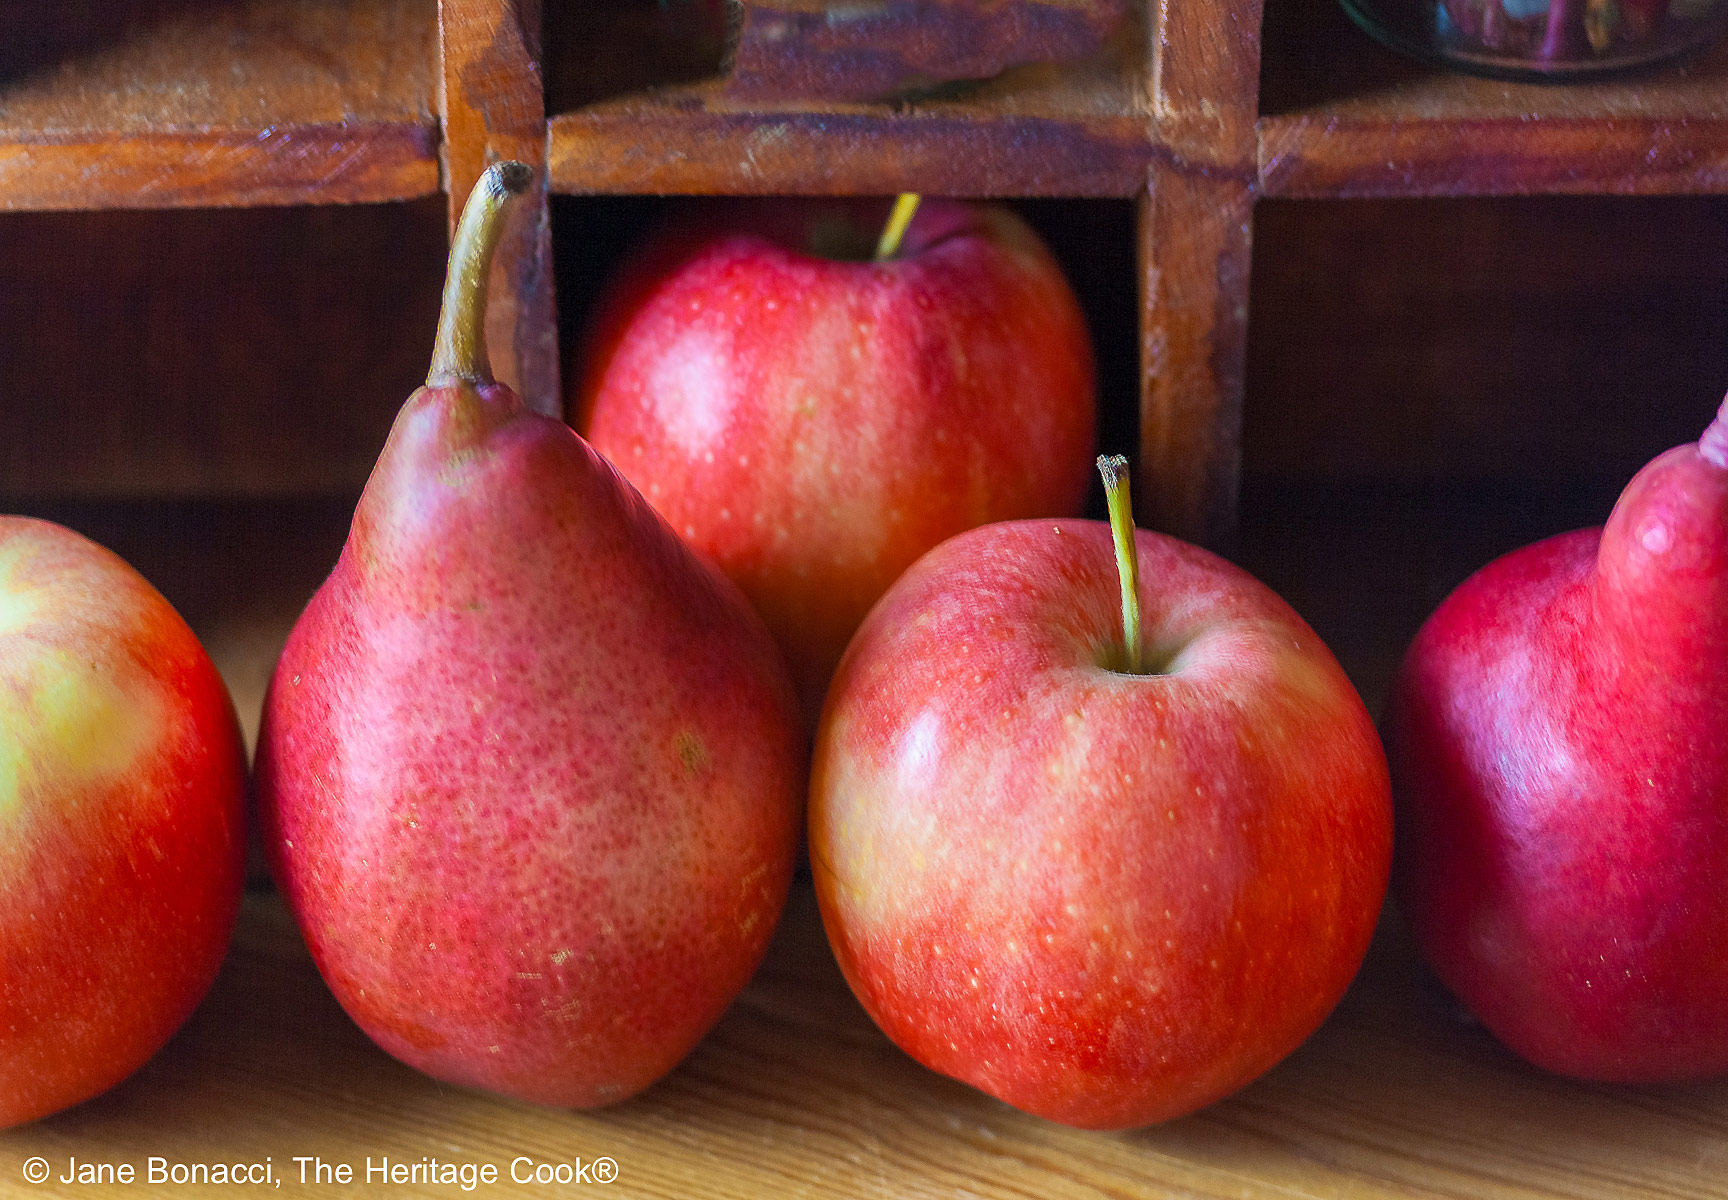
It is the perfect time to head to the kitchen and get creative with seasonal fruits, before many of the pears and apples leave the markets, giving us a much smaller selection. Make this cake – you’ll be glad you did!
I enjoy making desserts that are light and perfect after the heavier meals we indulge in during the cold weather months. Now that the days are cooling down and rain and snow are around the corner, it is time to dust off the fall recipes we wait all year for.
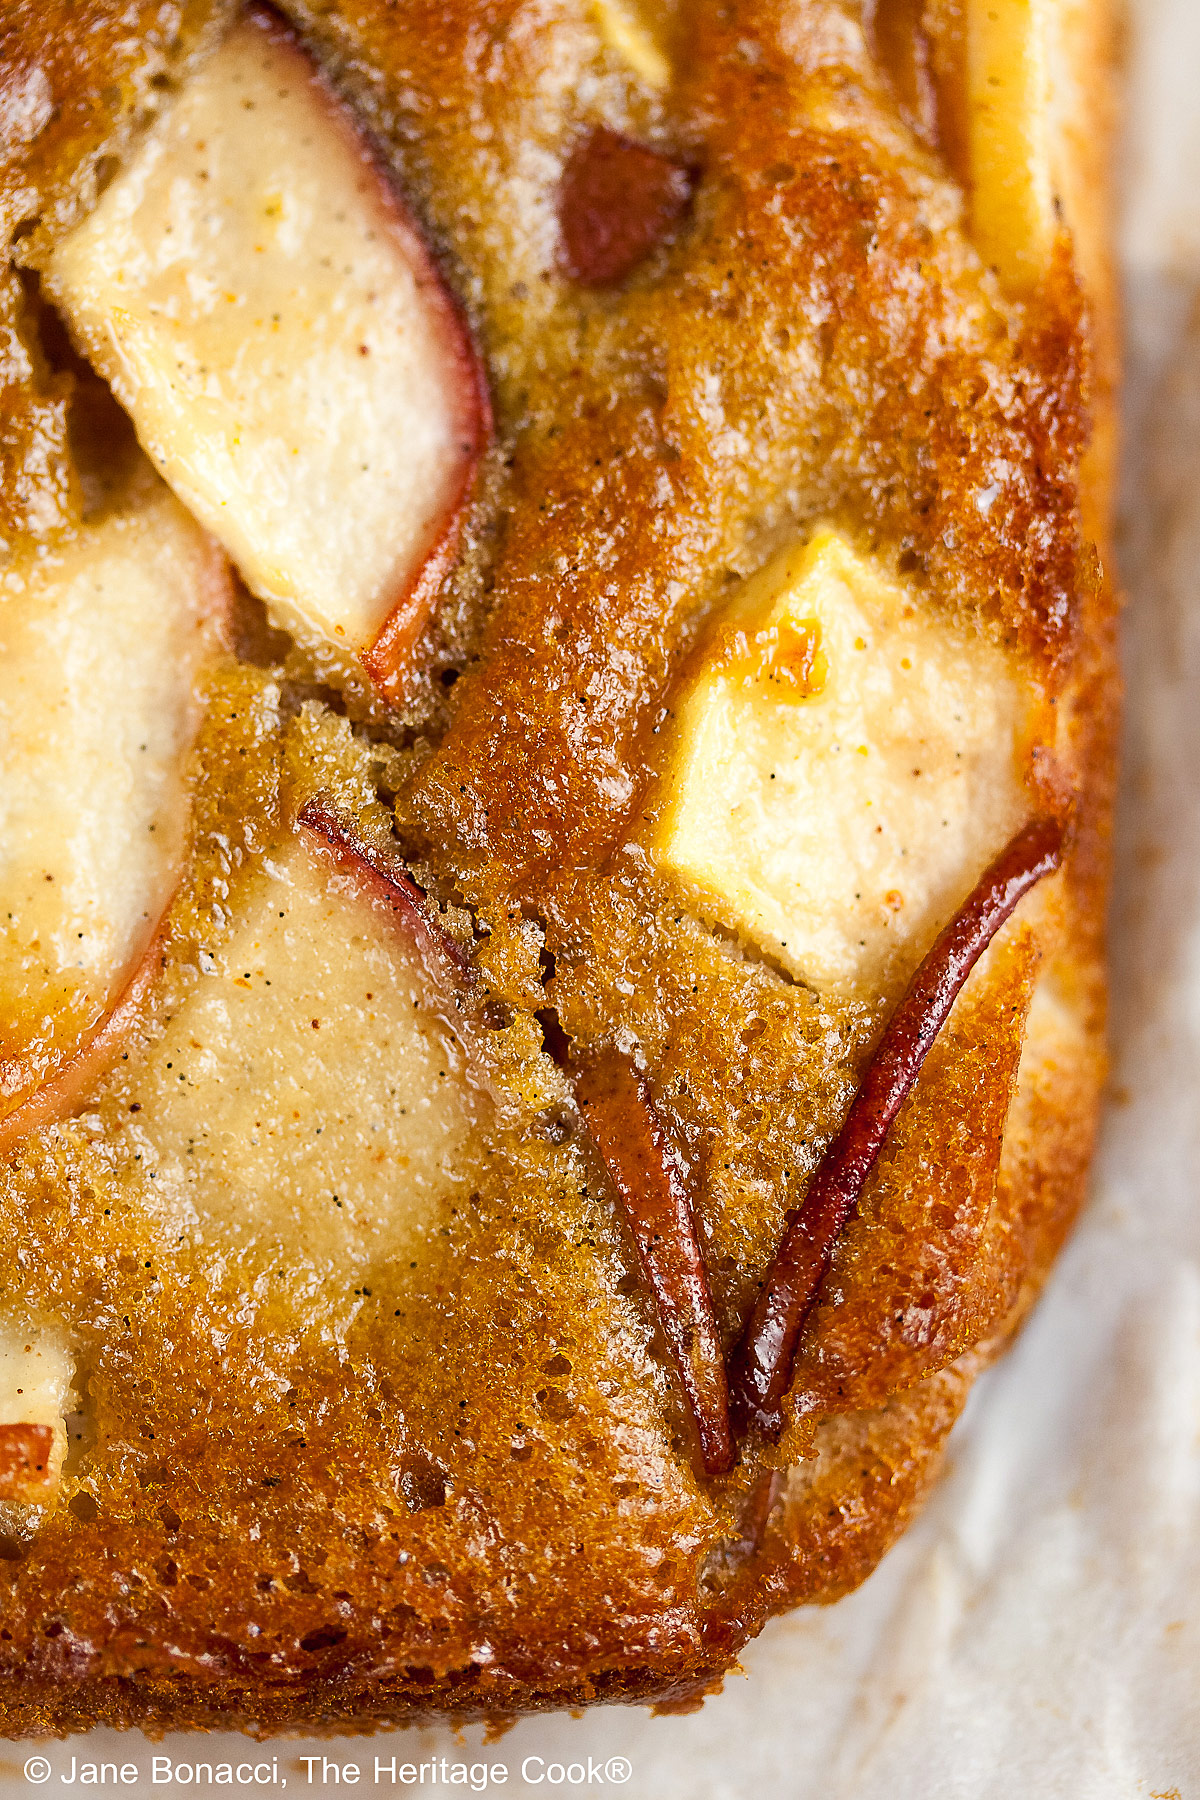
I love cold weather fruits and wanted to share a new favorite cake with you. I combined pears and apples, added spices that are a bit different from what everyone expects, and made it gluten-free. It is a lovely dessert, perfect throughout the cool seasons.
When you are cutting up the fruits, be sure they are bite-size pieces. It makes it easier for the batter to cover everything and for everyone to eat it. It is worth the extra couple of minutes to cut them smaller.
The spices I recommend here are less commonly used, like mace, allspice, and nutmeg. Mace is from the outer covering of the nutmeg seed. Allspice, unlike its name, is a single spice not a collection. And nutmeg is a bit more common and a lovely addition to your baking. If you have other spices you prefer, add them instead. Make this cake with the flavors you like so you will love it.
When you first look at the amount of batter you will think there is no way it can possibly hold all the fruit, but somehow it does. Granted the fruits are very prominent, but it is a beautifully balanced lightly sweet treat.
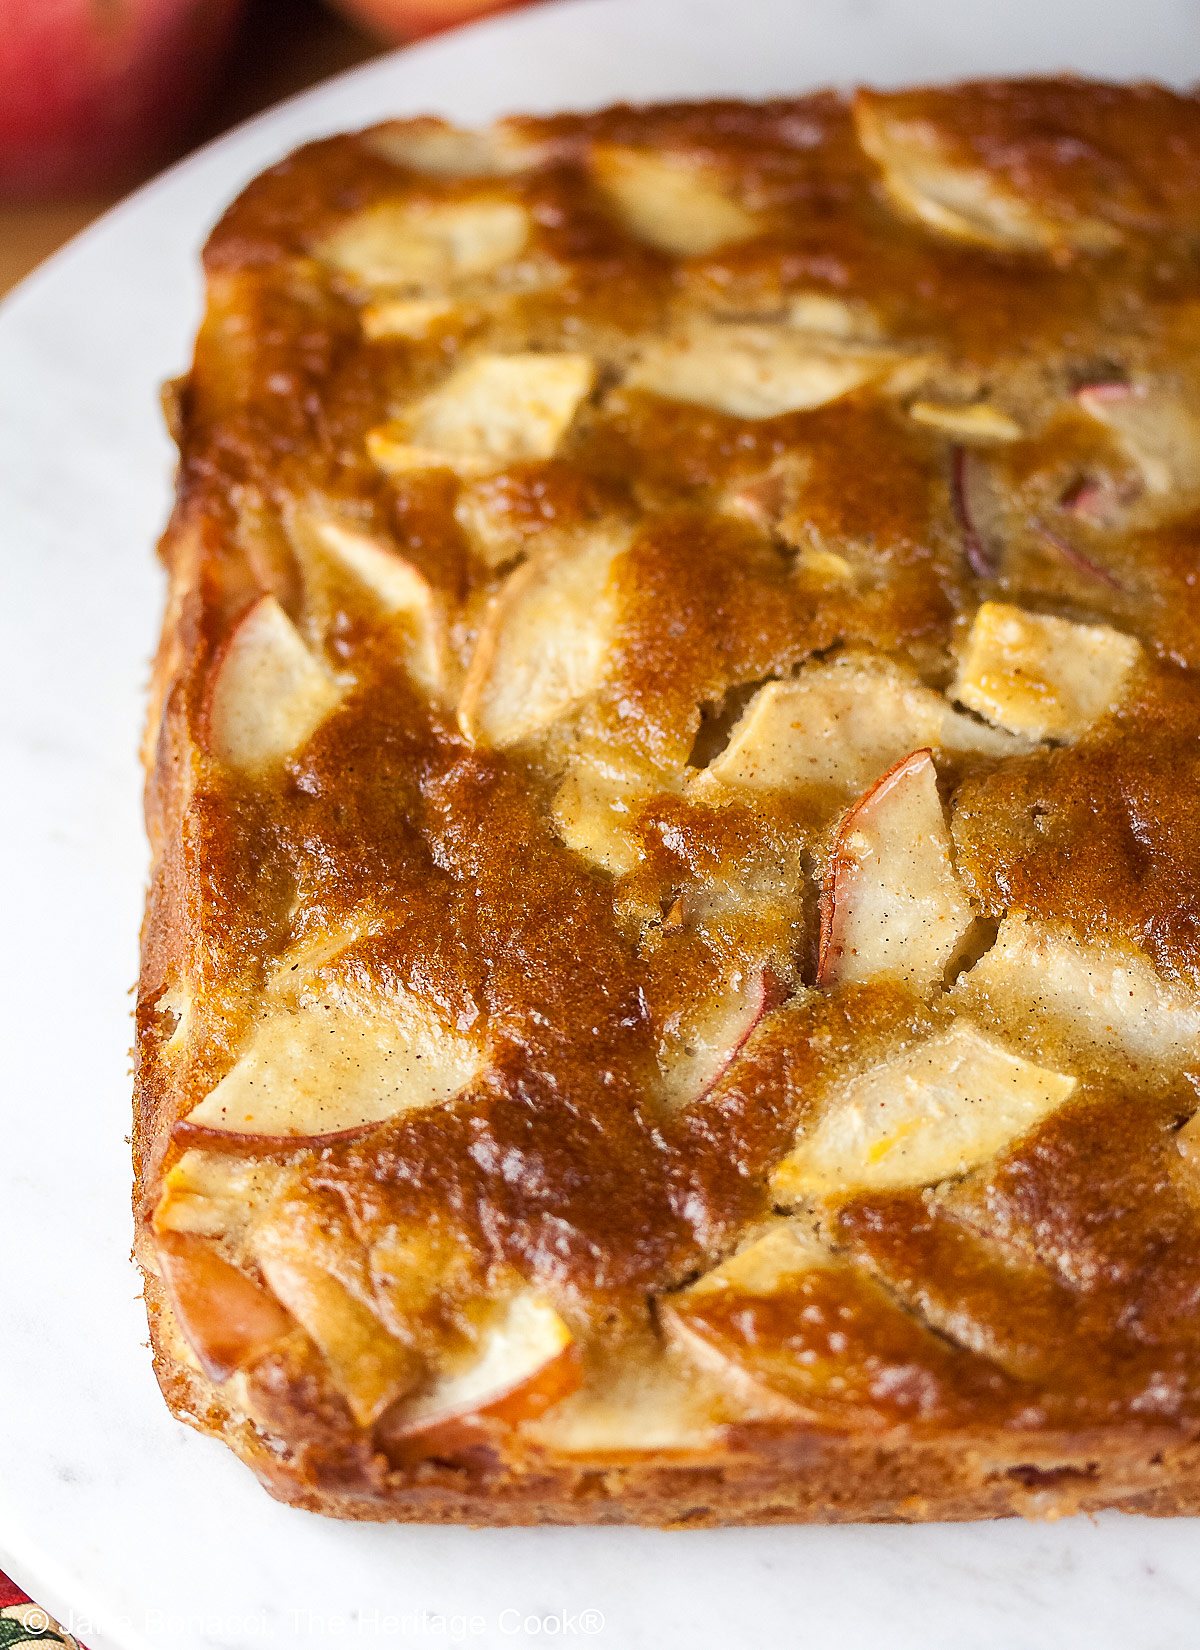
This is a very delicate cake, so to help get it out of the baking pan, I use a parchment “sling”. I use pre-cut sheets of parchment paper, folding one to fit the pan and long enough to hang over two of the edges.
It is important to get the cake out of the pan fairly quickly because the heat of the pan will create steam. So as soon as the cake has firmed up enough to hold together, very gently lift it out of the pan and set on a wire rack to finish cooling. This helps the cake stay tender without getting too moist.
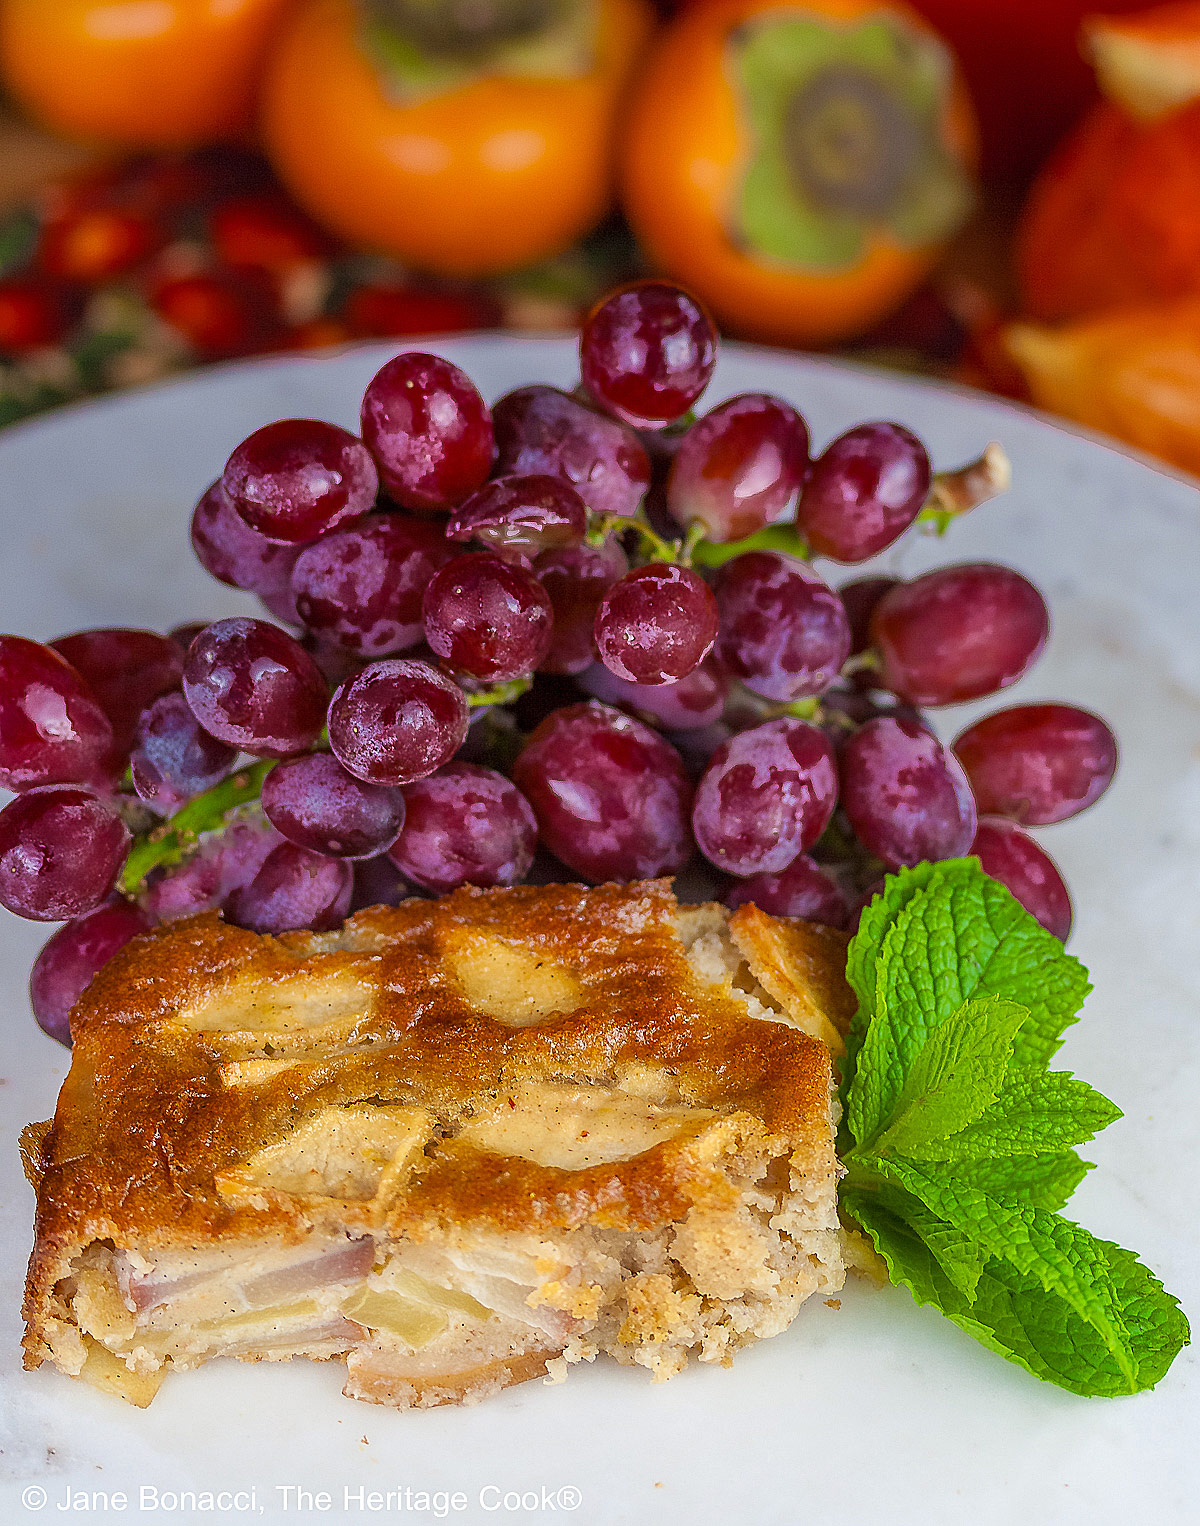
There is nothing that captures the beauty of the season better than this lovely cake. It is tender and moist with the fresh fruit bursting out of the batter, every bite is better than the last. Yum!
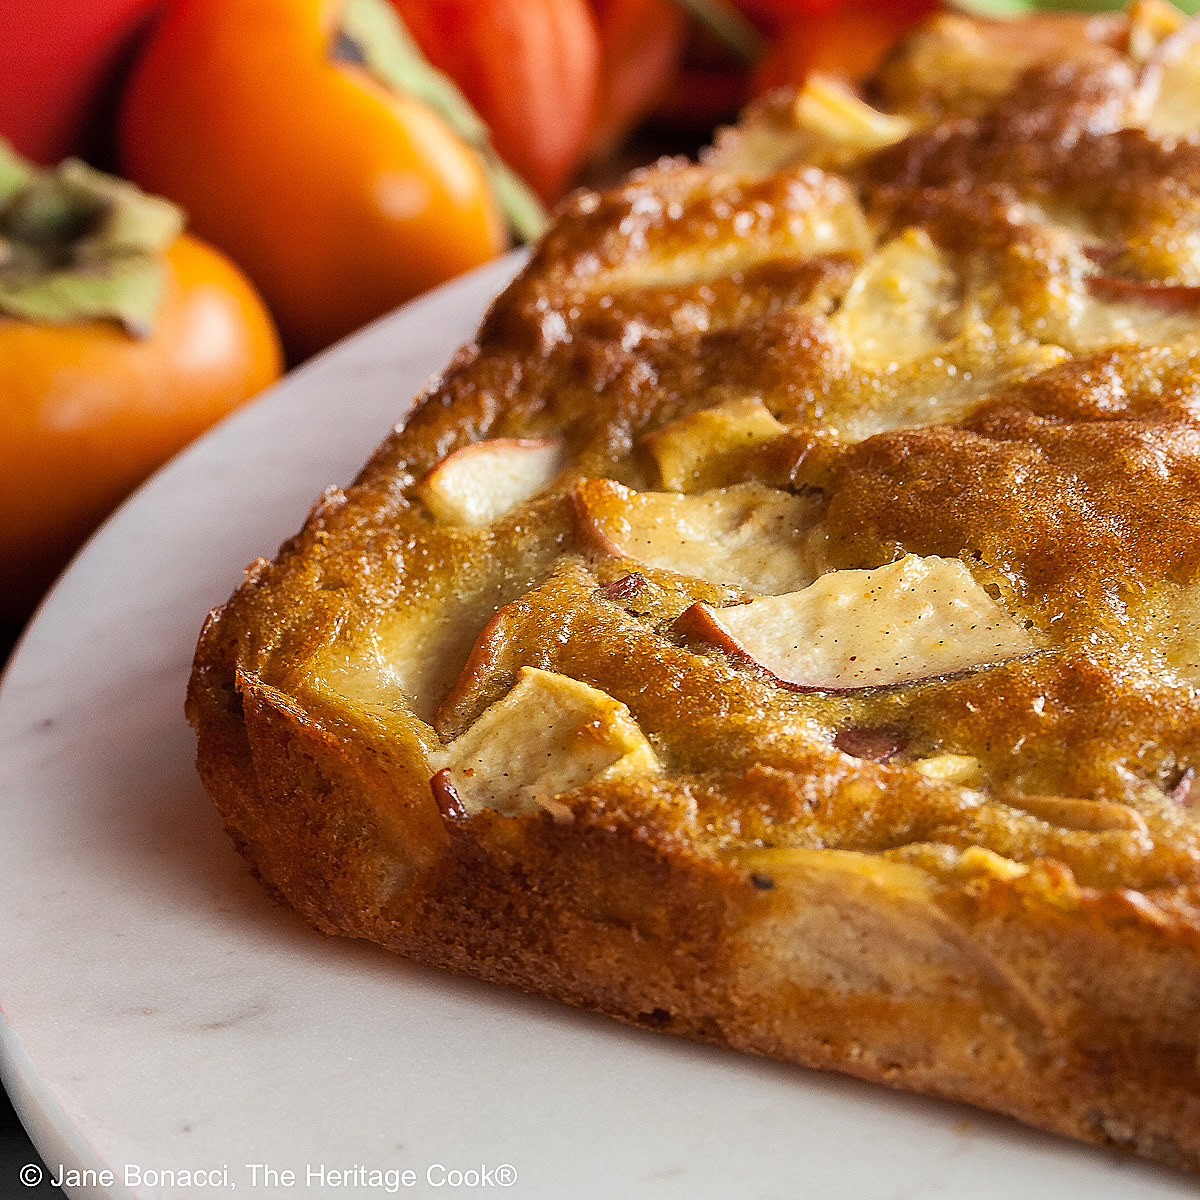
Enjoy this beautiful Autumn Apple and Pear Cake, a celebration of the fall season. After heavy meals this is the perfect touch of light sweetness. This cake will definitely be making a regular appearance at our upcoming meals.
If you try this recipe, let me know! Please leave a star rating in the recipe card, comment below, and don’t forget to snap a pic and tag it @theheritagecook on Instagram! Seeing your creations makes my day and I love hearing from you!
Ingredients needed for Autumn Apple and Pear Cake:
- Cake: butter, flour, xanthan gum, baking powder, baking soda, mace or allspice, nutmeg, pears, apples, sugar, lemon zest, fresh lemon juice, eggs, salt, half and half, vanilla
- Optional Toppings: powdered sugar, whipped cream, mint sprigs
PRO Tip:
Cutting the fruit all the same size helps make sure everything bakes at the same rate and they will be done when the cake is golden brown.
How to make Apple and Pear Cake:
-
- Combine the dry ingredients, whisking to combine; cut the pears and apples into thin slices, all about the same size.
- Beat together the sugar, lemon zest, eggs, and salt until combined, then increase the speed to medium and beat until it has increased in volume, the sugar is dissolved and it is a pale yellow.
- Combine the half and half with the melted butter and vanilla; once the egg mixture is ready add the milk mixture, then the lemon juice.
- Add the dry ingredients and mix just until combined, scraping the bowl well; fold in the sliced fruits then pour the batter into a parchment-lined 9-inch square baking pan.
- Bake at 400°F for about 40 minutes until golden brown and a knife inserted in the center comes out clean; cool in the pan about 20 minutes.
- Carefully lift the cake from the pan and cool on a wire rack for another 20 minutes before cutting; serve sprinkled with powdered sugar, topped with a dollop of whipped cream and a sprig of mint.
PRO Tip:
This recipe doesn’t make much batter. It may not look like there will be enough, but as the cake bakes it puffs up around the fruit and holds everything together.
Recommended Tools (affiliate links; no extra cost to you):
- Kitchen scale
- Chef’s knife
- Zester/grater
- 9-inch (23cm) square baking pan
- Parchment paper
- Mixing bowls
- Stand mixer or hand mixer
Gluten-Free Tips:
* You can adjust any baking recipe to gluten-free by using 120 grams per cup of my favorite gluten-free flour blend. If you are using another brand of flour or regular flour, whisk it, spoon it lightly into a measuring cup until mounded, level off the top with a knife, and weigh the flour left in the cup. Use that weight as your standard per cup of that specific flour. Do this for each flour blend you use. Commercial gluten-free blends such as Pamela’s All-Purpose Artisan Blend, Bob’s Red Mill 1-to-1, or King Arthur Measure for Measure are all good gluten-free choices.
** My preferred brand of kosher salt is from Diamond Crystal. If you use Morton’s, another kosher brand, or table salt, you will not need as much because they are saltier.
You will get the best and most consistent results by using a digital kitchen scale and weighing your ingredients, especially when you are baking. Use grams, they are much more accurate than pounds and ounces.
All recommended ingredients are gluten-free as of the writing of this article. Always check to be sure the products haven’t changed and are still safe to consume.
Autumn Apple and Pear Cake (GF)

Enjoy this beautiful Autumn Apple and Pear Cake, a celebration of autumn fruits. After heavy meals this is the perfect touch of light sweetness. This cake will definitely be making a regular appearance at our upcoming meals.
Ingredients
Cake
- 3 tbsp butter, melted and cooled to room temperature
- 1/2 cup (60 to 68 grams) gluten-free flour blend* or regular all-purpose flour
- 1/8 tsp xanthan gum (if your gluten-free flour does not already contain it)
- 1 tsp baking powder
- 1/4 tsp baking soda
- 1/4 tsp ground mace or allspice
- Pinch ground nutmeg
- 2 small firm-ripe pears, halved, cores removed
- 2 medium sweet apples, peeled, quartered, cores removed
- 1/3 cup granulated sugar
- Zest of 1 lemon
- 2 large eggs, at room temperature
- 1/4 tsp kosher or sea salt
- 1/3 cup half and half, at room temperature
- 1 tbsp vanilla paste or extract
- 1 tsp freshly squeezed lemon juice
- 1/2 cup mini white chocolate chips
For Serving (optional)
- Powdered sugar
- Lightly sweetened whipped cream
- Mint sprigs
Instructions
- Place a rack in the center of the oven and preheat to 400°F. Butter a 9-inch square baking pan and line it with parchment paper long enough to drape over opposite sides to create a sling with handles. Lightly butter the parchment and any exposed surfaces
- Make the Cake: Place the butter in a microwave-safe bowl and microwave about 15 to 30 seconds to melt it. Set aside to cool to room temperature.
- In a medium-mixing bowl, place the flour blend, xanthan gum (if using), baking powder, baking soda, mace and nutmeg. Whisk together until completely blended. Set aside.
- Cut the pear halves crosswise into uniformly thin slices. Place them in a mixing bowl. Cut the apple pieces crosswise the same thickness as the pears. Add them to the bowl and set aside.
- In the bowl of your stand mixer, place the sugar, lemon zest, eggs, and salt. Beat on low until combined and then increase the speed to medium. Beat until the mixture has increased in volume, the sugar is nearly dissolved (the batter will not feel too gritty when a little is rubbed between two fingers), and the mixture has lightened to a pale yellow, about 2 to 3 minutes. (A hand mixer will take closer to 5 minutes.)
- While the eggs and sugar are beating, pour the half and half into a measuring cup with a pouring spout. Add the melted butter and vanilla. Stir together. When the egg mixture is thick and creamy, add the milk mixture and beat together. As soon as they are fully incorporated add the lemon juice and beat in. Stop the mixer and add the flour blend. Beat until just incorporated and the batter is smooth. Remove the bowl from the mixer. Use a flexible silicone spatula to be sure there are no pockets of dry ingredients or lumps of zest in the bottom of the bowl. Fold in the white chocolate chips.
- Add the prepared fruit to the batter and gently fold it in, making sure each piece is coated with the batter. Pour the batter into the prepared baking pan. Gently press pieces of fruit down into the batter so there are not too many sticking up. It may not look like there will be enough batter, but as the cake bakes it puffs up around the fruit and holds everything together.
- Bake the Cake: Place in the hot oven and bake 40 to 45 minutes until the top is golden brown and a knife inserted in the center comes out clean.
- Cool the cake in its pan on a wire rack for about 20 minutes. Run a knife around the edges that are not covered with parchment, releasing the cake from the sides of the pan. Use the parchment sling’s handles to carefully lift the cake out of the pan. Set the cake still on the parchment paper on the wire rack and cool at least 20 more minutes before cutting.
- To Serve: Cut into squares and serve warm, at room temperature, or slightly chilled. You can bake this cake up to 2 days in advance. Store, covered tightly, in the refrigerator. Return to room temperature before serving.
- Place a square of cake on each serving plate. Sift powdered sugar over the top and add a dollop of whipped cream on the side if you want. Tuck a mint sprig alongside and serve.
Recipe found at www.theheritagecook.com
Notes
* You can adjust any recipe to gluten-free by using 120 grams per cup of my favorite gluten-free flour blend. If you are using another brand of gluten-free flour, whisk the mix, spoon it lightly into a measuring cup without a spout until mounded, level off the top with the back of a knife, and weigh the flour left in the cup. Use that weight as your standard per cup of that specific flour. Do this for each flour blend you use. Commercial blends such as Pamela's, Bob's Red Mill 1-to-1, or King Arthur Measure for Measure are all good gluten-free choices.
** My preferred brand of kosher salt is from Diamond Crystal. If you use Morton’s, another kosher brand, or table salt, you will not need as much because they are saltier.
You will get the best and most consistent results by using a digital kitchen scale and weighing your ingredients, especially when you are baking. Use grams, they are much more accurate than pounds and ounces.
All recommended ingredients are gluten-free as of the writing of this article. Always check to be sure the products haven’t changed and are still safe to consume.
Inspired by a recipe from Dorie Greenspan
Nutrition Information:
Yield:
6Serving Size:
1Amount Per Serving: Calories: 408Total Fat: 16gSaturated Fat: 9gUnsaturated Fat: 7gCholesterol: 87mgSodium: 355mgCarbohydrates: 61gFiber: 4gSugar: 39gProtein: 6g
The nutritional information for recipes on this site is calculated by online tools and is merely an estimate. If you need nutritional calculations for medical reasons, please use a source that you trust.
If you enjoyed this recipe, be sure to follow me on social media so you never miss a post:

Create a New Tradition Today!
Welcome! The suggestions here are not intended as dietary advice or as a substitute for consulting a dietician, physician, or other medical professional. Please see the Disclaimers/Privacy Policy page for additional details. Unauthorized use, distribution, and/or duplication of proprietary material from The Heritage Cook without prior approval is prohibited. If you have any questions or would like permission, please contact me. We participate in the Amazon Services LLC Associates Program, an affiliate advertising program designed to provide a means for sites to earn advertising fees by advertising and linking to amazon.com. As an Amazon Associate, I earn from qualifying purchases. This page may contain affiliate links. This post was first shared in March 2015. The article was updated in 2026.

Beth
I have never grilled a dessert, but after seeing this one I’m tempted to try! This looks like a perfect way to end a meal.