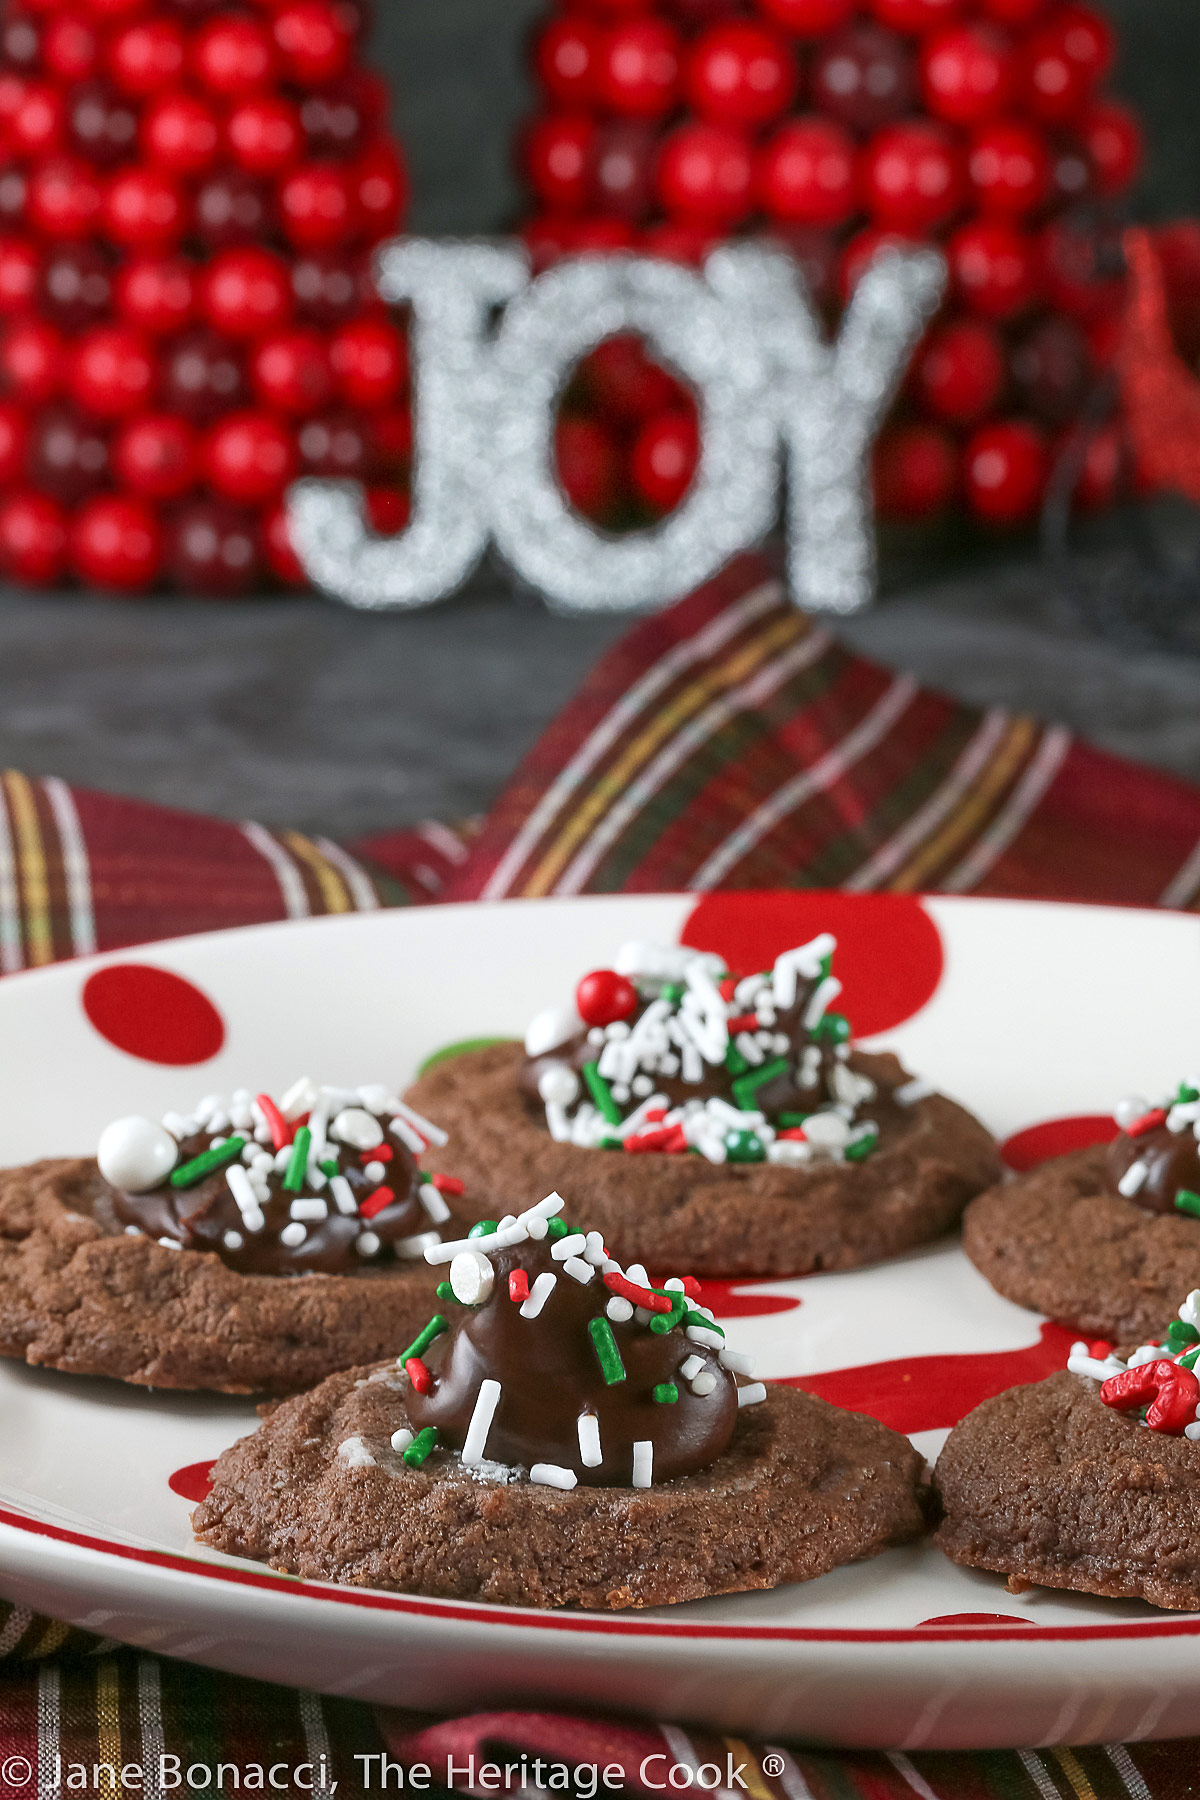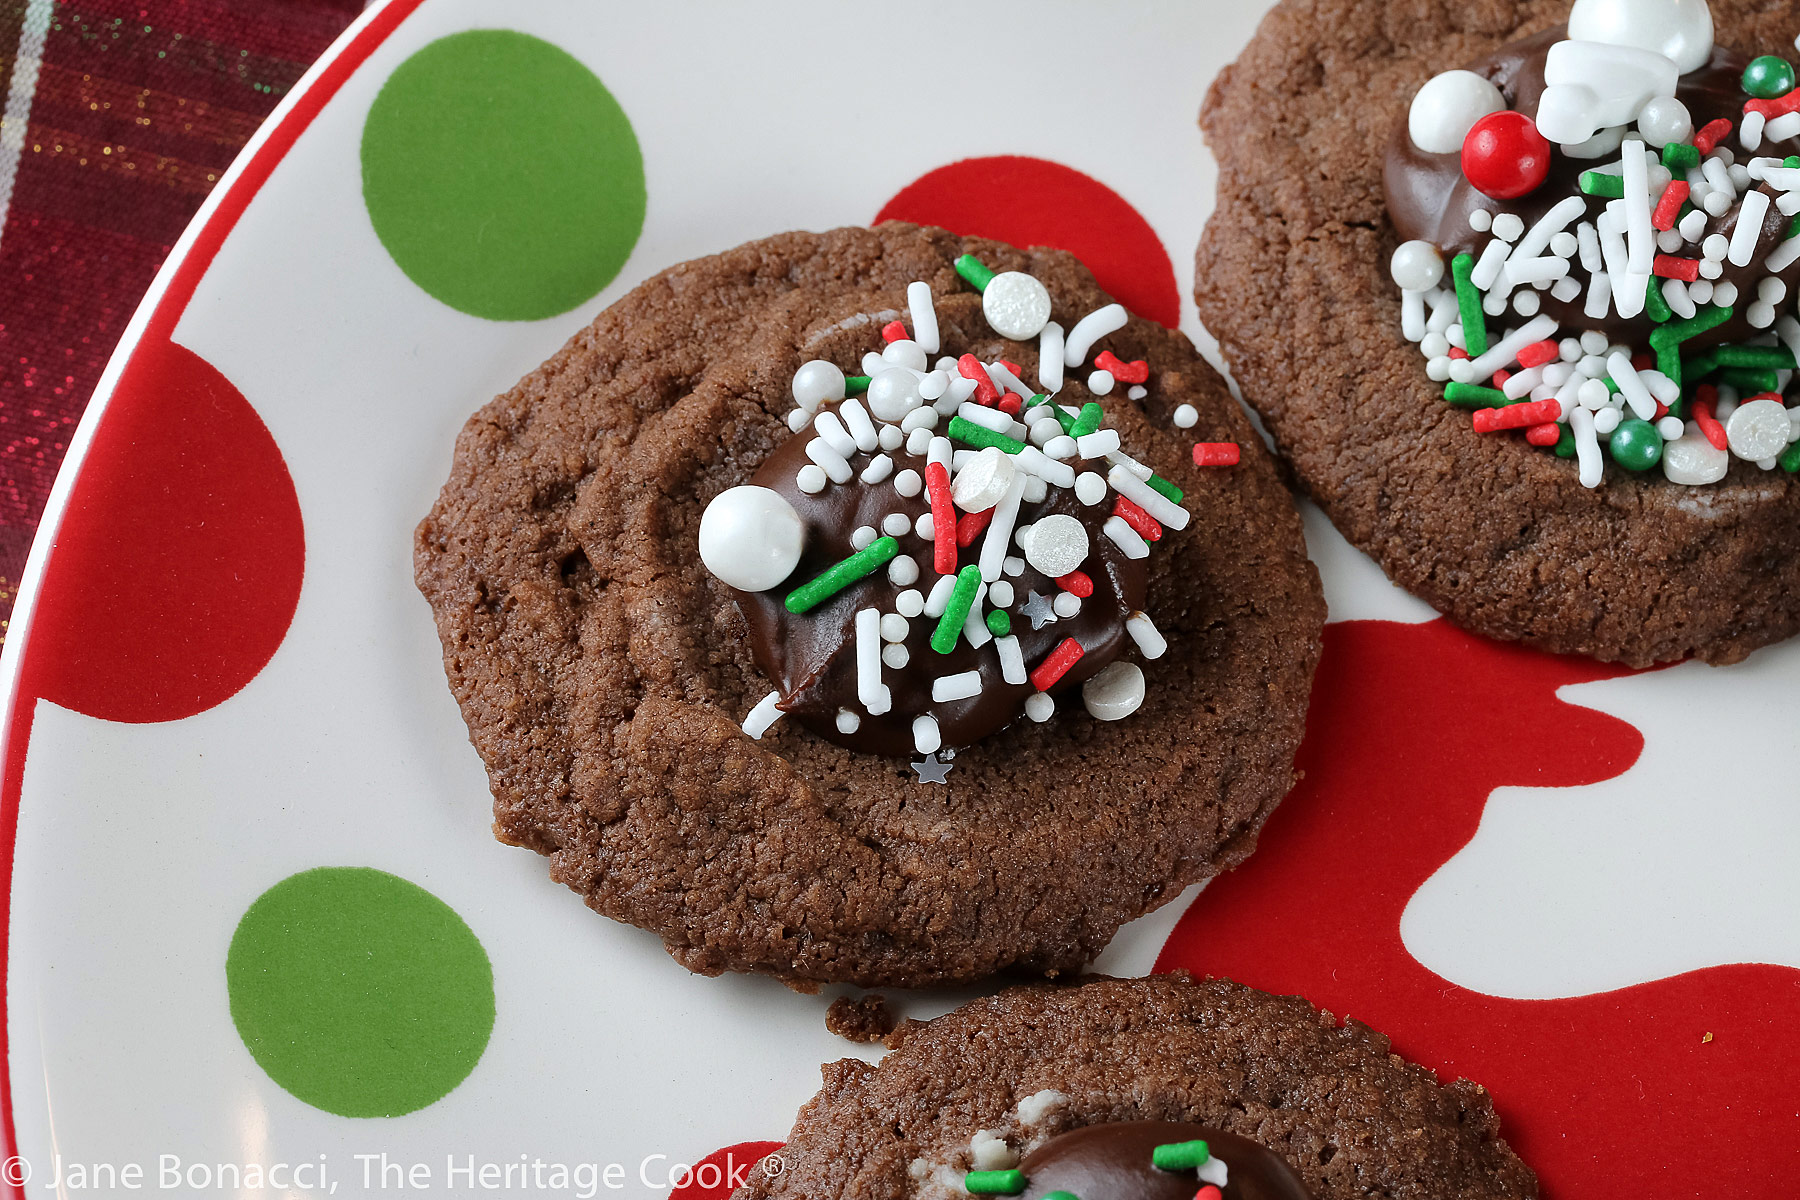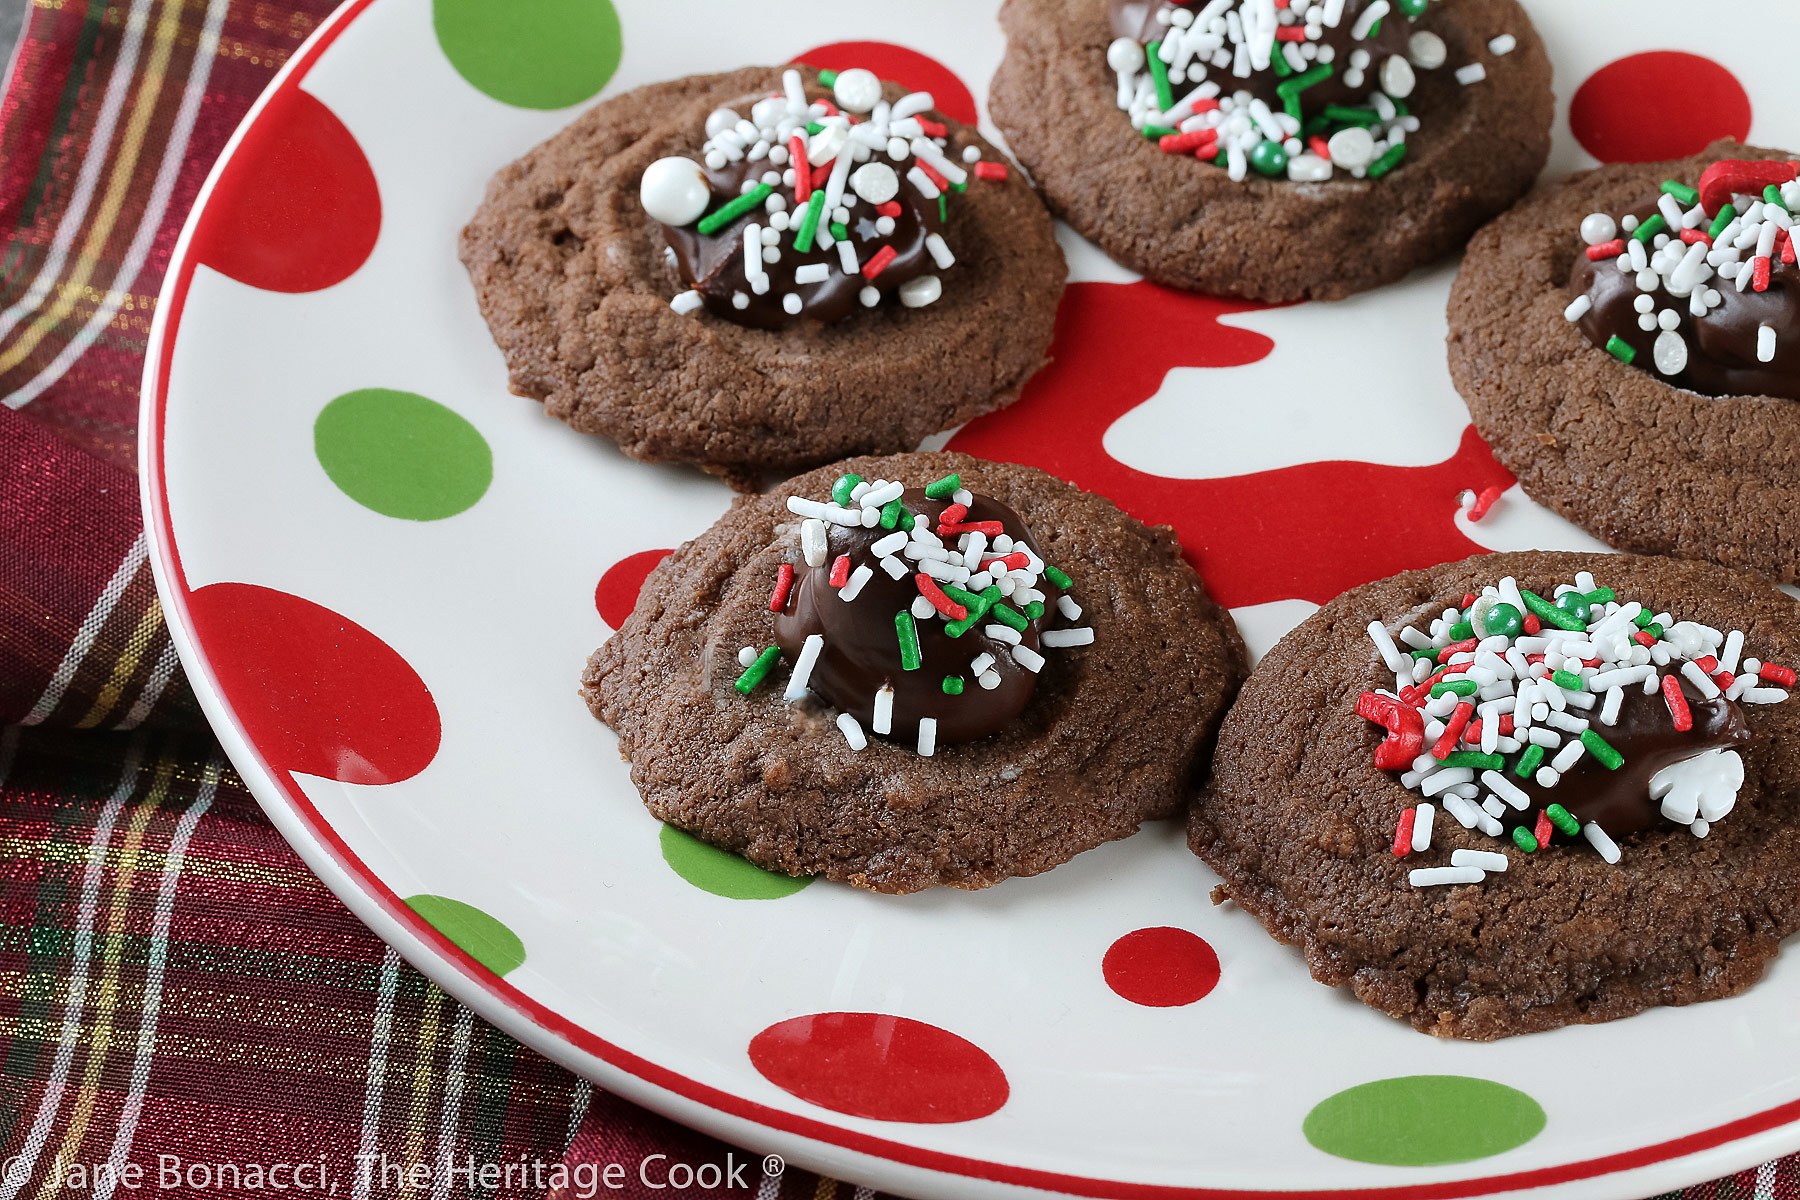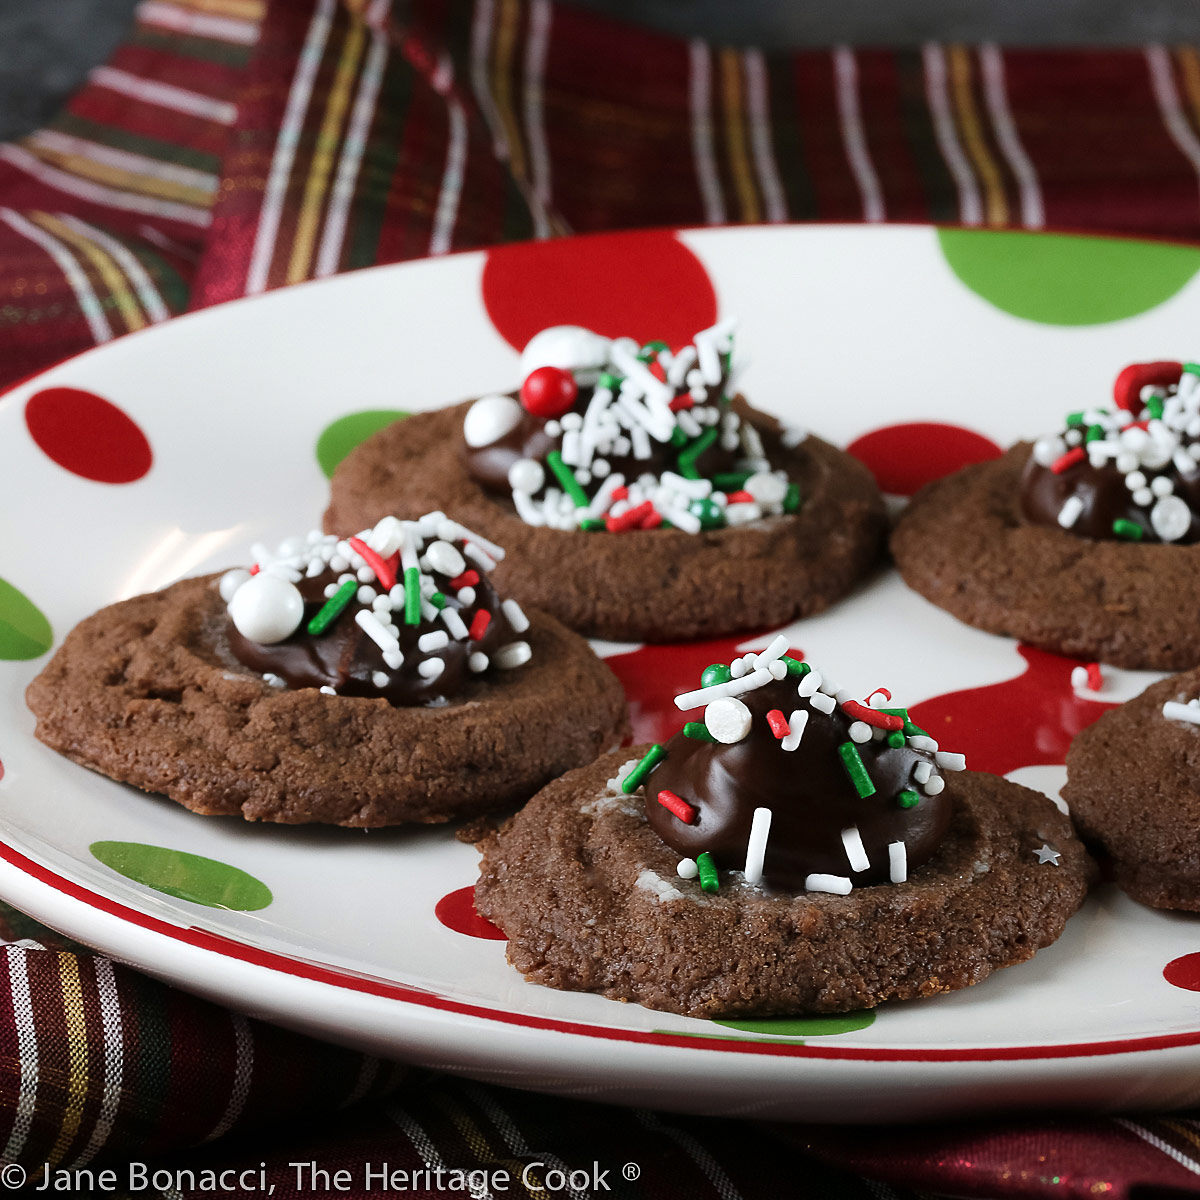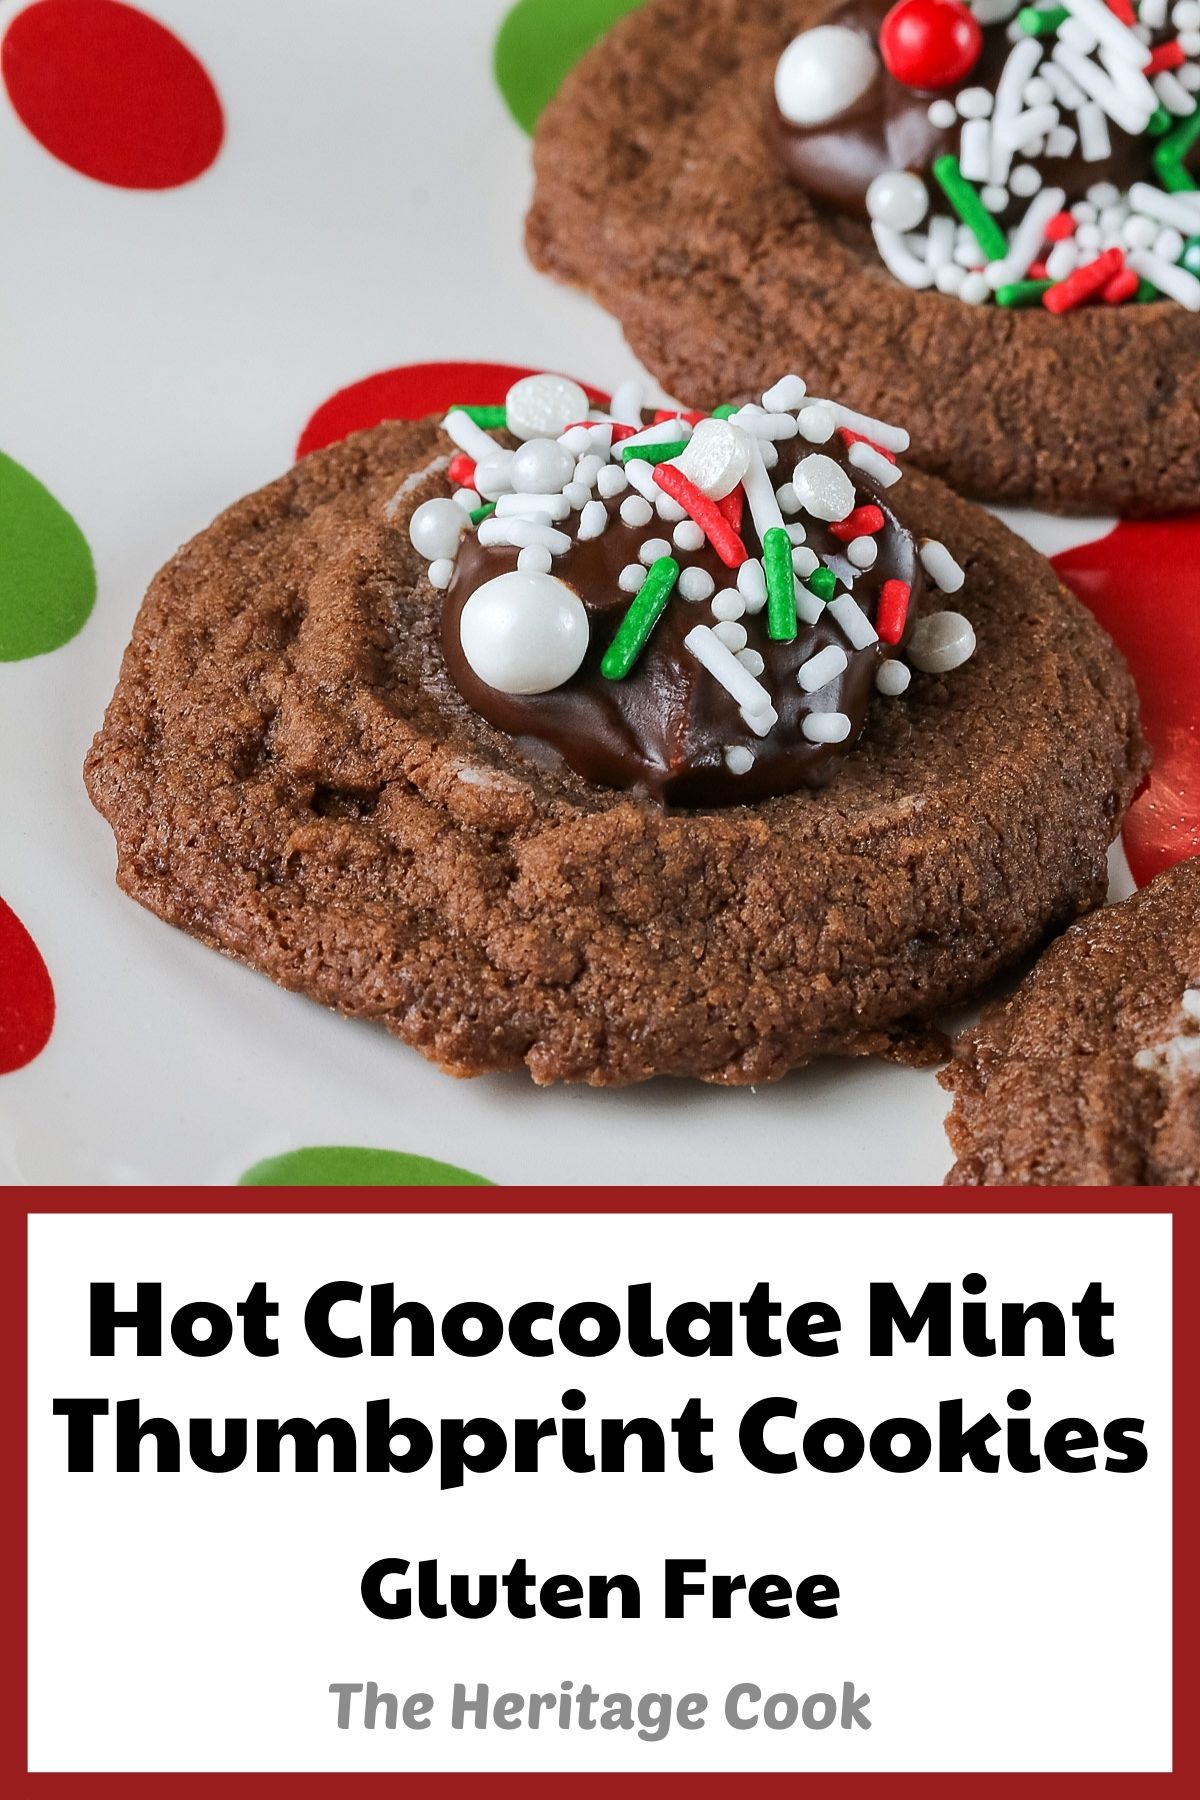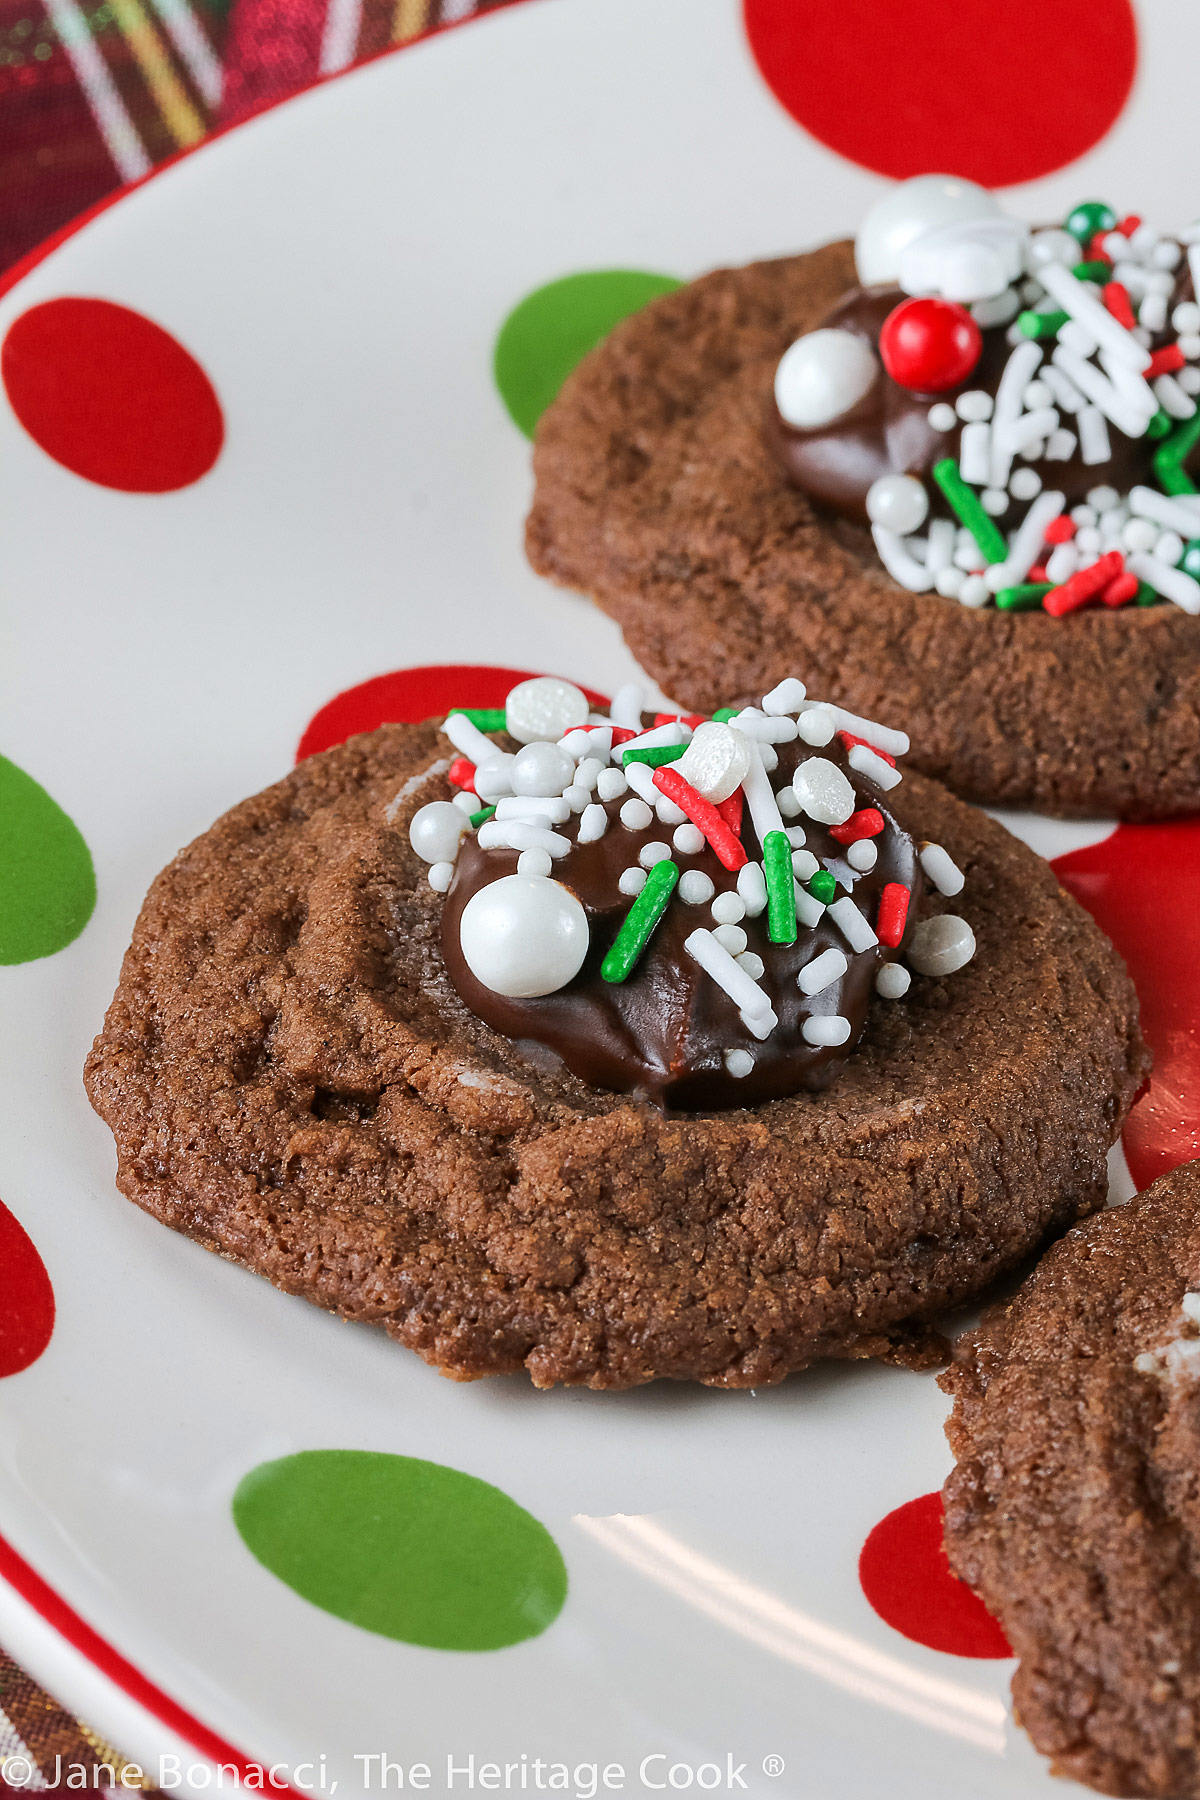
These delicate cookies literally melt in your mouth and are absolutely delectable. I love that they are little bites so you can easily limit your intake … built-in calorie control!
Thumbprint cookies can be made in many different flavors from citrus to sugar and nutty to chocolate with fillings that run the gamut. Your choices are only limited by your imagination.
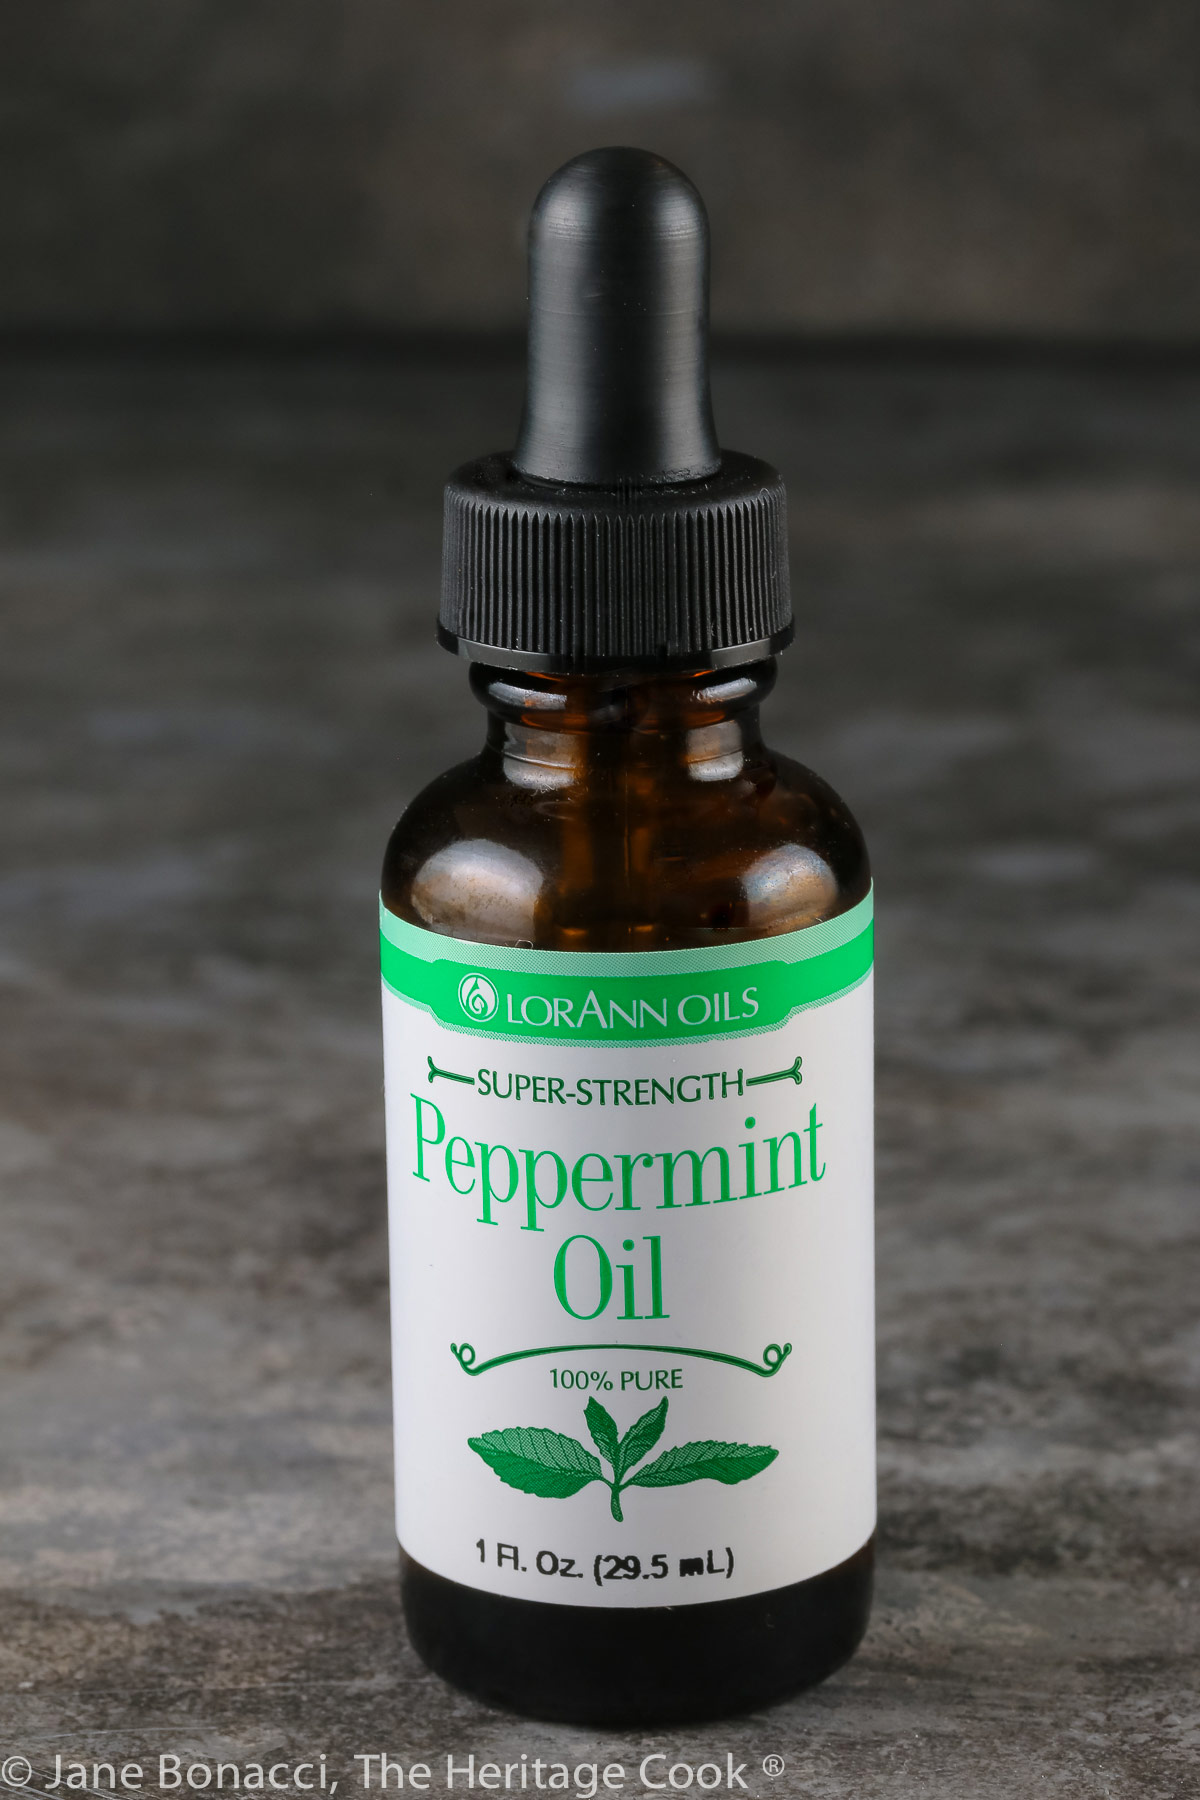
When it comes to flavorings for baking and candy-making, my personal favorite brand is LorAnn. They have a plethora of flavors to choose from and are extremely high quality and gluten-free. These are not affiliate links, I just love the company and their products.
I use their oils for aromatherapy too, diffusing a pot of water on the stove with fresh lemons, oranges, and a generous squeeze of their citrus flavors. In no time our home is smelling fresh and citrusy!
Another trick to using LorAnn’s oils is to buy threaded dropper tops that allow you to use just a drop or two and complement but not overpower the other flavors. Be sure you get the right size to match the bottles you buy!
These beautiful little Hot Chocolate Mint Thumbprint Cookies are the perfect snack for Santa – I know he will love them as he passes through your town. And don’t forget carrot sticks for the reindeer!
I hope you give these beauties a try soon and enjoy them as much as we have!!
Did you enjoy this recipe? Let me know in the comments and leave a star rating, I love hearing from you!
Ingredients needed for Hot Chocolate Mint Thumbprint Cookies:
- Cookies: Gluten-free all-purpose flour, Dutch-processed cocoa
- Unsalted butter, confectioners’ sugar, vanilla, salt
- Filling: semisweet chocolate, unsalted butter, peppermint extract or oil
PRO Tip:
Press the centers of each ball of dough firmly, but be sure you don’t go all the way to the surface underneath. Once baked, the centers will have puffed up – use the handle of a wooden spoon or similar implement to gently re-press the centers while they are still warm.
PRO Tip:
If you want to find the fun and creative toppings you see in many photos on Pinterest and around the Internet, look up Fancy Sprinkles. They are where I buy most of my candy decorations (including what I used on these cookies) and I love them!
How to make Hot Chocolate Mint Thumbprint Cookies:
- Prepare the Cookies: Sift together the flour and cocoa powder and set aside; Cream the butter and sugar together, add the vanilla and salt, then mix in the flour-cocoa mixture until a soft dough forms
- Chill the dough until firm enough to form balls, 15-20 minutes; roll heaping teaspoonfuls of dough into 1-inch balls and set them 2-inches apart on a Silpat or parchment-lined baking sheet
- Using your thumb or the handle of a wooden spoon, press the center of each ball to create a deep divot; bake at 350°F (177°C) until the tops look dry, 8 to 9 minutes, remove from the oven and re-press the centers with the wooden spoon handle
- Rest the cookies 5 minutes on the baking sheet before moving carefully to a wire rack to cool completely, repeat with remaining dough
- Make the Filling: Put the chocolate and butter in a heatproof bowl and melt them together in a skillet of simmering water, stir until nearly completely melted, 2-4 minutes; remove from the heat and stir until melted and smooth, stir in the mint extract or oil
- Let cool, stirring occasionally, until thickened slightly and nearly room temperature, 30-40 minutes; spoon filling into a piping bag fitted with a round tip and pipe the filling into each cookie
- Sprinkle the tops with decorations if using and set aside to cool completely before serving or storing
PRO Tip:
You can use mint-flavored oil in place of the extract if you prefer, but you will only use a drop or two (or to taste) because it is much stronger than the extract!
PRO Tip:
If you are using flavored oil, use an eye dropper top so you can easily measure out tiny amounts. I buy my oils and tops from LorAnn oils, I love them and consider them the best products available.
Recommended Tools (affiliate links; no extra cost to you):
- Kitchen scale
- Measuring spoons
- Sieve (for sifting)
- Hand mixer or stand mixer
- Silpats or parchment paper
- Baking sheet pans
- Cookie scoop
- Heatproof bowl
Gluten-Free Tips:
You can adjust any baking recipe to gluten-free by using 120 grams per cup of my favorite gluten-free flour blend. If you are using another brand of gluten-free flour, whisk the mix, spoon it lightly into a measuring cup until mounded, level off the top with a straight edge, and weigh the flour left in the cup. Use that weight as your standard per cup of that specific flour. Do this for each flour blend you use. Commercial blends such as Pamela’s All-Purpose Artisan Blend, Bob’s Red Mill 1-to-1, or King Arthur Measure for Measure are all good choices.
All recommended ingredients are gluten-free as of the writing of this article. Always check to be sure the products haven’t changed and are still safe to consume.
Hot Chocolate Mint Thumbprint Cookies (Gluten Free)
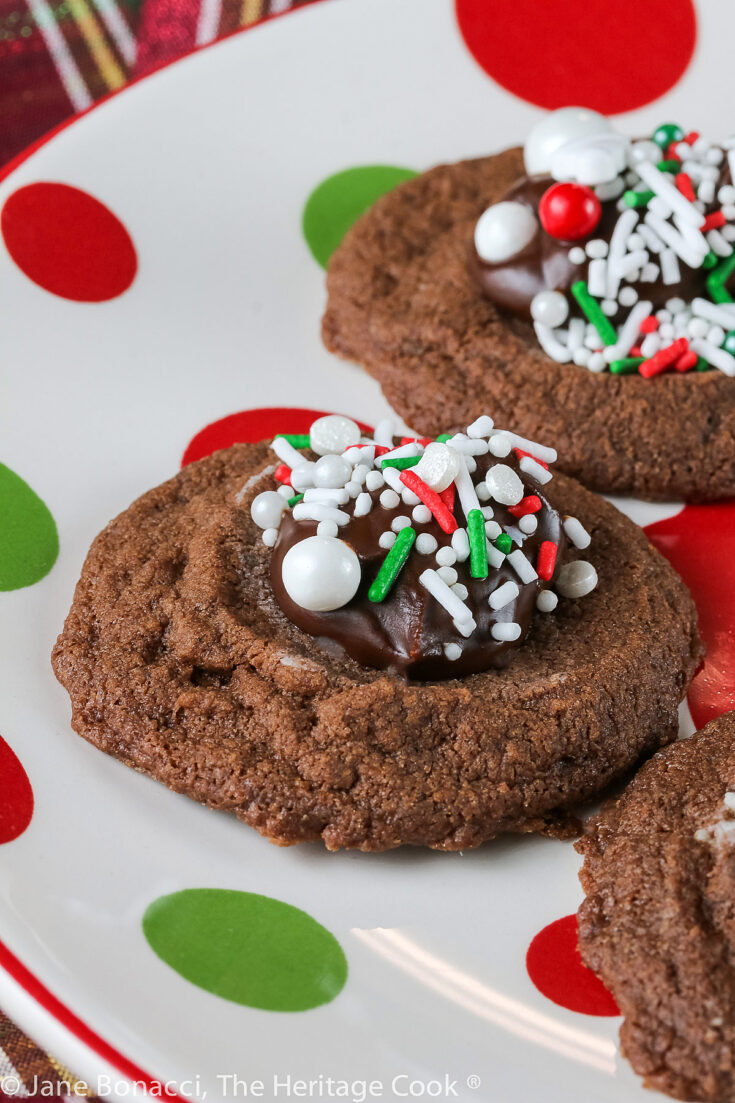
Hot Chocolate Mint Thumbprint Cookies are perfect for a holiday cookie platter or just because you feel like baking for your friends and family. They are like a warm hug on a cold day. These are delicate cookies filled with a rich and decadent chocolate ganache making them a chocoholic’s nirvana!
Ingredients
Cookies
- 5-1⁄4 oz (1 cup plus 2-1⁄2 Tbsp; 139g) gluten-free all-purpose flour or regular all-purpose flour * see Note
- 3⁄4 oz (1⁄4 cup; 21g) Dutch-processed cocoa
- 6 oz (1-1/2 sticks; 170g) unsalted butter, at room temperature
- 2 oz (1⁄2 cup; 57g) confectioners’ sugar, sifted
- 1-1⁄2 tsp pure vanilla extract
- 1⁄4 tsp table salt
Chocolate Mint Filling
- 8 oz (1-1/2 cups; 256g) chopped semisweet chocolate or chocolate chips
- 3 oz (6 Tbsp; 84g) unsalted butter, cut into pieces
- Scant 1⁄4 tsp pure peppermint extract or 3 to 6 drops of peppermint oil
Topping
- Seasonal sprinkles, if desired
Instructions
- Make the cookies: Sift the flour and cocoa together into a medium bowl. In another bowl, with a hand mixer or a stand mixer, cream the butter and sugar on medium speed until light and fluffy, about 2 minutes. Add the vanilla and salt; continue beating until blended and smooth, about 1 minute more. Add the flour-cocoa mixture and mix on low speed until a soft dough forms, about 1 minute.
- Chill the dough in the refrigerator until firm enough to roll into balls, 15 to 20 minutes. If the dough gets too firm, just leave it out at room temperature to soften.
- Position a rack in the center of the oven and heat the oven to 350°F (177°C). Line two cookie sheets with parchment or Silpat sheets.
- Roll heaping teaspoonfuls of the dough into 1-inch balls. (I like to use a cookie scoop.) Arrange them 2 inches apart on the lined sheets. With a lightly floured thumb or index fingertip (or use cocoa powder), press straight down into the middle of each ball almost to the cookie sheet to make a deep well. (Or use the handle of a thick wooden spoon dipped in flour or cocoa powder.)
- Bake one sheet at a time until the tops of the cookies look dry, 8 to 9 minutes. Remove from the oven and gently re-press the indentations with the handle of a wooden spoon to make them deep again. Let the cookies cool on the sheet for 5 minutes and then gently transfer to a wire rack and cool completely.
- Make the Filling: Put the chocolate and butter in a heatproof bowl set onto a saucepan with an inch or two of water in the bottom and bring the water to a simmer. Stir with a heatproof spatula until the chocolate is almost completely melted, 2 to 4 minutes. Remove the bowl from the heat and stir until melted and smooth, about 30 seconds more. Stir in the mint extract or oil.
- Let the filling cool, stirring occasionally, until slightly thickened and cooled to nearly room temperature, 30 to 40 minutes. It should not be so warm that it runs when poured off a spoon into the bowl.
- Spoon the filling into a small pastry bag with a round tip. (Or use a quart-size resealable plastic bag and cut a small piece off a bottom corner of the bag.) Pipe the filling into the center of each cookie. Immediately top with the sprinkles if using. Cool completely before serving or storing.
- The cookies will keep in an airtight container at room temperature for 4 to 5 days.
Recipe found at www.theheritagecook.com
Notes
The recipe first appeared in Fine Cooking magazine, Dec 2008/Jan 2009 and has been slightly adapted.
*You can adjust any recipe to gluten-free by using 120 grams per cup of my favorite gluten-free flour blend. If you are using another brand of gluten-free flour, whisk the mix, spoon it lightly into a measuring cup without a spout until mounded, level off the top with a straight edge, and weigh the flour left in the cup. Use that weight as your standard per cup of that specific flour. Do this for each flour blend you use. Commercial blends such as Pamela's, Bob's Red Mill 1-to-1, or King Arthur Measure for Measure are all good choices.
All recommended ingredients are gluten-free as of the writing of this article. Always check to be sure the products haven’t changed and are still safe to consume.
Nutrition Information:
Yield:
30Serving Size:
1Amount Per Serving: Calories: 117Total Fat: 8gSaturated Fat: 4gTrans Fat: 0gUnsaturated Fat: 3gCholesterol: 9mgSodium: 48mgCarbohydrates: 13gFiber: 1gSugar: 7gProtein: 1g
The nutritional information for recipes on this site is calculated by online tools and is merely an estimate.
If you enjoyed this recipe, be sure to follow me on social media so you never miss a post:
Create a New Tradition Today!
Welcome! The suggestions here are not intended as dietary advice or as a substitute for consulting a dietician, physician, or other medical professional. Please see the Disclaimers/Privacy Policy page for additional details. Unauthorized use, distribution, and/or duplication of proprietary material from The Heritage Cook without prior approval is prohibited. If you have any questions or would like permission, please contact me. We participate in the Amazon Services LLC Associates Program, an affiliate advertising program designed to provide a means for sites to earn advertising fees by advertising and linking to amazon.com. As an Amazon Associate, I earn a small amount from qualifying purchases without any additional cost to you. This page may contain affiliate links.

