On St. Patrick’s Day eighteen years ago, I met The Artist. It is my favorite holiday, truly a night to remember, and the beginning of our life together. Join us as we celebrate with some Irish whiskey and chocolate for today’s Chocolate Monday!
The original recipe is from Chef Gale Gand, one of my baking heroes. I love all of her cookbooks and own most of them. Her goal was to make a cake with the flavors of Irish coffee drinks. She created a stunning triple layer cake filled with a coffee-Irish whiskey whipped cream and topped with dark and white chocolate curls.
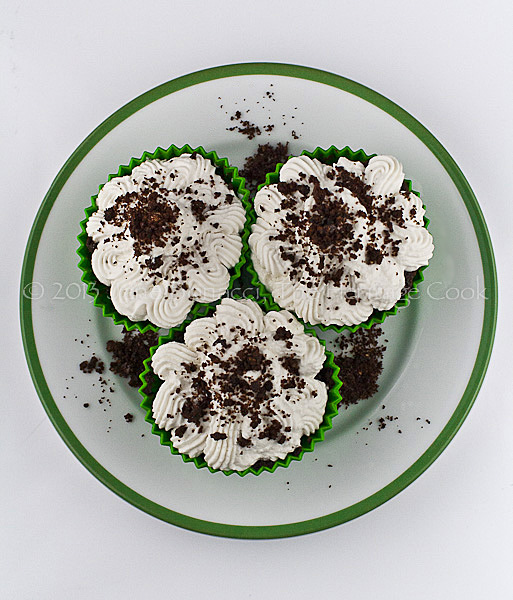
A cupcake shamrock!
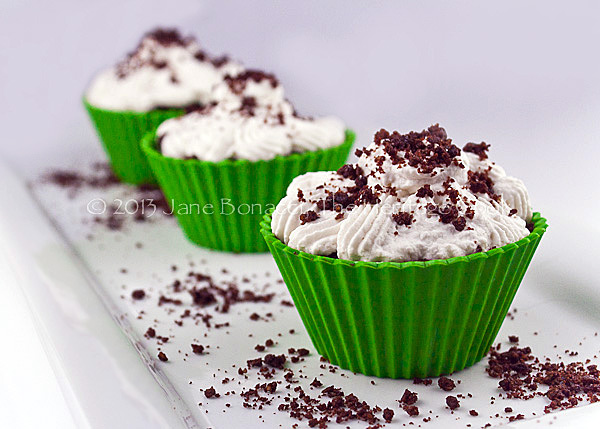
Because The Artist takes many of our leftover baked goods to the office, I wanted something that was easier to transport – cupcakes to the rescue! I made a few other changes too. I made mine using the gluten-free option, halved the frosting recipe and just to make them more fun, added whiskey to the cake batter too. I have to say, these are some fabulous cupcakes!
I like that the deeply chocolatey cake holds its own against the frosting without being overwhelmed. It is a very balanced cupcake, not too sweet, with the whiskey adding caramel notes. If you are a fan of super sweet frostings you will need to add a lot more sugar to the cream as you are whipping it.
If you don’t happen to have Irish whiskey in your home and don’t want to buy a whole bottle for one recipe, you can use a variety of alternative alcohols. Scotch, Bailey’s Irish Cream, light or dark rum would also work. If you want to avoid using alcohol, you can use 1 tsp vanilla instead.
When you are adapting a recipe, you are bound to have a few surprises, especially if you are also using gluten-free flours. Sometimes gluten-free batters can be a bit dense and tend not to rise too much so I filled my cups fuller than normal. Because you whip the batter so long it helps stabilize it and the cupcakes rise beautifully. I wasn’t sure how many cupcakes I would get out of recipe, so I guessed and set up 20 liners. If this was a 2-layer cake, I probably would have been close, but as it turned out I over-filled the first dozen. Oops.
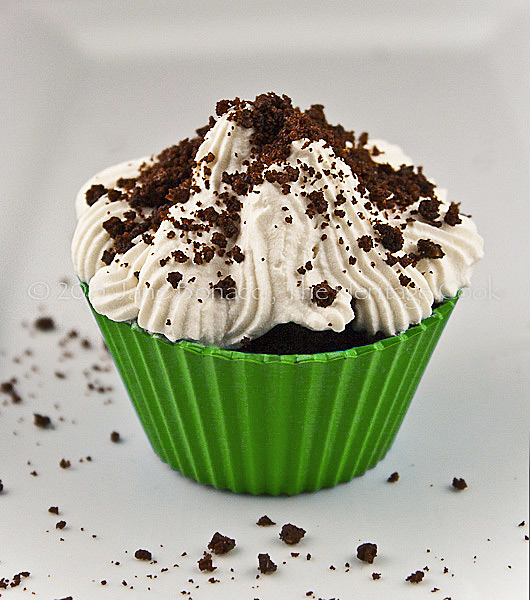
As they rose in the oven and spilled over the cups onto the baking sheet (I used silicone baking cups) I thought the whole batch was lost and I would have to start over. But then I wondered what I could do with the crunchy bits and I realized that they would make a great garnish. So instead of making chocolate curls, I made chocolate crumbs.
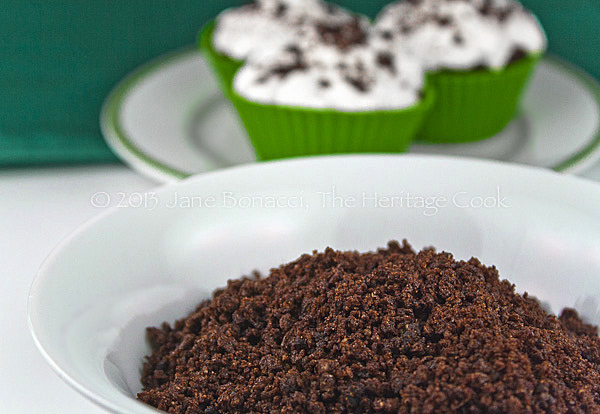
Bowl of Irish “sod”
The crumbs look a lot like dirt and could be used to make some fun fake garden scenes. In my mind though I kept thinking of Irish immigrants speaking fondly of the “auld sod” an affectionate term for the land of their birth. Given that these cupcakes are a tribute to Irish flavors, isn’t it appropriate that they have a touch of the Irish landscape to them? If you want to buy some “real” Irish sod, check out Auld Sod Gifts where they sell Irish soil and shamrock seeds!
Happy Chocolate Monday and St. Patrick’s Day!
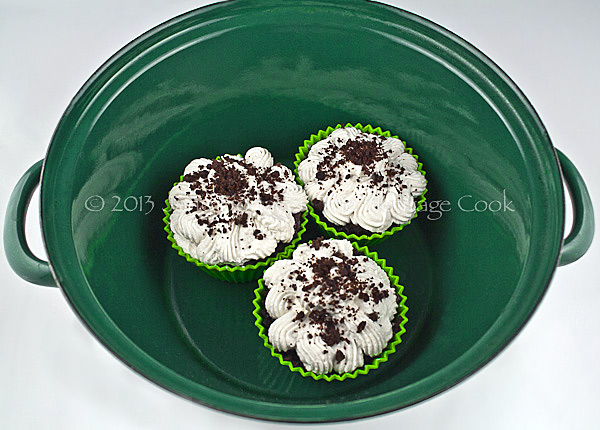
What I want to find at the end of rainbow – my pot o’ gold!!
Jane’s Tips and Hints:
Don’t fill your cupcake tins more than 2/3 full or your cupcakes will overflow. If that happens (like it did to me), take the spillovers, pop them in a food processor and make dirt!! 🙂
Gluten-Free Tips:
Using a blend of gluten-free flour and almond flour/meal or hazelnut meal adds a depth of flavor, complexity, and a touch of extra moisture. Almond meal is ground more finely than the hazelnut mixture, making it less noticeable in the finished products but both are delicious.
Kitchen Skill: Cleanly Filling Cupcake Tins
Filling cupcake tins can be very messy, especially with extra thin batters. For the cleanest, neatest filling option, place the batter in a liquid measuring cup with a pouring spout, such as Pyrex, and use that to fill the cups. I only had a few drops spill!
I own four Pyrex measuring cups, in graduating sizes from 1 cup up to 8 cups. They work for so many projects and are indispensable tools in the kitchen. Made of heavy-duty glass, these measuring cups will last for many years. I am still using the first one I bought decades ago!


- Cupcakes
- 10-1/8 oz (2-1/4 cups) unbleached all-purpose flour or gluten-free flour blend, or use 7 oz (1-3/4 cup) GF flour + 3-1/8 oz (1/2 cup) almond meal
- 2 cups granulated sugar
- 2-5/8 oz (3/4 cup) unsweetened cocoa powder
- 1-1/2 tsp baking powder
- 1-1/2 tsp baking soda
- 1 tsp kosher salt
- 2 large eggs
- 1 cup whole milk
- 1/2 cup neutral flavored oil such as light olive, canola, vegetable, etc.
- 2 tsp pure vanilla extract
- 3/4 cup hot coffee
- 1/4 cup whiskey (look for non-smoky flavor profile whiskey)
- Spiked Whipped Cream Frosting
- 1-1/2 tsp instant espresso granules, optional
- 2 tbsp Irish whiskey (the same as you used in the cupcakes)
- 1-1/2 cups cold heavy cream
- 1-1/2 tbsp packed dark brown sugar, or more to taste
- Toppings
- Cupcake topping crumbs (see *Note)
- 2 oz block semisweet chocolate (about 1-inch thick), at room temperature
- 2 oz block white chocolate (about 1-inch thick), at room temperature
- Make the Cupcakes: Position racks in the upper and lower thirds of the oven and preheat oven to 350°F. Butter muffin tins or line with paper liners or use silicone baking cups.
- In the bowl of your stand mixer, whisk together the flour (or blend), sugar, cocoa, baking powder, baking soda, and salt on low speed. Attach the bowl to the stand mixer and using the whisk attachment, turn the mixer on low and add the eggs, milk, oil, and vanilla.
- Beat until the mixture is thick and creamy, like chocolate frosting, about 5 minutes. The mixture will become lighter in color. Scrape down the sides and bottom of bowl several times during the mixing. With the mixer running, gradually add the hot coffee, mixing at low speed just until combined. The batter will be quite thin.
- Pour the batter into a measuring cup with a spout, refilling as needed. Divide the batter equally among the prepared tins, filling each no more than 2/3 full. Carefully transfer to hot oven.
- Bake, rotating tins halfway through the baking, front to back and top rack to bottom rack, until cupcakes feel firm to the touch and a wooden toothpick inserted in the center comes out with just a few crumbs clinging to it, 20 to 35 minutes. Smaller cupcakes will take less time; larger size or baking in silicone cups will take longer. Remove from the oven and set aside for 1 minute. Transfer to a wire rack to cool completely.
- Make the Frosting: While the cupcakes are baking, chill the mixing bowl and whisk attachment. Combine the instant espresso granules (if using) with the whiskey in a small bowl, stirring until completely dissolved. Set aside.
- Pour the cold heavy cream into the chilled bowl and whip for 1 minute on medium speed or until frothy. Add the brown sugar and whiskey mixture and whip on medium-high speed about 2 to 3 minutes or until medium peaks form. You can refrigerate the whipped frosting for up to 1 hour before using. Re-whip before piping if needed.
- Make Chocolate Curls: Line a baking sheet with parchment paper. Soften the blocks of chocolate slightly by microwaving each separately for about 20 seconds. Using a vegetable peeler, draw it along the chocolate bar’s edge, letting the curls fall onto the parchment paper. Transfer to refrigerator to firm up while frosting the cupcakes.
- Frost the Cupcakes: Transfer frosting to a piping bag fitted with a star tip. Pipe the frosting onto the cooled cupcakes. If desired, sprinkle tops with chocolate curls before serving.
- Store the cupcakes in the refrigerator.
- I over-filled my cupcake tins so the cupcakes rose above the rims of the tins. I transferred the excess from the cupcakes to a food processor and pulverized them into crumbs. I used the crumbs to decorate the tops of the cupcakes in place of the chocolate curls.
Create a New Tradition Today!
Unauthorized use, distribution, and/or duplication of proprietary material on The Heritage Cook without prior approval is prohibited. This includes copying and reprinting content and photographs. If you have any questions or would like permission, I can be contacted via email: theheritagecook (at) comcast (dot) net. Feel free to quote me, just give credit where credit is due, link to the recipe, and please send people to my website, www.theheritagecook.com. Please see the Disclaimers page (under the “About” tab above) for additional details.
Thank You!

