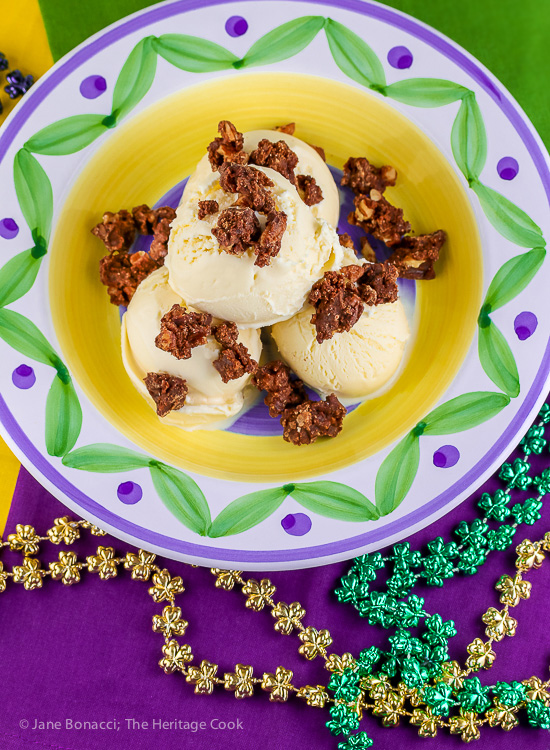
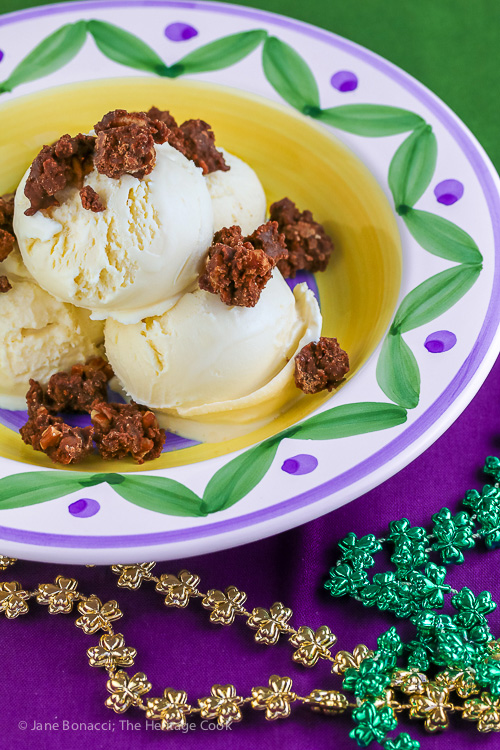
These Chocolate Pralines Crumbles are the most delightful candy, perfect for sprinkling over ice cream, added to granola, or as part of a trail mix! Chocolatey, crunchy, addictive bits in every bite, they are a lovely counterpoint to the smooth and creamy ice cream.
The first time I visited New Orleans I was with my parents and fell in love with the gentility and grace of the city’s Garden District and French Quarter. I was fascinated with everything I saw because it was foreign to me – nothing like Northern California where I grew up.
The smells of the foods were tantalizing and though I was hesitant, I tried most of the dishes my parents ordered. My father had traveled there often for work and knew the best restaurants and the foods I would enjoy. It was a delightful introduction.

Just down the street from Café du Monde is Aunt Sally’s a local candy store where I had my first praline – locally pronounced “prah-leen”. I’m sure my eyes were huge as we walked in and saw all the sugary treats. It was a treasure trove for me! Years later I returned, this time during Mardi Gras and saw the city with different eyes. I am still enchanted.
With fond memories of New Orleans and Mardi Gras running through my mind, I started to make classic pralines with added chocolate, but given the weather in Oregon, I ran into challenges fairly quickly. Making candy during inclement weather is always dicey. Sugar is sensitive to the moisture in the air and it can cause havoc, even for a seasoned candy maker. When you are thrown a curve ball, you create a new delicious treat!
Instead of a soft fudge-like consistency that drops easily off a spoon into perfect puddles, my batch stiffened up considerably making it very challenging to stir in the chocolate, nuts, and vanilla. I didn’t know how it would turn out, but no matter what the texture was I knew the flavor would be delicious – and boy was I right!
Even with calibrating my thermometer, based on its thickness as it was cooking, I’m pretty sure the candy wound up cooked to the firm ball stage, around 250°F. My second mistake was getting distracted while the candy cooled. Try to make this on a day when your family isn’t around, and don’t answer the phone – oops! Yep, mine cooled too much. Placing the pan back onto the still warm burner and adding a little hot water helped loosen it enough to get the chocolate, vanilla, and nuts mixed in.
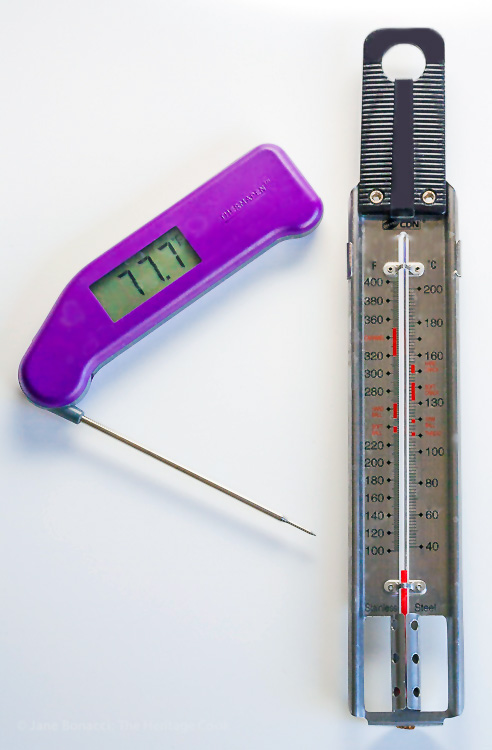
Instant read thermometer on the left and traditional candy thermometer on right, important tools when making candy.
Rather than making individual candies, I scooped it all onto a baking sheet and when it had cooled, I broke it up into small clumps. The lesson here is don’t panic when something goes wrong. Because it didn’t burn, the flavor was still great, I just didn’t have the pretty candies I wanted to make. I tried to imagine what I could do with it and it became the most delightful candy crumble, perfect for sprinkling over ice cream! Chocolatey, crunchy, addictive bits in every bite – a lovely counterpoint to the creamy ice cream.
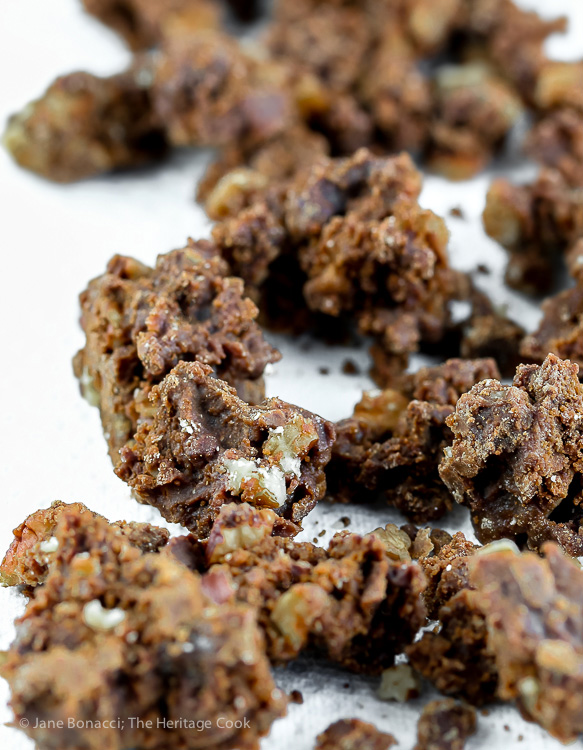
Praline Candy Crumble
With a flavor similar to chocolate caramels, these bits are mighty hard to stop eating. Beware, I kept reaching into the bowl for “just one more piece”. Next time I will portion out a few bites instead of having the whole batch in front of me, LOL.
If you are lucky, you will make perfect chocolate pralines and enjoy every bite. If you’re like me, you will wind up with praline crumbles – equally delicious, just different. Either way you will have a wonderful treat for your friends and family!
Enjoy these Chocolate Pralines Crumbles and happy Chocolate Monday!
Key Ingredients for Chocolate Pralines Crumbles:
- Unsweetened chocolate, sugar, brown sugar
- Cream, butter, corn syrup, vanilla, pecans
How do you calibrate a thermometer?
It is important to know how accurate your thermometers are in the kitchen, especially when you are making candy. Water boils at 212°F * making it a good baseline to work with. Bring a pot of water to a boil and clip a candy thermometer to the edge – be sure it isn’t touching the bottom! I always use an instant read thermometer to double check whenever I am making candy, just to be sure.
If your thermometer registers anything except 212°F, adjust your final cooking temperature by the same difference. If your thermometer registers 214°F in the boiling water and your recipe calls for cooking to 100°F, you will actually cook it to 102°F on your thermometer.
*Note: Water boils at different temperatures based on your elevation.
PRO Tip:
Be extremely careful with hot sugar syrups and candies – a sugar burn is one of the worst you can get. Always wear long sleeves and close toed shoes when working with sugar and stand back if you have to add anything to the boiling syrup – like you do when making brittles and caramel corn. If you have young children, watch them very carefully because their natural curiosity and cravings to eat the sweet treats can get them in trouble if they reach for a bite!
How to make Chocolate Pralines Crumbles:
- Heat the sugars, cream, butter, corn syrup, and salt in an enameled Dutch oven; boil to 232°F and remove from the heat
- Sprinkle the chocolate pieces over the candy but do not stir; let cool to 150°F then stir in the melted chocolate, vanilla, and pecans
- Drop candy onto parchment-lined baking sheets by tablespoons; leave undisturbed for 15 minutes or until set
PRO Tip:
As soon as you’ve gotten all the candy out of the pot and onto the parchment-lined baking sheets, fill the pot with water and put back over the heat. Bring to a boil and cook for about 5 minutes. This will melt the candy and dissolve it in the water, making clean-up a breeze.
Recommended Tools (affiliate links; no extra cost to you):
- Dutch oven
- Candy thermometer
- Instant read thermometer
- Wooden spoon
- Kitchen timer
- Baking sheets
- Parchment paper
Gluten-Free Tips:
This candy is naturally gluten-free!!
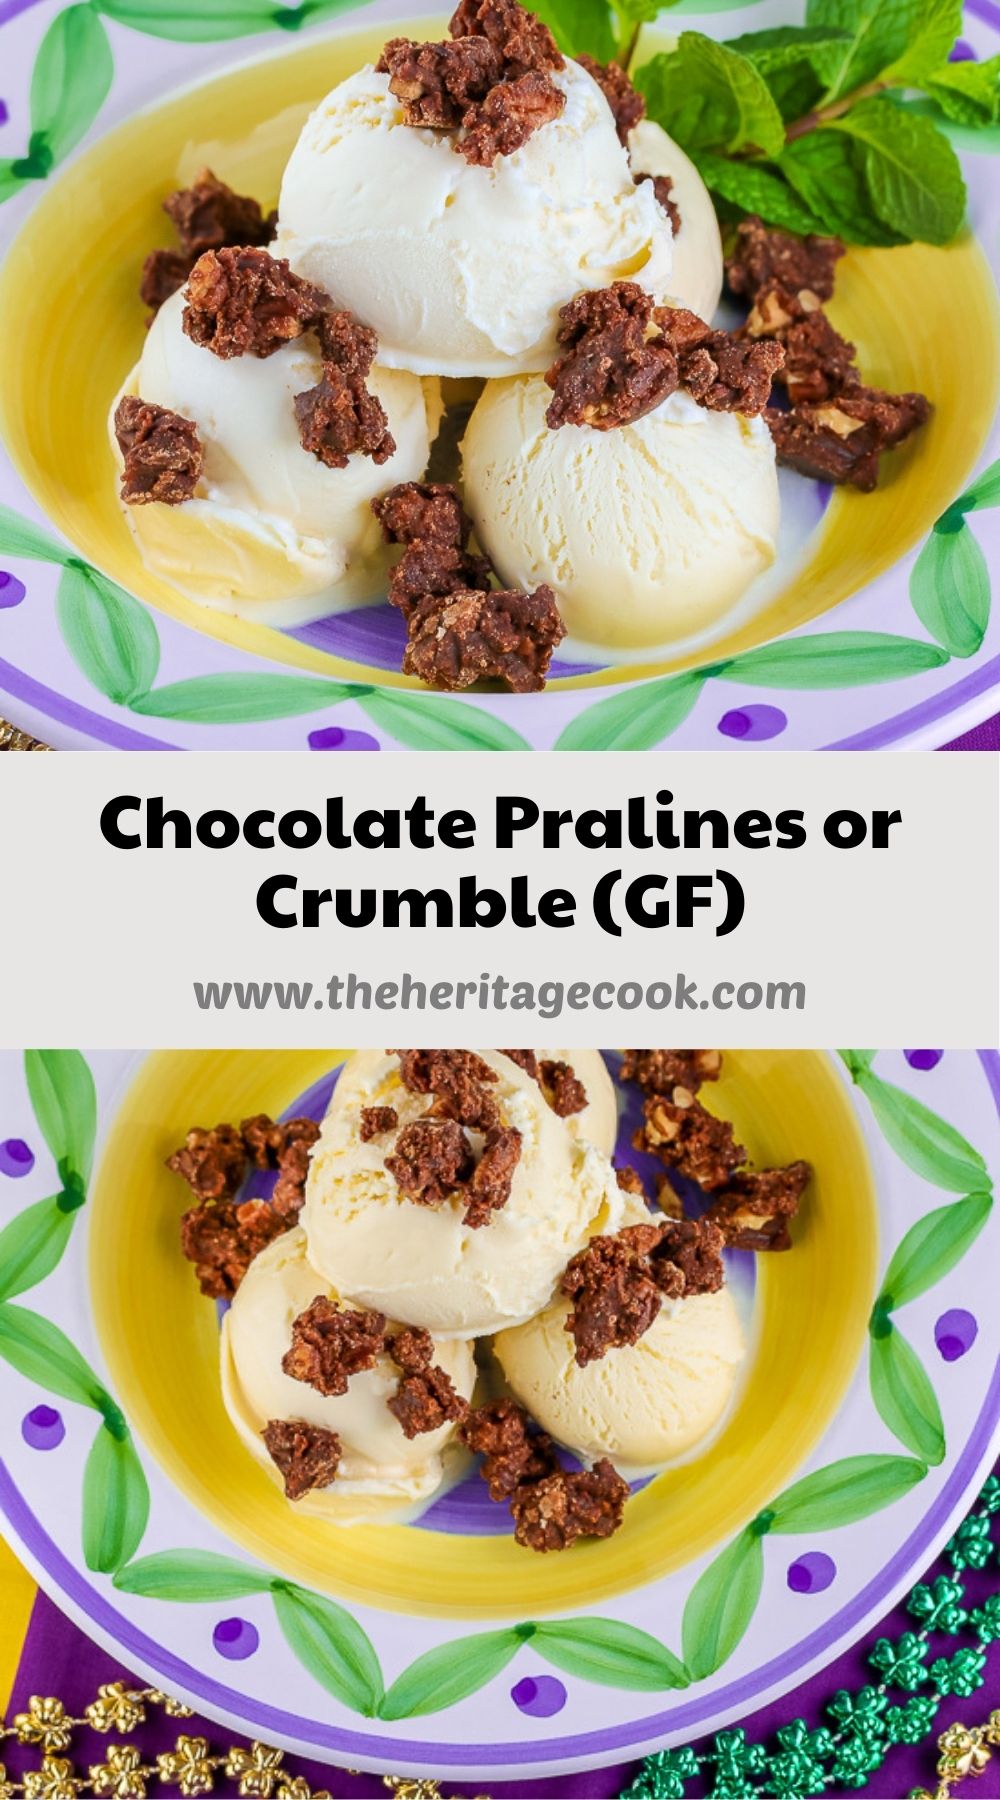
Chocolate Pralines Crumbles for Mardi Gras (Gluten-Free)
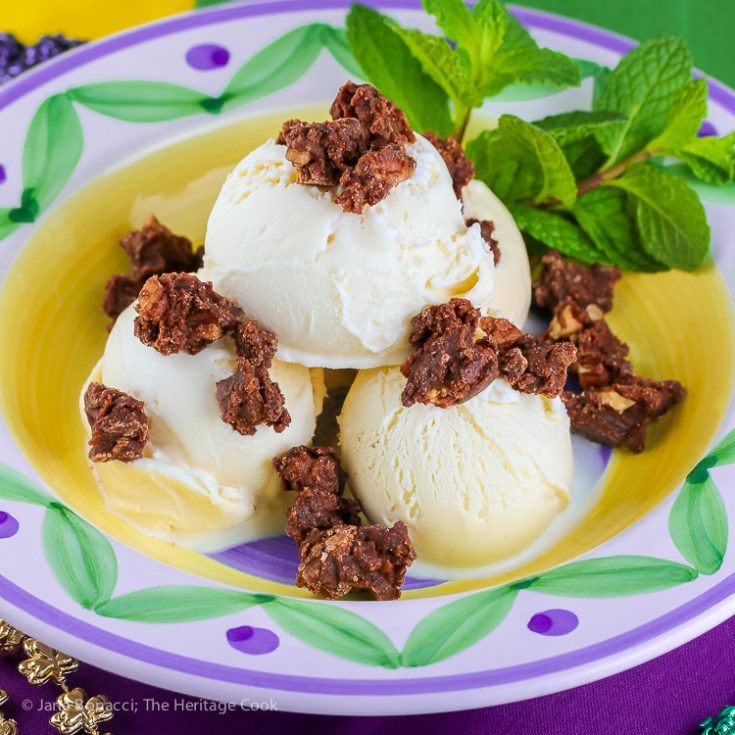
These crumbles are the most delightful candy, perfect for sprinkling over ice cream, added to granola, or as part of a trail mix! Chocolatey, crunchy, addictive bits in every bite, they are a lovely counterpoint to the smooth and creamy ice cream.
Ingredients
- 2 oz (57 g) unsweetened chocolate
- 1 cup (200 g) granulated cane sugar
- 2 cups (400 g) firmly packed light brown sugar
- 1 cup (237 ml)heavy cream
- 4 tbsp (57 g) butter
- 2 tbsp light corn syrup
- Generous pinch of sea salt
- 2 tsp vanilla paste or pure vanilla extract
- 1-1/2 cups (190 g) pecan pieces
Instructions
- Line 2 baking sheets with parchment paper; set next to the stove. Roughly chop the chocolate and place in a bowl next to the stove.
- Make the Candy: Set up a large nonstick or enameled saucepan with straight tall sides or a small Dutch oven, (you need room because the mixture will expand dramatically when it boils). Clip a candy thermometer on the edge and adjust it so it sits just above the bottom of the pan, but doesn't touch.
- Combine the sugars, cream, butter, corn syrup, and salt in the pan. Bring to a boil over medium heat stirring constantly. Cook, stirring occasionally for 4 to 6 minutes, or until it reaches 232°F. (Do not walkaway while it is cooking, it is easy to get distracted and the candy will windup over your target temperature.)
- Pull the pan off the heat. Sprinkle the chocolate pieces over the top but do not stir. Leave the candy to sit undisturbed until it cools to 150°F, about 20 minutes. Set a timer to check the thermometer every 5 minutes to be sure the candy doesn't get too cool.
- Remove the candy thermometer and set it into a bowl of hot water - this helps you clean it later.
- Finish the Candy: When the candy has cooled to 150°F, using a wooden spoon, stir the melted chocolate, vanilla, and pecans into the candy mixture and continue stirring for about 2 minutes or until the mixture thickens, and becomes a little stiffer and opaque. Working quickly, drop the candy by tablespoons onto the parchment-lined baking sheets. If the candy becomes stiff as it cools, stir in a few drops of hot water to loosen it a bit.
- Leave the candies undisturbed until they have completely set, about 15 minutes. If you try to move them or take them off the parchment, they will probably break.
- They are best eaten within a week but can last up to 3 weeks. To store, wrap candies individually in plastic and place in an airtight container. Keep the container at room temperature.
Notes
Adapted from a Southern Living recipe
Nutrition Information:
Yield:
12Serving Size:
1Amount Per Serving: Calories: 101Total Fat: 1gSaturated Fat: 1gTrans Fat: 0gUnsaturated Fat: 0gCholesterol: 3mgSodium: 20mgCarbohydrates: 22gFiber: 0gSugar: 22gProtein: 0g
If you enjoyed this recipe, be sure to follow me on social media so you never miss a post:
Create a New Tradition Today!
Welcome! The suggestions here are not intended as dietary advice or as a substitute for consulting a dietician, physician, or other medical professional. Please see the Disclaimers/Privacy Policy page for additional details. Unauthorized use, distribution, and/or duplication of proprietary material from The Heritage Cook without prior approval is prohibited. If you have any questions or would like permission, please contact me. We participate in the Amazon Services LLC Associates Program, an affiliate advertising program designed to provide a means for sites to earn advertising fees by advertising and linking to amazon.com. This page may contain affiliate links. This post was first shared in Feb 2017. The article was updated in 2021.