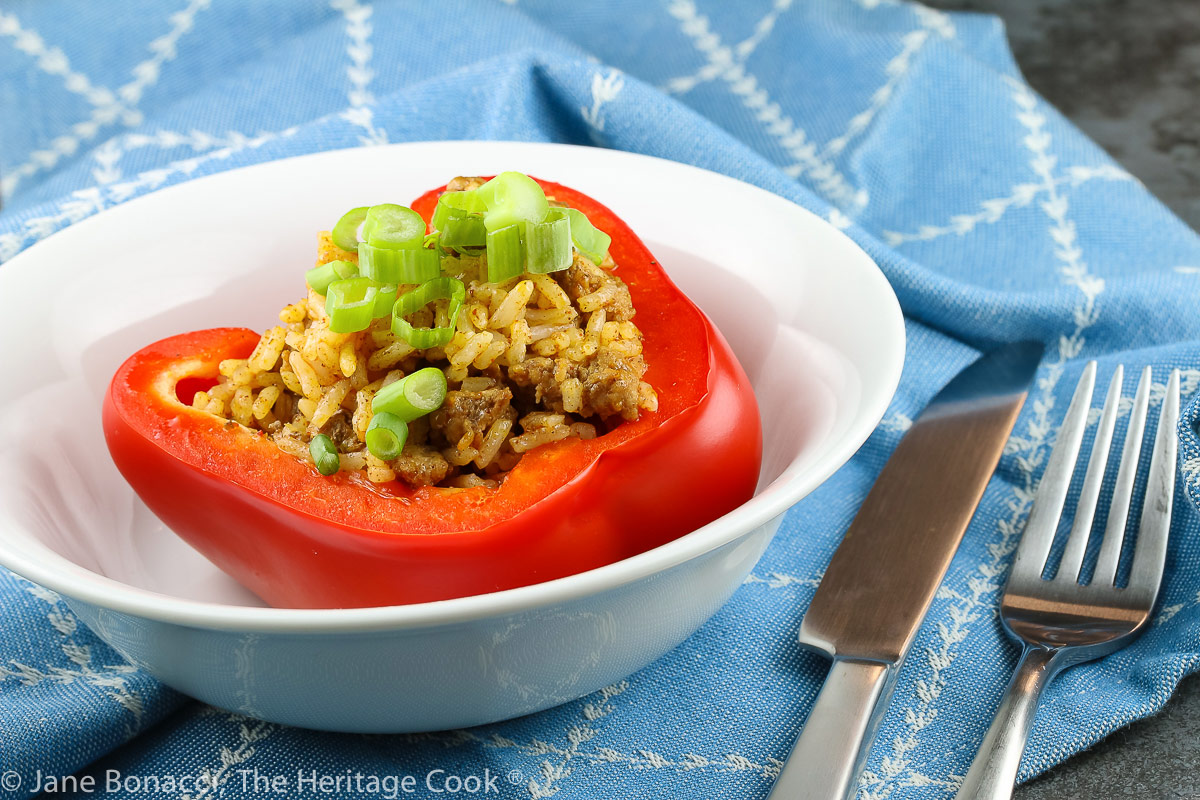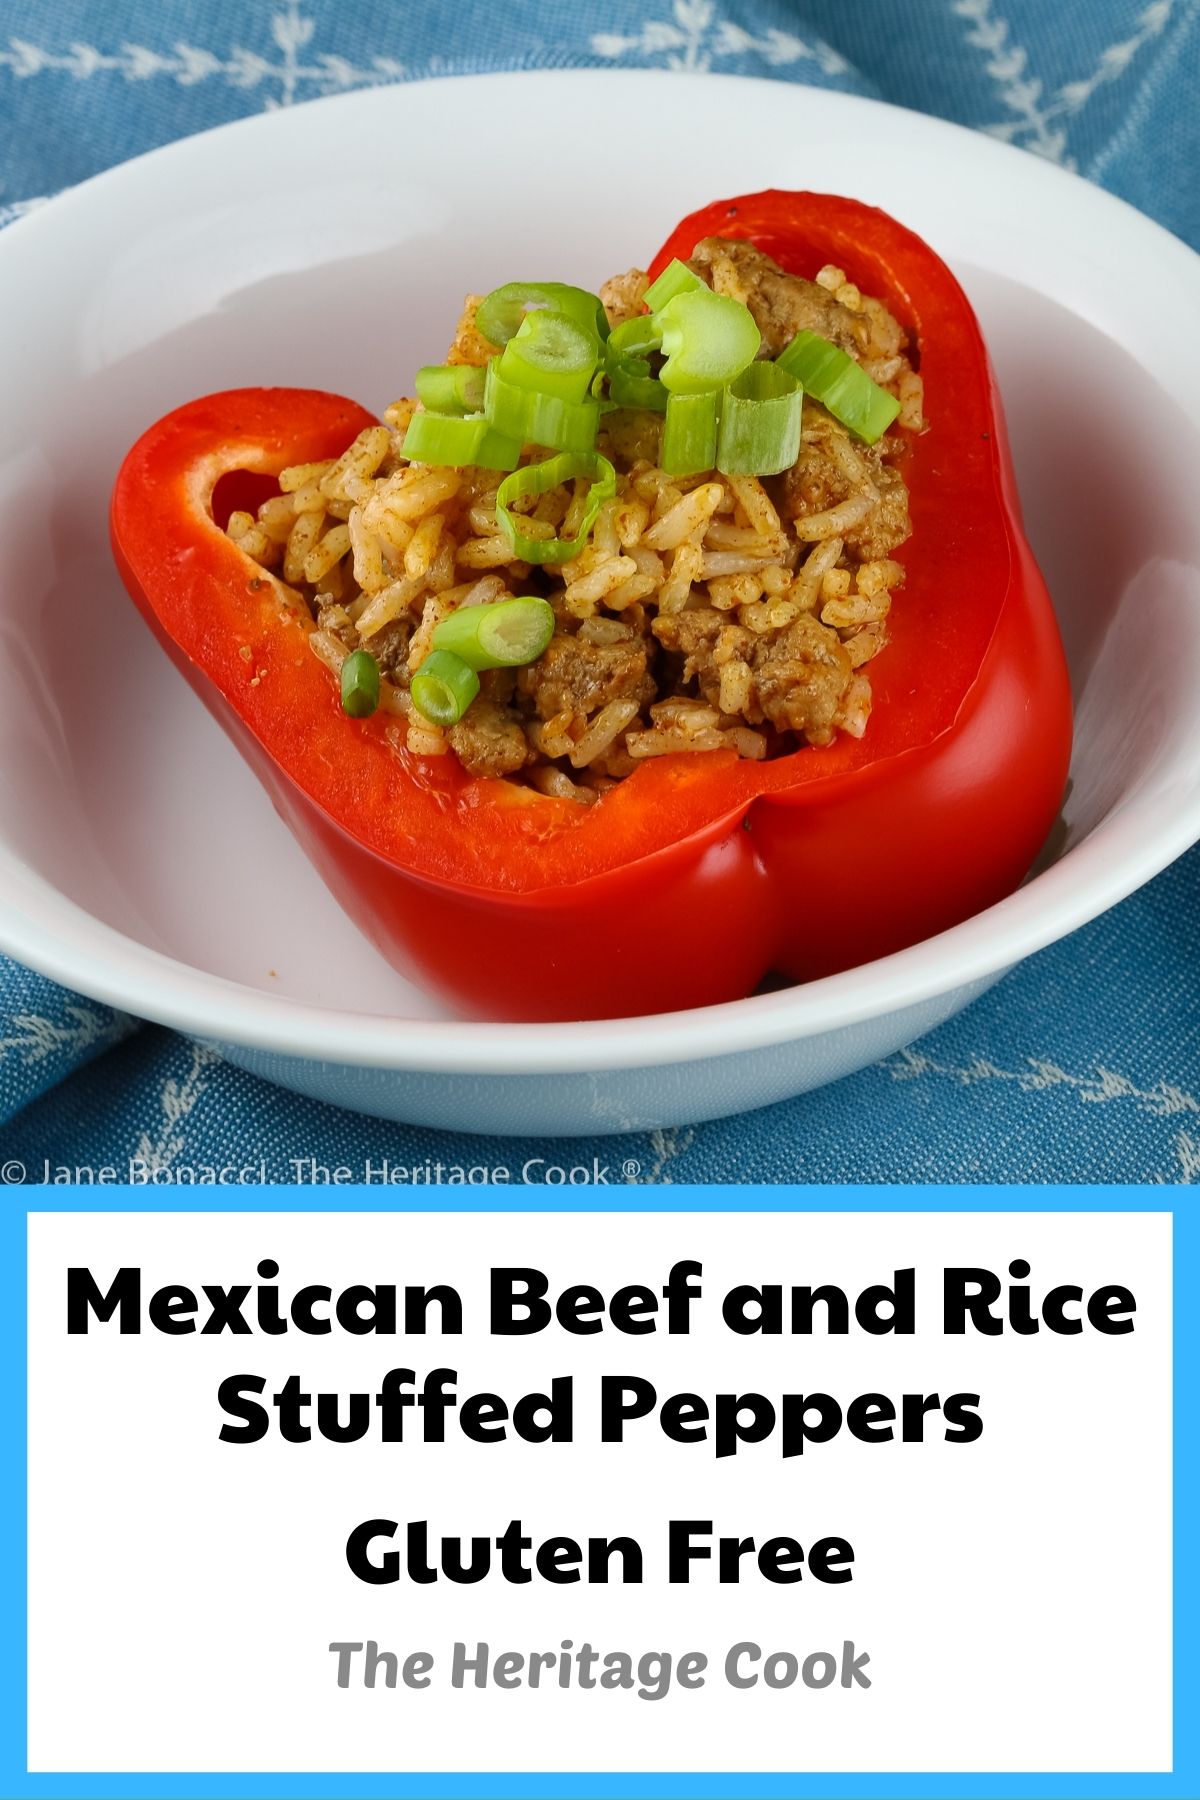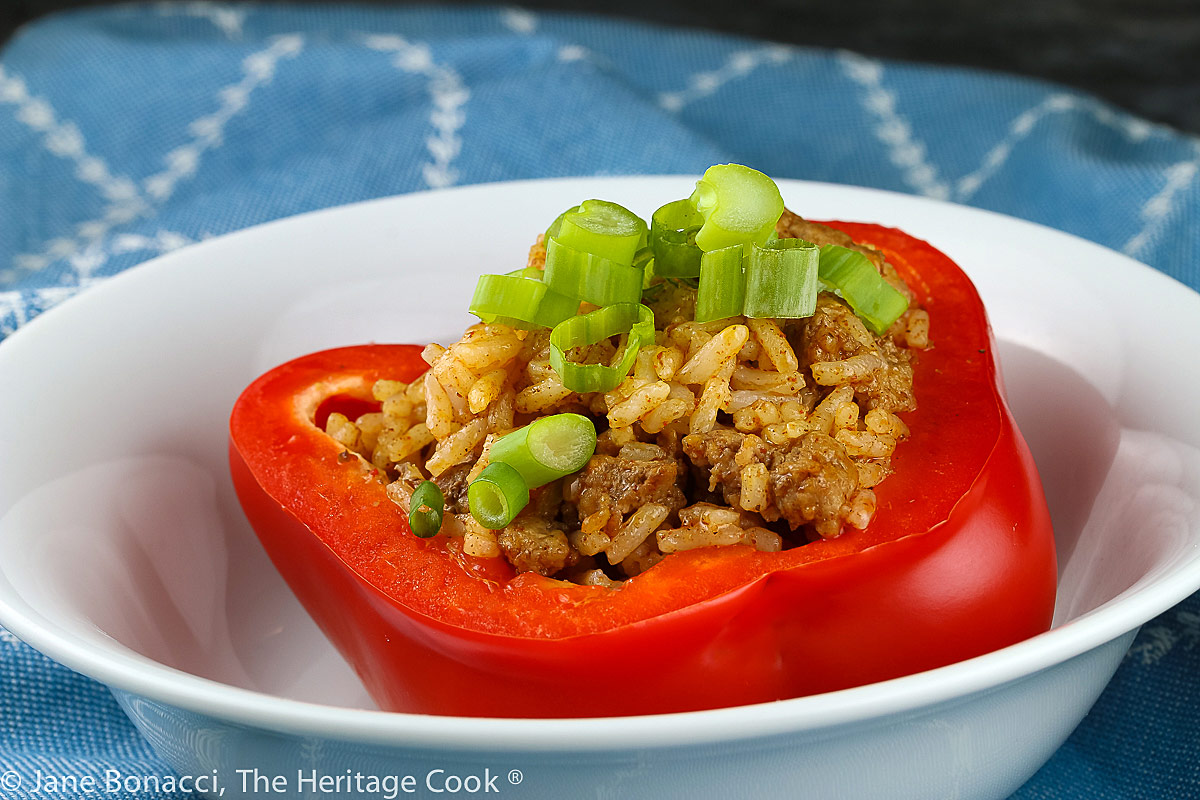
The Artist and I enjoyed every bite! The taco flavors in the filling were balanced perfectly by the red bell peppers and we ate our servings in no time.
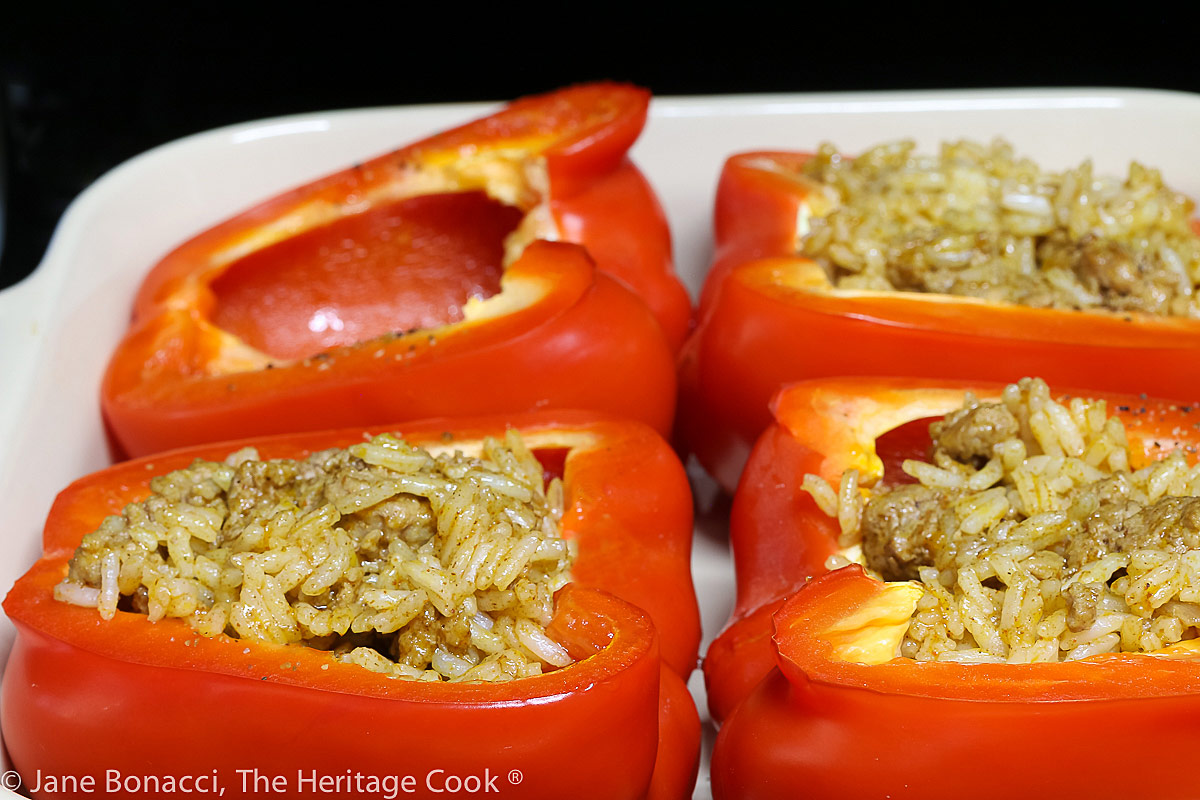
Stuffing the bell peppers after baking
The beauty is that by the time the peppers are baked, the filling is made and ready for stuffing. Then all you have to do is fill the peppers and serve them to your family. I had mine ready in about 45 minutes.
If you have any leftover filling, you can add extra to the stuffed peppers, making them spill over the sides onto the plate. More is better, right?!! Or save it to make tacos with the next day.
You can make the filling in advance if you want – then all you have to do is bake the peppers and reheat the filling before stuffing the tender peppers.
Mexican Beef and Rice Stuffed Peppers are a fantastic meal because everything is neatly packaged in the peppers and fun to cut into pieces and eat. Every bite is filling and fully satisfying!
Did you enjoy this recipe? Let me know in the comments, I love hearing from you!
Key Ingredients for Mexican Beef and Rice Stuffed Peppers:
- Large bell peppers, long grain white rice, chicken stock, salt, butter
- Ground beef or pork, onion, taco seasoning, green onions
PRO Tip:
If you are using very large bell peppers with thick sides, you may need to bake them a bit longer to get them cooked through.
PRO Tip:
If you prefer to make these with brown rice, leave enough time to fully cook it, at least 45 minutes or according to package directions.
How to make Mexican Beef and Rice Stuffed Peppers:
- Slice peppers in half lengthwise and remove the seeds and stems; place them in a lightly oiled 9×13-inch baking pan, cut side up and lightly brush the insides with more oil; season with salt and pepper, cover the pan with foil and bake for about 30 minutes at 375°F
- Cook the rice according to package directions using chicken stock in place of the water; cook covered over low heat then let rest off the heat for another 10 minutes or until the rice is tender and the liquid is absorbed
- Meanwhile, cook the meat and onions in a large pan with tall sides until no pink remains, breaking up clumps as much as possible; add the taco seasoning mix and water and cook according to package directions until thickened
- When the rice is done, rake it with two forks to break up clumps; pour into the meat mixture, stirring until completely blended and the rice is thoroughly coated with the sauce; move pan off the heat
- Remove the peppers from the oven and carefully remove the foil covering; scoop the rice/meat mixture into each pepper half, pressing it until compacted
- Sprinkle the tops with chopped green onions and serve immediately
PRO Tip:
I prefer red bell peppers because they are sweeter than green peppers, but you can use any color you prefer or that are available in your area.
Recommended Tools (affiliate links; no extra cost to you):
- Chef’s knife
- Cutting board
- Measuring cups
- 9×13-inch baking dish
- Medium saucepan with a lid
- Large skillet with tall sides
Gluten-Free Tips:
Keep an eye out for potential gluten in the chicken stock and taco seasoning mix. Both should be marked as gluten-free to be safe. McCormick and Penzeys both have gluten-free taco seasoning mixes. (Not sponsored)
Mexican Beef and Rice Stuffed Peppers (GF)
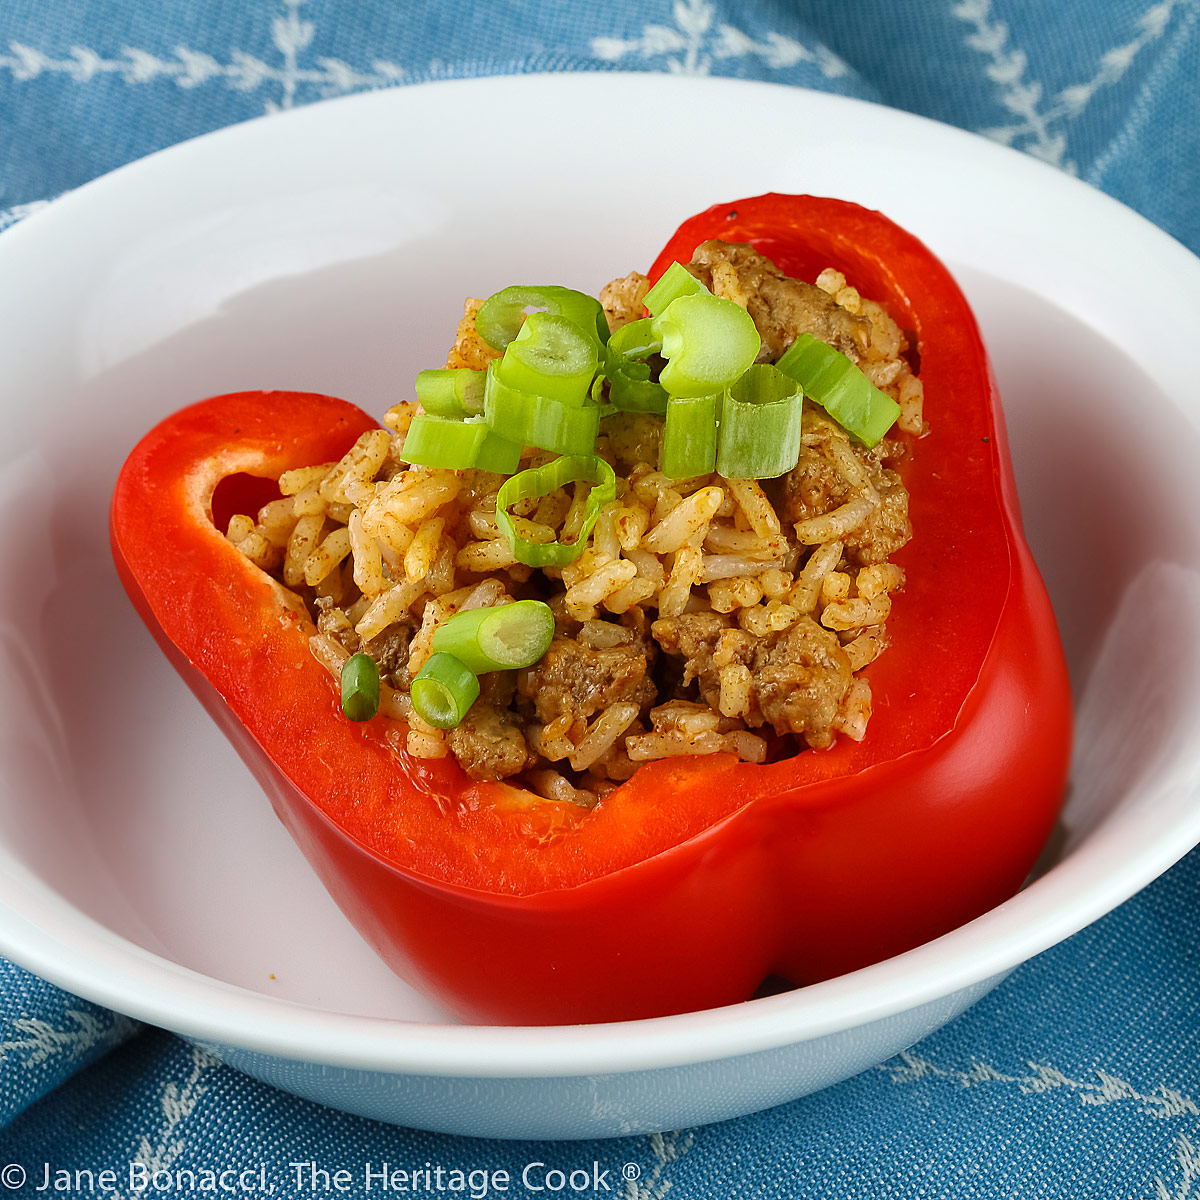
I love recipes that I can put together easily and quickly, getting dinner on the table in under an hour. These fabulous Mexican Beef and Rice Stuffed Peppers are loaded with delicious flavor and are a wonderful meal for your entire family.
Ingredients
- 3 large bell peppers
- 1 cup raw long grain white rice
- 1-1/2 cups chicken stock (gluten free) or according to package directions
- Pinch salt
- 1 tbsp oil or butter
- 1 lb ground beef or ground pork (not sausage)
- 1/2 medium onion, finely chopped
- 1 packet taco seasoning (gluten-free if needed)
- Chopped green onions, for garnishing, optional
Instructions
- Preheat the oven to 375°F. Lightly oil a 9x13-inch baking pan.
- Slice the peppers in half lengthwise cutting through the stem, and discard the seeds with the stems. Pull out the white portion of the ribs and discard. Set into the oiled pan, cut side up, brush the inside of the peppers with a little more oil, sprinkle with salt and pepper. Cover with foil and bake for about 30 minutes or until fork tender.
- While the peppers are baking, cook the rice according to package directions using chicken stock in place of the water. If you want to use brown rice instead, be aware that it will take about 45 minutes to cook on the stovetop and require additional liquid!
- Meanwhile, in a large pan with tall sides, brown the meat with the onions, breaking up clumps as it is cooking. Cook until there is no pink remaining. Follow the directions on the taco seasoning packet and add the seasonings and water as directed. Simmer about 5 to 10 minutes, stirring occasionally, until thickened.
- When the rice is done, rake it with two forks to break up clumps, and add it to the beef mixture, tossing to coat with the sauce in the pan. The rice will absorb most of the liquid. Remove from the heat.
- Pull the peppers from the oven and carefully remove the foil covering. Scoop the rice/beef mixture into each pepper half, compacting it fairly tightly. Sprinkle the tops of each pepper with some green onions and serve hot. Serve 1 or 2 halves per person.
- I made mine dairy free, but if you want to melt cheese over the top, sprinkle them with the cheese and pop back in the oven until melted. Then sprinkle with the onions and serve.
- Store the leftovers in the refrigerator, covered, for up to 2 days.
Recipe found at www.theheritagecook.com
Nutrition Information:
Yield:
6Serving Size:
1Amount Per Serving: Calories: 454Total Fat: 26gSaturated Fat: 9gTrans Fat: 1gUnsaturated Fat: 14gCholesterol: 128mgSodium: 487mgCarbohydrates: 15gFiber: 2gSugar: 2gProtein: 36g
If you enjoyed this recipe, be sure to follow me on social media so you never miss a post:
Create a New Tradition Today!
Welcome! The suggestions here are not intended as dietary advice or as a substitute for consulting a dietician, physician, or other medical professional. Please see the Disclaimers/Privacy Policy page for additional details. Unauthorized use, distribution, and/or duplication of proprietary material from The Heritage Cook without prior approval is prohibited. If you have any questions or would like permission, please contact me. We participate in the Amazon Services LLC Associates Program, an affiliate advertising program designed to provide a means for sites to earn advertising fees by advertising and linking to amazon.com. As an Amazon Associate, I earn a small amount from qualifying purchases without any additional cost to you. This page may contain affiliate links.

