Mounds Bars were always one of my favorite treats at our weekly movie theater adventures. I was so tiny that I could get in for the child’s price many years beyond the cutoff age. That gave me more money from my allowance to spend on candy! Sitting in the dark, waiting for the cartoons and the double header, nibbling on the candies to make them last. Inevitably I needed to refuel between movies. 🙂
When I was a kid I didn’t like biting into a whole nut. But as I grew older I learned to love the crunch of the almonds. So when I thought about making a homemade version of the two candies, I went cupboard diving to see what I had on hand.
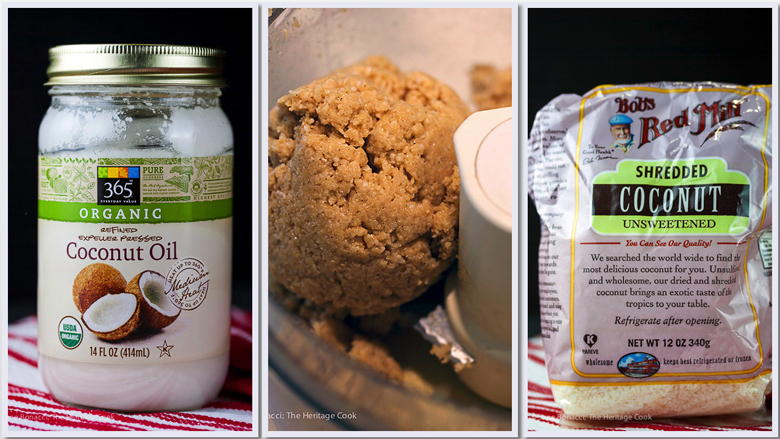
Two of the primary ingredients and a shot of what the filling should look like when it is ready
I didn’t have any whole almonds on hand but I did have almond meal (one of the benefits of baking gluten-free) so instead of a whole nut, I added ground almonds to the coconut. Coconut infused with the flavor of almonds. The texture of a Mounds Bar with the flavors of an Almond Joy – these are the best of both worlds!
Both Mounds and Almond Joys are gluten-free, but these are so easy to make you should give them a try. That way you can control the ingredients and use the ones that are best for you and your family. If you don’t want to use the almond meal or have an allergy, you can leave it out or use hazelnut meal instead.
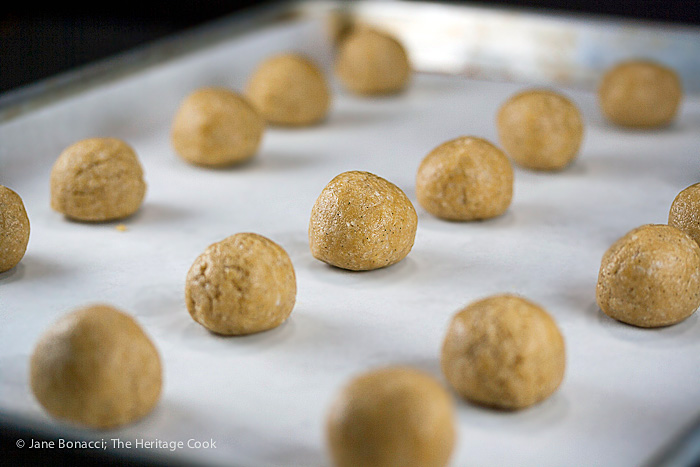
Filling rolled into truffles
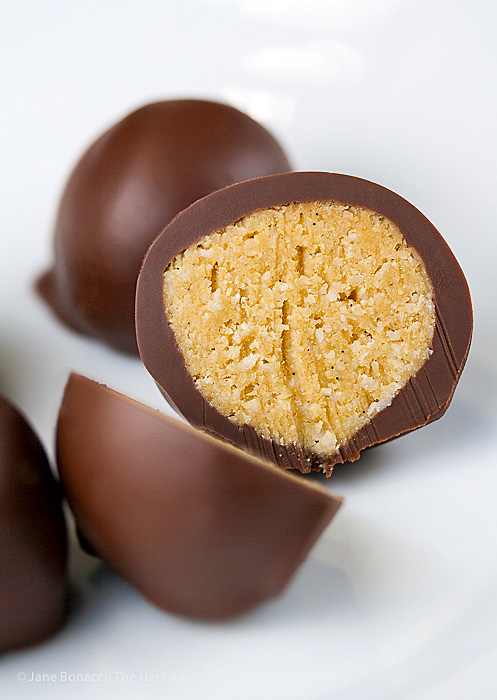
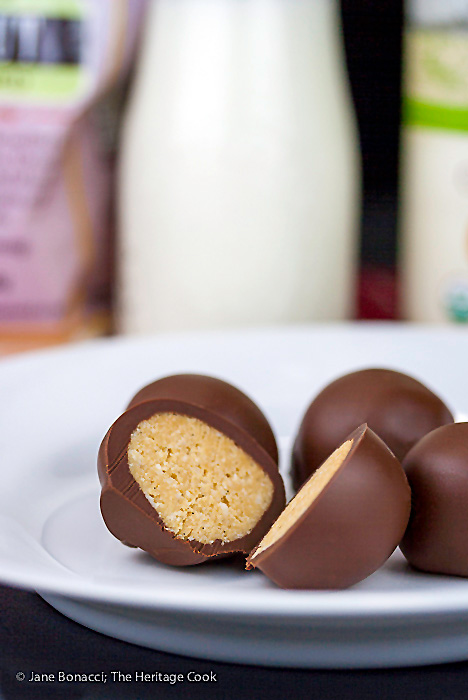
I love using real vanilla paste – and you can see the vanilla seeds in the close up shots. It adds so much flavor. Another favorite ingredient is Golden Syrup, a liquid sweetener made from pure cane sugar. It has a lovely subtle caramel essence and is naturally a beautiful deep golden color. This makes the centers of these candies lightly colored. If you prefer to have a pure white center, use light corn syrup instead.
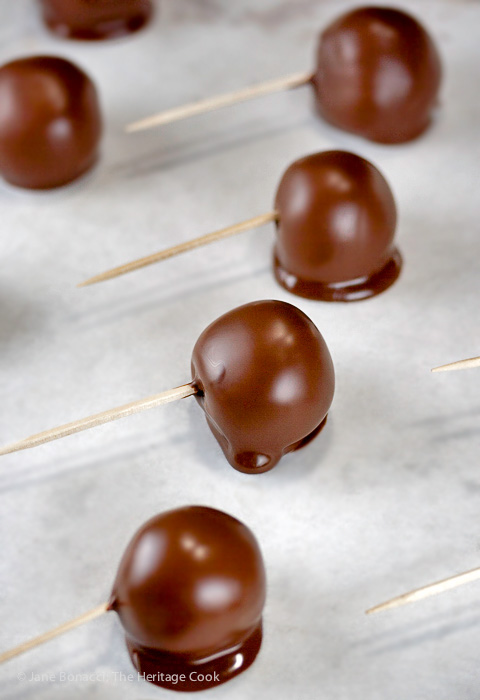
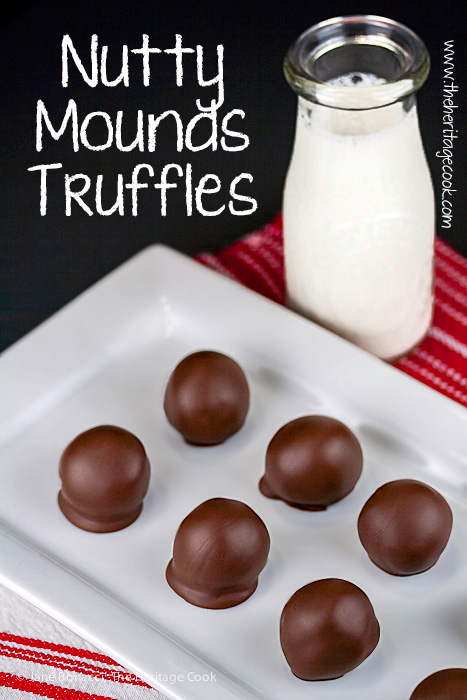
Freshly dipped candies are still bright and shiny. They will dull somewhat as they dry
Because you are using dried unsweetened coconut, the texture will continue to improve as they absorb more of the moisture. I like to make them a day or two before I plan to serve them. The recipe is easily doubled or tripled if you want to give them as gifts.
I used a trick I learned last spring when working with Pam Anderson of Three Many Cooks. I had the task of dipping a couple flats of strawberries in chocolate for a dinner party. She adds a little coconut oil to the chocolate as it melts, which helps keep it liquid longer and makes it easier to coat the fruits evenly. I used the same technique with these truffles and it worked like a charm. Even when dipping icy cold candies in the melted chocolate, it didn’t seize.
If you are making a lot of these (because you doubled the recipe) you will probably want to reheat the melted chocolate at least once during the dipping. This will make sure the chocolate flows around the candy evenly, giving you beautifully coated truffles.
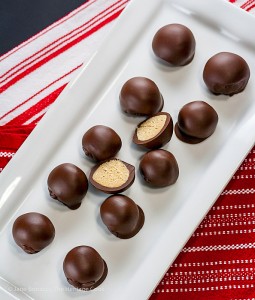
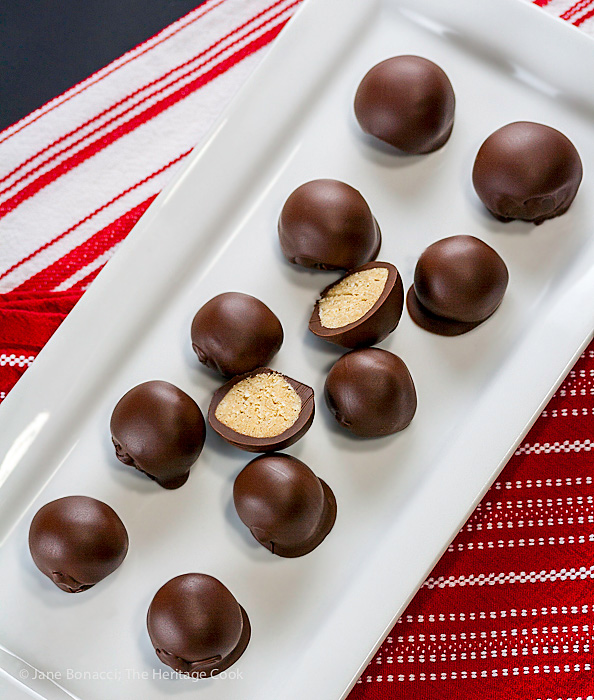
There is another trick I’ve learned from chocolate professionals. Always wear plastic gloves when working with chocolate so you don’t leave any fingerprints on the candies. I wore gloves throughout the dipping process and when I was removing the toothpicks, but I took them off and forgot to put them back before moving the candies to the platter for the photos. If you look closely you can see fingerprints on a few of the pieces. Oops! For perfect candy, don’t forget the gloves! 🙂
Have a wonderful Chocolate Monday. I’ll be back tomorrow with a fabulous recipe as part of our monthly #ProgressiveEats meal. I’m making a soup that would be perfect to serve at your Super Bowl party! See you tomorrow!!
Gluten-Free/Dairy-Free Tips:
For GF/DF chocolate chips, one option is chips from “Enjoy Life Foods”. Because I am not dairy-sensitive I can use my favorite brand, Guittard. All their products are gluten-free, but they do process their semisweet and bittersweet chocolates on equipment that also processes milk chocolates. Avoid any similar chocolate if you are making these for someone with severe dairy allergies.

- Candies
- 1-1/2 cups (135g) unsweetened shredded coconut, lightly packed
- 3 tbsp almond meal (Bob’s Red Mill is gluten-free)
- 4 tbsp virgin coconut oil, at room temperature
- 3 to 4 tbsp Golden Syrup or light corn syrup
- 2 tbsp powdered sugar, optional
- 1 tbsp pure vanilla paste or extract
- 1/4 tsp kosher or fine sea salt
- Chocolate Coating
- 1 cup (7 oz; 200g) semisweet chocolate chips
- 2 tsp coconut oil, at room temperature
- Make the Coconut Candies: In a food processor, place the coconut, almond meal, coconut oil, golden syrup, vanilla, and salt. Process until it forms a thick paste, about 2 to 3 minutes. The mixture should clean the sides of the bowl and form a ball that moves around in the processor bowl. Also, when pressed with a spatula, it should become solid. If the mixture is too thin you can add a little more coconut or almond meal and mix it in.
- Use a small spring-loaded ice cream scoop to portion the coconut mixture into about 18 pieces, 1 tbsp each, and drop them onto a Silpat or parchment paper-lined baking sheet. Using damp hands, press each piece into a smooth, round ball. Gently insert a toothpick in the edge of each piece for dipping. Freeze for 15 to 30 minutes or until solid.
- Melt the Chocolate: Place the chocolate and coconut oil in a microwave-safe bowl (preferably glass). Melt the chocolate in the microwave in 15-second bursts, stirring after each heating, until the chocolate is fully melted and smooth.
- Dip the Candies: Holding the toothpick, dip each piece one at a time into the melted chocolate, using a small spatula to fill in the area around the toothpick and very gently scraping the bottom across the spatula to remove excess chocolate. Set the candy back on the lined baking sheet and continue dipping the rest of the candies. Set the tray in the freezer for about 15 minutes to set the chocolate. When chocolate is completely set, gently remove the toothpicks.
- The coconut oil helps the chocolate stay smooth and makes dipping easier. You will have more than enough to dip all the candies, and even double dip some if you want to. You can do touchups once you’ve removed the toothpicks if there are really obvious holes. Leftover chocolate is great spooned over scoops of vanilla ice cream!
- If not eating immediately, store candies, covered, at room temperature for up to three days.
- Yield: about 18 (1 tbsp) candies
Create a New Tradition Today!
Let’s connect! If you ever need any entertaining or cooking advice, need to alter a recipe for gluten-free, or want recipe suggestions, don’t hesitate to email me. Thanks for joining the Heritage Cook Family!
Unauthorized use, distribution, and/or duplication of proprietary material from The Heritage Cook without prior approval is prohibited. This includes copying and reprinting content and photographs. If you have any questions or would like permission, I can be contacted via email. Feel free to quote me, just give credit where credit is due, link to the recipe, and please send people to my website, www.theheritagecook.com. Please see the Disclaimers page for additional details.
This site is not intended to provide medical advice. The suggestions here are not intended as dietary advice or as a substitute for consulting a dietician, physician, or other medical professional. It is the reader’s sole responsibility to determine which foods are appropriate and safe for their family to consume. Always consult your doctor. The author makes no claims regarding the presence of food allergens and disclaims all liability in connection with the use of this site.
Thank You!



annelies
These sound and look delightful Jane. I’m such a fan of almonds, coconut, and chocolate together. I’m pinning this recipe for the holidays.