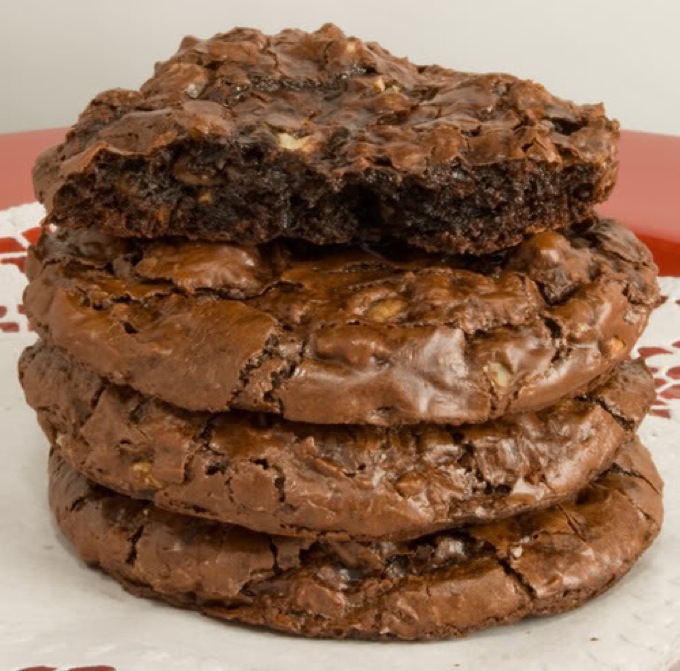
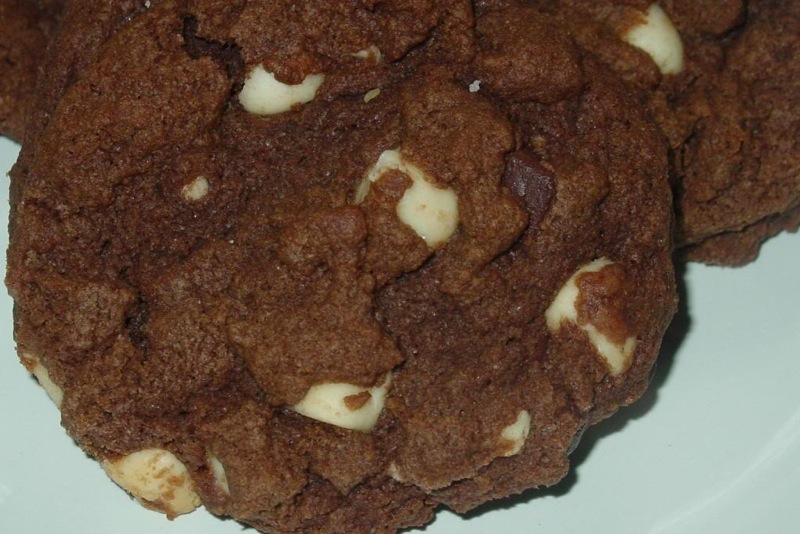
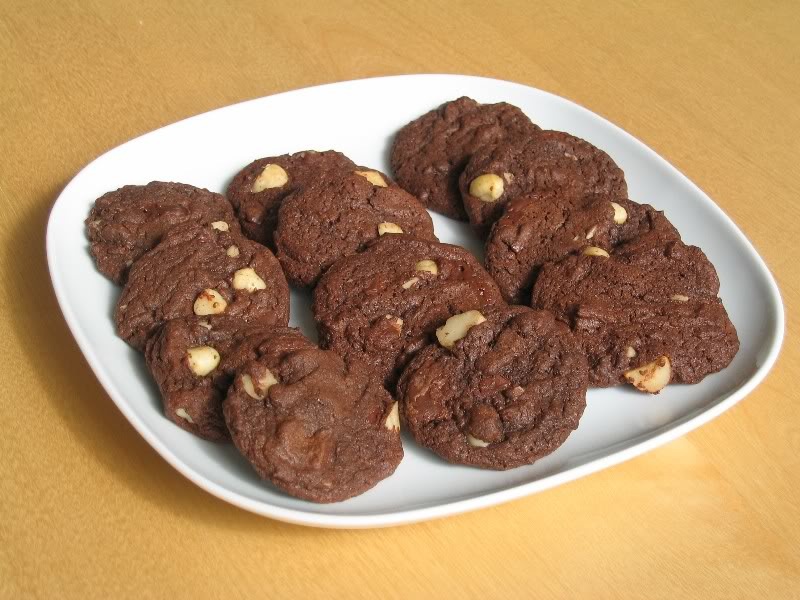
We went super fancy for the holidays, so let’s dial it back a few notches today and make something easy. How about a rich chocolate cookie with chocolate chunks in it? Like nuts? Go ahead and throw those in too. I love the simplicity of cookies and they are my husband’s favorite dessert, so I am always on the lookout for fun new ones to try. Each one of these are bites of pure chocolate bliss!
For those of you who hate to measure anything or are afraid of baking, starting off with something fairly simple is a good idea. Cookies are a great way to get comfortable with baking. The ingredient list is usually short, you need very little beyond the basic equipment, and most doughs are simple to form. You can build your confidence and then move on to more challenging recipes.
If you are just starting to bake or need a kitchen make-over, here is a list of basic equipment you will need for many cooking and most baking projects. If you have these pieces in your kitchen, there is little that you can’t handle.
– Standing Mixer or Hand-held Mixer
– Measuring cups and spoons
– Silpats (silicone baking sheets) or cut parchment paper sheets
– Knives – just two to start; a chef’s knife (or Santoku) and a paring knife
– Zester
– Reamer
Some of these choices may surprise you, but after nearly 40 years in the kitchen, I’ve figured out what works and what doesn’t. A lot of fancy gadgets are fun to look at but they wind up cluttering your kitchen. A few well-made pieces of equipment may cost more initially, but you will save so much in the future as they give you many years of use.
Buy heavy duty baking sheet with sides on them. The standard size is called a half sheet because it is half the size of what a professional kitchen uses. They will fit most standard home ovens. These will last you many years and are worth the investment. If you do a lot of baking at a time, like at the holidays, but at least four. I have six and I rotate through them. You can use them for any baking project, like pizza, roasting vegetables, or as a conveyance when you are grilling. They are perfect for organizing projects. They are workhorses of the kitchen.
The use of Silpats (silicone sheets that fit baking sheets) or pre-cut parchment sheets is a personal choice. I use both for different reasons. Initially it may be difficult to justify the cost of Silpats, but they will last 20 years, save you time washing baking sheets, and they are good for the environment. Parchment paper does almost as well at creating a non-stick surface to bake on, and is disposable. You can use the same piece of parchment for several trays of cookies, but throw it out when it gets too brown. Again, this saves you from greasing and washing the baking sheets for every use.
I had seen people use ice cream scoops for dolling out cookie dough, but it wasn’t until I started competing in baking contests that I bought one. I needed the consistency they gave me when people were judging my baking. What I discovered was that they also speed up the process by about ten-fold. I can be baking two racks of cookies, pan two more and cool another two before loading them. I could make enough cookies for an army this way. Try it once and you’ll never go back to using teaspoons again! And buy cooling racks to get your baking sheets off the counter and cooling faster!
You may be surprised that I only recommended two knives; a chef’s knife (or Santoku) and a paring knife. I have a whole block of them, but when you’re starting out, two will do nearly everything you need. Don’t buy cheap knives – they get dull quickly, won’t hold their edge, and you’ll wind up cutting yourself more. When you are shopping for knives, go to a kitchen store like Sur la Table or Williams-Sonoma and ask for assistance. You want to hold each knife in your hand to find the one that fits the best, feels natural to hold, and is well balanced. Everyone has their favorites and will try to sell you those, but this is an individual choice. Buy the best you can afford and what feels best. A few things to look for… a strong blade that will take abuse, a solid piece of metal that goes all the way through the handle (Knife Tang), and a bolster, the flat edge at the end of the knife that protects your hand from sliding into the cutting surface.
And when you buy good knives, make sure you also buy a sharpening steel. It is the long, narrow metal rod that you’ve seen chef’s use. When you buy it, have someone show you how to use it. It doesn’t actually sharpen your knife, it fine tunes the edge, eliminating any tiny burrs or nicks that happen during cutting. Most knives don’t need sharpening very often, once or twice a year, but they need honing every time you use them. If you want a good online guide to sharpening your knives, click here.
The other thing you need to buy when you get good knives is at least two cutting boards (one for raw meats; one for everything else). Nothing dulls a knife faster than a bad board or the wrong surface. There is a new composite material that I really like. They are easy on the knife blades, dishwasher safe, don’t show scarring much, and are attractive enough to leave out on the counter. The brand name is Epicurean. They come in a variety of sizes and colors, the newer ones have rubber corners to keep them from sliding. I have had many cutting boards over the years and these are by far my favorite product. I have the original version and use pieces of shelf liner to stabilize the boards when I am working. It is a cheap solution and you can also use them to give you more traction and torque when opening bottles and jars. There is no jar I can’t open if I have this shelf liner to help with the grip!
The zesters/graters from Microplane are not like anything before them. Ladies, ask your husband if he recognizes one and he’ll tell you sure, he’s got one in the garage – it is an old-fashioned rasp that’s been given a handle and now comes in a variety of shapes and sizes. These tools give you the finest citrus zest, almost powdery. It is impossible to get the bitter white pith unless you are careless or deliberately want it in something. And if you hold it so that the grating surface is down, the zest gathers in the channel and you can measure it easily from there.
A wooden reamer, used to juice citrus fruits, is easy to hold, even if your hand is wet. The fancier ones may be pretty but the metal doesn’t grip the fibers of the citrus the way wood does. With a wooden reamer you wind up with more juice with less effort, always a winner in my book. And don’t forget to microwave your fruit for 5 seconds and roll it on the counter before juicing – you’ll get almost twice as much!
A rolling pin seem like it would be a no-brainer to pick up, but it actually isn’t quite that easy. There are many choices of types of pins and each person has their own preference. You can use any plain piece of wood, PVC, stone, or even a wine bottle, but a well-made pin is worth the price. My favorite is the old-fashioned kind with handles on either end. I suggest you go to a shop that has a large selection and try them all. You want one that spins easily on its own, that doesn’t stick after one turn. I spun each one individually until I found the one that rolled easily. I have used that pin for the past 15 years and it is still a joy to use.
Cakes can fall, pie crusts terrify people, and sauces can seize, but cookies are comforting, fun, and everyone loves them. If I have people coming over for dinner and don’t have time to bake a dessert, I’ll grab some great ice cream, syrup, and throw some cookies on the side. Everyone enjoys it and it couldn’t be simpler for me to prepare at the last minute. When I do have the time to make cookies, I often double or triple the recipe, bake some off and freeze the rest in logs. Then whenever I have a hankering for something from the oven, I can pull out the frozen dough, slice off a few pieces and bake them up hot and fresh.
I hope these tips and ideas have helped. Buy your equipment one piece at a time and pretty soon you’ll have a kitchen to be proud of! Happy Chocolate Monday!!


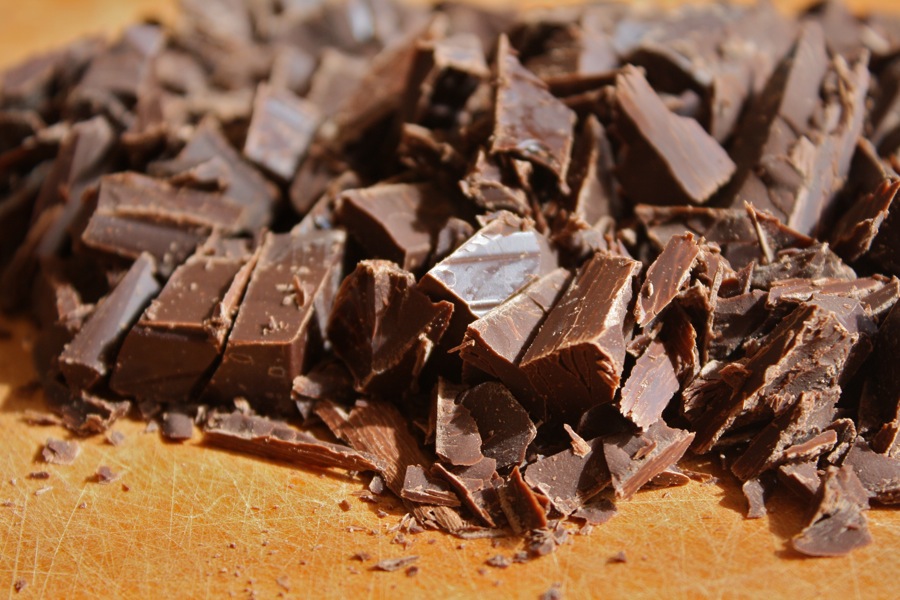
- 8 oz semisweet chocolate, roughly chopped
- 4 tbsp unsalted butter
- 2/3 cup all-purpose flour, spooned and leveled
- 1/2 tsp baking powder
- 1/2 tsp salt
- 2 large eggs
- 3/4 cup packed light brown sugar
- 1 tsp vanilla extract
- 1 package (12 oz) semisweet chocolate chunks or chips
- Preheat oven to 350°F.
- Heat chopped chocolate and butter in a microwave-safe bowl in 20-second increments, stirring in between, until almost melted; do not overheat. Set aside. In another bowl, whisk together flour, baking powder, and salt. Set aside.
- In a mixing bowl, beat eggs, brown sugar, and vanilla on high speed until light and fluffy. Reduce speed to low; beat in melted chocolate. Mix in flour mixture until just combined. Stir in chocolate chunks.
- Drop heaping tablespoons of dough 2 to 3 inches apart onto baking sheets. Bake, rotating sheets halfway through, until cookies are shiny and crackly yet soft in centers, 12 to 15 minutes.
- Cool on sheets 10 minutes; with a thin metal spatula, transfer to racks to cool completely.
- Yield: 2 dozen
- Do not bake the cookies to a crisp; they are meant to be soft and chewy. Store them in an airtight container at room temperature for two to three days.
- You can add nuts or other chocolates if you like. I have often used white chocolate chips and macadamia nuts or pecans.
Thank You!


The Food Hound
Wish I could eat these for breakfast 🙂 I have all things but the silpats, and I use parchment paper regularly. Makes me feel like a real baker! I need to make some baked goods with chocolate chips since my mom sent me home with the mother load she never used for holiday baking!
Jane Bonacci, The Heritage Cook
Sounds like you have a wonderful baking odyssey ahead of you. How fun!